The Legend of Zelda: Link's Awakening walkthrough: A step-by-step guide to get you through the 2019 remake
Everything you need to get from start to finish with this Link's Awakening walkthrough
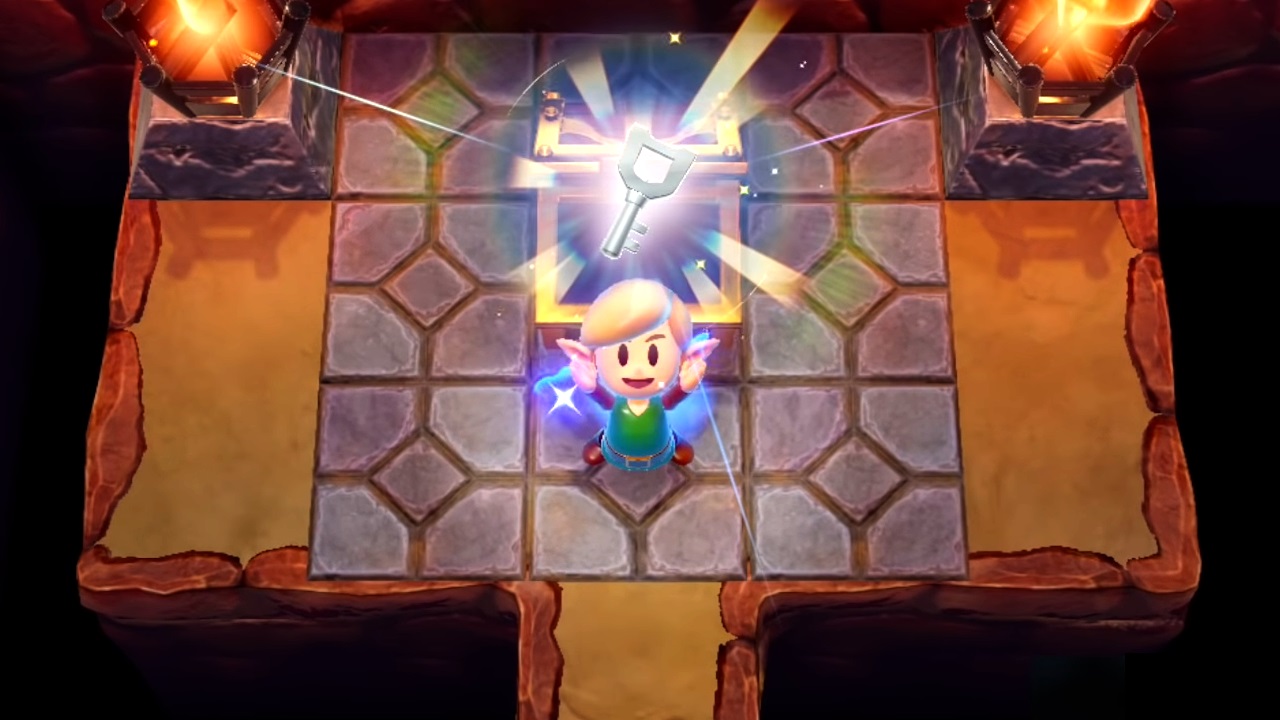
It's a big game so a Legend of Zelda: Link's Awakening walkthrough could be invaluable in helping you avoid getting lost, taking forever, or just cut to the point overall. If you've never played the original then there's loads to do, and if you have then the visual changes and new look might mean you need a refresher.
Aside from the game and the main quest there's also a ton of collectibles and secrets. Finding them without a guide will take way longer so check out the info we've got here if you want to streamline your playthrough and not miss anything.
Link's Awakening Sea Shells | Link's Awakening character figurines | Link's Awakening Heart Pieces
Getting the Sword and Shield
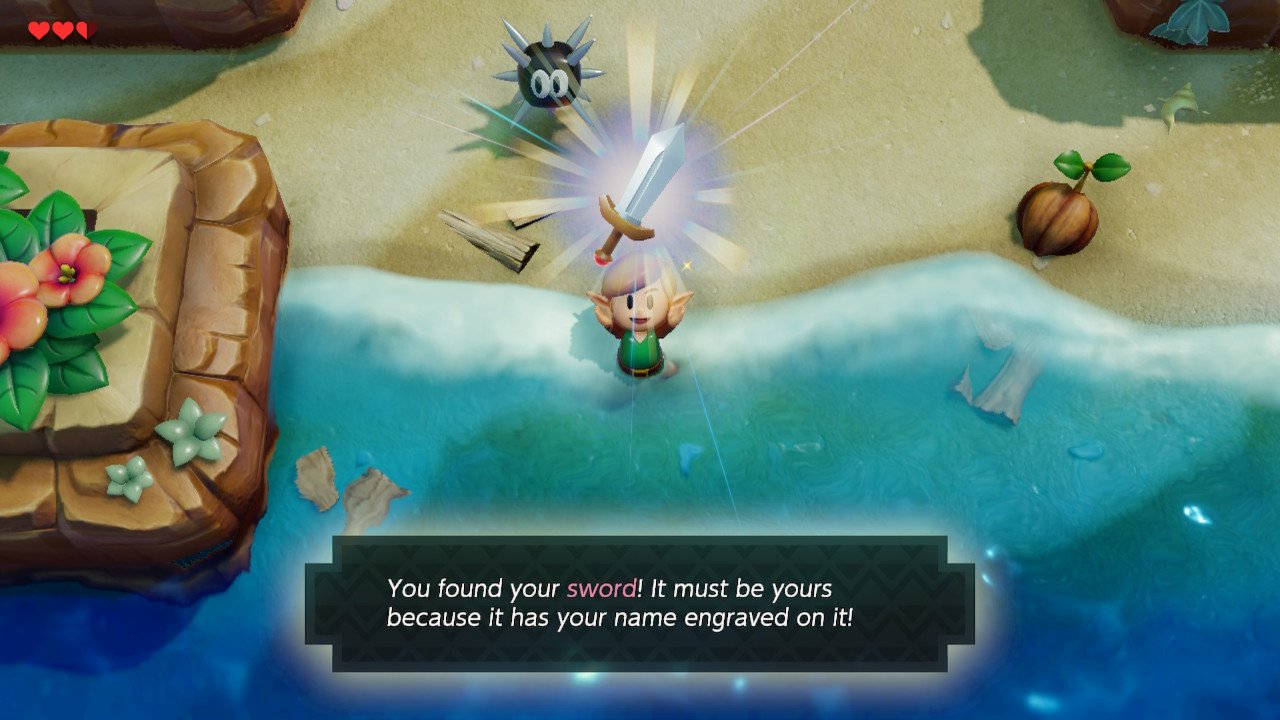
Talk to Marin once you’ve gotten out of bed, and she’ll direct you to Toronbo Shores in the south. Talk to Tarin to get our first item, the Shield. Head east and south out of the village, following the path down to the shore. Once on the beach, walk east until you see a lone spiked-enemy – push him east and pick up the sword. Return to Mabe Village.
The Trading Sequence
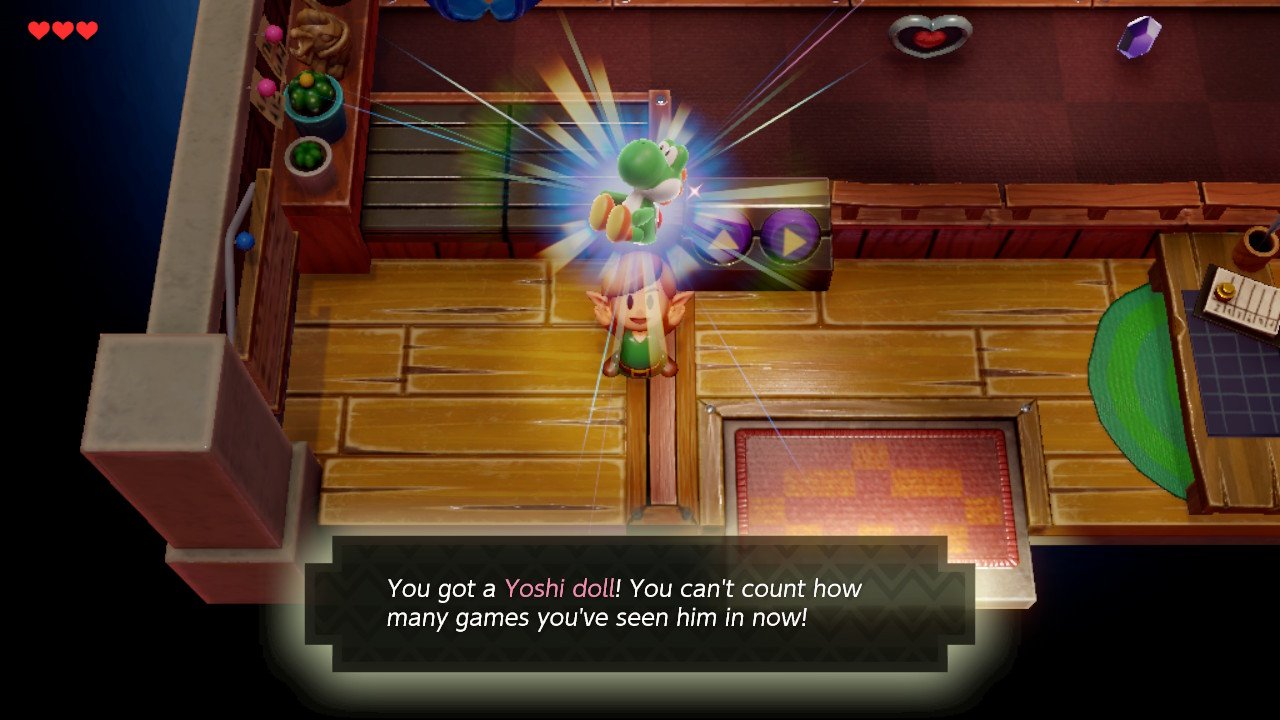
The trading sequence is a mandatory side-quest in the game that eventually rewards us with the Boomerang, one of the most powerful weapons. Before we depart for the Mysterious Forest, go to the Trendy Game shop (the house in the southeast corner of the map). Use the crane to pick up the Yoshi Doll, and head to the northernmost house in the village to trade it for a ribbon. Take the ribbon to the house with the Chain Chomp outside it and go in the right-hand door. Trade the ribbon for a can of dog food. Make your way back down towards the shore and walk right as soon as you reach the sand. Inside the house, trade the dog food for a banana.
Mysterious Forest
Now head back towards the forest, which is to the upper left of Mabe Village. After talking to the Owl, walk up until you can turn right, and continue right until you reach a hollowed-out tree. Inside the tree, kill the Keese and destroy all of the purple crystals with your sword. Push the boulder in front of the chest over to gain 50 rupees. Make sure not to fall through the cracked floor, and head up one room and right, killing the Zols that appear from the floor. We cannot access this Heart Piece yet, so move the closest boulder to your left, and the one underneath left also, then exit the tree. Pick up the Toadstool and head back through the tree. Push the closest boulder to your right, the one above that up, the one immediately to the right you'll want to push right again, and the one above that needs to go up to let you exit. Back on the other side, move north until you reach rocks covering an entrance. For Moblins with a shield, deflect their attacks then when they’re stunned, attack them. From here, head east out of the forest and then south, to enter the Witch’s house. Beware of electrified Zols on the way as you cannot damage them yet.
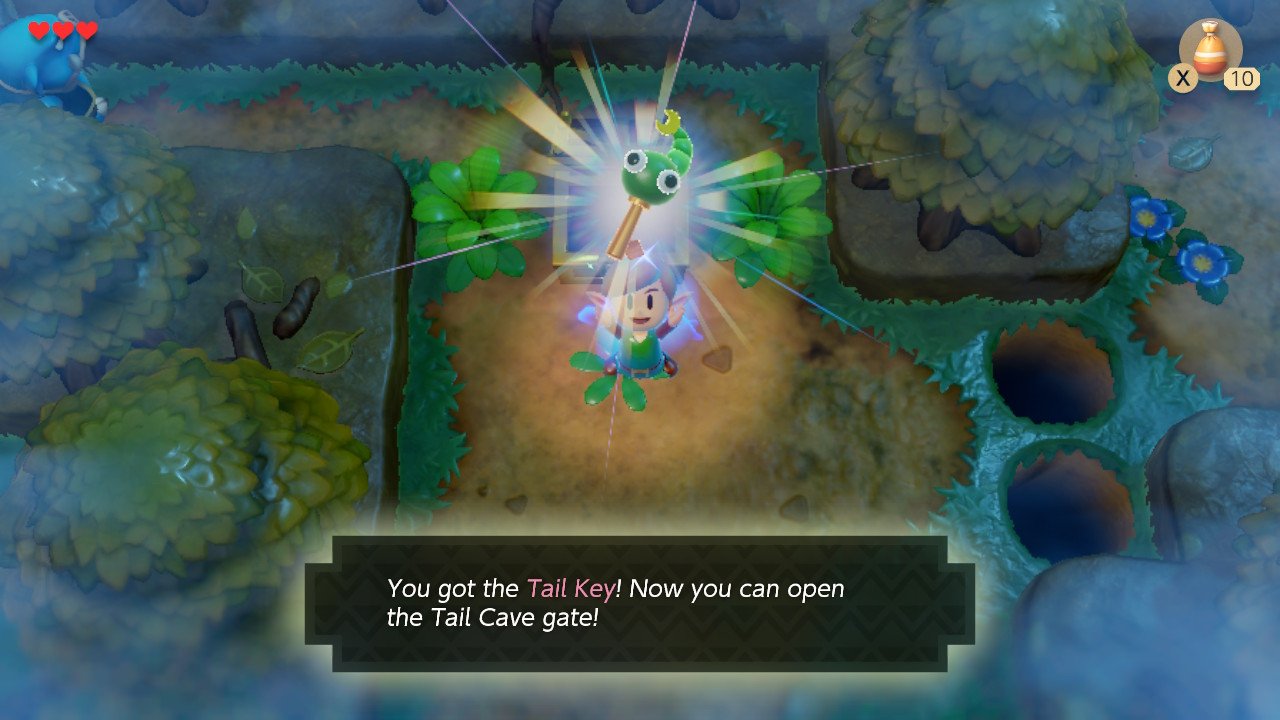
The Witch will convert your Toadstool into Magic Powder. This can light torches and have different effects on enemies. Walk back into the Mysterious Woods, and instead of turning right to go into the tree you were in earlier, walk left and then up. Use your Magic Powder on the raccoon, and watch it transform back into Tarin. You’ll find the key for Tail Cave in a chest up north, which we need in order to proceed. Once you’ve got that, head back to the shore and follow the top wall along to the right. Interact with the keyhole and enter Tail Cave.
The Legend of Zelda: Link's Awakening walkthrough - Start of the game (Part 1)
The Legend of Zelda: Link's Awakening walkthrough - Tail Cave (Part 2)
The Legend of Zelda: Link's Awakening walkthrough - Bottle Grotto (Part 3)
The Legend of Zelda: Link's Awakening walkthrough - Key Cavern (Part 4)
The Legend of Zelda: Link's Awakening walkthrough - Angler's Tunnel (Part 5)
The Legend of Zelda: Link's Awakening walkthrough - Catfish's Maw (Part 6)
The Legend of Zelda: Link's Awakening walkthrough - Face Shrine (Part 7)
The Legend of Zelda: Link's Awakening walkthrough - Eagle's Tower (Part 8)
The Legend of Zelda: Link's Awakening walkthrough - Turtle Rock (Part 9)
The Legend of Zelda: Link's Awakening walkthrough - Wind Fish Awakening (Part 10)
Current page: Link's Awakening walkthrough: Start of the Game (Part 1)
Next Page Link's Awakening walkthrough: Tail Cave (Part 2)Sign up to the GamesRadar+ Newsletter
Weekly digests, tales from the communities you love, and more
