The Legend of Zelda: Link's Awakening walkthrough: A step-by-step guide to get you through the 2019 remake
Everything you need to get from start to finish with this Link's Awakening walkthrough
BowWow and the Moblin Hideout

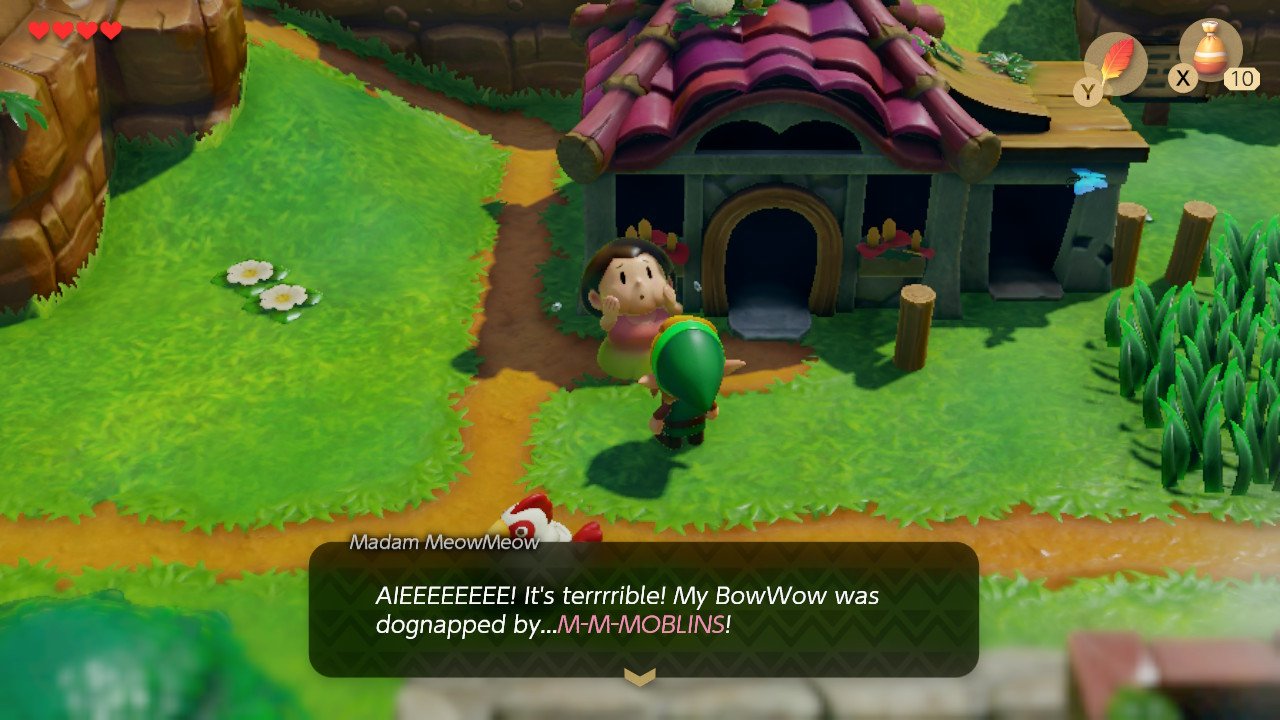
Head back up to Mabe Village, where you’ll be met by two kids telling you that a gang of Moblins did something at BowWow’s (the Chain Chomp) house. Talking to BowWow’s owner outside her house confirms this, so from here head through Mysterious Forest, back towards the Witch’s House. On the way we can collect that Piece of Heart surrounded by holes by using Roc’s Feather. From here, jump north and follow the path to the right. The entrance to the Moblin Cave is just beside the owl statue. Progress through the cave until you reach King Moblin. Dodge his spears, and dodge out of the way when he charges you, so he hits the wall and stuns himself, although if you jump out of the way too soon he’ll pull out of the charge.
Attack when he’s stunned and claim BowWow from the next room, as he'll be integral to reaching the next dungeon. Leave the cave, and head back towards the Mysterious Forest. Walk west through the forest, jumping over the potholes, until you have the option to head north. Follow this path up and to the right, where you’ll find Goponga Swamp. Let BowWow eat all the flowers and enemies in the swamp, and enter the dungeon in the northeast when he’s finished, although there is a chest with 50 rupees in the middle of the swamp in case you want to grab that.
Bottle Grotto

Head north and light the torches with Magic Powder. Go east and kill the enemies, revealing the first key. Use the key to unlock the west door in the previous room, and jump over the Blade traps after walking through. Defeat the two enemies and walk north, and jump across the gap while attacking with your sword. Push the Beetle into the crevasse and swipe the Stone Beak from the chest. Walk down one room, then right three rooms. Hit the crystal switch and move south. Get into the space diagonally away from the next crystal and hit it with your sword. Claim the second key from the chest, move one room right and jump across the gaps until you land on the button in the bottom right corner.
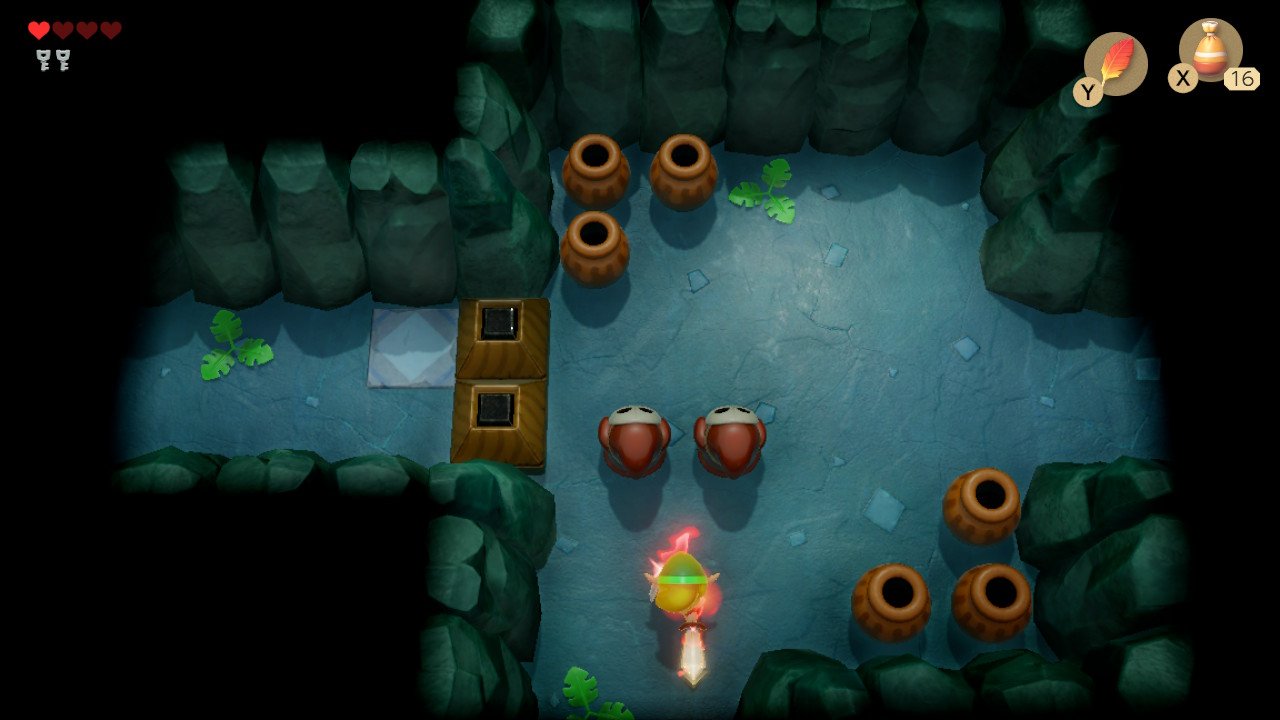
Collect the key and head north, where you’ll encounter two Shy Guy lookalikes. These enemies mimic all of your moves, so move until they are within striking distance, then turn away so their backs are to you. Perform a spin attack and walk back the way you came, hitting the crystal on the way to collect the key that just dropped. Walk back to the room where the Shy Guys were and move east. Kill the Spiked Beetles again and unlock the door. Push the two wooden blocks towards the blue squares in the centre of the room, and then head downstairs. Jump your way across this section. In the next room, just jump across the gaps and enter the one-way door.
Hinox and the Power Bracelet

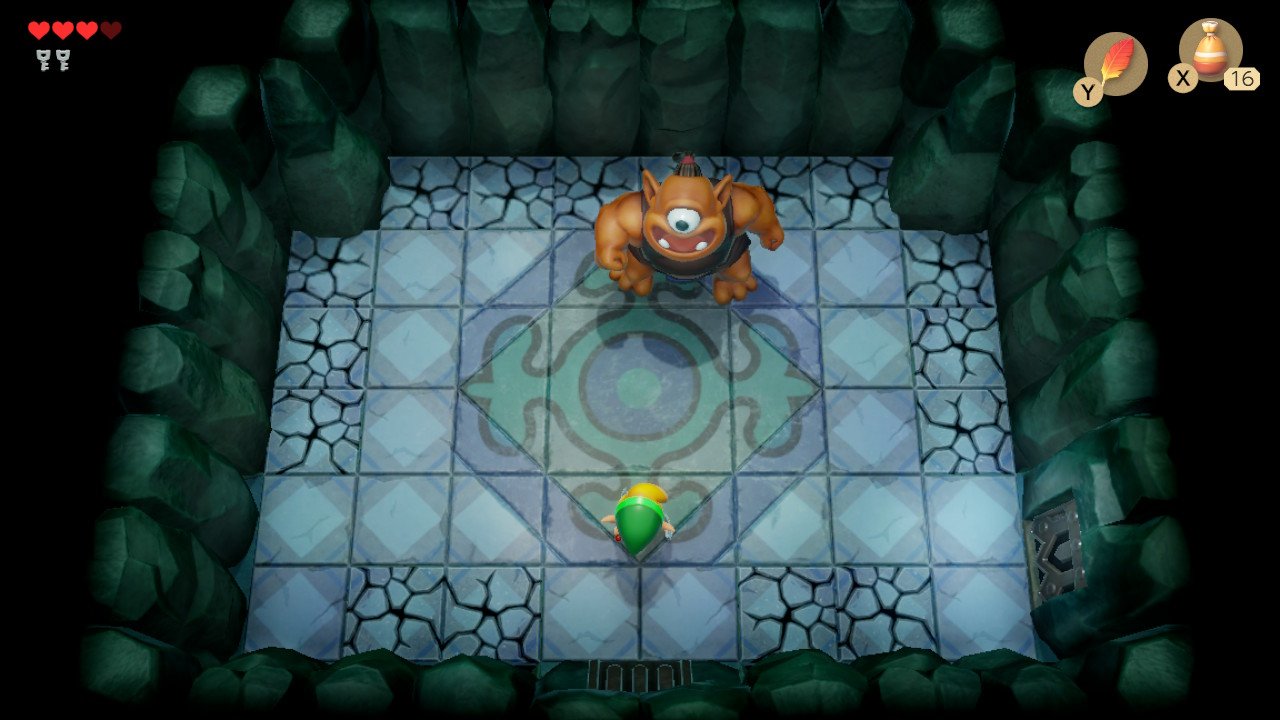
In this room is the mini-boss Hinox. He will try to grab you and if he's successful, he'll fire you off a wall which deals considerable damage. He is always vulnerable, so sneak a few hits in-between jumping away from him. Every so often the monster will throw a bomb at you, but just keep jumping. When he’s dead, a warp point and a fairy will appear.
Heading east, make your way to the exit in the top left corner of the next room. A vacuum monster will suck all of the Keese into a hole, but when it pauses briefly, open the chest to receive the dungeon’s Treasure Map. Open the chest in the North room for 20 rupees. Unlock the west door and light the two torches in order to defeat the Boos. Collect the Power Bracelet, which allows you to lift pots and rocks, and move back into the previous room. Move the pots out of your way and follow the northern path to the right. Hit the crystal to get on top of the blue block, then once again to lower it. Claim the key then hit the crystal again while standing on an orange block to remove the blue block on the east path.
Before going through the locked door, head south and kill the enemies in this order; move the blocks aside and smash the bunny (Pols Voice) with a pot; then kill the Keese, and then the Shrouded Stalfos. Claim the Nightmare Key, then return to the room above and unlock the east door. Kill the enemies and head down the stairs. Stand on the first platform to lower it, and then climb the ladder, grab a pot and stand on the second platform to weigh it down. Climb the exit ladder on the left. Jump the gap and enter the Nightmare Room.
Genie

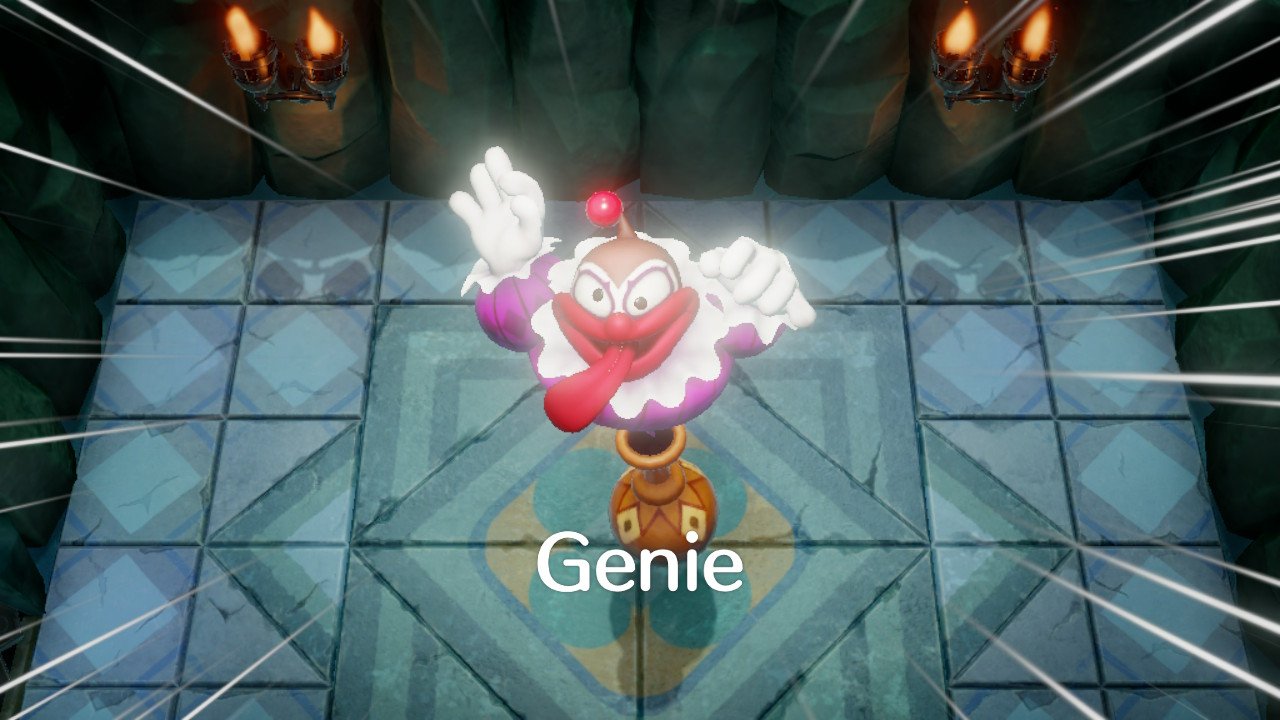
Meet Genie. Make sure you avoid Genie’s fireballs, and when it returns into the lamp, attack it. Once dazed, throw the lamp against the walls of the room to damage it. After doing this three times, Genie will lose the bottle and start spawning in one of two locations. Avoid the fireballs and wail on him with your sword. After two or three attempts at this, he’ll die, and you will be rewarded with a Heart Container and the Conch Horn in the next room.
The Legend of Zelda: Link's Awakening walkthrough - Start of the game (Part 1)
The Legend of Zelda: Link's Awakening walkthrough - Tail Cave (Part 2)
The Legend of Zelda: Link's Awakening walkthrough - Bottle Grotto (Part 3)
The Legend of Zelda: Link's Awakening walkthrough - Key Cavern (Part 4)
The Legend of Zelda: Link's Awakening walkthrough - Angler's Tunnel (Part 5)
The Legend of Zelda: Link's Awakening walkthrough - Catfish's Maw (Part 6)
The Legend of Zelda: Link's Awakening walkthrough - Face Shrine (Part 7)
The Legend of Zelda: Link's Awakening walkthrough - Eagle's Tower (Part 8)
The Legend of Zelda: Link's Awakening walkthrough - Turtle Rock (Part 9)
The Legend of Zelda: Link's Awakening walkthrough - Wind Fish Awakening (Part 10)
Current page: Link's Awakening walkthrough: Bottle Grotto (Part 3)
Prev Page Link's Awakening walkthrough: Tail Cave (Part 2) Next Page Link's Awakening walkthrough: Key Cavern (Part 4)Sign up to the GamesRadar+ Newsletter
Weekly digests, tales from the communities you love, and more


