The Legend of Zelda: Link's Awakening walkthrough: A step-by-step guide to get you through the 2019 remake
Everything you need to get from start to finish with this Link's Awakening walkthrough
Homeward BowWound and the Banished Prince
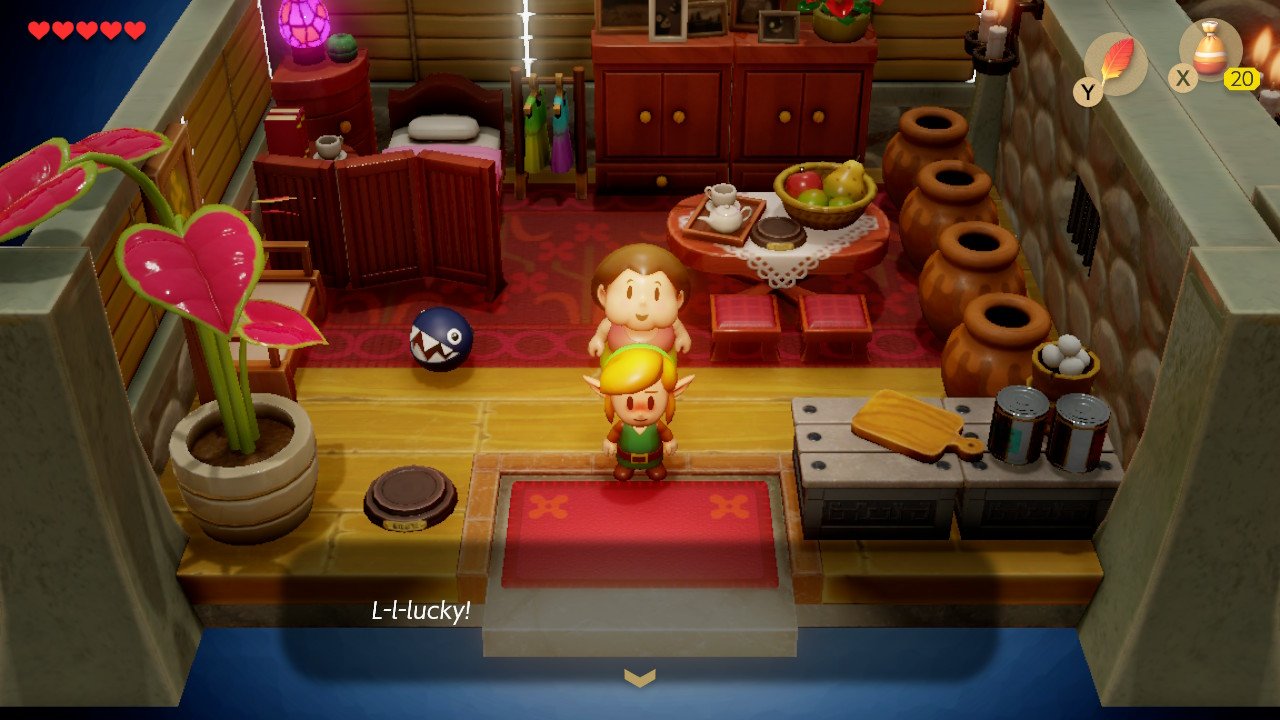
Once out of the dungeon, bring BowWow back to his house. You’ll receive a big ‘ol smooch as a reward, which has no benefits whatsoever. From here, head right out of the village, lifting the rocks out of your way. Activate the warp location on the right and then follow the path south, passing a dungeon and a walled-off field. Enter the house at the bottom of this field and speak to Richard inside, who tells us that he’s actually a prince and needs to retrieve five golden leaves from the now-ransacked Kanalet Castle. He also mentions that we’ll need a shovel, so run back to Mabe Village first and buy one for 200 (!!) rupees.
Back at Richard’s house, follow the path east, then head right and up when it splits at the water. When you get to the bridge of Kanalet castle, keep walking east. Talk to the monkey and trade the banana you got near the start of the game. Take the stick and head north over the bridge, then up the right side of the castle. Cut the bush to the left of the telephone house and head down the stairs. Jump your way through this section then walk left and down on the other side of the stairs. Attack the Mad Bomber when he peeks out of the holes and he’ll drop the first Gold Leaf. Go back to the far side of the castle, beyond the staircase, and throw a rock at the tree. Kill the crow and gather the second leaf.
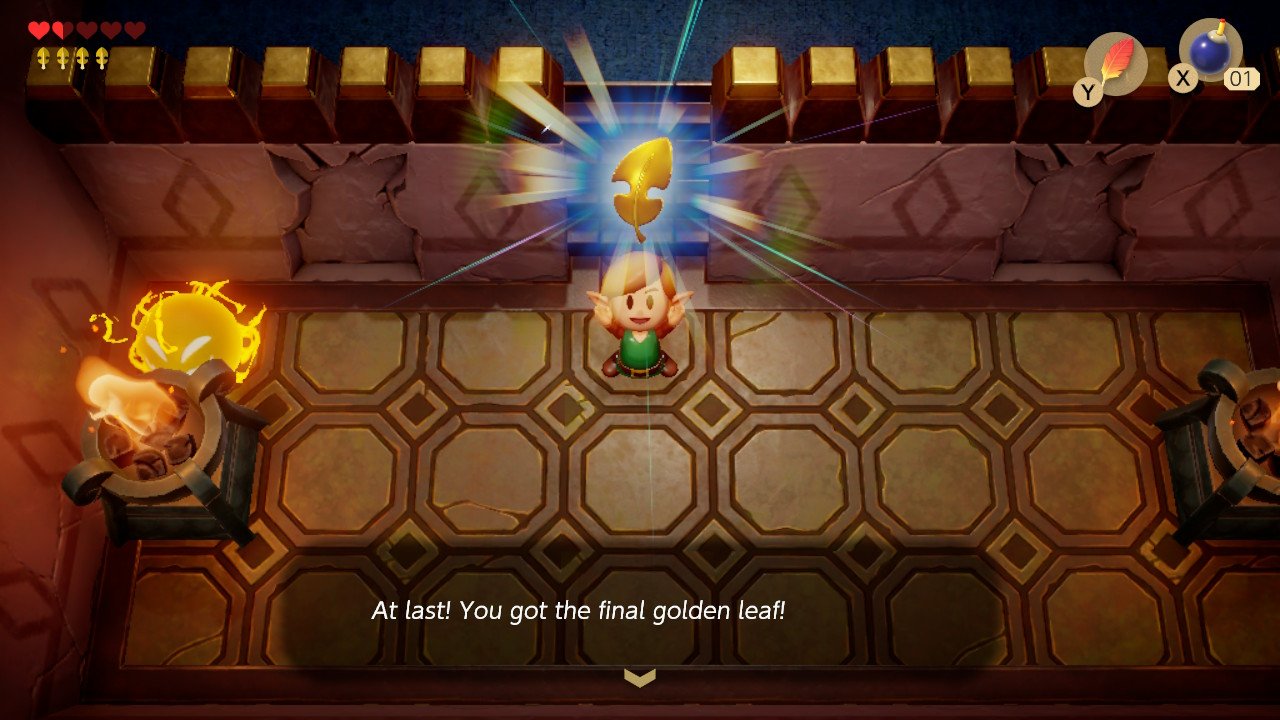
Walk down and enter the castle, then kill the Zol and the two Knights to drop another leaf. Walk up and right and stand on the button in the far right corner, which will open the Castle’s gates. Walk up the two sets of stairs, and follow the path all around to the outside. Head in the next door and break the closed door with a pot. Defeat the Knight in the next room by attacking him when his chain has extended, then collect the leaf he drops. Keep breaking the pots in the next room to get some bombs and then make your way back through the castle to where the Spark is. Place a bomb on either side of the stairs and kill the Knights which emerge from the wall. Collect the final leaf and make your way out of the castle, back to Richard’s house.
Head down the stairs, push the boulder on the left and collect a Secret Seashell. Then make your way up the right-hand side stairs. Make your way through the maze, cutting the bushes and grass, until you arrive at the owl statue. Use your shovel to dig up the ground right in front of the statue and collect the Slime Key. Head back through the villa and walk back towards Mabe Village, up the left side of Pothole Field. Use the key on the gate, and walk back beyond the villa, up to the top right corner where the path splits. Walk left, jump across the water and head into the dungeon.
Key Cavern — Keys and the Stone Beak
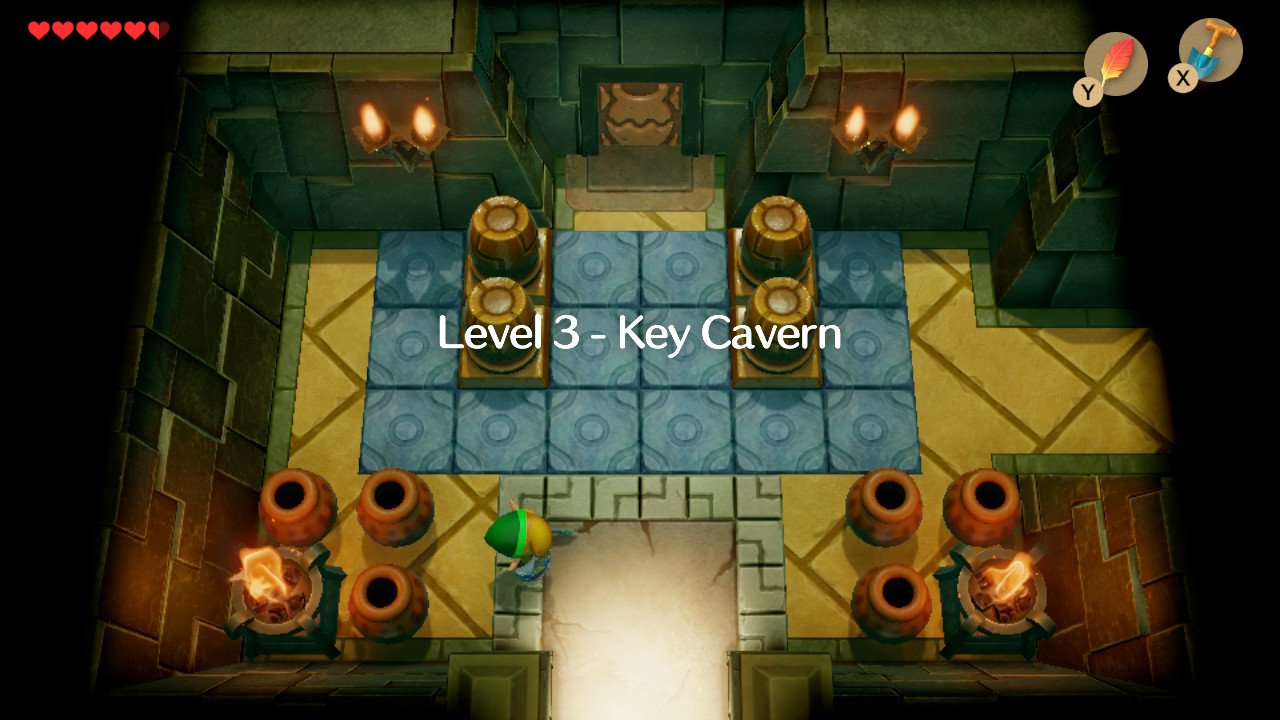
Break the opposite door with a pot and kill all the enemies in the next room to drop the first key. Head north three rooms, killing all the enemies on the way, and walk down the stairs. Unlock the northern door and kill the two enemies to drop a key. Hit the crystal then proceed two rooms south. You’ll need to use the bombs in this room to kill the Pairodds.
Once everyone is dead, a key will spawn. Head back up one room and unlock the eastern door. Avoid the bird in here, head up the stairs and kill all the enemies that spawn in around the stairs to drop the next key. Head north and west, killing all the red Zols to unlock the westernmost door. In here, kill all the enemies that spawn to drop the fifth key. Head two screens north, killing all enemies on the way, and follow the path up the stairs to open the chest with 50 rupees in it. Follow the path all the way south, push the wooden block out of the way and enter the door to the right to fight the mini-boss.
Dodongo Snakes, the Pegasus Boots, and the Rest of the Dungeon
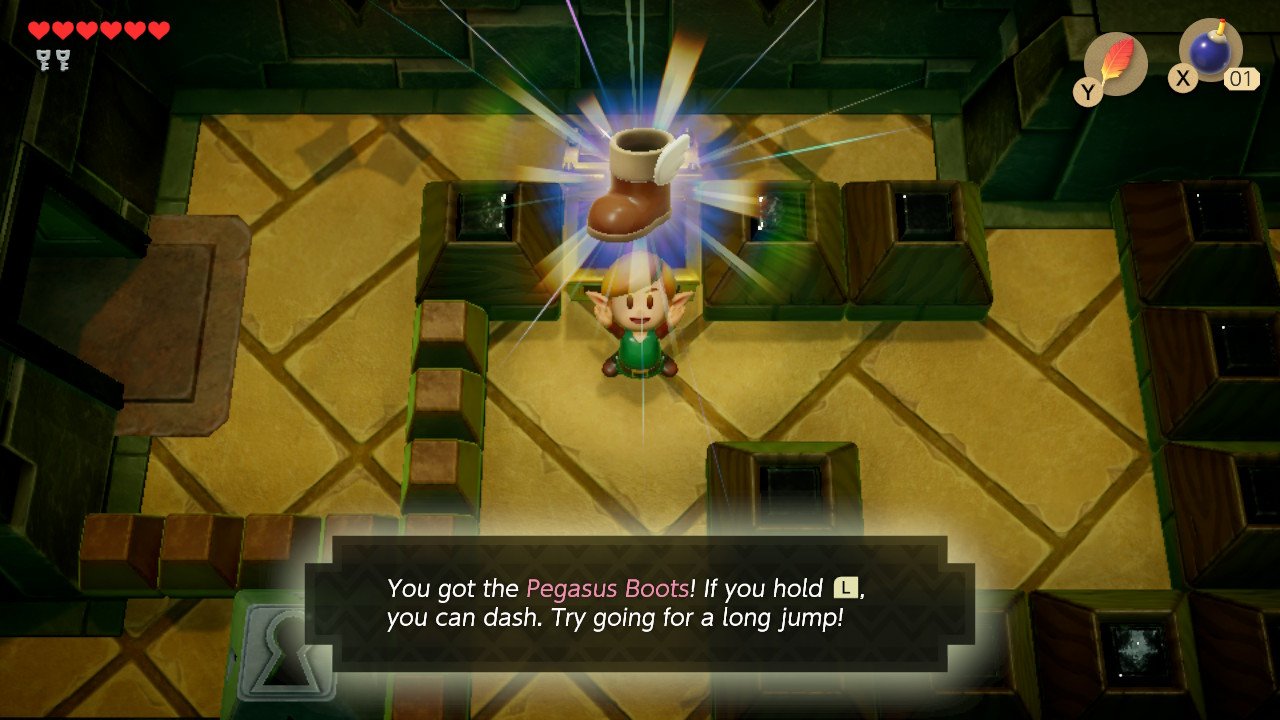
These two boys absolutely love bombs, so the aim of this fight is to throw bombs in their path. If done correctly, they’ll scoop them up for dinner, exploding their intestinal tracts in the process. After both are dead, a warp spot appears. In the next room, push the boulders blocking your way to get the Pegasus Boots, which will allow us to sprint and therefore jump further distances. Dash into the two black tent-like blocks at the bottom of the room and push the boulder out of your way to leave.
Our next job is to collect the remaining keys in the dungeon. Warp back to the first room and head right. Dash into the vacuum monster and collect the key from the chest. Warp back to the mini-boss room, then head south, walk to the very east wall and walk up. Head through the north-east entrance, kill the Bombites and the Zols then enter the room to the left to collect the Compass. Bomb the west wall, defeat the enemies inside and claim the next key. Walk two rooms east and one room south. Bomb the southern wall and use a dash jump to get across the gap. Follow the path up, dash jump again and claim the Nightmare Key from the chest. Warp back to the spawn and keep walking north until you reach the stairs. Downstairs, unlock the room on the right and kill all the enemies inside. Collect the key and make your way back to the mini-boss room. Walk south, then unlock the four key blocks and head downstairs.
Dash into the red Thwomp and make your way across the gap. Dash and jump to catch the ladder then make your way down the furthest east ladder. Kill the enemies in the next two rooms and enter the Nightmare Door.
Slime Eyes and the Sea Lily’s Bell
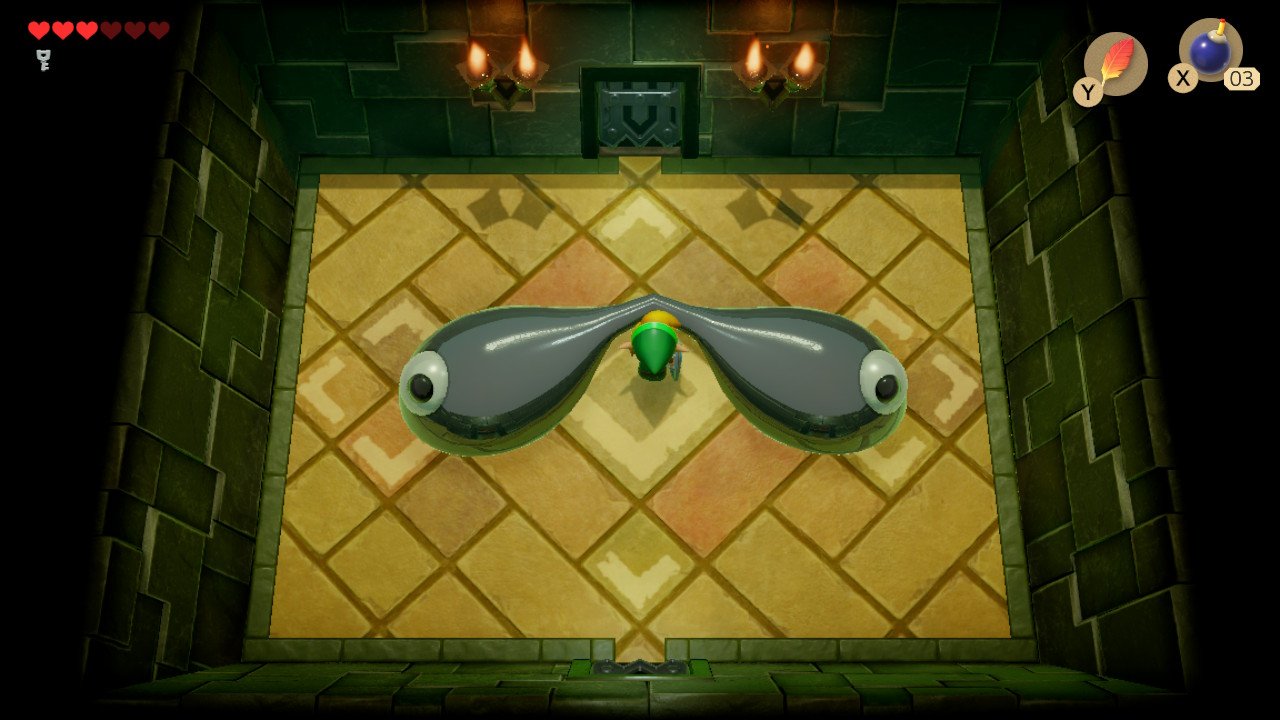
Pegasus Dash at the northern wall to make this boss show himself. Attack the boss’ eye and it will begin to separate. Once the enemy is as far apart from its other half as possible, dash at the last strand of slime holding them together. Now split into two, these begin jumping around. When they land, they stun Link, giving the second slime a chance to land on him. Jump as they land and attack their eyes. After about four hits to each eye, the boss is defeated. Collect the Heart Container and walk north to collect the Sea Lily’s Bell.
The Legend of Zelda: Link's Awakening walkthrough - Start of the game (Part 1)
The Legend of Zelda: Link's Awakening walkthrough - Tail Cave (Part 2)
The Legend of Zelda: Link's Awakening walkthrough - Bottle Grotto (Part 3)
The Legend of Zelda: Link's Awakening walkthrough - Key Cavern (Part 4)
The Legend of Zelda: Link's Awakening walkthrough - Angler's Tunnel (Part 5)
The Legend of Zelda: Link's Awakening walkthrough - Catfish's Maw (Part 6)
The Legend of Zelda: Link's Awakening walkthrough - Face Shrine (Part 7)
The Legend of Zelda: Link's Awakening walkthrough - Eagle's Tower (Part 8)
The Legend of Zelda: Link's Awakening walkthrough - Turtle Rock (Part 9)
The Legend of Zelda: Link's Awakening walkthrough - Wind Fish Awakening (Part 10)
Current page: Link's Awakening walkthrough: Key Cavern (Part 4)
Prev Page Link's Awakening walkthrough: Bottle Grotto (Part 3) Next Page Link's Awakening walkthrough: Angler's Tunnel (Part 5)Sign up to the GamesRadar+ Newsletter
Weekly digests, tales from the communities you love, and more


