The Legend of Zelda: Link's Awakening walkthrough: A step-by-step guide to get you through the 2019 remake
Everything you need to get from start to finish with this Link's Awakening walkthrough
Honeycomb and Animal Village
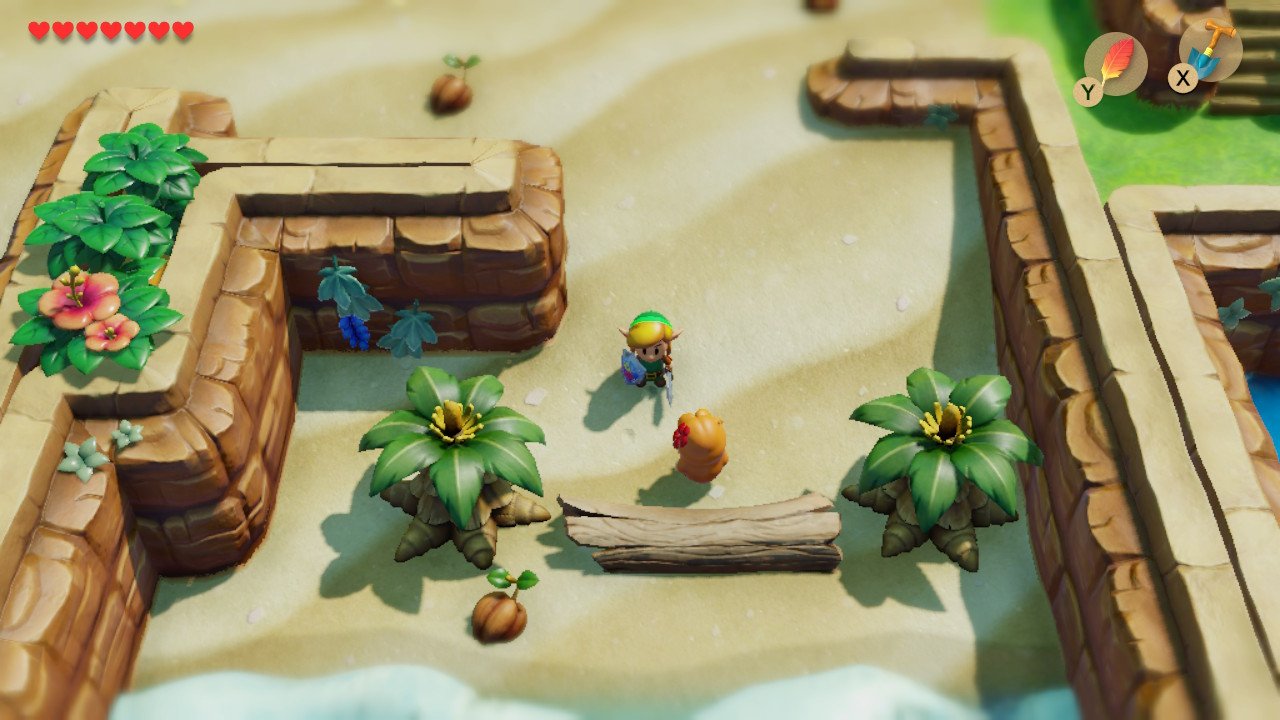
East of Mabe Village, you’ll find Tarin standing at a tree. Give him the stic, and collect the honeycomb when he leaves to complete another step of the Trading Sequence. Walk south and break the skull with a bomb. Walk to the southeastern part of Ukuku Prairie, where there’s an uncrossable gap with tree stumps on either side. Destroy the bush nearby and head down the stairs. Up on the other side, head south and into the village. Talk to the bear in the house in the southeast and he will mention that Marin’s song can wake the walrus sleeping in your path. Return to Mabe village, and speak to the child near the Rooster, who will mention Marin is in the south-eastern part of Toronbo Shores. Head down there and once she joins your party, there are a few things you can do with her. Bring her to the Trendy Game, hit a chicken a few times in front of her, then bring her to the walrus south of Animal Village, who she will proceed to wake up. Trade your honeycomb with the Bear, who will grant you a pineapple in return.
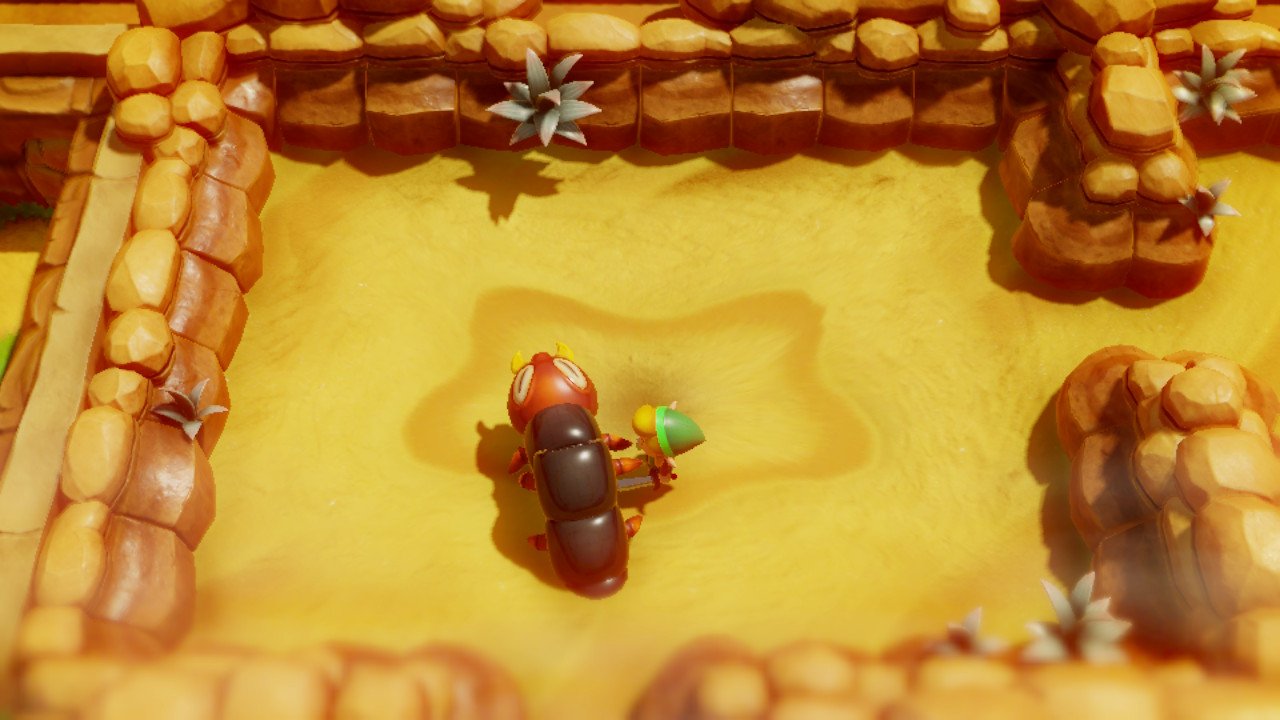
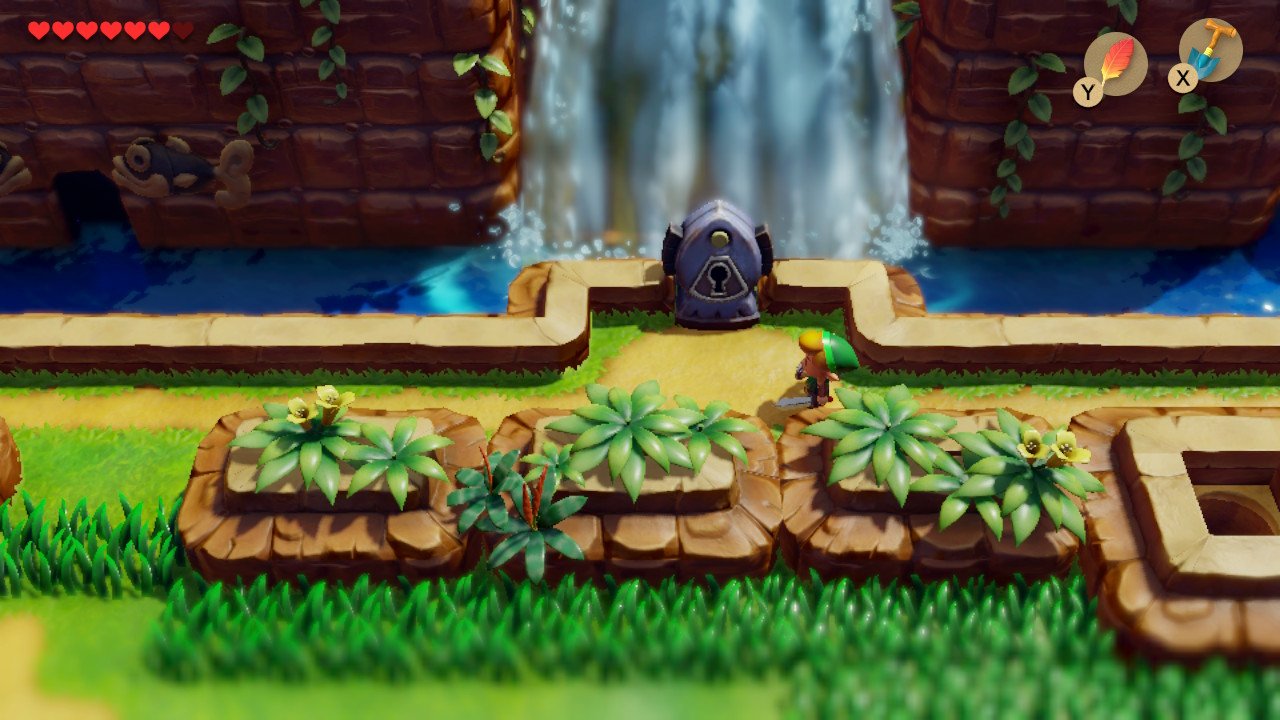
In the desert, head to the top right corner, and then to the quicksand portion on the left. Here you’ll face Lanmola, who you need to attack when he emerges from the sand. If you get sucked into the cave below, make your way back upstairs and resume the fight. After this is through, collect the Angler’s Key. Make your way back to Goponga Swamp and continue east from there. Keep continuing east into the Tal Tal Heights, until you come across a lock in front of a waterfall. Unlock this and head back the way you came. Climb the first ladder you encounter and enter the cave by lifting the rocks. Make your way through this cave, killing the enemies and dashing through the tents blocking your way. Exit through the door on the left to receive 50 rupees and exit through the door on the right to progress. Walking east, enter the first cave you find and walk up the stairs. Trade the Pineapple for the Hibiscus. Exit the cave again, walk right, drop down and enter the dungeon.
Angler’s Tunnel: Keys, Map and Compass
Head north. If you don’t have bombs, pick some up on the left side of this room. Continue up the stairs and follow the path to the north east – here you’ll find a chest with the Treasure Map in it. Walk down the stairs and dash jump across the gap, heading for the east exit. Bomb the cracked block, push the other into the water and collect the key. Walk up a room and do the same to unlock the second key. Walk left a room, jump over the gap and follow the path back towards the dungeon entrance, but take a right before going down the stairs. Grab the Stone Beak from the chest.
Head back down the stairs to where the entrance was and kill the enemies to unlock the door to your right. Kill all the enemies, take the Compass from the chest and walk south and grab the next key from the chest in this room. Head up and right through the locked door then north through the next door. Dash jump over the gap, unlock the key block and push the block out of your way, moving west. Kill the enemies and a key will drop down to the level below you. Walk south and continue to the bottom of this room. Use the west exit and walk north in this room, defeating the two Stalfos and the Zol. There’s a trick chest here, so ignore it and continue north then east to collect the next key. Follow the path south, east, and north, back to the area where the key fell down a hole. Open the locked door to face the mini-boss.
Cue-Ball and the Flippers
This boss only takes damage from behind, so you can either follow him around the room to try and catch up with him, or else leap over him as he approaches you and attack then. Hit him enough times and he dies, leaving behind a fairy and a warp spot. In the room above this, pull the right lever as far back as it will go, then dash through the closing entrance on the right. In the next room, kill the Zols and collect the Flippers, which will allow you to enter and dive under the deep water around Koholint Island. In the next room, step on each tile as it glitters, and take note of the pattern. Walk south, move two rooms east and enter the staircase in the top right corner. Move left and jump into the water to collect the key.
Head back up the stairs and walk three rooms to the left, moving the wooden block out of your way. In this room, stand on the slabs in the same order as you took note of earlier. It goes in this order; bottom right, top right, top left, middle and bottom left. Head down the stairs, and dash across the entire 2D section to avoid the Thwomps landing on you. Climb the ladder and jump onto the Thwomp to give yourself enough height to reach the exit ladder. Walk south to collect the Nightmare Key. Walk north off the ledge and swim east. Before activating the switch, swim around the corner and up to find a chest with 50 rupees in it. Swim back down and stand on the switch, then unlock the keyblock and make your way through the 2D section and to the Nightmare Door. Head down the stairs to face the boss.
Angler Fish and the Surf Harp
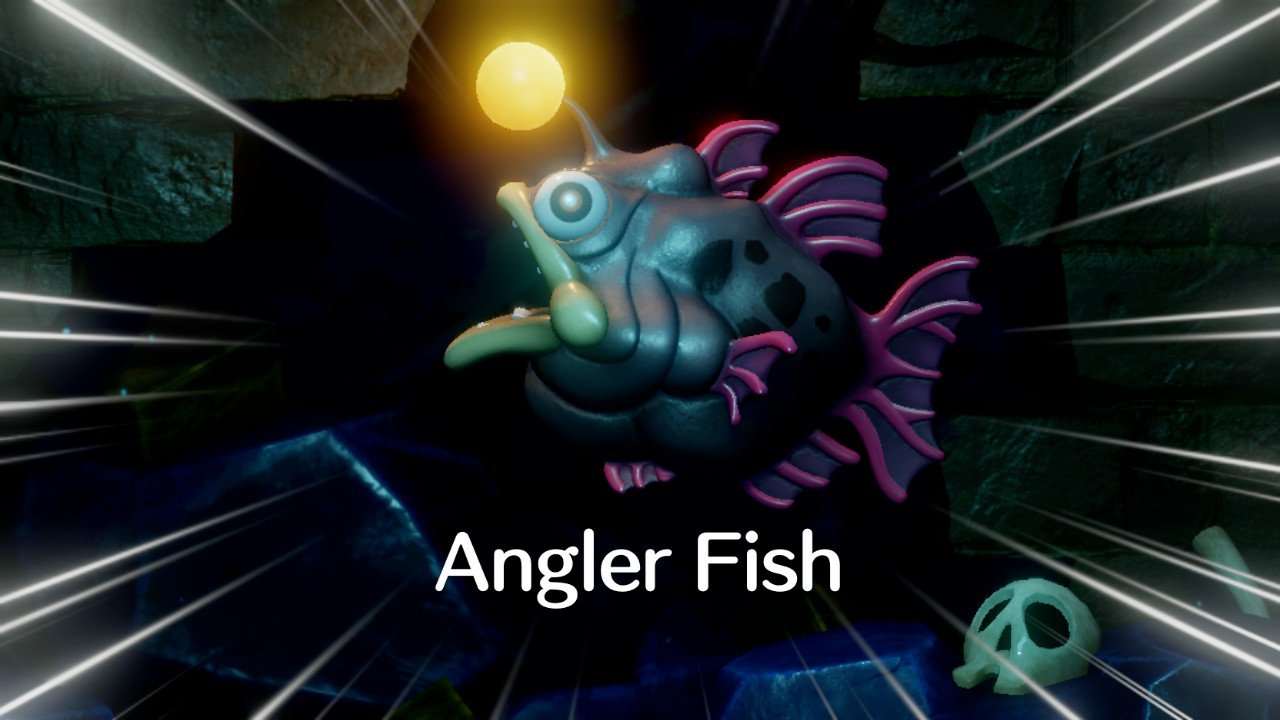
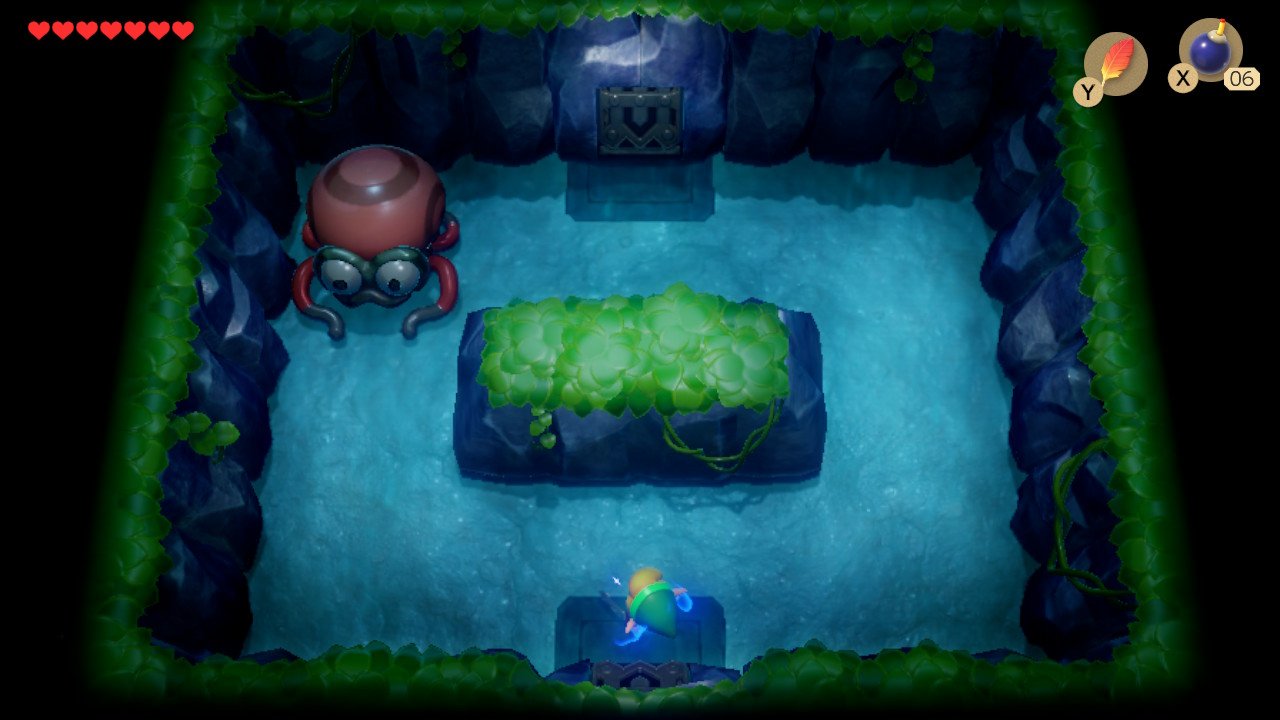
Angler Fish is probably one of the easiest bosses in the game. All you need to do is keep attacking the light hanging off its head with your sword. Hitting it enough times stuns the boss, which gives you more opportunity to attack. The boss will summon smaller fish, but these can be killed in one hit. If it swims into the wall, bricks and tiles will start to fall from above, but just avoid these as best as possible. After a few hits, Angler Fish will die, leaving behind a Heart Container.
Swim up, head north, and grab yourself the Surf Harp.
The Legend of Zelda: Link's Awakening walkthrough - Start of the game (Part 1)
The Legend of Zelda: Link's Awakening walkthrough - Tail Cave (Part 2)
The Legend of Zelda: Link's Awakening walkthrough - Bottle Grotto (Part 3)
The Legend of Zelda: Link's Awakening walkthrough - Key Cavern (Part 4)
The Legend of Zelda: Link's Awakening walkthrough - Angler's Tunnel (Part 5)
The Legend of Zelda: Link's Awakening walkthrough - Catfish's Maw (Part 6)
The Legend of Zelda: Link's Awakening walkthrough - Face Shrine (Part 7)
The Legend of Zelda: Link's Awakening walkthrough - Eagle's Tower (Part 8)
The Legend of Zelda: Link's Awakening walkthrough - Turtle Rock (Part 9)
The Legend of Zelda: Link's Awakening walkthrough - Wind Fish Awakening (Part 10)
Current page: Link's Awakening walkthrough: Angler's Tunnel (Part 5)
Prev Page Link's Awakening walkthrough: Key Cavern (Part 4) Next Page Link's Awakening walkthrough: Catfish's Maw (Part 6)Sign up to the GamesRadar+ Newsletter
Weekly digests, tales from the communities you love, and more
