The Legend of Zelda: Link's Awakening walkthrough: A step-by-step guide to get you through the 2019 remake
Everything you need to get from start to finish with this Link's Awakening walkthrough
Signpost Maze
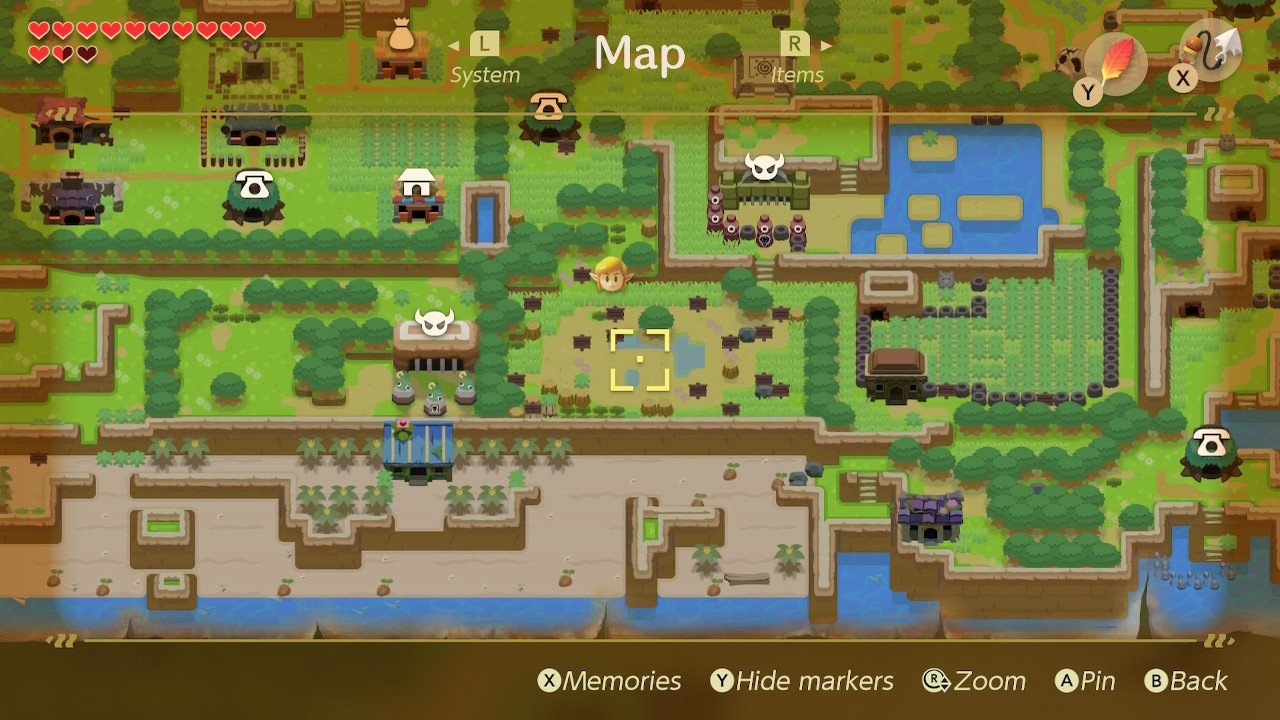
Before we set off for the mountain, we need to warp back to Mabe’s Village using Manbo’s Mambo. Note: you’ll need at least 300 Rupees for this next part, so if you’re short then go to the Trendy Game in Mabe Village and pick up both the Purple and Red Rupee, which should net you 50 Rupees total each time you play. To reset this, leave the shop and re-enter.
Once that’s done, you want to head for the Signpost Maze which is southeast of Mabe’s Village. To reach here, head east out of the village, and down to where five potholes are blocking the way. You can cross these with the hookshot, and so uncover the final part of the map.
These signs need to be read in a very particular manner, with every signpost being in a direct line from the last. Start with the very first one you encounter (1), and then continue down to the one directly underneath it, beside the water (2). From here walk to the right to read the third (3), and then walk down to read the fourth (4). From the fourth, you’ll need the hookshot to reach the fifth on the left, so cross the holes and interact with the sign (5). Cross back over the holes and walk in a direct line up from the fifth. The sixth sign is the one closest on the left to the very first sign (6). The seventh is directly right from this (7). Continue south until you reach the eighth sign, beside the pink flower (8). The next one is immediately right of the rock (9). Continue north to interact with the sign beside the tree trunk (10). The eleventh sign is west, and situated immediately to the right of the pothole (11), with the next one directly underneath it (12). Thirteen is immediately right of the rock on the eastern portion of this area (13), with the next one being directly under, although you’ll have to lift a boulder to interact with it (14). Finally head left and interact with the final westernmost sign (15), and a staircase should open up.
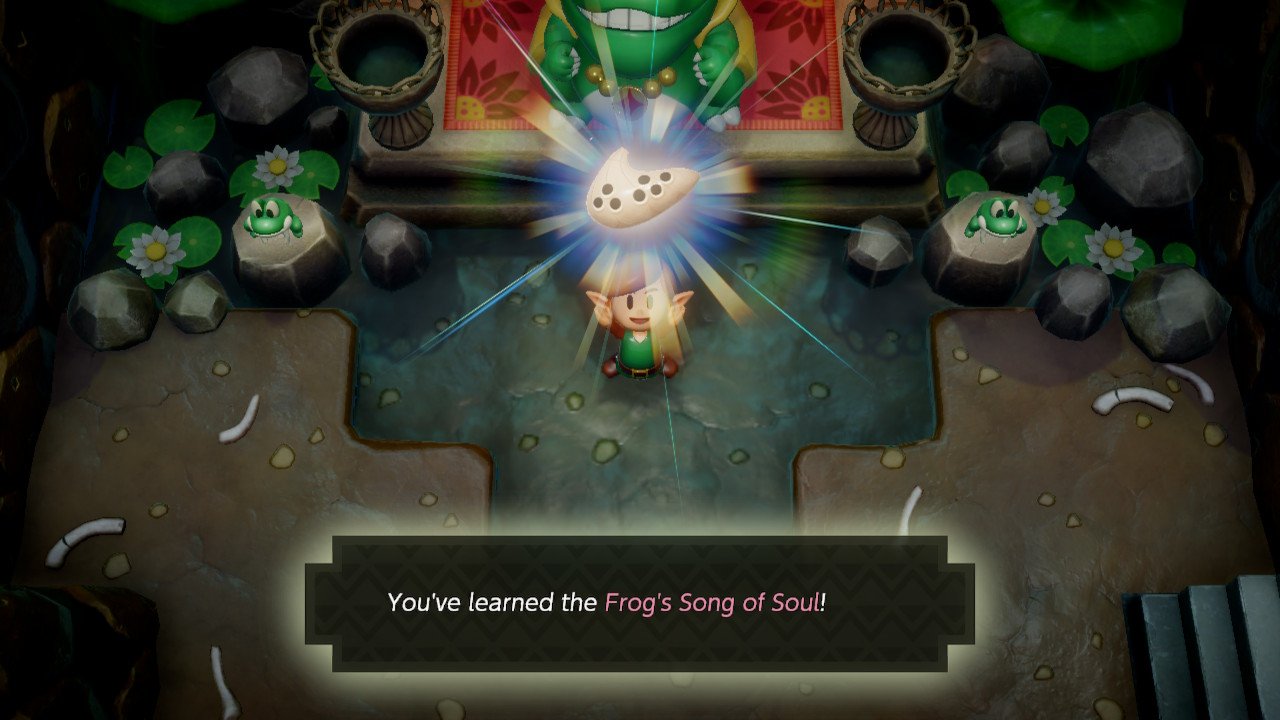
Downstairs you’ll meet Mamu, who tells you that for 300 Rupees you can learn the final song for your Ocarina, the Frog’s Song of Soul, which can “liven up unliving things”. With this in tow, head back to the Rooster Statue in Mabe Village, which we can now push up to reveal a staircase. Downstairs you’ll find bones of some sort — play the Frog’s Song of Soul you just learned and watch the Rooster return to life. Like Marin or BowWow, the Rooster will follow you around and by grabbing him you can use him to glide off ledges.
Getting the Bird Key
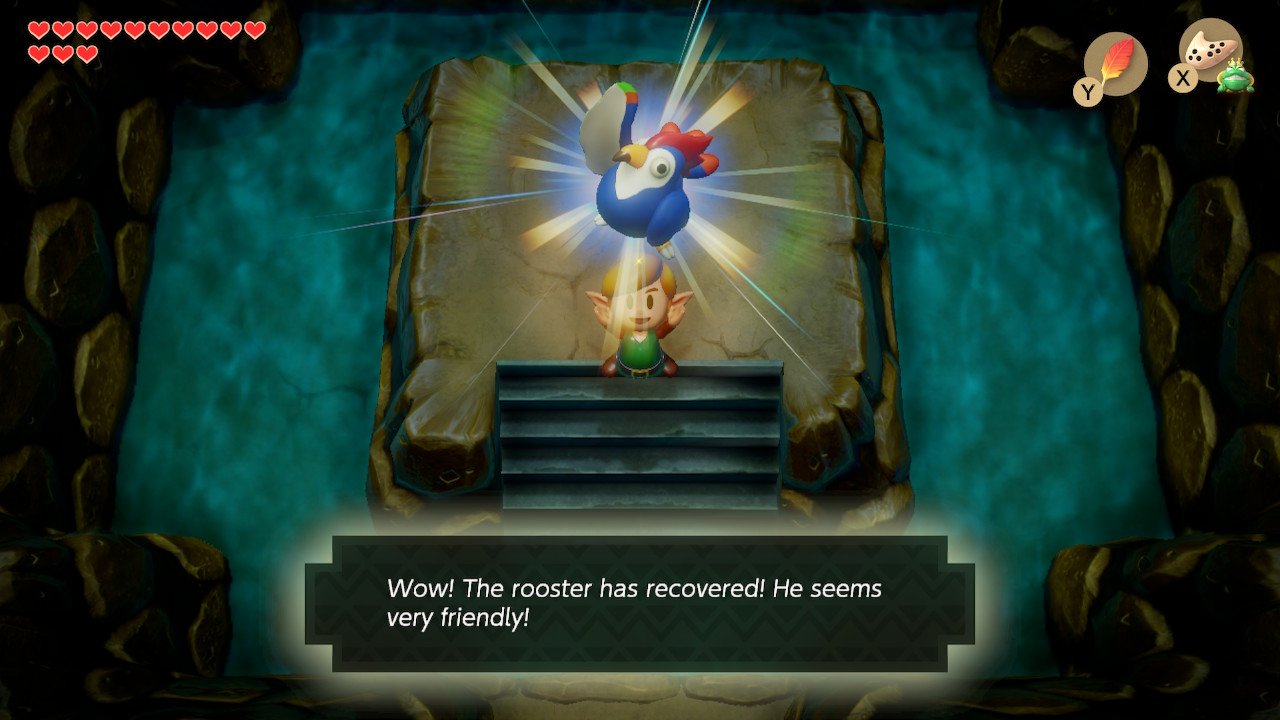
Warp to Dampé’s shack and climb the ladder that is above and to the right of his house. We’re greeted by the Owl again, who tells us that our quest is nearly ove and that we should head east. To do this, we’ll head into the cave on the left and continue two screens right. Once you reach the room with the chest located across the gap, employ the rooster to carry you across where you can collect 50 Rupees. Exit through the right door then continue along the right path until you pass the waterfall and come to a ladder. Climb the ladder, continue along left and enter the cave. Be careful not to fall down any of the holes here as they will bring you outside, so use the rooster to fly you to the top door and do the same in the next room, where you’ll collect the Bird Key.
Head back outside and walk up the stairs on the left. Taking the path to the right leads you to another Secret Seashell. Enter the house to talk to a Henhouse Owner, although he doesn’t have anything really interesting to say. Once you’ve finished here, use the rooster to fly across the gaps in the bridge to the left side. Destroy the grass here to reveal a hidden staircase. Once down the stairs, defeat the enemies in this room and place a bomb against the southernmost wall. Head down one screen and one to the right, defeating the enemies as you progress, to collect yet another Piece of Heart. Leave this area, head down the stairs in front of the house, make your way down the ladder to the right and jump into the water, where you’ll swim east. Dive under the waterfall that’s on the same level as you to pick up another Secret Seashell, before heading into the cave on the right.
Bomb the top wall, and climb the stairs to a room full of boulders and chests. There are 100 Rupees to be found in this room, by opening all the chests. However, every chest apart from the last one contains a Zol. Push the first boulder to the left, and the next one down so you can make your way out the southern exit. Open the chest here for another Secret Seashell. Enter the room again and open the first chest directly in front of you. Push the boulder in front of the left chest to the left. Push the boulder above and right of the middle chest up, and the one beside it left. Push the boulder blocking the right chest down, and the one blocking the bottom right chest to the right. Go back the way you came and take a right in the cave Keese. The owl statue tells you that “YOU ARE NEAR THE EAGLE’S TOWER. BEWARE OF THE BIRD!” Head up the stairs, through the cave, and enter the western cave once you are out. Make your way down the stairs and use the Rooster to carry you to the exit in the southeast. There’s a fairy fountain behind the cracked wall on the left, and following the path through the cave on the right will lead you directly to the Eagle’s Tower.
Weekly digests, tales from the communities you love, and more
Eagle's Tower
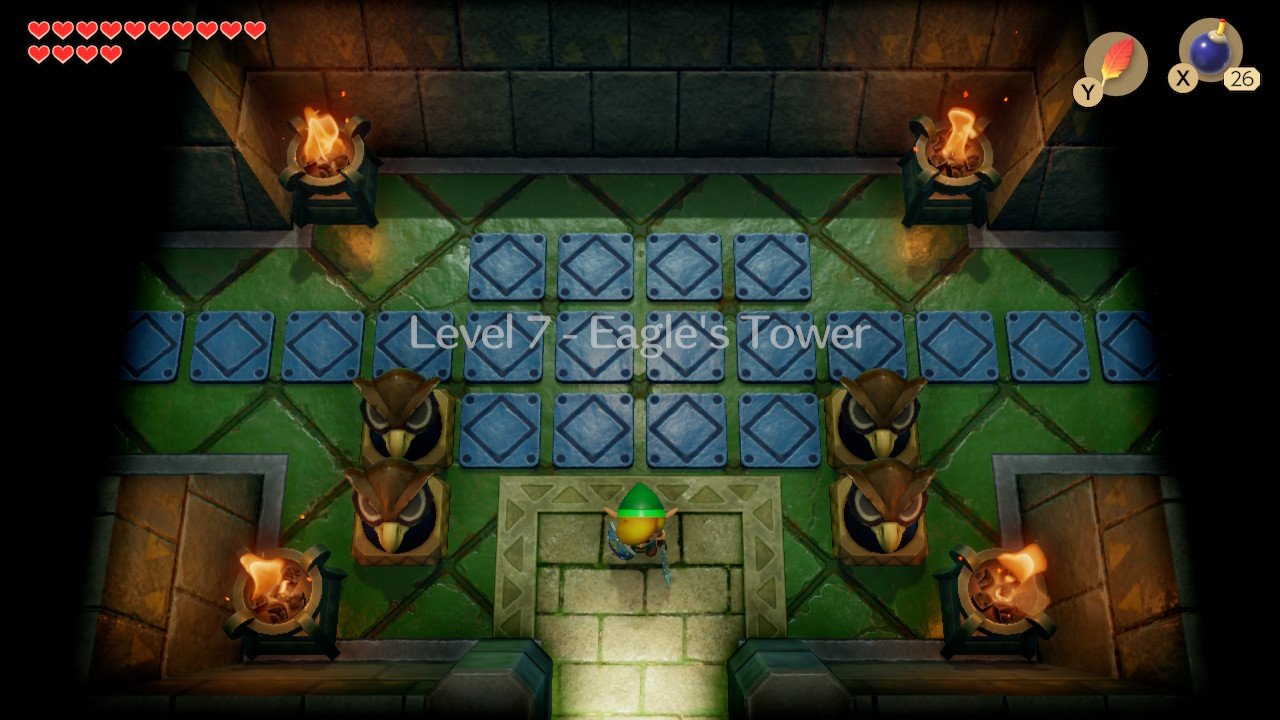
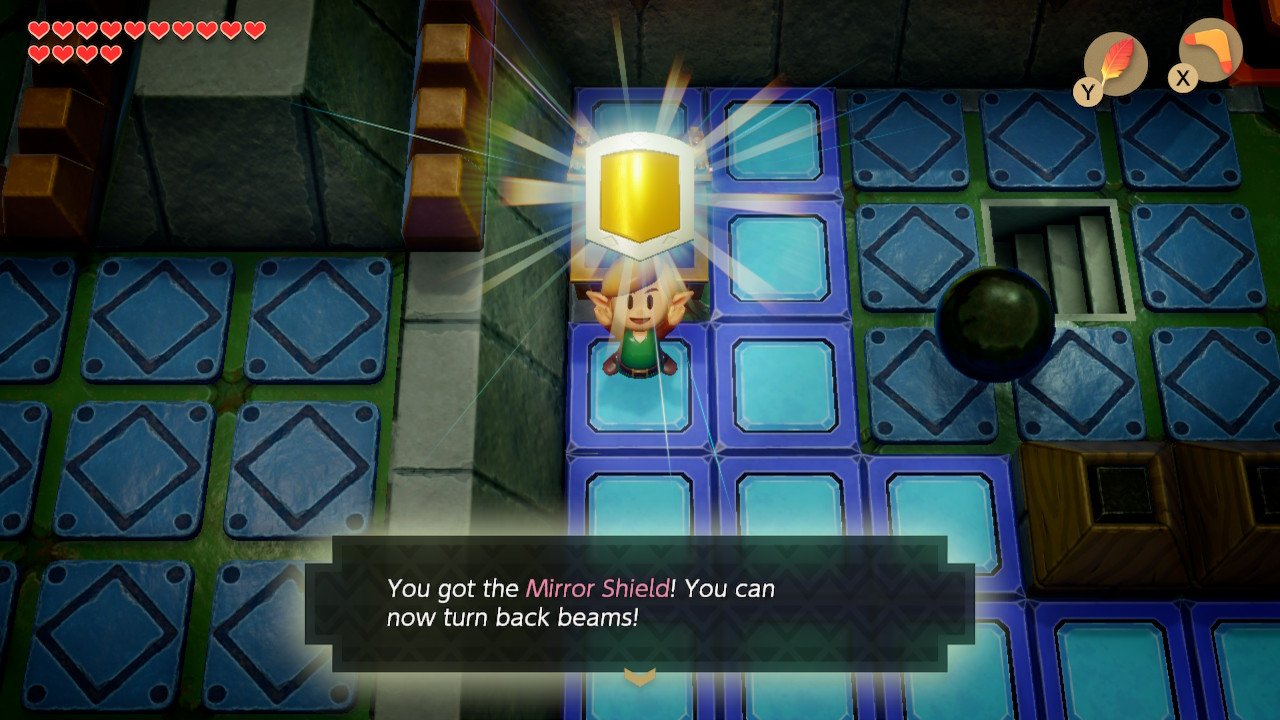
Once inside, head two screens east, taking care to jump over the Blade Traps and spikes, and defeat the enemies in this room, which will cause a Key to drop. Unlock the nearby door and head upstairs. Head north, pull the lever on the right side of the room back so that you will have time to Pegasus Dash through the closing doors on the left side of the room. Instead of following the path through this room, jump down the gap on the right side. Staying on this raised block, go one screen right, hit the switch, then return to the screen you landed in. Go down one screen and right once, avoiding the trap. Go down again and back up the stairs of the door you unlocked. Open the chest to find the Mirror Shield, which you learned about back towards the beginning of the game. This can deflect beams and will be integral to the rest of our journey.
Fall back down the hole that we fell down earlier, and ensure that the blue blocks are up. Follow the orange path to the left and once in the next room head south to pick up the stone beak. Head back to where the crystal that changes the blocks are, and head up a screen. Here we encounter the Anti-Kirby enemy, found only in this game. The owl tells us to fall from the hole above, which we already did, so let’s make our way back up to that portion of the map, and fall through the hole to the right and underneath the stairs. Now that we’re on a higher ledge, continue north to open a chest with a key in it. Jump down from here, and enter the stairs on the western side, where you will have to complete a chess puzzle again, similar to the ones we faced in the Face Shrine. This reveals a chest with this dungeon’s Treasure Map.
Walk one room down, and defeat the three Zols. The giant pillar in the middle of the room is key to move progress in the dungeon. The aim is to take the giant ball we saw earlier, and to destroy four pillars with it. But we’ll do that later. First, push the block that’s obstructing the western exit out of the way. Follow the path into the next room and continue north, where’ll you face Three of a Kinds. Ensure all of their symbols are the same, and a chest containing the compass will drop. After walking down the stairs, continue along the top path, following it down a screen, until you encounter stairs on the right. Once you’ve gone up these, head south into the next room, where a Hinox lies in wait. It will try to grab you and throw you down the holes in the floor. While it would not usually be advisable to be caught by the monster, if it catches you and throws you down either hole on the right side, you can continue north to collect another Secret Seashell, before heading back up the stairs to fight the Hinox again. You can defeat the monster in various different ways, but bear in mind that the fire pits in the corner will shoot flames at you throughout the fight, although these can be deflected at the Hinox. Once he’s down, a second key will drop.
Destroying the Pillars
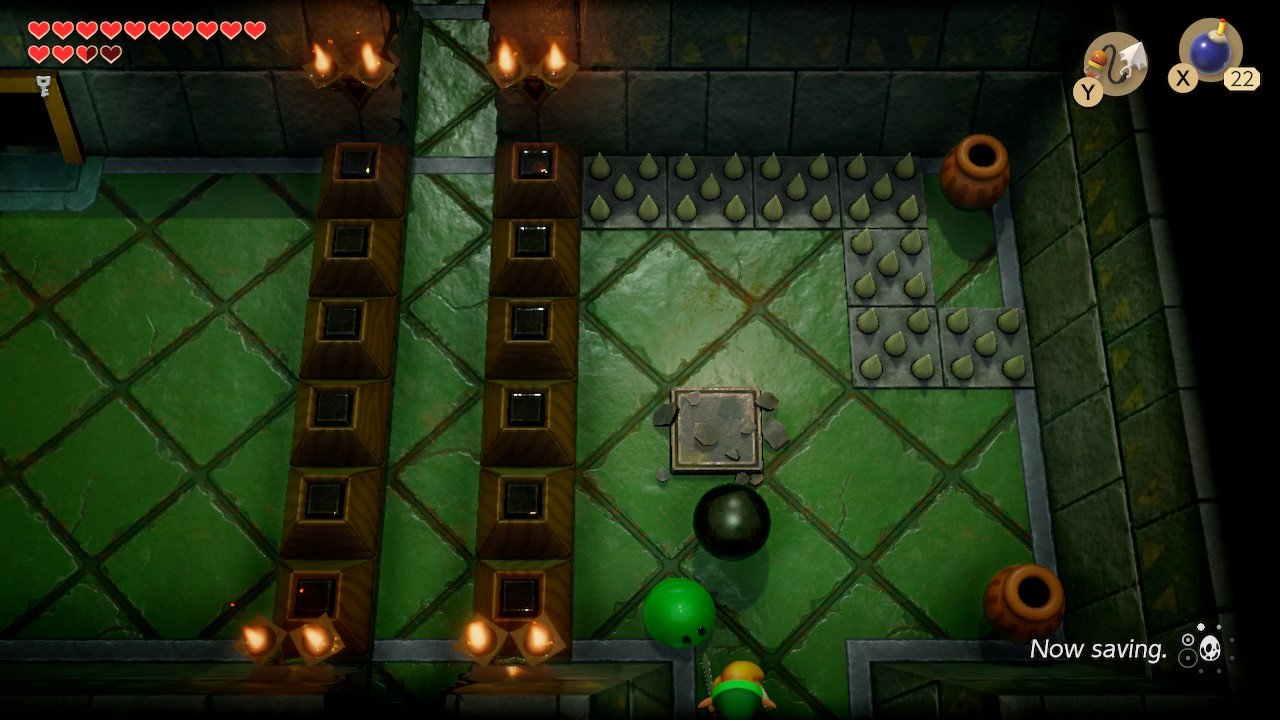
If you move one room east, there are more Three of a Kinds. Defeat these and a chest will drop, although you cannot access it yet. Head back one room west, and drop down to the floor below. Make your way all the way east, then move up one room north and up the stairs, to where we first got the Mirror Shield. Grab the ball and make your way south. Unlock the gate and take the ball up to the next screen with you, where you’ll jump off the left side of the ledge and throw the ball at the pillar. Head north and repeat the same method, destroying the second pillar. Move the block in the bottom left corner and bring the ball with you. You will have to throw the ball over the trap and follow it with a jump to avoid taking damage. Take the bottom middle exit in the next room and throw the ball over the barrier, before moving up one screen and walking down the stairs. Make your way back along the path you walked when going to fight the Hinox, but instead of heading into that room, take the one-way door on the north wall instead. Like the Face Shrine, more Floor Tiles are here, so find a corner and raise your shield until they’ve disappeared.
Once they have all gone, head one screen east. Destroy the third pillar in this room and push the out of place block to the right. You’ll need to throw the ball over the gap and jump over it yourself to progress. Move this next block, then proceed south for two screens. Throw the ball over the barrier, return to the previous room and jump down the hole on the right. Return back to the room we got the mirror shield in again and make your way south. Climb the stairs and jump off the ledge to where the ball is, on the left. Pick it up and continue west. By walking up directly to the barrier, you will be able to throw the ball over the gap and the other barrier. Move one screen left, and up one screen, before entering the one-way door again. Disregard the flying tiles and exit through the east door. Bomb the southern wall between the two torches to reveal a hidden path, and do the same on the next wall you encounter. The owl statue located here tells us what we already know about throwing the ball, so hookshot across to the chest, which is only storing bombs. Take the ball north and destroy the fourth and final pillar.
We want to go upstairs, but to do that we have to drop through the hole, head east and back up the stairs to where we originally got the Mirror Shield. Come south and then walk up the steps and drop down on the left side of the ledge again. Use any ranged weapon to hit the crystal (the orange blocks in the middle of the room should be down) and climb the stairs. Defeat the three enemies here, head north, and then walk into the entrance on the right side of the room.
Grim Creeper and the Nightmare Key
This dungeon’s mini-boss is the Grim Creeper. Instead of fighting him, you need to kill the six Giant Keese he summons before they fly off screen. If you don’t manage to kill them all before they fly away, all six will spawn back in. Your best bet is to camp with your back against a wall and let them all fly towards you in a close enough range. Doing that, you should defeat this mini-boss fairly quickly, and open up a warp point.
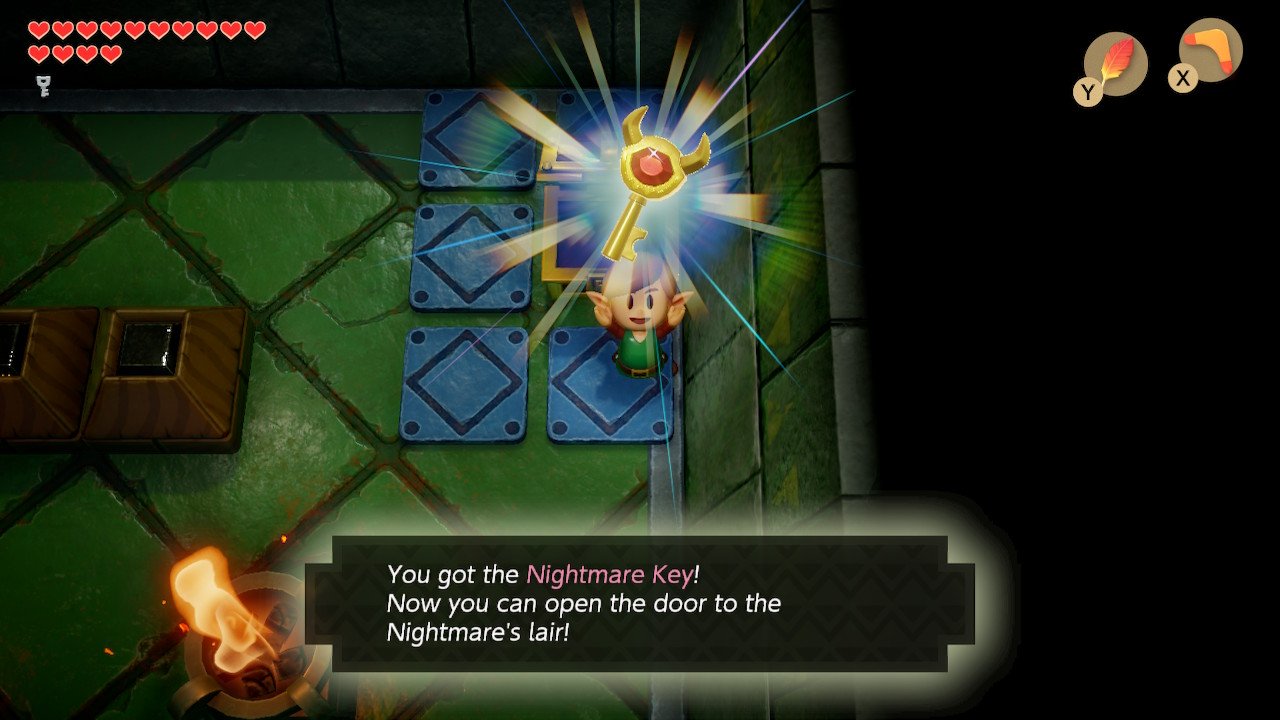
Walk up into the next room, and defeat the two Sparks with your Boomerang. Push the two blocks into the centre of the room, so that they are beside each other, and a chest containing the Nightmare Key will spawn. Hit the switch before leaving the room, and make your way back to the Nightmare Door. Open it and head through. By going up one room and to the east, you have the option to pick up the Secret Medicine if you didn’t in the previous dungeon. However, Link can only hold one so if you have it, there’s no real need for the second. The room to the west has nothing of value in it either, so to continue on, walk up the steps, hookshot across the gap, and make your way south and up the stairs.
Evil Eagle
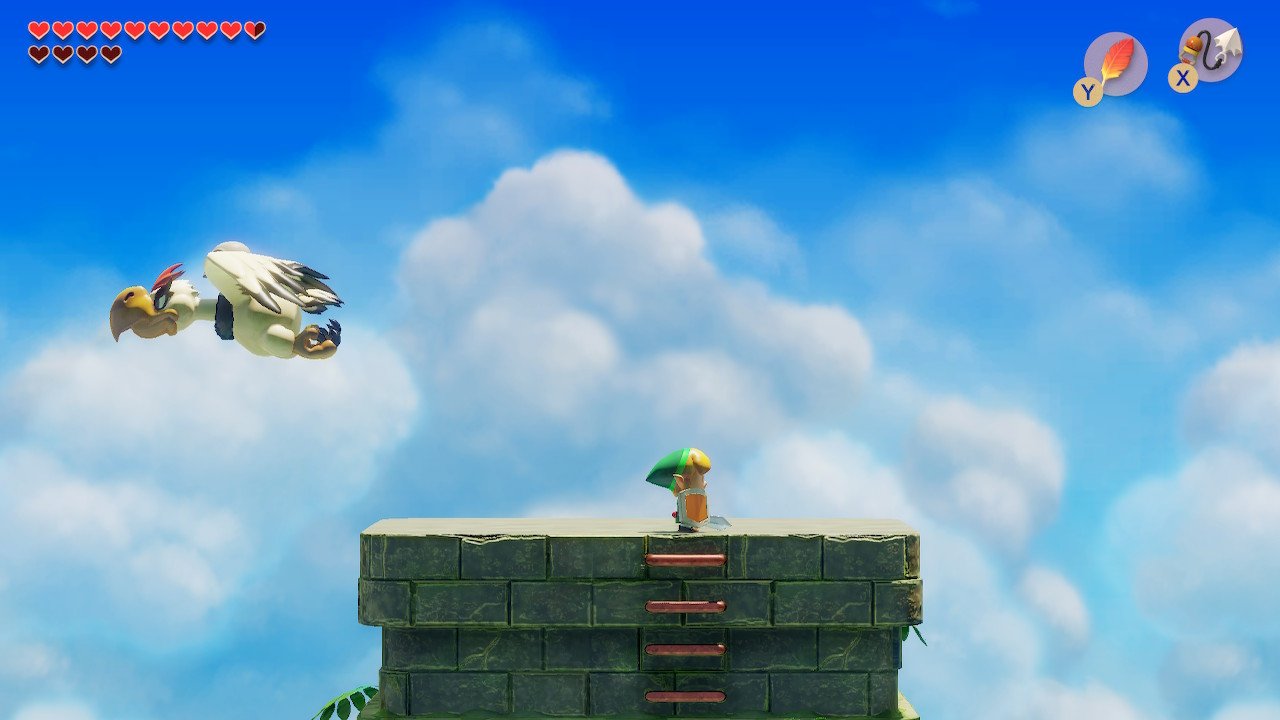
The Evil Eagle is a relatively simple boss. It alternates between hovering above you while firing arrows and flapping its wings in order to push you off the tower, along with diving at you. When it’s diving, you have time to attack, by slashing it, or using your bow and arrow, hookshot or boomerang. It takes roughly about 6 or 7 hits with the bow to bring the boss down, and about 8-9 hits with everything else. When the Eagle starts flapping its wings, your best bet is to get as close to the side it’s on as possible, as you will invariably be pushed back and off the tower. Once it’s defeated, you’re rewarded with a Heart Container, and upon descending back into the tower, a door to your right opens. Inside is the seventh instrument, the Organ of Evening Calm.
From here, jump down on the right side of the edge before you, and enter the right-hand side cave entrance. Follow the path out, down the ladder and through the cave. Swim in the water until you reach a ladder, climb up, and walk east until you reach a great gap. Hookshot across and you’ll see Marin stranded in the middle of the bridge. Hookshot directly past her, and you’ll catch her on the way. She is about to tell us something, when Tarin calls her away. Once she has left, the Owl arrives and tells us that Marin sang the “Ballad of the Wind Fish” in front of the egg. He then informs us that “the next Sirens’ Instrument is in the west”, and to “play your melodies so the unliving stones might hear!”.
The Legend of Zelda: Link's Awakening walkthrough - Start of the game (Part 1)
The Legend of Zelda: Link's Awakening walkthrough - Tail Cave (Part 2)
The Legend of Zelda: Link's Awakening walkthrough - Bottle Grotto (Part 3)
The Legend of Zelda: Link's Awakening walkthrough - Key Cavern (Part 4)
The Legend of Zelda: Link's Awakening walkthrough - Angler's Tunnel (Part 5)
The Legend of Zelda: Link's Awakening walkthrough - Catfish's Maw (Part 6)
The Legend of Zelda: Link's Awakening walkthrough - Face Shrine (Part 7)
The Legend of Zelda: Link's Awakening walkthrough - Eagle's Tower (Part 8)
The Legend of Zelda: Link's Awakening walkthrough - Turtle Rock (Part 9)
The Legend of Zelda: Link's Awakening walkthrough - Wind Fish Awakening (Part 10)
Current page: Link's Awakening walkthrough: Eagle's Tower (Part 8)
Prev Page Link's Awakening walkthrough: Face Shrine (Part 7) Next Page Link's Awakening walkthrough: Turtle Rock (Part 9)