The Legend of Zelda: A Link Between Worlds dungeon guide
Skull Woods
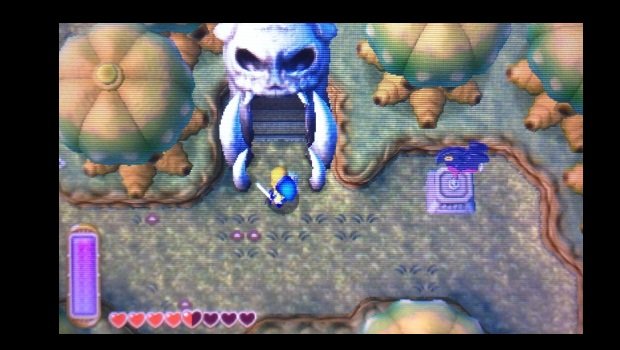
As soon as you enter the dungeon, there will be continually spawning Wall Masters. Be aware of this, but head through the left door.
Head straight down the hallway, past the closed door, to find a switch. Step on it to open the door you passed, then head through.
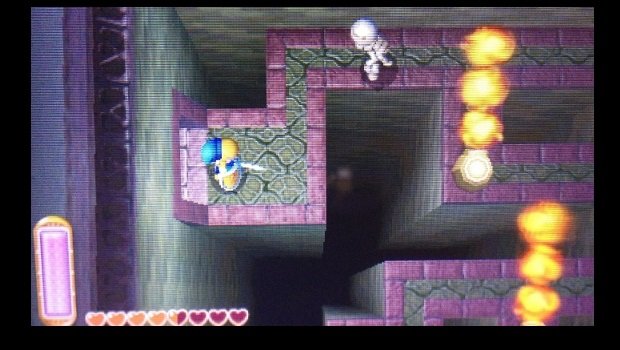
This room will have some rotating fire and a few enemies. You're only option is to follow the winding narrow ledge south, so do so to actually exit the dungeon to Lorule.
Outside, head right and follow the path to find a hole in the ground. Jump in to return the dungeon proper.
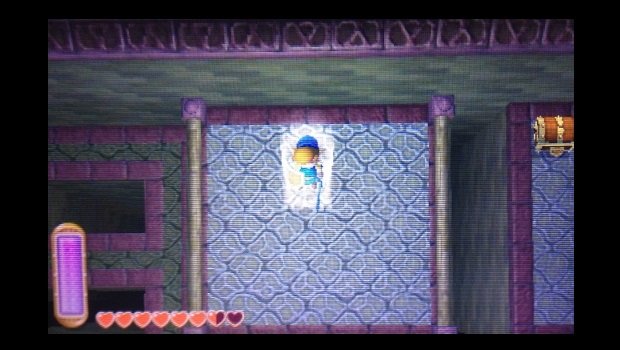
You're now on an upper ledge of the room you just left. Ride the moving platforms to the ledge to your right, and open the chest there for a Small Key. Head through the door nearby.
The next room is dark; take out your Lamp. Follow the narrow path to the southeast corner of the room, taking out enemies as you go. Open the locked door here, then head through the hall to exit the dungeon again.
Follow the path north and drop into the first hole you see.
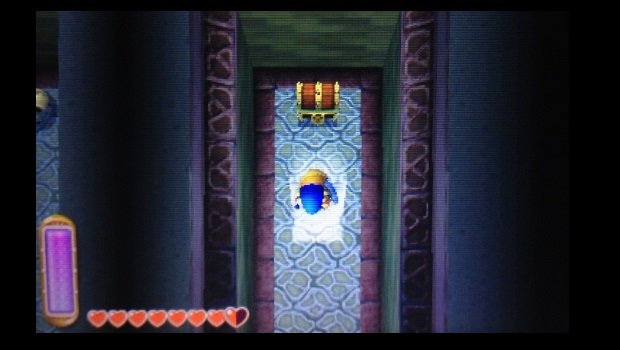
You'll land near a chest; open it for a Silver Rupee. Drop off the ledge to the south and take out the Stalfos. Open the chest here for the Compass, then exit through the door.
This room should look familiar. Head to the southeast door again, and exit the dungeon through the hall. Past the first hole are some purple flowers; chop them up to reveal another hole. Drop through and take the door to the southwest.
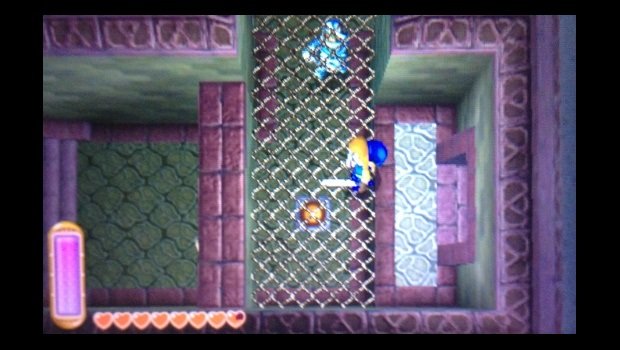
Move north from you entrance to find a cracked tile. Use a Bomb to break through, or wait for a Wall Master to appear and let it slam through. Either way, you'll end up on the ground. Step onto the red switch and move left then up. Over here is another lovely cracked tile. Break through, then open the chest for a Small Key. Hit the switch to get a bridge across the gap, then circle to the locked door in the southwest corner of the room. Head through.
You're back in the opening chamber, but up on the ledge you couldn't reach before. Pull the handle to the right to reveal a staircase. Head down.
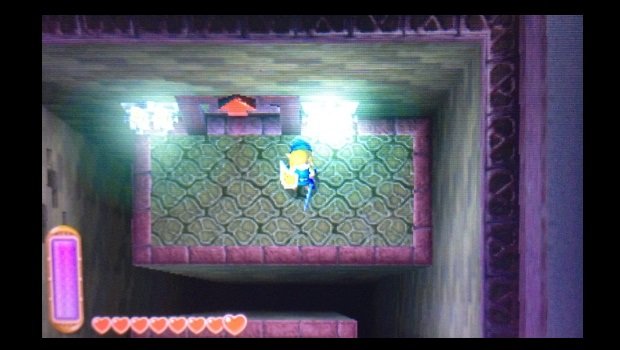
Start by merging into the wall and following it to a larger platform. Here, there are four switches and two statues. Push the statues onto the leftmost switches; this extends a board above. Climb the stairs to the left, then merge. Cross to your right, over the boards you released, to reach a handle. Pull it for a set of stairs that make it easier to get back here, then head through the door.
Step on the switch to the south to get the nearby block moving. Merge and ride it to the center platform. From here, you have to get a Wall Master to slam the red switch on the walkway above. Stand under it until this happens to activate a second moving block. Merge and ride it to the northern edge of the room. Hit the switch here to move the railing above, a shortcut if needed. Head through the door.
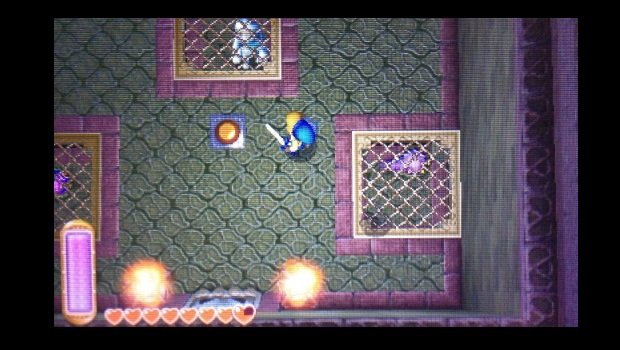
In here are many enemies, all separated from you. Start by tricking the Wall Master into slamming the Stalfos Mummies in the upper corners. Just stand under the great to get the job done. With these two gone, step onto the red switch. Take out the remaining enemies it releases to open the exit and activate a warp portal.
Head through the door to enter a hallway with slowly moving platforms. Ride the right one to the stairs, then quickly run down and step onto the lower part of the left one. Open the chest it takes you to for a Small Key. Use it to exit the room through the locked door.
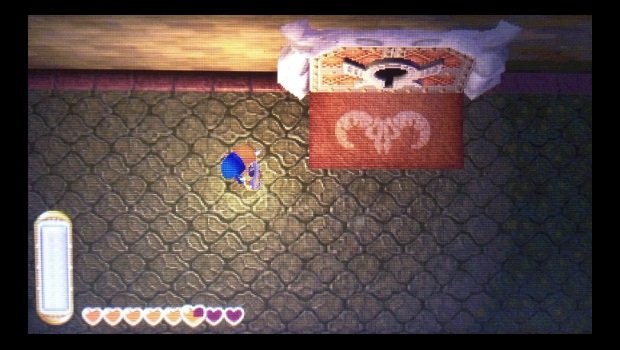
This hallway is nearly empty. Follow it past the big locked door to find a torch. Light it with the Lamp, then take out the Stalfos Mummies that appear. When the door opens, head through the next hall to return to the upper floor via a staircase.
Start out by merging through the bars at the end of the small room you appear in. Move right and merge to reach the loose eyepiece on the isolated platform. Toss it to the main platform, then merge back over. Toss the eyepiece onto the right statue to activate a bridge and reveal a large chest. Cross the bridge and make your way through the winding passageways to find some bars. Merge through and exit the dungeon one last time.
Outside, there's a chest to your left with a Purple Rupee. Head north, then make a right at the fork. Chop up the purple flowers to the southeast to discover a hidden hole. Drop through.
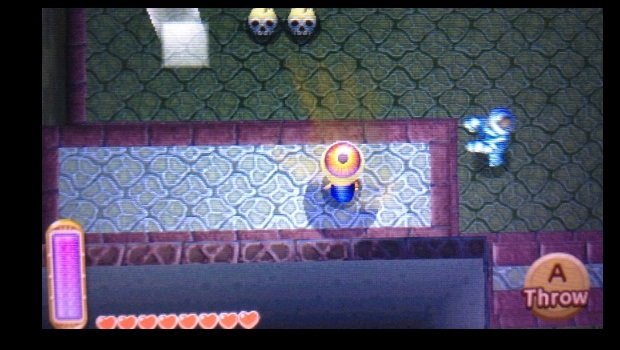
When you land, merge into the wall to the south and move west. Toss the eyepiece to the ground, then merge a little further along the wall to reach that large chest; inside is some Master Ore. Now grab the eyepiece and take it all the way back across the bridge to the other statue. This allows you to reach the other large chest and snatch up the Big Key.
Merge through the bars to your left and head back downstairs. Head through the hall and use your Big Key to enter the boss chamber.
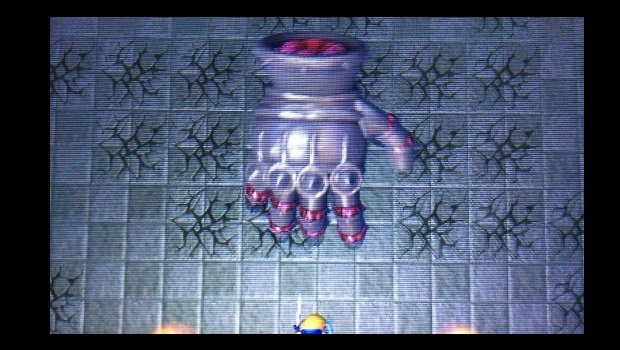
This boss is incredibly easy to beat. When he revs up for a punch, merge into the wall. He will smack into the brick and stun himself; use this time to land several sword strikes. After two rounds of this, he'll start using slam attacks. These too can be dodged by merging, but you can just keep moving to avoid them otherwise. Be aware that he will create pits if he slams into cracked tile. After a few slams, he'll rev up for more punches. Merge so that he stuns himself, then get in more hits. After two rounds, he'll repeat the same slam attack, just with more speed. A few more rounds like this, and he's down for the count.
Sign up to the GamesRadar+ Newsletter
Weekly digests, tales from the communities you love, and more
Tony lives in Maryland, where he writes about those good old-fashioned video games for GamesRadar+. His words have also appeared on GameSpot and G4, but he currently works for Framework Video, and runs Dungeons and Dragons streams.
