Legend of Zelda: Twilight Princess Walkthrough
A step by step guide to Link’s epic adventure through Hyrule and beyond.
Arbiter Grounds
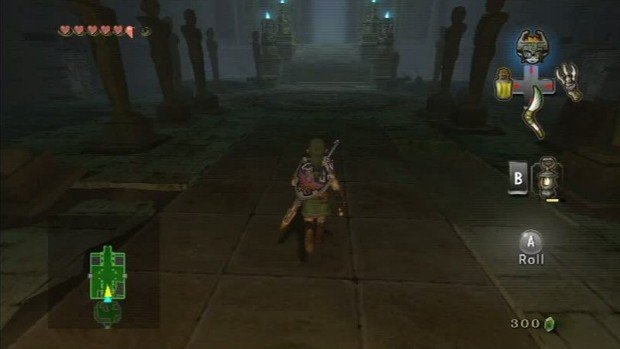
Once inside, make your way forward and see the large whirlpool of sand. Grapple to the grate on the upper right and then hop across the platforms to the door at the far side. To get through the door, you need to go around fence on the left side and grapple the chain towards you and then pull it. Once the door is open, go through and enter the door on the right to find a key in a chest and the alcove on the left to get some lantern oil—which you will need later on if you don’t have any. Use the key on the door and enter the dark room with your lantern equipped. Kill the many skeletons in here and then light the two torches on either side of the door with your lantern. Go in to the next chamber and some Poe’s Souls will fly around. Turn into a wolf and take out the one the remains and it will leave a scent behind while lighting one of the four torches. Go the left and right of the large stair case to find chests that have the Dungeon map as well as a piece of heart.
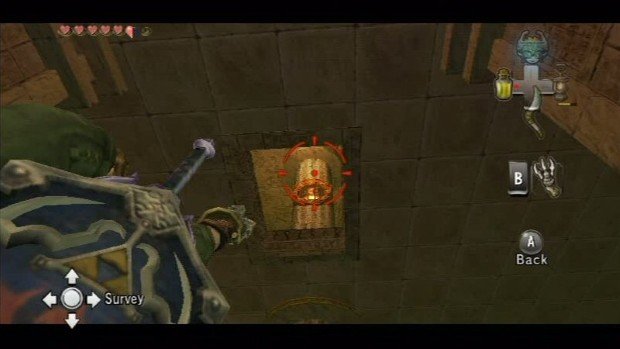
To the west side of the chamber, dig at the sand patch to reveal a chain. Pull it and a staircase will open going down below. Make your way down in to the next chamber and push the tab on the center pillar to open the door to the north. Grab the key out of the chest there and then turn human. While in the door way, look up through the opening in the ceiling and grapple to the grate there. Enter the next room and turn back to the wolf and take down the Poe’s Soul to light another torch. Now head back down through the hole in the floor and push the tab to get back in the first main room. Enter the door above the stairs you revealed using the key and the next chamber will have a sand trapped-filled floor. Make your way to the right side and up the stairs. Pull the large fenced box back and to the right and then go up the next set of smaller stairs. At the top, there will be a chain to pull. Do so across the box you moved and then let go once it is all the way back and run under the circular platform you raised. Go up the stairs and into the next room which has a statue.
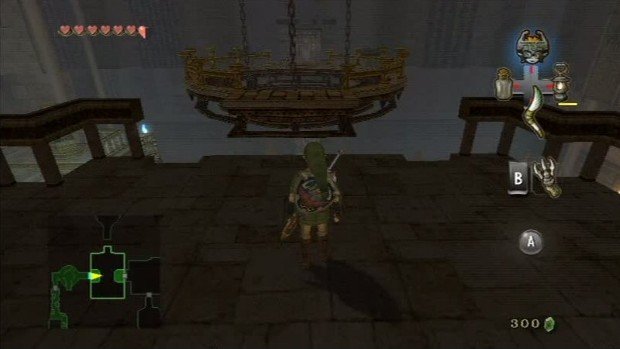
In the chamber behind the statue, you can find a chest which has the compass inside it. Go to the pedestal in front of the statue and push it to open the doors on the left and right. Go to the right side room to find a chest which holds the key to open the door in the left side room. Continue through and you will come to a hallway with a ton of little skeletons and two large ones. Once they are defeated, turn into a wolf and use the senses to see a dig spot on the northwest corner on the hallway to reveal a chain. Pull it and a door will open to reveal another Poe’s Soul. Defeat it and then continue down the hallway to another room with a locked door straight ahead. Grab the key out the chest on the right and then turn into a wolf and use your senses for a little surprise. Kill the rats and use B to shake off those on you. Hop across the circular platform, but be careful, for if you fall, you’ll have to go through everything from the main room again. Enter the next room and take the stairs on the left down. Push the fenced block there until it drops and climb on top. Pull the chain to the left to raise the platform and then stand under it. As the platform lowers, the opening in it will let you not get mushed.
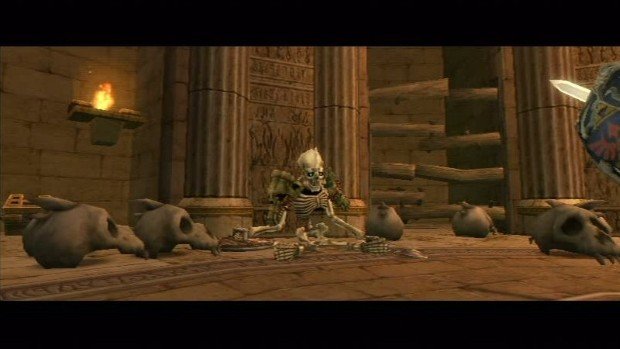
When it comes down, climb on top of it and then hop across to the next door. Enter the next chamber and a skeleton with a shield will come alive. Use bombs to blow it up and if you don’t have any, there will be some in the chest and pots in the room. Go through the door that unlocks and head up the stairs to the large room with the golden statue. In this room, in front of the statue will be a row of torches with one in front, to the center. Light the center front one first and then light to far right one to reveal a door. Go through the door and use your senses to find the Poe there. He will turn into four, but as he attacks, he will glow. Attack the glowing one and get the soul. Once it is down, go through the north door and turn human to use the grapple on the grate to the far left. Drop down and go through the door to be back in the main first room where the door at the top of the stairs will now open that the four torches have been lit.
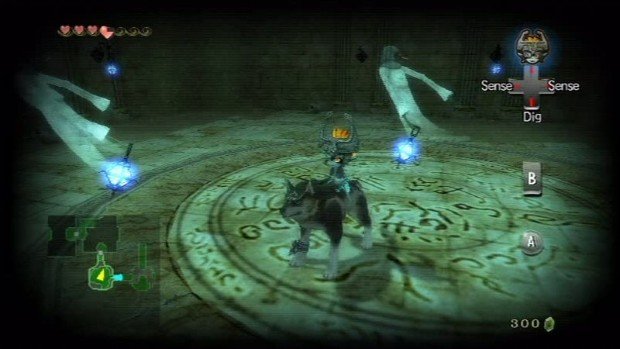
Once you enter the second half of the dungeon, use your grapple to get down to the bottom of the large shaft and then turn the tab in the center to raise and lower the platform. Grab the key out of the chest near the top by going through a side corridor and then enter the locked door. Continue through to the next large room and there will be a chain on the far right side that will open a door. Before you try to make it through the door though, kill all the rats that will appear and slow you down. Once they are dead, then you will be able to make it through the closing door. In the next chamber, there will be two spinning blades on the side of the corridor that you need to use the wolf form to cross the sand pits as. Shake off the bugs by using B when they slow you down. When you reach the far side, go to the right to find Ooccoo and then continue to the right, running past the spinning spike log. When you reach the next chamber, there will be three shielded skeletons to defeat, so drop some bombs on their feet and the large tri-force door will open in the previous room. Make your way back there and go through the new passage in wolf form. Shake off the bugs when you can and then jump across the gap at the far side to reach a door on the left.
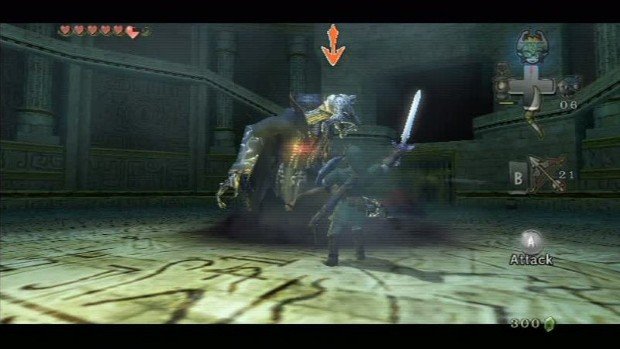
Go through and you will come to a room with a large sword in the center of the floor. Hack at the ropes and then a scene will play with a not-so-nice fellow appearing. Turn into a wolf and then attack him when he starts to glow. Once he turns solid, turn back to human and target him with the bow. Hit him and he will come close to the ground. Slash at him multiple times and he will go up and fly around again. Hit him once again with the bow to bring him down and keep repeating until he is defeated. Once he is, the door to the north will open and you will receive the Spinner for your troubles. Exit through the door at the south side and then use the spinner on the rail to the left. Go through the next door and use it again in the room with the large statue to cross the sand to the railing leading upwards to the left. Grab the piece of heart out of the chest there and then ride across to the right side via the rails, past the spinning log and across the gap, over the spiked fence.
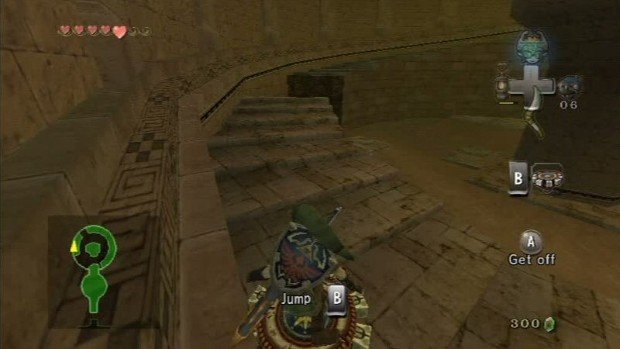
Continue to ride the rails and let it drop you off on the far side through an opening. Ride the rail up the slope to the right then and walk up the next ramp to a set of rails in the center of the room with spinning blades on them. Ride across, jumping from rail to rail to avoid the spikes until you get to the far side. It may take a couple tries, but once you get across, go through the door to open the chest and receive the Big Key. Ride the rails across the gap to the open chamber and then sit on the spinner in the opening in the floor. Press B repeatedly to spin the wall and then head through the opening once it appears. Hop on the rail to the left side and ride it upwards until you are across from the long ledge on the center platform. Jump across and use the spinner on the center hole and repeatedly press B to raise more rails. Ride them to the next chamber and you will then face off against the boss.
Boss: Twilit Fossilized Stallord
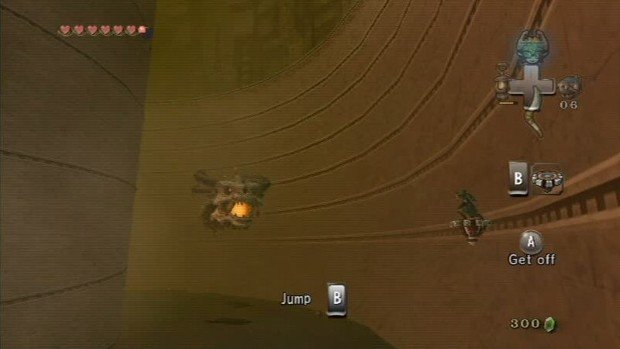
To defeat this huge boss, you will need to ride the rail along the edge of the area and try to get beside the spine of the skeleton. When you are, press B and go towards it. Dodge the skeletons that pop up and when you hit the spine, it will crumble a little. Do that two more times and then use the spinner in the center of the area. It will raise a set of rails and the creatures head will start to come alive. Ride the rail upwards and the head will come floating in front of you. As it starts to shoot a fireball at you, jump to the other side and repeat until the head comes down beside you. When it does, jump into it and it will fly away. Repeat this another two times and you will finally defeat it for good.
Sign up to the GamesRadar+ Newsletter
Weekly digests, tales from the communities you love, and more
Jeff McAllister is a freelance journalist who has contributed to GamesRadar+ over the years. You'll typically find his byline associated with deep-dive guides that are designed to help you scoop up collectibles and find hidden treasures in some of the biggest action and RPG games out there. Be sure to give Jeff a thanks in the comments while you're completing all of those tricky Achievements and Trophies.


