Legend of Zelda: Twilight Princess Walkthrough
A step by step guide to Link’s epic adventure through Hyrule and beyond.
Weekly digests, tales from the communities you love, and more
You are now subscribed
Your newsletter sign-up was successful
Want to add more newsletters?
City in the Sky
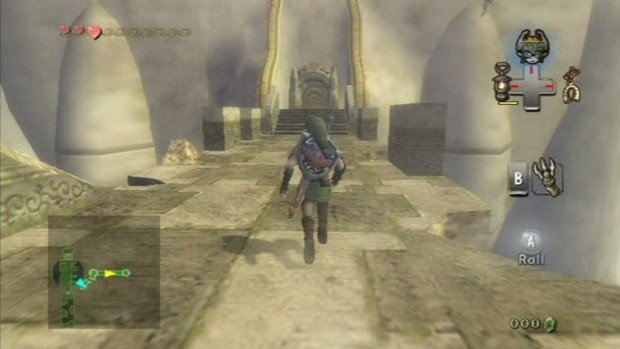
Make your way forward to the north and shoot the crystal above the doorway to open the gate. Once it’s open, go through the door and grab the Ooccoo on the ground. Glide to the next platform below and then grapple to the vine covered pillar. Grab the next Ooccoo and again glide across to the next ledge. Once there, climb up the step and go through the door. In the next chamber, grapple up to the window on the right and go through it to reach outside. Once there, drop down and use the spinner to extend the bridge. Go to the far end of the platform you are on and then grapple over the broken edge to the vines directly across. Climb up and then cross the bridge and enter the next door. Hop over the gap on the left side and then grapple to the grate on the ceiling above the chest. Drop down and open it to receive the small key. Drop down to the ledge below and then grapple up to the vines. Make your way back out the door to the bridge and cross to the far side. As you reach it, a scene will play showing a little dragon take out the middle section of the bridge.
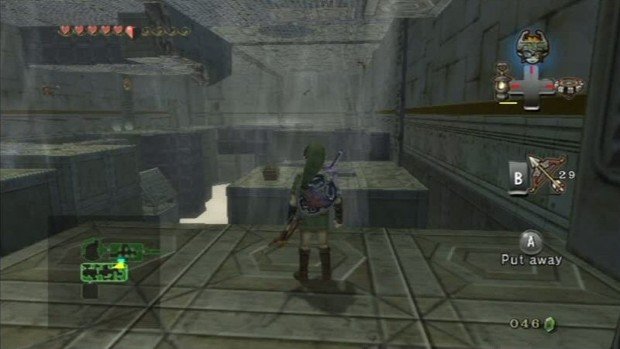
Enter the door and grapple over to the vine covered pillar and drop down. Run to the west side door and go through to go back outside again. Go to the left side and past the deku plants will be another hole to place the spinner is. Spin it quickly and another bridge will extend to the far building. Run across the bridge and use the key on the door to enter. Go to the left when you enter and there will be a red crystal to the right near the center of the room. Hit it with the grapple or an arrow and then grapple over to the far pillar with vies. Drop down and then go through the door to the west to find a chest with the dungeon map. Make your way back to the previous room and go south over the blue blocks to the door there. When you enter, go forward and then make your way to the right over the gap. Watch out for the wind gusts between blocks when you jump.
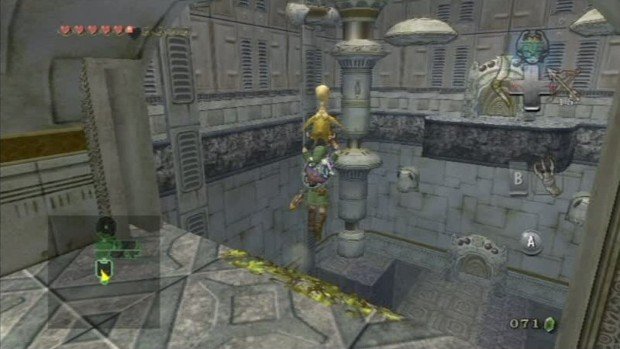
Continue across, taking out the bats and the tile creatures with your boomerang. Continue to the right and then left, over to the next door. When you enter the next room, take out the Lizalfos in there and then the gates at the top will open. Grapple to the patch of vines and then grapple to the ball in the center of the room above. When it comes down, it will activate an air gust. Grab the Ooccoo and hop off the edge when the air gust shoots up to make your glide over to the other side successful. Enter the next door and repeat the same process with the air gusts in here, but float through the opening on the left wall. When you go through, go to the right and land on the platform there. Grapple the ball above to create another air gust and then hop off with the Ooccoo and float through the small opening at the far end.
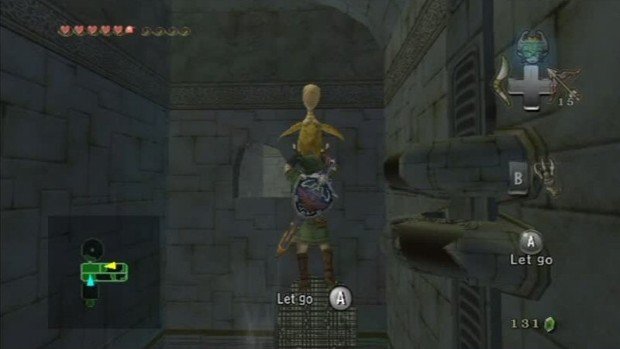
When you enter this large room, grab the Ooccoo and float down to the platform below with the Baba Deku plant on it. Clear the enemies and then grab another Ooccoo and float to the platform directly across the wide gap. Once on there, kill the nearby bats and then grab the Ooccoo again and float across once more to the golden door on the bottom platform. Go through and there will be a ball above a spinning fan. Grapple to the ball and then equip your iron boots. This will stop the fan and when you drop off, you will fall through to the chamber below. Now you will have to face off against a flying Lizalfo. When he appears, wait for it to face its shield towards you and then grapple it and pull him towards you. Slash at him when she is close and simply repeat that a couple times. Next he will fly through the openings in the wall and attack quickly, so keep you back to the wall without an opening and watch for him. Grapple him three times again and the gates above will open to reveal a chest. Open the chest and you will be the proud owner of the double clawshot.
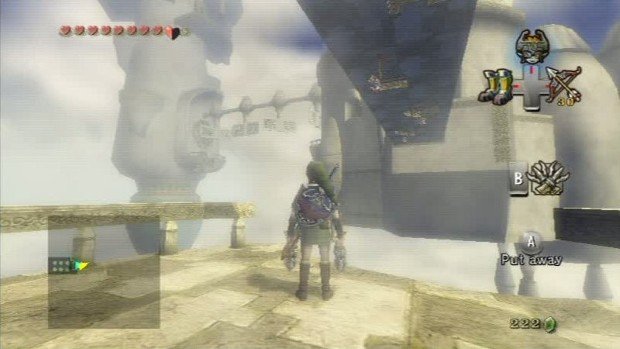
Now grapple to the far side of the room using the gold plates on the ceiling so that you can see the vines in the center where the fan is. Climb up and head through the door to enter the large room again. Grapple upwards and you will see a ball that you can grapple to. Once on it, hang from it and lower down until you are across from the gate that opened. Grapple into the doorway and then head through the door. In the next room, grapple to the gold plates on the pillars before they slide down. Use Z-targeting to make it easier and then drop down to open the chest and find the compass. Continue through the door there and then look up under the bridge and shoot an arrow at the baba deku plants. Grapple across using the grating at the top to the vines on the right and then climb up and enter the door. Go to the far side of the room and enter the door there and grapple across the Peahats to get across the broken bridge.
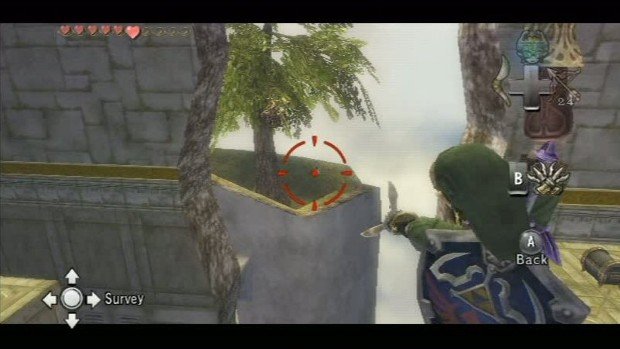
Enter the door there and then make your way through the room using the grates on the wall and make your way downwards through the room. When you reach the next set of baba deku plants, take them out and continue along the right side. Shoot the crystal in the left side and then lower yourself to see the grapple plate through the opening in the wall. Zip over to it and then make your way up to the ledge above and go through the door to enter a round room with a large deku plant. Hack at its head and then toss a bomb in its body. Once it is down, grapple up to the center of the ceiling and then drop down to the ledge below it. Run through the door there to come outside to fight a few more plants. Continue to grapple across using the peahats and you will see a tree on the left side where you can get a purple rupee out of a chest and a poe’s soul. Grapple to the peahat again and then to the next and hang from it so that you can fit through openings in the two walls. Drop down when you reach the ledge on the far side and head through the door.
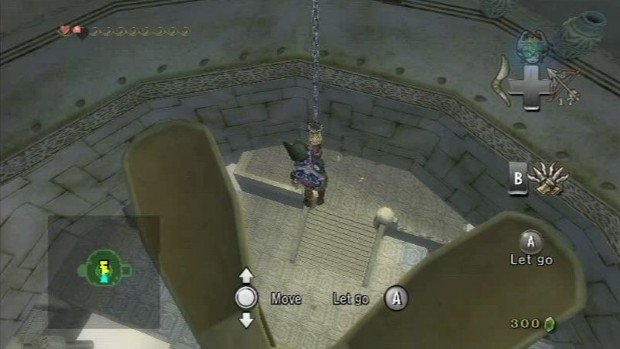
Now grapple across the bunch of peahats and enter the door on the far side to come to a courtyard with a couple armored Lizalfos. When they are down, climb up the vine wall to the platform above and pick off the birds around the area. Turn into a wolf to cross the ropes to the center area and then go to the right and cross more ropes to get back to the center area again. Go through the door and grapple to the metal ball on the other side of the large spinning wall. Put on the iron boots and it will stop the fan in the room below. Drop down and open the chest to get the Big Key and then go to the opening in the floor on the left side. Drop down to the fan and then grapple to the grating above the still fan. Lower yourself into the main room below and the grapple the metal ball in the ceiling above the door at the top of the stairs. Equip the iron boots to pull it down and the large fan will start up.
Weekly digests, tales from the communities you love, and more
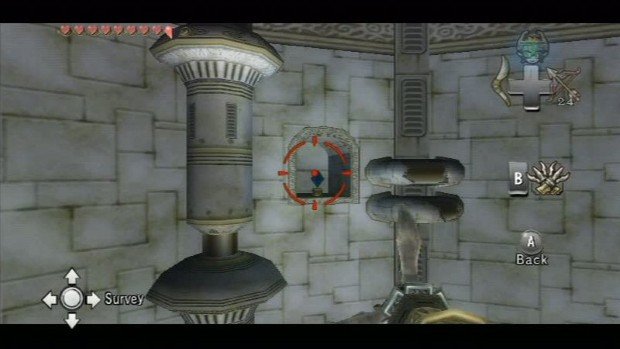
Exit through the door beneath the fan and then grapple across the large open space by hooking onto the slow spinning fans in the center. After you get across the series of them, enter the door on the far side and you will need to fight two of the flying Lizalfos that you fought earlier. Once they are defeated, climb to the fan in the center above and hit the crystal above the door to start the fan up. Grapple to the left side of the spinning fans as you make your way up and when you finally reach the upper most stationary fan, grapple another crystal to make it start spinning. When you are facing the boss door, grapple to the grating above it and drop down. Enter the boss door and now you will face off against the boss.
Boss: Twilit Dragon Argorok
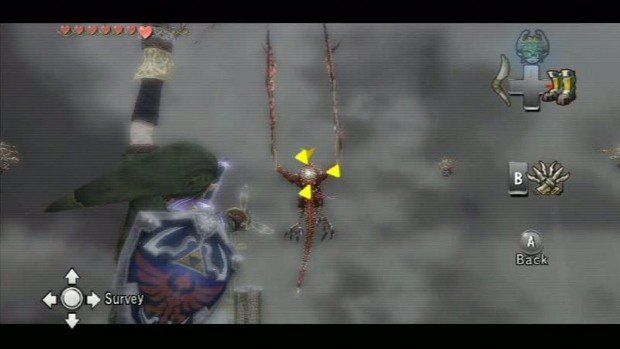
Once you reach the platform with the dragon, let him swoop in to attack and dodge. When the dragon hovers over the area, target its tail with your grapple and then you will hang from it. Equip the iron boots and you will pull the dragon down to the ground, smashing the armor on it. Repeat this two more times and then the armor-less dragon will have a new attack where he breathes fire. Grapple up the pillars along the side, one to the other to get to the top. Once at the top, grapple to the peahats flying above and zip from one to the other when the dragon starts his fire attack. When you get to the rear of the dragon, grapple over to its back and then slash away at it. You will then bring it down to the ground and it will fly up again. Proceed to repeat the same thing another two times and the dragon will be defeated once and for all.
Jeff McAllister is a freelance journalist who has contributed to GamesRadar+ over the years. You'll typically find his byline associated with deep-dive guides that are designed to help you scoop up collectibles and find hidden treasures in some of the biggest action and RPG games out there. Be sure to give Jeff a thanks in the comments while you're completing all of those tricky Achievements and Trophies.
