Legend of Zelda: Twilight Princess Walkthrough
A step by step guide to Link’s epic adventure through Hyrule and beyond.
Death Mountain
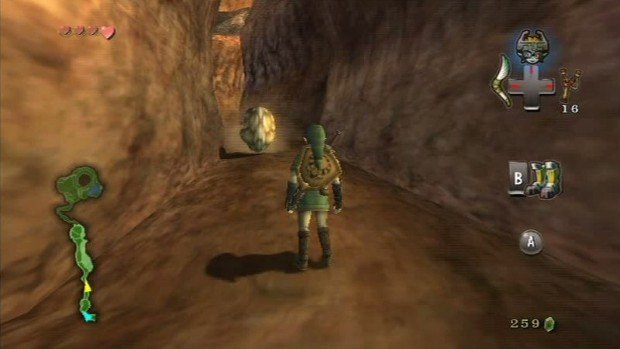
Make your way up the path as you did earlier, but this time there will be Gorons to stop you. Climb up the first fence and when the Goron rolls at you put on the Iron Boots and press A to hold your ground. Take off the boots so you can move and continue up the path, repeating the same maneuver for the next few Gorons that come rolling at you. When you reach the large area where you were previously with the rocks falling from the sky, there will be a few Gorons around the sides of the area. Walk up to one and block its hit with your shield and then use the Boomerang to knock it over and ball up. Jump on top of it and wait for it to launch you into the air, and onto the ledge above. Keep going up the ledges, and when you come to a geyser that won’t let you pass, use the Iron Boots to walk through. Once you get to the top, enter the cave and talk to the Goron Elder, Gor Coron. Here you will need to challenge him to a sumo match and defeat him to pass. Don the Iron Boots and use your slaps and grabs to push him off the mat. Once you do, you will be allowed to enter the Goron Mines.
Goron Mines
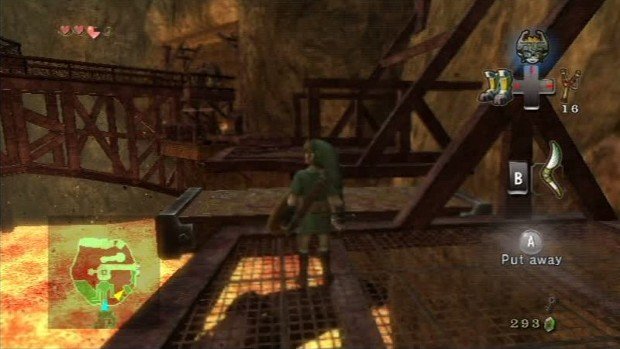
As you enter, hop over the platforms, avoiding the lava jets, to enter the fenced corridor on the far side by slashing through the wooden beams. To the left there will be a pressure plate you can stand on with your iron boots to make it go down. Once you do, the flame jets will go out and you can proceed. Go quickly to the next button and then at the end of the corridor, make a u-turn to the right and make your way to the ladder there. Climb up and continue along the path and hop over to the left to the stone slab to get to the far side. GO to the right to find another pressure plate and then once pressed, make your way to the far end and to the right to get past the jet that turned off. Once past it, hop across to the large switch and use the boots to lower it and open the gate. Hop down and go through the large round door.
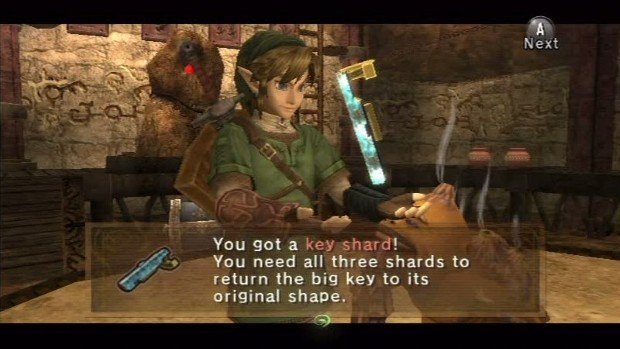
Now make your way to the left, down the catwalk, and there will be a chest which holds a key. Snag it and make your way back up to the start and to the right of where you entered. Hop across the flipping platforms to reach the locked door at the end. Go through with the key and go to the right to come to a Dodongo. Hack at its tail and then continue across the stone platforms to come to another. Defeat it and you will see another to the left of the cavern and a large stone wall to the right. Go kill the Dodongo and there will be a chain on the ground that you can pull. Equip the iron boots and pull the wall back. Now you will need to make a run across the stone platforms and through the open wall before it closes. When you slip past, you will enter the next chamber that is full of water. Jump in the water and put on the iron boots to sink. Walk through the opening in the fence and step on the pressure plate to get tossed in the air onto the magnetized rock above. Walk along it to the top and then enter the door to find an elder Goron and his piece of key. Once you have it, open the chest behind him and grab the dungeon map for the mines.
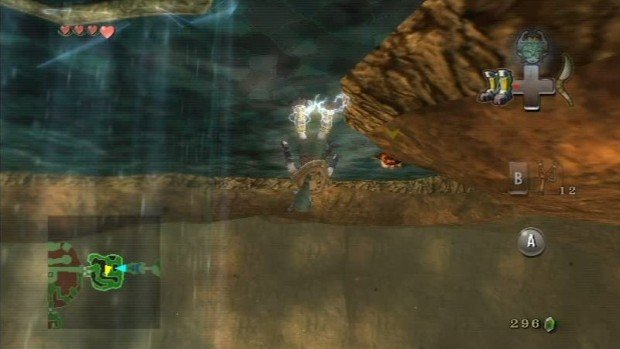
Climb up the ladder and then go to the right to find Ooccoo in another pot there. Grab him and when head out through the door to the previous chamber. Now equip the iron boots and climb along the walls to reach the door on the other side. Go through once you get to it and enter the next chamber. At the end of the walkway through the door, there will be a pressure plate that will take you to the ceiling again. Ride up and walk along the ceiling, first to the northwest corner to find a chest with a heart piece, then to the center of the west side, to drop down on the platform with two torches. Enter the door there and then go down the catwalk to the left to find a group of enemies and a pressure plate. Step on it to move a magnet above back and forth. Make you way to the circular platform on the west side and when the magnet is overhead, equip the boots. Let it take you to the next platform and then drop off and repeat the process with the pressure plate there.
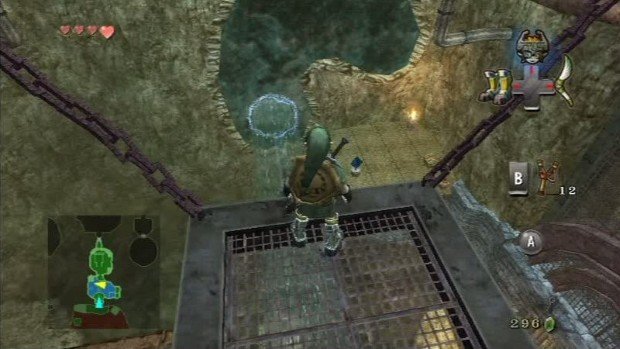
After you reach the next platform, go through the door and you will come to a room with a few Tektites in it. Kill them and then swim to the northwest corner and sink to find a chest with a small key inside. Swim back up and then go to the southeast side and drop down in the water to push a block. Swim up and out of the water to activate a pressure plate that will take you to the ceiling. Walk to the platform below and there will be another pressure plate that will activate a magnet on the far wall. Walk off the metal catwalk with the iron boots on and fall into the magnet beam. Walk along the wall to the right and drop down to the ledge will the blue crystal. Strike it and the gates will open, allowing you to enter the next room with another blue crystal to the right, just inside the door. Hit it and then climb up the magnetic wall to the right and follow the path up and to the right to find a chest with a piece of heart. Once you have it, continue across the magnet wall to the other side and you will come to some ropes. Slash them and they will drop the bridge below, allowing you to cross and go through the door there.
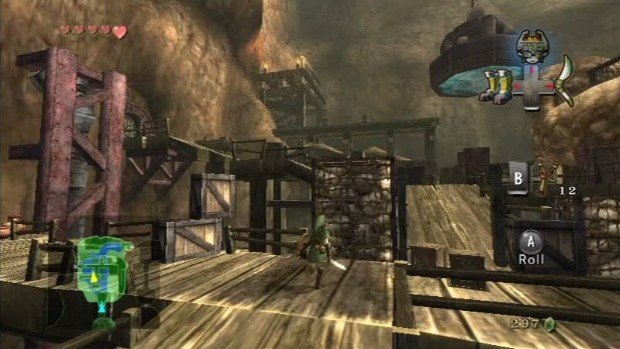
When you enter the next large room, slash through the wood barrier and then make your way forward across the catwalk until you can go right. Enter the small area here and there will be a Beamos and a chest. Grab the silver key out of the chest and then run back to the catwalk and go to the far side where the locked door is. Enter the chamber and hop across the first flipping platform and go to the right. Now there will be an even larger flipping platform that you will need to use your iron boots on. Run to the first square and turn them on and wait for the platform to flip. Continue the same thing for the next two squares and hop off when you get to the far side. Head through the door thereto find the next Goron Elder and speak with him to get the second key piece. Climb up the ladder behind him and follow the walkway to the right and exit the door. Walk along the magnet wall to the right and drop down when over the ledge below to enter the doorway there.
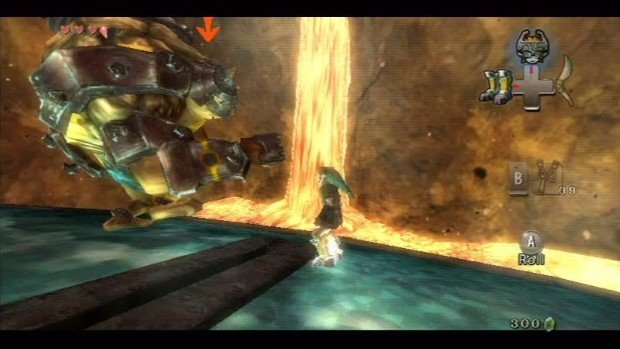
This door will take you to the guard that the elder was speaking of, but first you have to defeat him. Equip the iron boots and then stand with your back to the edge of the platform. Let the guard come to you and then slash at him when he raises an arm. He will roll into a ball after a couple hits, allow you to pick him up and toss him into to the lava. Do this three times and he will give up and allow you to pass into the next chamber. Enter and open the chest to find the Hero’s Bow. Yay! Now use it to hit the ropes on the far wall that are holding up the bridge. Run across the bridge and you will enter a room with 7 Beamos in it. Strike at each of their eyes with the arrows to knock them out and to allow you to push and pull them out of the way. In the alcove to the east, there will be a chest with a compass and in the alcove to the west there will be a doorway to another chamber which leads to the final Goron Elder to complete the Big Key. Head back out of the chamber and head south through the door behind the Beamo and you will come a to a large lava filled canyon. Roll against the fence to the right and then hop across the platforms to the pressure plate in the corner and use the iron boots on it. Once on the ceiling, walk to the cave opening and hit the crystal with an arrow which will open the door below.
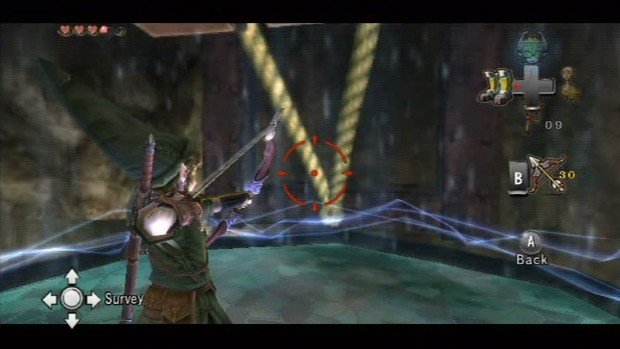
Drop down and go through the now opened door and enter the next chamber. Once inside, go to the right for a purple rupee and to the left to find a pressure plate. Use it with the boots and let the magnet take you to the north side. Drop down and go through the door there and continue making your way north through the next three chambers until you come to the chamber where you earlier received the silver key from the chest in the area to the right with the Beamo. Shoot the Beamo eye to stop it and then pull it to reveal a door. Go through and follow the path up to a pressure plate. Step on it to operate a magnet and hop forward off the ledge. Let the magnet take you over to the other side and use the bow to shoot the rope to lower the bridge. When it is down, drop onto it and enter to face the boss.
Boss: Twilit Igniter Fryus
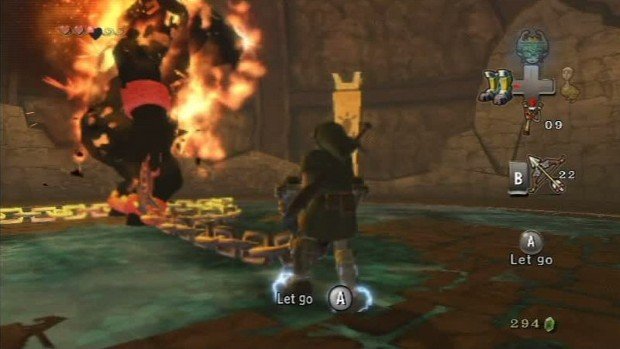
To defeat this behemoth, it takes three different tasks, done three times. First off you will need to use your bow to hit the glowing crystal on its forehead. Once you have hit it, the beast will stagger about dragging its chains. When it is, run up behind it and equip the iron boots. Roll to catch up to it if you need to, but then grab one of the chains dragging behind it. Pull it away from the direction the beast is going and it will fall over. Once it is on the ground, take off the boots, drop the chain, and quickly run over to the head that is now at your height. Target it and slash away at it until a short scene plays. Do that twice more and you will defeat it allowing you to collect your rewards.
Sign up to the GamesRadar+ Newsletter
Weekly digests, tales from the communities you love, and more
Jeff McAllister is a freelance journalist who has contributed to GamesRadar+ over the years. You'll typically find his byline associated with deep-dive guides that are designed to help you scoop up collectibles and find hidden treasures in some of the biggest action and RPG games out there. Be sure to give Jeff a thanks in the comments while you're completing all of those tricky Achievements and Trophies.


