Legend of Zelda: Twilight Princess Walkthrough
A step by step guide to Link’s epic adventure through Hyrule and beyond.
Sacred Grove and Master Sword
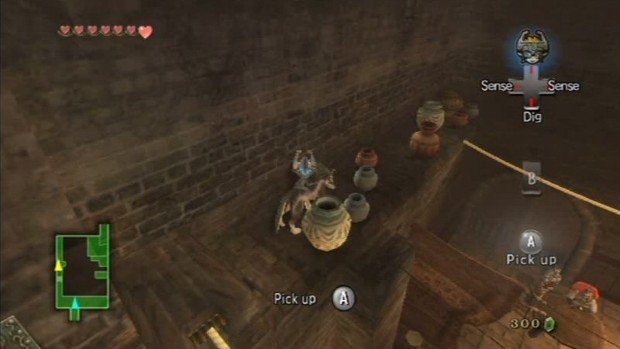
After the long scene is over, make your way back to Hyrule castle town and go to Telma’s Bar. When you try to enter, you will get tossed out but Louise the cat will stop you and show you a way to the passage. Push the crate at the side over to the rest of the boxes and climb up and enter the window. Once inside, make your way across the top of the bar without upsetting any of the pots. When you get to the left side, you will need to pick one up and move it out of the way to pass unnoticed. Once you make it through, you will come to a room with a Poe’s Soul and Jovani. He will ask you to find 20 Poe’s Souls so that he can return to normal, but they are spread out across Hyrule and not a necessity right now since you will find many of them along the way to the end. Enter the chest and you will come to a passage below. Pick up the stick on the ground and light the torches so that you can then use them to light your stick again to burn through the spider web on the left side.
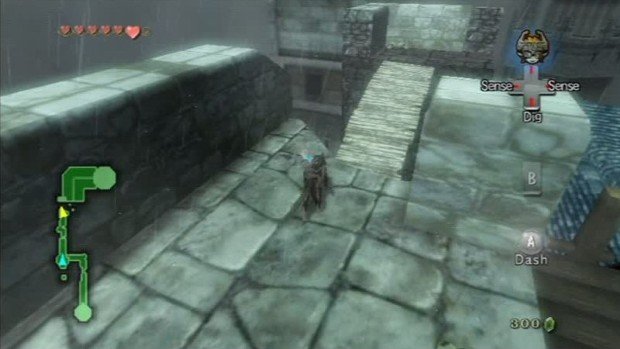
Hop through and continue to the dead end round room and dig in the center to pass. Now you will need to make your way up the circular stair case as before, but this time without Midna’s help, you will need to cross the ropes. Once you reach the top, make your way across the rooftops as before, but this time when you reach the bridge, you will need to cross it when the wind blows, raising it. Enter the window atop the slanted roof and make your way up the stairs to talk to Zelda there. Once the next scene is over, you will need to make your way to Faron Woods, so teleport to the Northern section. Go north and you will get a scene with a monkey getting attacked. Save it and it will tell of a path on the other side of the cliff. Go up the ramp on the right and have Midna let you jump across and across again until you come to a bridge. Cross it and wait for it to turn and then cross two ropes while avoiding the swinging hammers. Once on the far side, enter the cave opening.
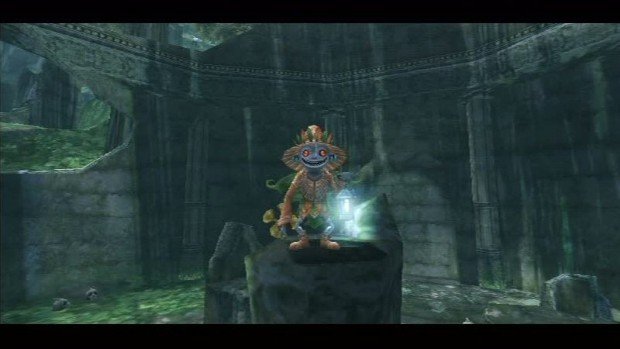
Once inside, go to the stone with the tri-force marking and mirror the howling that you hear. Once you do, the far door will open and some enemies will appear. Keep following the main enemy with the hat and the horn into each area- known as the Skull Kid. When you find him –easy to do so with his horn sound and his lantern lighting the path he is on—attack him and he will open a new passage and appear in another area. Simply keep finding him three times until he appears atop a cliff beside a water fall. Go through the waterfall and up the tree and hit him. Chase him into the next room where you need to attack him three times. You can use the B button to cover him in darkness and attack quickly, but you can atop hit him easily enough when he is occupied with blowing his horn. Once you have hit him three times, he will open the next passage.
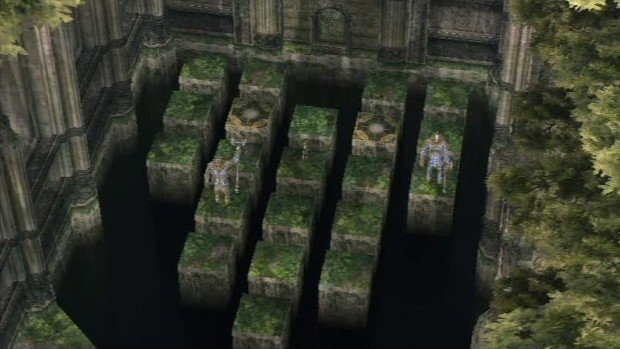
When you enter, you will come to two statues that will then make you solve a block puzzle. What you need to do is move in specific directions to get the two statues back on their original platforms. To solve it, move in this order from the start: Left, down, right, right, up, left, up, up, left, down, down, right, up. Once you have, the statues will be on their original spots and the next door will open. Enter and you will receive the Master Sword for your troubles. Now with the bad ass sword in hand, teleport to Lake Hylia and swim towards the platform near the cannon building. Go to the right and hop over the platforms to reach the ladder against the cliff. Climb up and continue up the path to reach the large tower. Climb the ladder there to reach the top of it and talk to Auru. He will tell you of the Cursed Mirror and give you a memo. Head back down and go to the cannon building to talk to Frya. He will grudgingly launch you to the desert to start you on your search.
Sign up to the GamesRadar+ Newsletter
Weekly digests, tales from the communities you love, and more
Jeff McAllister is a freelance journalist who has contributed to GamesRadar+ over the years. You'll typically find his byline associated with deep-dive guides that are designed to help you scoop up collectibles and find hidden treasures in some of the biggest action and RPG games out there. Be sure to give Jeff a thanks in the comments while you're completing all of those tricky Achievements and Trophies.
