Lego Star Wars: The Force Awakens Minikit locations guide
Find all of the Minikit collectibles in Lego Star Wars: The Force Awakens with our complete guide
Chapter 5: Maz’s Castle - Castle Basement
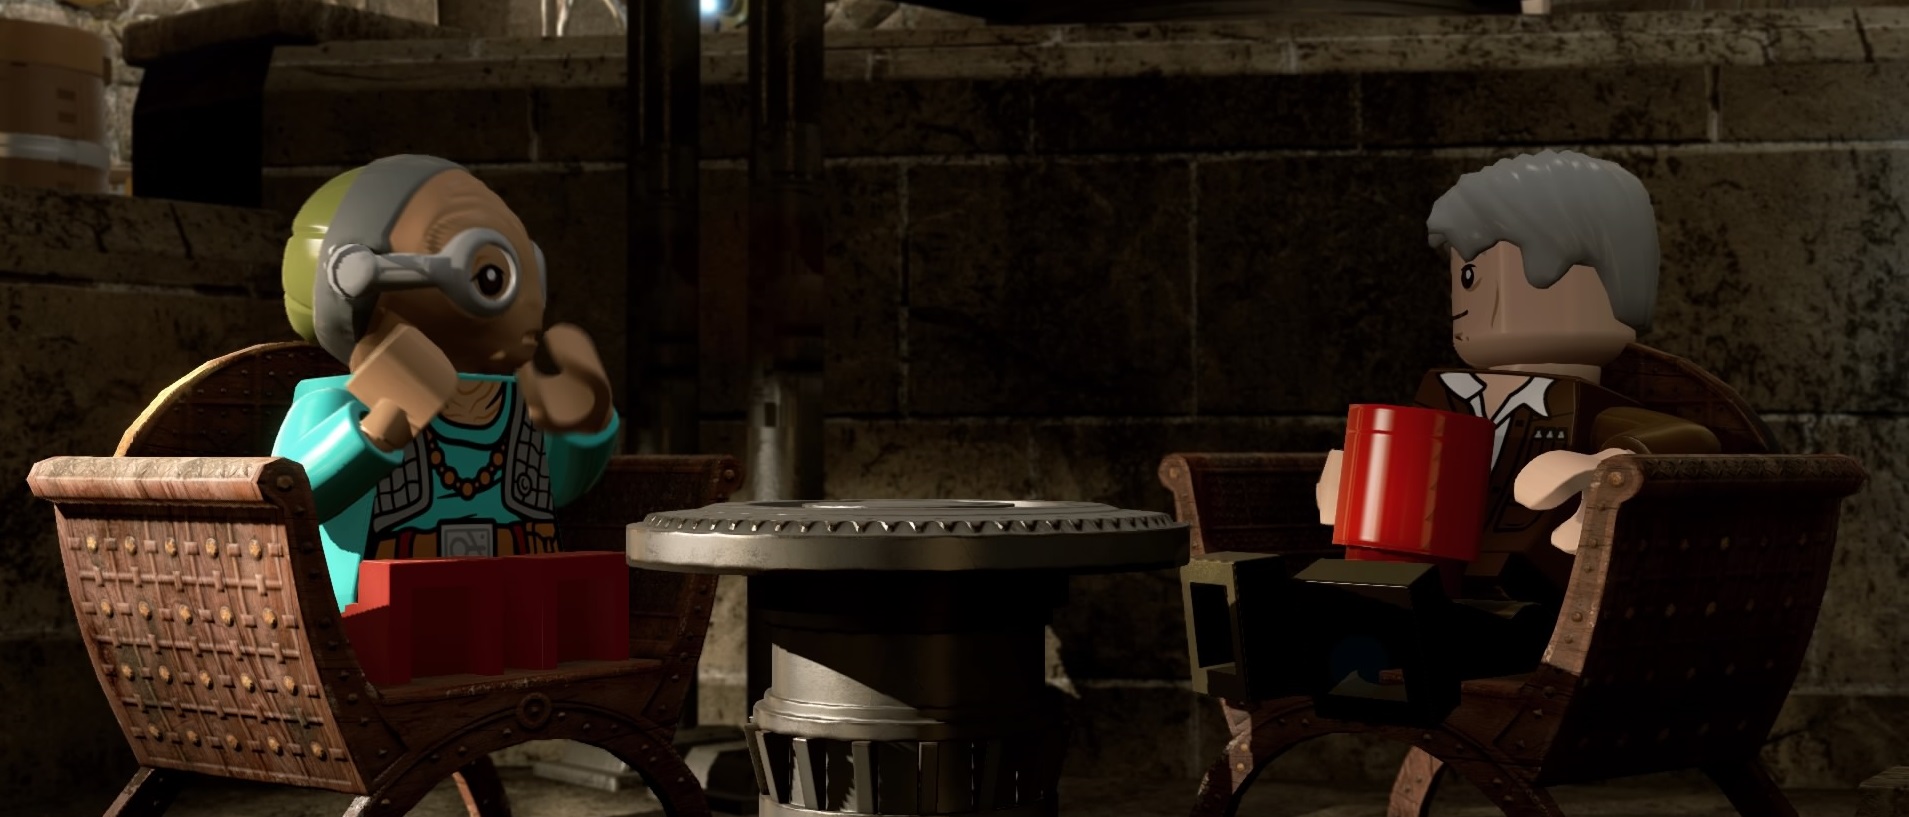
Make your way through a spoopy basement, picking up collectibles as you go.
Minikit #1
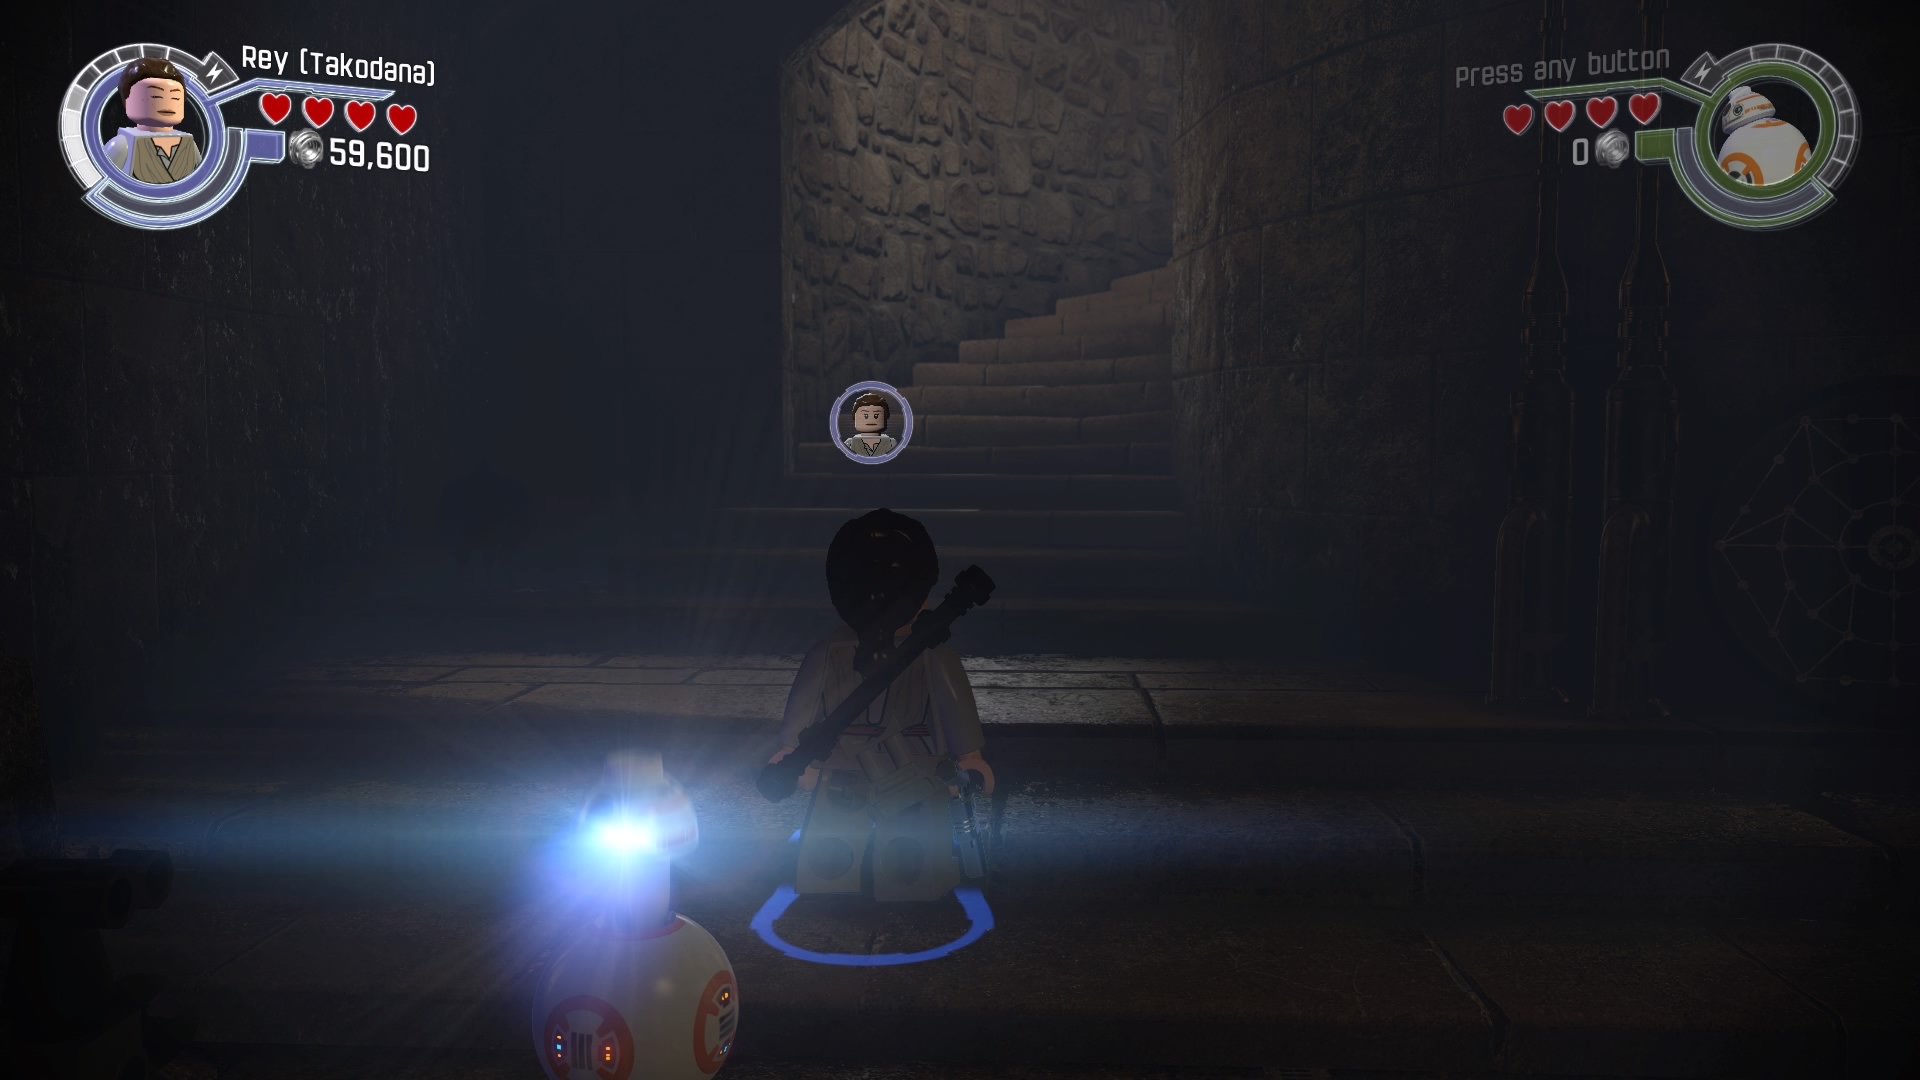
At the beginning of the level, turn around and head up the stairs. The minikit is hiding at the top.
Minikit #2
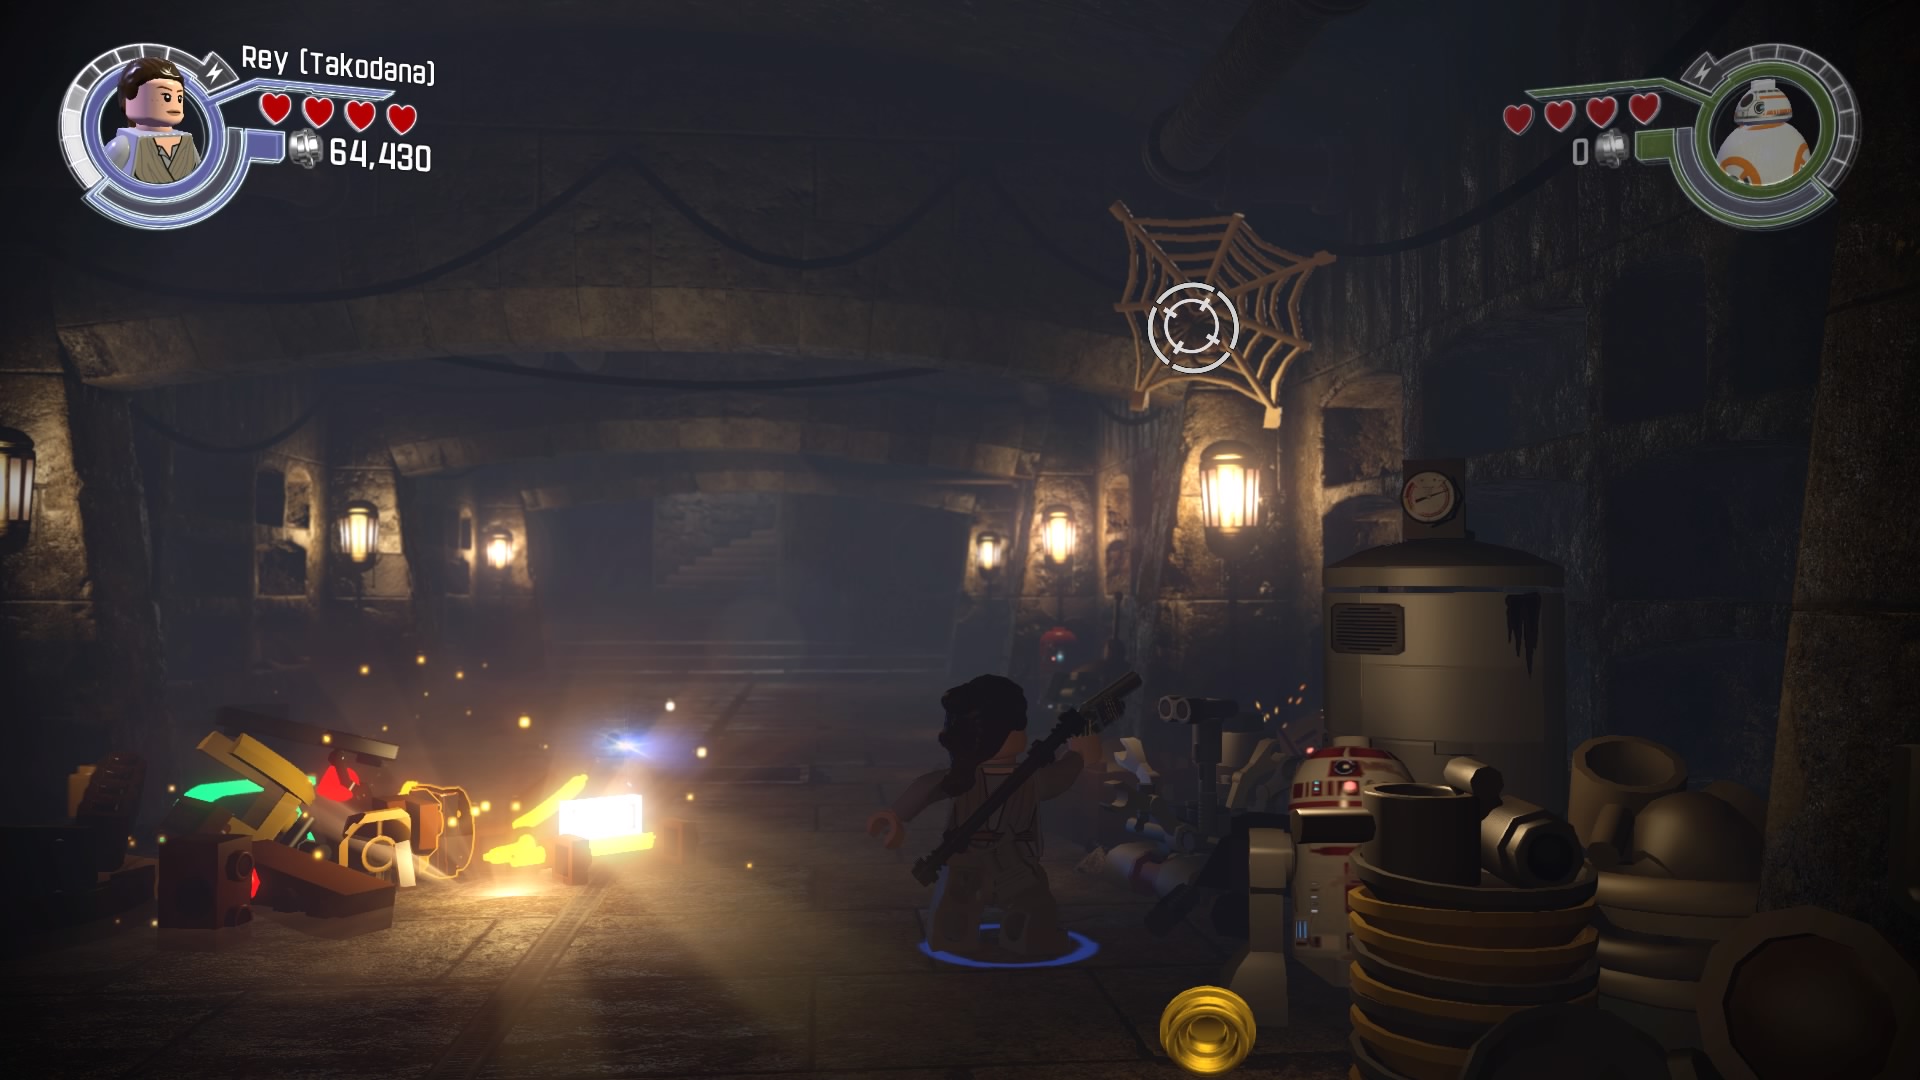
You have to shoot down four cobwebs for the next minikit. Go straight ahead from the start of the level, and you'll spot the first one on the right.
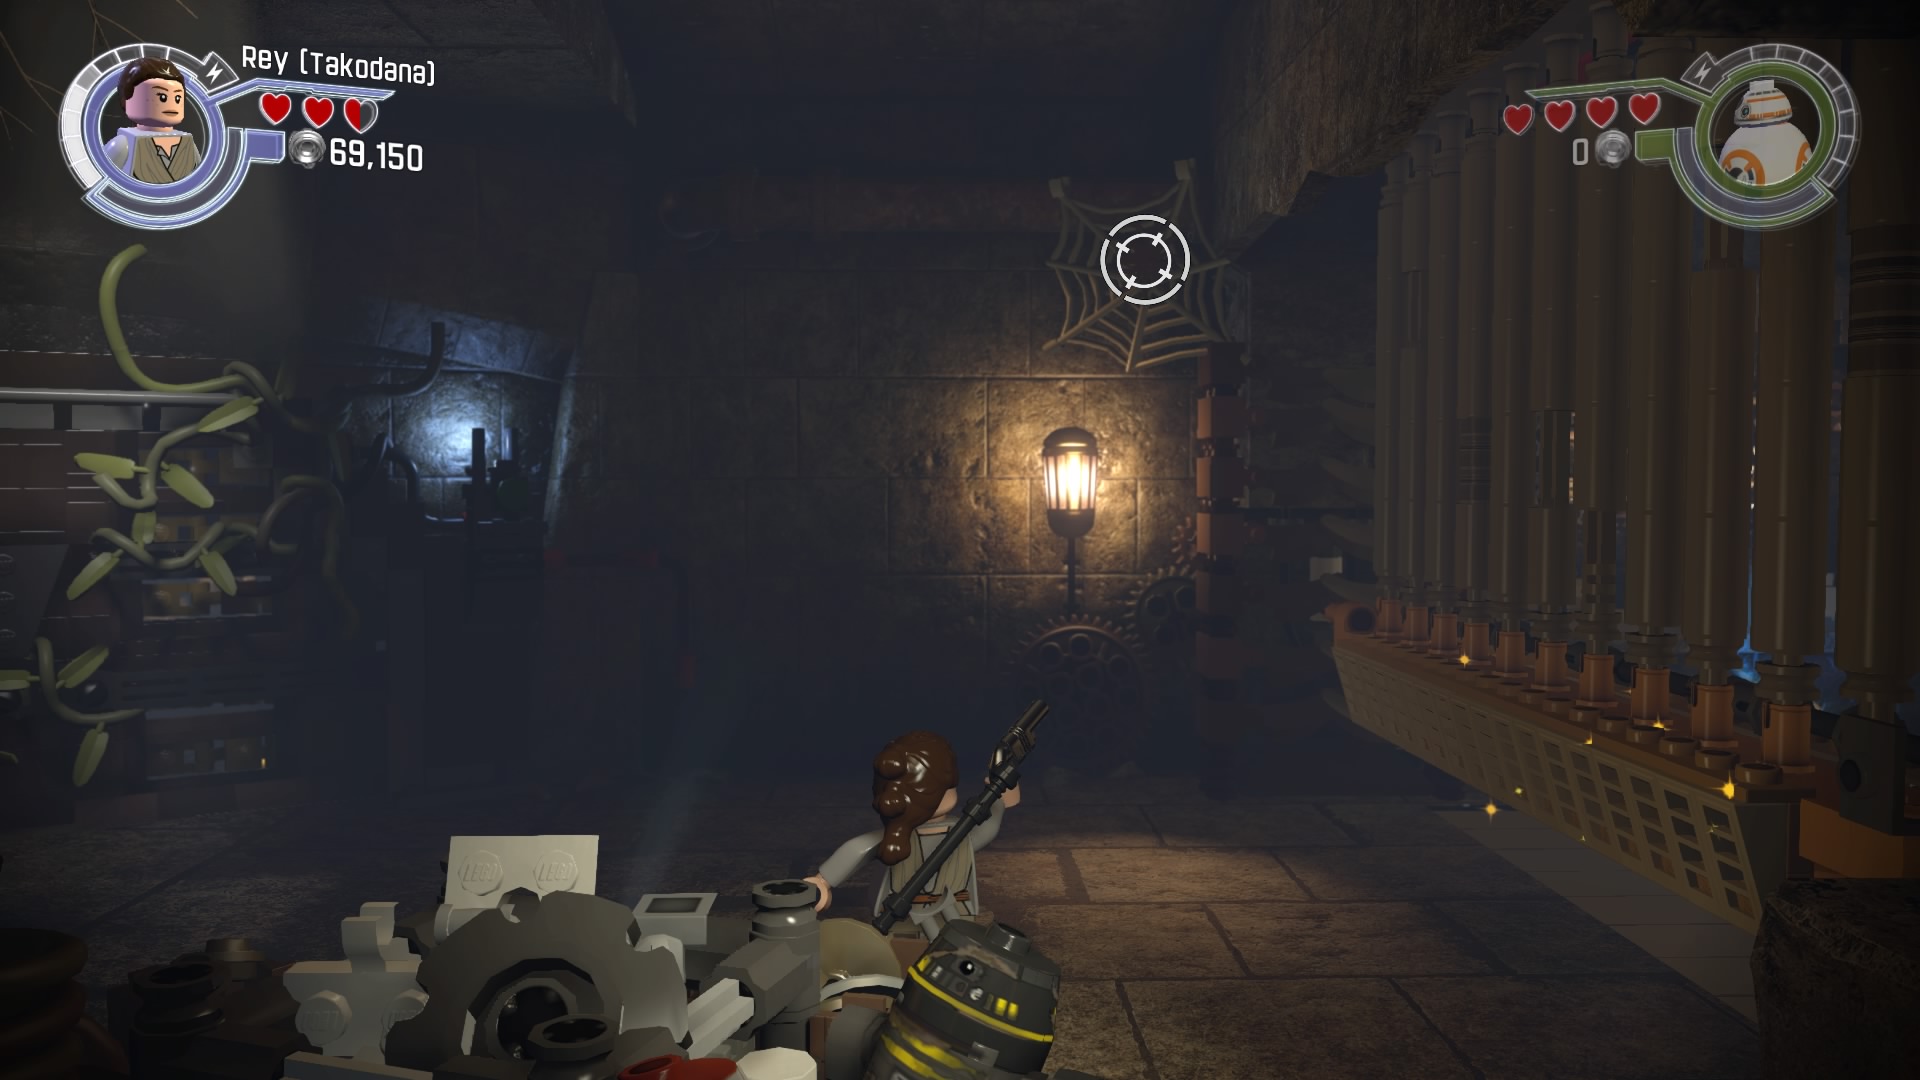
After you slide under the gate with Rey, you'll see the second cobweb on the wall by the lamp.

You need to solve a statue puzzle to open up a door to progress through the level.
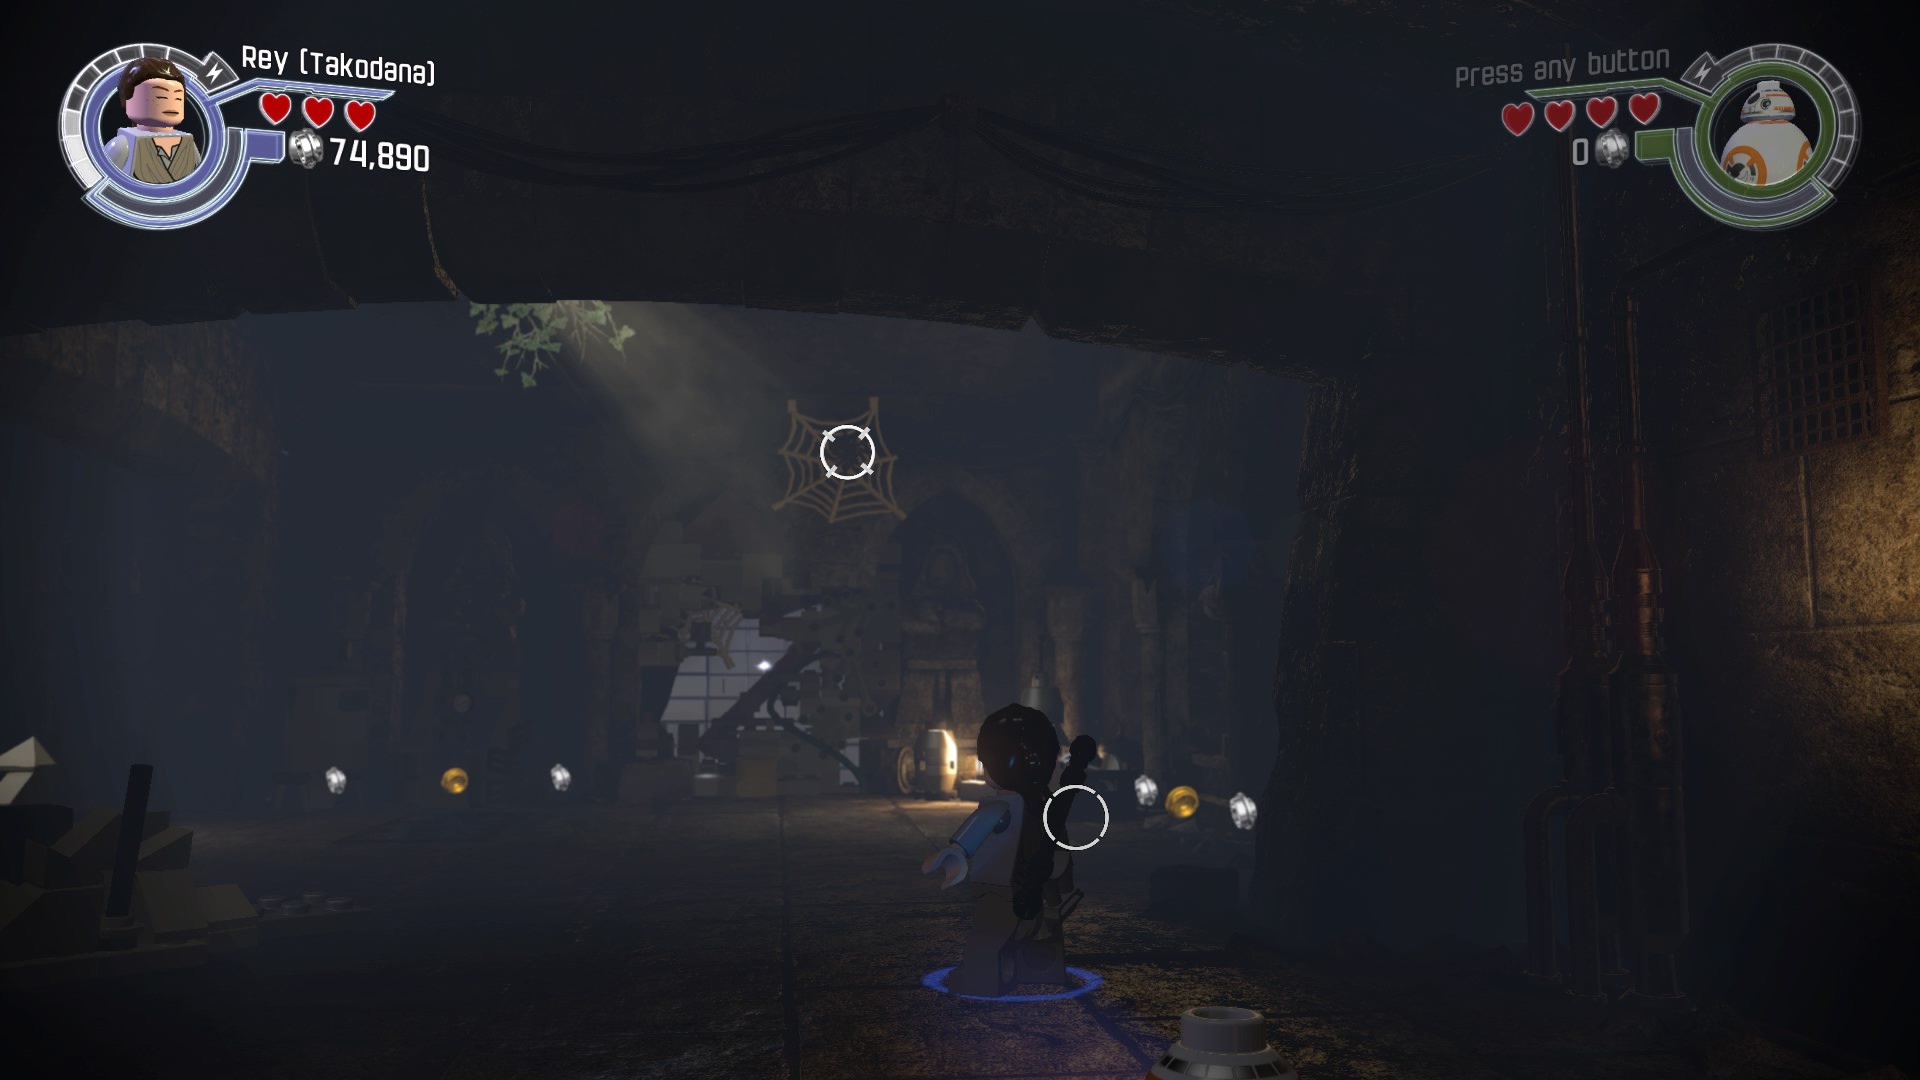
Head through and shoot the cobweb straight ahead.
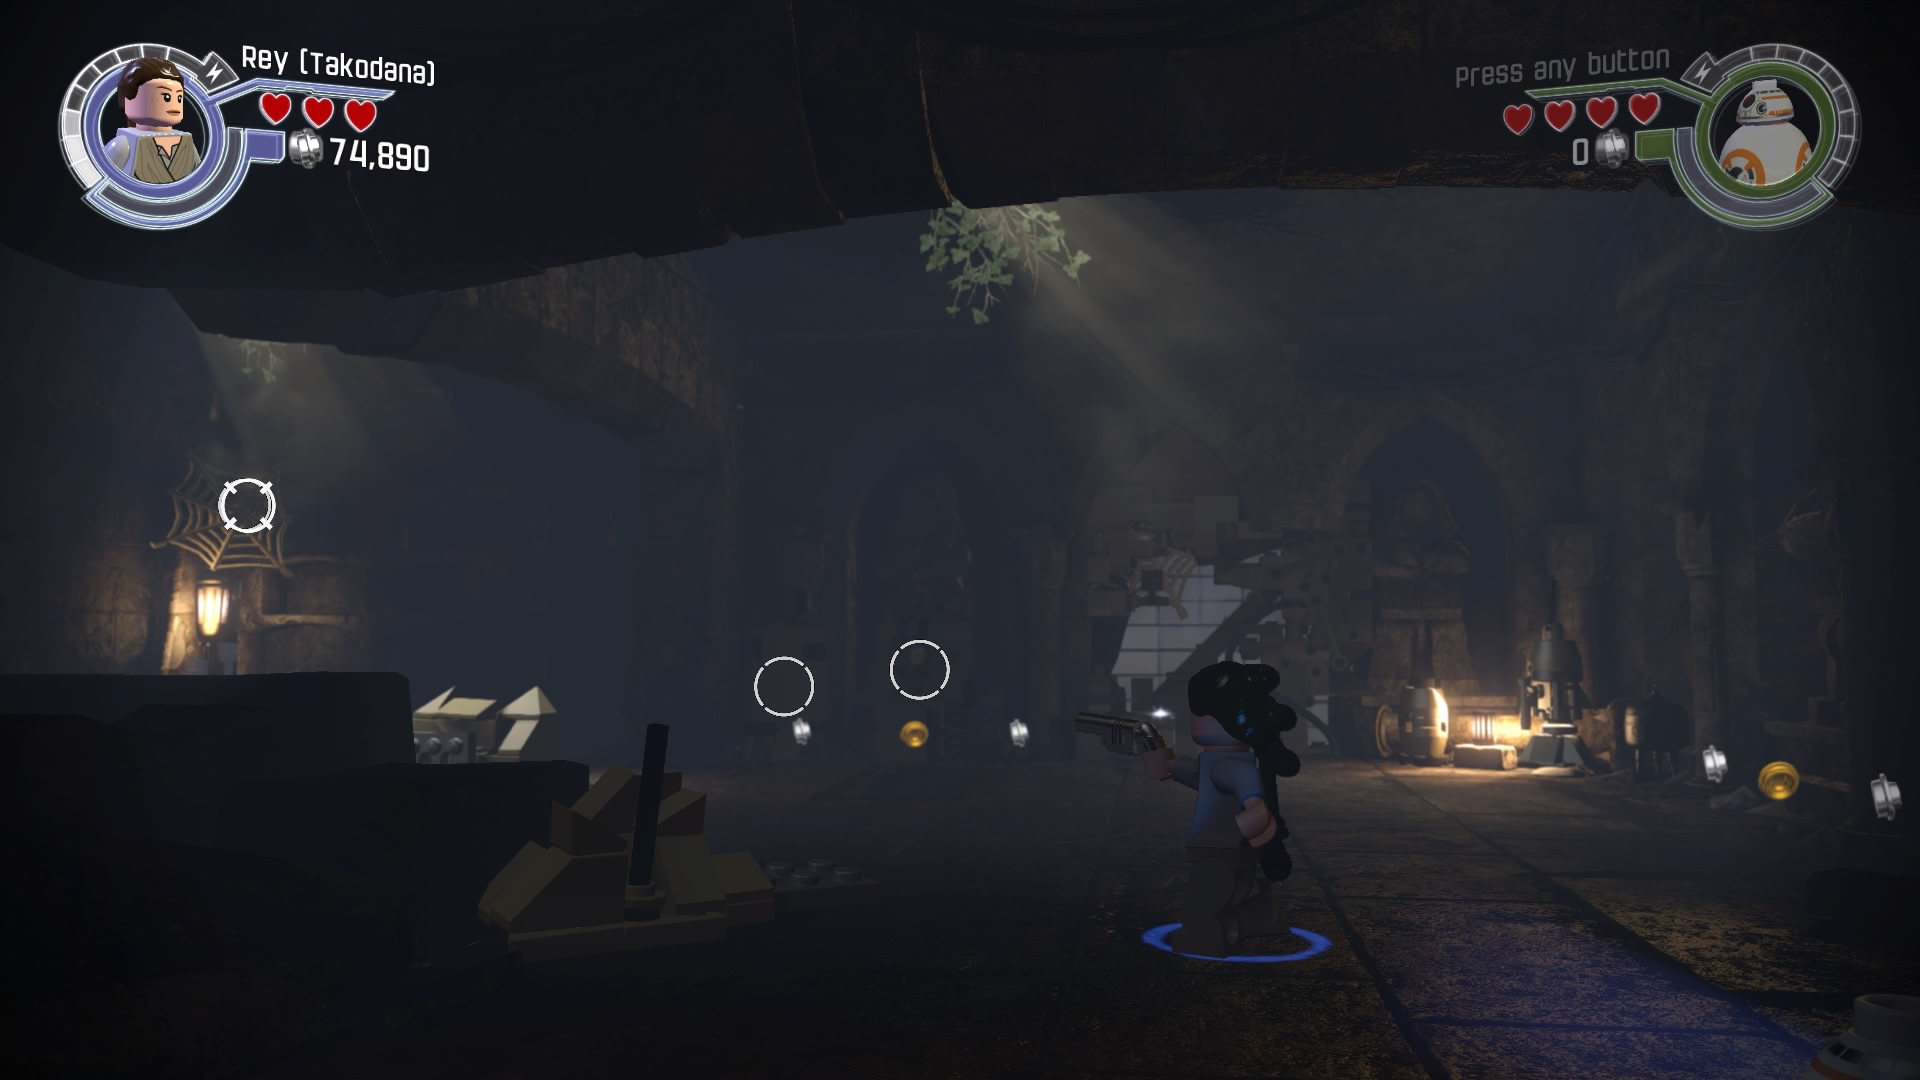
The last cobweb is just to the left of the third one.
Minikit #3 - Free Play Mode
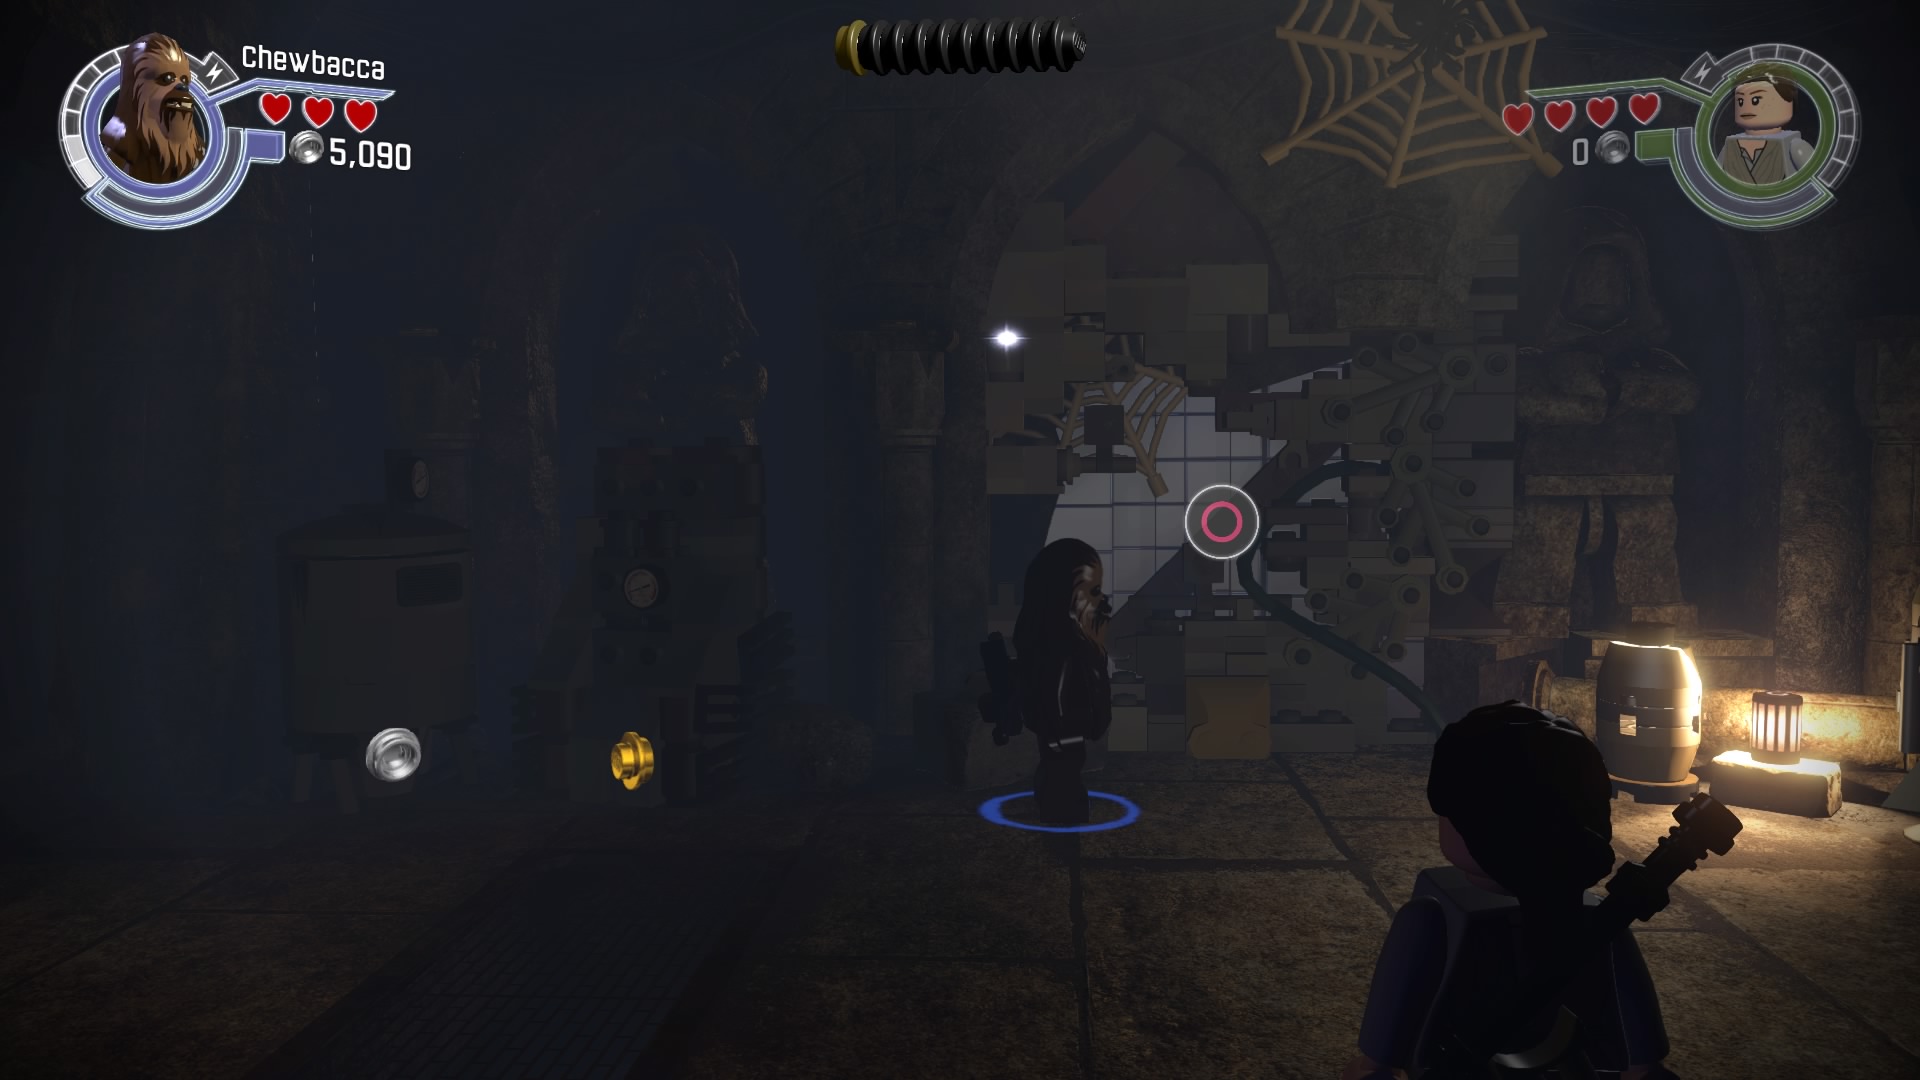
Just below the third cobweb is a silver lego wall. Blow it up with a character that can destroy silver Lego.
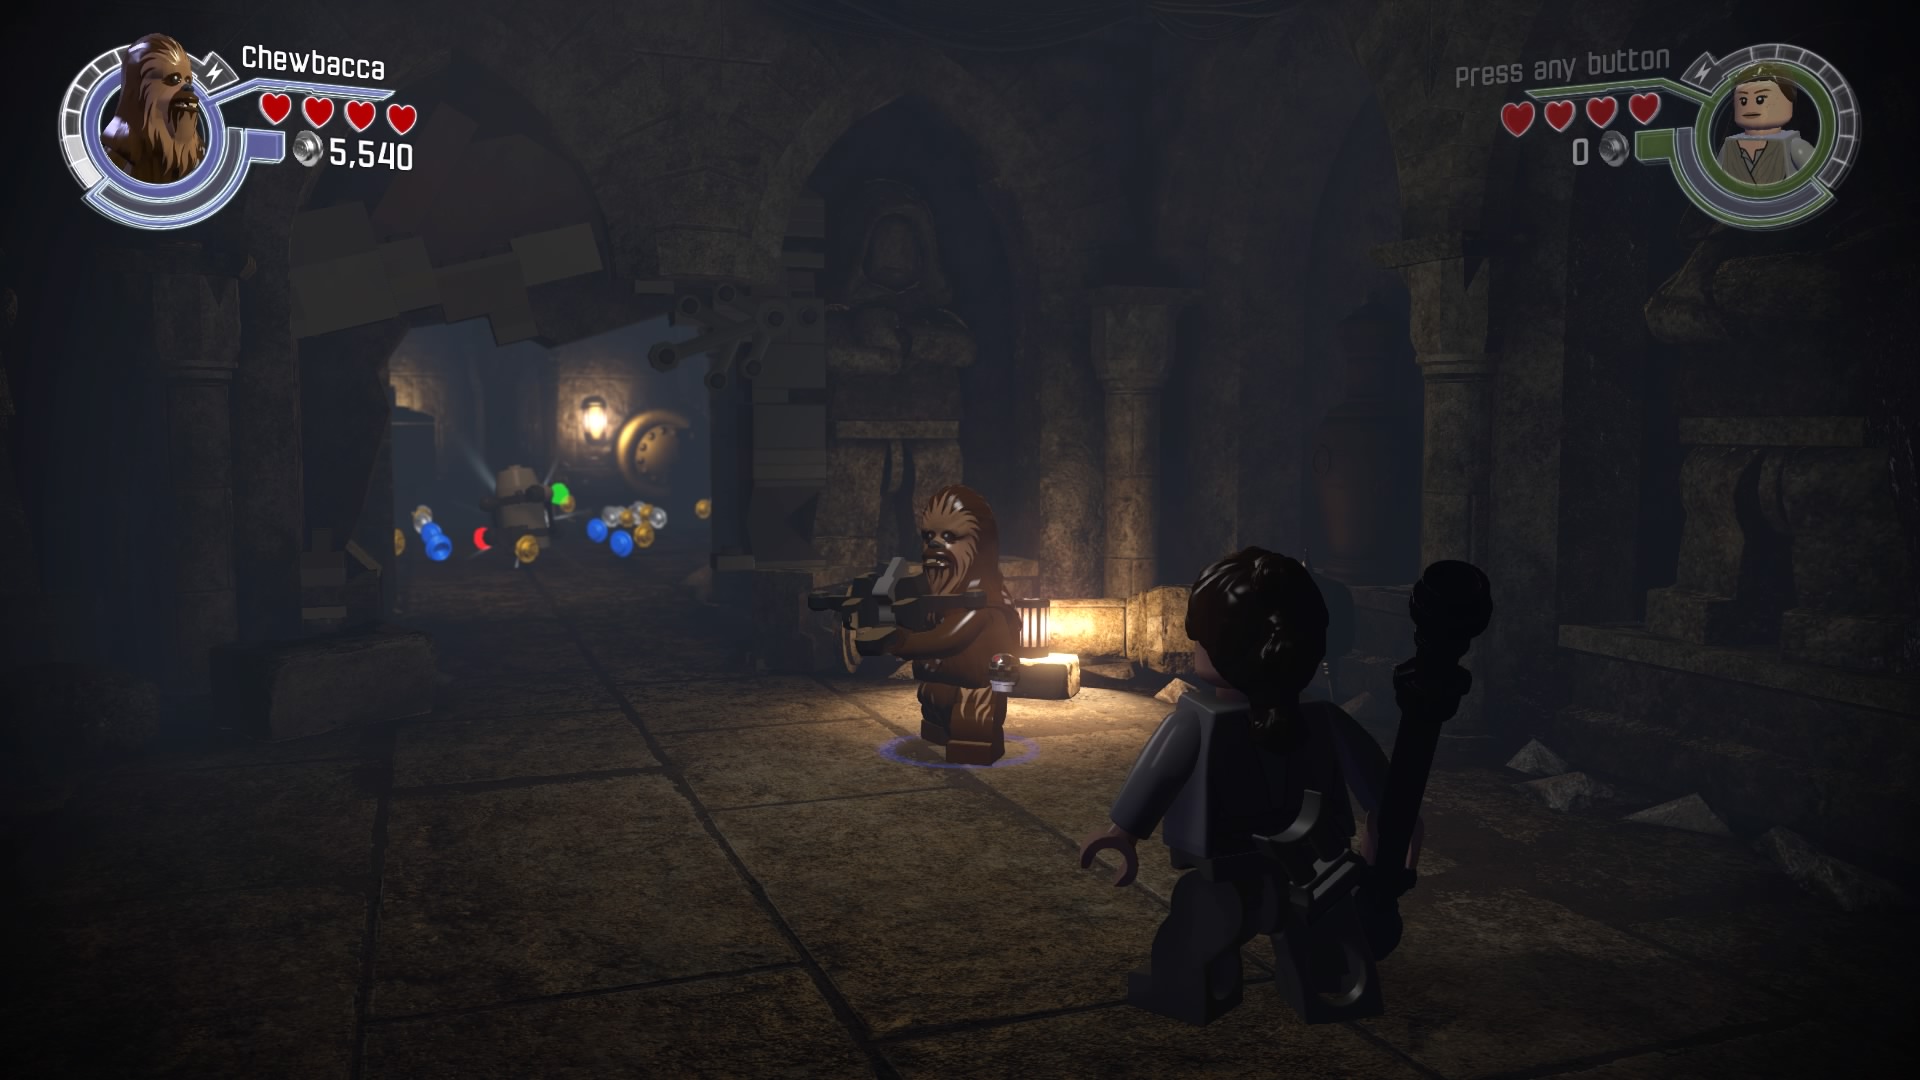
The minikit is in the room beyond.
Minikit #4 - Free Play Mode
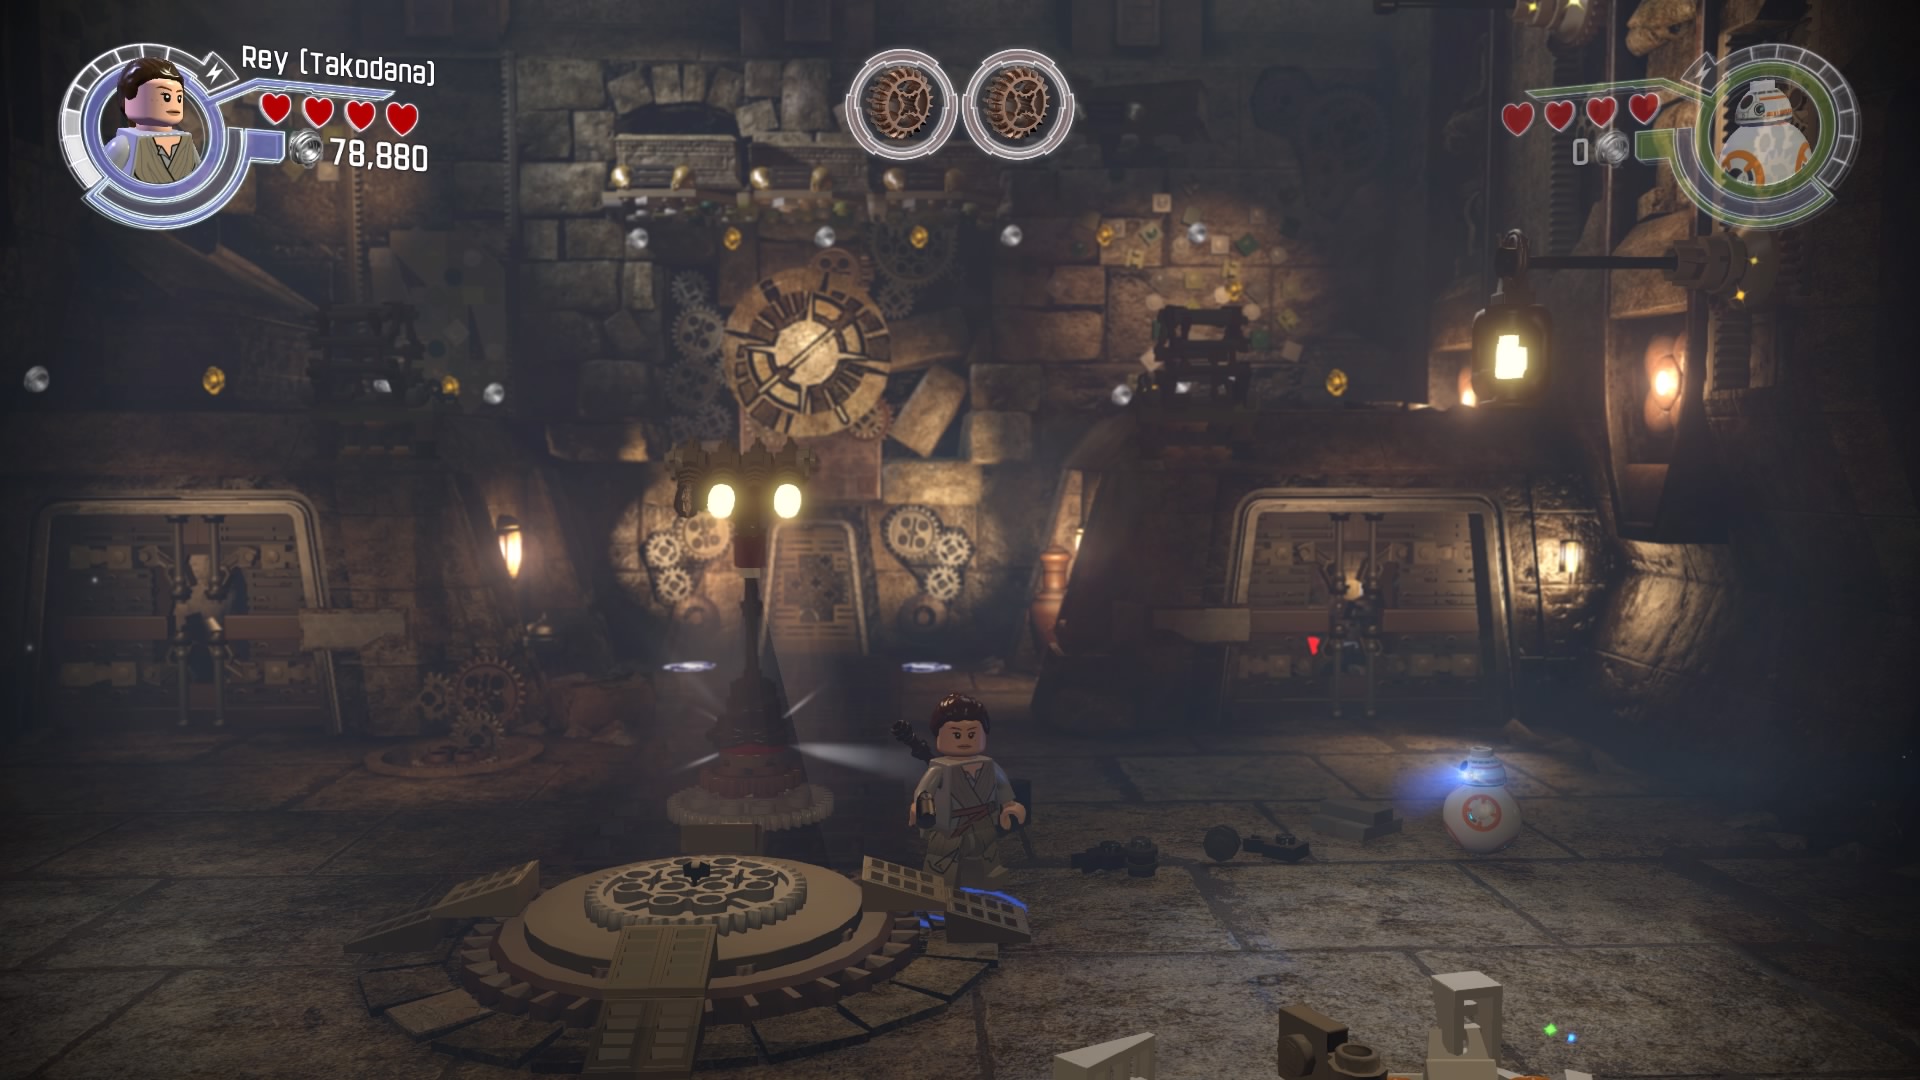
When you reach the last area, you have to find cogs to open the final door.
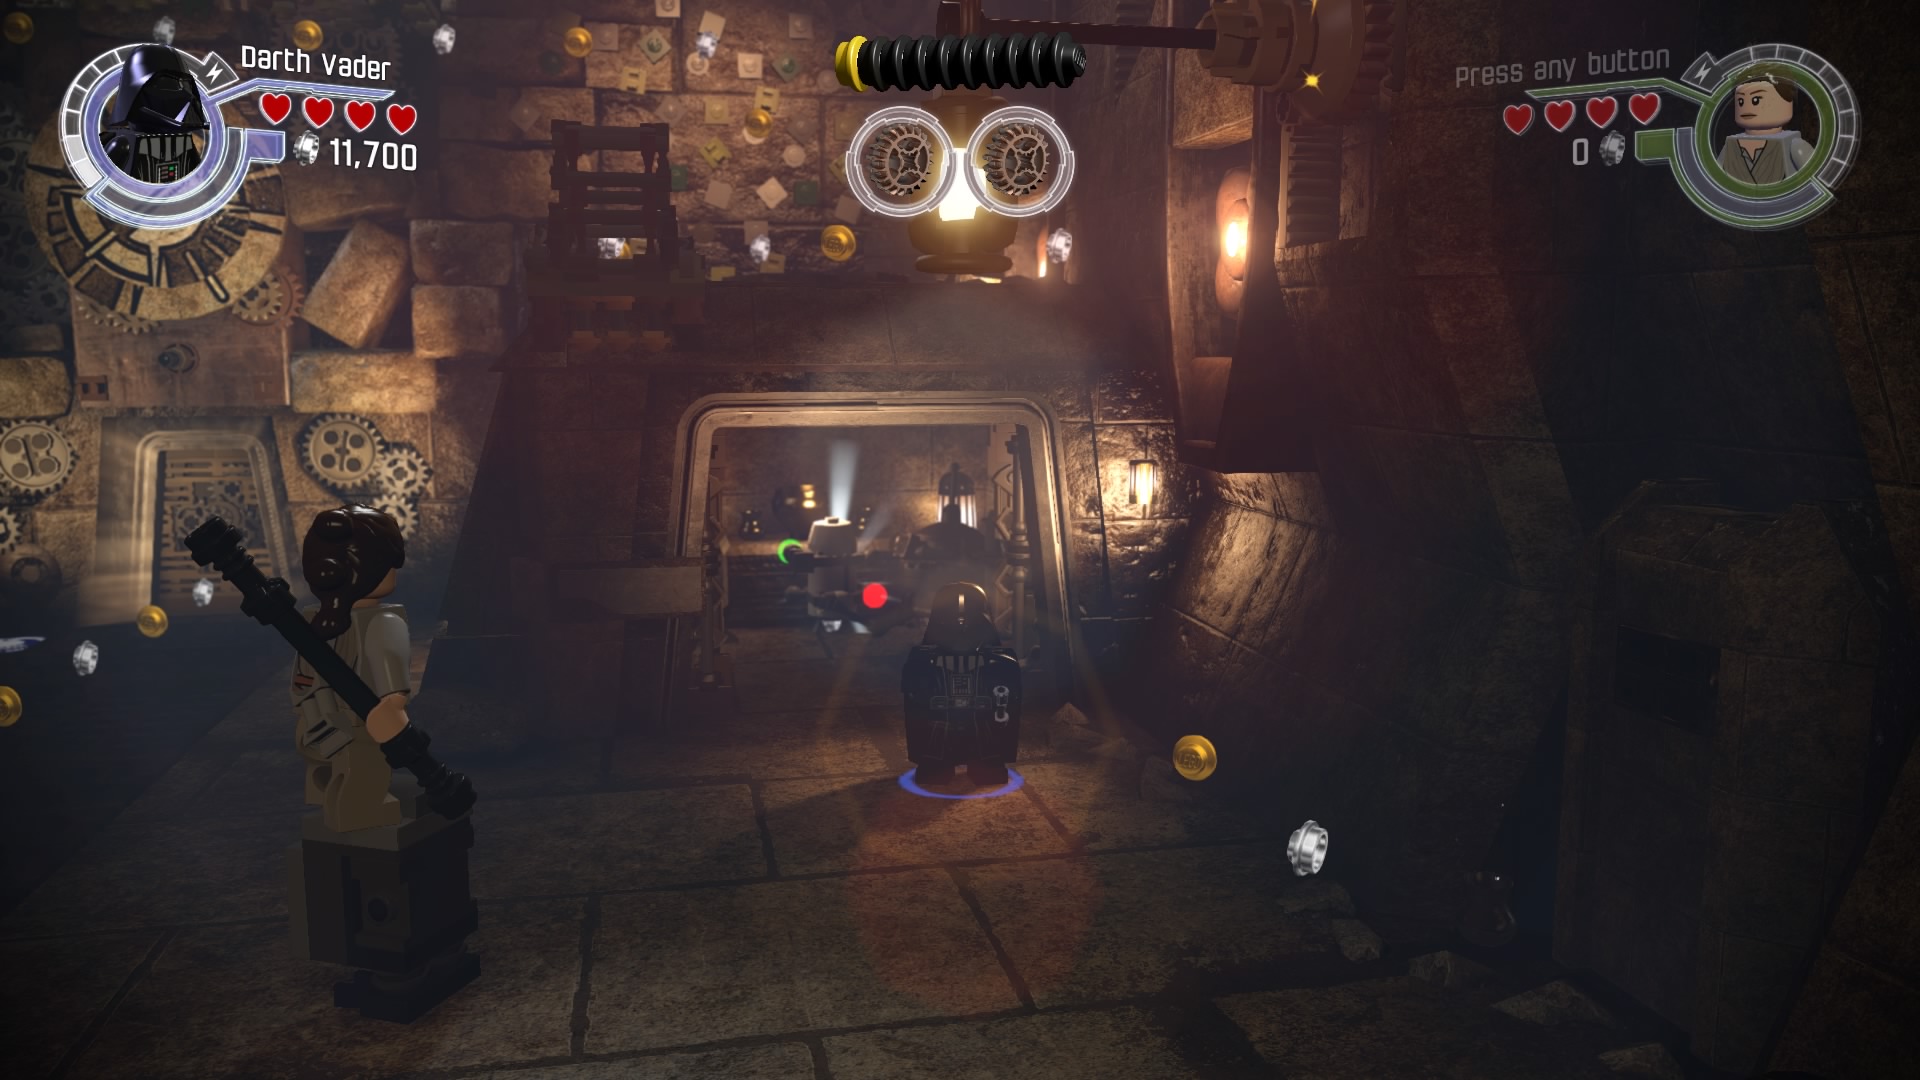
Take a break from that and go over to the door at the back right of the room. Open it using the force to get the minikit.
Table of Contents:
- Prologue: The Battle of Endor - Endor Shield Generator
- Prologue: The Battle of Endor - Death Star Throne Room
- Prologue: The Battle of Endor - Death Star Attack
- Chapter 1: Assault On Jakku - Village Retreat
- Chapter 1: Assault On Jakku - First Order Assault
- Chapter 2: Escape From The Finalizer - Finalizer Hangar
- Chapter 2: Escape From The Finalizer - Star Destroyer Exterior
- Chapter 2: Escape From The Finalizer - Jakku Graveyard
- Chapter 3: Niima Outpost - Niima Outpost
- Chapter 3: Niima Outpost - Niima Bombardment
- Chapter 3: Niima Outpost - Jakku Graveyard Flight
- Chapter 4: The Eravana - Freighter Battle
- Chapter 4: The Eravana - Freighter Chase
- Chapter 4: The Eravana - Freighter Shutdown
- Chapter 5: Maz’s Castle - Castle Approach
- Chapter 5: Maz’s Castle - Castle Basement
- Chapter 6: Battle of Takodana - Castle Corridors
- Chapter 6: Battle of Takodana - Takodana Skies
- Chapter 7: The Resistance - Resistance Base
- Chapter 7: The Resistance - Resistance Hangar
- Chapter 8: Starkiller Sabotage - Starkiller Crash Site
- Chapter 8: Starkiller Sabotage - Starkiller Wall
- Chapter 8: Starkiller Sabotage - Starkiller Shield Room
- Chapter 9: Destroy Starkiller Base - Assault on Starkiller
- Chapter 9: Destroy Starkiller Base - Rey's Escape
- Chapter 9: Destroy Starkiller Base - Oscillator Interior
- Chapter 10: The Finale - Oscillator Bombing Run
- Chapter 10: The Finale - Starkiller Showdown
- Epilogue: Luke’s Island
- Adventure Level 1: Poe To The Rescue - Trash Compactor
- Adventure Level 1: Poe To The Rescue - Hangar Battle
- Adventure Level 1: Poe To The Rescue - Asteroid Escape
- Adventure Level 2: Lor San Tekka’s Return - Kelvin Ravine
- Adventure Level 3: Rathtar Hunting - Rathtar Caverns
- Adventure Level 3: Rathtar Hunting - Loading Area
- Adventure Level 4: The Crimson Corsair - Landing Site
- Adventure Level 5: Trouble Over Taul - Corvette Interior
- Adventure Level 6: Ottegan Assault - Ottegan Pursuit
- Adventure Level 6: Ottegan Assault - Ottegan Surface
Sign up to the GamesRadar+ Newsletter
Weekly digests, tales from the communities you love, and more

