Lego Star Wars: The Force Awakens Minikit locations guide
Find all of the Minikit collectibles in Lego Star Wars: The Force Awakens with our complete guide
Chapter 7: The Resistance - Resistance Base
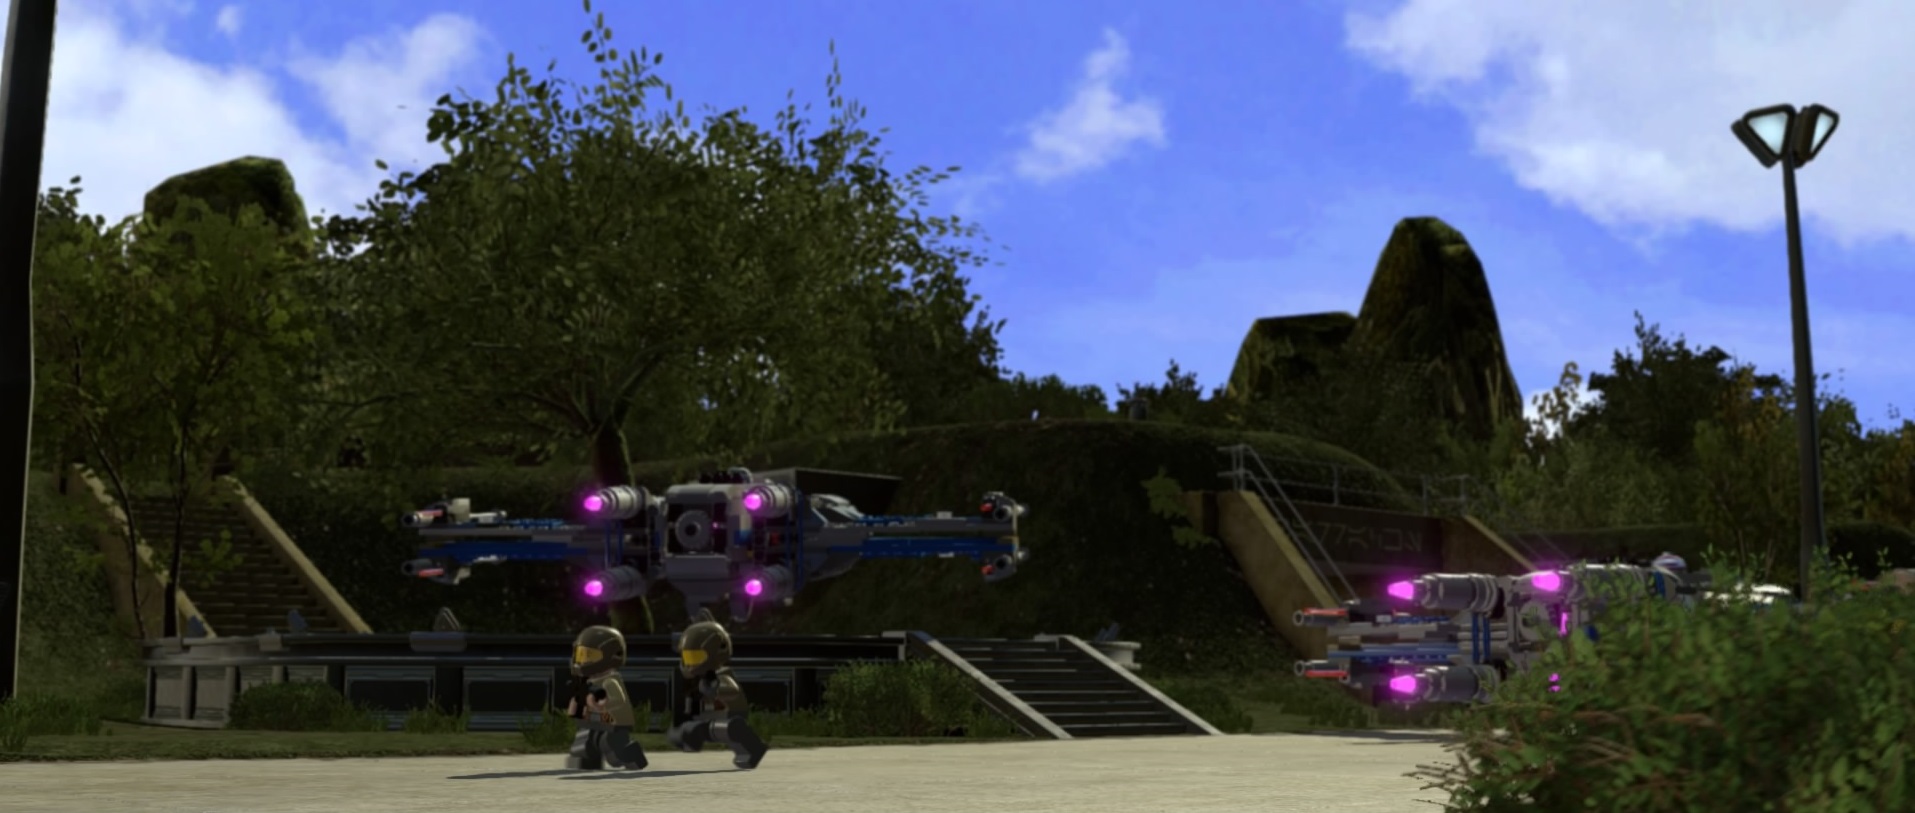
Therei's a lot to do at the base before you can head out, and getting the minikits is on the list.
Minikit #1
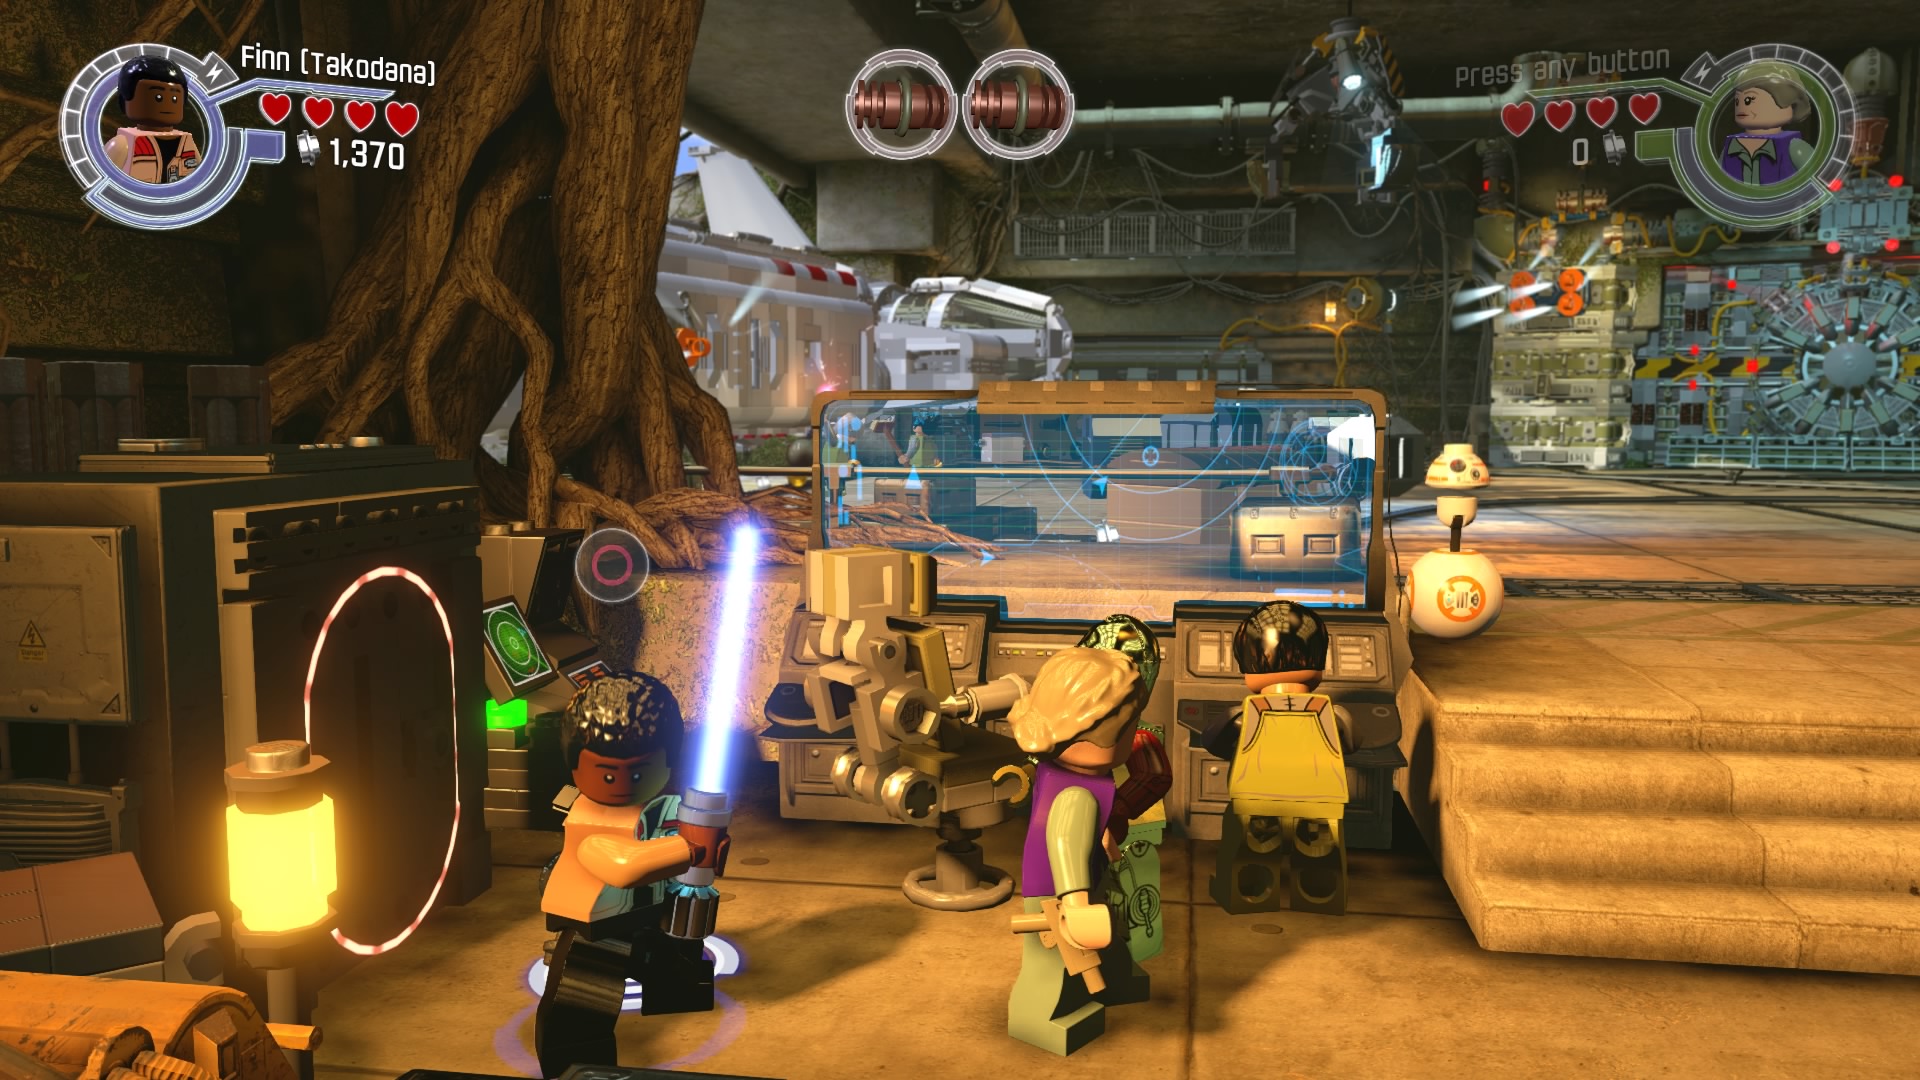
To the front left is a crate that you can cut open with a lightsaber.
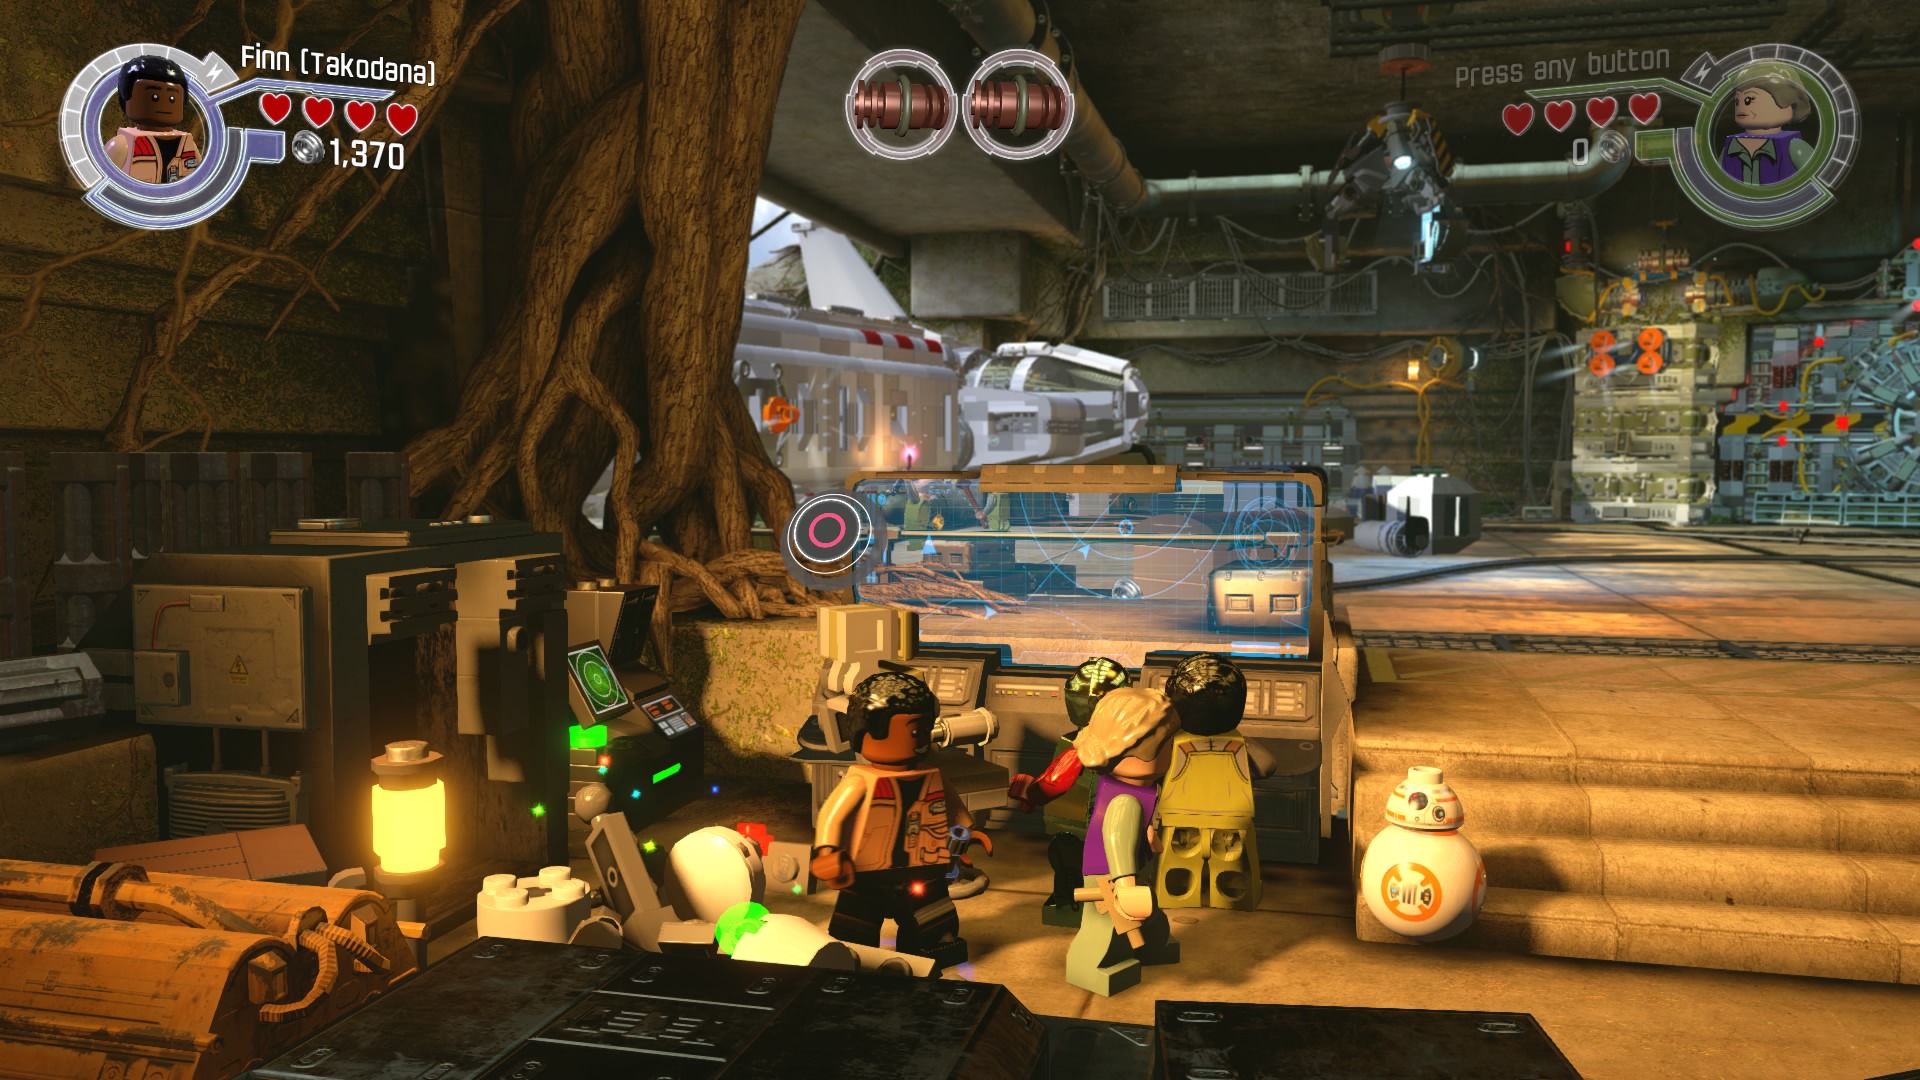
Build your own minikit with the parts inside.
Minikit #2 - Free Play Mode
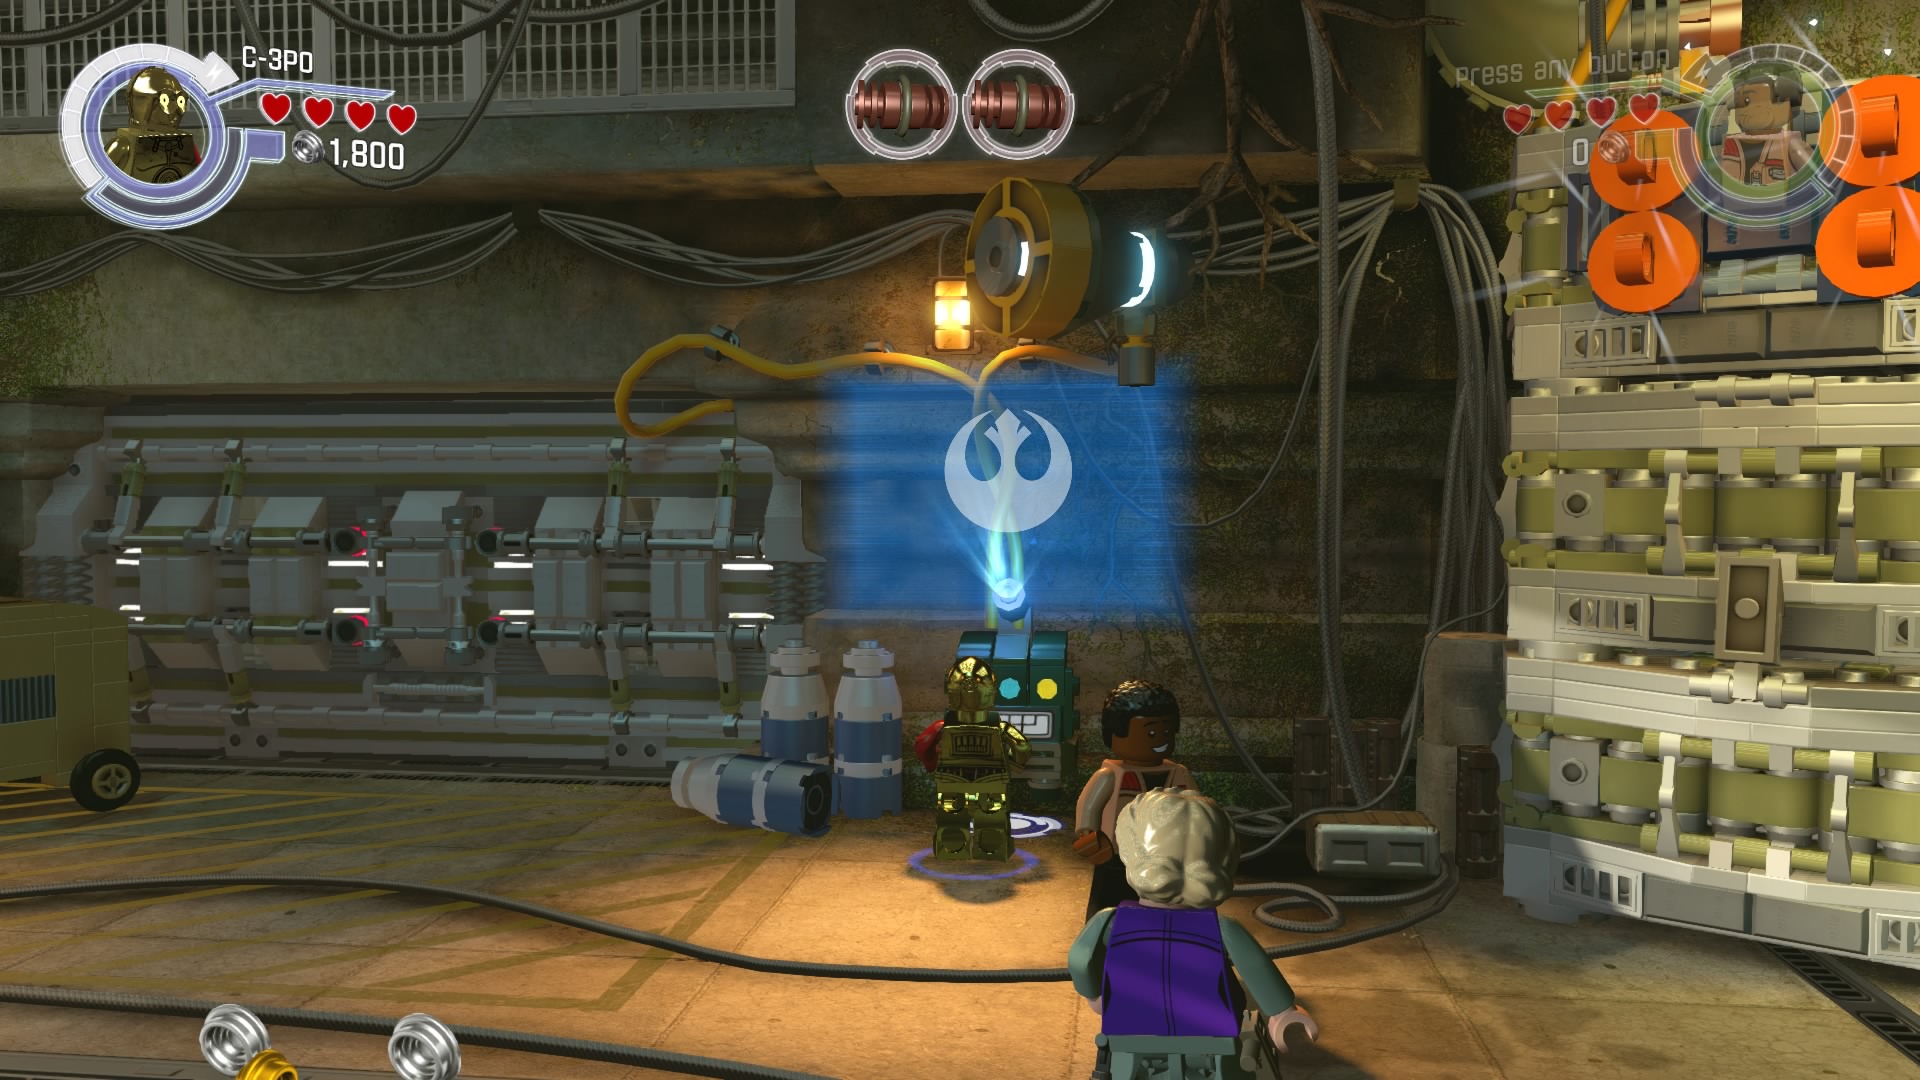
To the left of the main doors is a rebel access terminal. Use it to open the blast doors to the left.
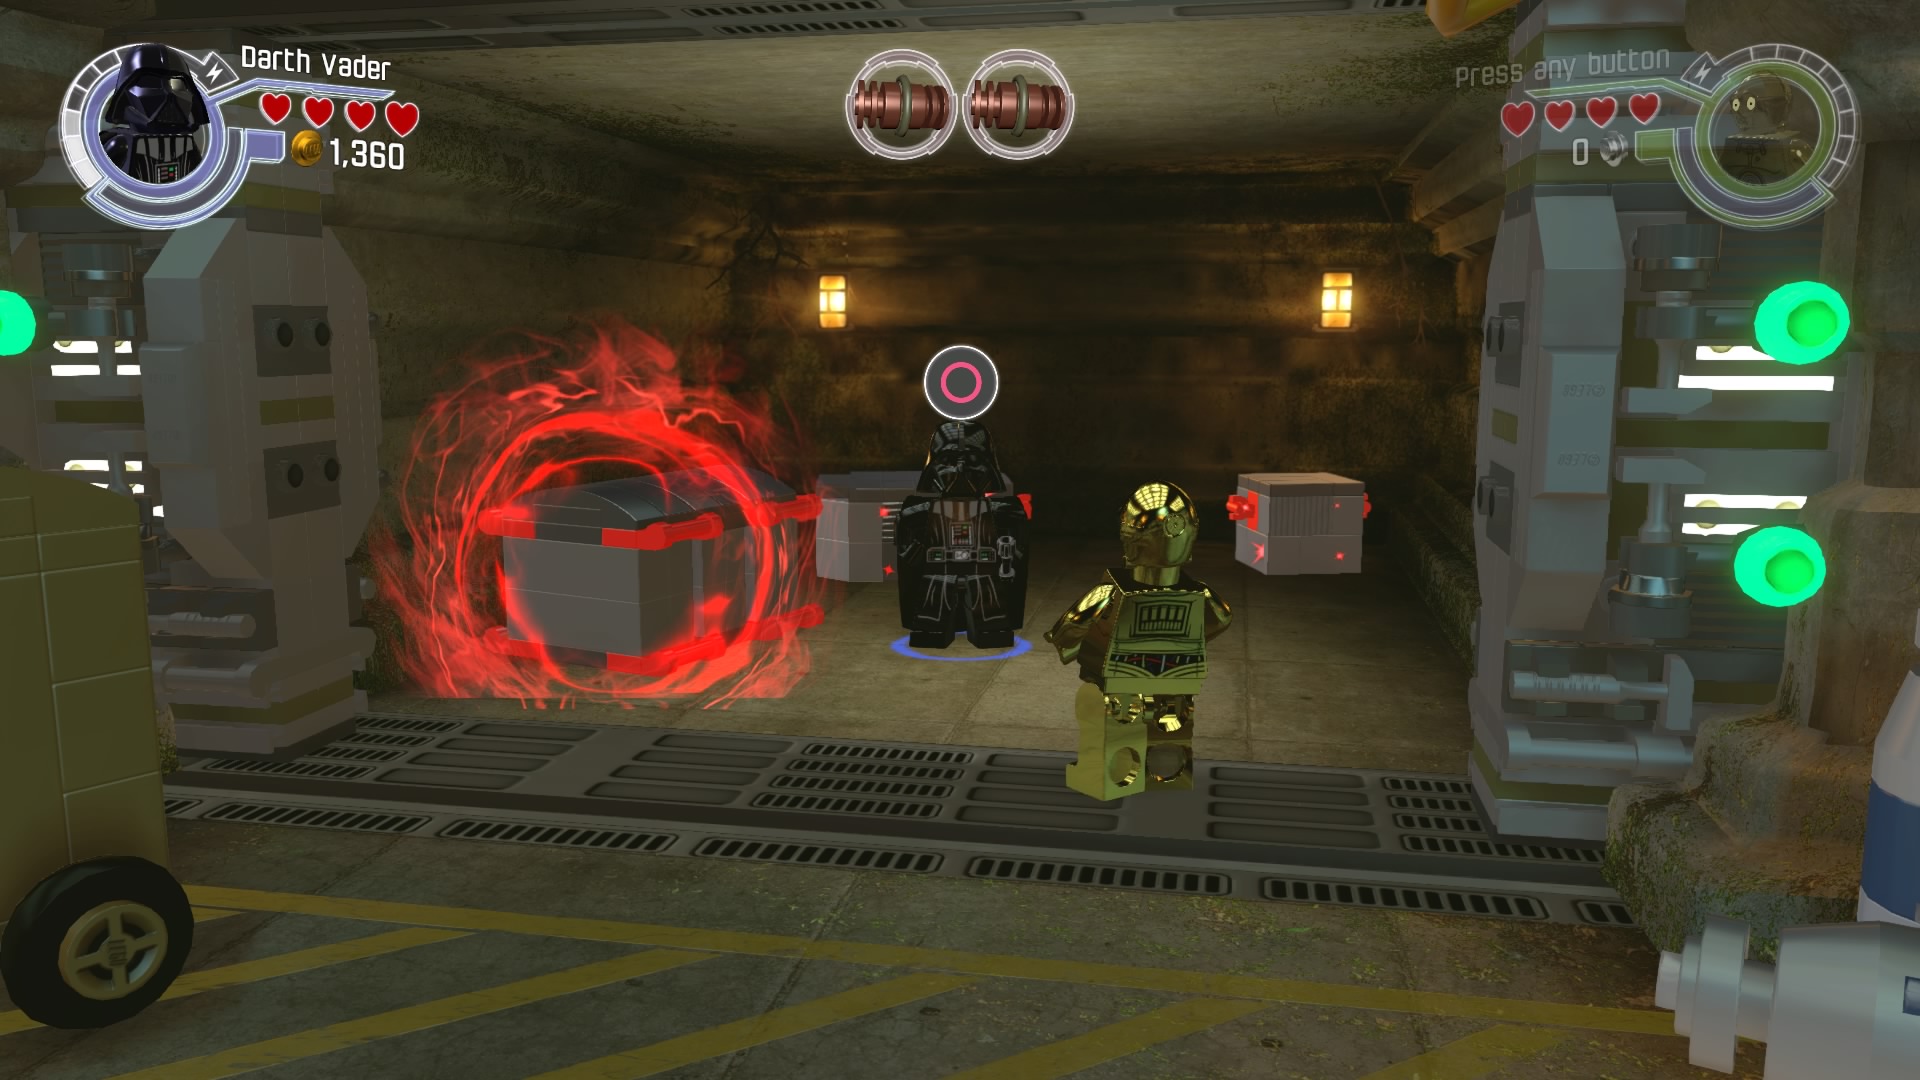
Use the dark force to break open the crates.
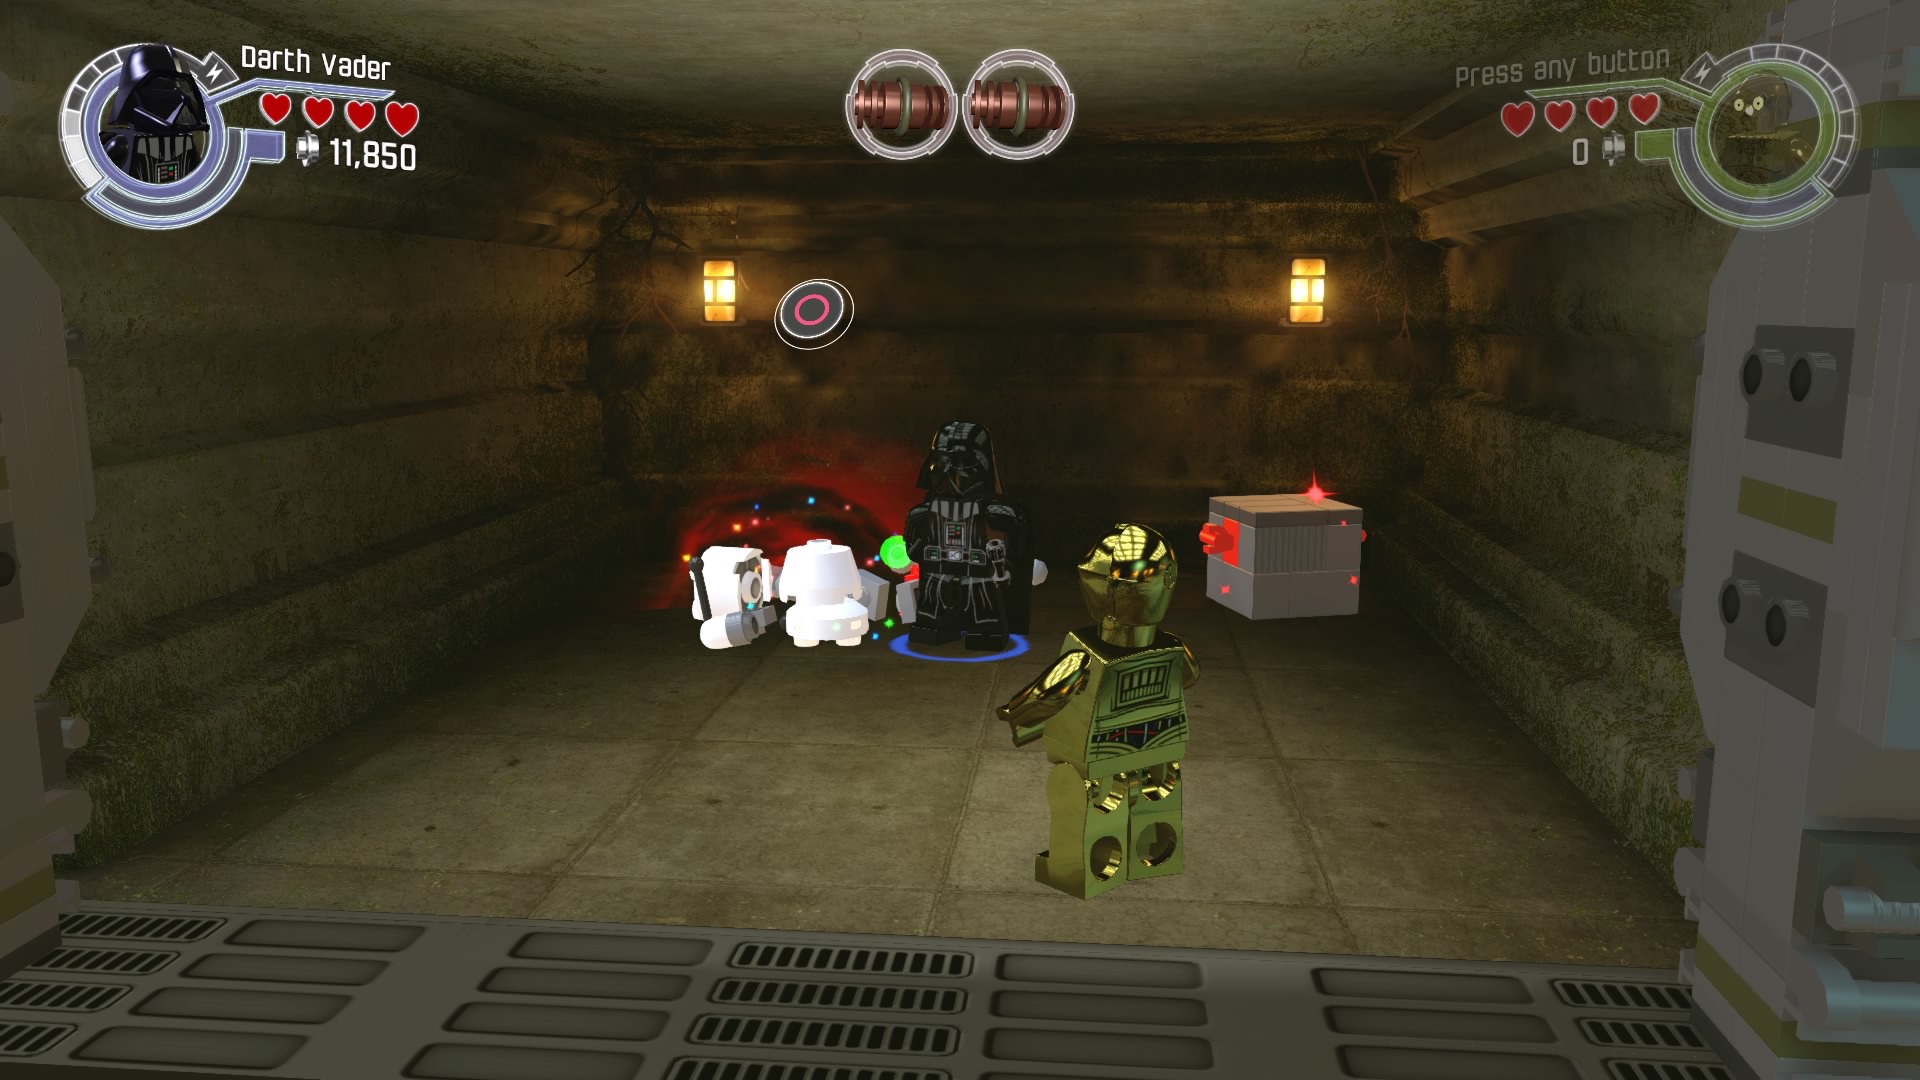
You'll find the parts for the minikit inside.
Minikit #3
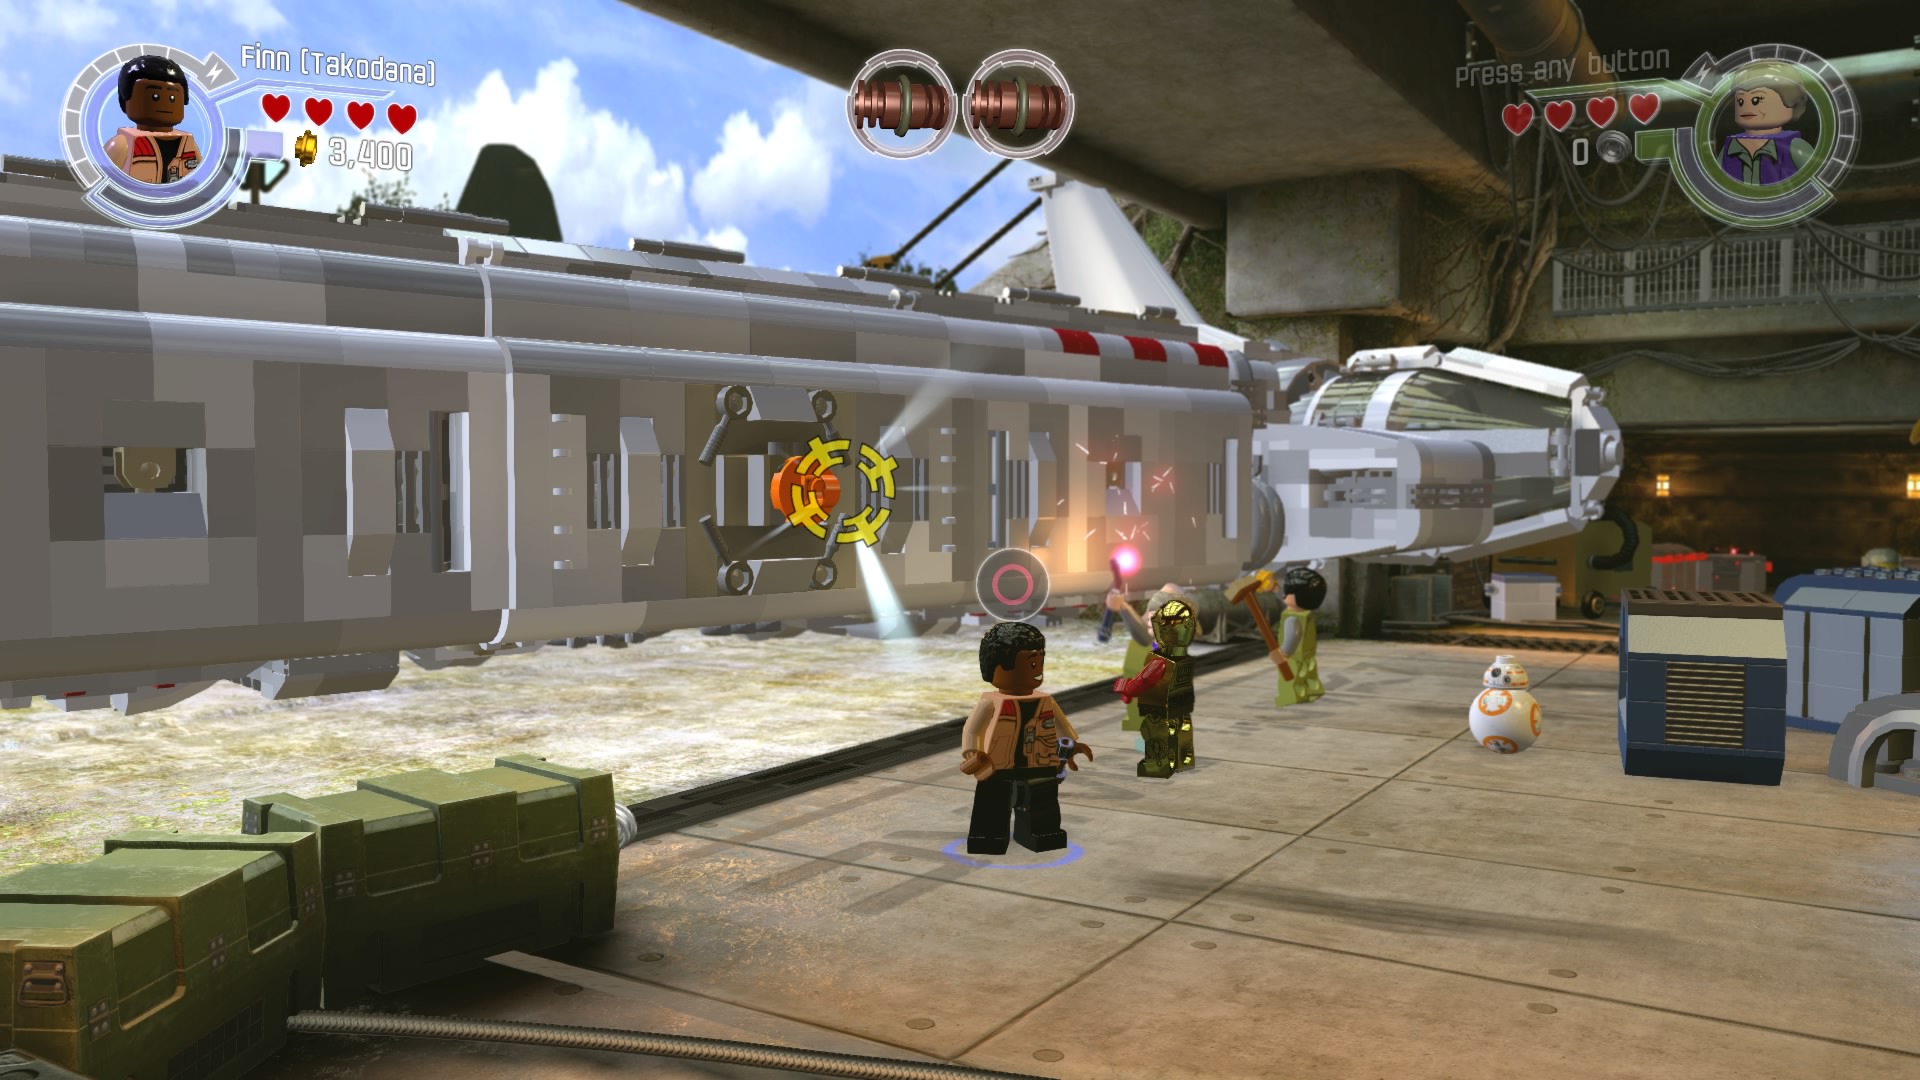
For the next minikit, you need to reconstruct three droids. The parts for the first one can be released by using the grapple plug on the left.
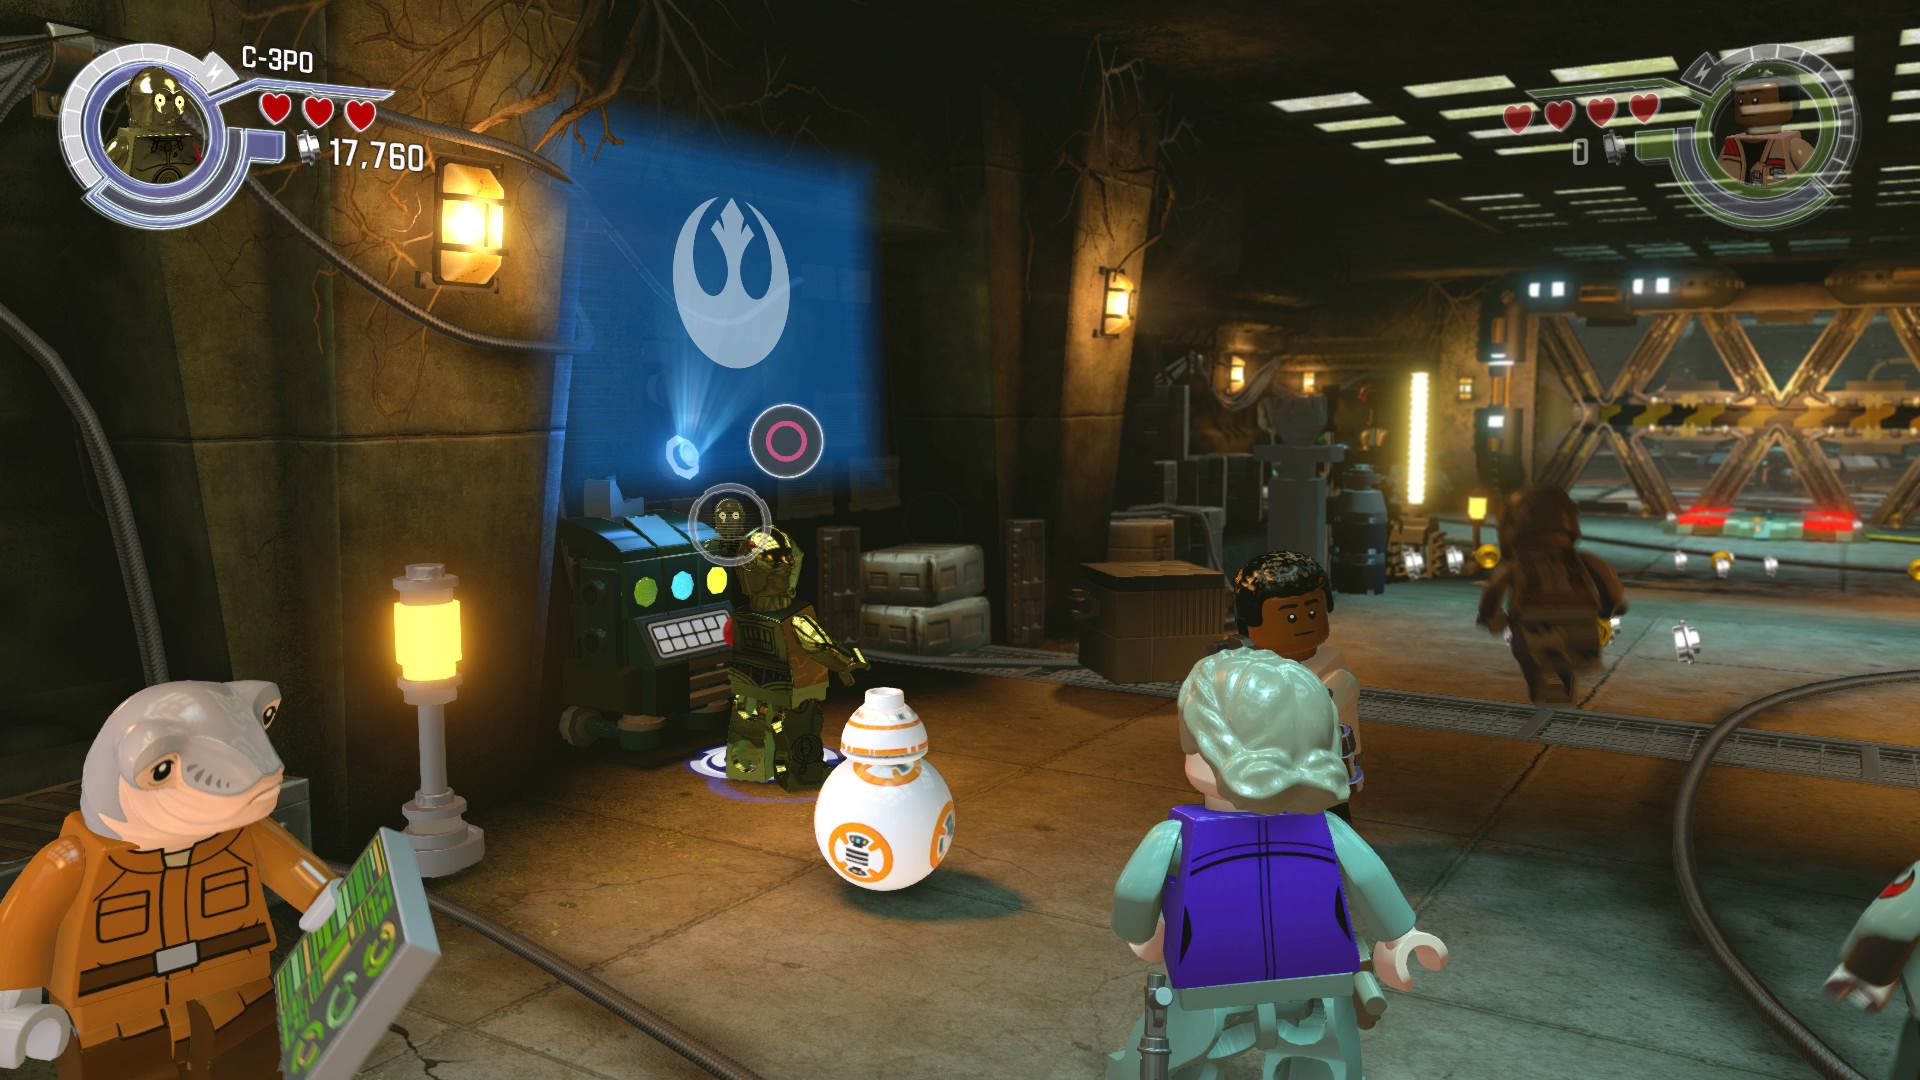
After opening the main doors and going into the corridor beyond, use the rebel access terminal on the left to get parts for the second droid.
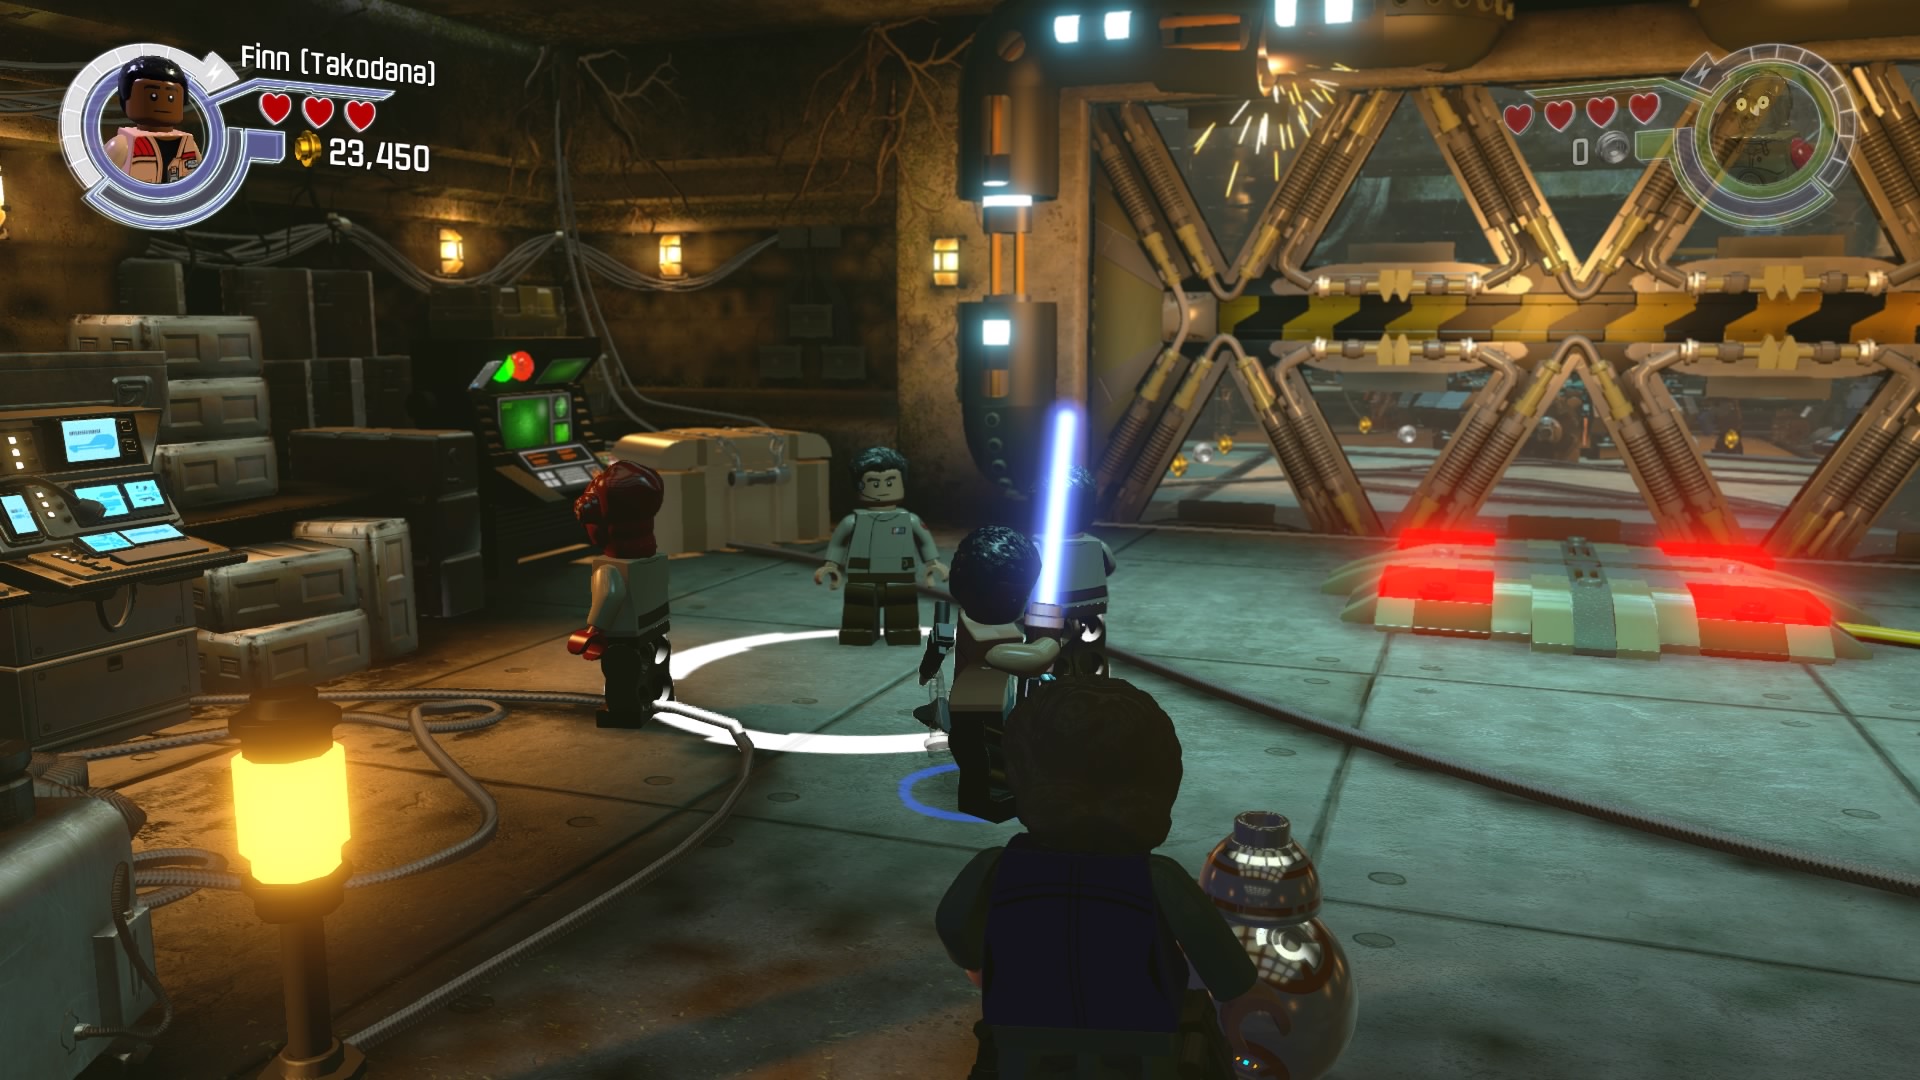
Destroy the large beige crate to the left of the last door for the parts to make the final droid.
Minikit #4 - Free Play Mode

As part of the story, you'll need to open the door to the frozen room.
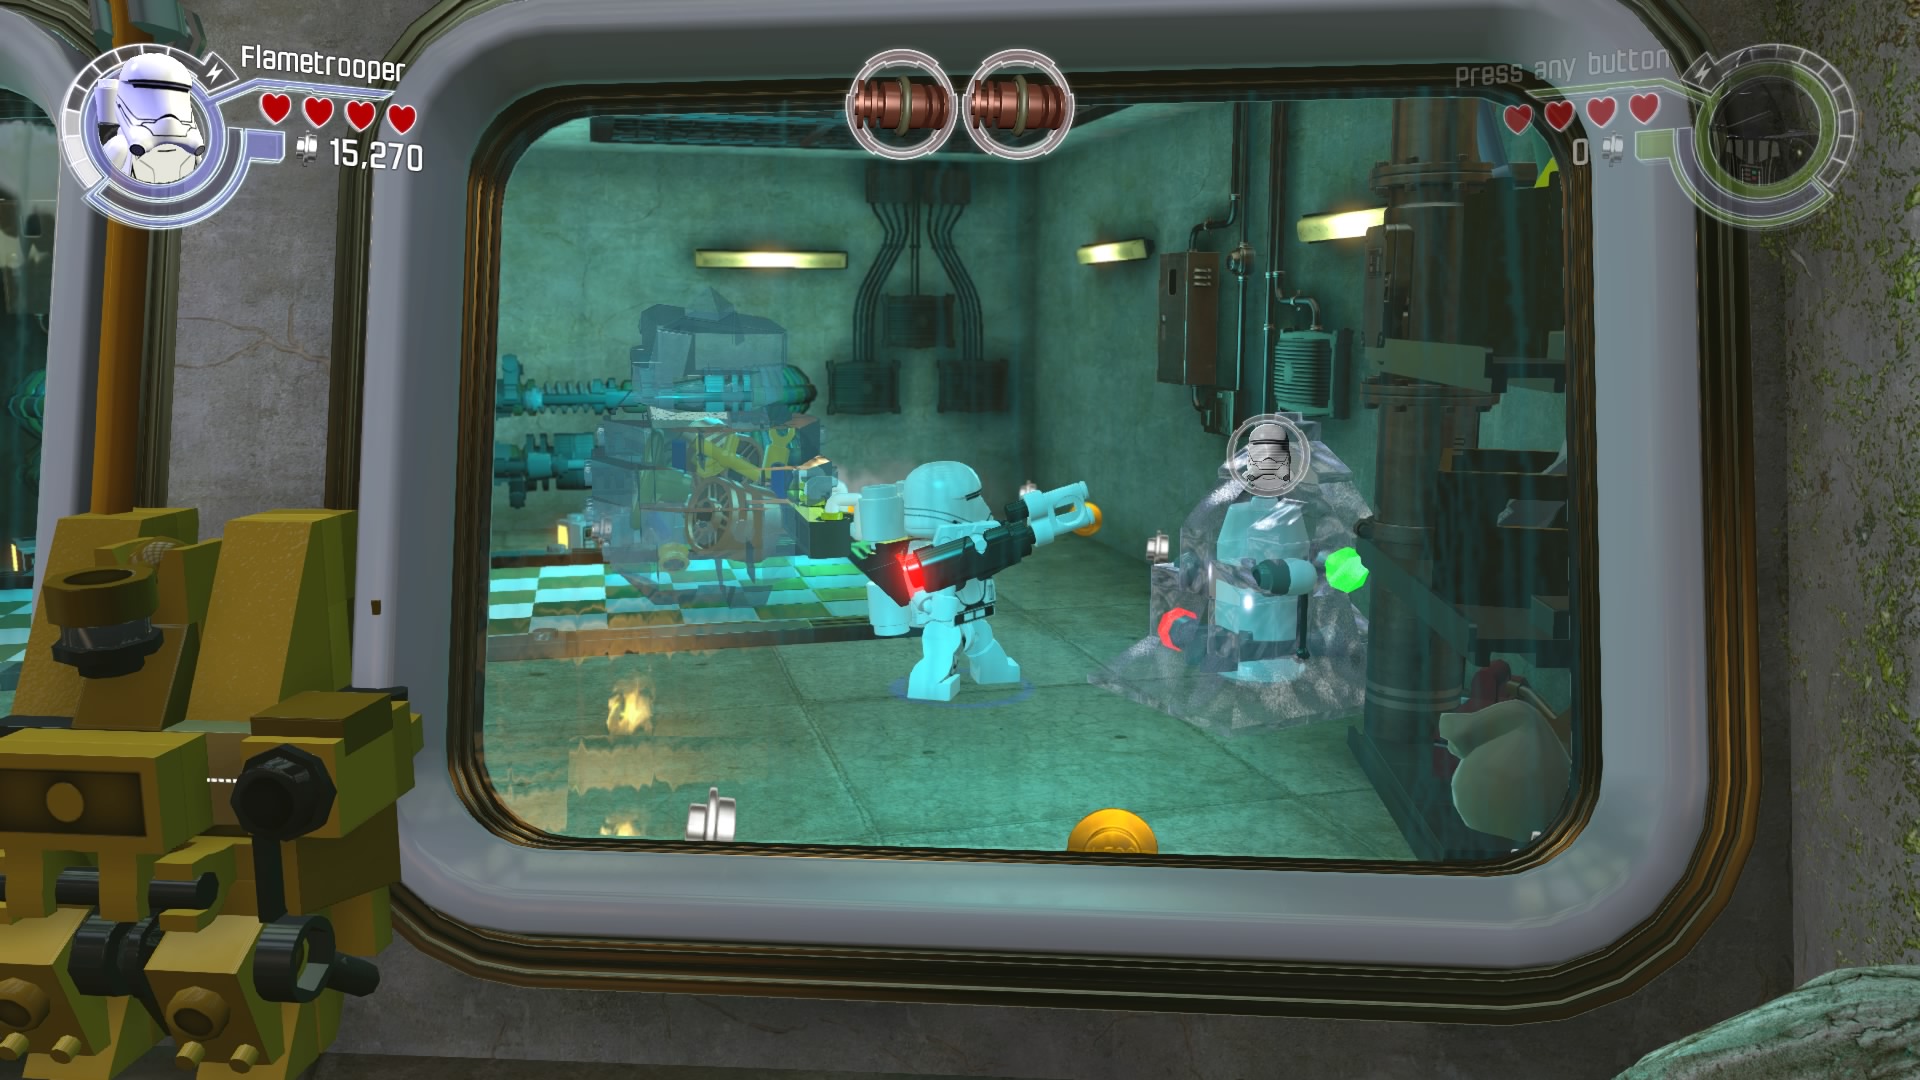
Once inside, use a Flametrooper to thaw the minikit.
Minikit #5
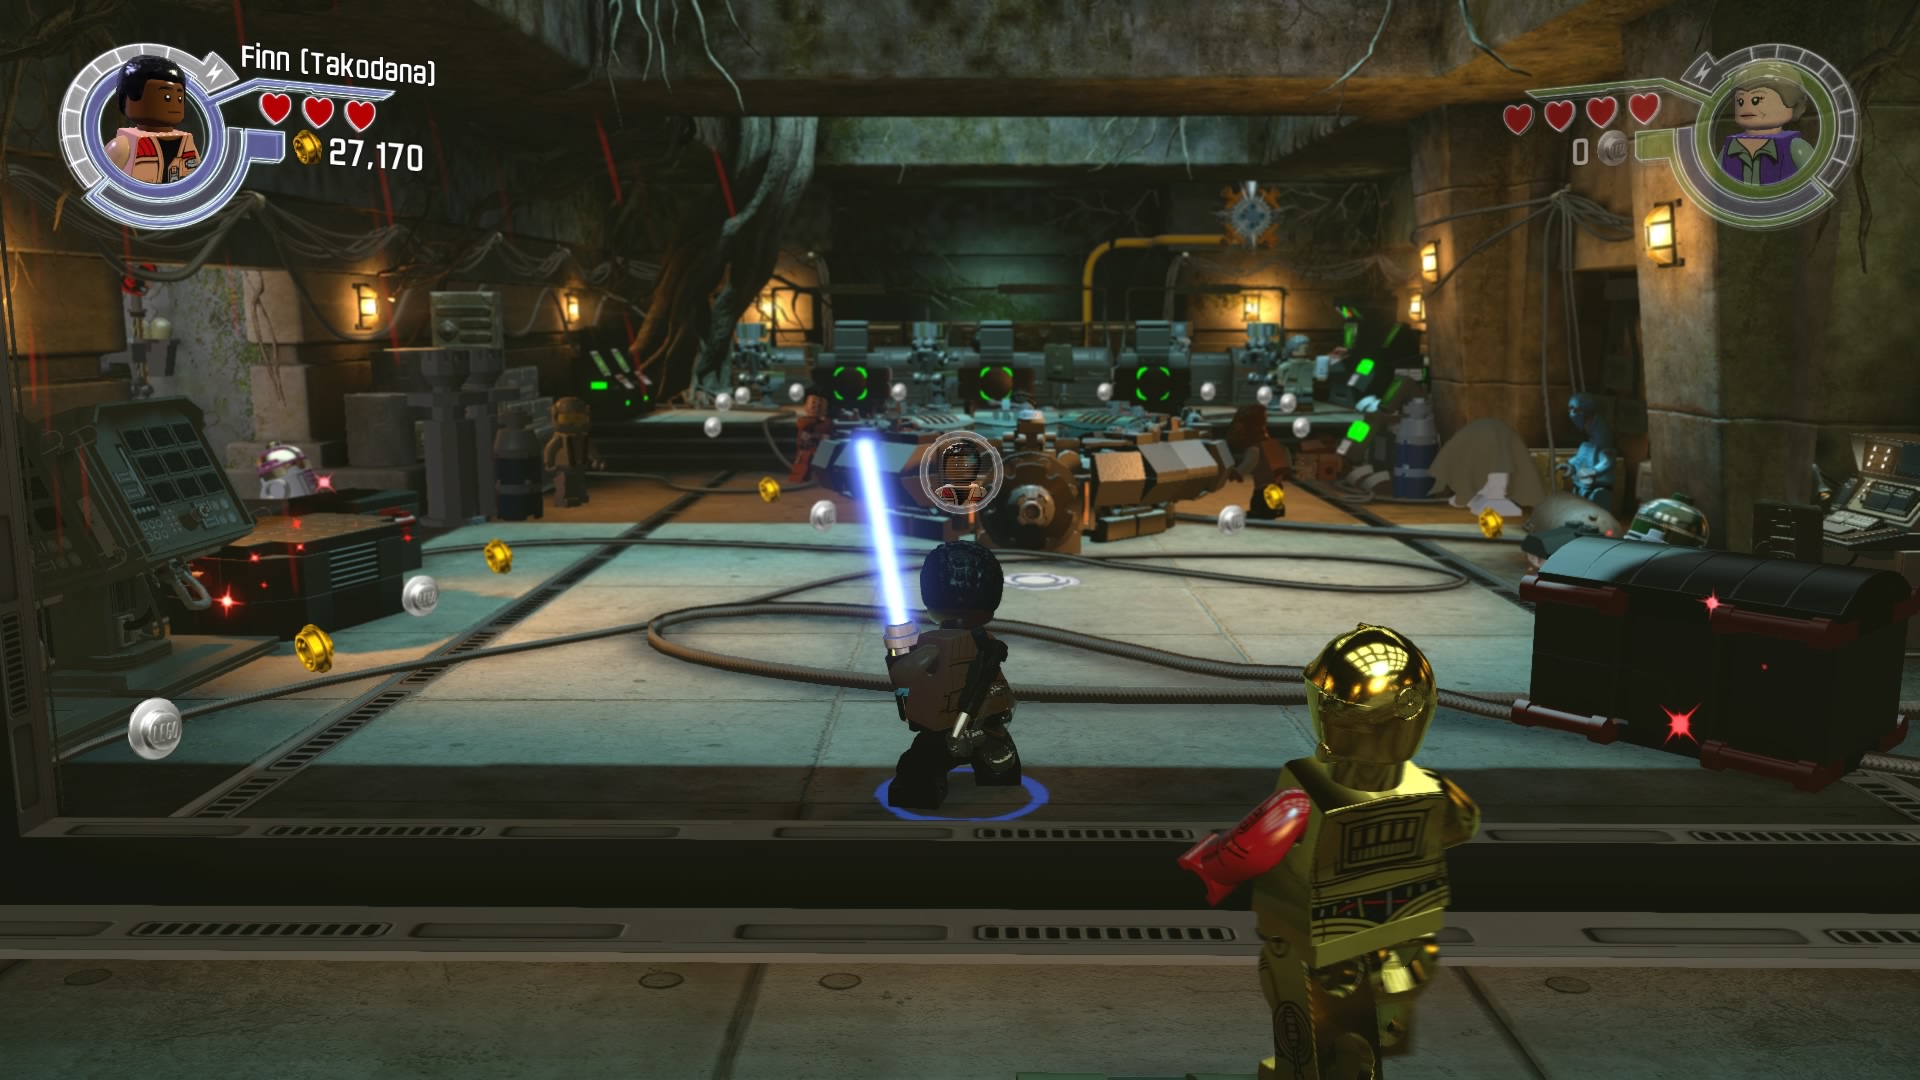
After opening the pressure plate door, head to the back right of the room.
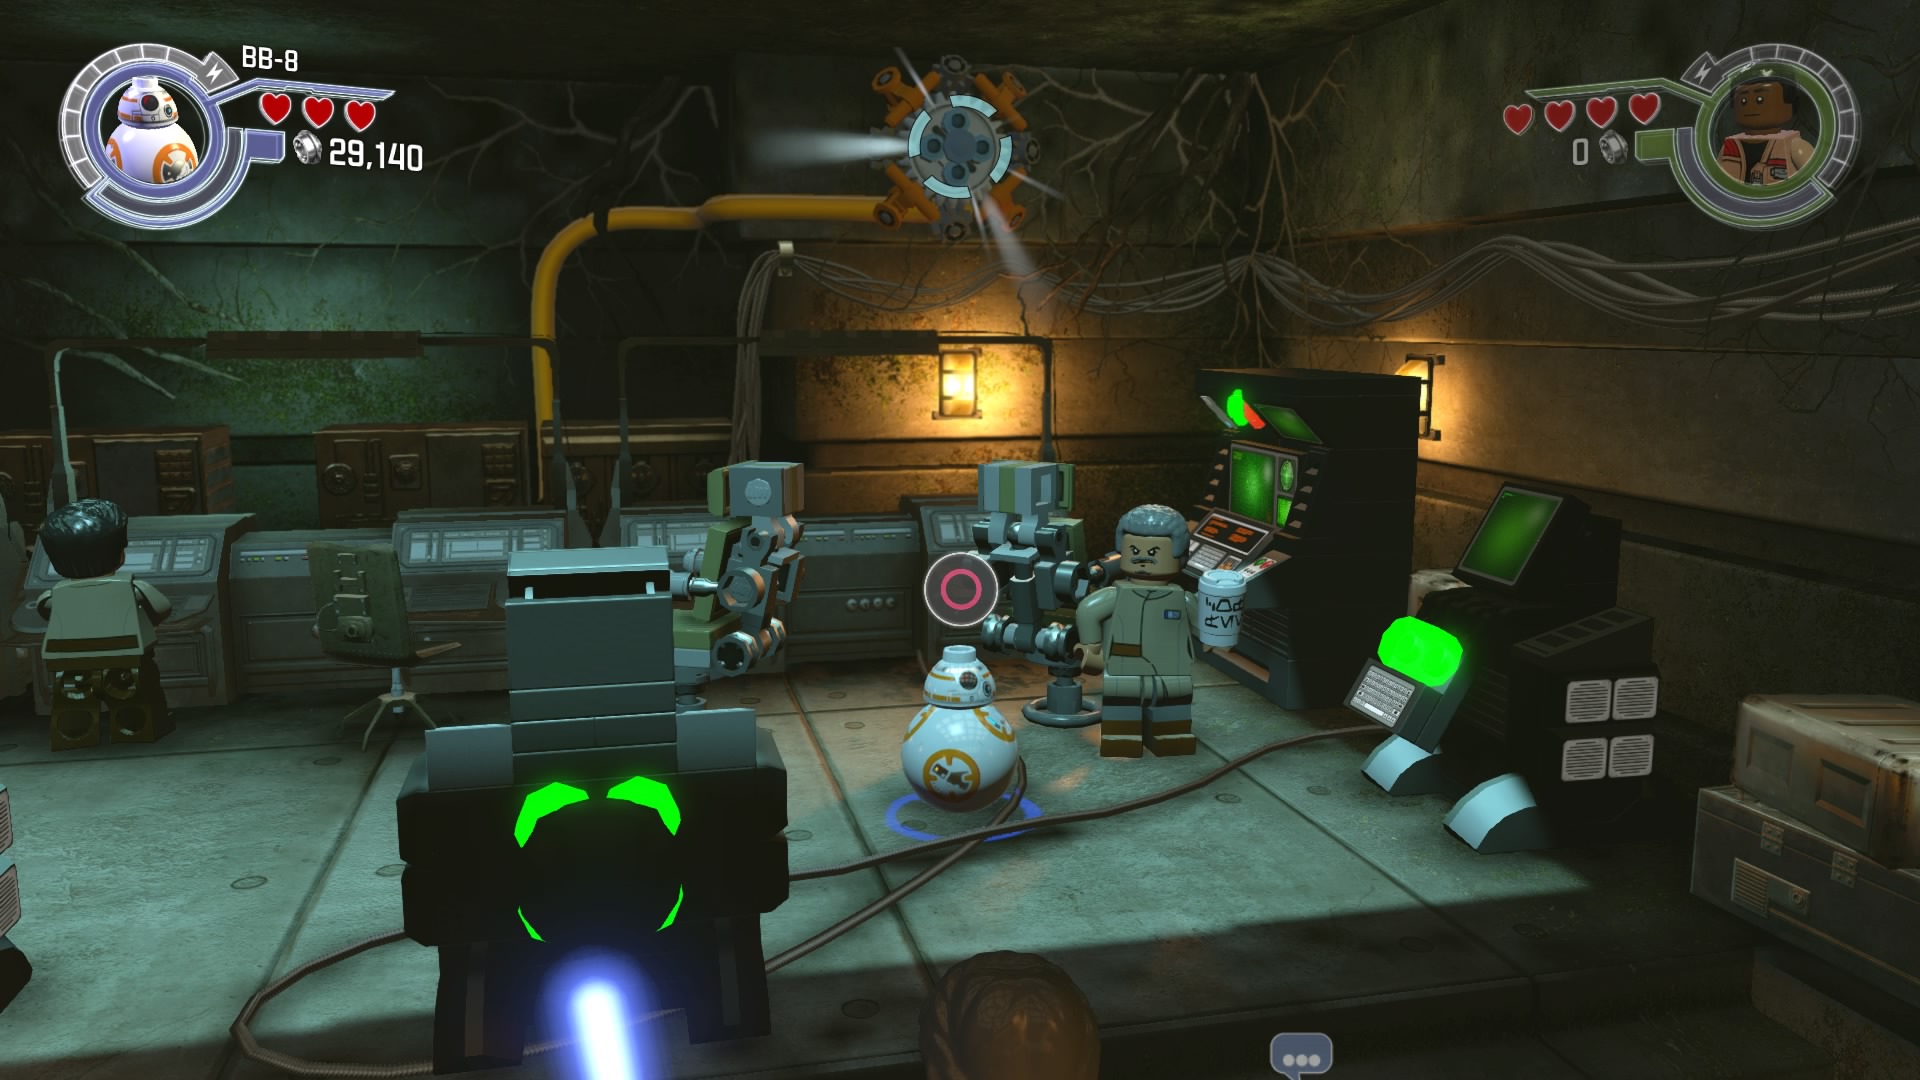
Have BB-8 do his thing with the socket.
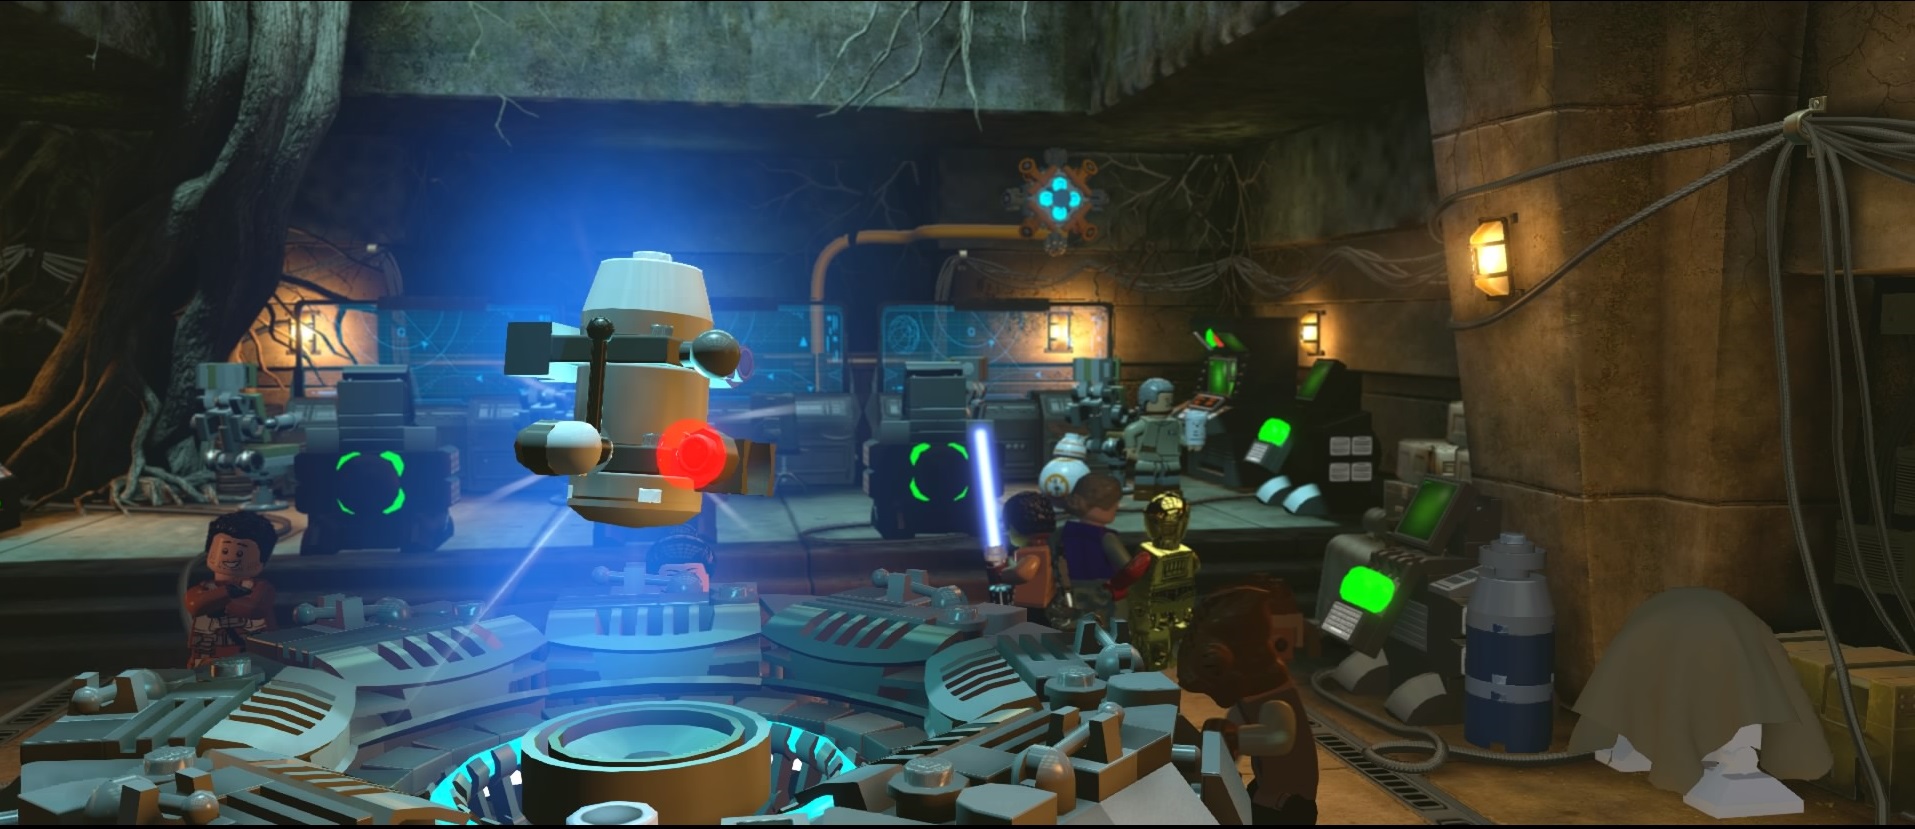
Grab the minikit from the centre of the room, and we're done.
Table of Contents:
- Prologue: The Battle of Endor - Endor Shield Generator
- Prologue: The Battle of Endor - Death Star Throne Room
- Prologue: The Battle of Endor - Death Star Attack
- Chapter 1: Assault On Jakku - Village Retreat
- Chapter 1: Assault On Jakku - First Order Assault
- Chapter 2: Escape From The Finalizer - Finalizer Hangar
- Chapter 2: Escape From The Finalizer - Star Destroyer Exterior
- Chapter 2: Escape From The Finalizer - Jakku Graveyard
- Chapter 3: Niima Outpost - Niima Outpost
- Chapter 3: Niima Outpost - Niima Bombardment
- Chapter 3: Niima Outpost - Jakku Graveyard Flight
- Chapter 4: The Eravana - Freighter Battle
- Chapter 4: The Eravana - Freighter Chase
- Chapter 4: The Eravana - Freighter Shutdown
- Chapter 5: Maz’s Castle - Castle Approach
- Chapter 5: Maz’s Castle - Castle Basement
- Chapter 6: Battle of Takodana - Castle Corridors
- Chapter 6: Battle of Takodana - Takodana Skies
- Chapter 7: The Resistance - Resistance Base
- Chapter 7: The Resistance - Resistance Hangar
- Chapter 8: Starkiller Sabotage - Starkiller Crash Site
- Chapter 8: Starkiller Sabotage - Starkiller Wall
- Chapter 8: Starkiller Sabotage - Starkiller Shield Room
- Chapter 9: Destroy Starkiller Base - Assault on Starkiller
- Chapter 9: Destroy Starkiller Base - Rey's Escape
- Chapter 9: Destroy Starkiller Base - Oscillator Interior
- Chapter 10: The Finale - Oscillator Bombing Run
- Chapter 10: The Finale - Starkiller Showdown
- Epilogue: Luke’s Island
- Adventure Level 1: Poe To The Rescue - Trash Compactor
- Adventure Level 1: Poe To The Rescue - Hangar Battle
- Adventure Level 1: Poe To The Rescue - Asteroid Escape
- Adventure Level 2: Lor San Tekka’s Return - Kelvin Ravine
- Adventure Level 3: Rathtar Hunting - Rathtar Caverns
- Adventure Level 3: Rathtar Hunting - Loading Area
- Adventure Level 4: The Crimson Corsair - Landing Site
- Adventure Level 5: Trouble Over Taul - Corvette Interior
- Adventure Level 6: Ottegan Assault - Ottegan Pursuit
- Adventure Level 6: Ottegan Assault - Ottegan Surface
Sign up to the GamesRadar+ Newsletter
Weekly digests, tales from the communities you love, and more

