Lego Star Wars: The Force Awakens Minikit locations guide
Find all of the Minikit collectibles in Lego Star Wars: The Force Awakens with our complete guide
Chapter 8: Starkiller Sabotage - Starkiller Shield Room
Of the last four kits, only one is accessible in the story mode, so be sure to swing through again for the other three.
Minikit #1 - Free Play Mode
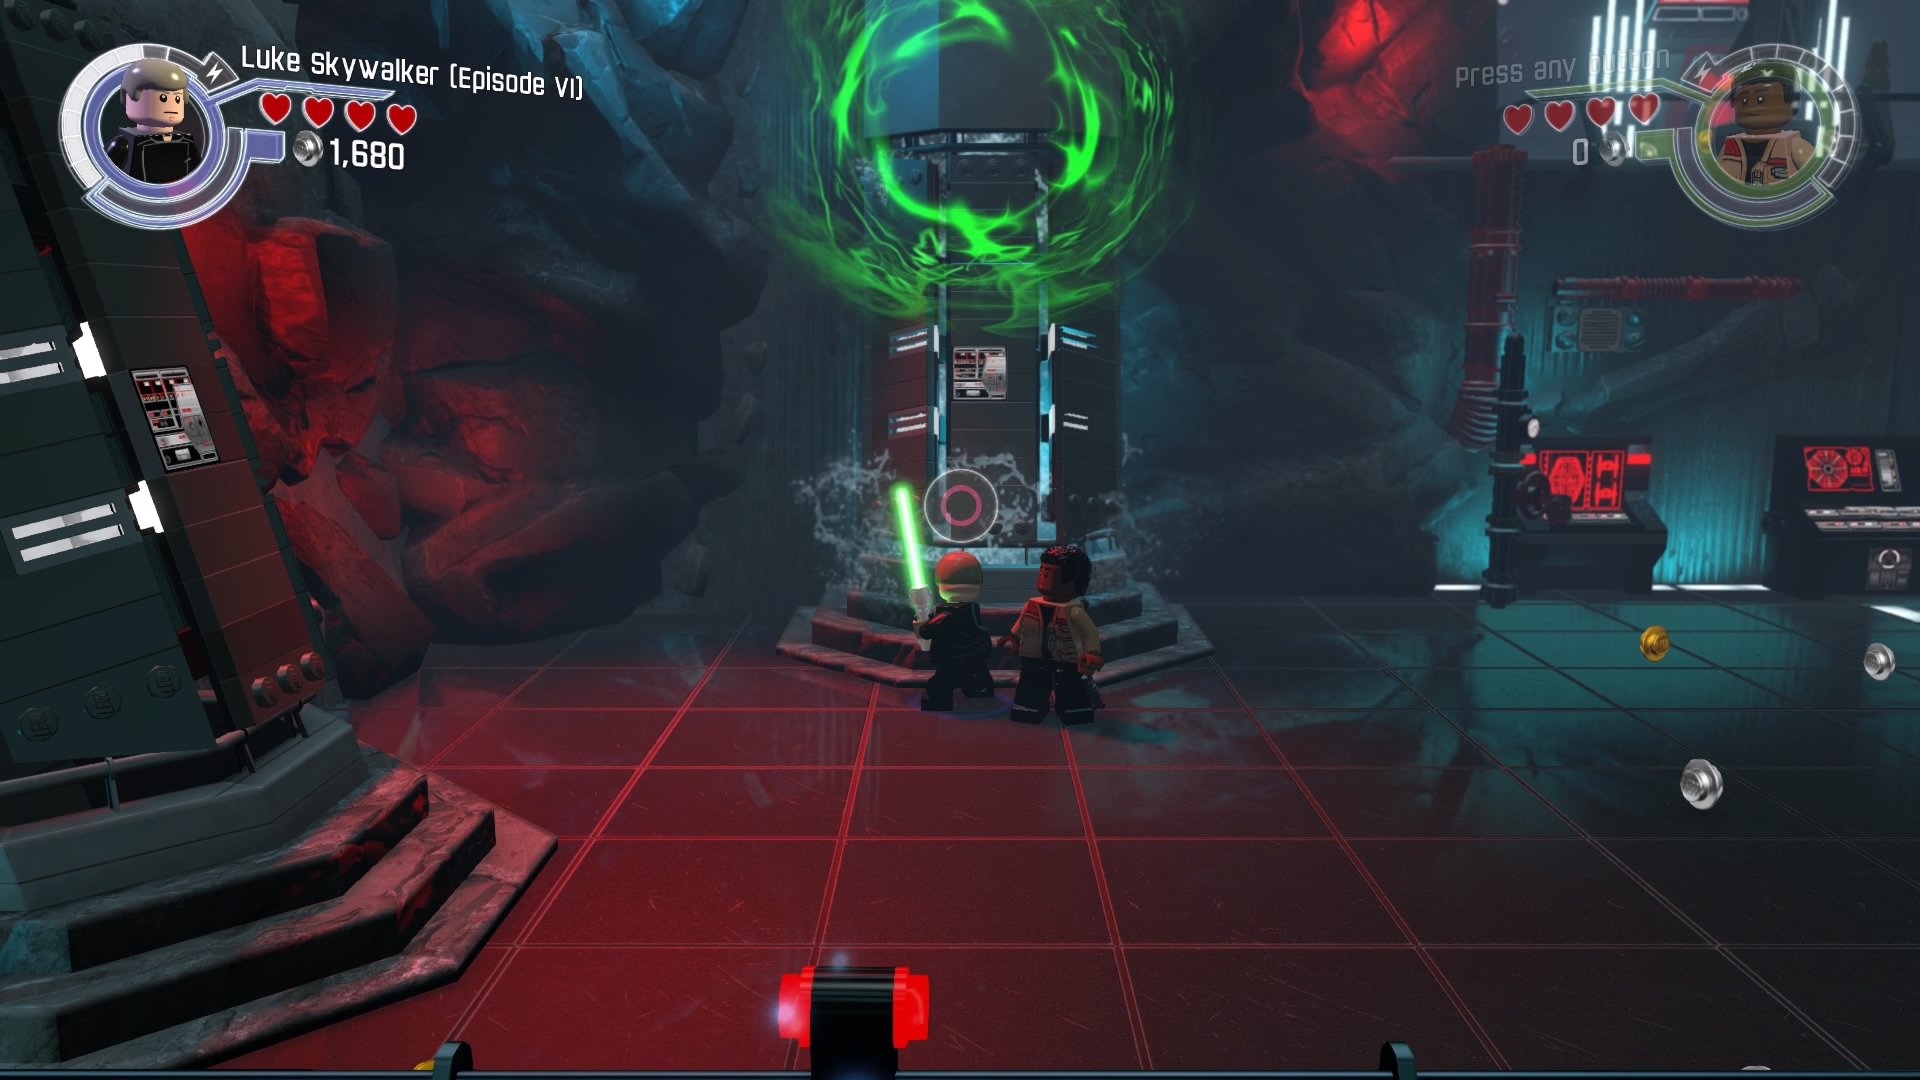
Use the force on the tank at the back of the room at the start of this area.
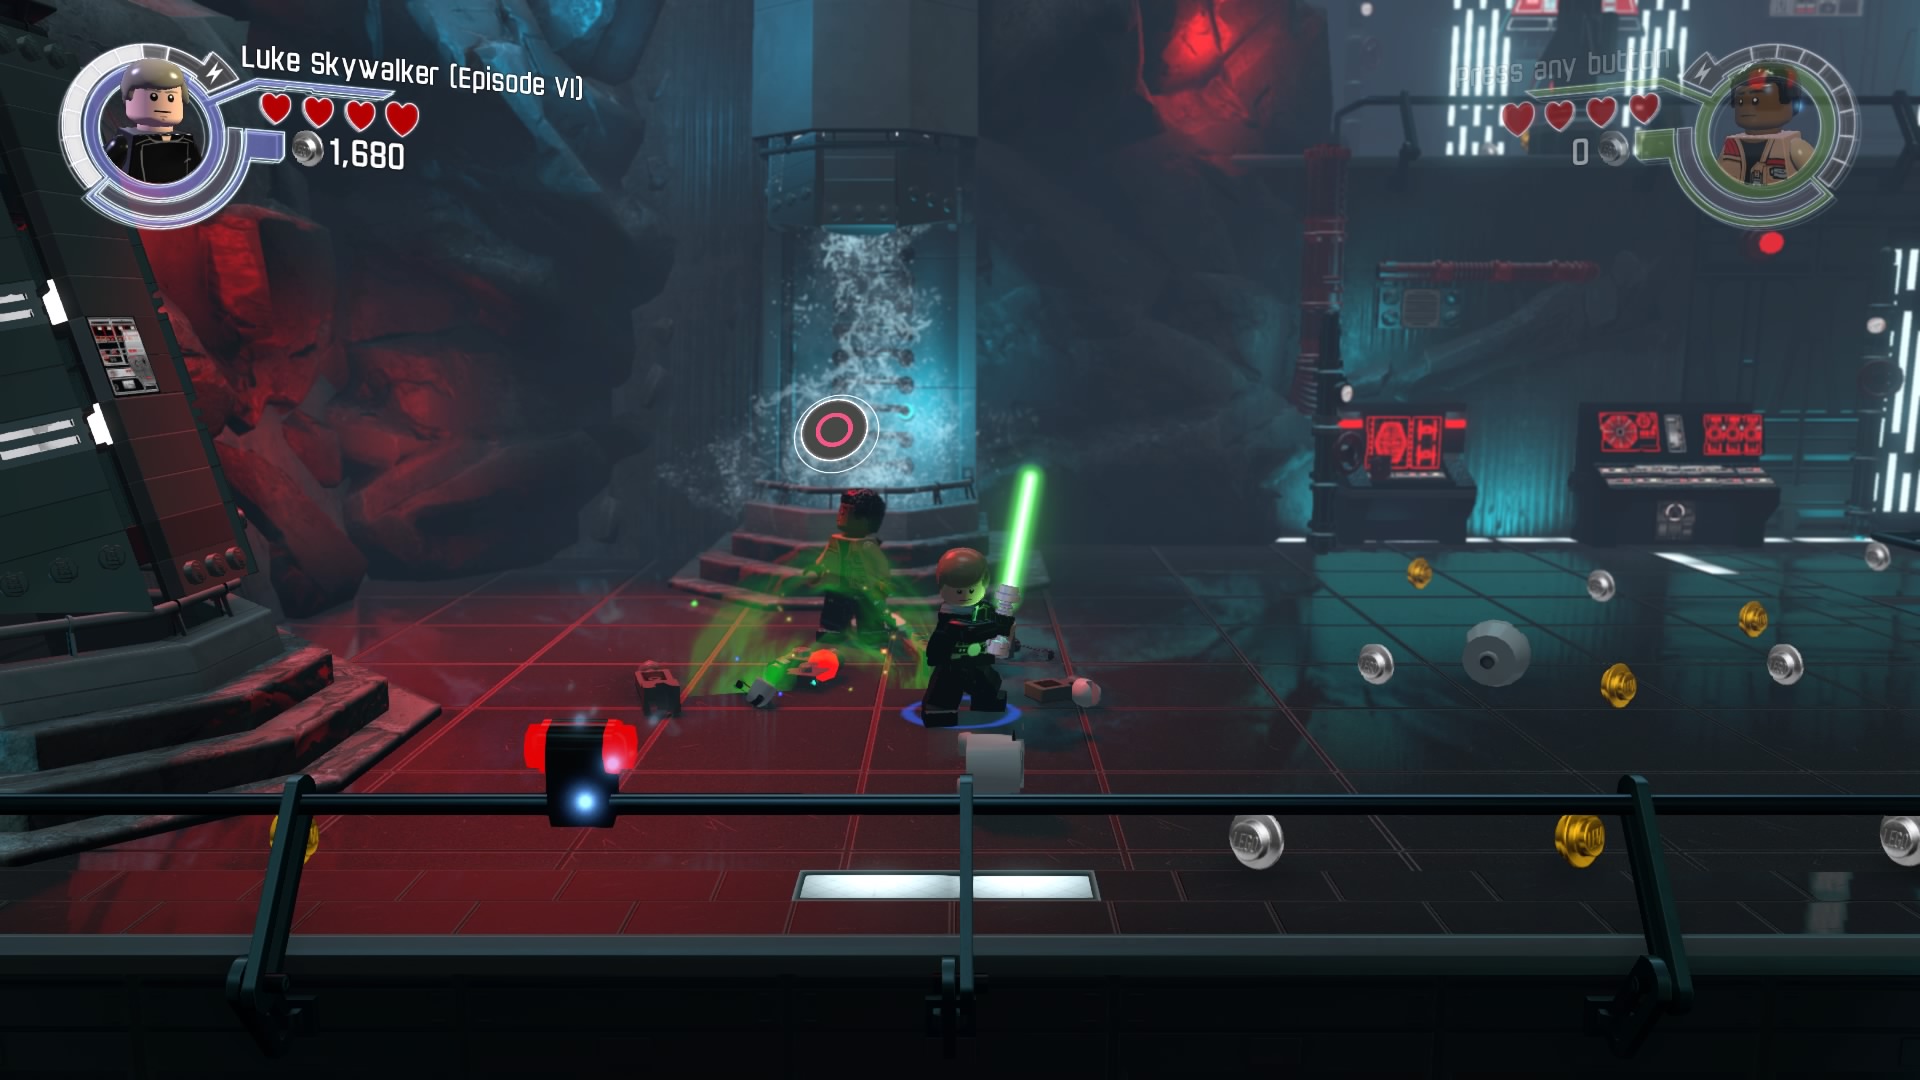
You'll get parts for the first minikit.
Minikit #2 - Free Play Mode
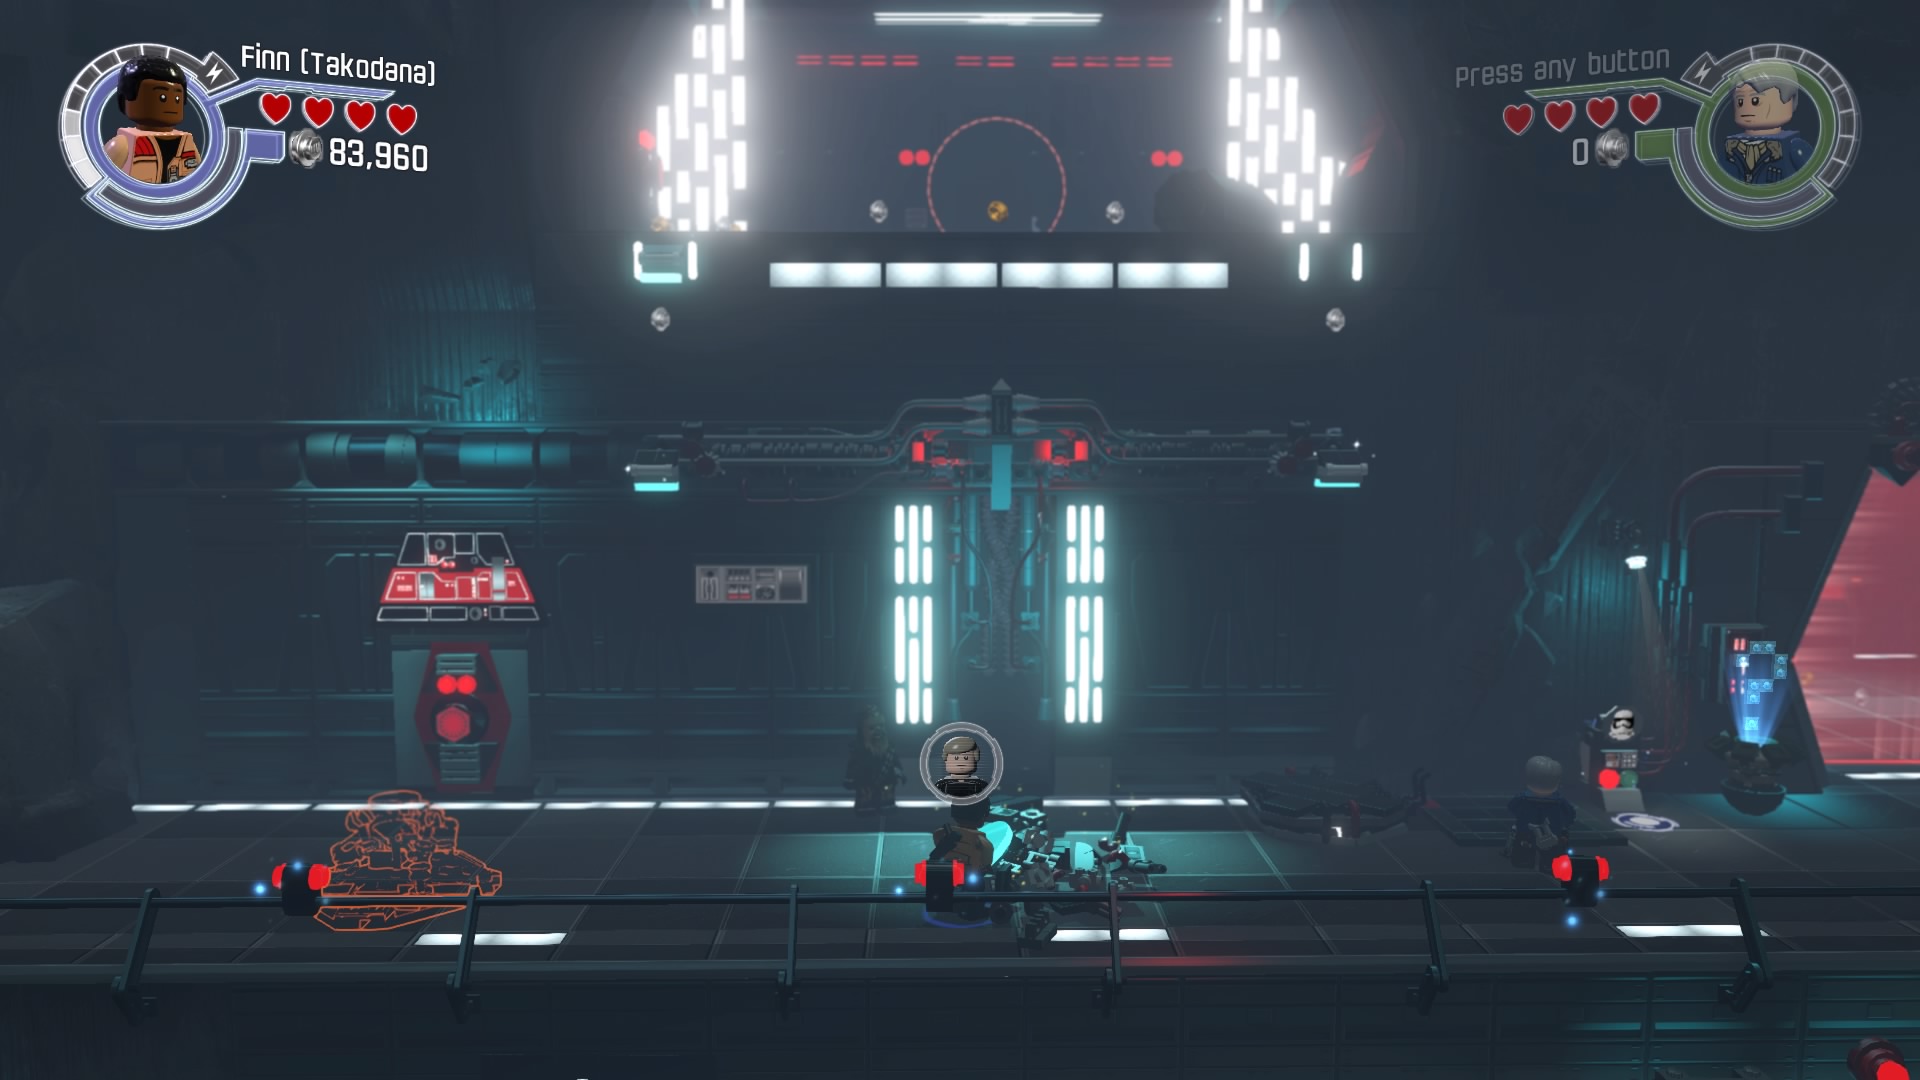
Head up the stairs and over to the left. Destroy the objects here for parts.
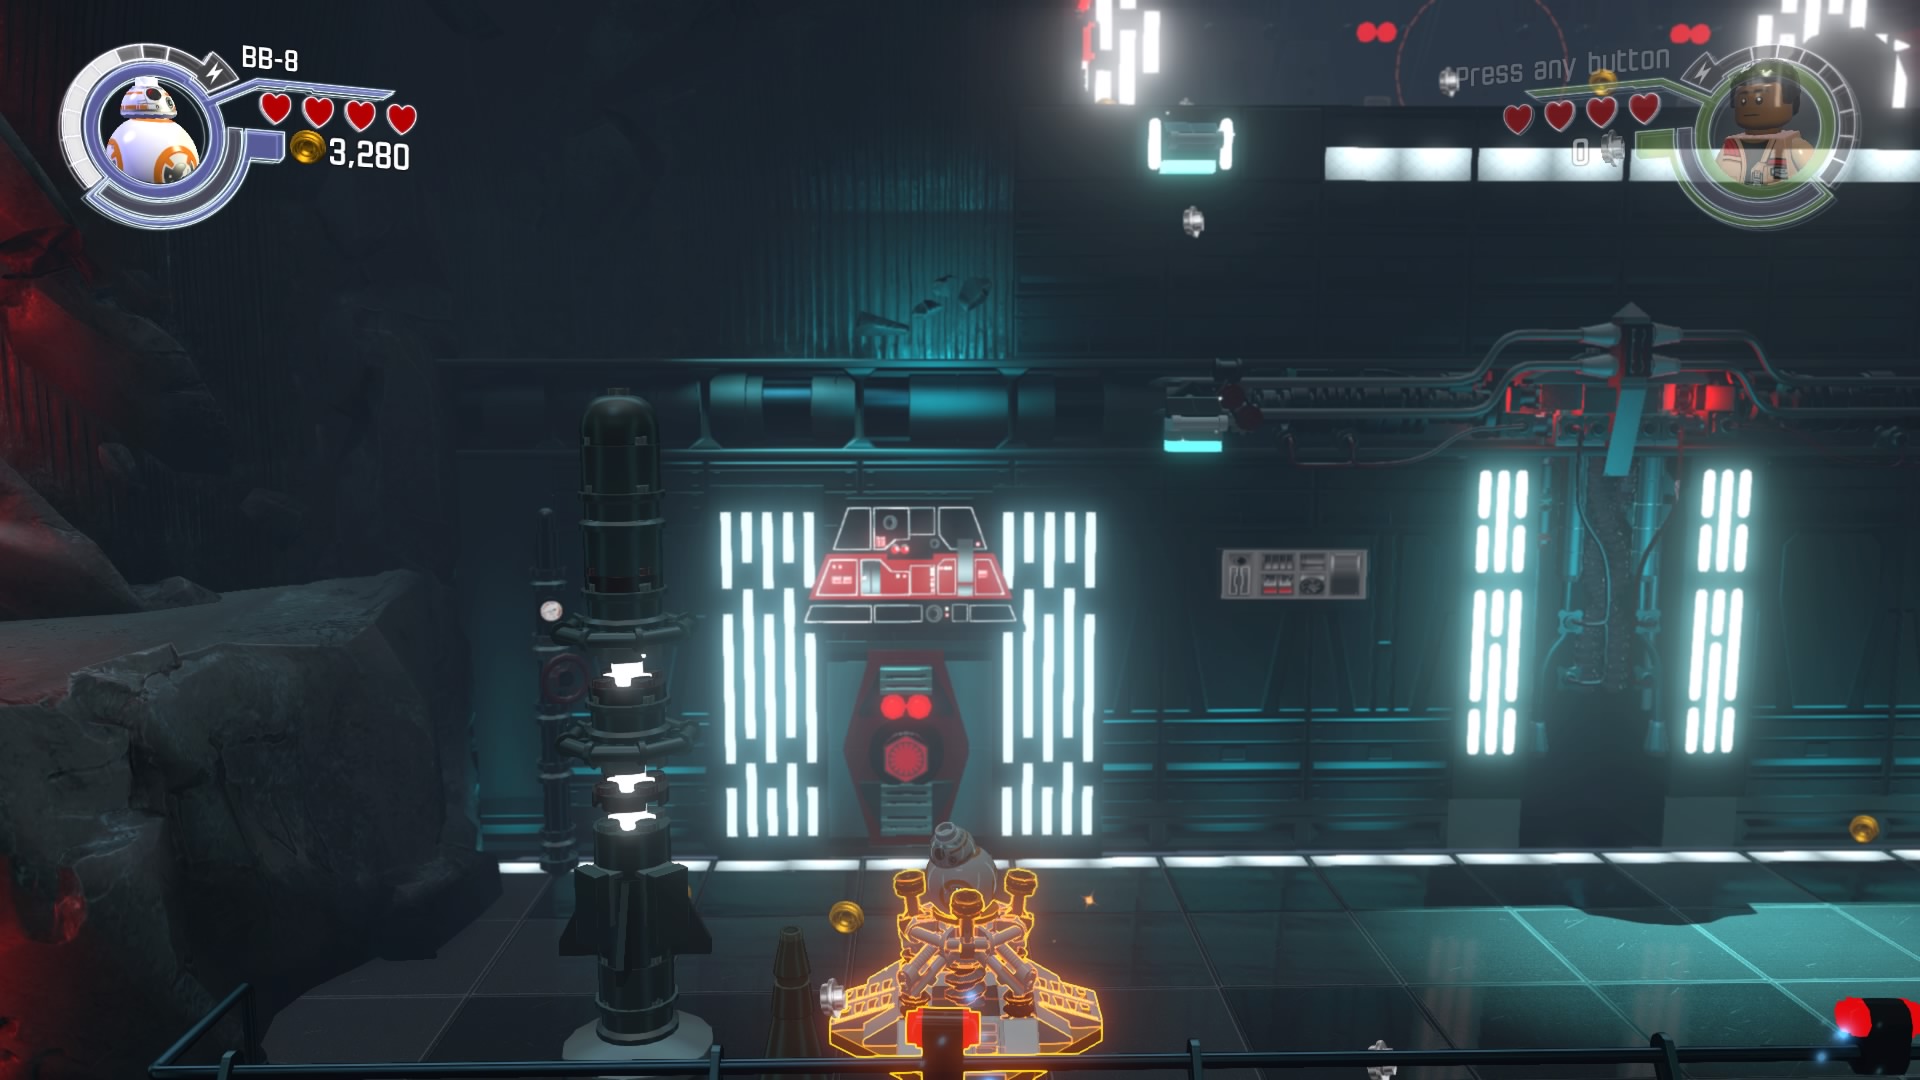
Reassemble them into a BB-8 platform and hop on.
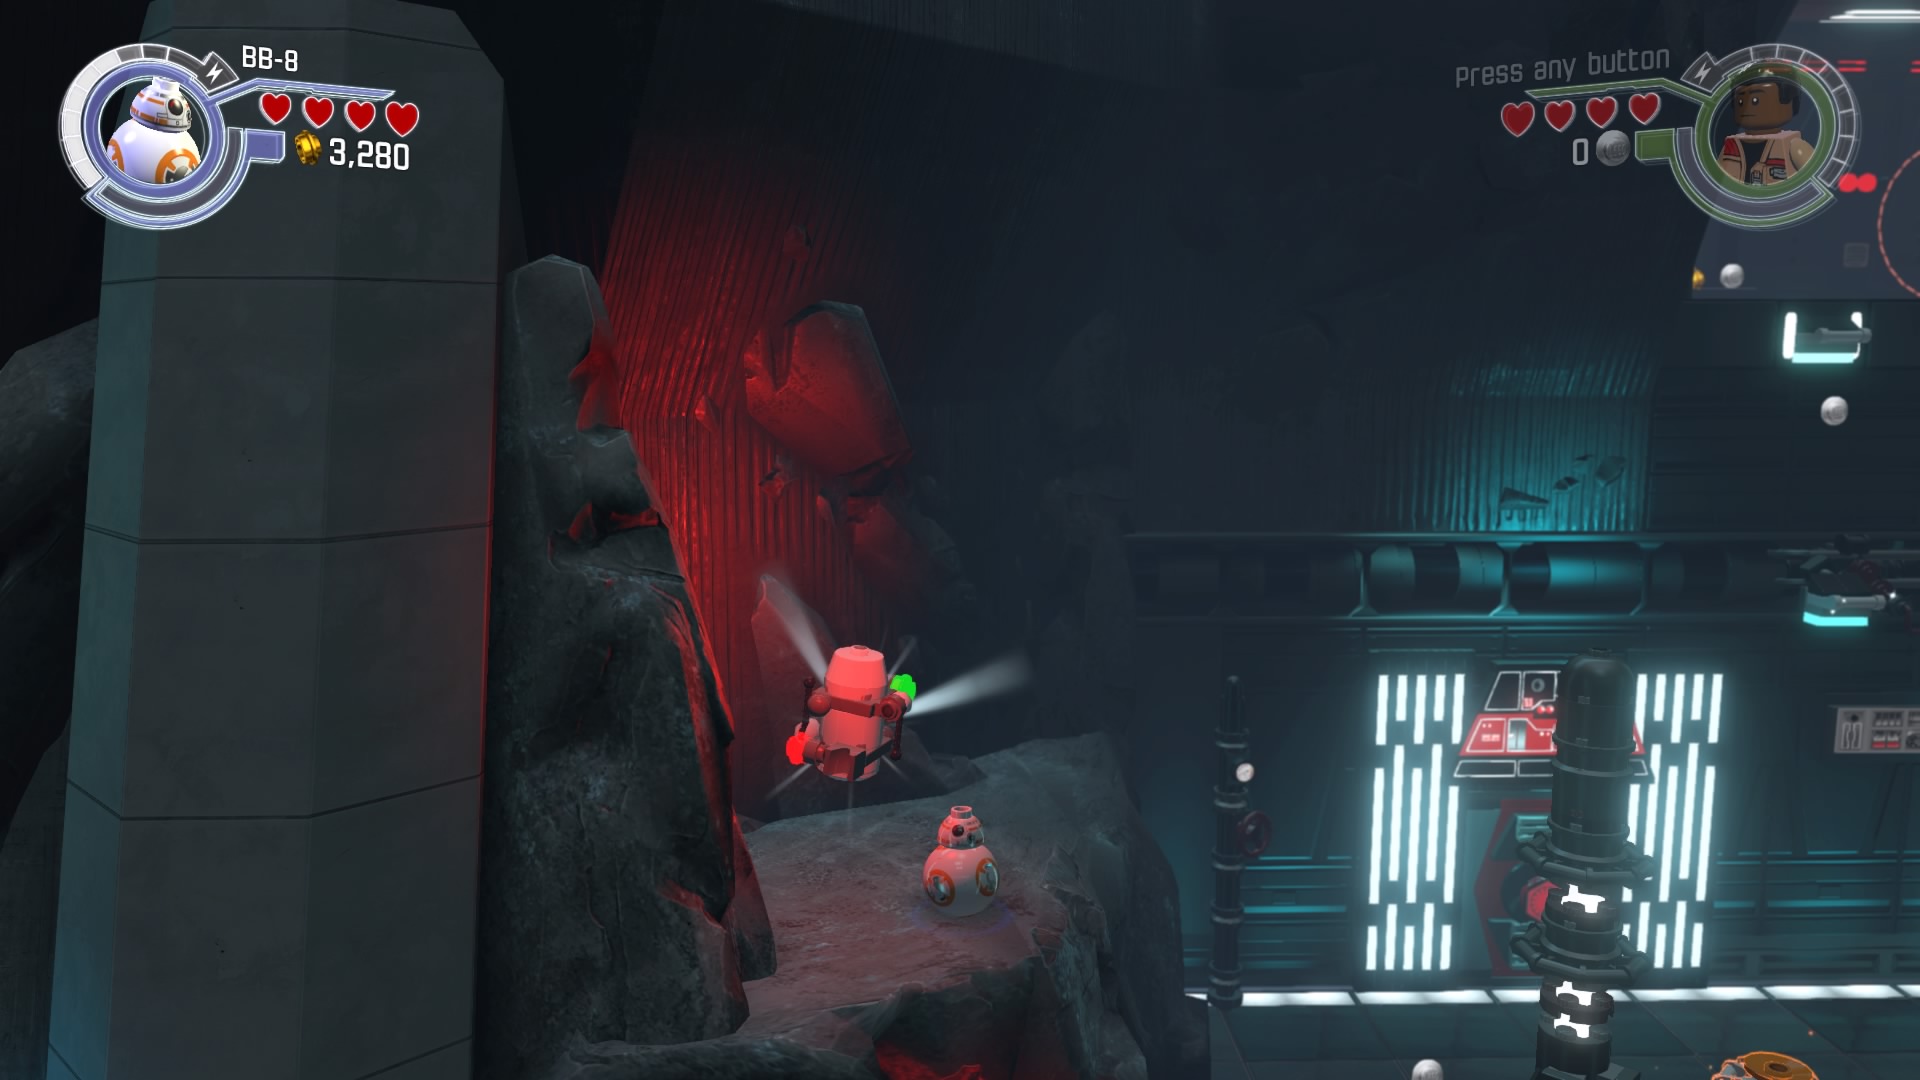
You'll be launched up to the ledge where you can pick up the minikit.
Minikit #3
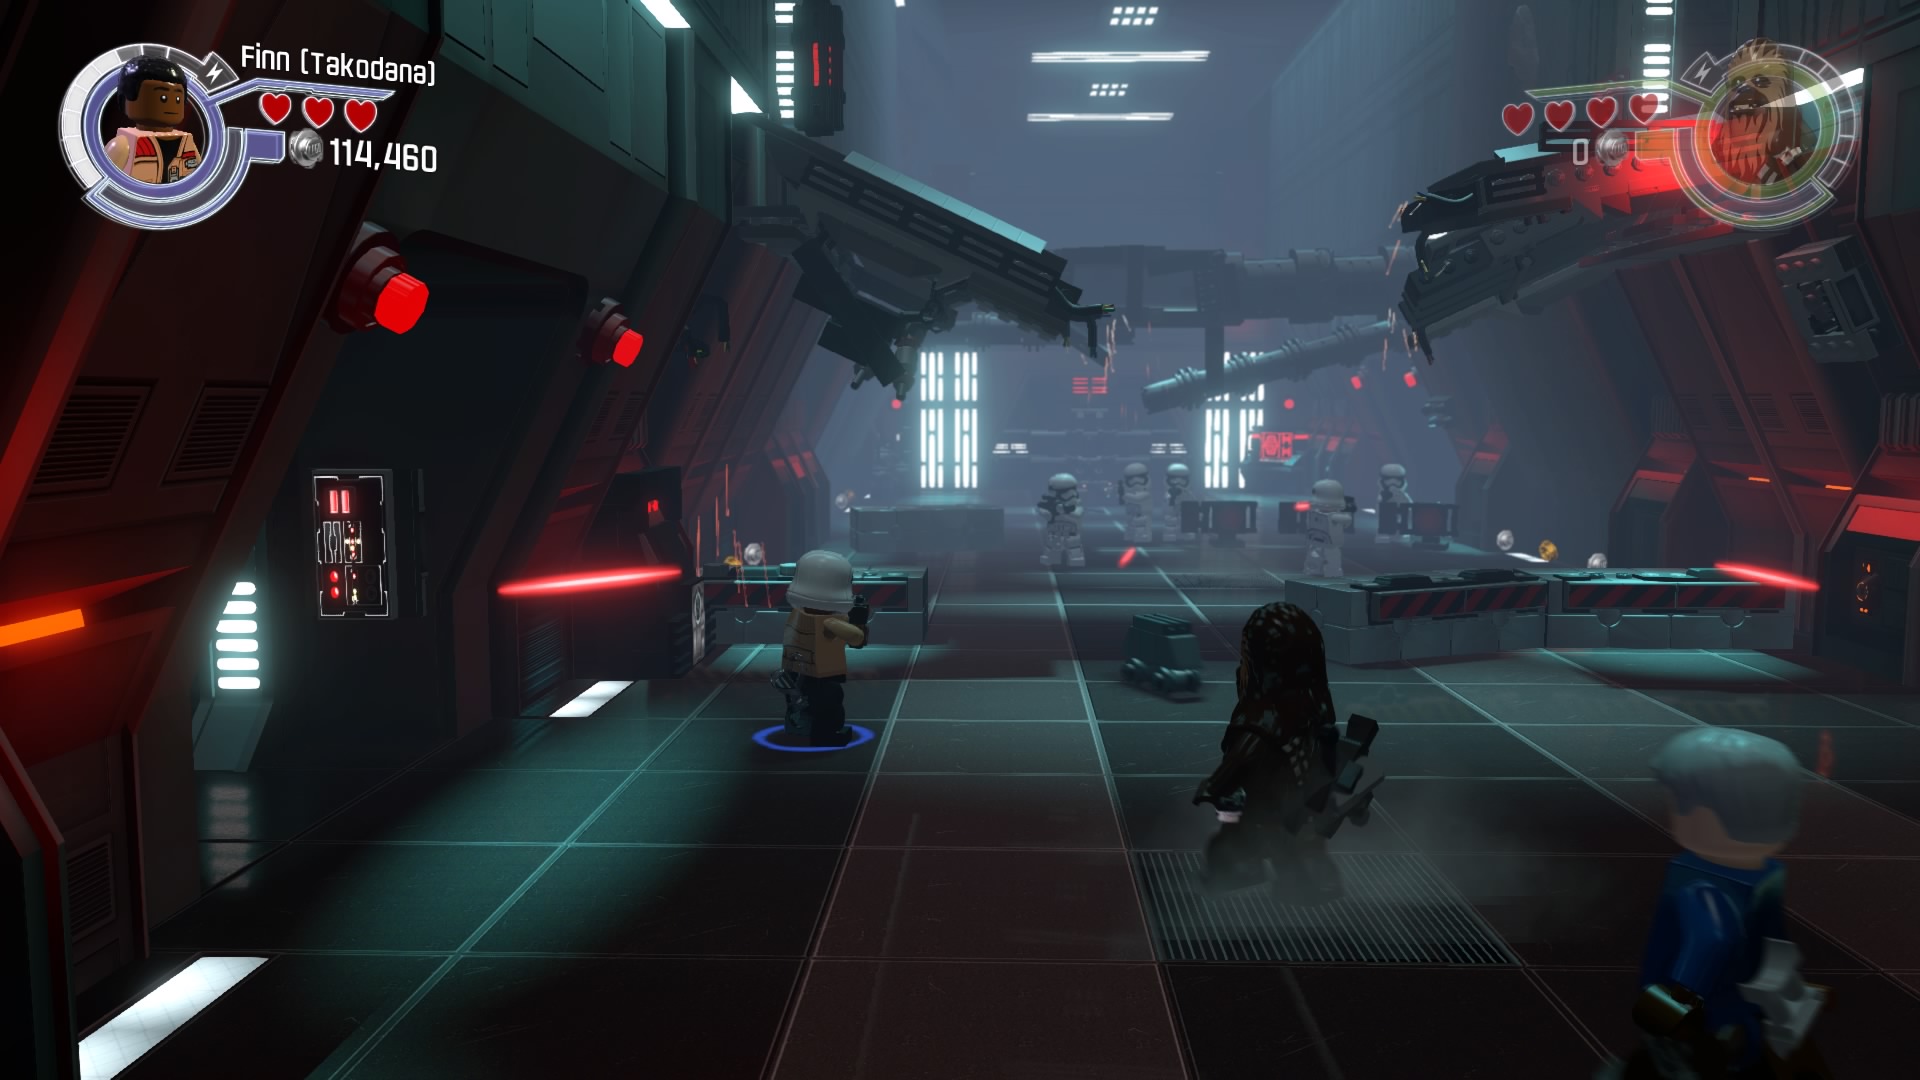
Both during and after the shootout, you'll spot a number of small droids whizzing around. Shoot four of them for the minikit.
Minikit #4 - Free Play Mode
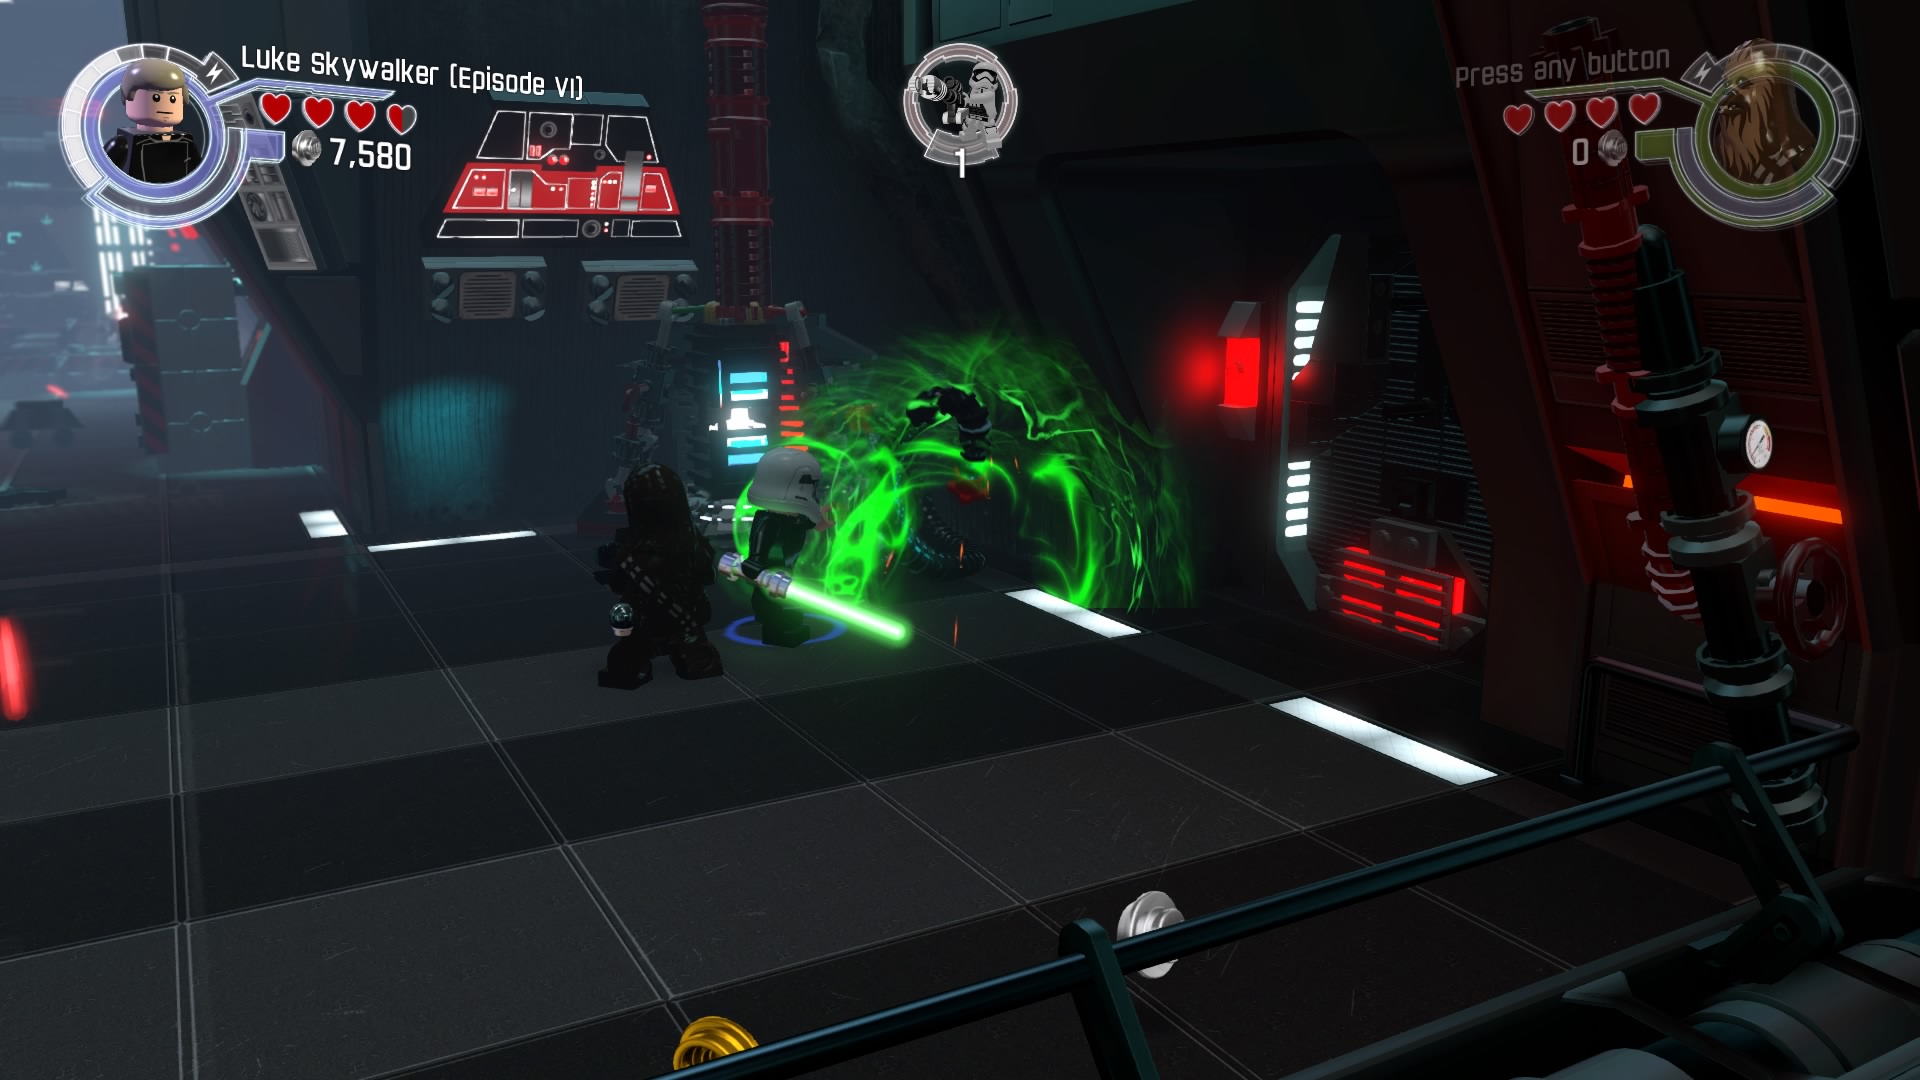
To the right of the corridor where the shootout takes place, you can use the force to open up a door.
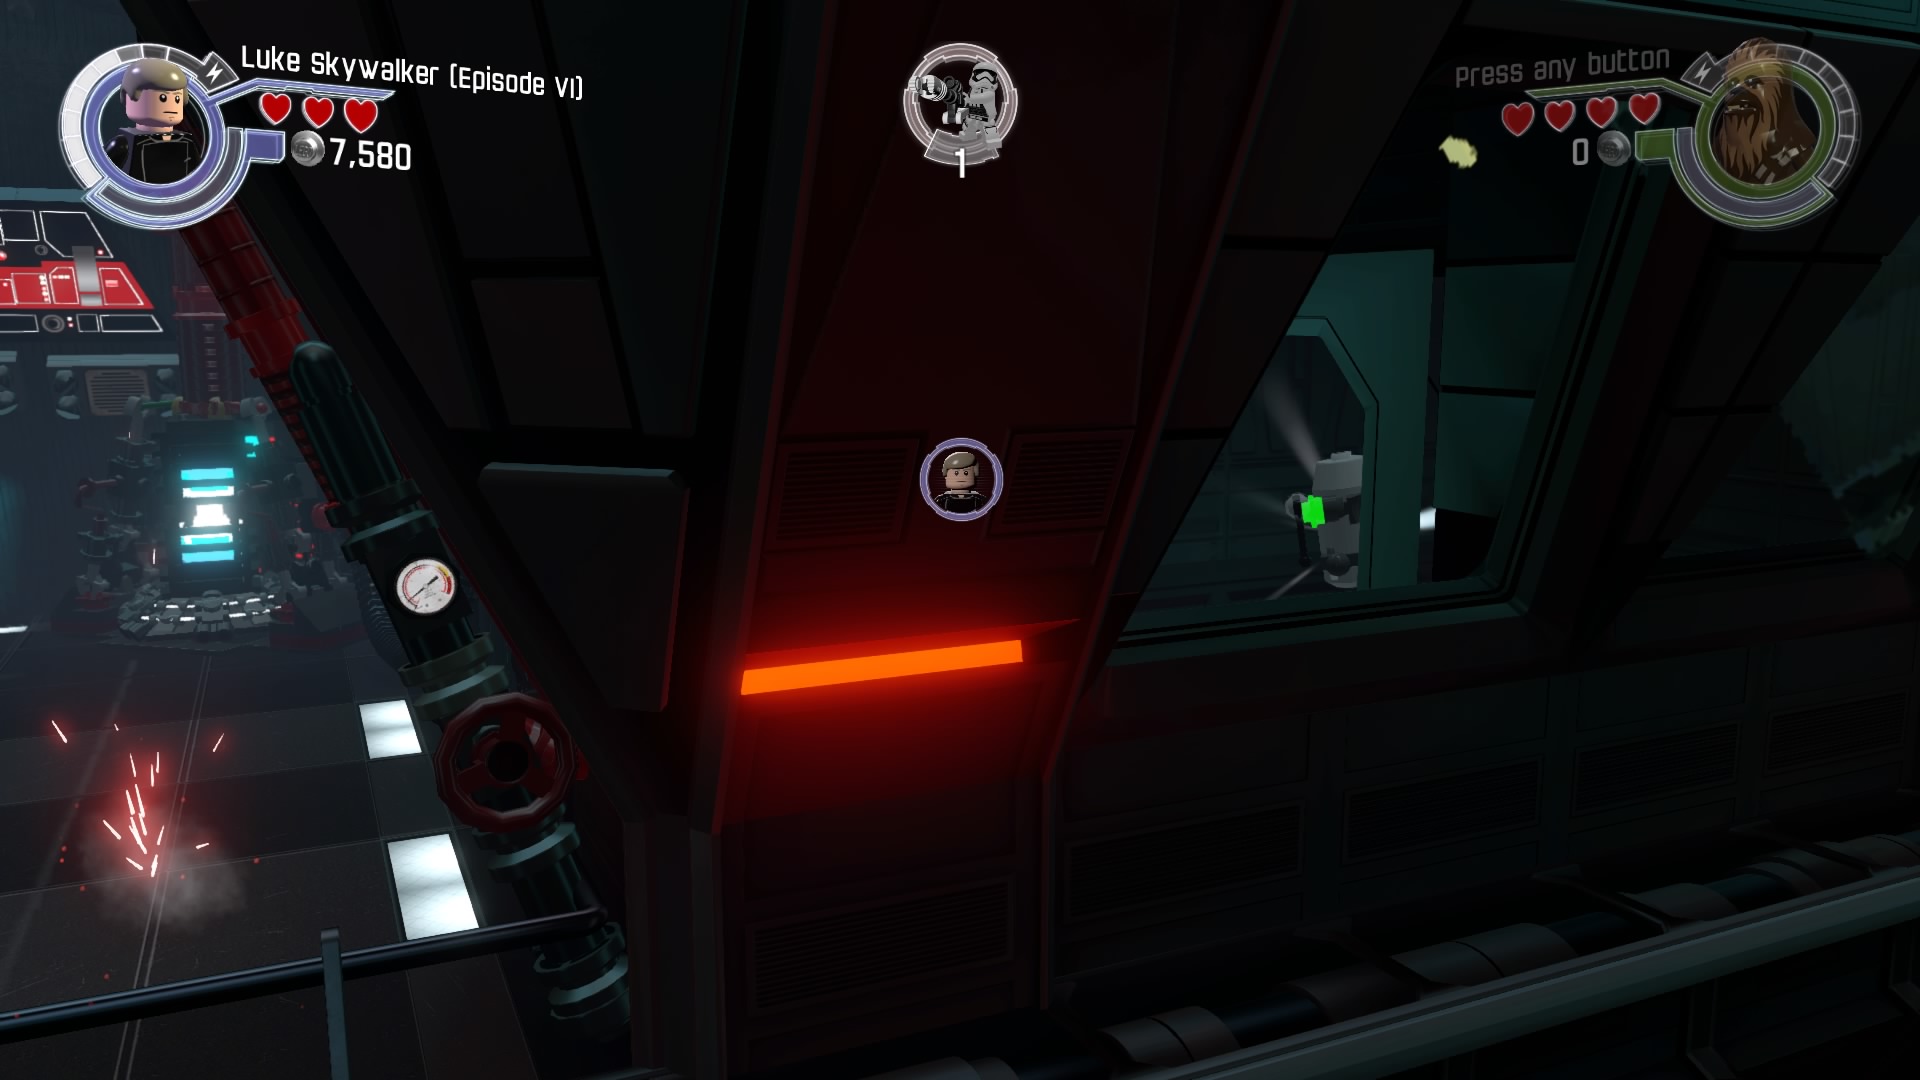
Nip through to pick up the minikit.
Table of Contents:
- Prologue: The Battle of Endor - Endor Shield Generator
- Prologue: The Battle of Endor - Death Star Throne Room
- Prologue: The Battle of Endor - Death Star Attack
- Chapter 1: Assault On Jakku - Village Retreat
- Chapter 1: Assault On Jakku - First Order Assault
- Chapter 2: Escape From The Finalizer - Finalizer Hangar
- Chapter 2: Escape From The Finalizer - Star Destroyer Exterior
- Chapter 2: Escape From The Finalizer - Jakku Graveyard
- Chapter 3: Niima Outpost - Niima Outpost
- Chapter 3: Niima Outpost - Niima Bombardment
- Chapter 3: Niima Outpost - Jakku Graveyard Flight
- Chapter 4: The Eravana - Freighter Battle
- Chapter 4: The Eravana - Freighter Chase
- Chapter 4: The Eravana - Freighter Shutdown
- Chapter 5: Maz’s Castle - Castle Approach
- Chapter 5: Maz’s Castle - Castle Basement
- Chapter 6: Battle of Takodana - Castle Corridors
- Chapter 6: Battle of Takodana - Takodana Skies
- Chapter 7: The Resistance - Resistance Base
- Chapter 7: The Resistance - Resistance Hangar
- Chapter 8: Starkiller Sabotage - Starkiller Crash Site
- Chapter 8: Starkiller Sabotage - Starkiller Wall
- Chapter 8: Starkiller Sabotage - Starkiller Shield Room
- Chapter 9: Destroy Starkiller Base - Assault on Starkiller
- Chapter 9: Destroy Starkiller Base - Rey's Escape
- Chapter 9: Destroy Starkiller Base - Oscillator Interior
- Chapter 10: The Finale - Oscillator Bombing Run
- Chapter 10: The Finale - Starkiller Showdown
- Epilogue: Luke’s Island
- Adventure Level 1: Poe To The Rescue - Trash Compactor
- Adventure Level 1: Poe To The Rescue - Hangar Battle
- Adventure Level 1: Poe To The Rescue - Asteroid Escape
- Adventure Level 2: Lor San Tekka’s Return - Kelvin Ravine
- Adventure Level 3: Rathtar Hunting - Rathtar Caverns
- Adventure Level 3: Rathtar Hunting - Loading Area
- Adventure Level 4: The Crimson Corsair - Landing Site
- Adventure Level 5: Trouble Over Taul - Corvette Interior
- Adventure Level 6: Ottegan Assault - Ottegan Pursuit
- Adventure Level 6: Ottegan Assault - Ottegan Surface
Sign up to the GamesRadar+ Newsletter
Weekly digests, tales from the communities you love, and more

