Lost Planet 2 boss guide
Topple the massive Type G Akrids with our guide to LP2's boss battles
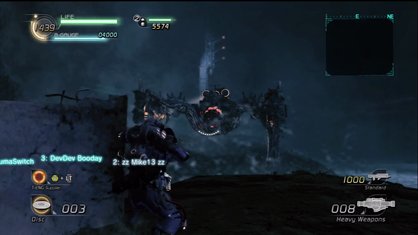
This battle can be over quickly if you carried over a rocket launcher from the previous mission. Fire away from behind cover, and after about 10 rockets the Akrid will die. If you haven’t got rockets, aim for the orange spots on its legs to bring it down. There will be one more of these Akrid type later on in the mission.
Episode 4 Chapter 5 Boss Experimental Weapon
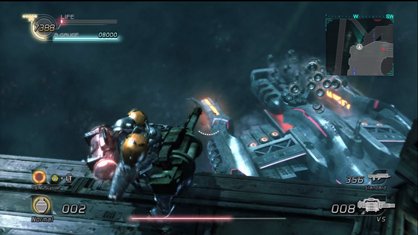
You’ll need only two weapons: the machine gun and a rocket launcher. Use the bubble jets or your grapple hook to get a vantage point above the height of the boss. It will circle around the platform in only one direction so if it moves out of range, run in the opposite direction to cut it off.
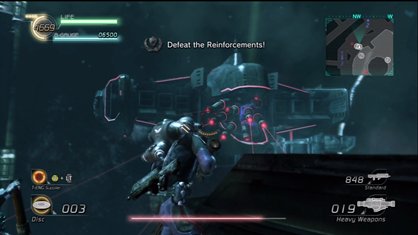
Aim your rockets at the rear fins of the boss to destroy its armor. This can be very frustrating and time consuming, so an alternative method is to simply grind the boss down with rockets and bullets aimed right at its head. Switch to your machine gun to shoot down any torpedoes fired at you. There are three types: homing explosives, spiky mines, and electric traps. All three can be easily destroyed with just a few bullets. Just remember to try and keep the high ground throughout the fight and you’ll emerge victorious.
Episode 5 Chapter 2 Boss Akrid
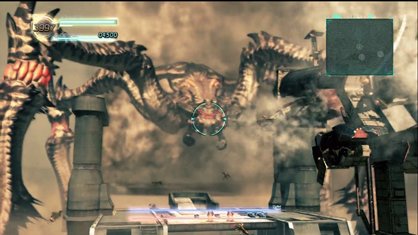
This one is oddly easy to defeat. Jump into the seat at the bottom of the gigantic cannon (as shown in the screenshot) and press fire to start charging. Once charged up, aim for one of the Akrid’s legs and fire.
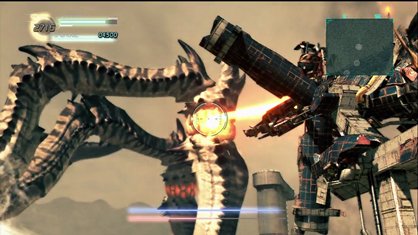
The cannon will shoot a pulse beam that lasts about six seconds, so keep it trained on the weak spots. When the Akrid gives you an opening, shoot it in the mouth.
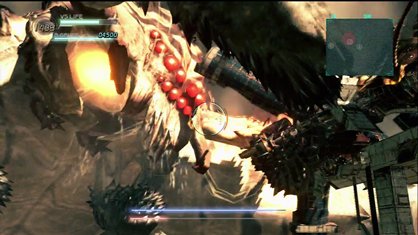
During the final stage of the battle the Akrid will latch onto your ship. Keep the cannon firing at its mouth to finish it off.
Episode 5 Chapter 3 Boss Ship
As soon as the mission begins make your way for the giant cannon seat. You’ll be spending most of your time here, so let your allies deal with the enemy troops.
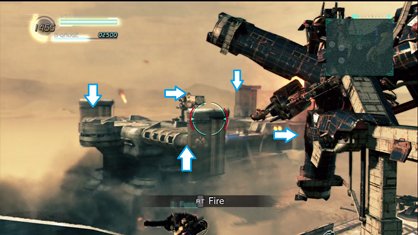
You have five main targets, the two horizontal wings, the two vertical wings near the back, and the enemy cannon. Because this is not an Akrid, don’t bother searching for weak spots. Firing at any part of these five targets will destroy them.
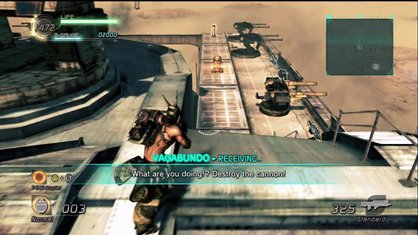
Your cannon sucks up T-ENG quickly, fortunately there is a T-ENG recharge station nearby. Jump out of the cannon and refill as needed. When the enemy cannon opens up, a good way to stop it from firing is to shoot your own cannon at its opening. When you aren’t under threat from the enemy cannon, use your own to take out any enemy choppers and mounted turrets you see on the side of the enemy ship.
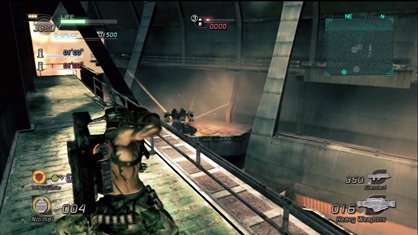
After you destroy the five main targets, your objective is to board the enemy ship on foot and capture their control console. Use the main cannon and/or handheld rocket launchers to take out any remaining enemy turrets before boarding. This makes things much easier.
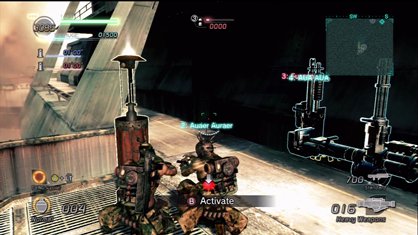
Also make sure to activate the data post at the lower level where the ships are touching so you have a good respawn point.
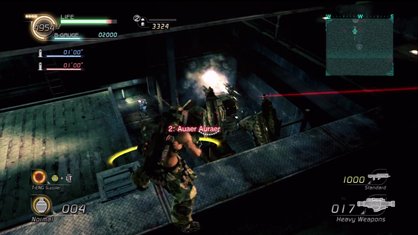
The easiest way to reach the enemy console is by dropping right through the huge cargo hole on the top level of the ship. Use a rocket launcher to clear out the cargo hold of troops and VSs before dropping down.
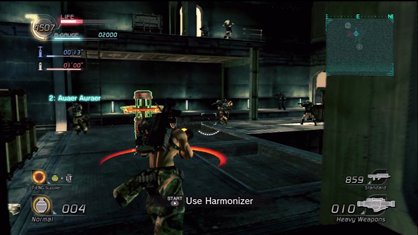
Once you activate the console, take cover behind a nearby wall. As the enemy troops get near the console, peek out and blow them away with rockets. After the one minute is up, the enemy ship will start a self destruct sequence. You’ll have one and a half minutes to get back to your ship and survive the last-ditch enemy offensive.
Sign up to the GamesRadar+ Newsletter
Weekly digests, tales from the communities you love, and more


