All Marvel's Spider-Man 2 Prowler Stash locations and solutions
How to find and open all the Prowler Stashes in Spider-Man 2

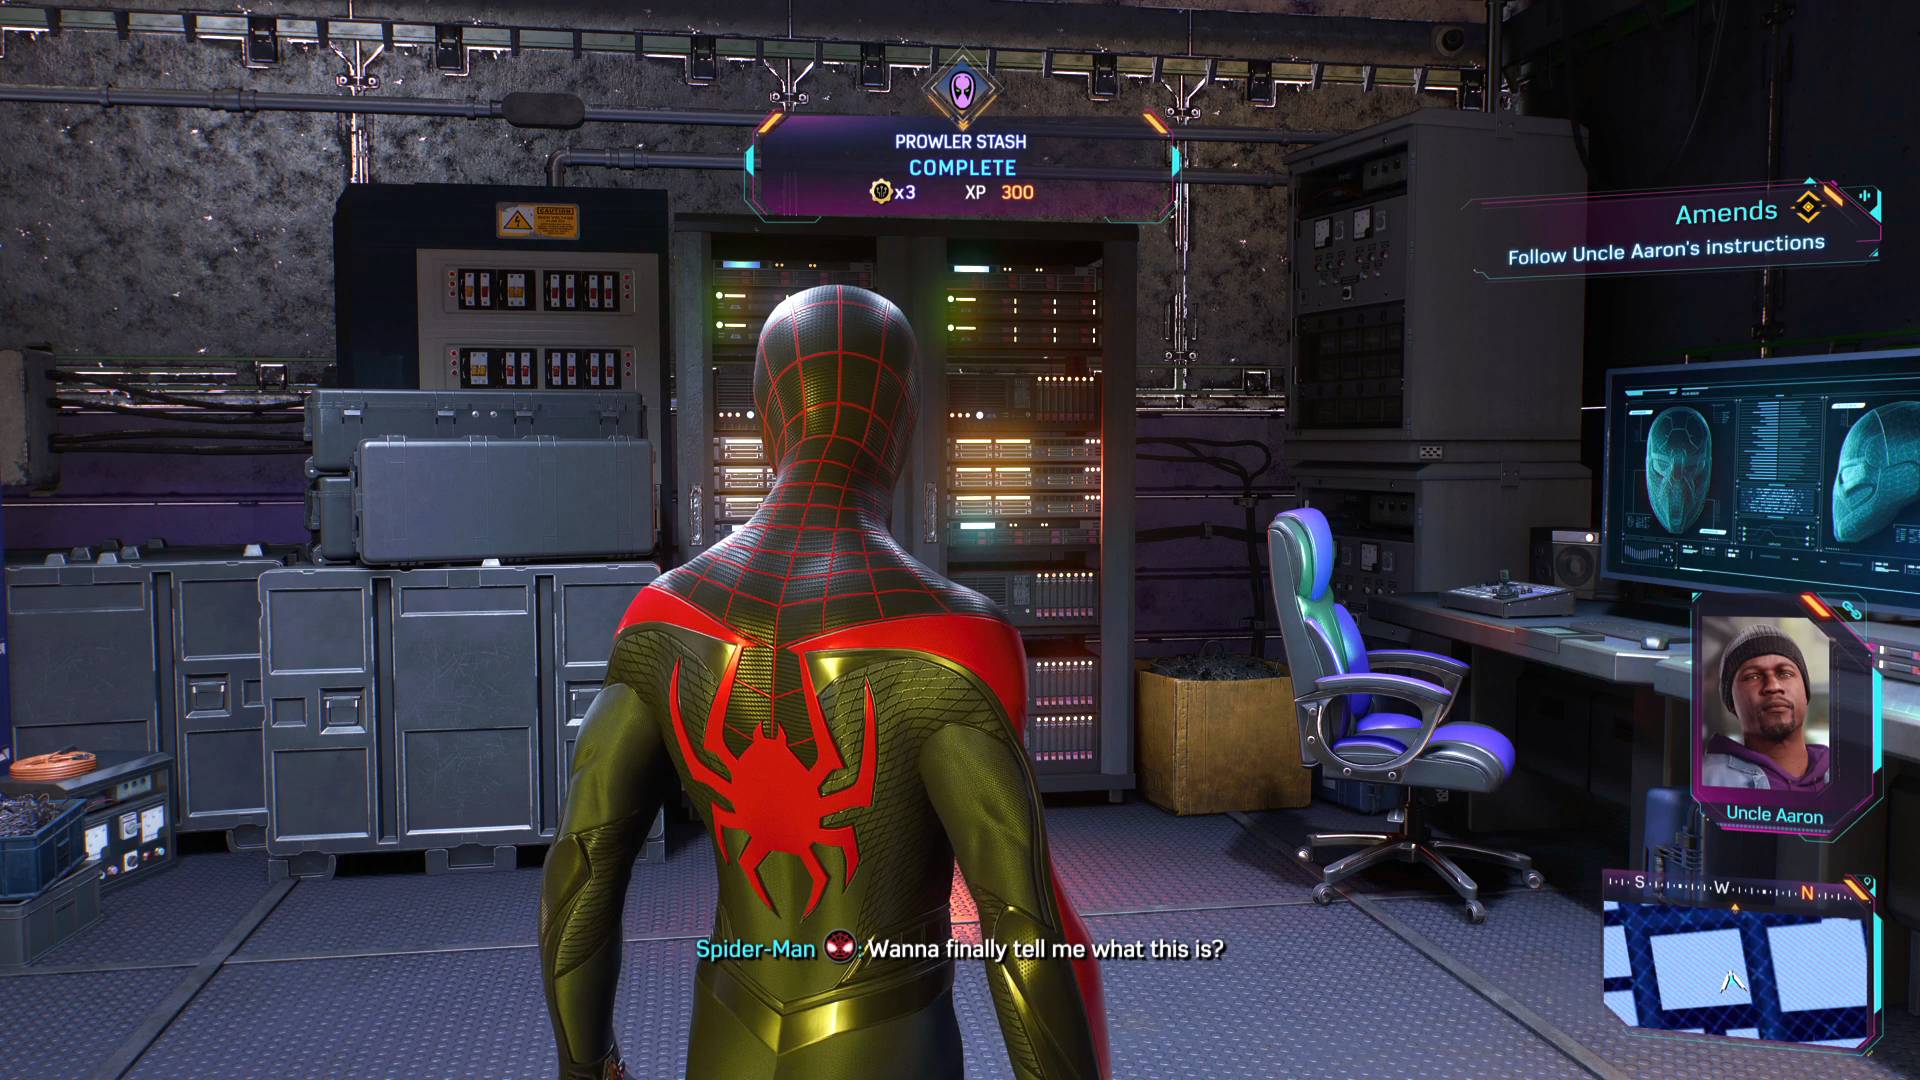
Spider-Man 2 Prowler Stashes are spread all across NYC, with ten in total to find and offering a mix of XP and rare tech to help level up your abilities. These stashes won't unlock until you hit a specific mission, called Amends, but once you do there'll be a whole new series of collectible sub-quests about following Uncle Aaron's trail through New York and picking up after him. Track everything down and you'll get a reward for all your efforts.

Most Prowler Stashes in Spider-Man 2 involve a simple puzzle where you need to find an object to manipulate. That means scanning the area to find whatever it is, and then using the DualSense triggers to reveal the position you need to move it to. Once you've found what to move and where to move it too, you'll just need to find a good spot to pull it around with your webs. There's a few variations involving laser grids and electrical puzzles as well, so we've got quick solutions for all of them below.
You can find these Prowler Stashes as either Spider-Man, but will need to be Miles to actually take them on. So if you find one as Pete you'll get a prompt to swap between Miles and Peter in Spider-Man 2 before you can do anything.
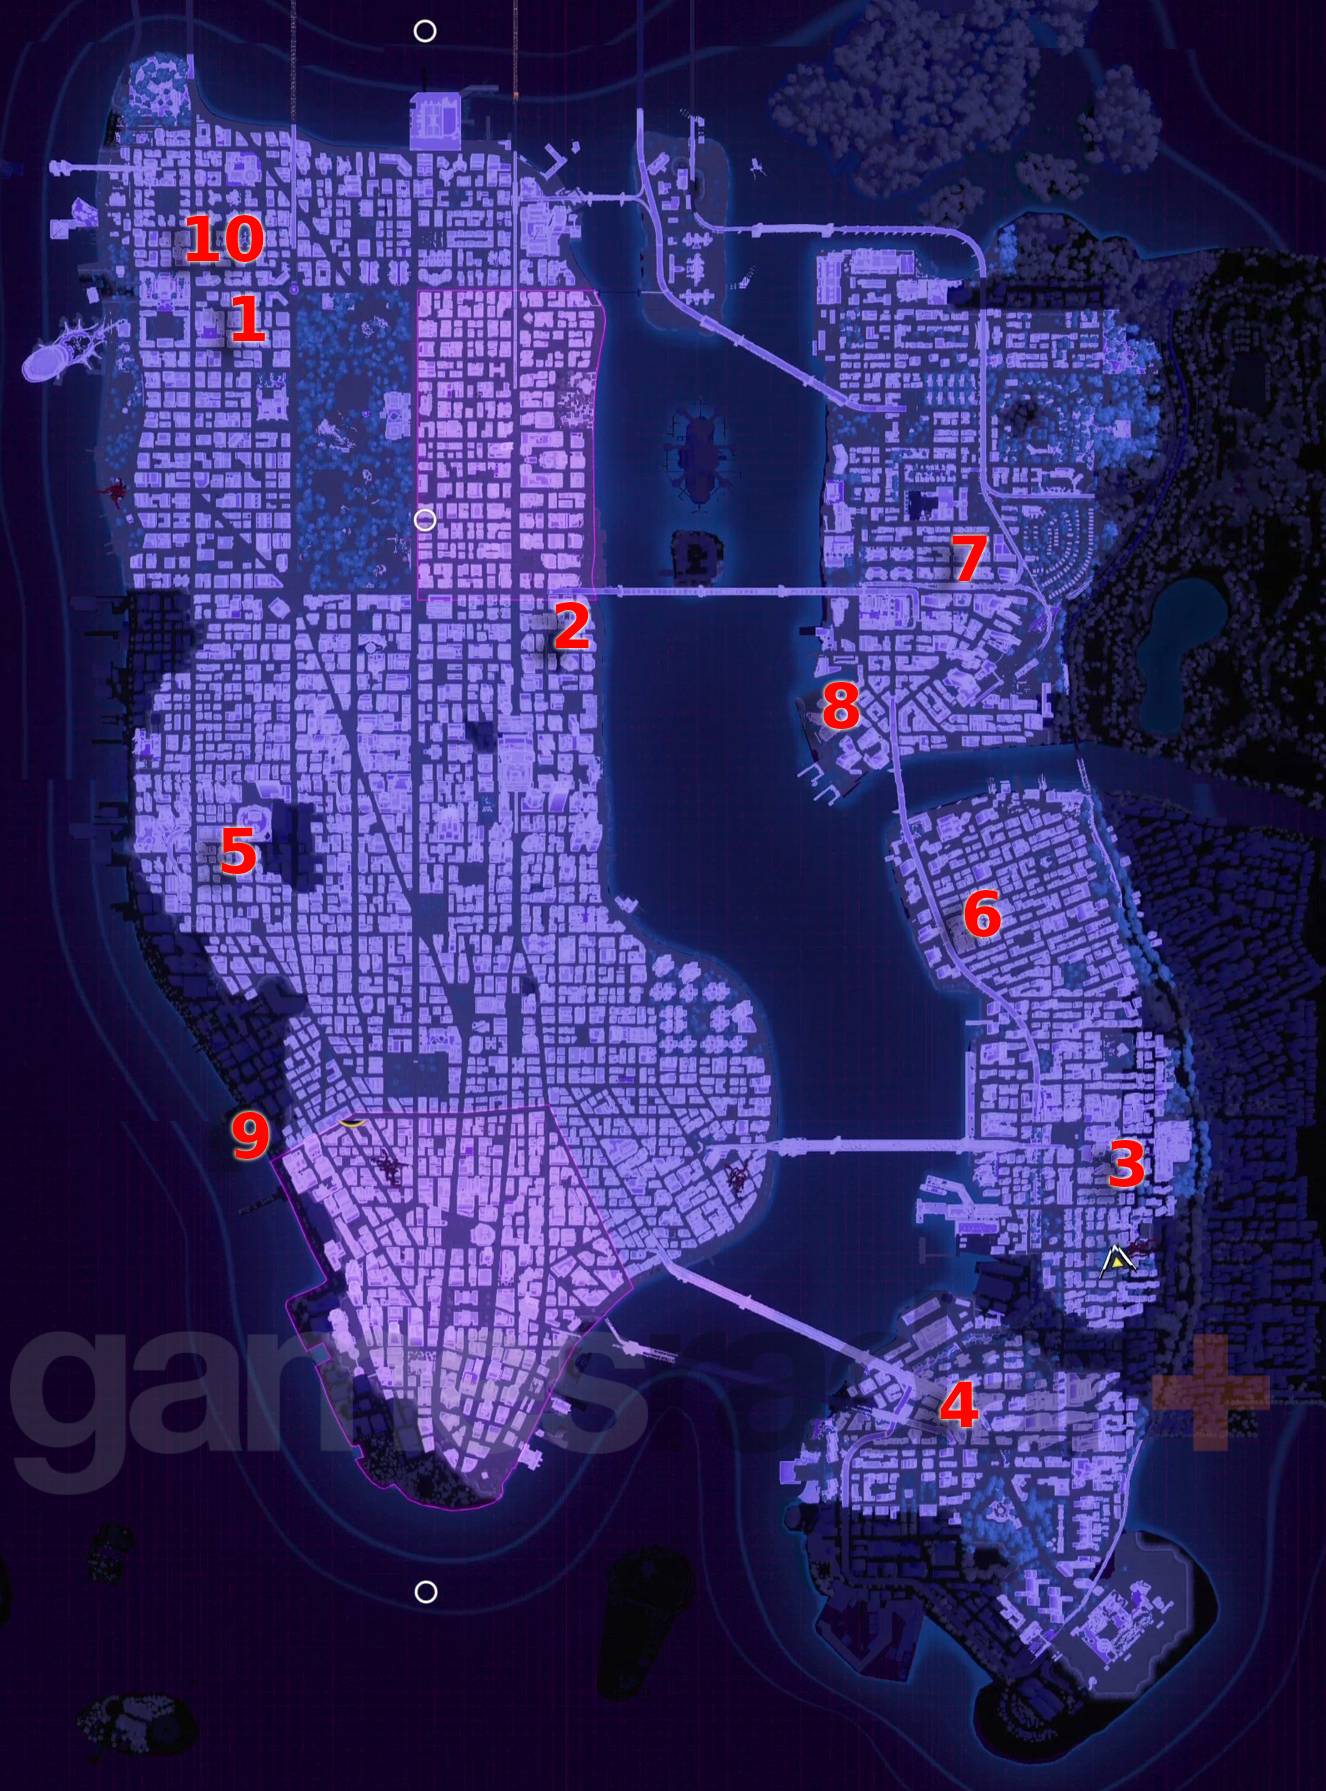
Here, in the order I found them, are all the Spider-Man 2 Prowler Stash locations.
All Spider-Man 2 Prowler Stash locations

- Upper West Side Prowler Stash - Find and open the large grey door under two shiny metal beams
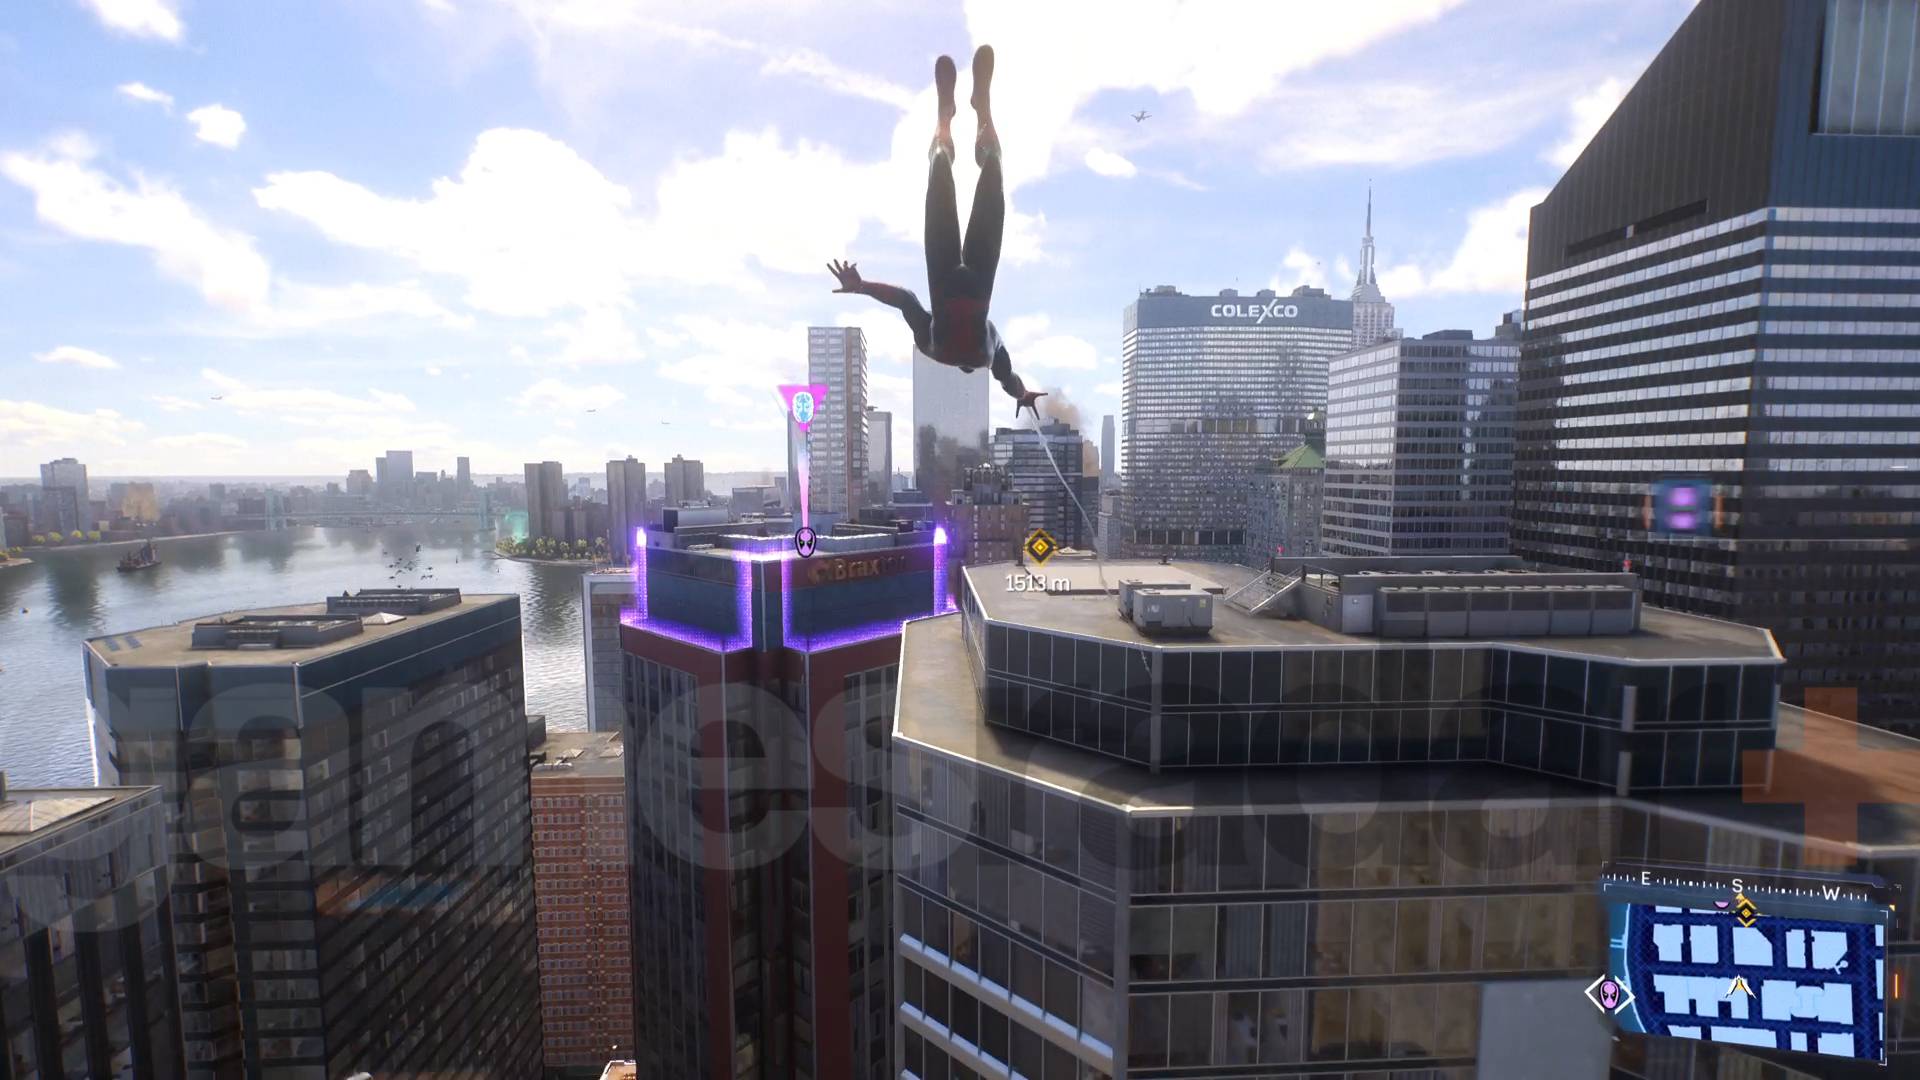
- Midtown Prowler Stash - Pull open the logo under the Braxton sign to reveal an air vent you can enter. You'll have to dodge some laser beams.
- Williamsburg Prowler Stash - There are two large metal doors on a wall you'll need to open and then spin the wheels inside, fixing them with webbing to open the safe.
- Downtown Brooklyn Prowler Stash - Behind the billboard you'll find a small building with a horizontal pipe you'll need to get above and pull up to open a hidden door. Then scan the door and pull that up from the billboard.
- Hell's Kitchen Prowler Stash - Scan the small building near the billboard to find a little pipe you can pull to one side. That will open a door to reveal a generator. Venom punch that to start it and then use your spidey senses on R3 to show some wiring. Follow that to another generator and venom punch that one as well. This will make an exposed wire nearby spark. Follow it, using webbing to seal up any sparking breaks, and when it's fixed a door to the stash will open.
- Little Odessa Prowler Stash - Scan the shipping crates under the crane to find one you'll need to move, then find the wheel on the back of the crane you can pull from a high point to reveal the stash. When you finish this one you'll be attacked so be ready.
- Prowler Stash Astoria - Head to the lowest level of the highlighted area and scan the large metal door to open it. You'll find a circuit box that will need four purple electrical panels hit with Chain Lightning to activate. This is on a timer so hit the panels in this order to make it easier:
- Next to the door.
- On the wall one level up directly above the door.
- On the next level up again, on wall next to two doors.
- On a column on the very top level of the building.
- Downtown Queens Prowler Stash - Scan to find an air vent you can enter under the large billboard. You'll have to get past some lasers to reach the stash.
- Greenwich Prowler Stash - Scan to find a large grey door you can pull open near a bank of spinning air conditioning fans. This will reveal some hidden wires leading to some generators you'll need to Venom punch to turn on and open the door.
- Harlem Prowler Stash - This final stash will only appear once you've completed all the rest. Scan to find a pole to the right of a door you can pull to get inside and trigger the final stage.
Prowler Stashes reward
Your reward for finding all of the Prowler Stashes in Spider-Man 2 is a specialist piece of Prowler tech that will power up your first melee attack while camouflaged. It's basically a massive Venom powered strike that knocks enemies back, and gives you a head start in a big fight you're not going to stealth.
© GamesRadar+. Not to be reproduced without permission
Sign up to the GamesRadar+ Newsletter
Weekly digests, tales from the communities you love, and more

I'm GamesRadar's Managing Editor for guides, which means I run GamesRadar's guides and tips content. I also write reviews, previews and features, largely about horror, action adventure, FPS and open world games. I previously worked on Kotaku, and the Official PlayStation Magazine and website.


