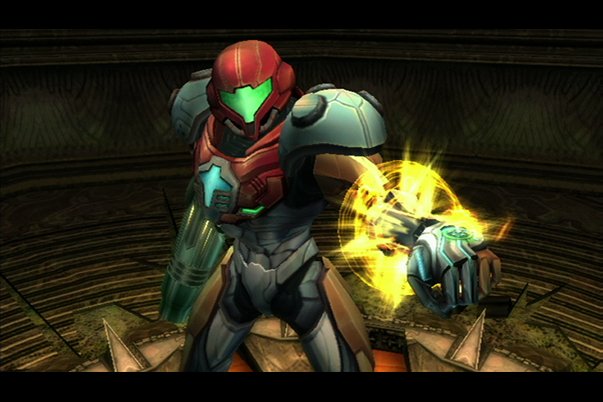
Metroid Prime 3 - survival guide
We help you help Samus save the galaxy
At long last, Metroid Prime 3: Corruption has arrived in stores. We'veraved about it endlessly, hailing its impressively layered and detailed graphics along with the new and improved control scheme. But it's certainly not the most accessible Wii title, which leads us to believe that many a Metroid fan is spending a lot of time roaming the corridors of Bryyo wondering what to do. That's why we're here to help.
Now, this isn't a full-on walkthrough. That's coming soon, so don't worry. What we have for this weekend is a quick rundown of need-to-know facts about the gameplay, a couple of answers to tricky spots that've had the internet abuzz and lastly, a few insider jokes that have also sprung up on message boards across the globe. So, without more yapping, let's get started.

Rule Number One - Scan Everything!
Metroid looks like a shooter, but spend any amount of time with it and you'll soon realize that it's more about figuring out where to go than it is blasting everything away. Therefore, any time you enter a new room, activate something or see a new enemy, whip out the scan visor and see what's what. Blue items are your bread and butter. Scanning things will offer clues about how to proceed.
Don't forget about your X-ray and ship visors, either - both play important roles in multiple areas of the game. Your ship eventually gains the ability to make air strikes and pick up heavy objects, so keep it in mind when you scan something and read about how it "could be moved to another location." That's a sign your ship can help.
Rule Number Two - Stop! Look! Listen!
Sign up to the GamesRadar+ Newsletter
Weekly digests, tales from the communities you love, and more
Sometimes even scanning won't cut it. If you've scanned everything, shot every enemy and activated every piece of machinery imaginable, it's time to really comb the area. Check the map for doors you haven't passed through or blue rooms that haven't been visited yet. Be mindful of Samus' other powers too, especially the morph ball. Be on the lookout for tight spaces that only her cramped-up, spherical self can enter. That alone should save you a lot of wandering time. After you gain the Spider Ball, think back to places that you saw magnetic tracks (SkyTown is a good example).
Rule Number Three - Know Your Arsenal!
Samus gains many weapons throughout the mission, each with its own strengths and beneficial side effects. Here's a quick rundown of what you'll be using the most:
Regular beam - can charge for more powerful shot, which also sucks up far away energy and missile blobs. Opens regular doors.
Grapple Beam - swing across gaps, yank shields and armor off of certain enemies, drain or restore power to specific terminals.
Ice Missiles - freeze enemies or objects in place. Frozen items, such as waterfalls, can be walked upon. Opens white doors.
Plasma Beam - charged shots can melt certain types of metal. Opensorange doors.
Screw Attack - lets you wall jump up identifiable Screw Attack points, plus cover huge gaps (up to five mid-air jumps are allowed)
Nova Beam - Still melts like the Plasma Beam, but now also passes through certain walls. In conjunction with the X-Ray visor, you can identify weak points on otherwise difficult enemies. Opens green doors.
Seeker Missile - Multi-targeting upgrade that enables you to lock on to five objects at one. Usually used to blast open doors with obvious markings.
Hyper Beam - Used while in Hyper mode, made of Phazon. Can also be charged for rapid fire blast. Extremely powerful.
Hyper Missile - Super fast missile that drains Phazon reserves quickly.
Hyper Ball - High-energy release while in ball mode. Mainly used for puzzles and boss fights.
A fomer Executive Editor at GamesRadar, Brett also contributed content to many other Future gaming publications including Nintendo Power, PC Gamer and Official Xbox Magazine. Brett has worked at Capcom in several senior roles, is an experienced podcaster, and now works as a Senior Manager of Content Communications at PlayStation SIE.


