Oblivion main quest walkthrough to conquer Cyrodiil
The steps through the main Oblivion walkthrough to becoming the Champion of Cyrodiil, laid out from beginning to end
Bruma Gate
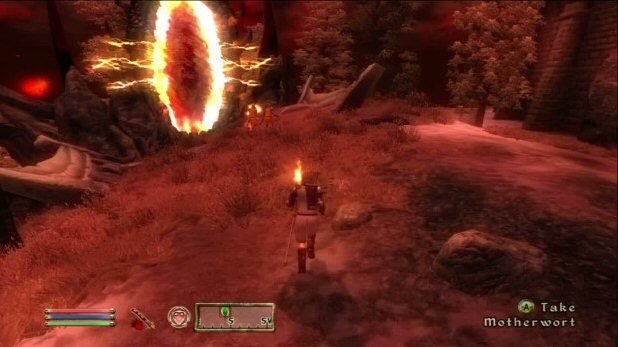
Once you have finished up with Martin, head outside and talk with Jauffre. He will tell you that there is an Oblivion gate opened at Bruma and he wants you to go help them close it. Make your way there and speak to Burd just outside the gate. Speak to him and then wait for him to deliver his speech to his men.
Once he is done, lead him and the two others into the gate and fight all the demons along the way to the Fury Spike. Go to the right to the Rending Halls and follow the path upwards to the Blood Fountain. Use it after you clear out the room and continue to the door leading to the Citadel Hall door. Follow the next corridor to the end and make a left through the door there.
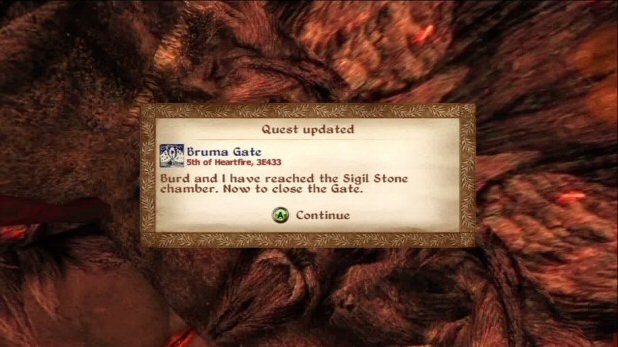
Head up the next ramp and go through the door to the Corridor of Dark Salvation and continue going up the ramps until you eventually come to the door leading to the Sigillum Sanguis. Kill the enemy in front of the door and take the key from his body to get through the door.
Once inside simply follow the ramps up to the sigil stone, defeating the enemies along the way. Once you have it closed, you will be teleported back outside and will need to talk to Burd once again. He will tell you to return to Cloud Ruler Temple and inform Jauffre of your success.
Allies for Bruma
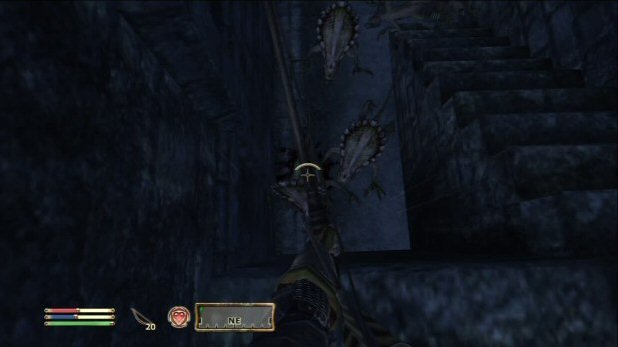
Once you have told Jauffre of your success at Bruma with Burd and the Oblivion gate, he will then ask you to visit all the other cities and ask for aid. You don’t have to do this right now, but you will eventually, so might as well get it out of the way. The Oblivion Gates you will close are all basically the same as the few you’ve closed already. Some will require you to enter through random cave passages, however.
There’s no real trick to any of the gates, and it’s just a long and arduous process to go through. It is voluntary and you don’t need to do it, however, later on in the main story quest, you’ll be glad that you did for the addition support that the troops give you.
Anvil: When you arrive in Anvil, talk to Countess Millona Umbranox and she will not offer help until the Oblivion gate is closed. Close it by going through the random caves to reach the spire and then close the gate just like the previous ones. Once you have, talk to her again and she will pledge support.
Bravil: Once you arrive at the castle, talk to Count Regulus Terentius and like Anvil, you will need to close the Oblivion gate before they will offer help. After you close it, return to the Count and he will then be willing to offer help.
Cheydinhal: Talk to Count Andel Indarys, and just like the previous two, you will need to close the gate first before he pledges support troops.
Chorrol: Talk to Countess Arriana Valga when you arrive at the castle and just like everyone else, you will need to close an Oblivion Gate before they will promise support to you. Once you close it, return to the Countess and speak with her.
Imperial City: Speak with High Chancellor Ocato and you will have to close….no wait! He will tell you that he has no soldiers to send. Huzzah! No Oblivion gate!
Leyawiin: Talk to Marius Caro and he will want you to close the Oblivion gate. Just like all the rest, work your way to the top of the tower and activate the stone to shut it down. Nothing tricky about it.
Skingrad: Talk to Mercator Hosidus and he will run and fetch Janus Hassildor for you to talk about the aid. When he arrives, he will tell you that he can’t spare men because…go on, guess. That’s right! There’s an Oblivion gate outside his city! Close the Oblivion Gate and then return to speak with the aid and he will go and fetch Mercator who will then offer some troops.
Kvatch: Talk to Savlian Matius in the chapel and you will then need to complete the quest “Battle for Kvatch” if you haven’t already. If you haven’t, once you talk to Savlian, you will need to head back to the chapel to get the gate house key. Follow the underground passage and prepare for a large battle.
Once through there, you will come back outside and fight a few more scamps. Continue to the trap door that leads to the gatehouse passage and follow the fiery corridor to the next hatch. Once you go up it, at the far side will be the gate controls. Operate it and Savlian and his men will rush through the doorway to fight the swarm of enemies on the other side.
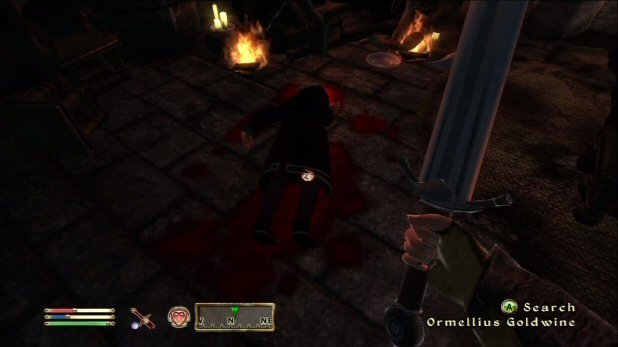
Clear them out and you will then need to enter the castle to look for the count. Inside will be a few more scamps and fire demons. When you clear those out, Savlian will tell you to go on ahead and look for the count. Enter the far back room and you will find his body along with a couple more Scamps to deal with. Examine the body and take the ring back to Savlian. Once you do, the quest will be over, as well as the Allies for Bruma quest.
Blood of the Divines
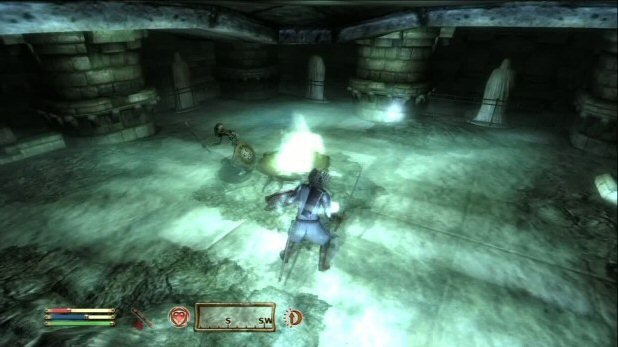
Make your way to the Cloud Ruler Temple and talk to Martin. He will tell you that the next item you need is the blood of the gods, but to get it, you need to talk to Jauffre. So make your way to Jauffre’s location and he will tell you that you need to recover the armor of Tiber Septim in Sancre Tor. Make your way to the ruins and when you arrive, you will get attacked by some skeletons. Once you dispatch them, enter the large doors and make your way through the corridor.
Make sure you have a silver weapon or a magical weapon on you so that you can deal with the ghosts that roam the passages. Once you reach the iron bars, use the lever on the right to open it and continue to the stairs. Make your way up them and you will come to an Undead Blade. Defeat him and then talk to the ghost of Rielus who will appear. He will tell you that he and his three companions have been trapped in the catacombs for a very long time and wish to complete their duty.
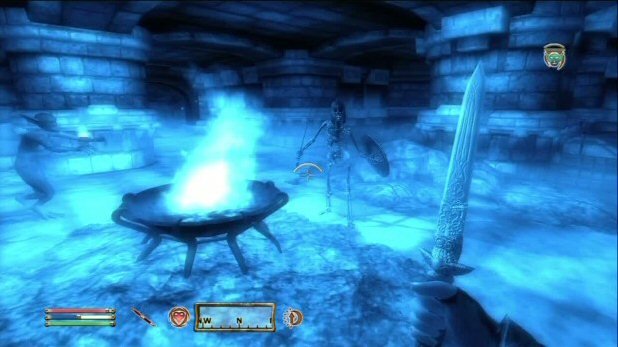
After the conversation, head across the bridge and continue to the next door. Enter the large Entry Hall and you will see that there are numerous passages along the top walkway. Go to the left and enter the door that leads to the Sancre Tor Prison. Follow the corridor and you will come to a barred gate.
Use the lever on the right to open it and then almost immediately after you will run into Warden Kastav. Thankfully he’s not that tough, so take him down and then search his body for his key and take his silver mace if you need it. Use the key on the door to the right and then follow the corridor to the second intersection of passages.
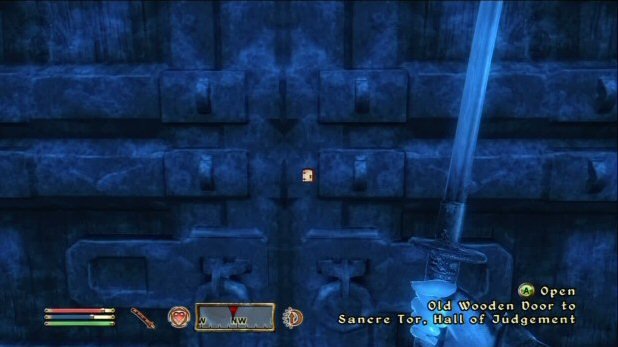
Make a right there and follow it to the last corridor on the left. Continue to the first on the left and enter the large room there with a set of stairs. The Undead Blade will be roaming around this area, so when you see him, take him down and then feel free to take his sword and shield for good measure. Once you talk to him, make your way back out of the prison and back into the Entry Hall. Next up, make your way through the door to the Sancre Tor Hall of Judgment.
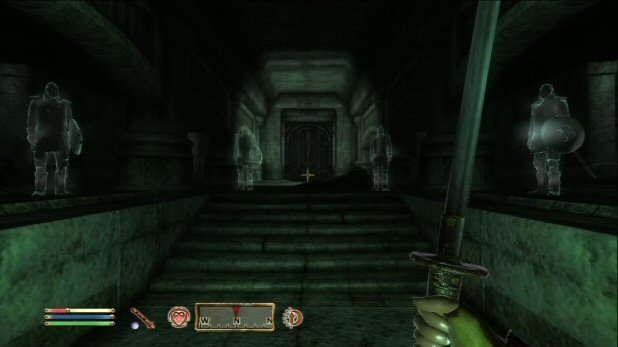
Follow the corridor to the right and you will eventually come to the Undead Blade after fighting through a swarm of ghosts. Defeat the Blade and you will free the ghost of Casnar who will tell of the other Blades. Once you are done, go back to the entrance and take the left path – where you took the right to find Casnar. This will lead to a door that takes you to the catacombs.
As soon as you enter, the final Undead Blade will be at the bottom of the stairs. Defeat him and then you can finally return to the main entry hall and proceed down the center stairs and go through the door at the bottom. As you enter, the 4 spirits will dispel the evil blocking the path and you can now make your way to the end of the corridor to pick up the armor there. Once you have it, make your way back out of the ruins and return to Cloud Ruler Temple and talk to Martin.
Miscarcand
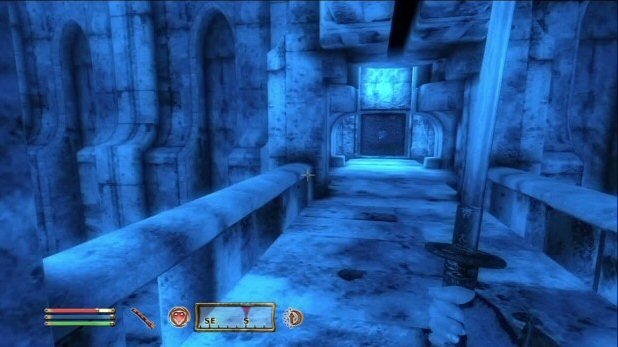
Now that you have returned the armor to Martin, he will tell you that they need a Welkynd Stone and that is can only be found in Miscarcand. Make your way there and enter the stone doors to get in to it. Once in, watch for the battles between goblins and undead and don’t approach until the battles have stopped.
Once you are going through the corridors, you will come to a pathway above a large room that is blocked by a metal gate. Back track up the steps just before the path and there will be a square stone block on the wall to press. Do so and it will open the metal gate, allowing you to go through the door with a tree on it leading to Sel Vanua.
Once inside there, wait for another battle to end and then press the stone on the left side wall to open the cage in the center of the room, allowing you to grab the Varla stone (a stone that when used will recharge all of your magic equipment). Once you have it go to the next large room and again allow the enemies to fight. Once clear, go into the passage on the Southeast side to find another block on the wall to press.
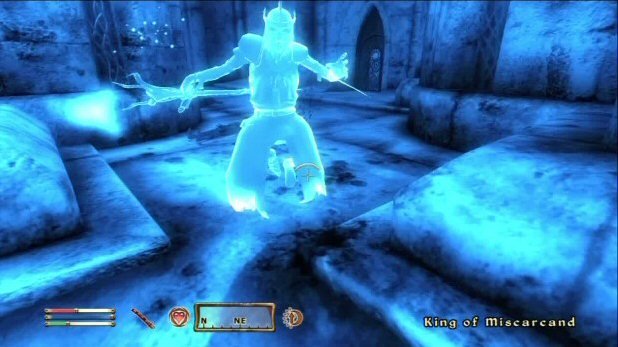
Do so and the door at the far north side will be accessible to Morimath. Once you enter here, go to the center of the large room on the raised walkway and you will find the Great Weklynd Stone. Take and get ready for a nasty fight. A lich, The King of Miscarand, and his two zombie guards will show up before you can escape. The zombies are easily taken care of, but the Lich can be a little difficult.
The best way to avoid his shock attack which, chances are will kill you in one to two hits, is to keep the center area, where the Weklynd stone was, in between the two of you. Pelt him with arrows and keep moving. His attack won’t hit you if you use the center for cover and you can whittle away at his life at the same time. Once he drops, loot his body and take his staff. His staff is very powerful and will come in handy later on as you go through Paradise.
Make your way to the north along the upper walkway and a doorway will open to the west. Follow it around and eventually you will come to another doorway that will open, allowing you to exit the Miscarand. Once you are back outside, safe and sound, head to the Cloud Ruler Temple once again to speak with Martin.
Defense of Bruma
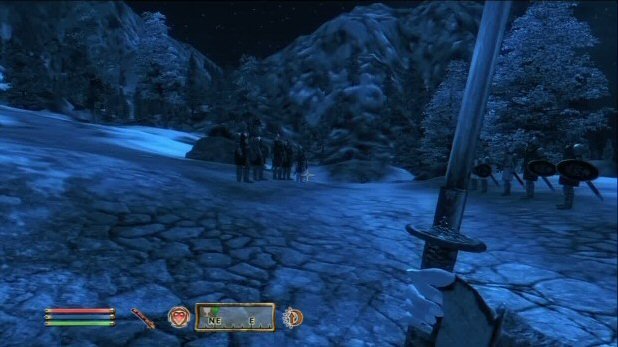
When you arrive at Cloud Ruler Temple and have talked to Martin, you will then need to escort him to Bruma and to the Temple of Talos. After you have arrived, go to Castle Bruma and speak to the Countess about the plan to open the Great Gate. She will agree and then you will need to escort her to the Temple as well.
Make your way to the lone open Oblivion Gate, just outside the city and Martin will give a rousing speech to the gathered soldiers there. There should be a good number of soldiers here if you did the “Allies for Bruma” quest.
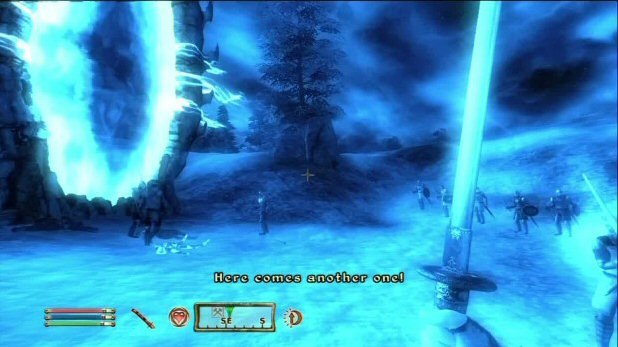
Once his speech is finished, Oblivion gates will begin to open and the enemies will start to pour out. Kill those that appear while at the same time keeping Martin alive. Martin does a pretty good job of looking after himself, but if you see him getting surrounded, step in to give him a hand.
As you fight, other gates will open, allowing more and more Dremora to enter the battle. Once the final great gate eventually opens, runs through it and then you will not need to worry about keeping Martin alive as he’ll take care of himself while you are in the Oblivion Plane.
The Great Gate
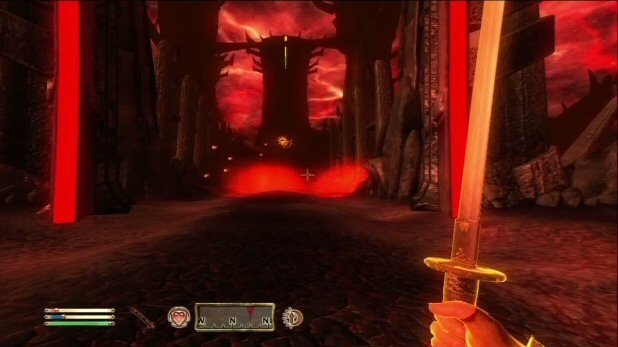
Once you enter the gate, make your way forward and enter the tower on the right. Follow the path leading upwards and try to keep moving as quickly as you can. You are on a strict time limit of fifteen minutes to reach the Sigil Stone. Proceed up the tower to the middle floor and then exit the door to a bridge. Go across to the next tower and then go around to another door. Exit out of this tower and run across another long bridge.
Once inside the next tower, make your way down and exit the door there, to come to a large, long bridge that stretches out over the lava below. Near the center of the bridge, it will be broken, so hop across the gap (sheath your sword if need be to get some extra speed) and at the other side, look to the path that will lead to another World Breaker Guard Tower. Enter it and make your way to the very top to find a switch to open the War Gate blocking the main tower.
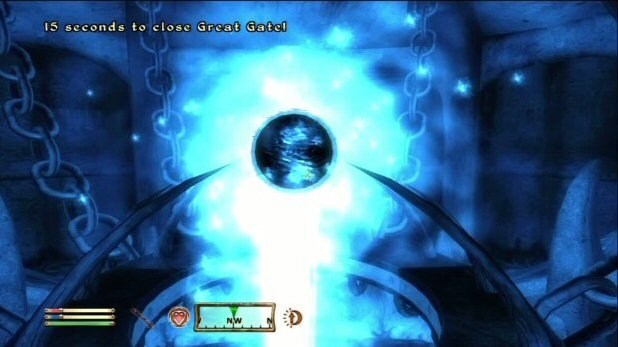
Once you hit it, run back down to the ground floor, exit the tower and go through the now open War Gate. In the center of the two gates, you will see the entrance to the large World Breaker tower. Now that you are inside, there will be a Dremora here who has the Sigil Key. Kill him, and then enter the door to the Vault of End Times and follow the path upwards – minding the blades that will come crashing down – and go to the door on the left side at the far end.
Once through there, continue upwards and you will finally reach the door leading to the Sigillum Sanguis. Enter it with the Sigil Key and just like every other Oblivion Gate, go to the Sigil Stone and activate it. Once the flashiness of touching it is over, you will be back outside with Martin and the soldiers. Pick up the red and round Great Sigil Stone off the ground and talk to Martin to hand it over to him.
Paradise
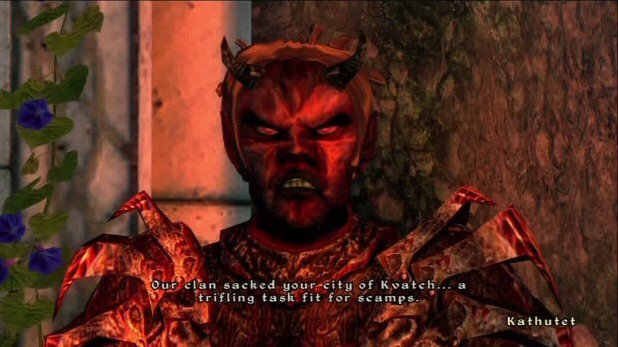
Once you arrive in Paradise, follow the stone path forward. You will run into some pretty mean enemies here, so take your time with them and defeat them as they come as to not have a group of them on you at once. Continue to follow the path and when it splits, follow it to the right. You will then come to a Dremora named Kathutet. He will praise you and tell you that you need the Bands of the Chosen to be able to reach Mankar.
He will then offer you two choices; battle him or perform a task for him. Since he is rather easy to beat by hopping on top of the rock to the north and just keep pelting him with arrows. When he is down, you can take the Bands from him as well as his kick-ass sword and other loots he has. If you do choose to do the favor, you will need to travel to a cave and release Anaxes and then receive the Bands once the quest is complete.
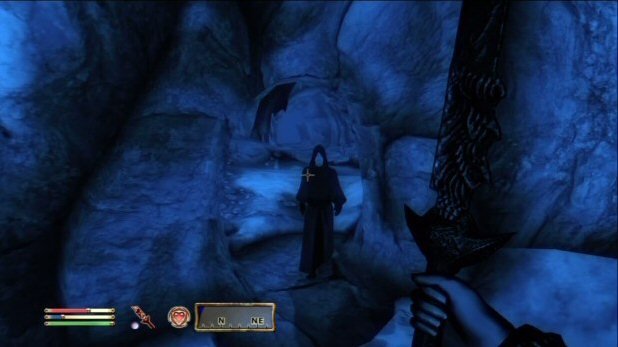
Once you have the Bands, go to the east and go through the door there to enter the Flooded Grotto. Once inside, follow the water to the right and continue to go towards the quest marker. You will soon come to a red door that you can only enter with the Bands of the Chosen equipped. Put them on and then go through the door to the Forbidden Grotto. Once inside, go forward a little bit and you will face a Scamp and a Mythic Dawn agent. Kill them and then cross the bridge on the left.
Once across, talk to Eldamil and tell him that you are there to kill Mankar. He will then offer to help you to remove the Bands, but needs you to act like a prisoner first for when Kynreeve shows up. Follow him to the cage and then step in when told to. It will lower and then rise, opening at the opposite side. Step out and Eldamil will tell you to meet him further along the cave. As you exit the cage, go through the cave opening and make a right.
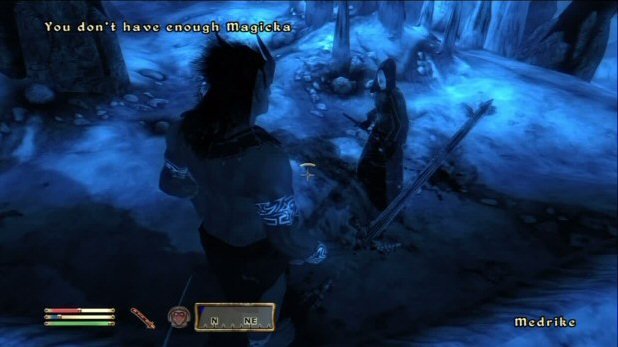
Follow it to the next large room and then cross the bridge and go through the door on the right side. When you enter here, you will find Eldamil and he will offer to help you. Accept it and then continue forward. When you get into battle and if Eldamil falls, just wait a few moments and he will rise again as he is immortal. Once you have him as a follower, go south, down the corridor, and then east. Cross the lava by the bridge and continue northwest and then north. Continue to follow the caverns around and eventually you will come to Medrike, a mean Dremora with a big sword.
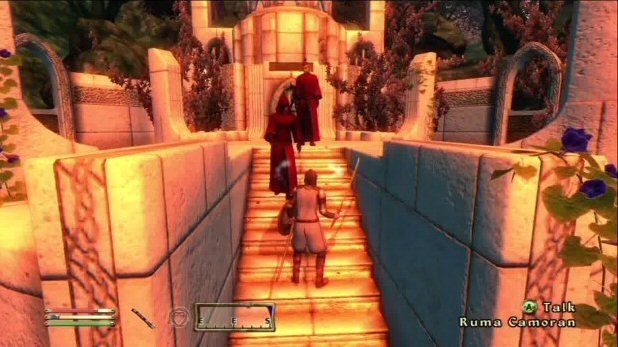
Have Eldamil help you take him down if you need a hand and be sure to loot his body for his Flame Sword afterwards. Exit out of the grotto and continue along the path in Paradise. Stick to the right and you will come to a set of stairs with Ruma and Raven on them, the children of Mankar, who you killed much earlier in the game. Raven was inside the sewers for the meeting and Ruma when she told you to sacrifice the person in the Dragon Shrine. They will talk for a bit and then lead you inside to face Mankar.
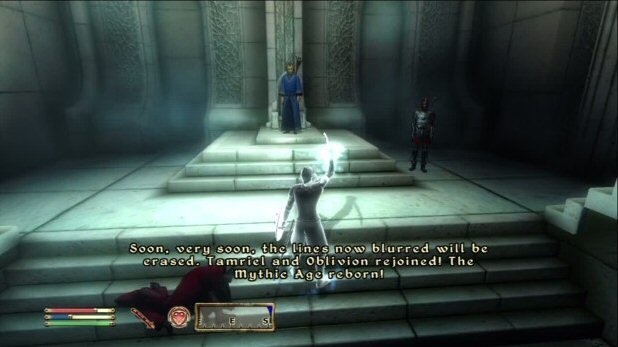
Once you are inside, Mankar will chat for a long while. If you wait for him to finish talking, all three of them will attack you at once, making the battle very difficult. Instead, while Mankar is talking, kill each of the offspring on either side, one at a time, since they will only attack when individually attacked before Mankar’s speech is done.
When they are both down, interrupt Mankar’s speech by attacking him. Try to kill him as quickly as you can as Ruma and Raven will appear again shortly. It can be a tough battle but use your best weapons and don’t let up on Mankar. Try to get him cornered and keep on him till he falls. Once he does, loot all the bodies and get the Amulet of Kings from him. Once you do that, Paradise will start to collapse and you will be transported back to Cloud Ruler Temple.
Light the Dragonfires
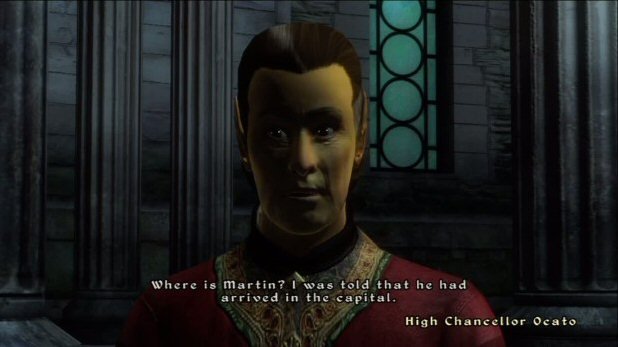
Once you have returned to Cloud Ruler Temple, talk to Martin and give him the Amulet of Kings. He will tell you that now the two of you must travel to the Imperial City to light the Dragon Fires in the Temple of the One. Fast travel there and then make your way inside the Elder Council Chambers at the Imperial Palace to talk to Chancellor Ocato.
He will then concede that Martin is the new Emperor, but a soldier will run in to interrupt and declare that the city is being overrun with Dremoras. Run outside with Martin and Ocato in tow and you will now need to defeat the onslaught of enemies while keeping Martin alive. Martin does a pretty good job of keeping himself alive and you needn’t worry about him much.
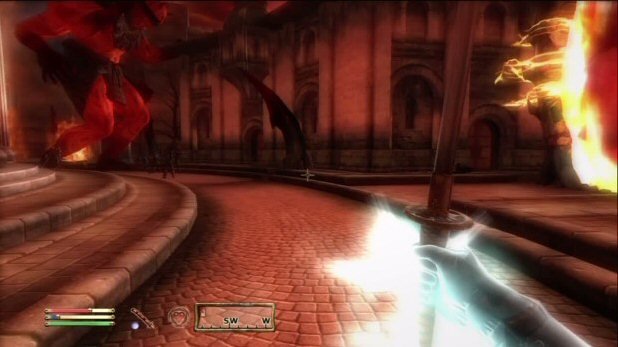
Once the first area is clear, go through the door to the Temple District and head to the right. When you go far enough, you will see the giant, red form of Dagon in the street. Go back and talk to Martin and he will tell you that the both of you need to get to the Temple of the One to defeat Dagon.
Go along the road again to Dagon’s position and you can try to run past him, but instead, go the much safer route, down the alley to the right and follow it around the buildings and go behind Dagon that way. Once you come back out to the main street, simply enter the temple on the other side of the road and a cutscene will play, showing you the ending of the main quest!
Congratulations, Champion of Cyrodiil! Now you've completed the Oblivion main quest walkthrough, it's time to get back out and clear those side quests.
© GamesRadar+. Not to be reproduced without permission.
- 1
- 2
Current page: Oblivion main quest walkthrough part 2
Prev Page Oblivion main quest walkthrough part 1Sign up to the GamesRadar+ Newsletter
Weekly digests, tales from the communities you love, and more
Jeff McAllister is a freelance journalist who has contributed to GamesRadar+ over the years. You'll typically find his byline associated with deep-dive guides that are designed to help you scoop up collectibles and find hidden treasures in some of the biggest action and RPG games out there. Be sure to give Jeff a thanks in the comments while you're completing all of those tricky Achievements and Trophies.
- Iain WilsonGuides Editor
You must confirm your public display name before commenting
Please logout and then login again, you will then be prompted to enter your display name.
