Pokemon Sword and Shield complete guide and walkthrough to become the Champion of Galar
All the Pokemon Sword and Shield guides you'll need for your playthrough
Wyndon Gym
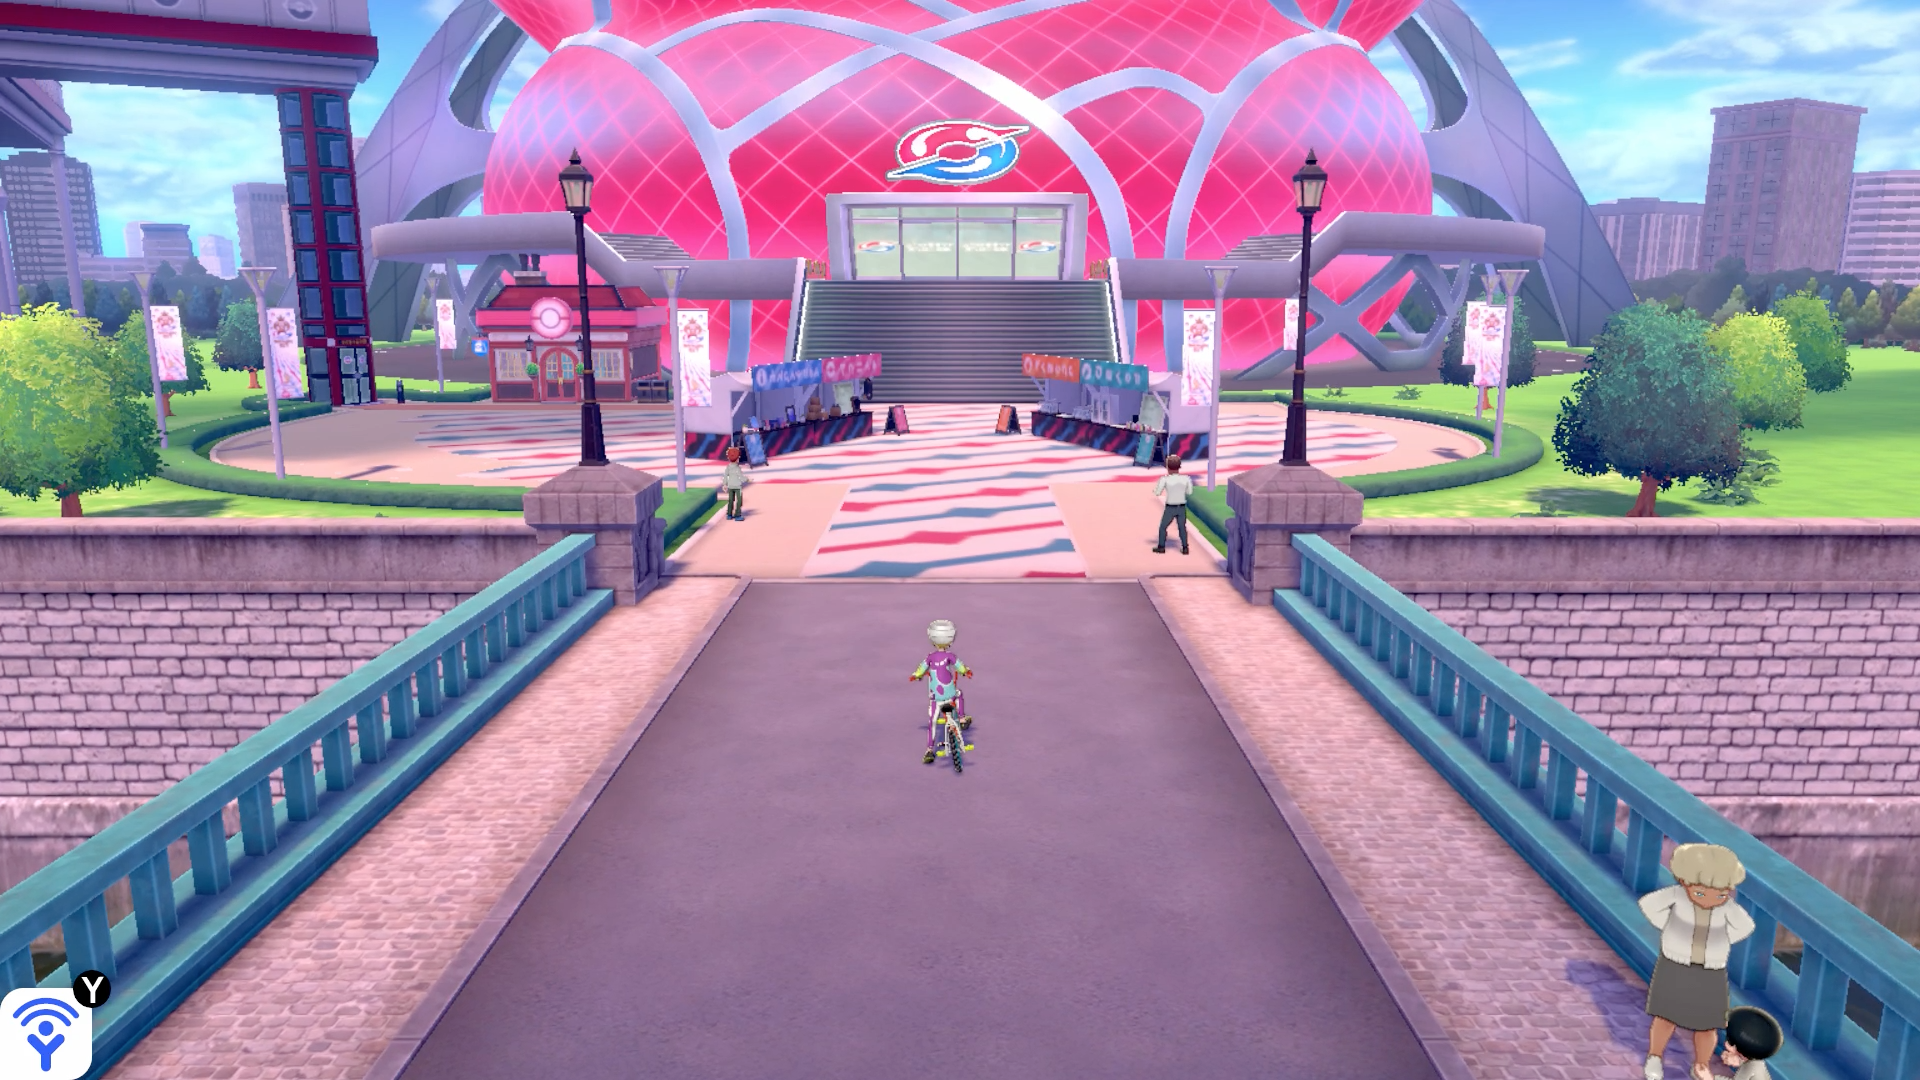
You're reaching the end of the Gym Challenge now, and it's time to begin the semi-finals. Speak to the man at the front desk who will check your gym badges, then get ready for the first fight against your ol' pal Marnie.
Marnie
| Pokemon | Level | Type |
|---|---|---|
| Liepard | 47 | Dark |
| Scrafty | 47 | Dark/Fighting |
| Morpeko | 48 | Electric/Dark |
| Toxicroak | 47 | Poison/Fighting |
| Grimmsnarl | 49 | Dark/Fairy |
Marnie is the easiest fight you'll have at this stage of the game, because none of her Pokemon are particularly strong except for Grimmsnarl who she Gigantamaxes. She's a huge fan of Dark-type Pokemon, which are weak to Fighting, Bug, and Fairy-types so prep your party accordingly. The only exception to this is Toxicroak, but that's also weak to Fairy-types, so a Pokemon like Hatterene would be a great inclusion.
After you beat Marnie, you need to take on your best buddy Hop in the next fight.
Hop
| Pokemon | Level | Type |
|---|---|---|
| Dubwool | 48 | Normal |
| Corviknight | 48 | Flying/Steel |
| Snorlax | 47 | Normal |
| Pincurchin | 47 | Electric |
| Inteleon | 49 | Water |
As you've discovered with previous battles against Hop, he doesn't tend to have a favoured type. Make sure you include a Fighting-type or two to deal with Dubwool and Snorlax, and an Electric-type would go down well to deal with Corviknight and Inteleon. For Pincurchin, either brute force it with your strongest 'mon or include a Ground-type.
WARNING: Story spoilers for the end of the game from here on.
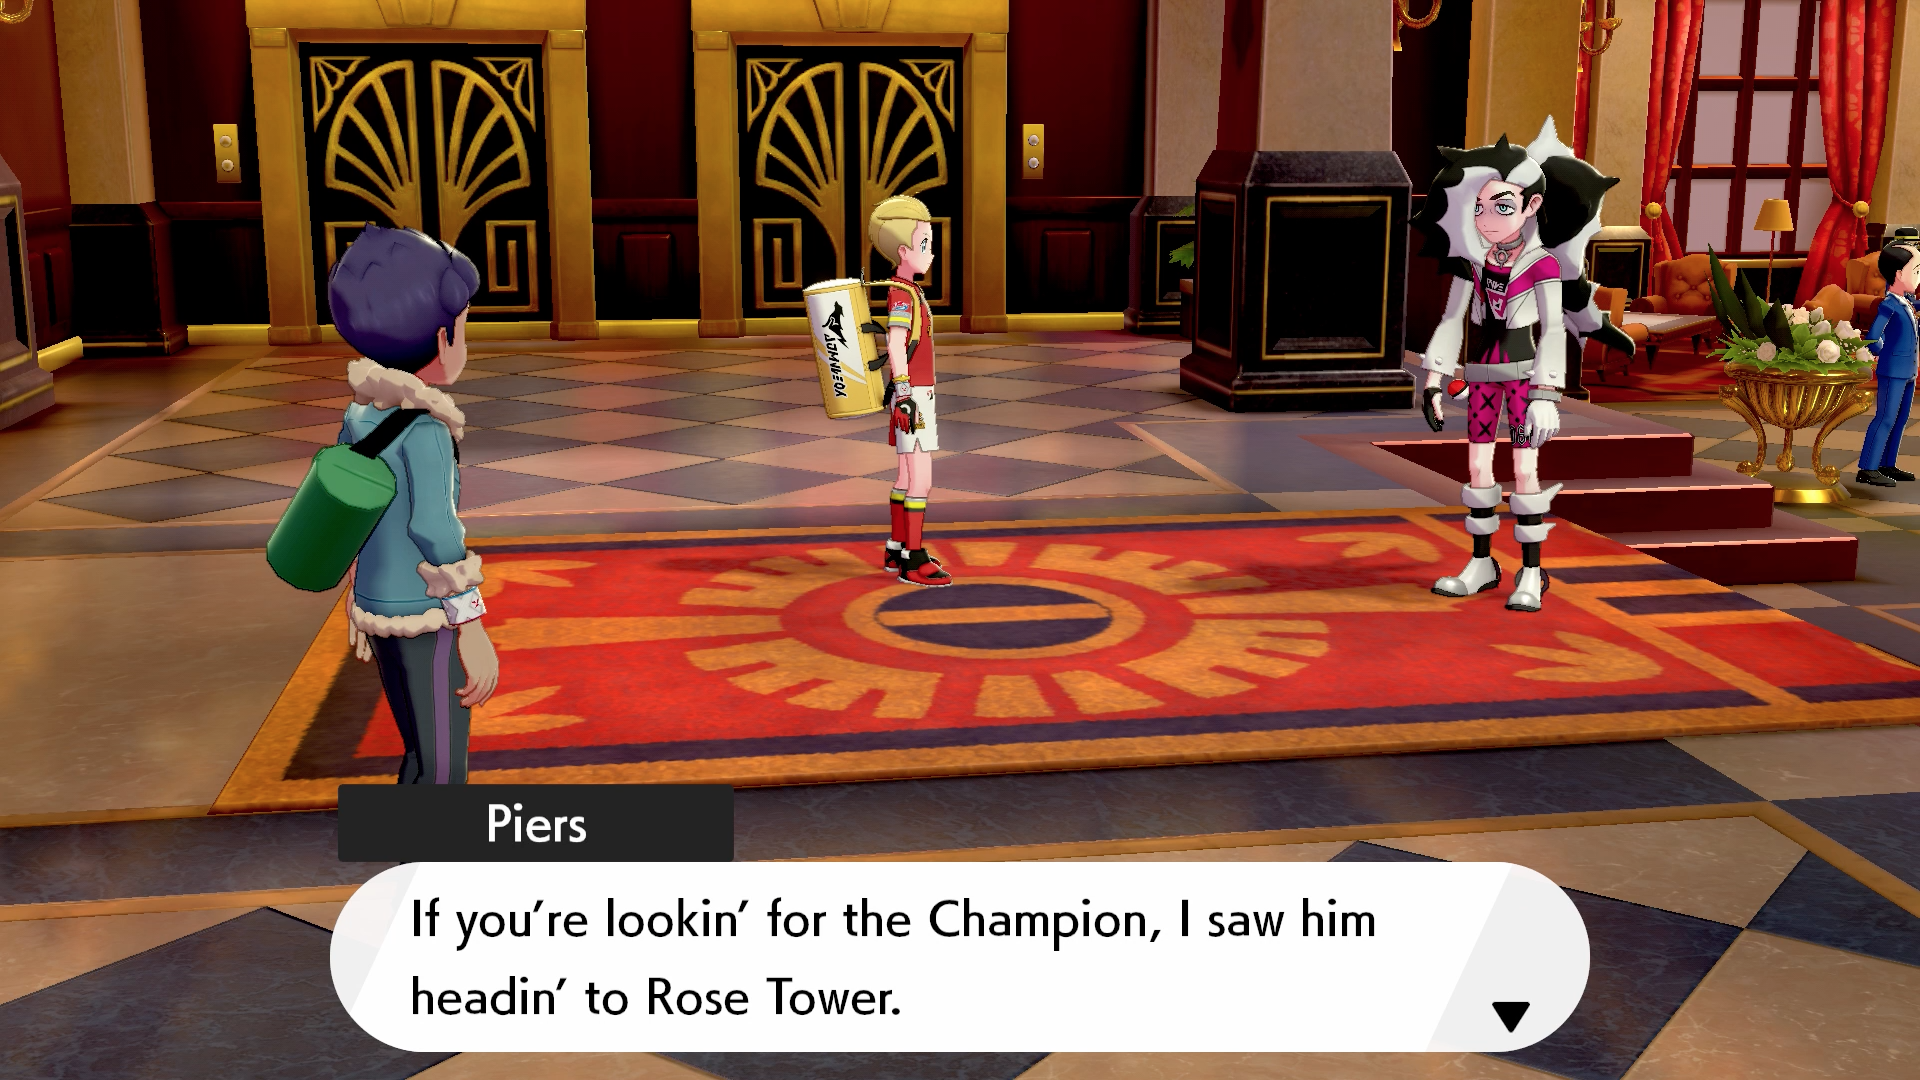
After seeing off Hop, you'll be expecting to fight Leon in the final next, right? Wrong, unfortunately. It's time to head to The Rose of the Rondelands Hotel with Hop, where you're meant to be meeting Leon for dinner, but he doesn't turn up. Suspicious.
Answer the camera crew's questions and watch the ensuing cutscene, then it's time to hunt down Oleana's league staff member who has the key to the tower.
When you arrive by the fountain and the league staff member is hiding for the first time, there's one clue you need to look for; his shades are darkened, as opposed to the other staff members having gold tints. You can find him for the first time stood facing the wall in the top-right corner. Tell him you already have the key and he'll turn around, ready to battle you.
Macro Cosmos's Eric
| Pokemon | Level | Type |
|---|---|---|
| Meowth | 47 | Steel |
| Durant | 47 | Bug/Steel |
Beat him once and he'll run off again, this time to blend in with two people stood to the left of the fountain. Interact with him and fight him once more.
Macro Cosmos's Eric
| Pokemon | Level | Type |
|---|---|---|
| Mawile | 47 | Steel/Fairy |
| Excadrill | 47 | Ground/Steel |
After he runs off for the second time, you can find him inside the telephone box to the north-west.
Macro Cosmos's Eric
| Pokemon | Level | Type |
|---|---|---|
| Ferroseed | 47 | Grass/Steel |
| Steelix | 47 | Steel/Ground |
Dispose of Eric for the third time and he'll run off again, but this time to the train station. Simply watch the cutscene and Piers will come along to help you get the key back, at which point you can ascend the Rose Tower.
Rose Tower
Items: Rose Tower
| Item | Visible | Hidden |
|---|---|---|
| Cell Battery | Y | Row 0 - Cell 2 |
| Electric Seed | Y | Row 1 - Cell 2 |
| Nugget | Row 2 - Cell 1 | Y |
| PP Up | Row 3 - Cell 1 | Y |
| Rare Candy | Row 4 - Cell 1 | Y |
| TM93 Eerie Impulse | Row 5 - Cell 1 | Row 5 - Cell 2 |
Before you enter the base of Rose Tower, take a few minutes to explore the garden around the base as there's two items to be found, one in each corner along the top: Electric Seed and Cell Battery. Make sure you check behind the sign in the middle to grab TM93 Eerie Impulse too.
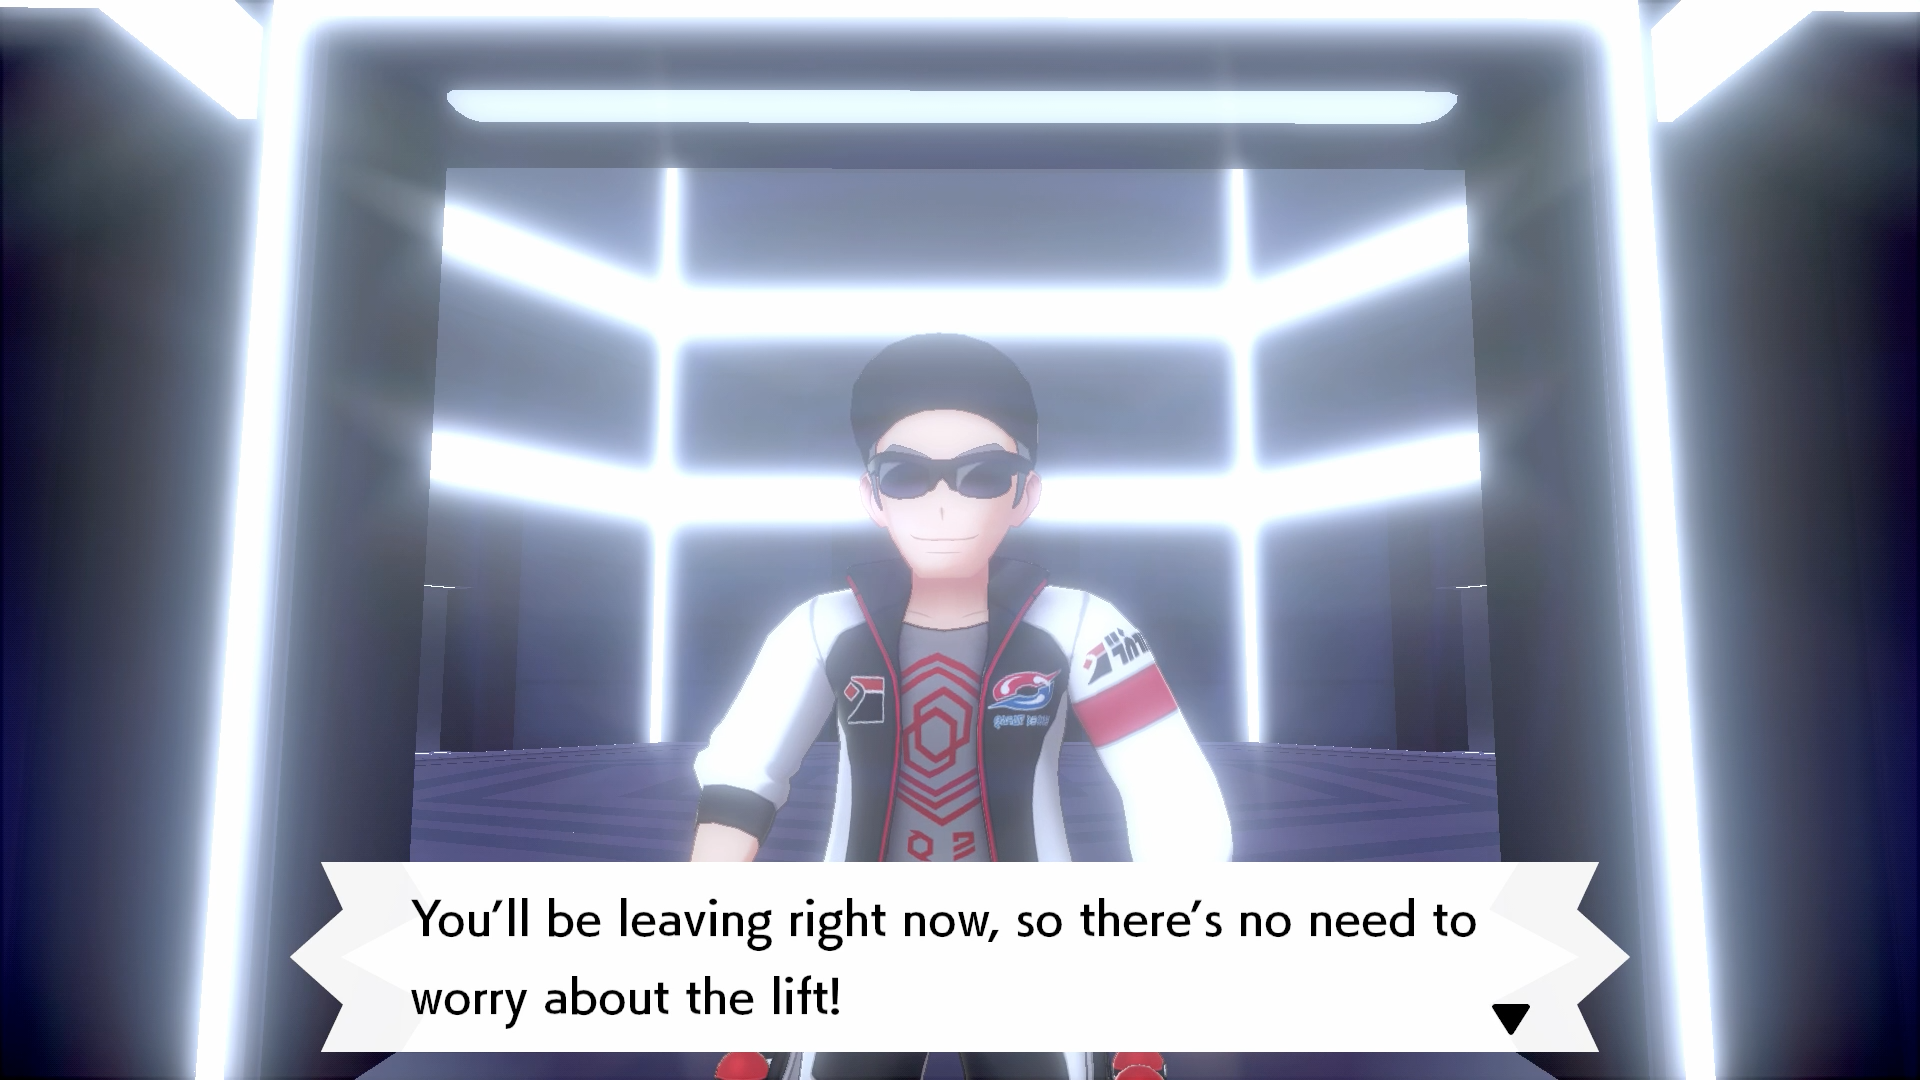
Head inside the tower and you'll be faced with a series of battles as you climb the tower in the elevator.
Macro Cosmos's Elijah
| Pokemon | Level | Type |
|---|---|---|
| Durant | 48 | Bug/Steel |
Macro Cosmos's Jane and Mateo (Duo)
| Pokemon | Level | Type |
|---|---|---|
| Cufant | 48 | Steel |
| Bronzong | 48 | Steel/Psychic |
Macro Cosmos's Kevin and Carla (Duo)
| Pokemon | Level | Type |
|---|---|---|
| Mawile | 48 | Steel/Fairy |
| Klang | 48 | Steel |
Macro Cosmos's Adalyn and Justin (Duo)
| Pokemon | Level | Type |
|---|---|---|
| Stunfisk | 49 | Ground/Steel |
| Steelisk | 49 | Steel/Ground |
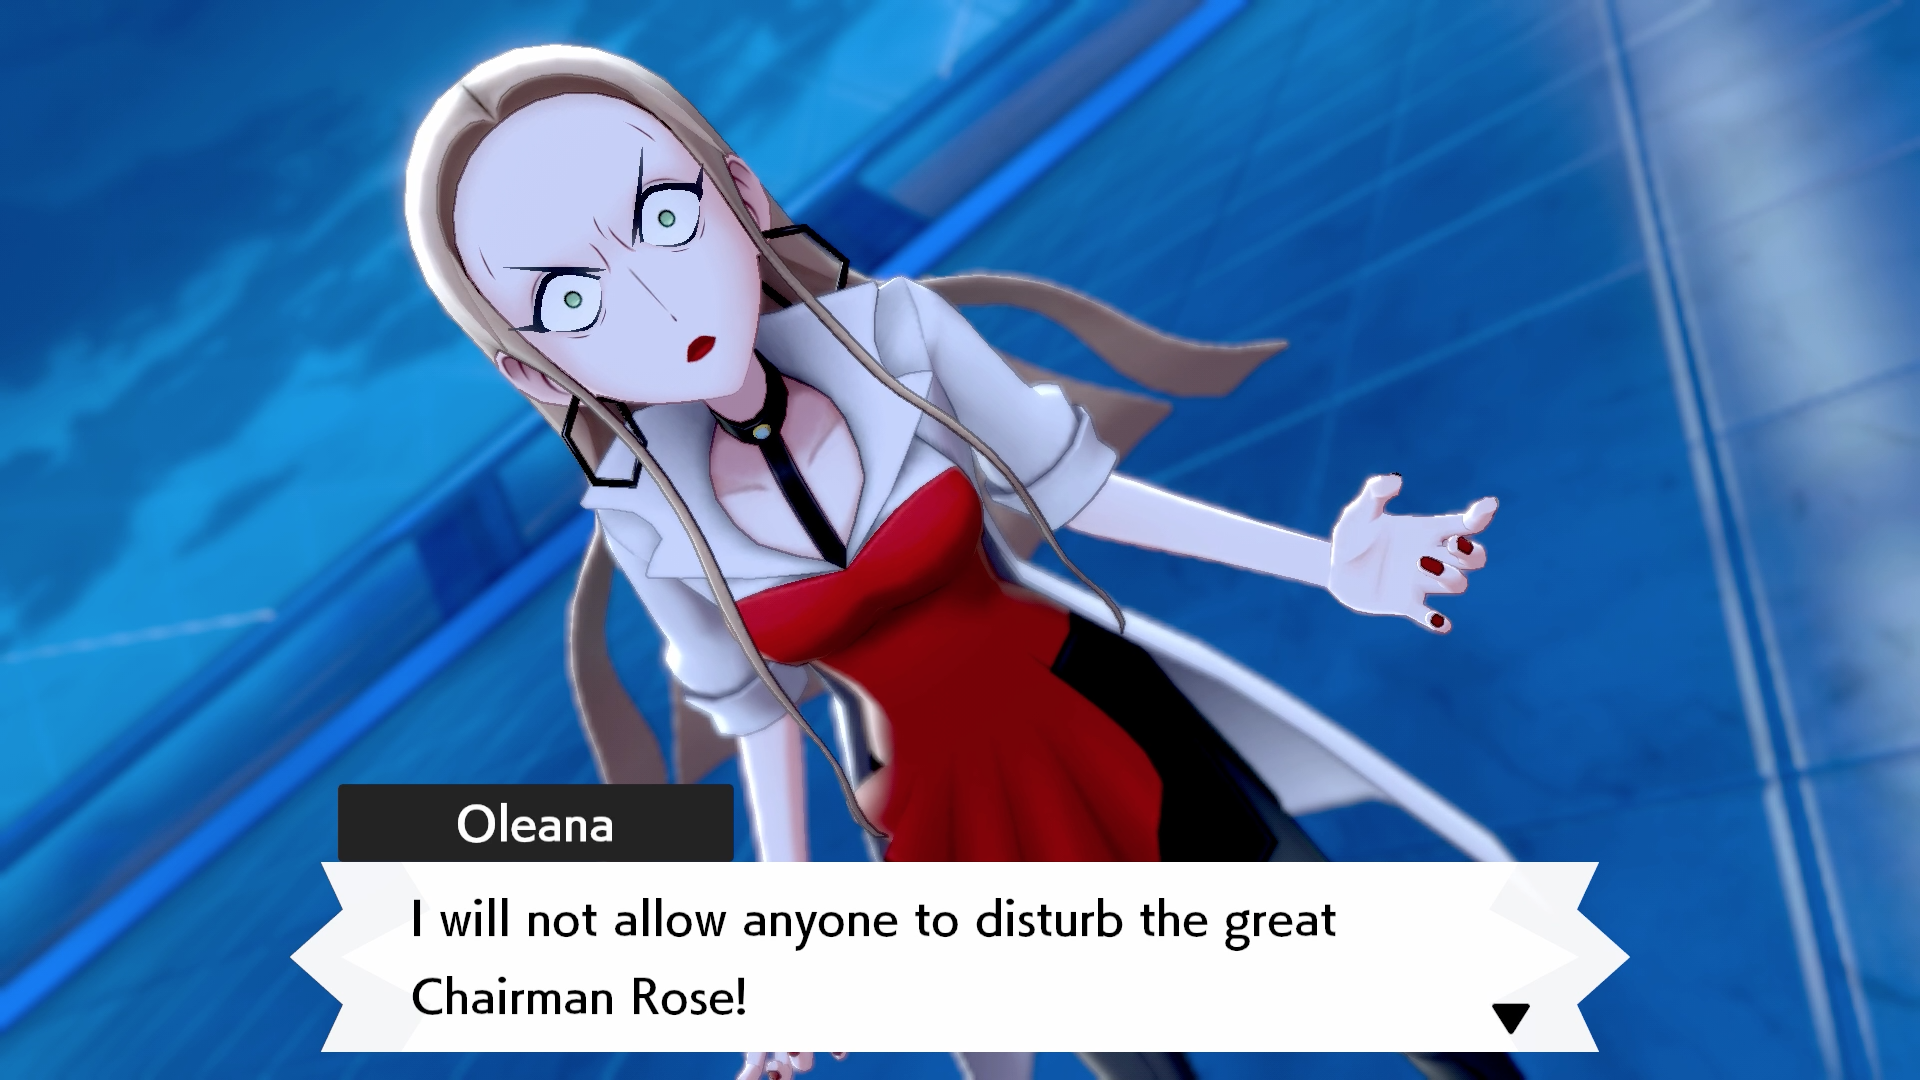
After the third duo fight, you'll reach the top of the tower. What a surprise, Rose's beloved assistant, Oleana, is there waiting for you. Of course, she wants to battle you too, so get ready.
Macro Cosmos's Oleana
| Pokemon | Level | Type |
|---|---|---|
| Froslass | 50 | Ice/Ghost |
| Salazzle | 50 | Poison/Fire |
| Milotic | 51 | Water |
| Tsareena | 50 | Grass |
| Garbodor | 52 | Poison |
With Oleana's team, make sure you've got a good Poison-type counter like a Ground or Psychic-type Pokemon, and a Fire-type or two would be handy to see off Tsareena and Froslass. For Milotic, anything Grass or Electric will do the job. Be prepared for her to Gigantamax her Garbodor too, which comes complete with a boat and a plane stuck in the side of it.
When you beat Oleana, you can finally reach Rose. There's no battle to be had here though; watch the cutscene then make your way back towards Wyndon Gym.
Pokemon Sword and Shield walkthrough: Postwick and Route 1
Pokemon Sword and Shield walkthrough: Wedgehurst and Route 2
Pokemon Sword and Shield walkthrough: Wild Area and Motostoke
Pokemon Sword and Shield walkthrough: Route 3, Galar Mine, and Route 4
Pokemon Sword and Shield walkthrough: Turffield, Turffield Gym, and Route 5
Pokemon Sword and Shield walkthrough: Hulbury and Hulbury Gym
Pokemon Sword and Shield walkthrough: Galar Mine No.2 and Motostoke Gym
Pokemon Sword and Shield walkthrough: Hammerlocke and Route 6
Pokemon Sword and Shield walkthrough: Stow-on-Side and Stow-on-Side Gym
Pokemon Sword and Shield walkthrough: Glimwood Tangle
Pokemon Sword and Shield walkthrough: Ballonlea and Ballonlea Gym
Pokemon Sword and Shield walkthrough: Route 7 and Route 8
Pokemon Sword and Shield walkthrough: Circhester and Circhester Gym
Pokemon Sword and Shield walkthrough: Route 9
Pokemon Sword and Shield walkthrough: Spikemuth Gym
Pokemon Sword and Shield walkthrough: Hammerlocke Gym
Pokemon Sword and Shield walkthrough: Route 10 and Wyndon
Pokemon Sword and Shield walkthrough: Wyndon Gym and Rose Tower
Pokemon Sword and Shield walkthrough: Wyndon Gym Finals and Slumbering Weald
Pokemon Sword and Shield walkthrough: Energy Plant and Champion Battle
Pokemon Sword and Shield walkthrough: Zacian and Zamazenta
Pokemon Sword and Shield walkthrough: Post-game activities
Current page: Pokemon Sword and Shield walkthrough: Wyndon Gym and Rose Tower
Prev Page Pokemon Sword and Shield walkthrough: Route 10 and Wyndon Next Page Pokemon Sword and Shield walkthrough: Wyndon Gym Finals and Slumbering WealdSign up to the GamesRadar+ Newsletter
Weekly digests, tales from the communities you love, and more
Give me a game and I will write every "how to" I possibly can or die trying. When I'm not knee-deep in a game to write guides on, you'll find me hurtling round the track in F1, flinging balls on my phone in Pokemon Go, pretending to know what I'm doing in Football Manager, or clicking on heads in Valorant.
- Leon HurleyManaging editor for guides
- Sam LoveridgeBrand Director, GamesRadar+
