Pokemon Sword and Shield complete guide and walkthrough to become the Champion of Galar
All the Pokemon Sword and Shield guides you'll need for your playthrough
Hammerlocke
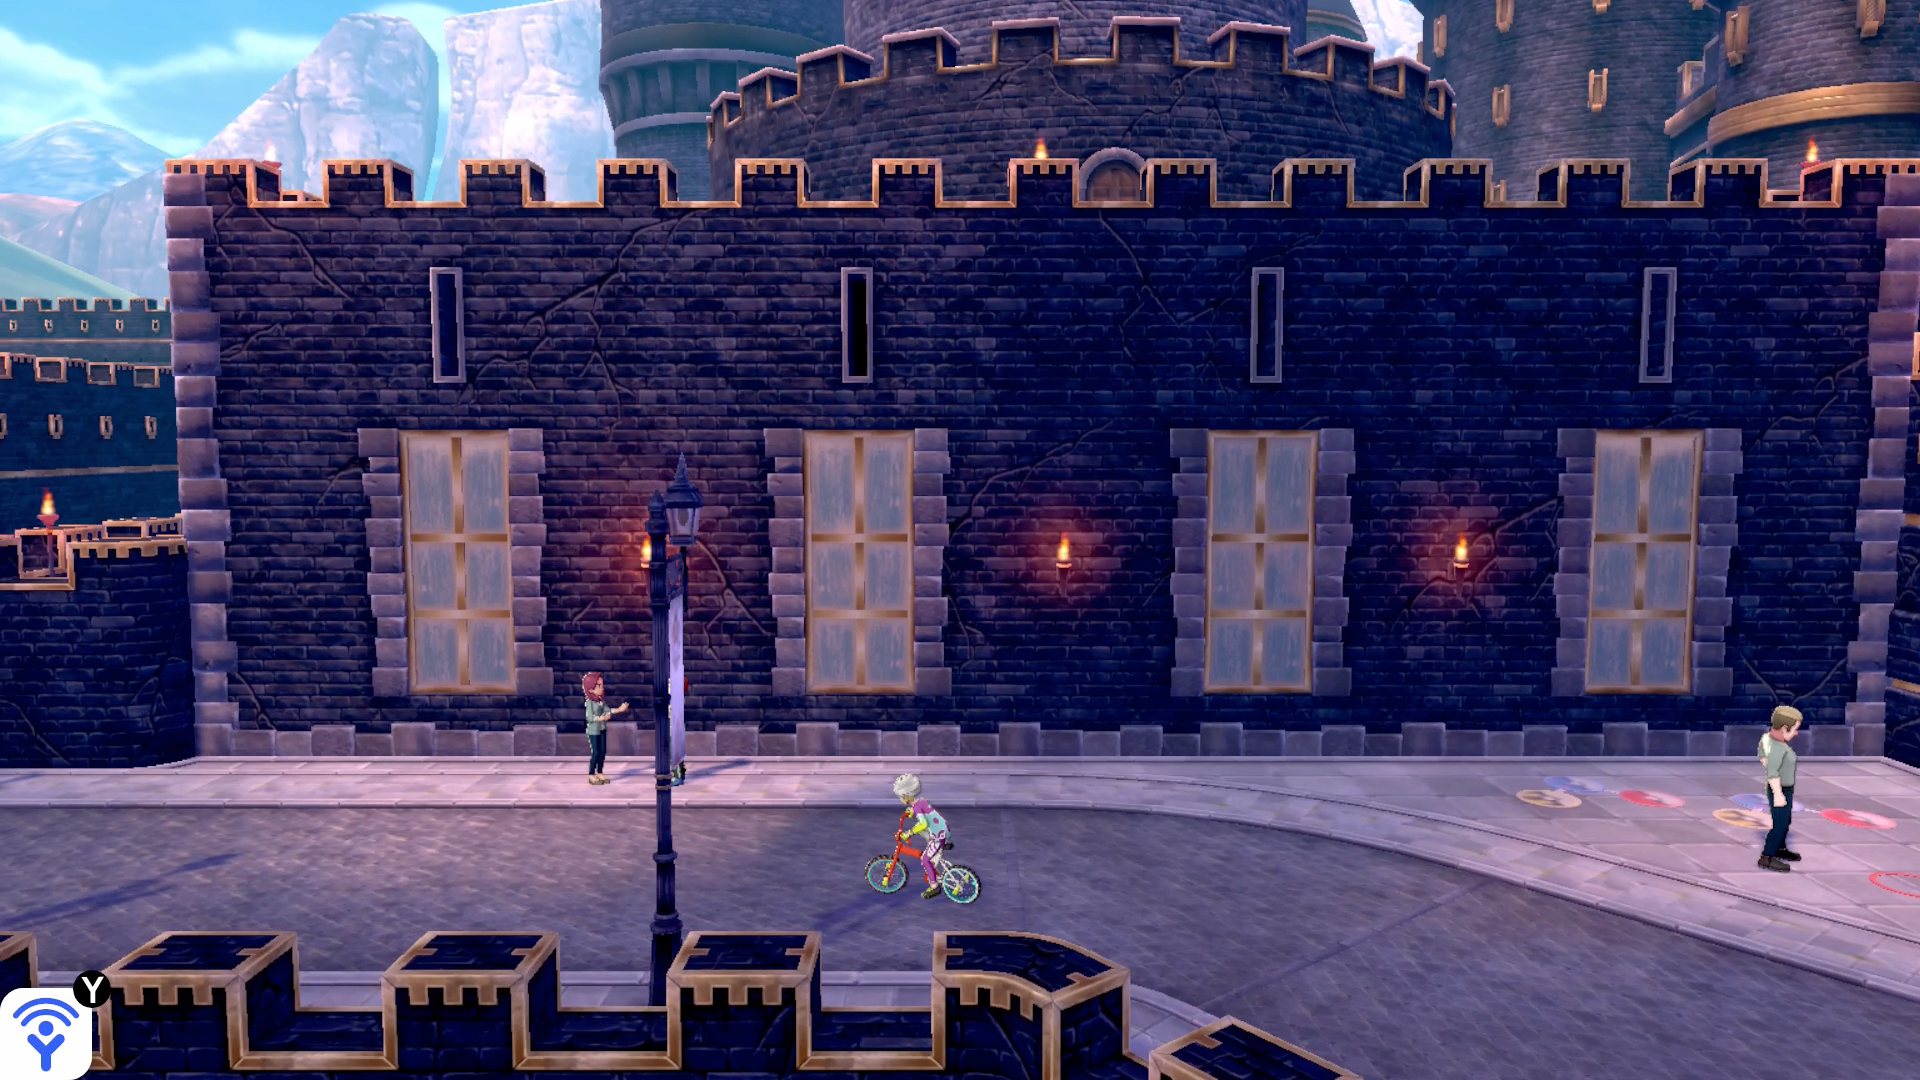
Items: Hammerlocke
| Item | Visible | Hidden |
|---|---|---|
| Dire Hit | Row 0 - Cell 1 | Y |
| Hyper Potion x2 | Y | Row 1 - Cell 2 |
| Muscle Band | Y | Row 2 - Cell 2 |
| Nugget | Row 3 - Cell 1 | Y |
| Rare Candy | Row 4 - Cell 1 | Y |
| Strawberry Sweet | Y | Row 5 - Cell 2 |
| Super Repel | Row 6 - Cell 1 | Y |
| TM29 Charm | Y | Row 7 - Cell 2 |
| Wise Glasses | Y | Row 8 - Cell 2 |
| X Attack x2 | Row 9 - Cell 1 | Y |
When you make it to Hammerlock, you’ll see Bede, Oleana, and Chairman Rose stood in the middle of the road. Before you approach them, enter the house next to the Pokemon Center and beat Mr. Focus to earn a Focus Sash. Note that he uses it during the fight – so his Pokemon will halt at 1HP – it won't be the insta-kill you're expecting.
Mr. Focus
| Pokemon | Level | Type |
|---|---|---|
| Cottonee | 2 | Grass |
Leave Mr. Focus' house and go east, then enter the middle house on the left. Listen to the man talk about the weather and he'll give you one of five items – return once a day to hear him out and get a new one. Leave the house then go up the set of stairs towards the enormous castle-esque building. Speak to the small girl wearing pink and she'll give you an Old Letter you need to deliver to a boy named Frank in Ballonlea. More on this later. Pick up the Wise Old Glasses in the corner and the Strawberry Sweet by the top of the stairs then head back to the Pokemon Center.
Approach the Chairman and co. to begin the cutscene. Follow Chairman Rose inside the stadium and he'll explain to you how it actually doubles as an energy plant, before showing you a diagram of how it all works. Nifty stuff. When you're done talking with Rose, leave and head west.
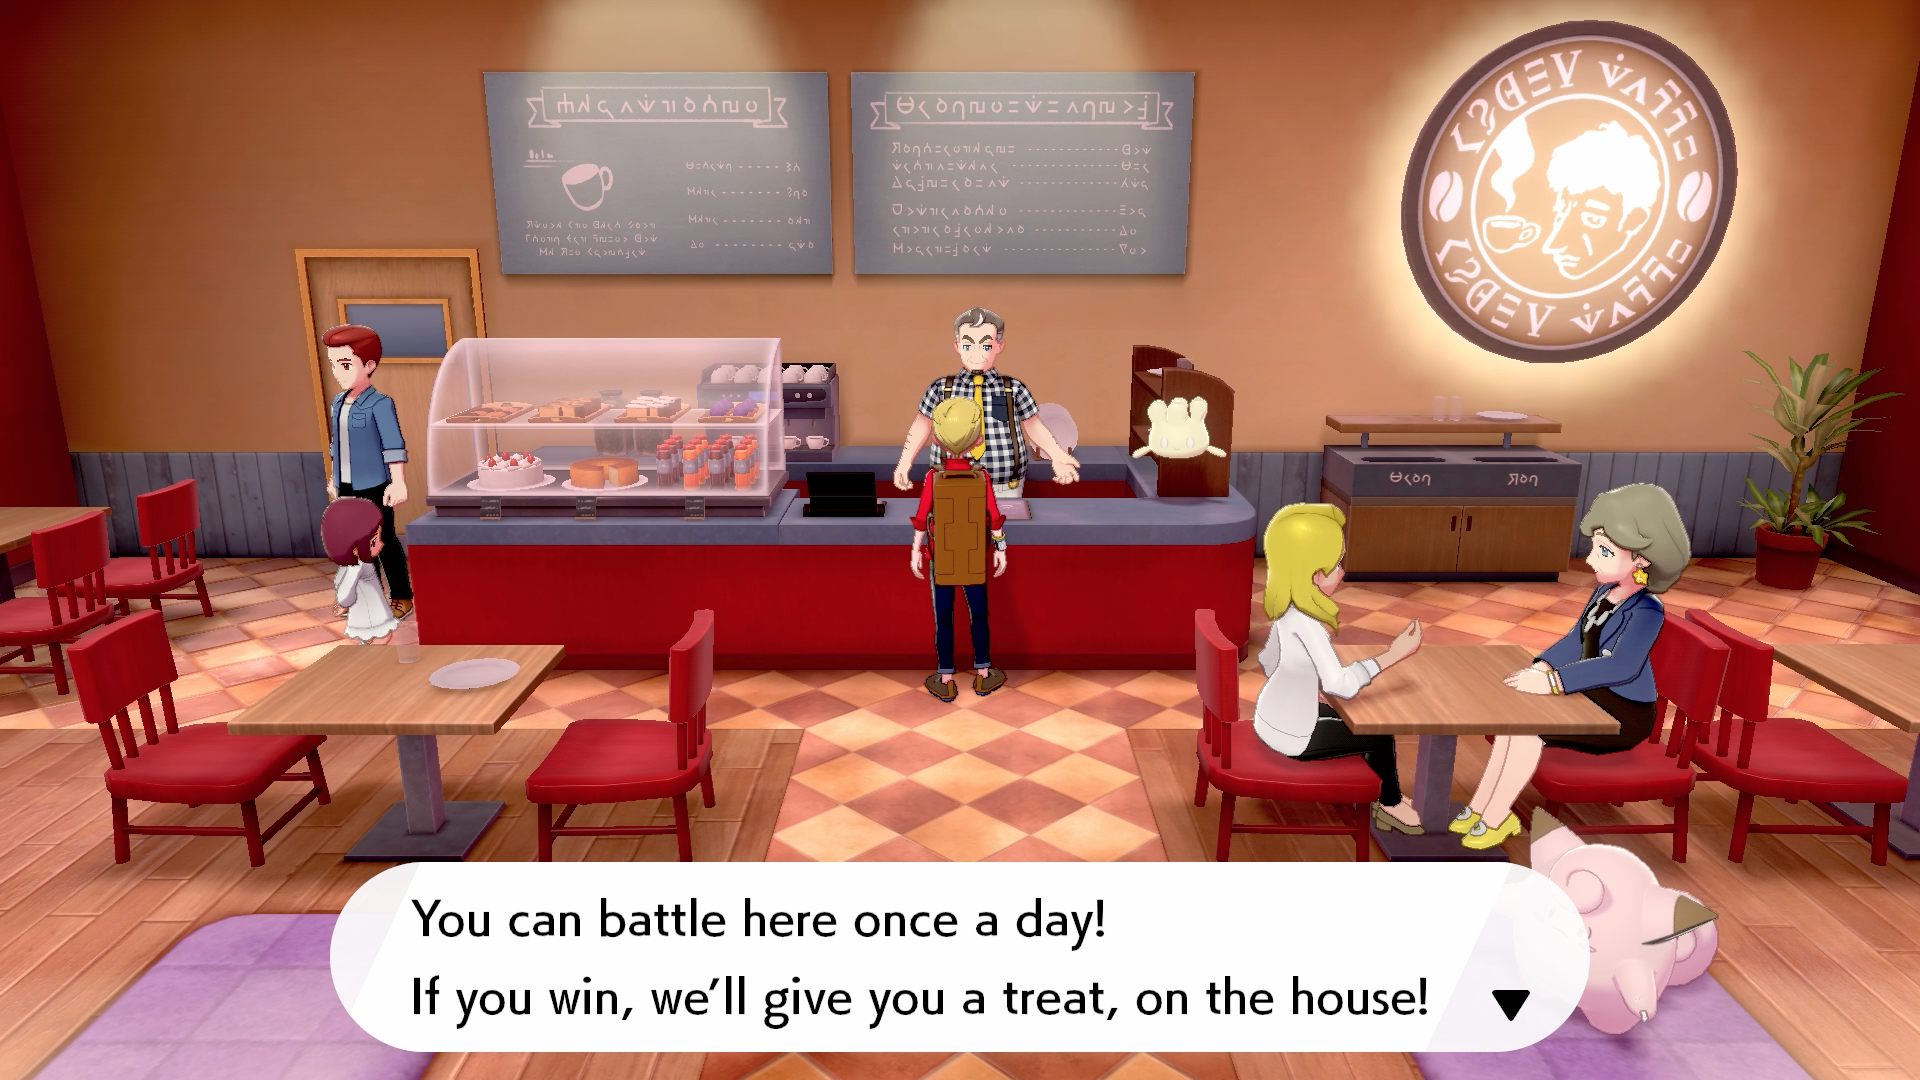
Leon will show up concerned about Hop, then after he leaves, on your right is the Battle Cafe. Make sure you return regularly to reap the rewards from Cafe Master Bernard.
Follow the road along and over the bridge, past the second Pokemon Center, and you'll meet Raihan by the entrance to the Vault. He's the leader of the Hammerlocke Gym, but you can't face him for a while because you need to have seven gym badges already. Go inside the Vault with him and he'll give you his league card.
Head up the stone stairs to the left and into the door at the top where you'll meet Sonia, who tells you all about the tapestries on the wall and ponders over what it could all mean. When she's done, head to the bottom and listen to Raihan, as he tells you to head further west toward Route 6 and Stow-on-Side.
Leave the Vault and opposite you in the corner of the garden stands a woman. She's looking for a Toxel and in exchange, she'll trade you a Togepi. It's up to you whether you want to give up the Toxel you were given earlier or not, but the option is there since both Pokemon are rare to come across.
Keep going left and speak to the next bloke who is looking for an Applin. If you've got one, feel free to give it to him — this isn't a trade, but you'll lose access to Applin temporarily. He'll give it back later though, along with an item that allows you to evolve it. Next, go down the steps before the bridge and you'll find a man happy to teach a certain Pokemon a combo move.
Finally, go back up the stairs and leave Hammerlocke over the bridge to find Route 6.
Route 6
Pokemon: Route 6 - Overworld
| Pokemon | Rarity |
|---|---|
| Axew | Rare (Sword) / Extremely Rare (Shield) |
| Dugtrio | Common |
| Helioptile | Common |
| Maractus | Average |
| Trapinch | Extremely Rare (Sword) / Rare (Shield) |
| Yamask | Common |
Pokemon: Route 6 (Random Encounters)
| Pokemon | Rarity |
|---|---|
| Durant | Common (Sword) / Rare (Shield) |
| Duskull | Common |
| Hawlucha | Rare |
| Heatmor | Rare (Sword) / Common (Shield) |
| Hippopotas | Average |
| Silicobra | Common |
| Skorupi | Average |
| Torkoal | Rare |
Pokemon: Route 6 - Fishing
| Pokemon | Rarity |
|---|---|
| Drednaw | Common |
| Goldeen | Average |
| Magikarp | Frequent |
Items: Route 6
| Item | Visible | Hidden |
|---|---|---|
| Fossilised Dino (Sword) | Row 0 - Cell 1 | Y |
| Fossilised Fish (Shield) | Row 1 - Cell 1 | Y |
| Light Clay | Y | Row 2 - Cell 2 |
| Rare Bone x2 | Row 3 - Cell 1 | Y |
| Rare Candy | Row 4 - Cell 1 | Y |
| TM15 Dig | Y | Row 5 - Cell 2 |
| TM30 Steel Wing | Y | Row 6 - Cell 2 |
| Ultra Ball x3 | Row 7 - Cell 1 | Row 7 - Cell 2 |
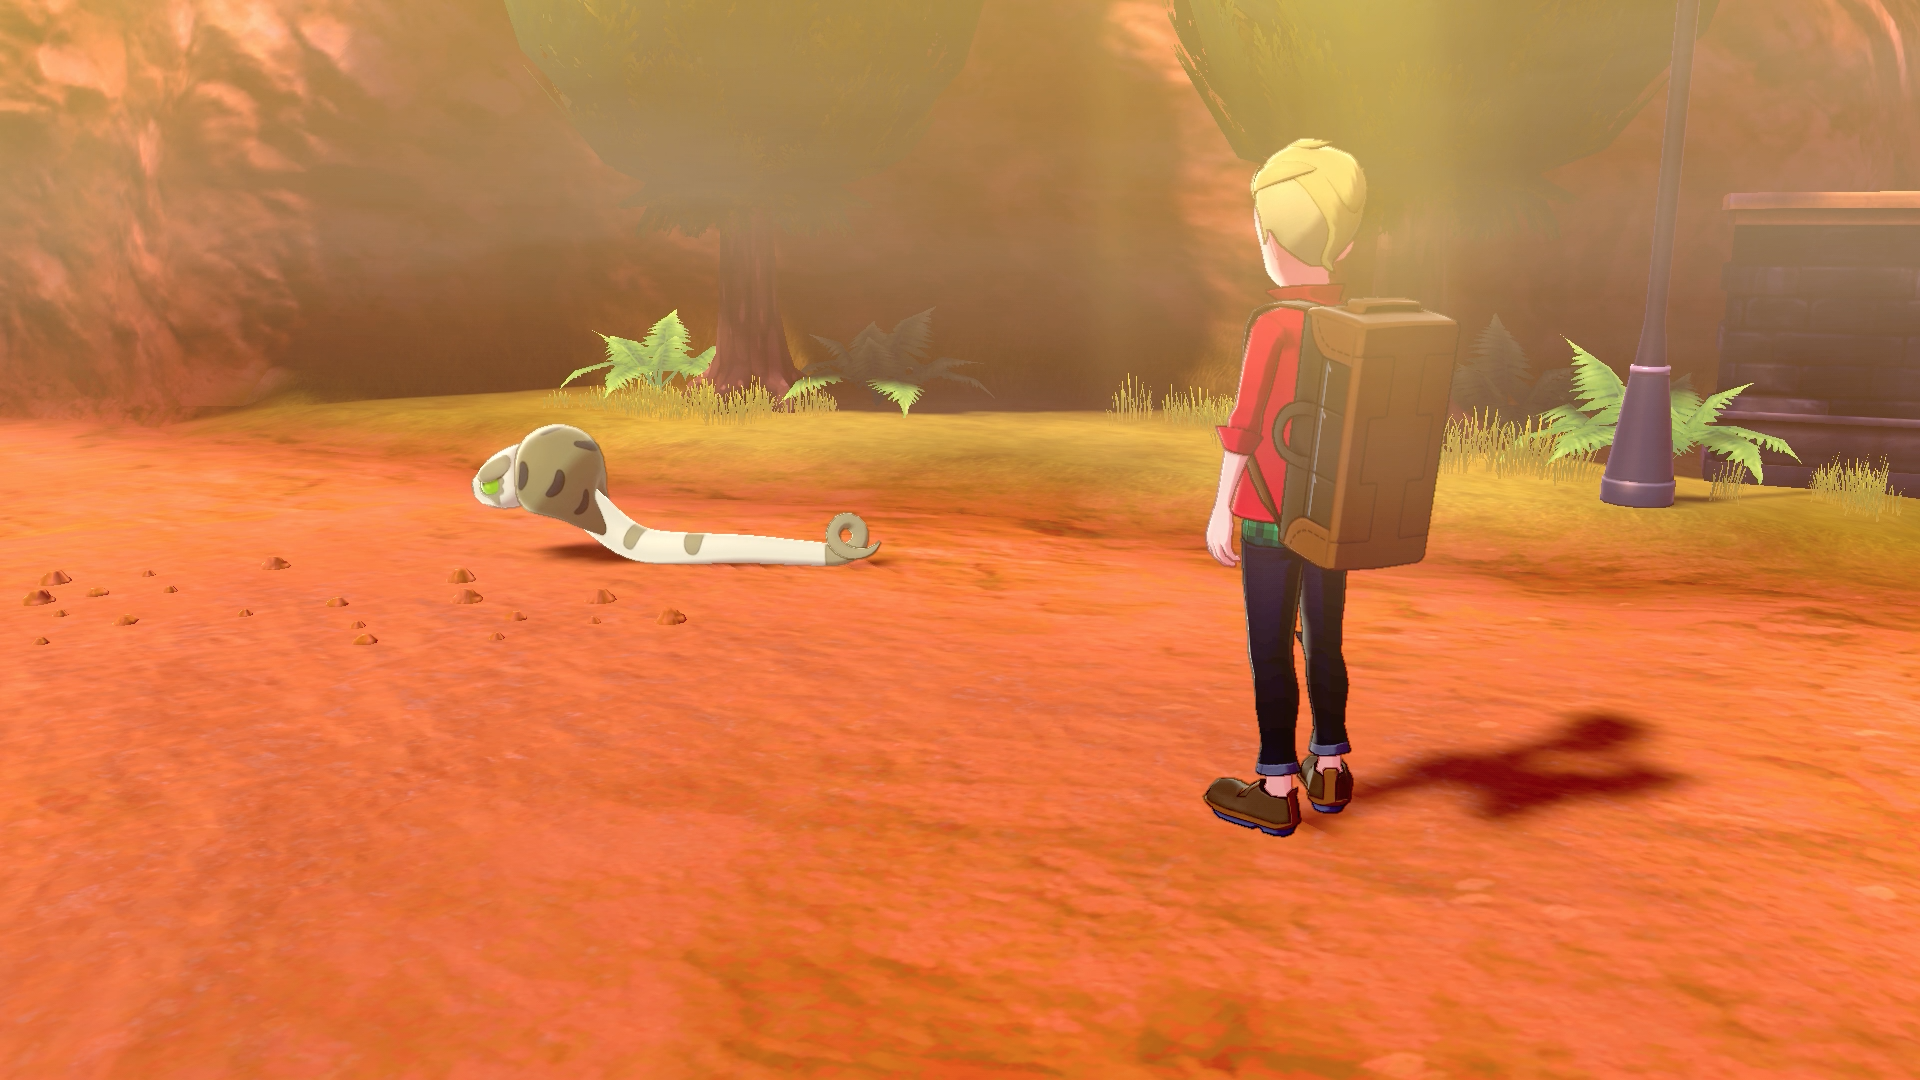
Cross the bridge and the first people you'll find are two more Team Yell Grunts, insisting you keep the noise down as to not wake the Silicobra asleep by the side of the path. Hop will show up but you have the option to take on the two Grunts by yourself, one after the other.
Team Yell Grunt
| Pokemon | Level | Type |
|---|---|---|
| Stunky | 29 | Poison/Dark |
| Linoone | 30 | Dark/Normal |
Team Yell Grunt
| Pokemon | Level | Type |
|---|---|---|
| Liepard | 30 | Dark |
When you've taken them both down, Hop will head off and the Silicobra will look at you disapprovingly, then slither off into the distance. A new character called Opal will show up and say some ominous words about how she's going to "keep an eye on you", give you her league card, then walk off. Weird.
Next step is to push through Route 6, collecting all of the items you can find and filling out your Pokedex. Beauty Anita is the first trainer you'll come up against.
Beauty Anita
| Pokemon | Level | Type |
|---|---|---|
| Clefairy | 29 | Fairy |
| Clefable | 30 | Fairy |
Progress through the tall grass and you'll come up against a duo fight.
Medical Team Iwan and Evelyn (Duo)
| Pokemon | Level | Type |
|---|---|---|
| Togetic | 31 | Fairy/Flying |
| Pawniard | 31 | Dark/Steel |
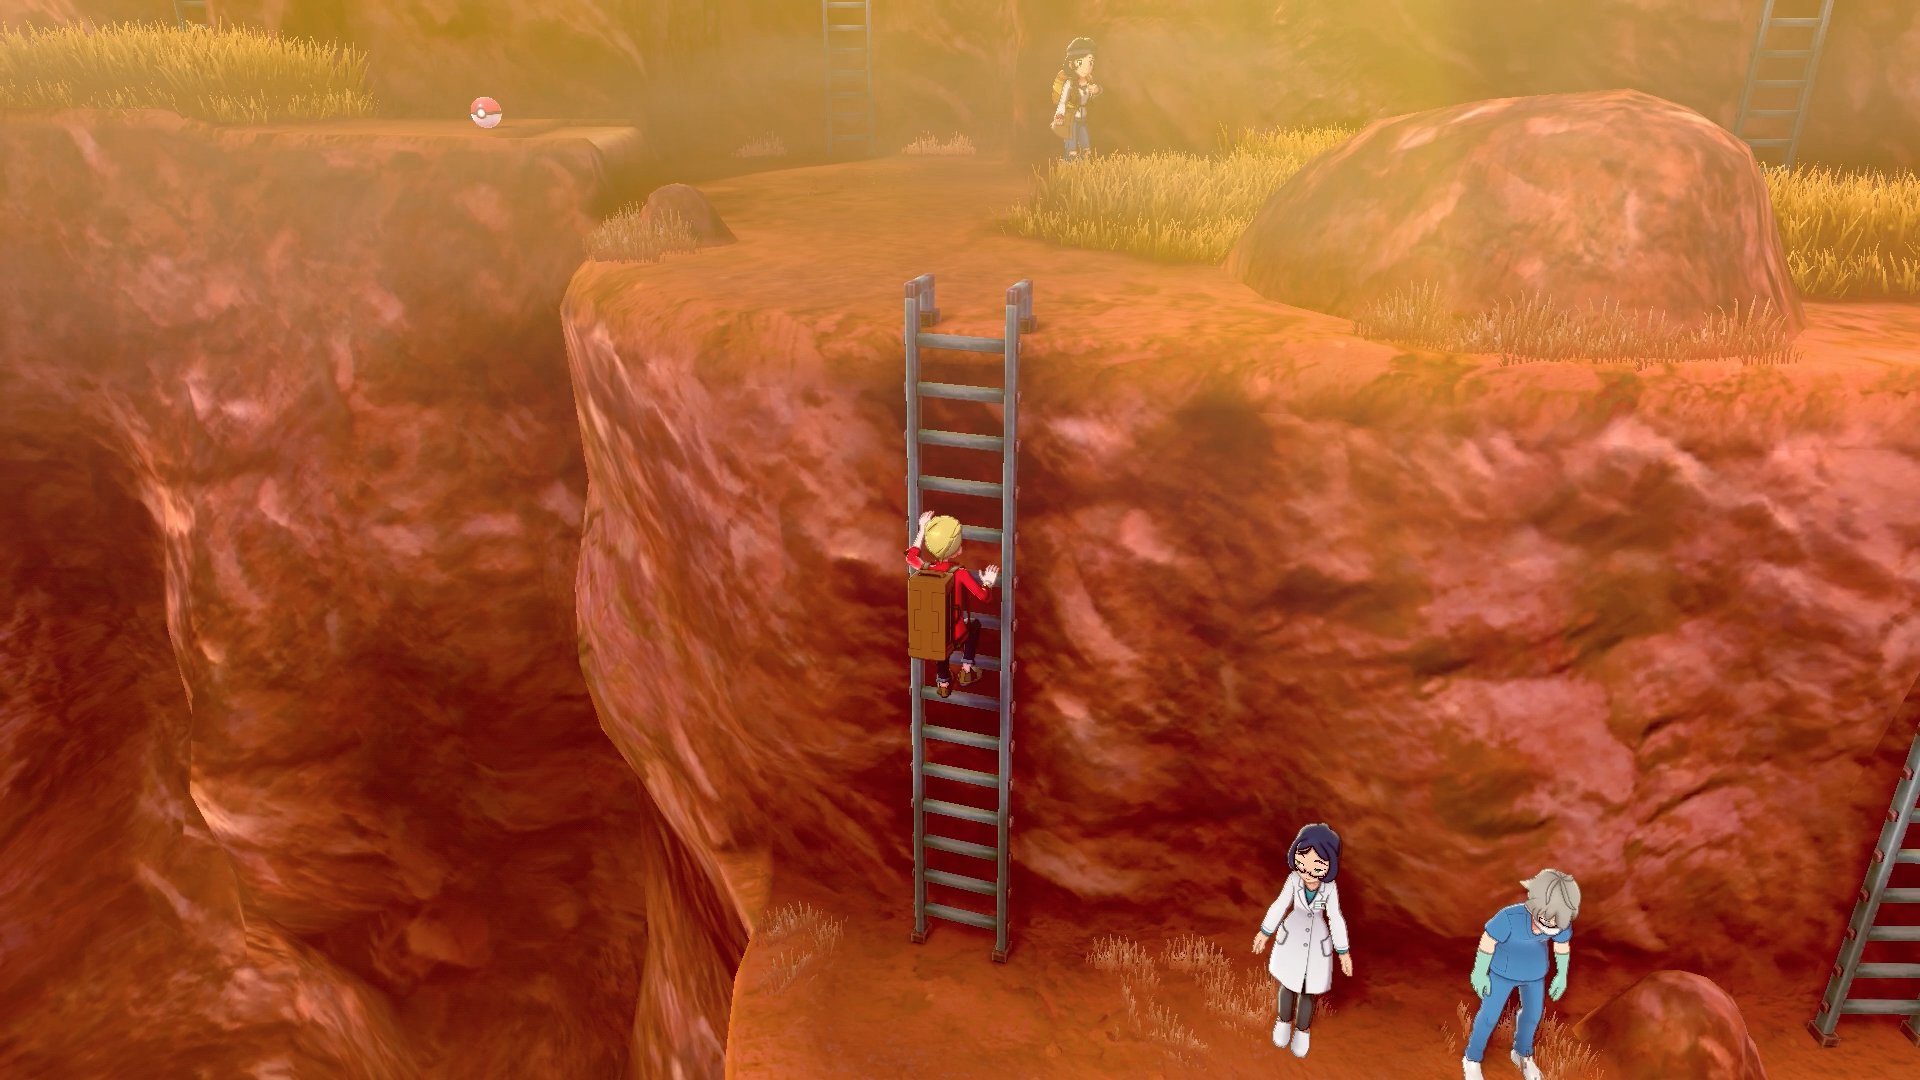
Now you've got three ladders you can climb up along the bottom ridge of this cliff face. The middle one of the three is the one you need to climb to reach Stow-on-Side, so unless you're making a beeline for the next town, we'll use the other two ladders first.
The one on the far right that you walk past first from Hammerlocke simply leads you to a fishing spot. Walk to the one on the far left and you'll come across Backpacker Diane.
Backpacker Diane
| Pokemon | Level | Type |
|---|---|---|
| Sawk | 31 | Fighting |
Walk past her to the ladder at the back and you'll find another camper with TM15 Dig in the corner. Dig is an incredibly powerful Ground-type move, so it's worth teaching to any of your Pokemon that can learn it.
On the left side up the slope is Cara Liss, a scientist researching fossils. If you have any fossils, you can bring them to her, so remember her whereabouts for later. Go back to the ladder you came up then walk left and head down the ladder at the end to find Light Clay. Head back up the ladder and down the one on the other side, then take the one on the right where you'll find Model Nicola pacing across the path.
Model Nicola
| Pokemon | Level | Type |
|---|---|---|
| Skorupi | 30 | Poison/Bug |
| Pawniard | 30 | Dark/Steel |
Follow the path to the right and take the next ladder down. There's a berry tree in the corner you can shake for some tasty treats, followed by Backpacker Ruth.
Backpacker Ruth
| Pokemon | Level | Type |
|---|---|---|
| Throh | 31 | Fighting |
After you take her down, follow the tall grass and go down the path at the bottom to reach TM30 Steel Wing. Go back up the way you came and through the tunnel in the distance, where your final battle will be against Artist Duncan.
Artist Duncan
| Pokemon | Level | Type |
|---|---|---|
| Koffing | 29 | Poison |
| Sudowoodo | 31 | Rock |
Keep heading forwards to reach Stow-on-Side!
Pokemon Sword and Shield walkthrough: Postwick and Route 1
Pokemon Sword and Shield walkthrough: Wedgehurst and Route 2
Pokemon Sword and Shield walkthrough: Wild Area and Motostoke
Pokemon Sword and Shield walkthrough: Route 3, Galar Mine, and Route 4
Pokemon Sword and Shield walkthrough: Turffield, Turffield Gym, and Route 5
Pokemon Sword and Shield walkthrough: Hulbury and Hulbury Gym
Pokemon Sword and Shield walkthrough: Galar Mine No.2 and Motostoke Gym
Pokemon Sword and Shield walkthrough: Hammerlocke and Route 6
Pokemon Sword and Shield walkthrough: Stow-on-Side and Stow-on-Side Gym
Pokemon Sword and Shield walkthrough: Glimwood Tangle
Pokemon Sword and Shield walkthrough: Ballonlea and Ballonlea Gym
Pokemon Sword and Shield walkthrough: Route 7 and Route 8
Pokemon Sword and Shield walkthrough: Circhester and Circhester Gym
Pokemon Sword and Shield walkthrough: Route 9
Pokemon Sword and Shield walkthrough: Spikemuth Gym
Pokemon Sword and Shield walkthrough: Hammerlocke Gym
Pokemon Sword and Shield walkthrough: Route 10 and Wyndon
Pokemon Sword and Shield walkthrough: Wyndon Gym and Rose Tower
Pokemon Sword and Shield walkthrough: Wyndon Gym Finals and Slumbering Weald
Pokemon Sword and Shield walkthrough: Energy Plant and Champion Battle
Pokemon Sword and Shield walkthrough: Zacian and Zamazenta
Pokemon Sword and Shield walkthrough: Post-game activities
Current page: Pokemon Sword and Shield walkthrough: Hammerlocke and Route 6
Prev Page Pokemon Sword and Shield walkthrough: Galar Mine No. 2 and Motostoke Gym Next Page Pokemon Sword and Shield walkthrough: Stow-on-Side and Stow-on-Side GymSign up to the GamesRadar+ Newsletter
Weekly digests, tales from the communities you love, and more
Give me a game and I will write every "how to" I possibly can or die trying. When I'm not knee-deep in a game to write guides on, you'll find me hurtling round the track in F1, flinging balls on my phone in Pokemon Go, pretending to know what I'm doing in Football Manager, or clicking on heads in Valorant.
- Leon HurleyManaging editor for guides
- Sam LoveridgeBrand Director, GamesRadar+
