10 essential Rainbow Six Extraction tips to know before you play
Use these Rainbow Six Extraction tips to get the drop on the Archaeans and complete your incursions
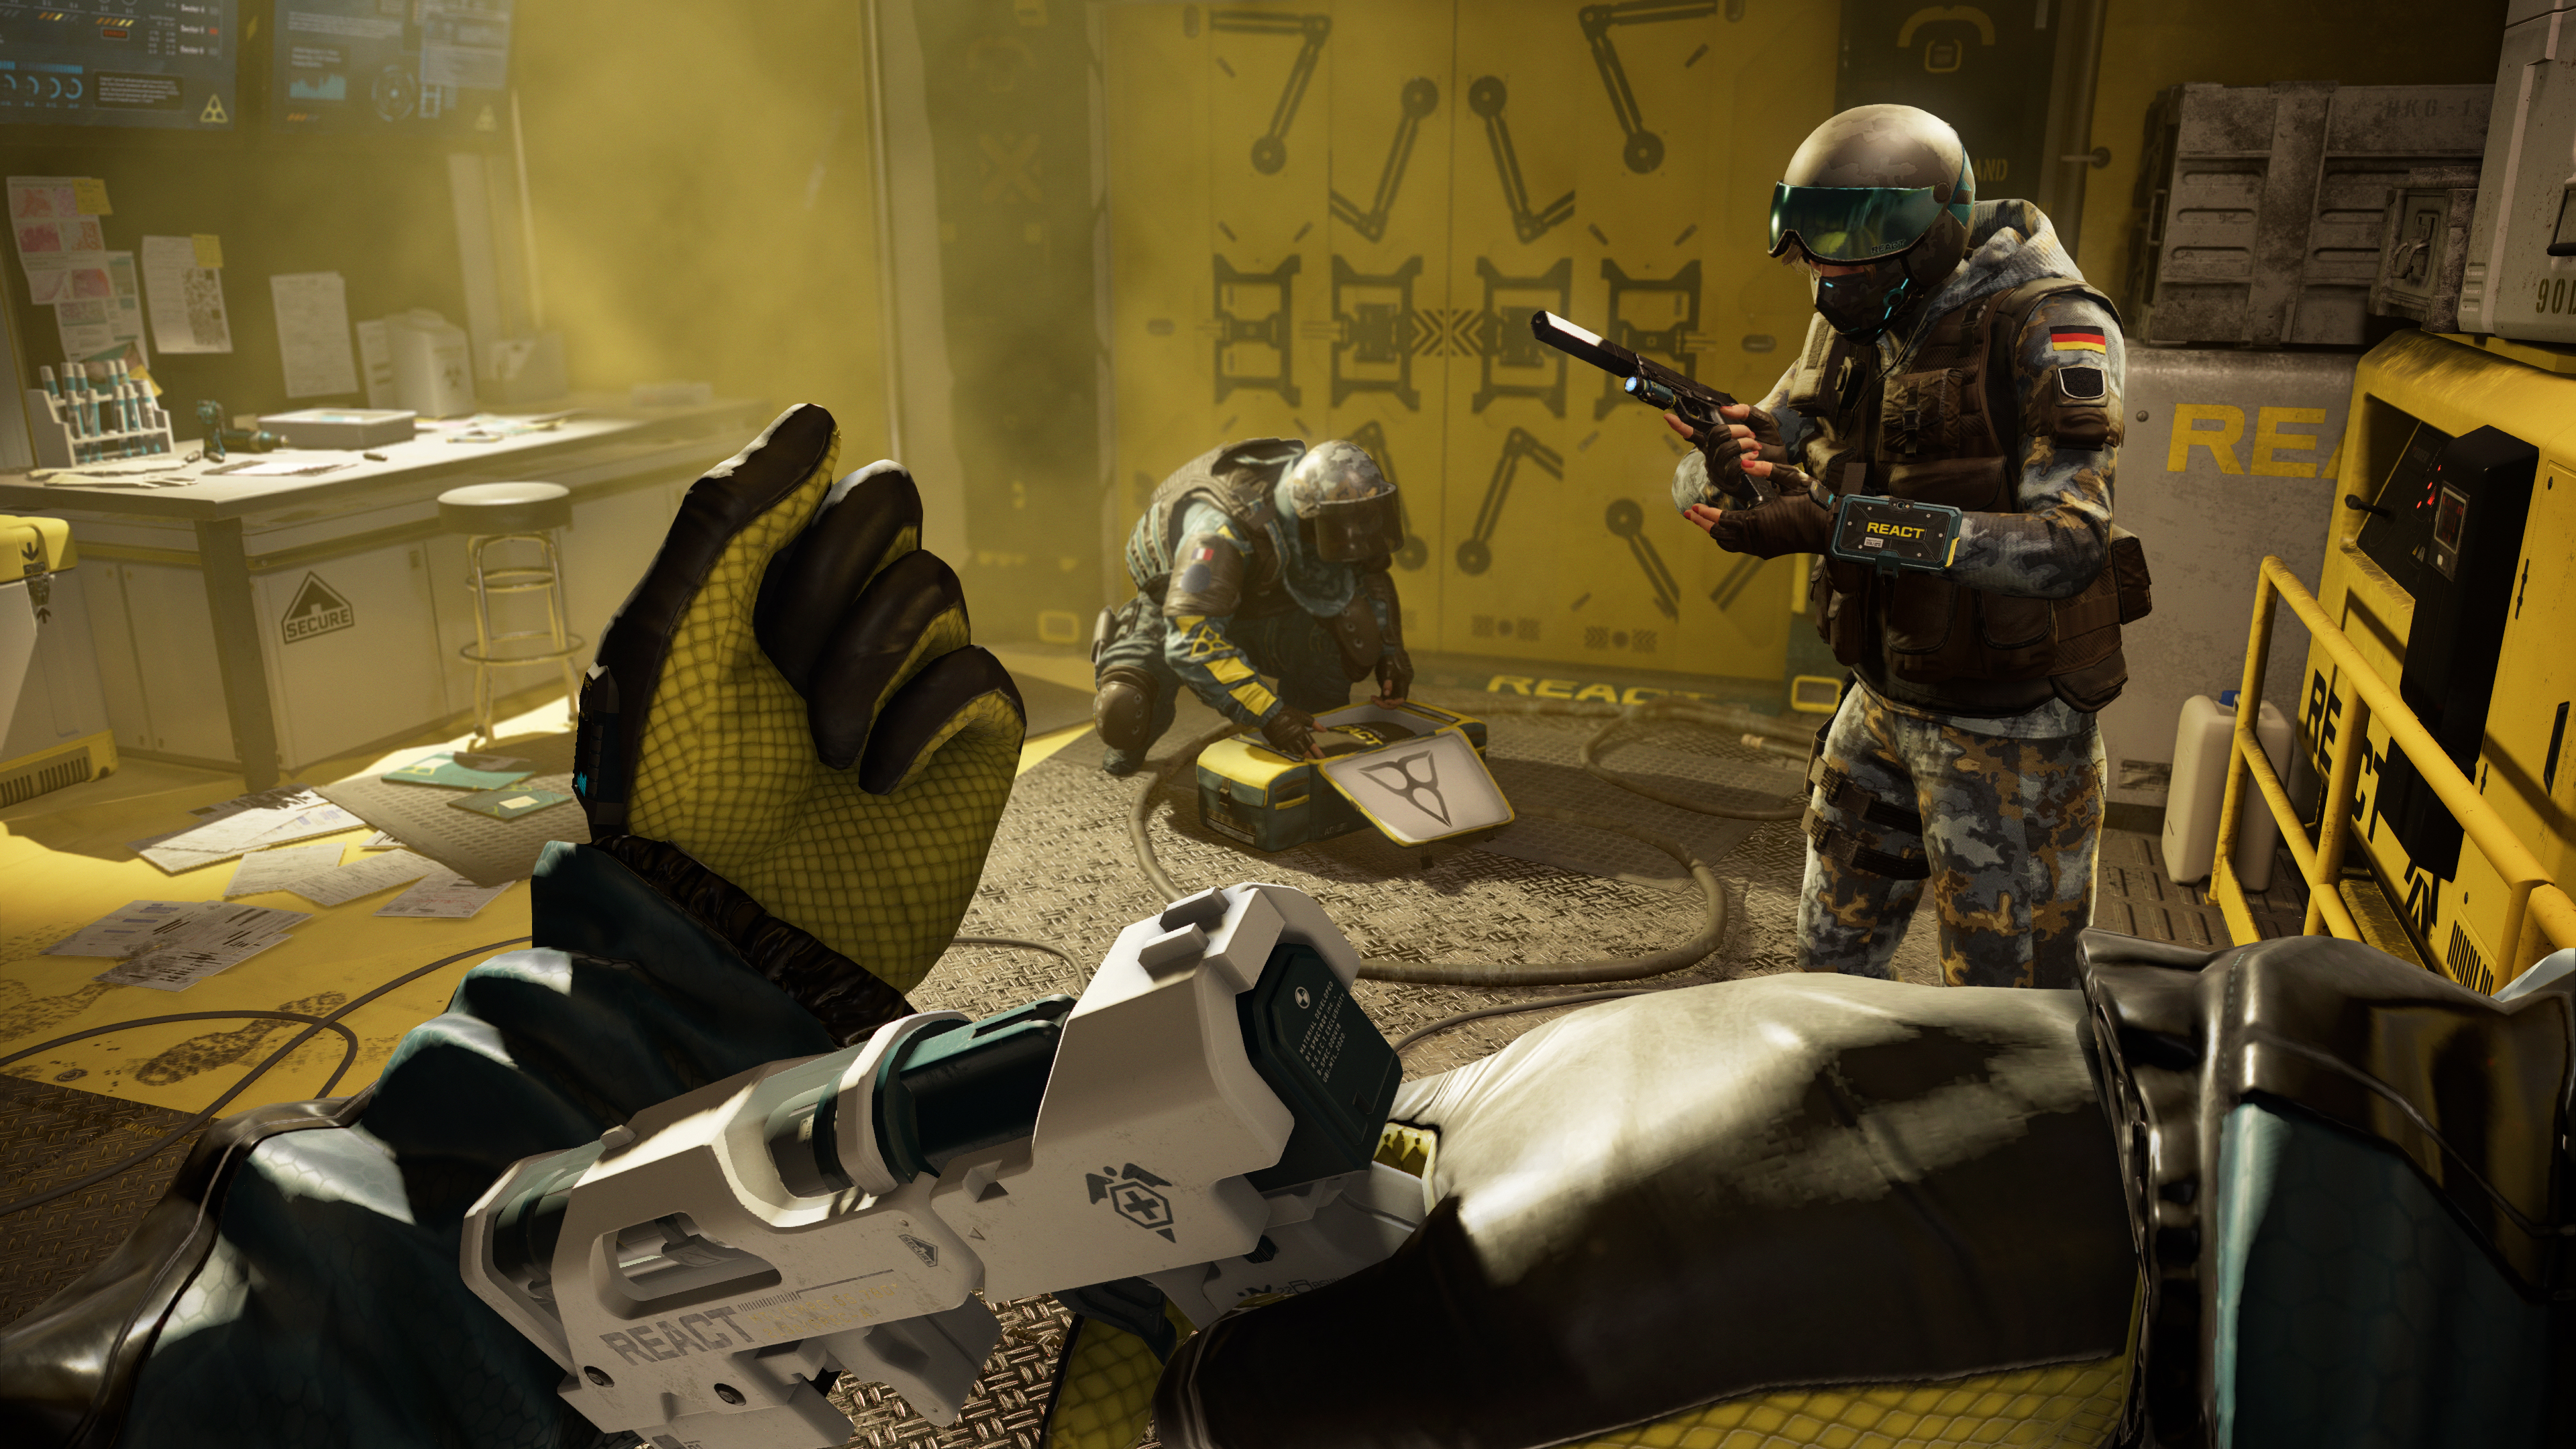
Arming yourself with some Rainbow Six Extraction tips before you drop into the Hot Zone can improve your chances against the Archaean threat, and believe us when we say you're going to want all the help you can get. If you're not familiar with the Rainbow Six series gameplay then you may need to make some adjustments to your approach, as the focus in Rainbow Six Extraction is more on stealth and tactics than running and gunning, though both regularly come into play. Should you need some assistance with finding your feet in this brave new world, then our 10 essential Rainbow Six Extraction tips will get you on the right track.
Best Rainbow Six Extraction guns | Rainbow Six Extraction best operators | Does Rainbow Six Extraction have crossplay? | Rainbow Six Extraction ping | Rainbow Six Extraction MIA operators | Rainbow Six Extraction missions
1. Try to use stealth as much as possible
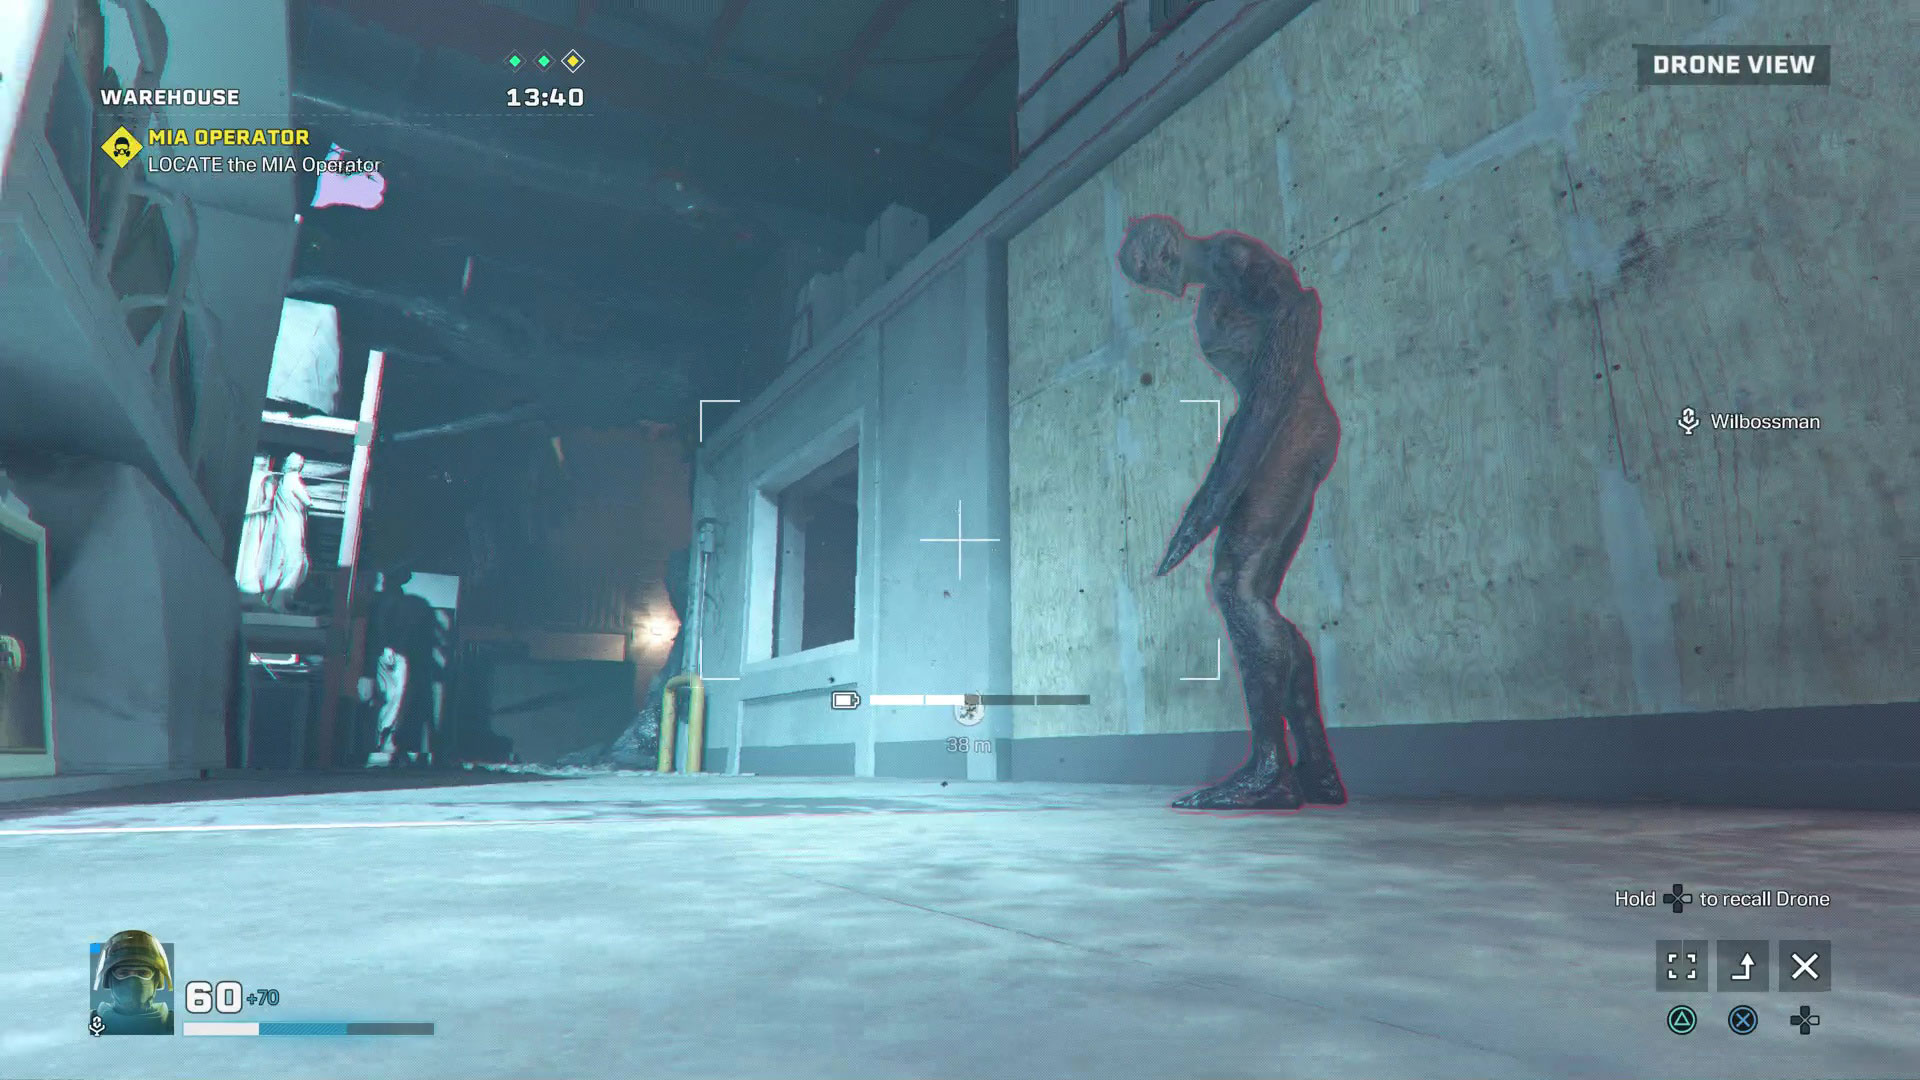
Your default strategy should always be to use stealth, as this is the easiest way to deal with the Archaean threat without becoming overwhelmed. Proceed cautiously, sending a drone ahead if available to detect and tag enemies, then use takedowns or silenced weapons to eliminate them quietly. If you do get spotted by an Archaean, try to take them down rapidly before they can raise the alert to summon more enemies to the area.
2. Use takedowns for one-hit kills
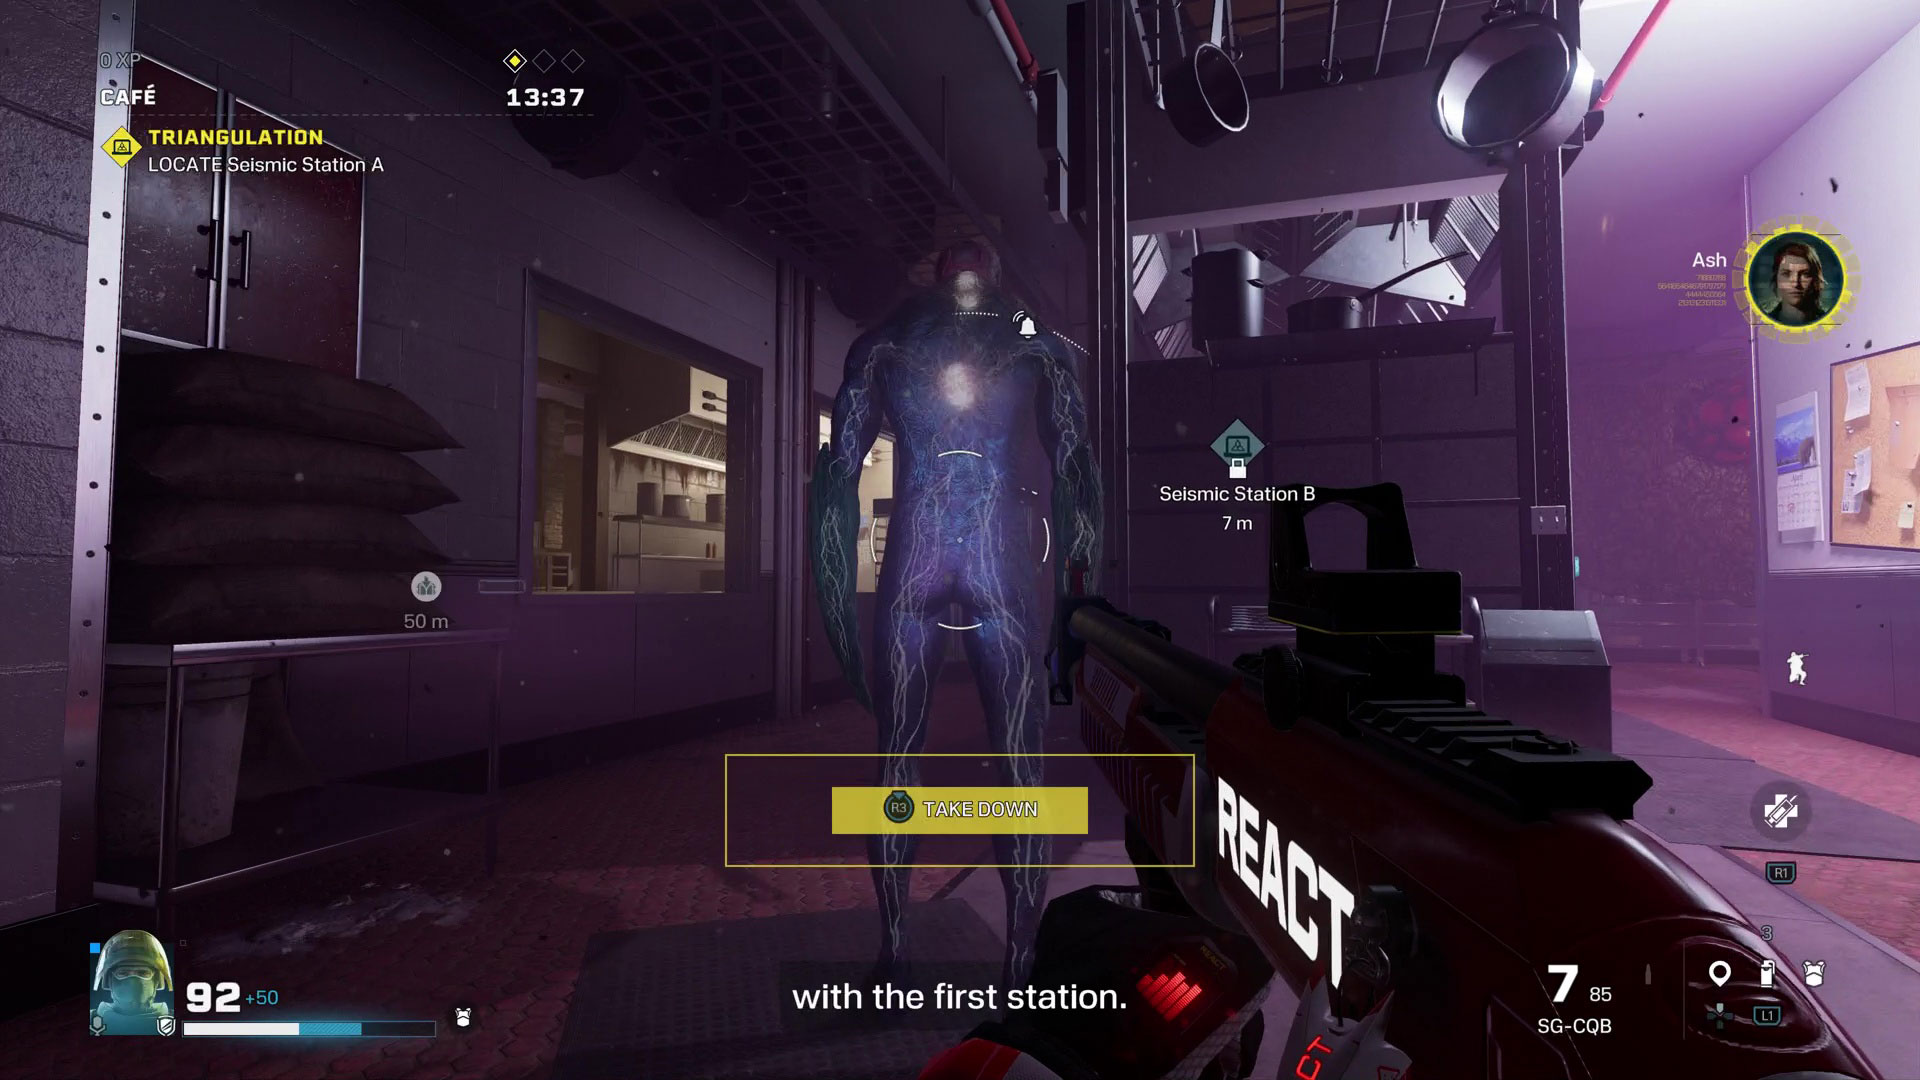
Getting in behind an enemy undetected and following the prompt for a takedown should always result in a one-hit kill, which is also silent. If you've lost the element of surprise, then certain REACT tech such as smoke grenades can be used to disorientate them and enable a takedown move to be performed. This also works on tough Elite Archaeans that would usually require a lot of damage to defeat, so either use a squadmate to distract them or otherwise disorientate them then dash in for an instant takedown elimination.
3. Clear Nests to stop enemies spawning
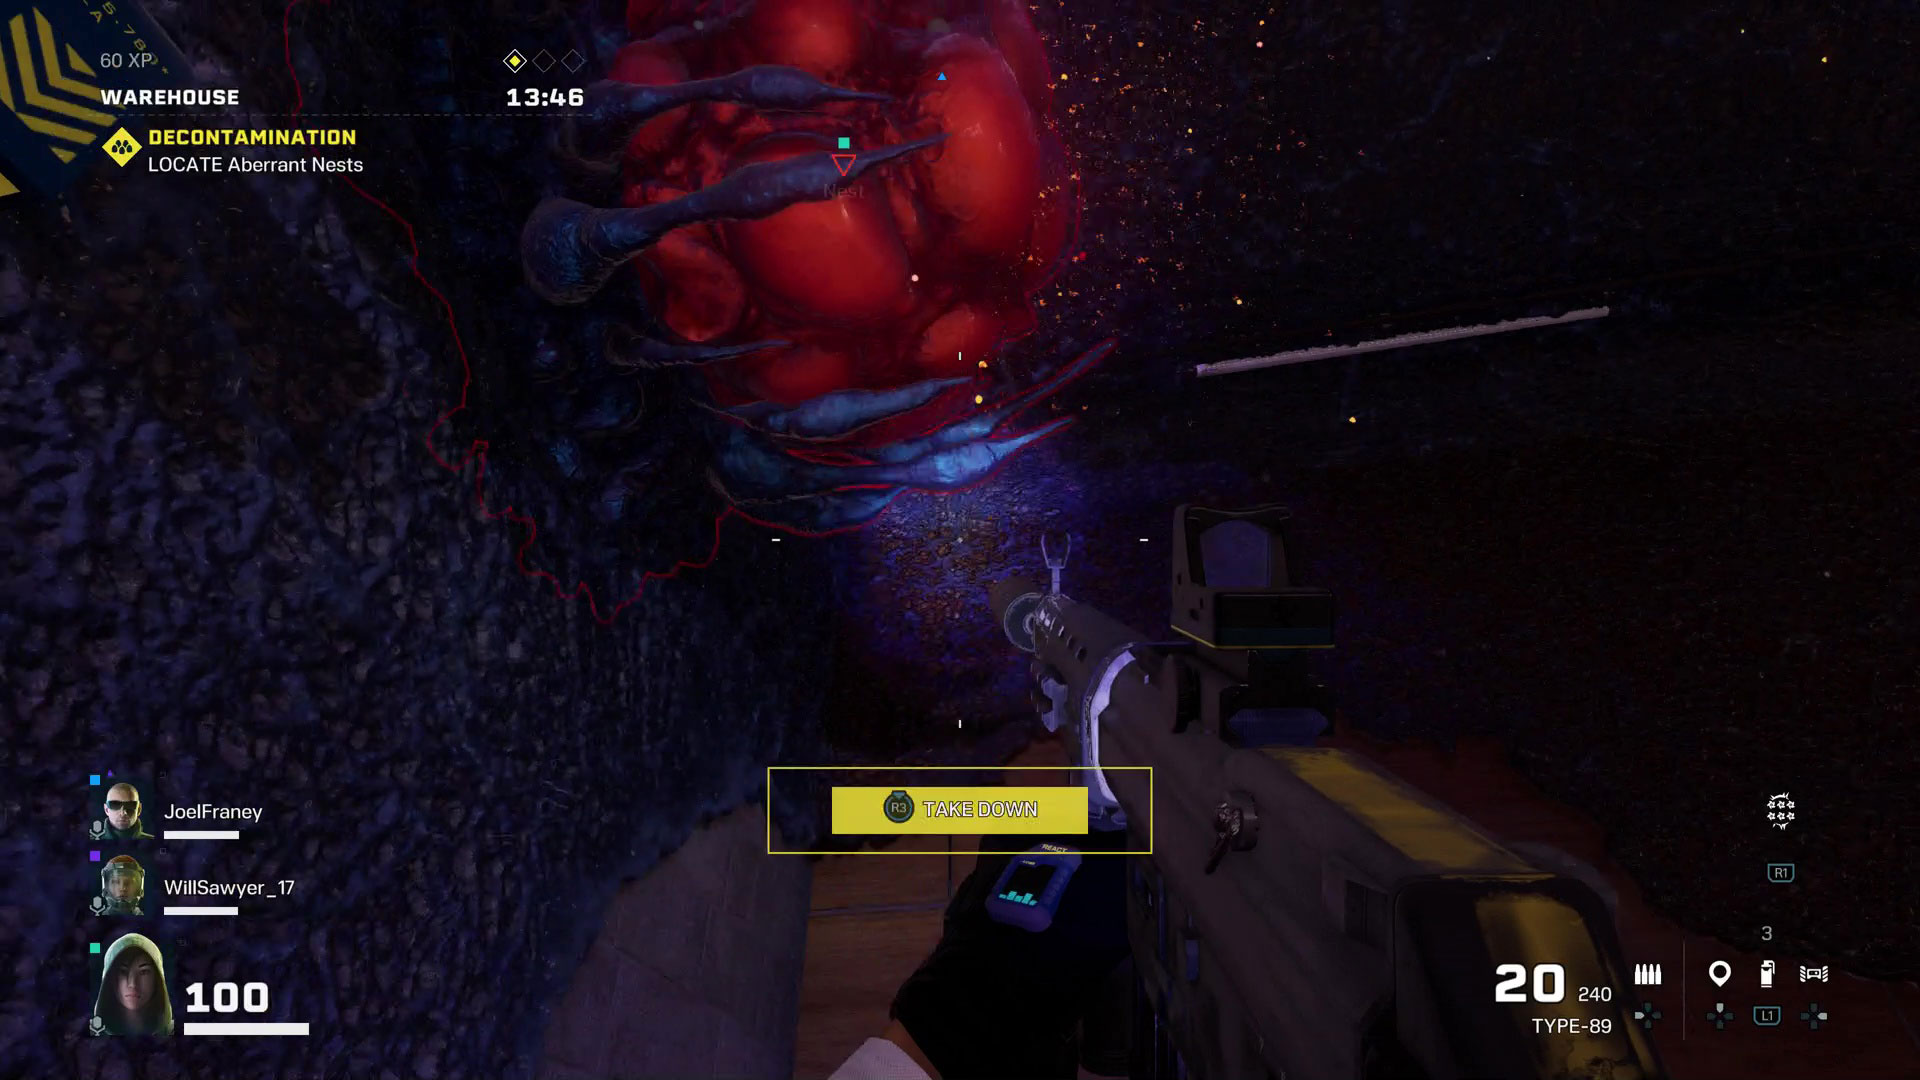
As you work your way around each Sub-Zone, you should take out as many Nests as you can because these act as spawn points for more Archaeans if they get alerted to your presence. You can approach them and use the takedown prompt to do this silently, with the added bonus that the animation of a squadmate jumping up and stabbing it is pretty hilarious to watch. Destroying Nests will also reduce the amount of Sprawl they produce to slow you down, but we'll cover more on that shortly.
4. Complete Studies as well as Objectives to maximise your XP
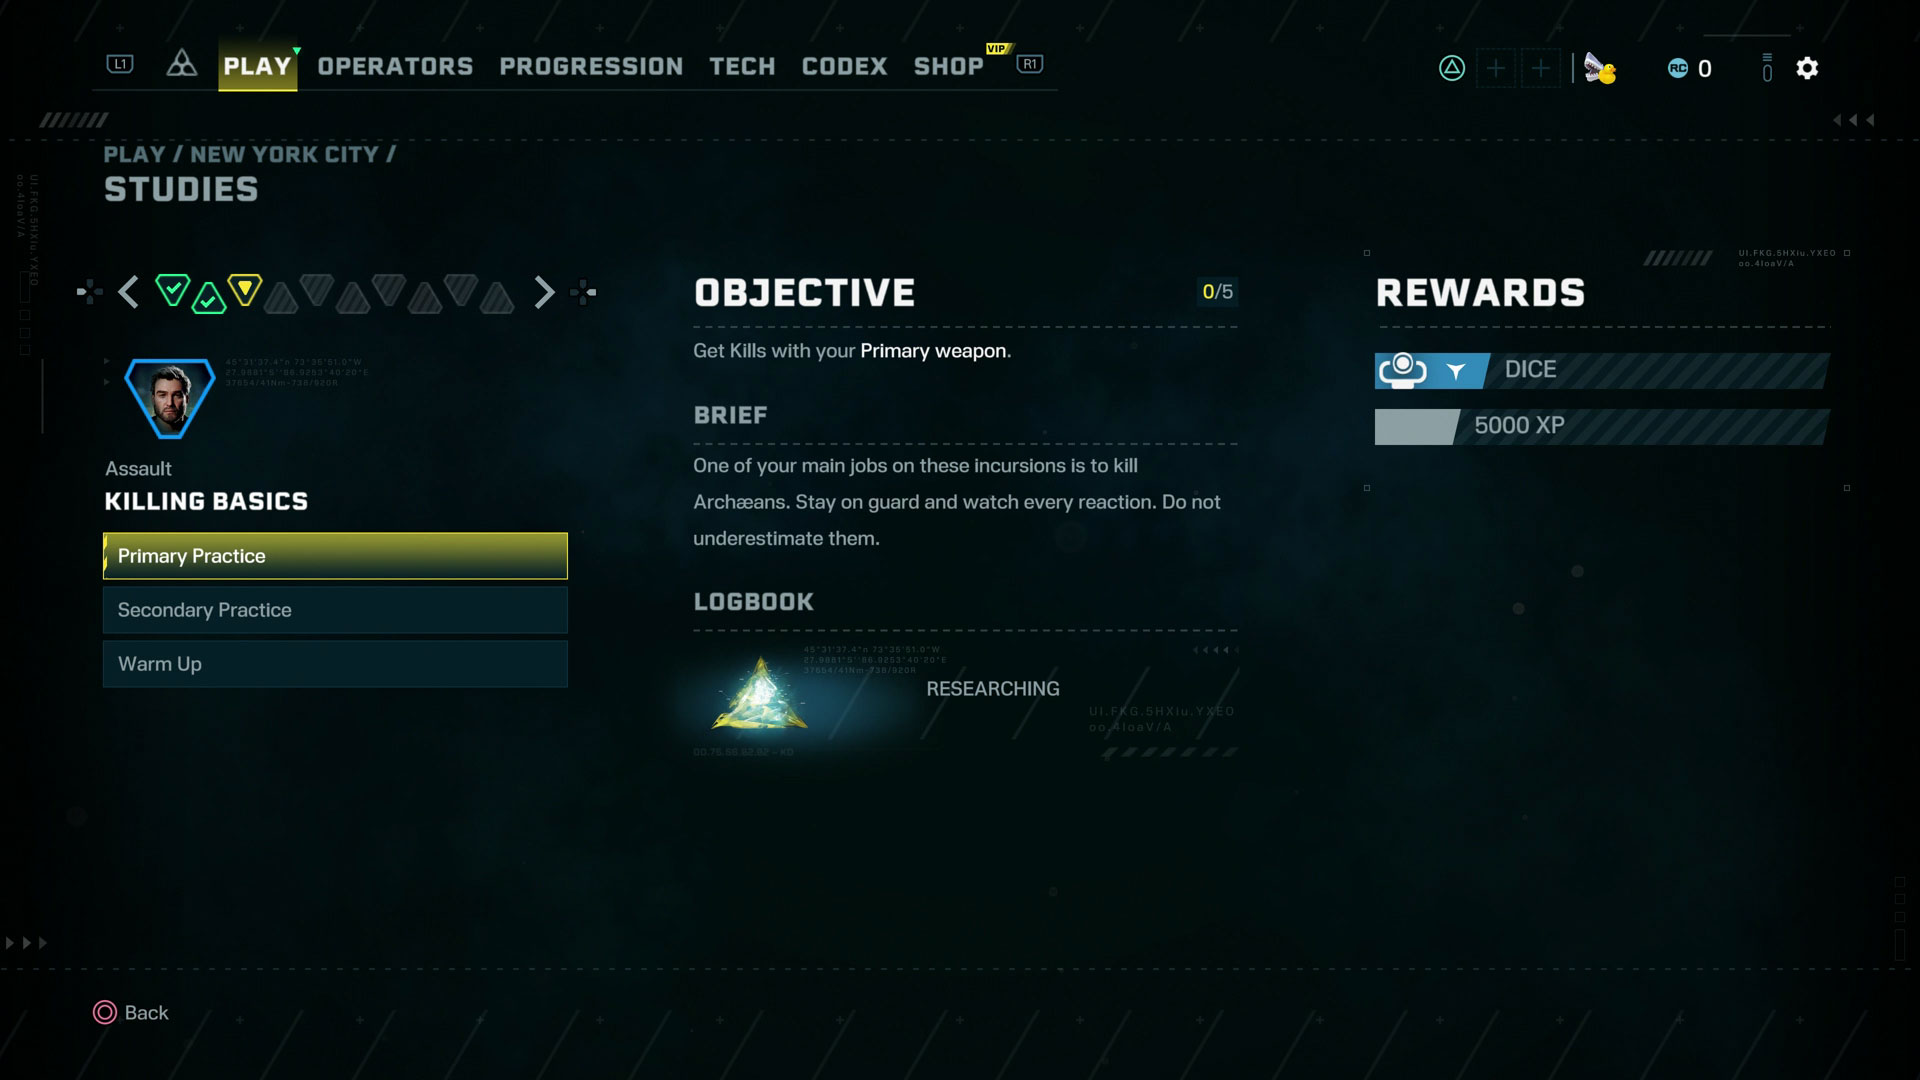
In addition to the three mission Objectives you'll receive for each incursion, there are also ongoing Studies to complete for each region which you can view through the option in the Play menu or in the pause menu during an incursion. These Studies arrive in sets of three, which all need to be cleared to reveal the next set, and their XP rewards are significantly higher than the mission Objectives. This means if you focus on completing Studies then you'll be levelling up a lot quicker to unlock new areas and tech, as well as earning the additional customisation items they provide along the way.
5. You can remove Sprawl if it's slowing you down
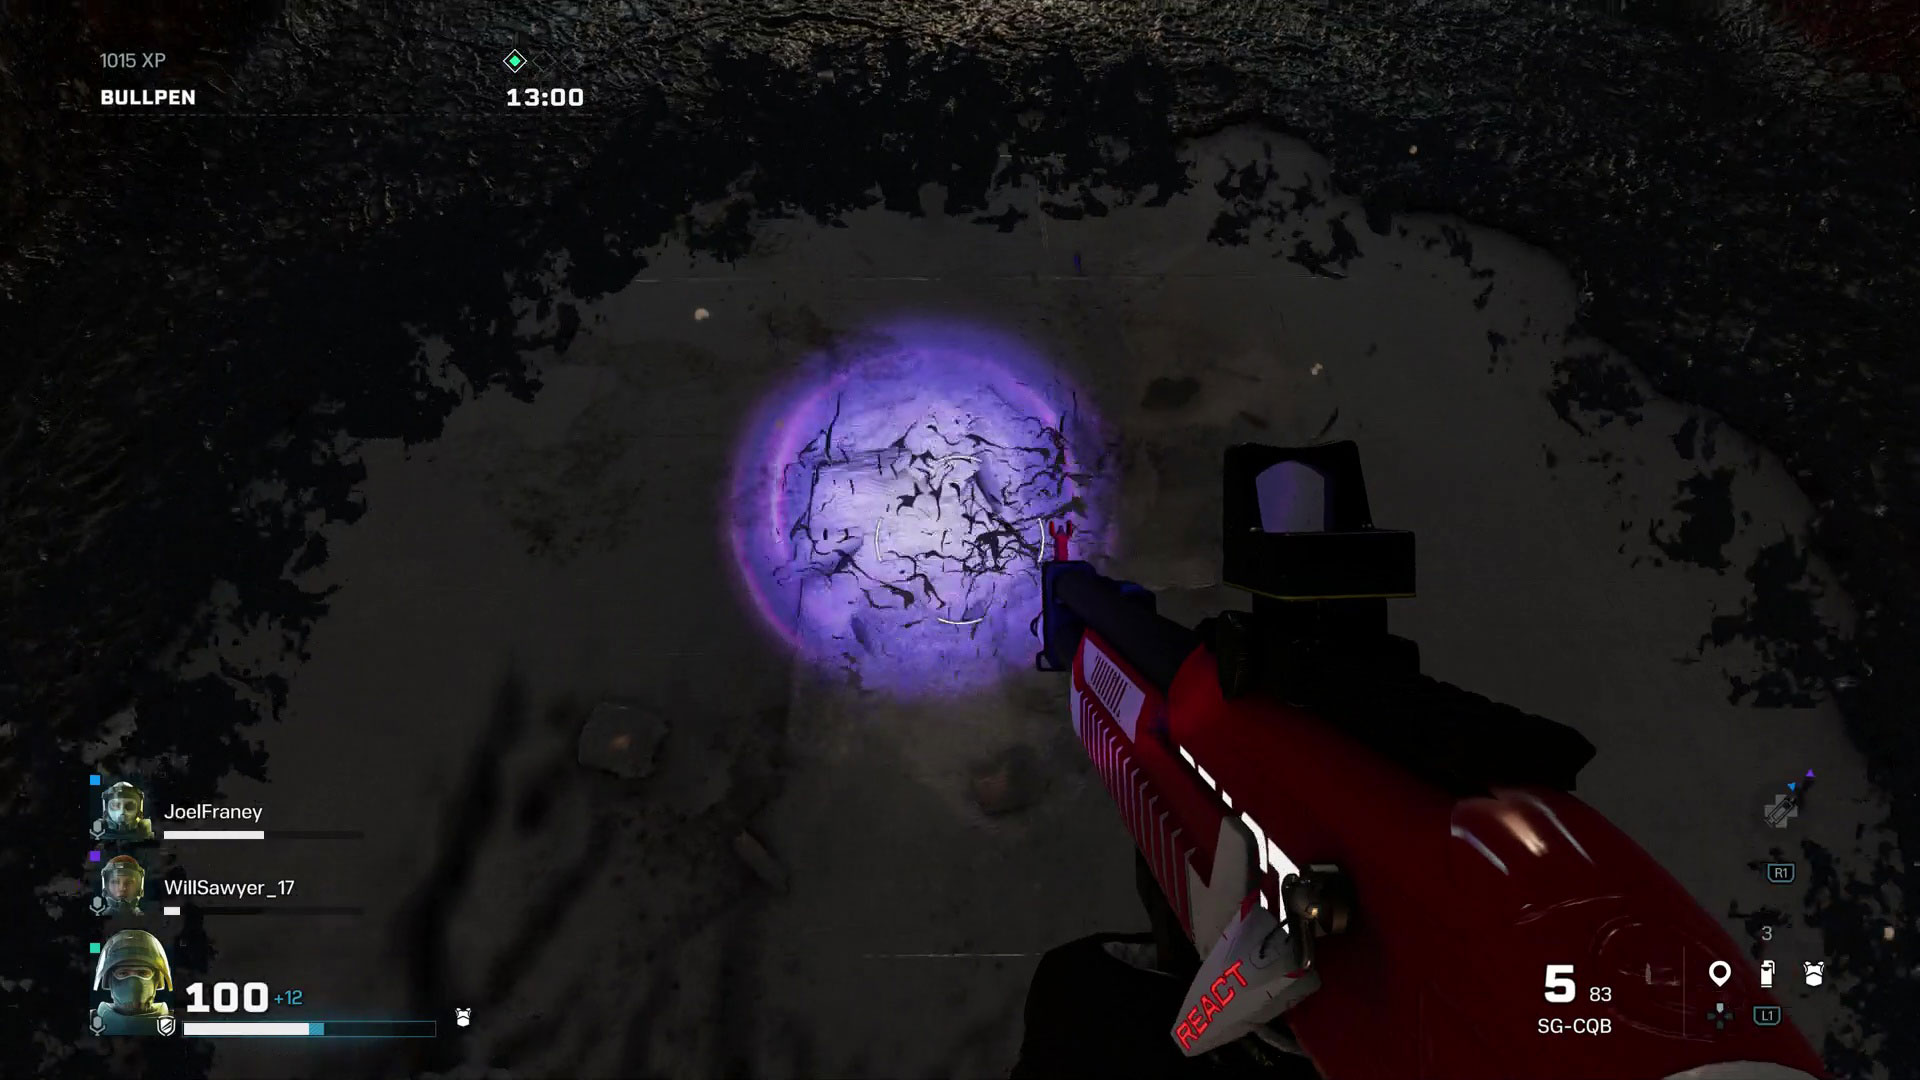
Sprawl is a substance that appears on the ground and slows your movement, but it doesn't slow the Archaeans and makes them more lethal while on it. Destroying Nests and eliminating Archaeans through takedowns, with explosives, or by hitting their weak points will help to limit the amount of Sprawl produced in a Sub-Zone. If an area of Sprawl is holding you back, you can disperse it by either shooting or blowing it up, allowing you to return to full movement speed.
6. Watch out for environmental hazards
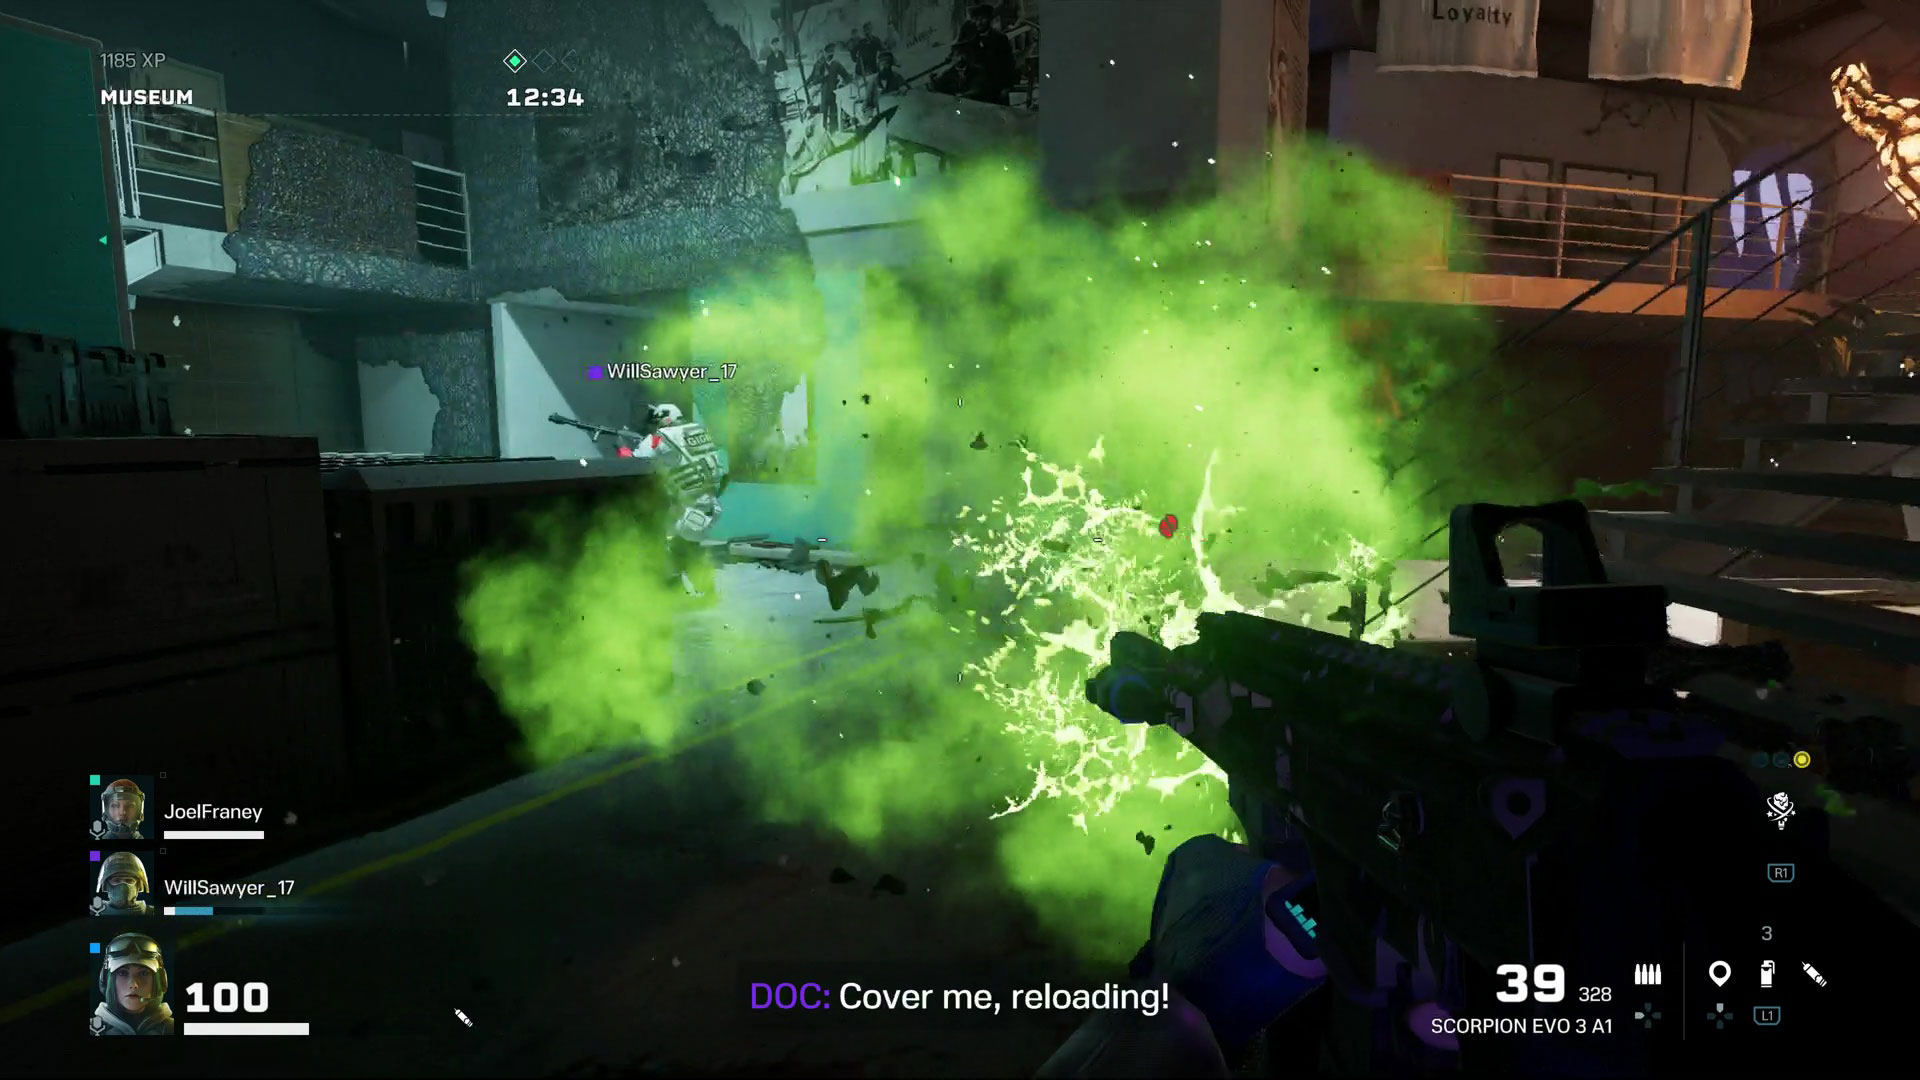
As well as Sprawl hindering your progress, there are other environmental hazards you need to watch out for that will cause you damage. Pay particular attention to any enemies with a green glow, as they will emit a cloud of poisonous gas when defeated that will seriously deplete your HP if you get caught up in it, so eliminate them from a distance and wait for the cloud to disperse before you move through that area. You should also keep an eye on your squadmates as they can get spores attached to them, which need to be shot or meleed off before they can erupt and cause area damage.
7. Keep your squadmates alive
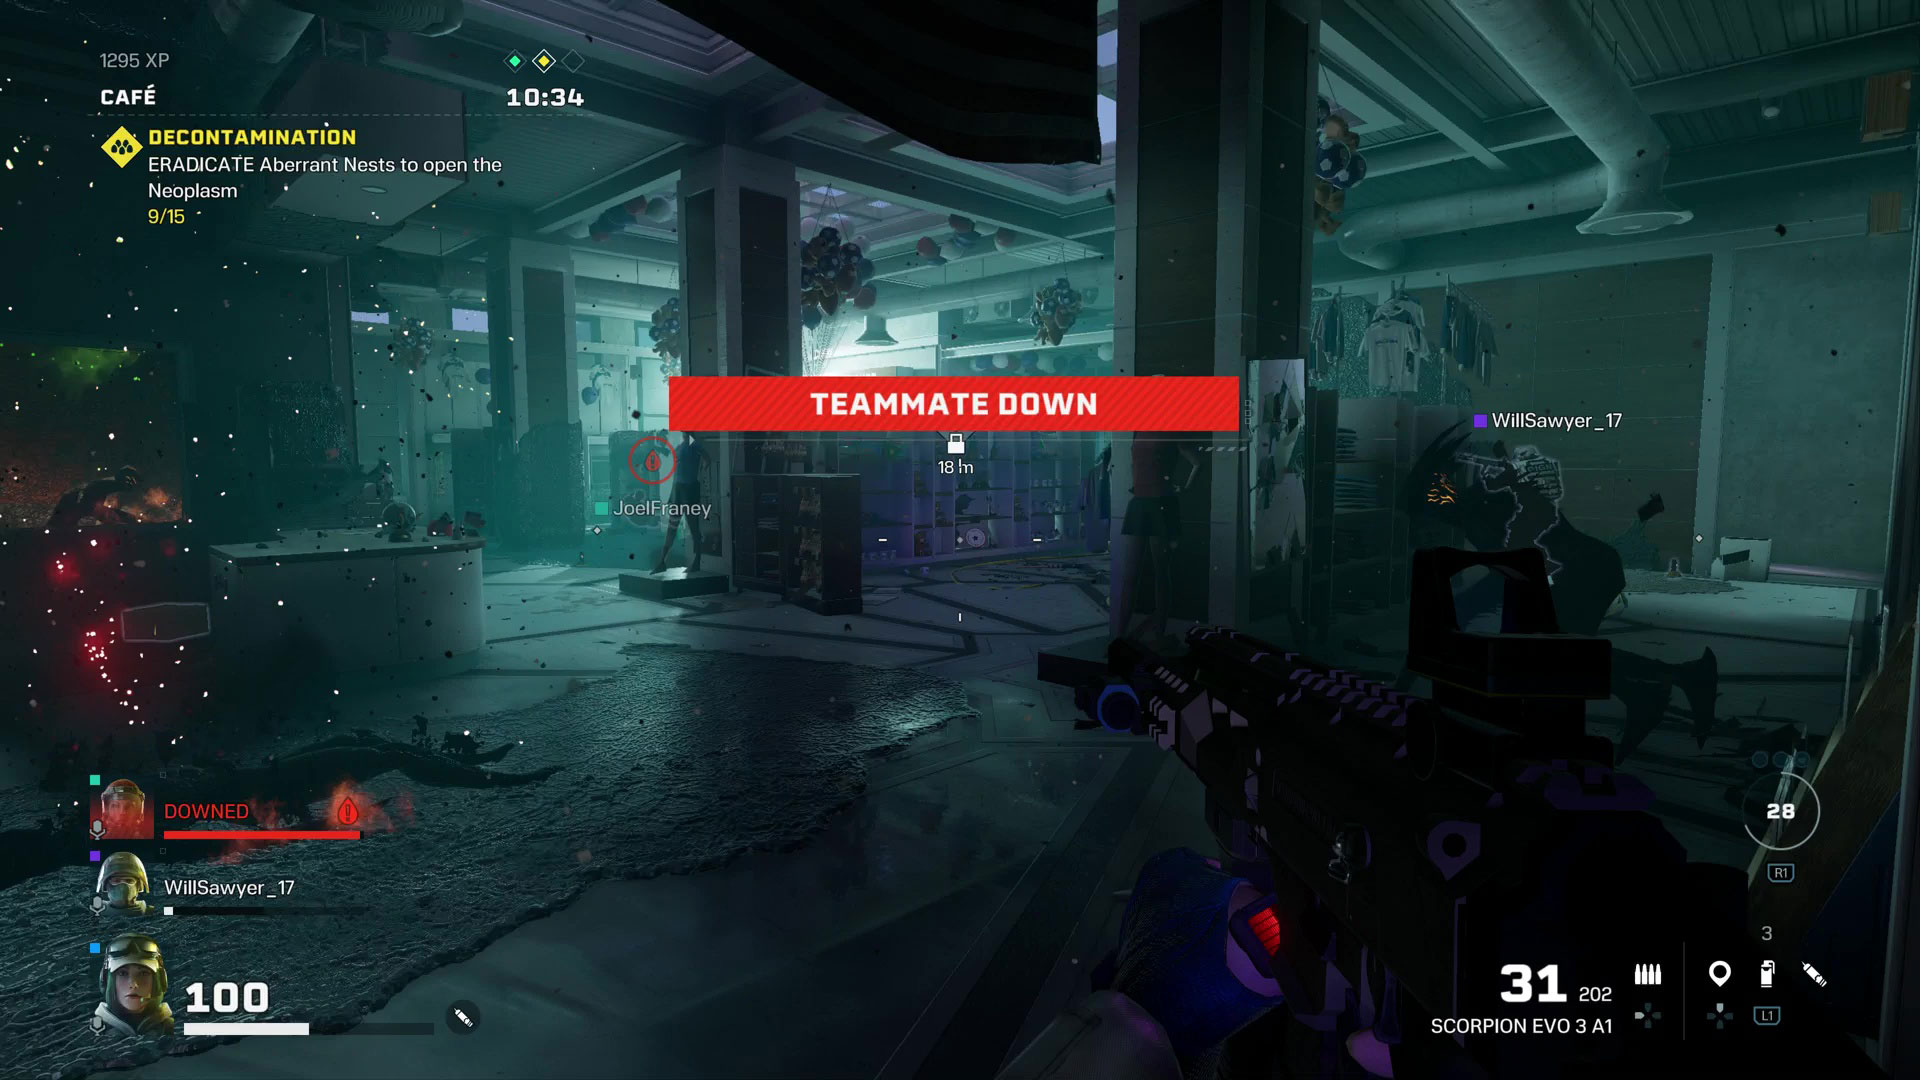
If any of your squadmates are put into a DBNO (Down But Not Out) state, you should immediately prioritise reviving them before they get Knocked Out, making sure you deal with any nearby threats first so you don't take significant damage in the process. If your squadmate is KO then they'll be cocooned in REACT Foam, incapacitating them for the rest of the incursion and leaving you the task of recovering them to a REACT Extraction Pod or abandoning them as MIA. Usually Operators only have one DBNO opportunity per incursion before they are instantly KO, but certain equipment such as Body Armor will increase the number of times you can be DBNO.
8. You can rescue multiple MIA Operators at once
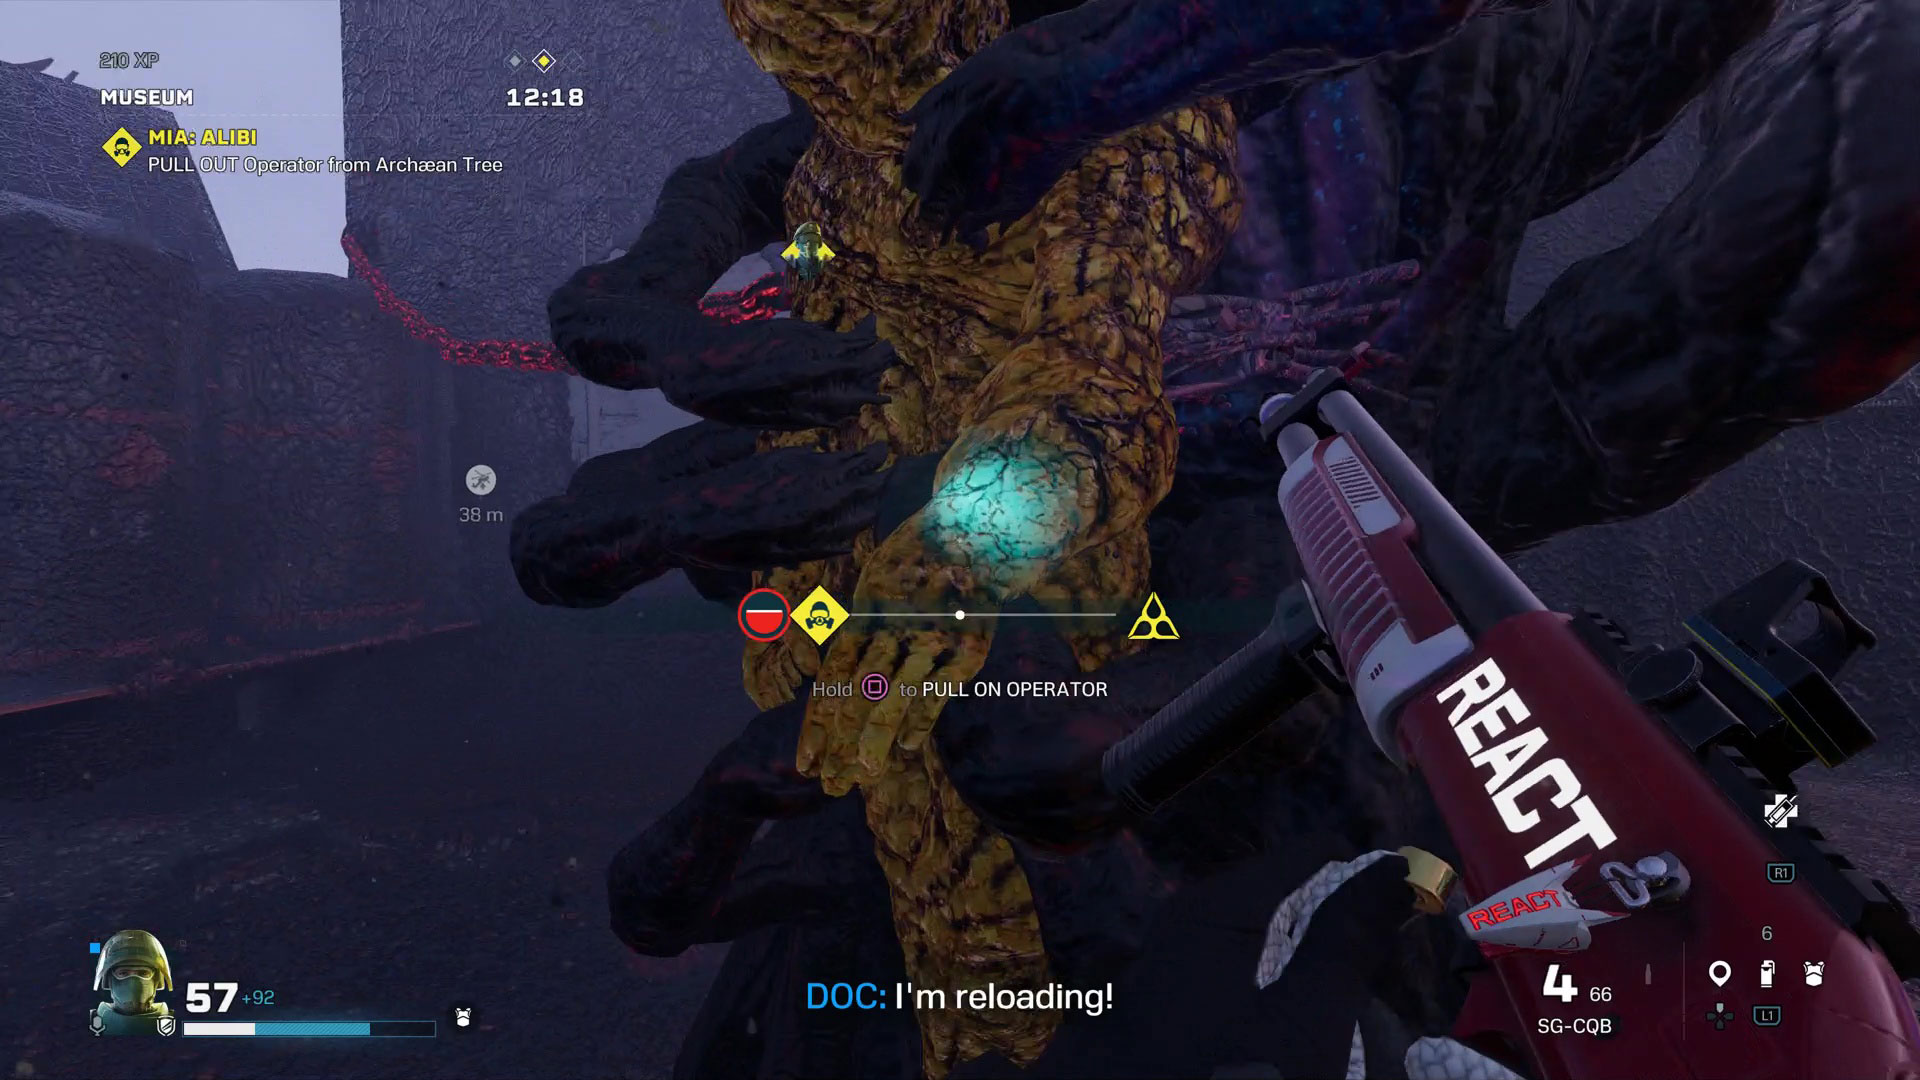
It's worth bearing in mind that if you're playing in a squad and you lose several Operators during the same incursion, when you return together to perform an MIA Rescue you only need to complete a single objective to recover all of your Operators. One of the Sub-Zones will feature a Chimera Archaean Tree with a single body trapped within, and successfully completing the rescue will return each individual player's MIA Operator as applicable.
9. You don't have to complete every Objective and Sub-Zone
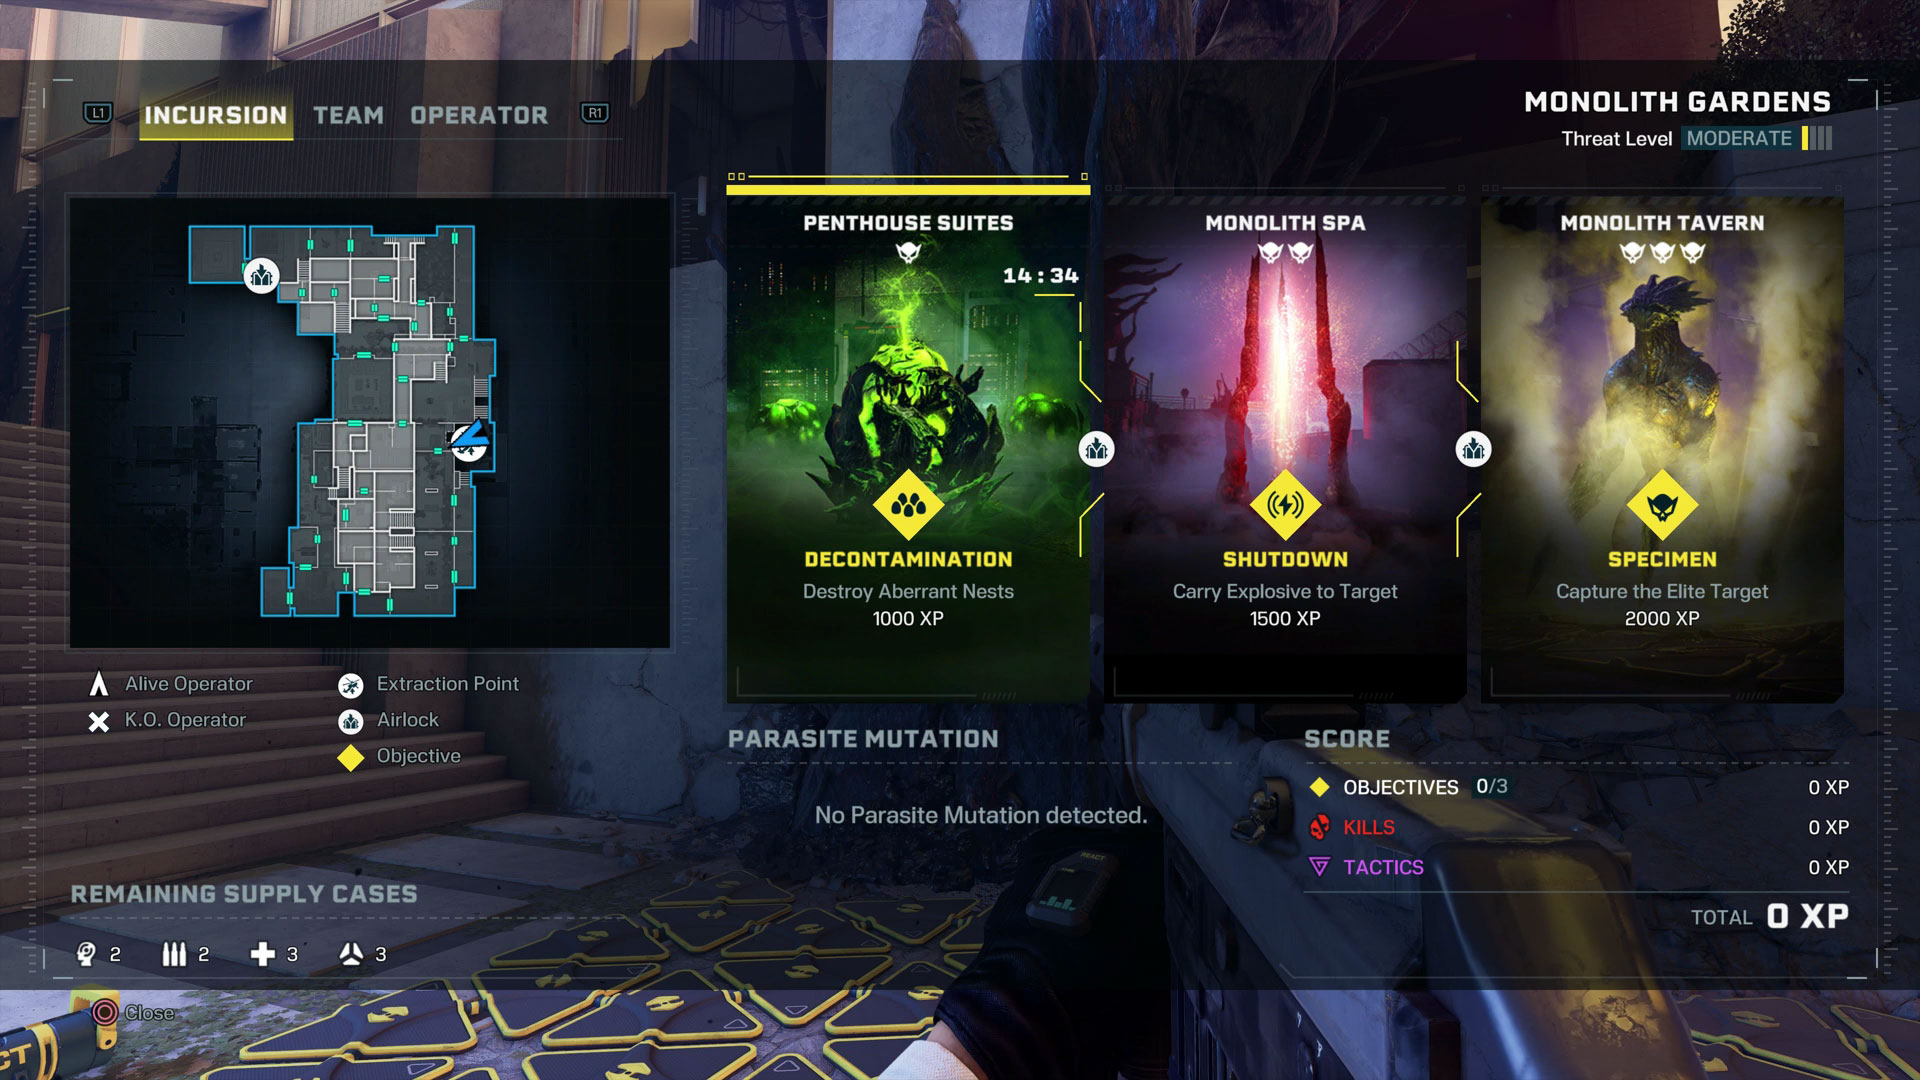
Every incursion is made up of three increasingly difficult Sub-Zones, each of which has a random Objective assigned to it. You'll invariably find certain Objectives easier than others based on your skillset and the squad you're teamed up with, but thanks to the structure of the incursions you can decide how much (or little) of this you actually want to take on. If you don't fancy your current Objective or things are going south, you can sprint to the airlock and move on to the next Sub-Zone without any penalty – but there's no going back once the airlock has closed. Likewise, you can nope out of an incursion in any of the three Sub-Zones by triggering the extraction point, banking any XP you've earned and ensuring your Operator lives on to fight another day.
10. Airlocks are not always safe areas
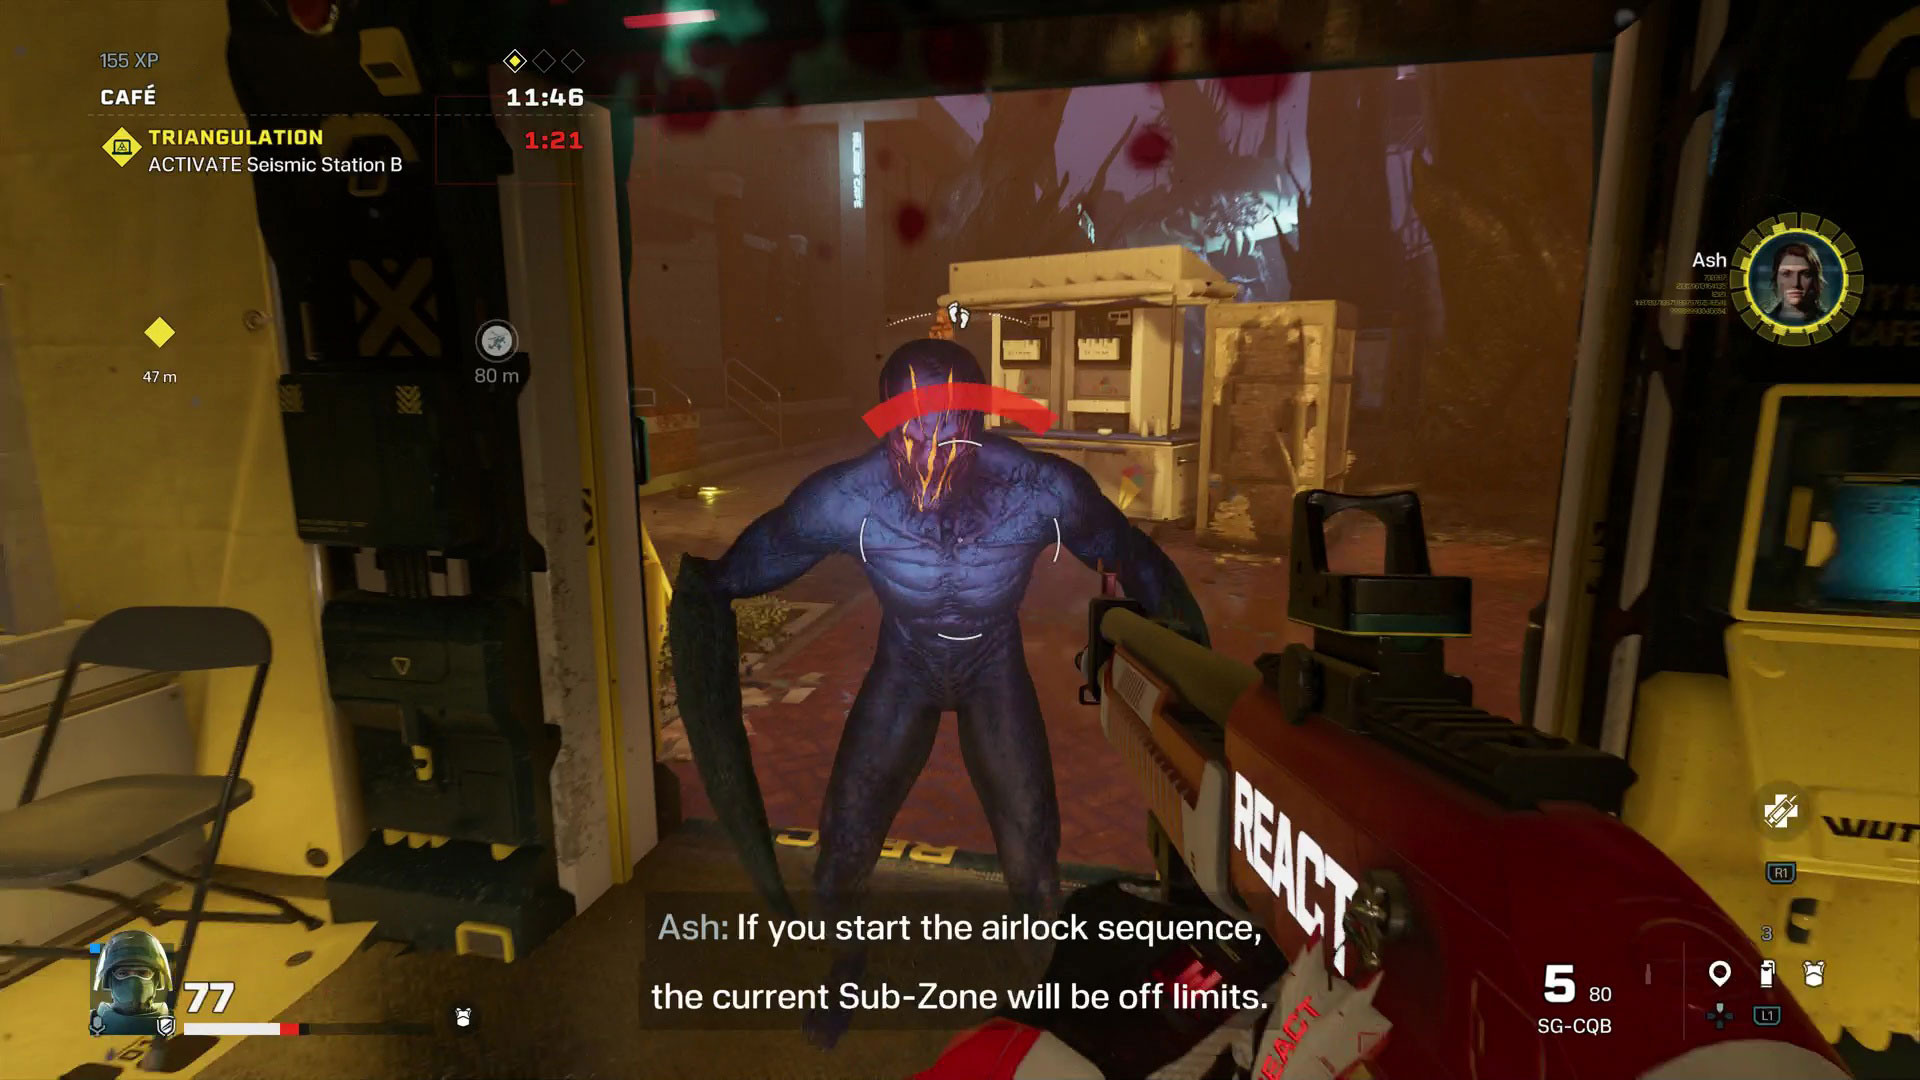
Airlocks mark both a passage and point of no return between each subsequent Sub-Zone of an incursion, but you should not automatically assume they are going to be safe. Enter an airlock with the same caution you would any other new location, as there are often threats lurking in these areas that can take off a chunk of your HP if you're caught unawares. Once cleared and activated, make sure all of your Operators are inside the airlock before the countdown ends as anyone who gets trapped in the previous Sub-Zone will immediately be wrapped in REACT Foam and considered MIA, requiring a rescue mission to recover them.
Sign up to the GamesRadar+ Newsletter
Weekly digests, tales from the communities you love, and more

Iain originally joined Future in 2012 to write guides for CVG, PSM3, and Xbox World, before moving on to join GamesRadar in 2013 as Guides Editor. His words have also appeared in OPM, OXM, PC Gamer, GamesMaster, and SFX. He is better known to many as ‘Mr Trophy’, due to his slightly unhealthy obsession with amassing intangible PlayStation silverware, and he now has over 750 Platinum pots weighing down the shelves of his virtual award cabinet. He does not care for Xbox Achievements.
