10 Resident Evil Village tips to help you survive
The Resident Evil Village tips we wish we knew before playing

Some Resident Evil Village tips are always going to help when you're fighting monsters to get your daughter back. This East European hell trip features werewolves, vampires, and far worse. As well as puzzles to solve and open areas to explore. The tips we have coming up will equip you with all the essential Resident Evil Village knowledge you need to survive and progress from the moment you start playing.
There's a lot to take in, right from the start with puzzles, exploration, combat and more all pretty much expecting you to hit the floor running. With a lot to learn, as well as plenty of areas to explore, it's easy to overlook things, or even just forget about them as some other new test or problem comes along. To help make sure you never miss a hidden area or forget a vital upgrade, these Resident Evil Village tips cover everything we wish we'd known right form the start.
1. Fully explored areas turn blue on the map
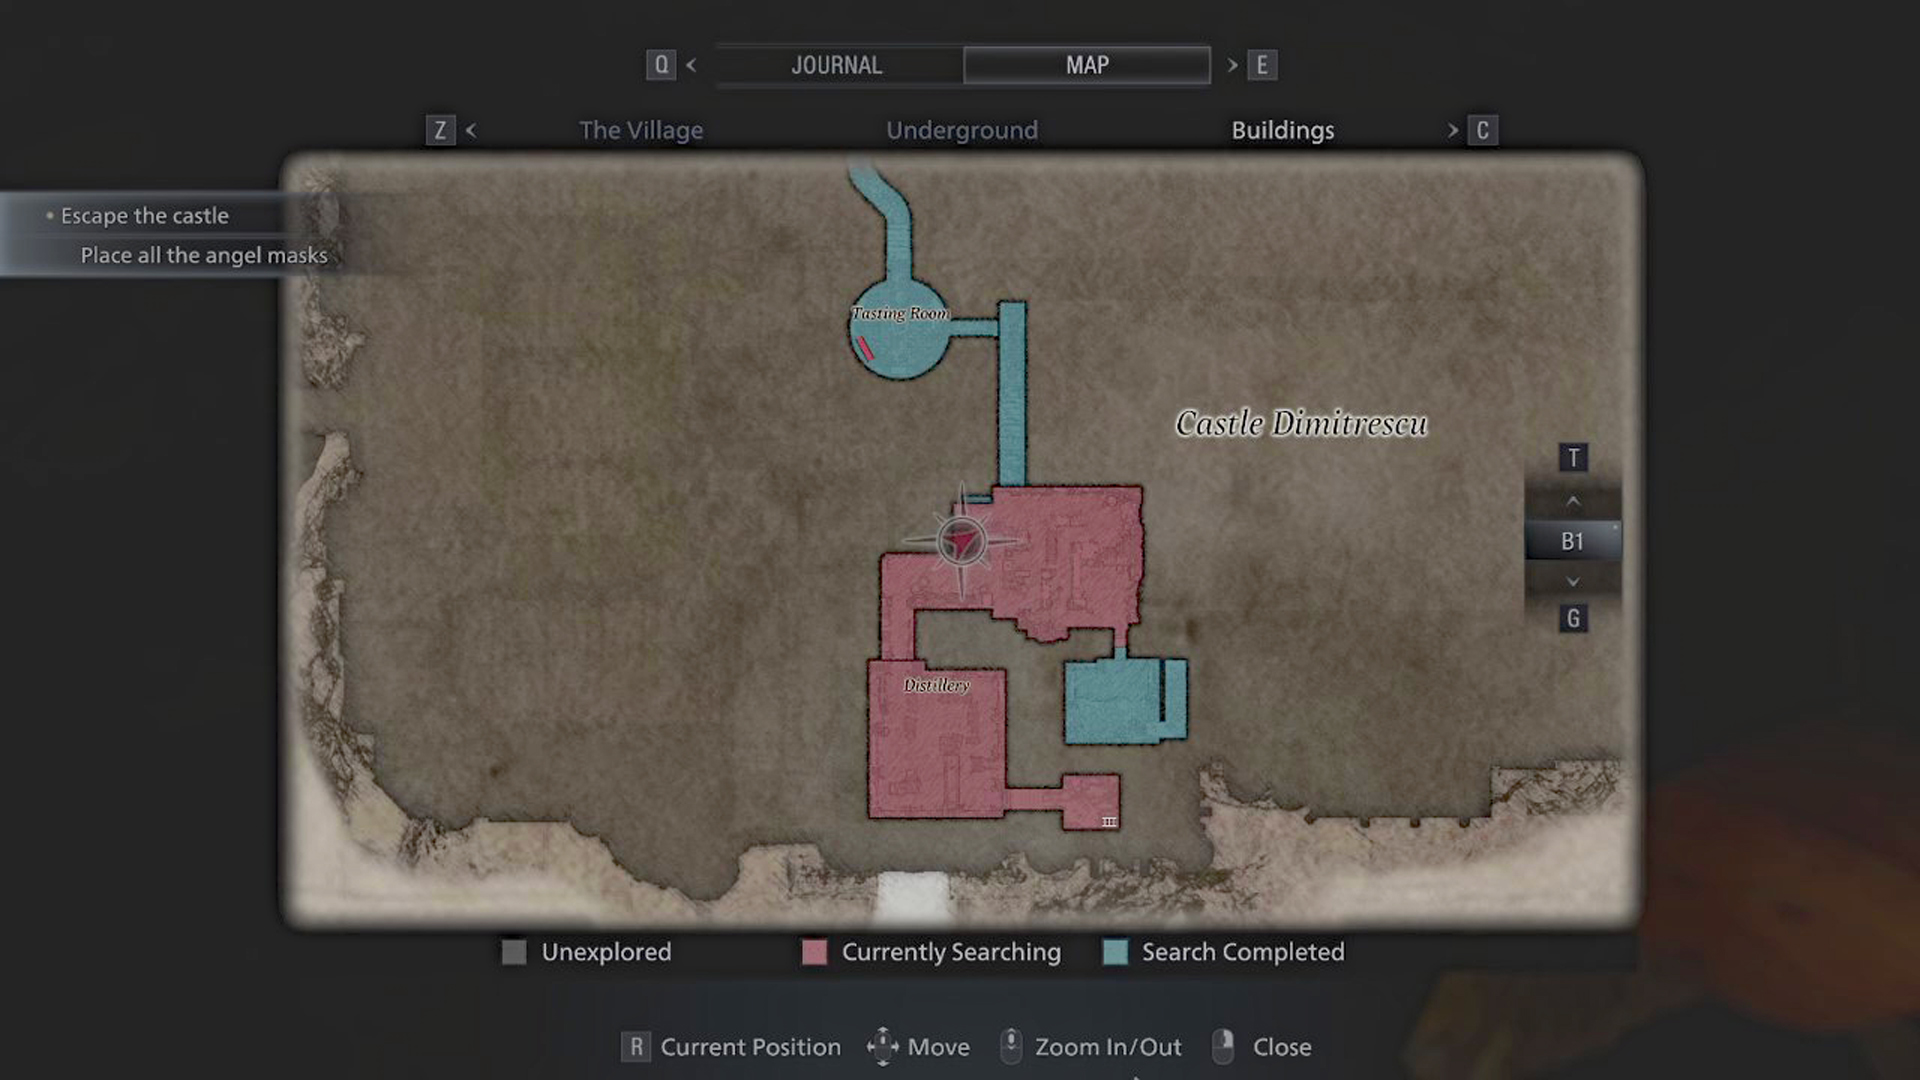
This is one of the most helpful Resident Evil Village tips - if you enter a building or single room for the first time, the area on the map will be red. That means there are things to discover in this location, which could be anything from a hidden secret to extra ammo. When there's nothing left to discover the area will turn blue and you know you can move on without missing anything. Keep in mind that some secrets can only be uncovered later on in the game so if there's something you can't open or interact with yet, the map will stay red and you'll need to come back later.
2. Yellow objects are generally breakable, usable, or useful
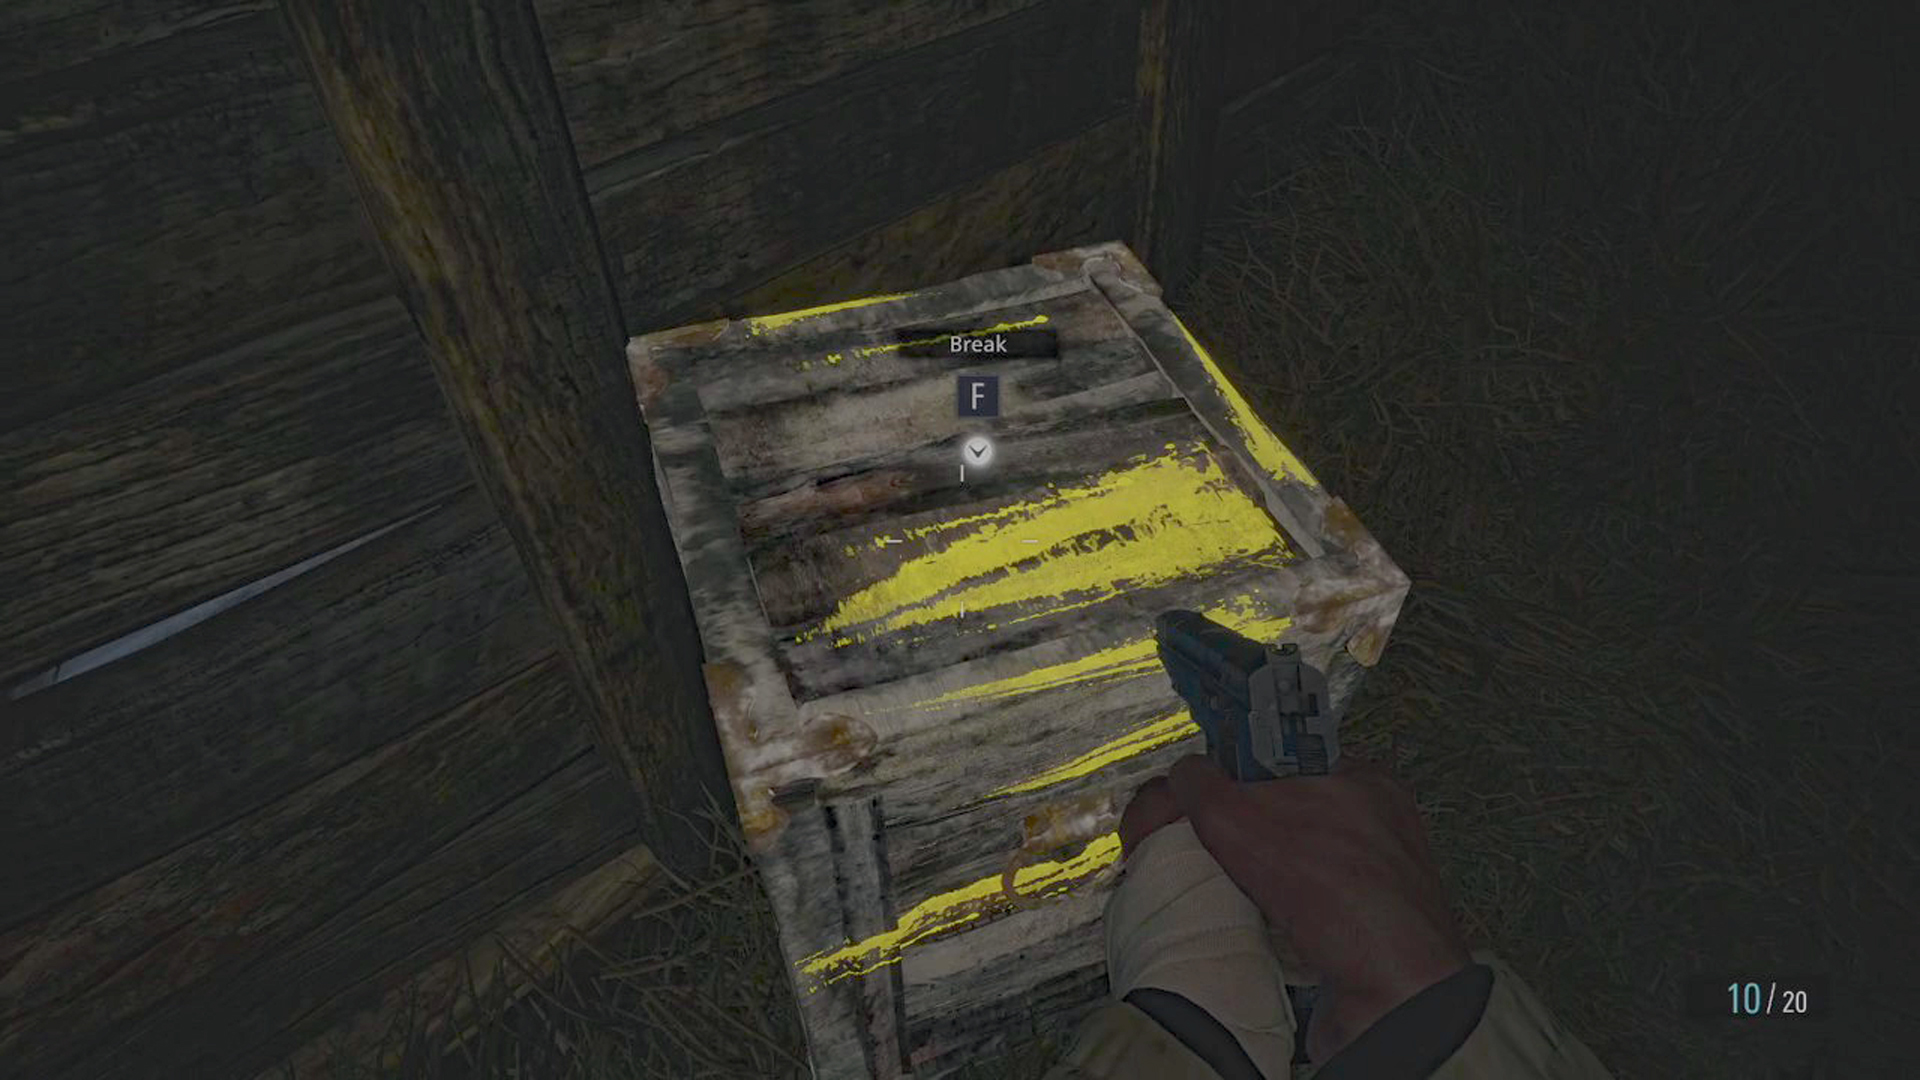
Maybe you’ve already figured this Resident Evil Village tip out, but wooden barrels and chests with yellow tape on them are breakable to get the valuables inside. Slightly less obvious is the yellow tape on locks, wells, wooden beams, and even yellow cables running along floors and roofs. They can also indicate that the object is breakable, they can be used in some other way, or simply lead to something you need to find. If you get stuck at any point, make sure you look around to see if there's anything yellow that might help you out!
3. Don’t start chasing a new objective immediately
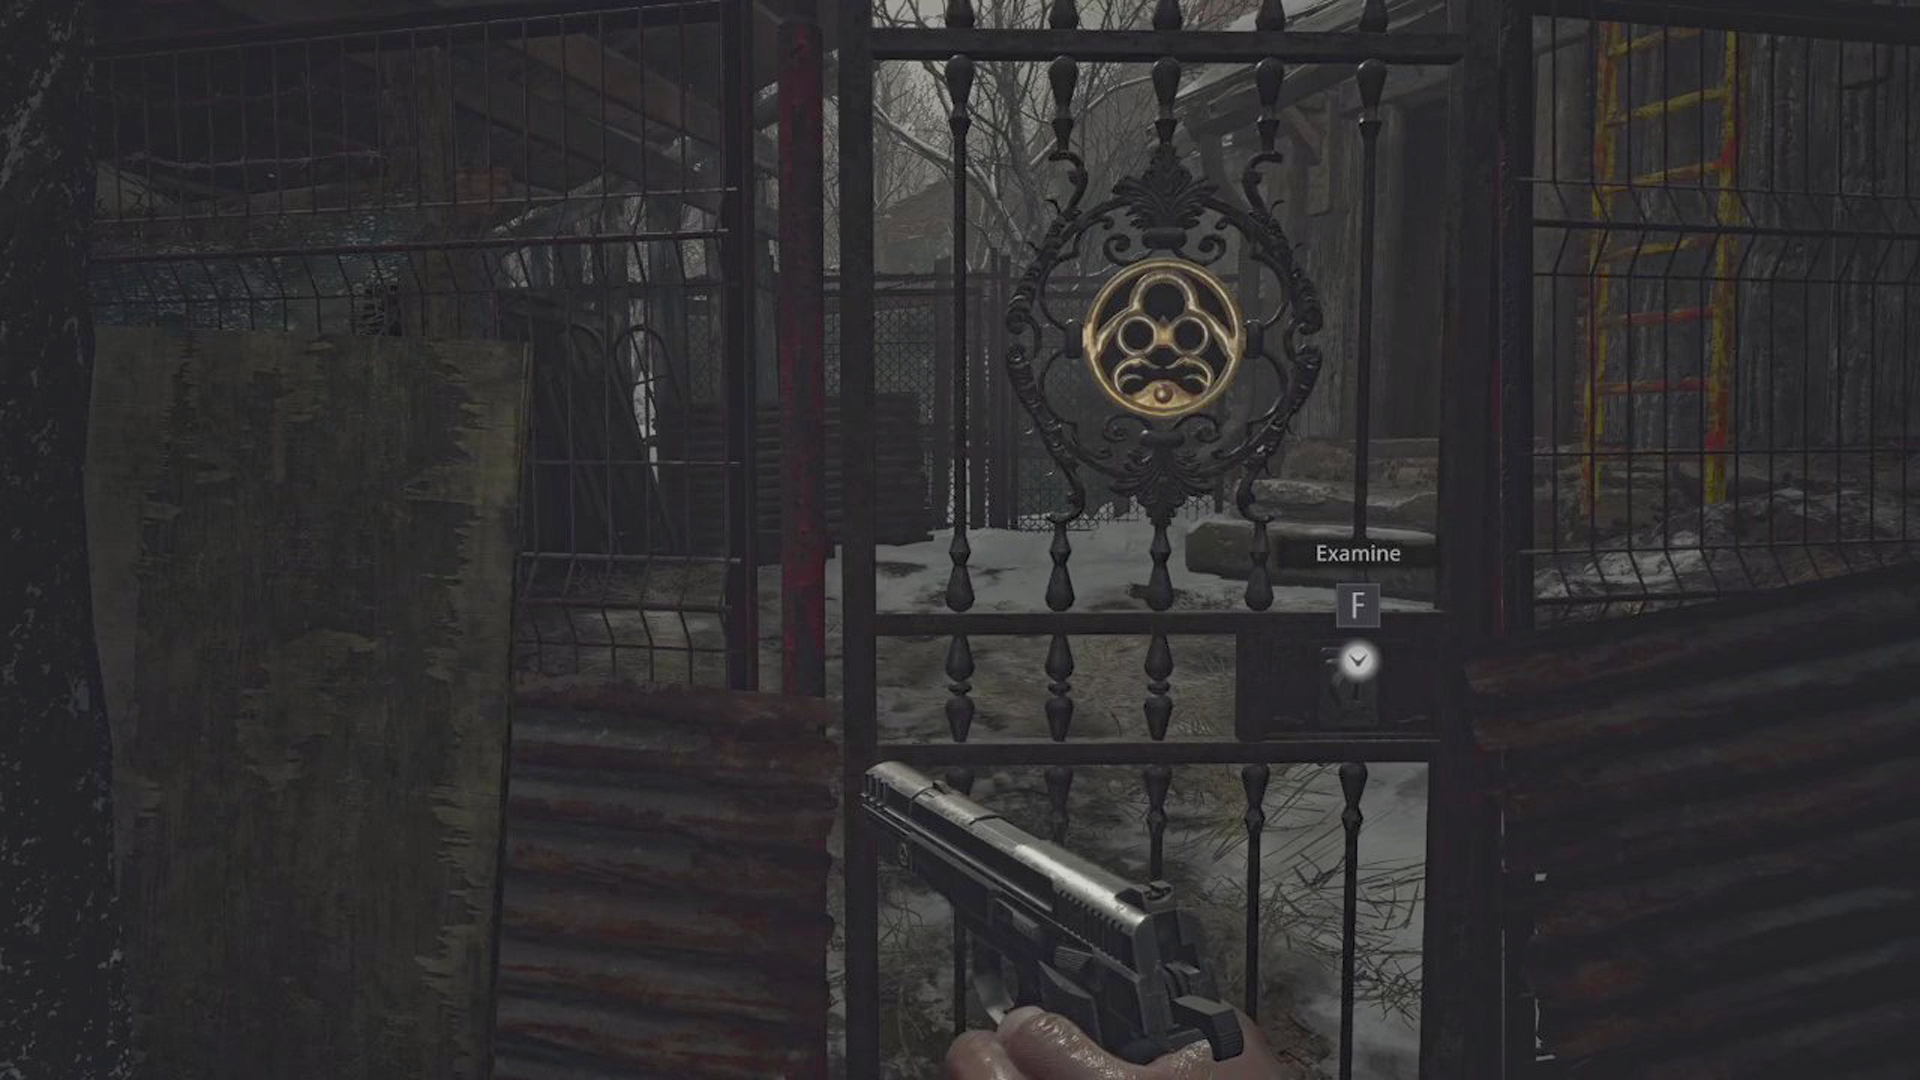
Don’t be too eager to move on in Resident Evil Village. Before you start chasing that new objective a good Resident Evil Village tip is to take the time to re-explore and revisit areas you've already uncovered. You might have a key or a tool that opens up a new area which could net you some valuable supplies or gear. You should know that leaving some key areas can mean you can’t always come back. So, before you go somewhere else, take a good look at the map and your key items. You might want to revisit red areas, or check whether that new key you got might fit on that one door you couldn’t open previously.
4. Shoot any sparkles you see to get crystals

Upon arrival in the Village, you will start noticing little sparkles popping up here and there if you look closely. Use your handgun, or even your knife if you can reach (more valuable ammo is a bit of a waste) to hit them, and they will drop crystal fragments, large crystals, or other types of gems like vivianite or quartz. You can sell them to the merchant, called the Duke, to get a nice supply of the in-game currency called Lei. A hint: the first one is on the Maiden of War statue.
5. Buy inventory space and bullet recipes first when you meet the Duke

There’s nothing more annoying than finding great supplies, but not having the inventory space to take them with you. As you can’t drop weapons or ammo, it’s even harder to manage a non-upgraded inventory in Resident Evil Village. One of the first Resident Evil Village tips you should follow is to buy an inventory expansion (10,000 Lei) at the Duke’s shop. Once you have it, set your sights on the ammo recipes, so you can make your own shotgun and sniper rifle bullets with the resources you find.
6. Learns the game's sounds and what they mean
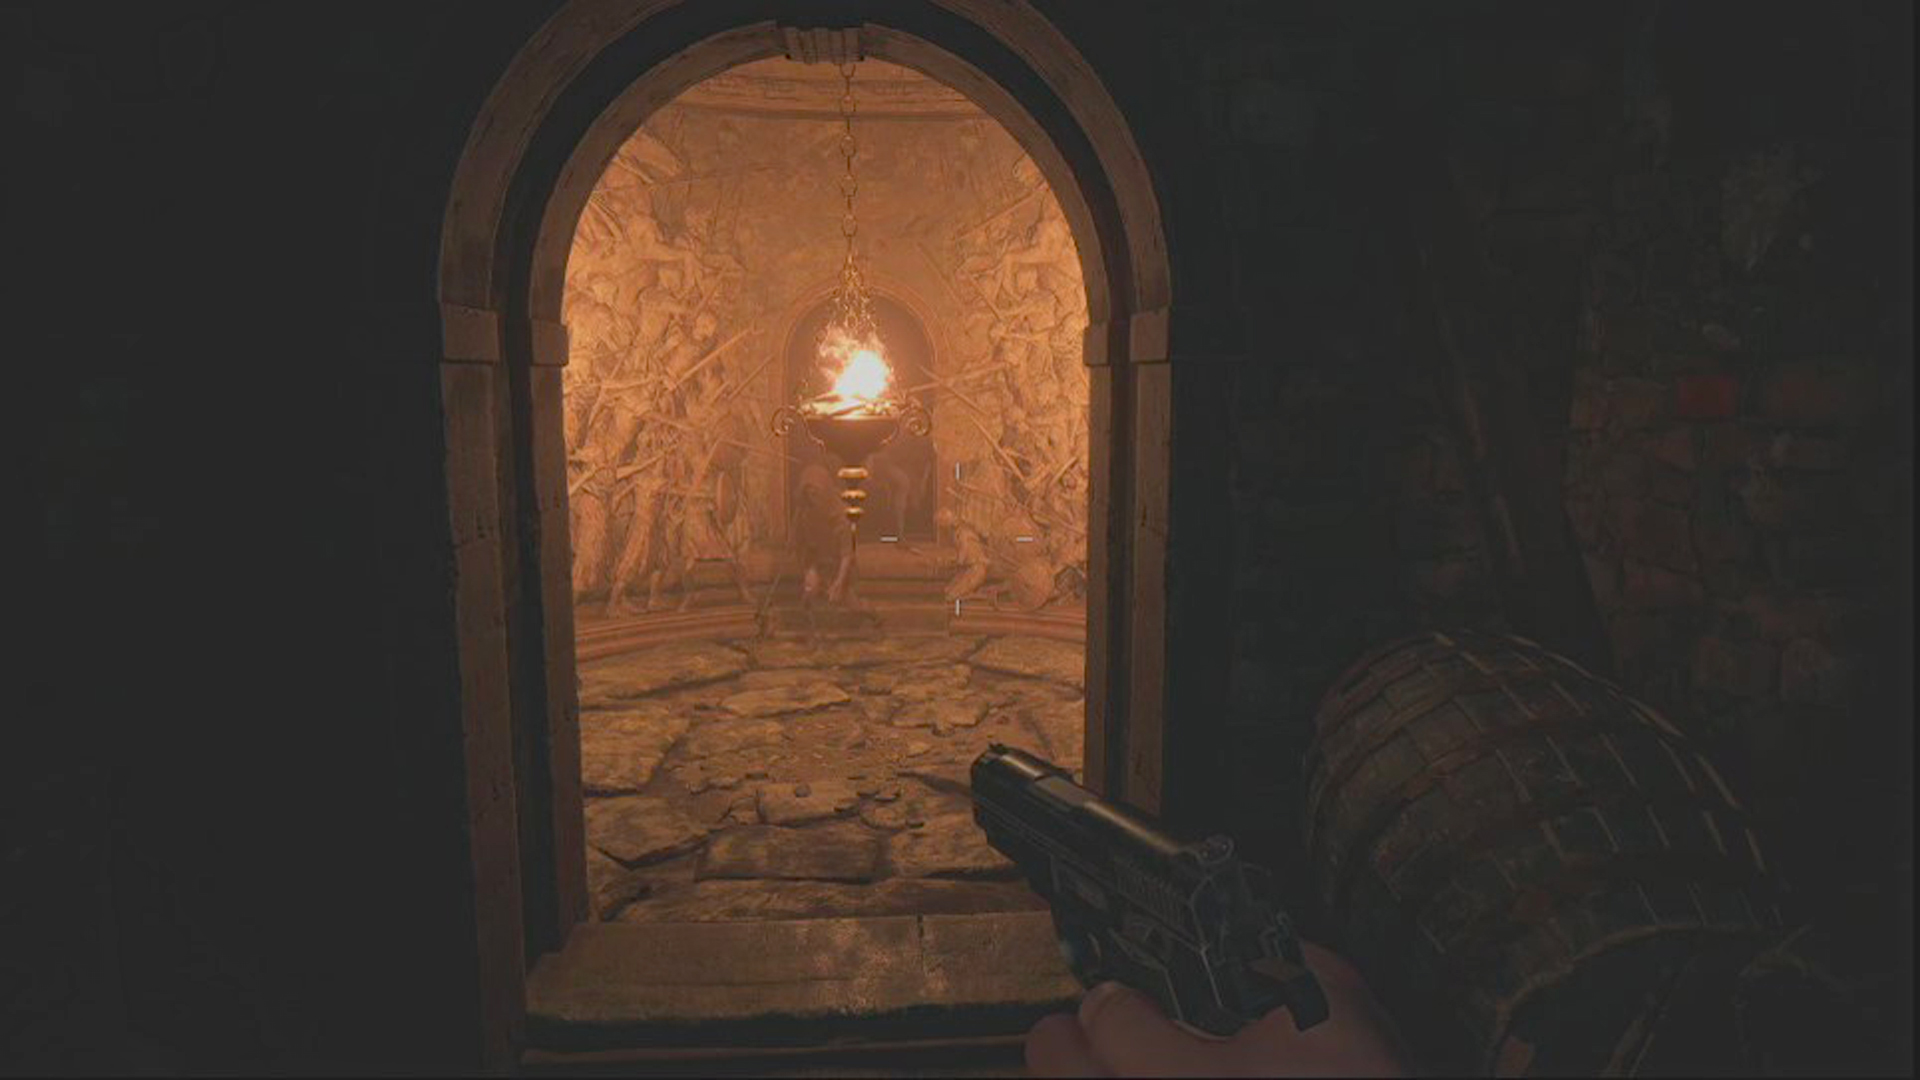
In Resident Evil Village, you can often hear more than you can see. Do you hear some strange growling after entering a new room? There must be enemies nearby. If you remember what certain types of enemies sound like, you’ll immediately know what you’re facing next time. Enemy noise will only disappear after the last one has died, so it also tells you when you’re safe. Likewise, a ticking noise means that a collectible Goat of Warding is nearby, while creaking means there's birdcage somewhere to shoot down for loot or resources. Just don’t pay much attention to other standard background sounds; they don’t signal anything.
7. Guarding is often more important than attacking
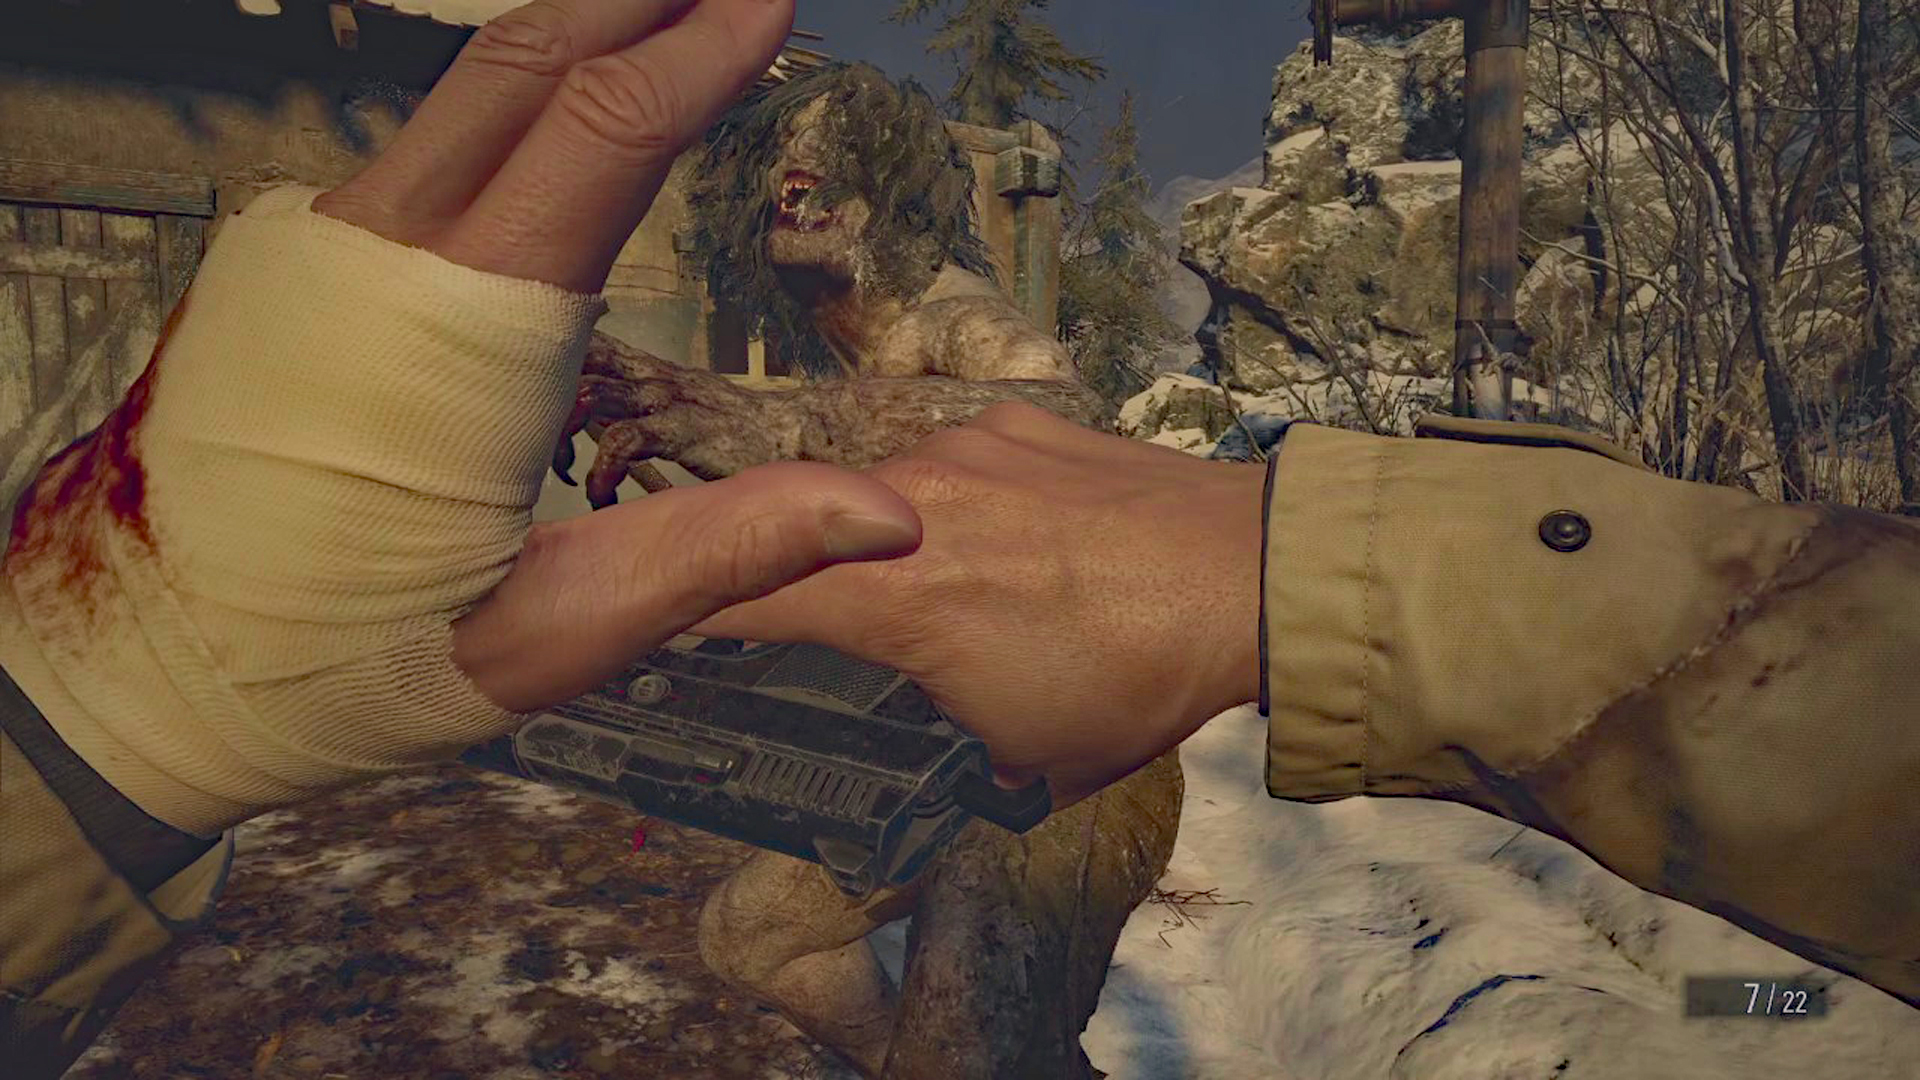
It won’t be long before you meet some of the game’s less-than-friendly residents. As you will notice, a few knife slashes or bullets are often not enough to keep them from reaching you, especially when they come in groups. So, a really handy Resident Evil Village tip is, instead of firing one more bullet, just make sure you shield yourself in time and use your guard ability to deflect most of the damage. If you successfully block a blow you can follow up with the guard button again to kick an opponent back, which will also knock any other enemies they hit. Later in the game, you can upgrade the amount of damage guarding will protect you from with special recipes the Duke can cook up. It's a valuable tactic that will keep you alive longer.
8. Sometimes running is better than fighting

Sometimes shooting and guarding will just not be enough. At certain points in the story, you will be faced with a particularly large number of opponents, or an especially powerful one. So a good Resident Evil Village tip is that if you think you might not survive, check to see if there’s an exit (which there often is). On top of that, there are times when you’re not supposed to fight an enemy just yet. This is especially true for bosses. If you notice an escape route, and your bullets don’t seem to do any damage, it’s clear that you’re not meant to fight this enemy. Run!
9. Sell weapons if you get a better option but keep a range of types

We all love a good shotgun, don’t we? While a close-ranged weapon is often the most useful in Resident Evil Village, it’s not a great idea to keep two in your precious inventory, taking up loads of space. You can acquire several types of handgun and shotguns, for example, and checking in at the Duke's gunsmithing option will help you see what's the most powerful (or will be the most powerful with some upgrades). Sell the weaker options to save space (you can always buy it back). You should, however, try and have one of everything to hand. The main reason for this is ammo; you’ll get lots of different ammo types, but not necessarily large stacks of the same type. If you run out of bullets for one thing, having some options to fall back on will be a literal lifesaver.
10. Drop your food at the Duke’s to save inventory space
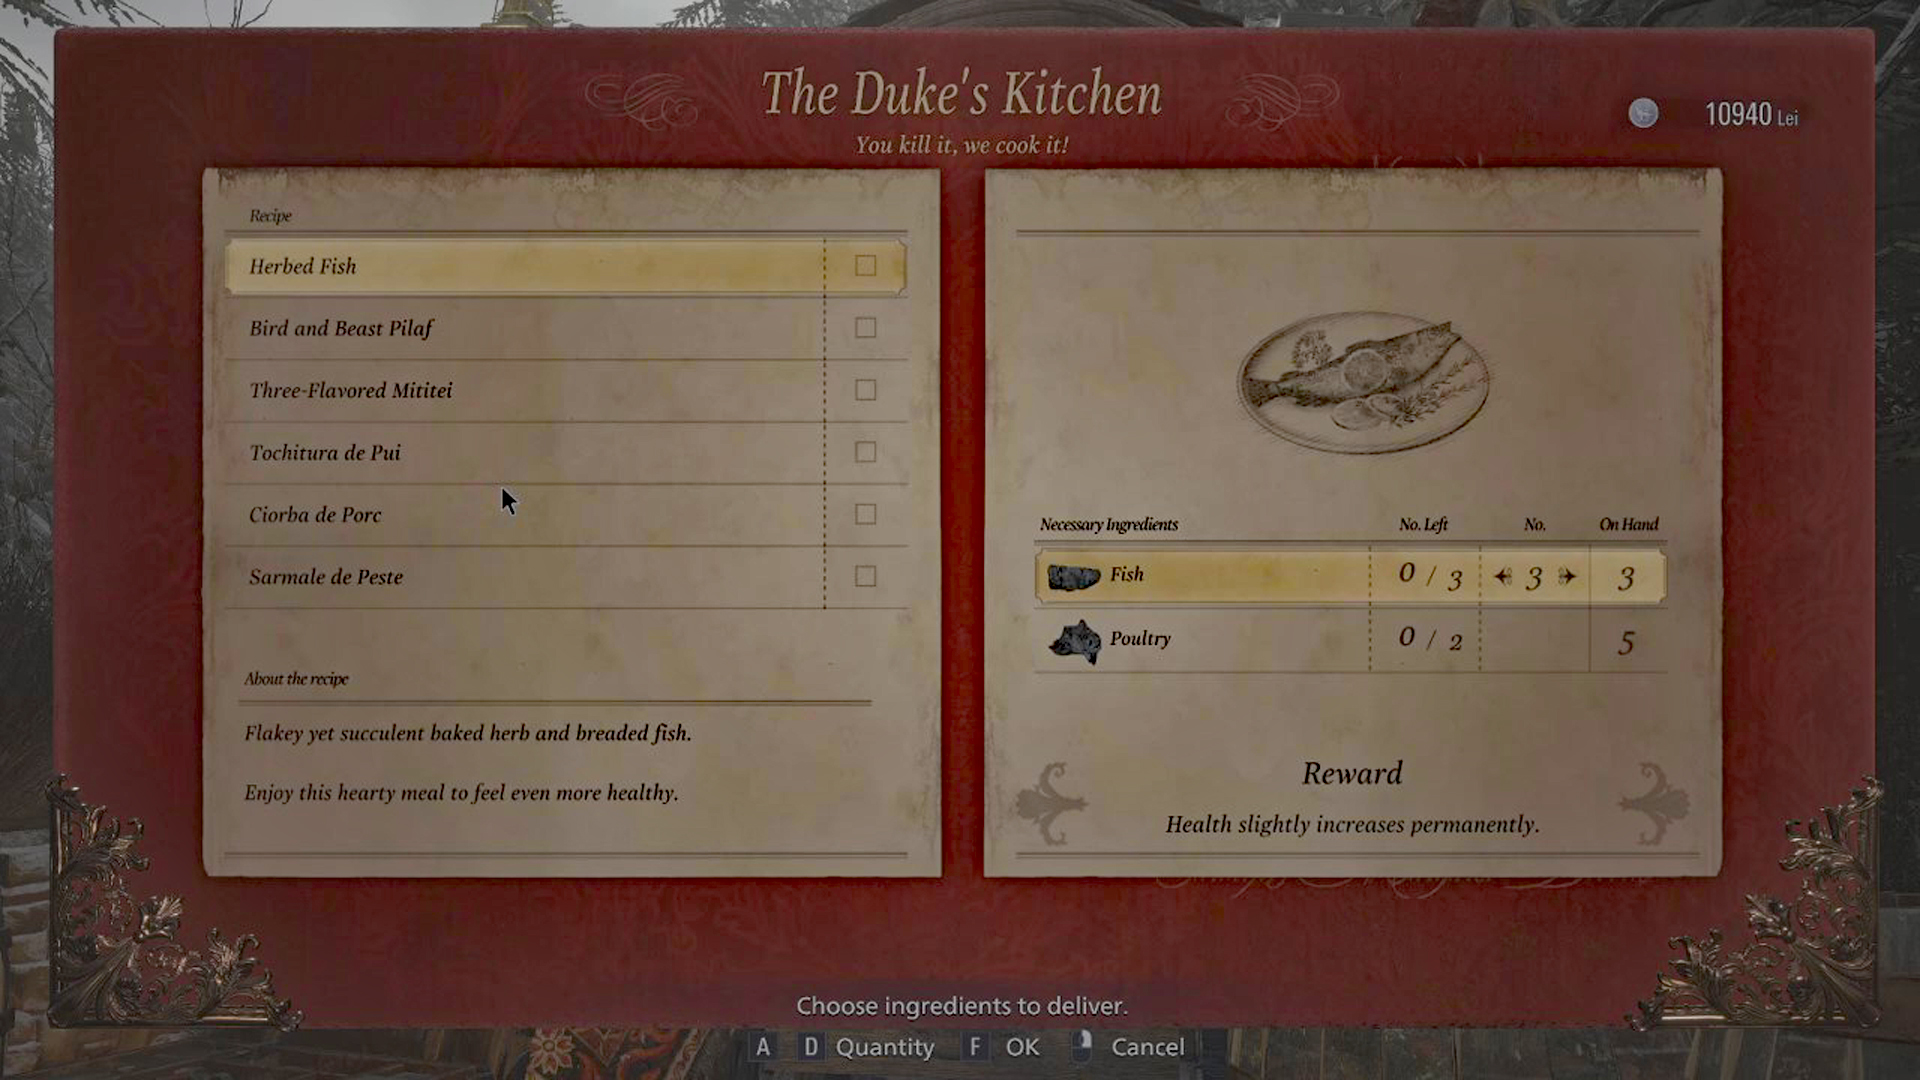
After you get through the first part of Resident Evil Village, you will start collecting meat, fish, and poultry. You can exchange all of this at the Duke’s Kitchen, but it will often take a while before you can complete a recipe. Before you run off with an inventory full of dead chickens though, you should know that you can drop all your food at the Duke even if you can’t complete the recipe. Just select the number of items you want to give, and confirm. It will still be there when you return next time.
And that’s everything you need to know about Resident Evil Village for now. Time to pay Lady Dimitrescu a visit!
Resident Evil Village guns | Resident Evil Village labyrinths | Resident Evil Village masks | Resident Evil Village wells | Resident Evil Village lockpicks | Resident Evil Village Goats | Resident Evil Village crystal fragments, treasure and money | Resident Evil Village animal locations | How long is Resident Evil Village? | How big is the Resident Evil Village map? | Resident Evil Village mods
Sign up to the GamesRadar+ Newsletter
Weekly digests, tales from the communities you love, and more
I’m a freelance journalist who (surprise!) kind of has a thing for videogames. When I’m not working on guides for GamesRadar, you can probably find me somewhere in Teyvat, Novigrad, or Whiterun. Unless I’m feeling competitive, in which case you should try Erangel. You can also find my words on PCGamesN, Fanbyte, PCGamer, Polygon, Esports Insider, and Game Rant.


