Rise of the Tomb Raider Soviet Installation guide: How to complete everything in the open area
Clear every challenge and find all the collectibles in the Rise of the Tomb Raider Soviet Installation
As you make progress through Lara Croft's adventure, the first big open area you'll reach is the Rise of the Tomb Raider Soviet Installation. This presents a huge area for you to explore, with lots of different areas to investigate, as well as plenty of collectibles to find and challenges to complete. Naturally you don't want to miss anything in Rise of the Tomb Raider, but having such a wide area to cover can feel like a daunting prospect if you want to discover everything on offer. Don't worry though, as we've put together this complete Rise of the Tomb Raider Soviet Installation guide to help you find everything of interest, starting with collectibles then moving on to optional Challenge Tombs and finishing with challenges, so you can be sure you've ticked everything off your list.
Note: Many of Lara's journal entries will unlock after particular cut scenes, or when taking a rest at camp. Additionally there are codices located at the end of every Challenge Tomb, and so those documents are not included here.
Rise of the Tomb Raider tips | Rise of the Tomb Raider relic, mural, and document locations guide | Rise of the Tomb Raider Challenge Tomb walkthrough guide | Rise of the Tomb Raider challenges guide
Soviet Installation Collectibles (1/3)
Mural #1 - Kokkos, the Astronomer
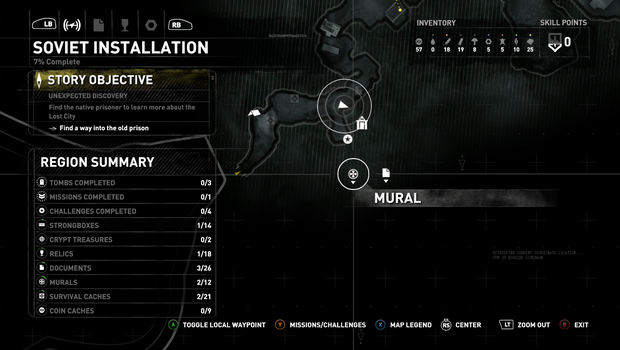
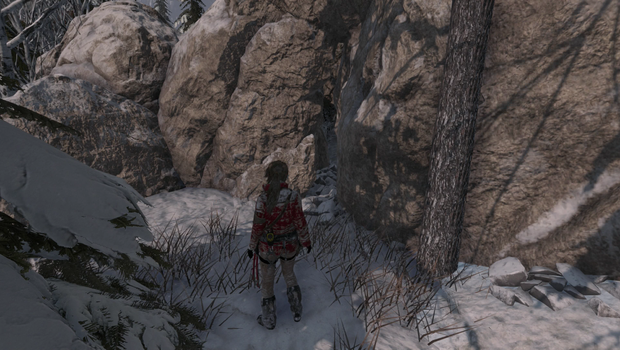
Keep an eye out for a gap between the rocks as you make you way down from the Installation Vista camp, then squeeze through it to reach a crypt with this plaque on the wall.
Document #1 - Kokkos, the Astronomer
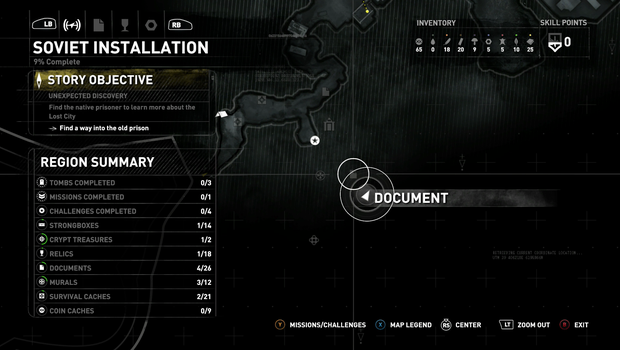
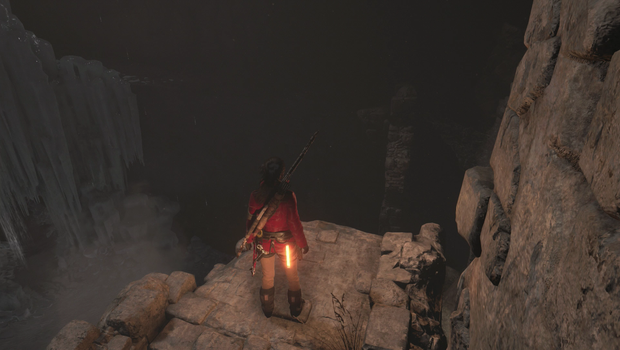
Further along into crypt the path splits in two, where you should take the left fork to reach an icy room, then jump over the broken bridge to collect the document on the far side.
Document #2 - First Kill
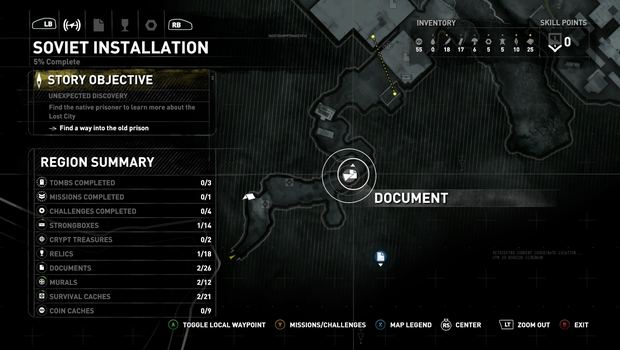
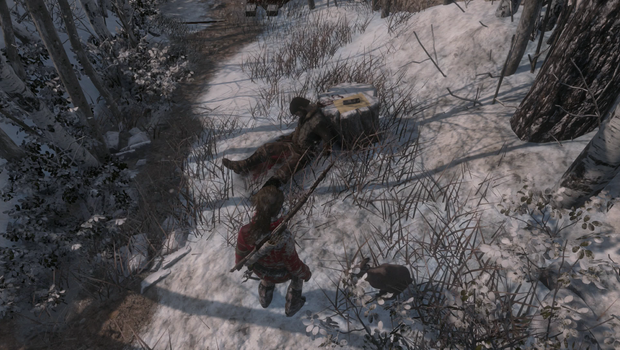
Further along the path outside you'll see a corpse, then inspect the stump that it's leaning on.
Mural #2 - Man of the People
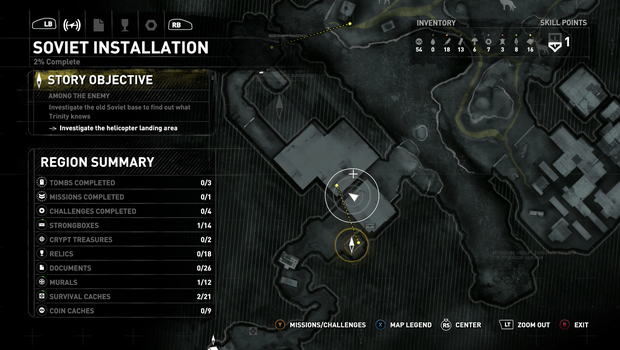
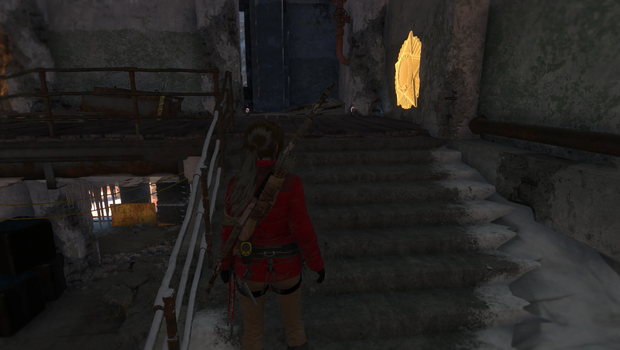
You'll meet a number of Trinity troops when you arrive in the area. After heading up the stairs and moving beyond the computer, look on the wall for this mural.
Document #3 - Mistakes
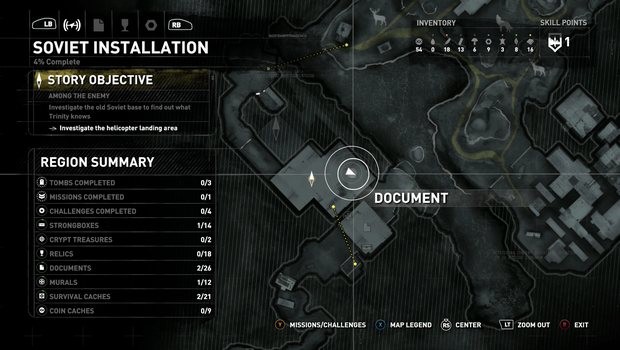
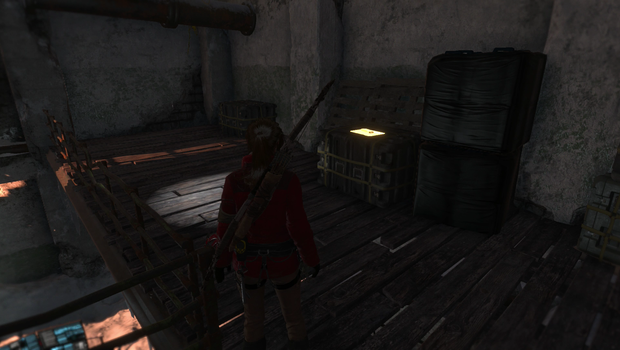
This document can be located on the same level as Mural #2, on top of a crate close by.
Document #4 - The Iron Road

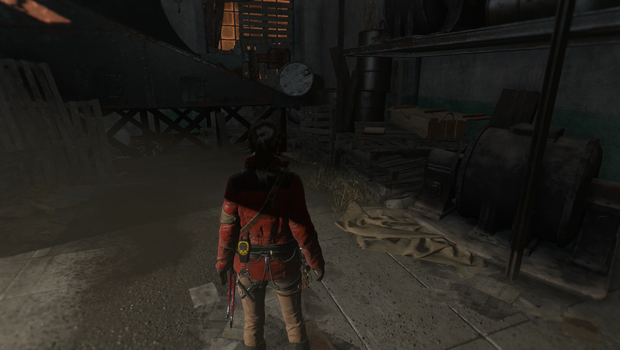
Once you collect the pistol, have a look on the pallets nearby for this document.
Relic #1 - Gulag ID
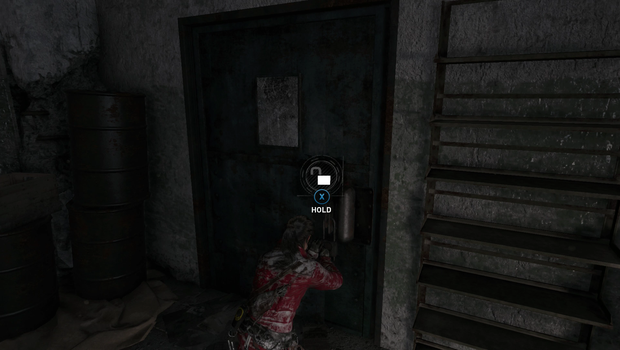
In the same room you'll find a locked door on the opposite side of the glass window, so once you have it use the Lockpick to access the room and collect the relic.
Mural #3 - Night Work
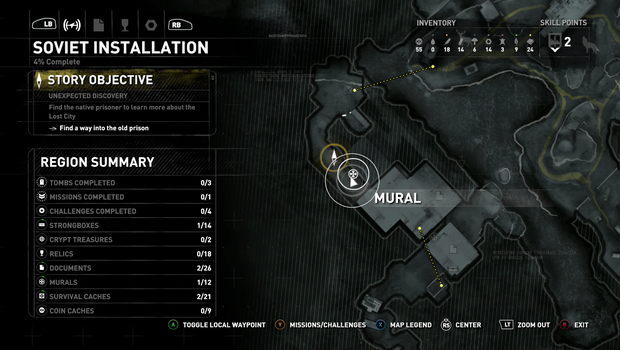
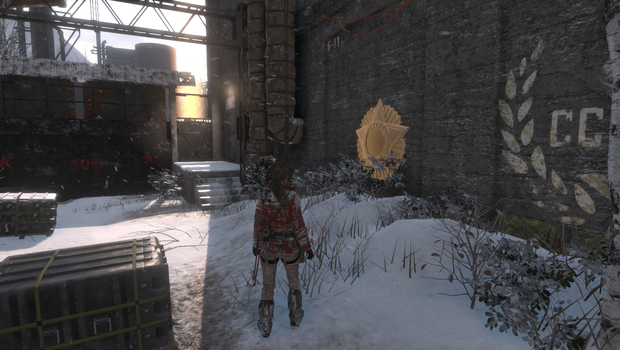
Once you've used the explosion to get through the metal door, look along the outside wall for this plaque.
Relic #2 - Rosary
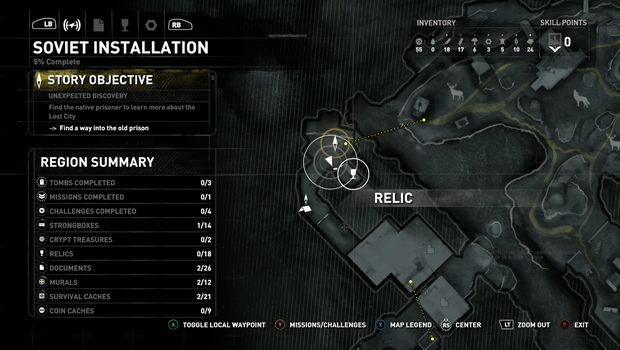
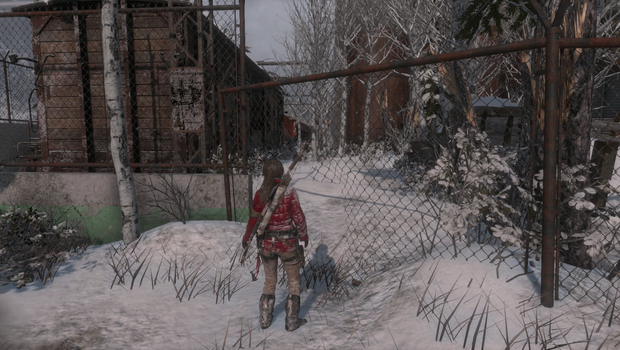
Climb through the hole in the fence near the Train Yard camp, then look inside the train car you can access on the other side.
Document #5 - A Closer Look
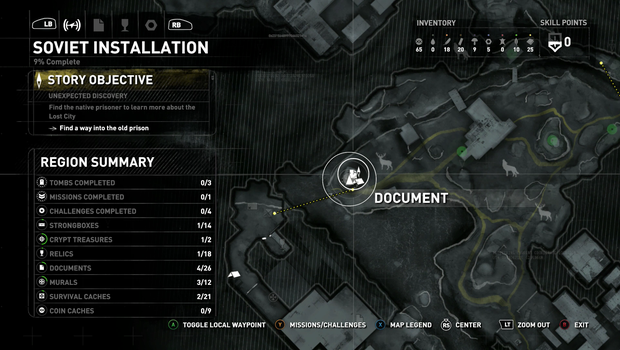
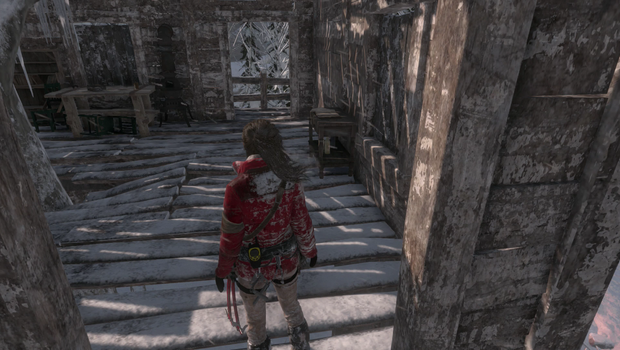
Next to the Logging Camp you'll find a cabin, so head inside and check on top of the desk.
Document #6 - Captured
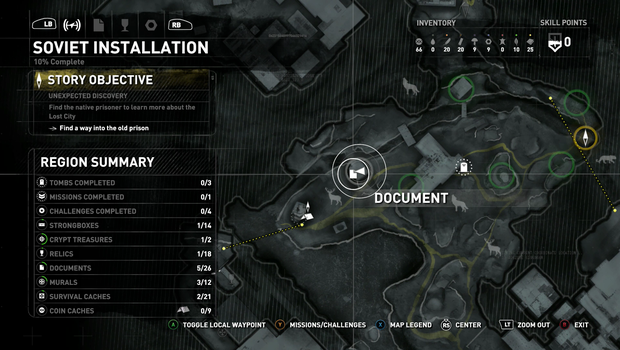
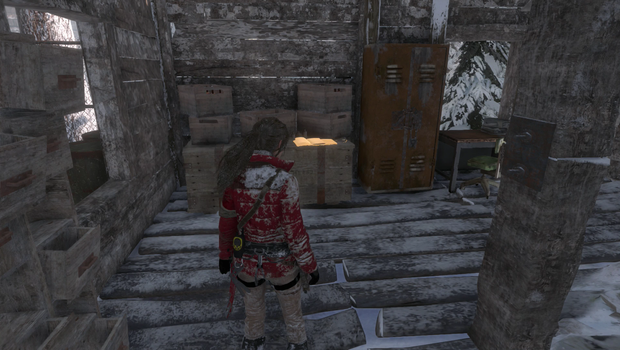
Next, make your way to the building situated northeast from the Logging Camp, then look for a crate with the document on top.
Mural #4 - Star of Progress
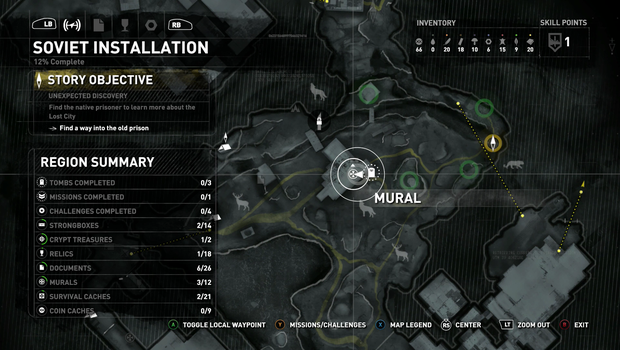
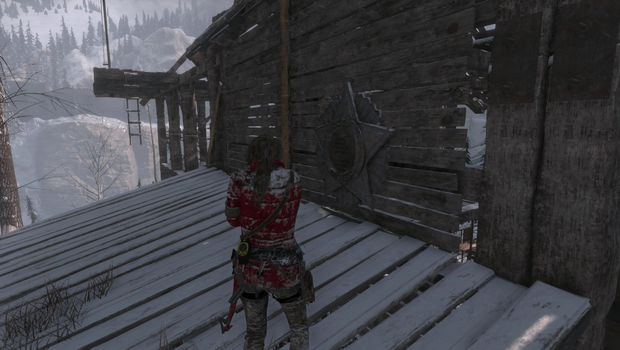
In the centre of the Logging Camp area you'll find another large building, so find the roof facing southeast then climb on top to locate this Soviet plaque.
Relic #3 - Family Photo
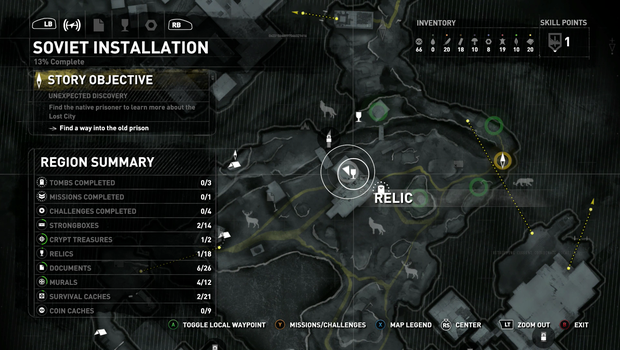
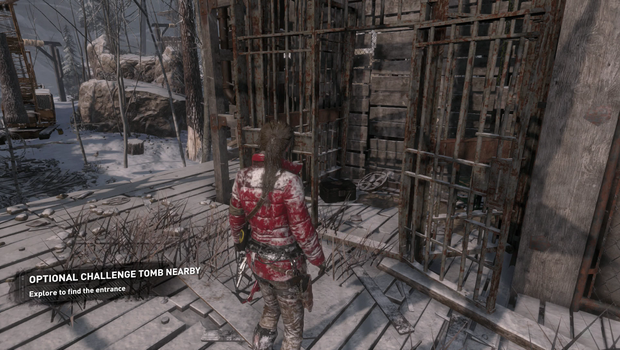
Around the opposite side of this building, find the rusty gate that has a relic pushed behind it.
Relic #4 - Wish Maker Toy
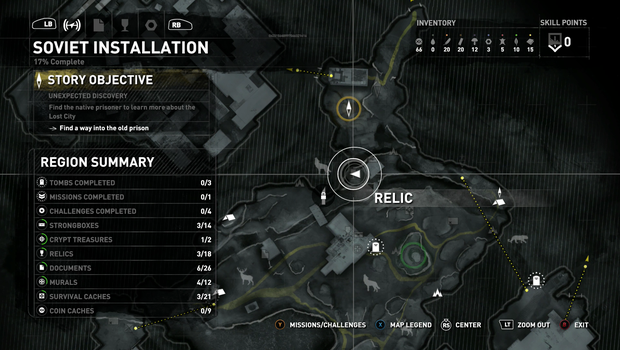
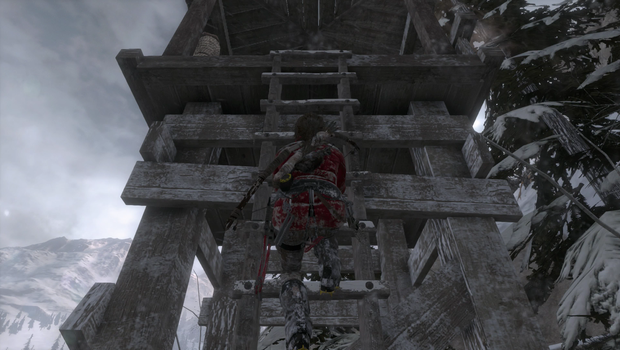
Head north from where you picked up the last relic, and by a radio antenna you'll find a wooden tower that you need to climb to grab another item.
Soviet Installation collectibles continue on the next page
Jump to Section:
- Soviet Installation Collectibles (1/3)
- Soviet Installation Collectibles (2/3)
- Soviet Installation Collectibles (3/3)
- Soviet Installation Challenge Tombs
- Soviet Installation Challenges
Current page: Soviet Installation - Collectibles (1/3)
Next Page Soviet Installation - Collectibles (2/3)Sign up to the GamesRadar+ Newsletter
Weekly digests, tales from the communities you love, and more

Iain originally joined Future in 2012 to write guides for CVG, PSM3, and Xbox World, before moving on to join GamesRadar in 2013 as Guides Editor. His words have also appeared in OPM, OXM, PC Gamer, GamesMaster, and SFX. He is better known to many as ‘Mr Trophy’, due to his slightly unhealthy obsession with amassing intangible PlayStation silverware, and he now has over 750 Platinum pots weighing down the shelves of his virtual award cabinet. He does not care for Xbox Achievements.
