The Room 3 walkthrough and guide, all the puzzles solved
This The Room 3 walkthrough will help you make the most of this ingenious little indie puzzler, without wanting to rage quit. The Room 3 sees the player attending the world's worst job interview. You made the train and when you arrive, you're met with a note that bears good news - you're a definite candidate for an apprenticeship. The bad news is that you're trapped amongst a variety of elaborate puzzles and if you don't solve them, you'll be passed over for the position. And probably die.
So we've stepped in to help you ace the interview and defeat the dastardly puzzles created by Craftsman. Although you may want to reconsider your career path.
Chapter 1 - The Lighthouse
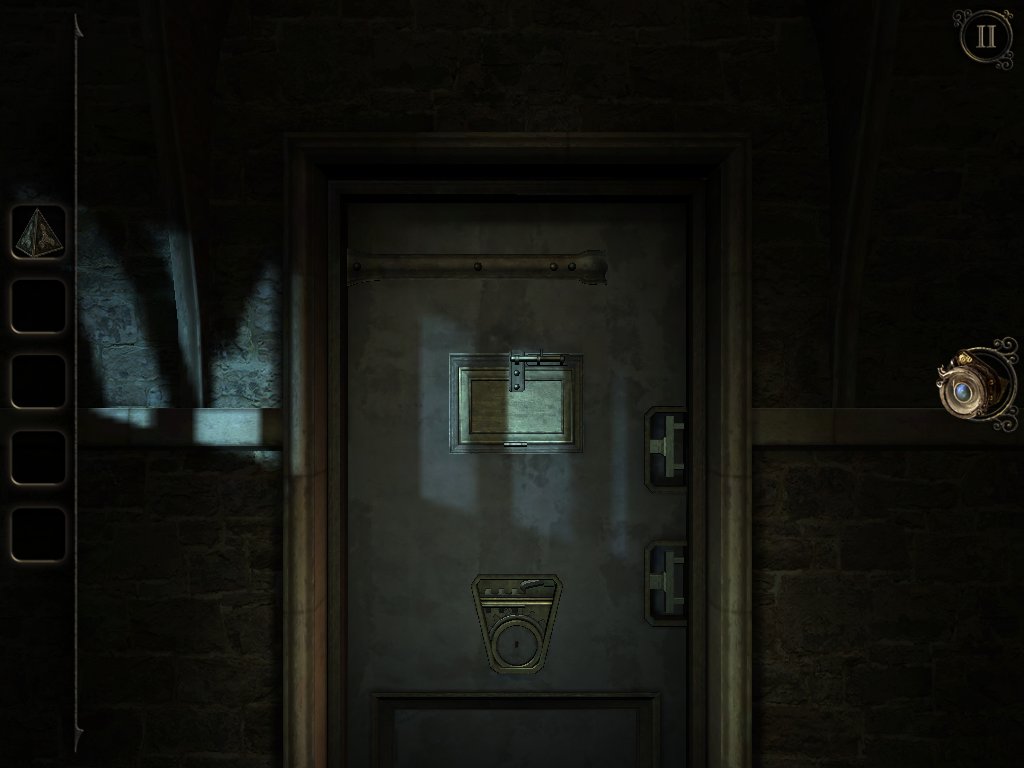
Once you've left the relative safety of the train, you'll be deposited outside of this door. Examine the panel and slide the latch to peek through to the room beyond.
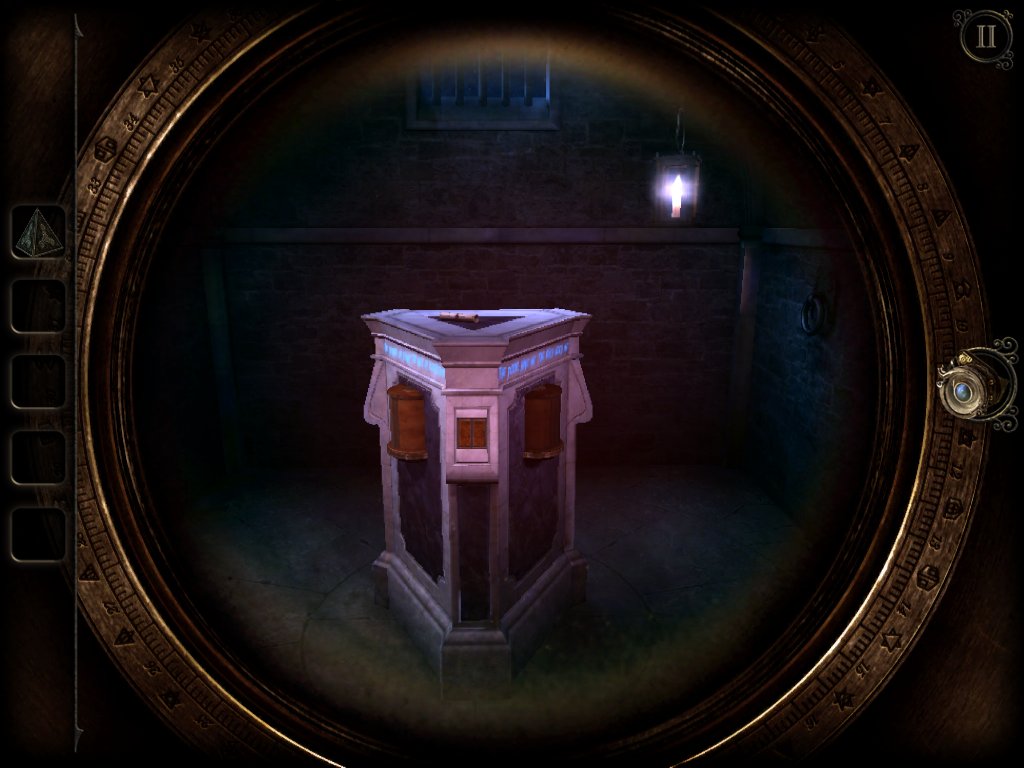
Once you've finished spying, zoom back out, pop on your eyepiece, and examine the podium in the middle of the room.
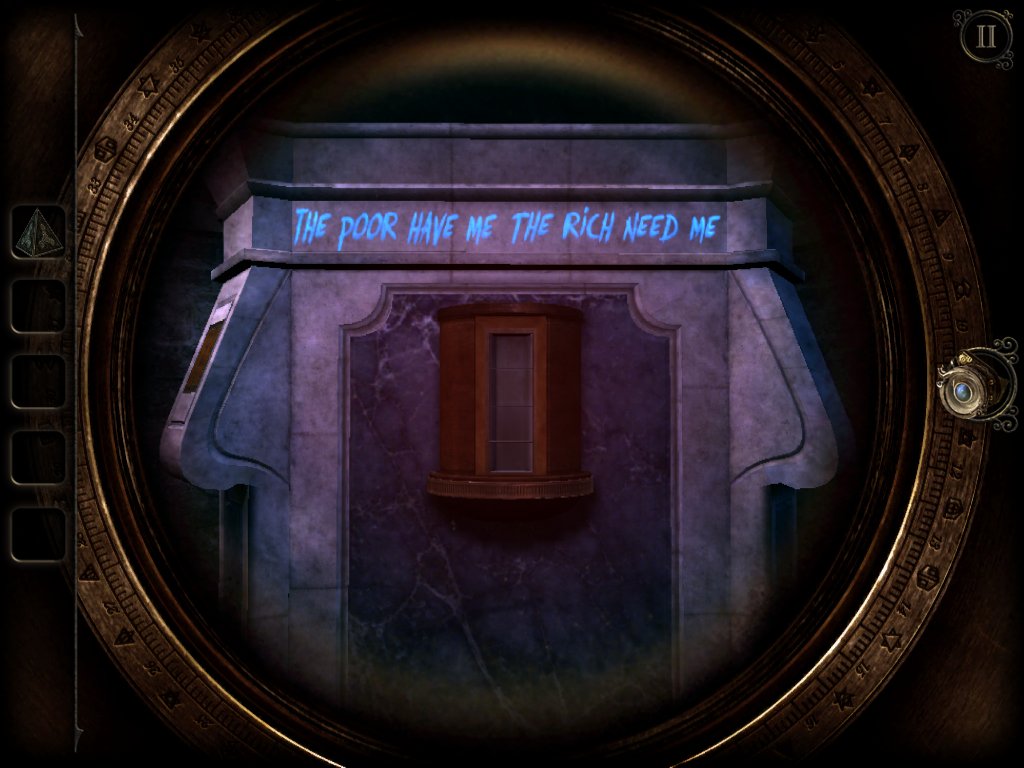
Match the items in the rotating compartments with the trite brain teasers painted on each side. The silent face without hands is a watch, the power of flight and well of knowledge is a feather, and nothing is needed by the rich, but it's all the poor have.
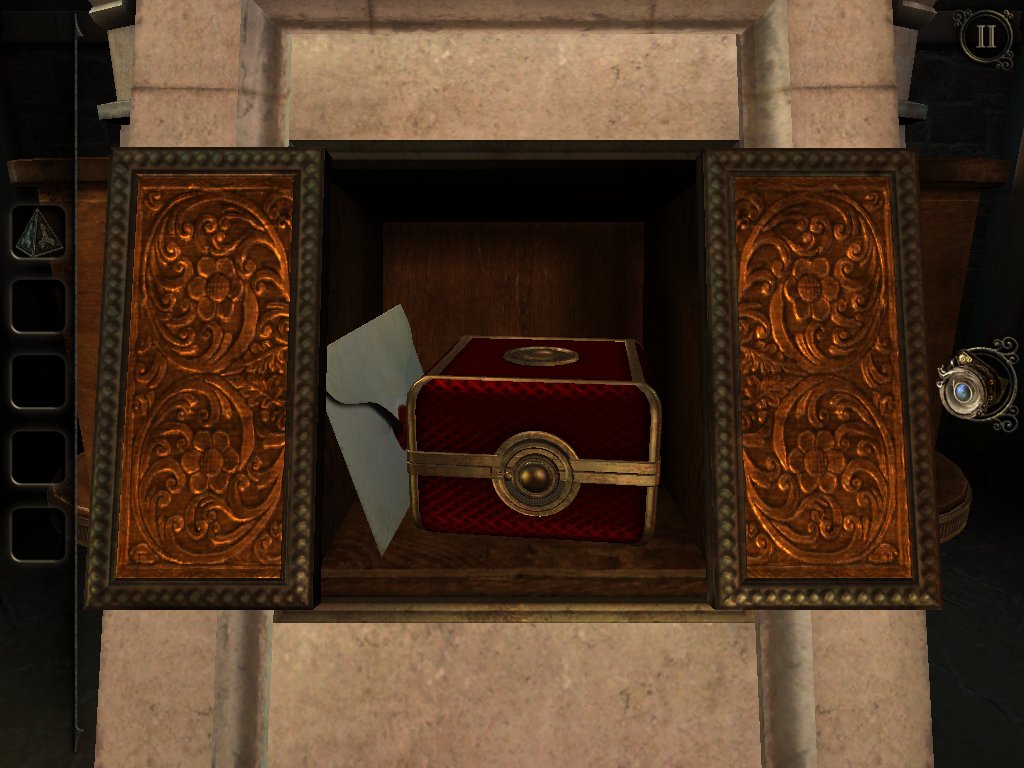
You'll be rewarded with a note and a box containing an attachment for your eyepiece.
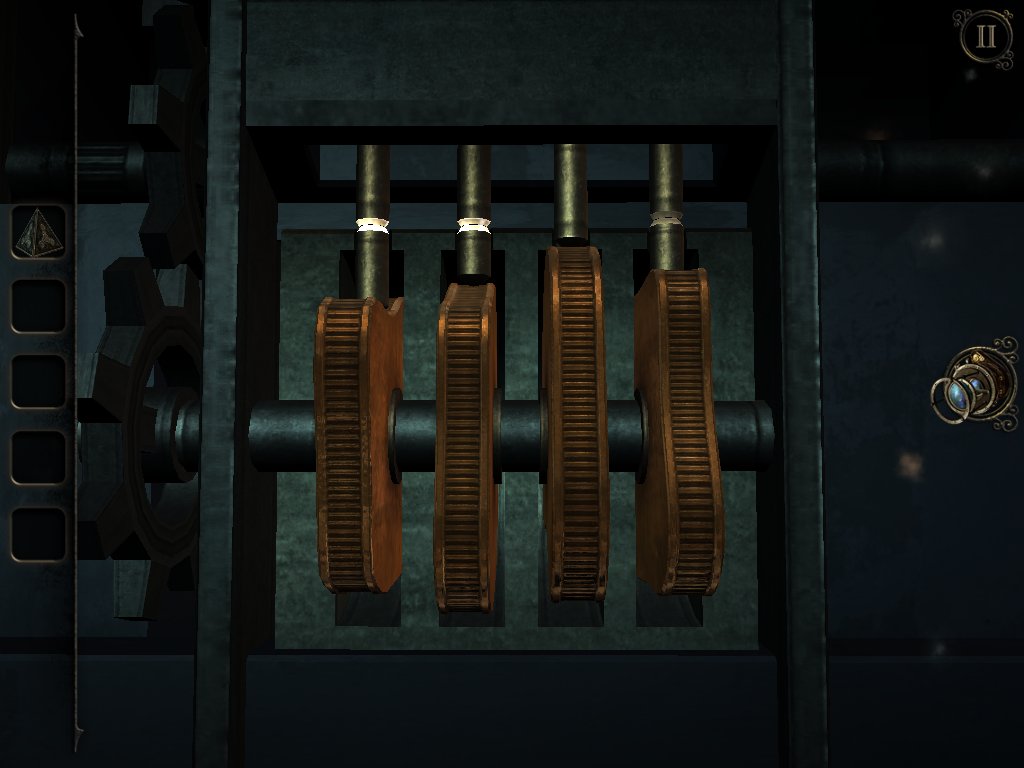
Using your newly modded eyepiece, examine the keyhole in the door. The tumblers are connected in pairs - the two on the left are connected, as are the two on the right. Simply turn one wheel of each pair until they both light up, and repeat with the next pair.
Weekly digests, tales from the communities you love, and more
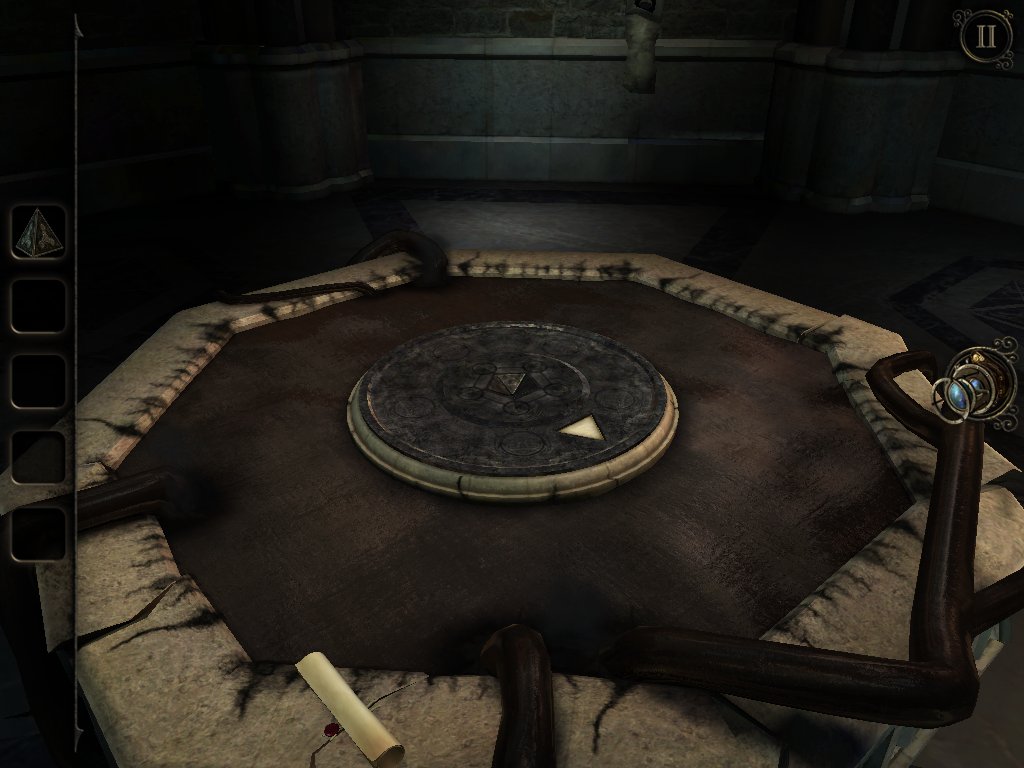
Enter the room and chuck your pyramid onto the table to receive an emblem.
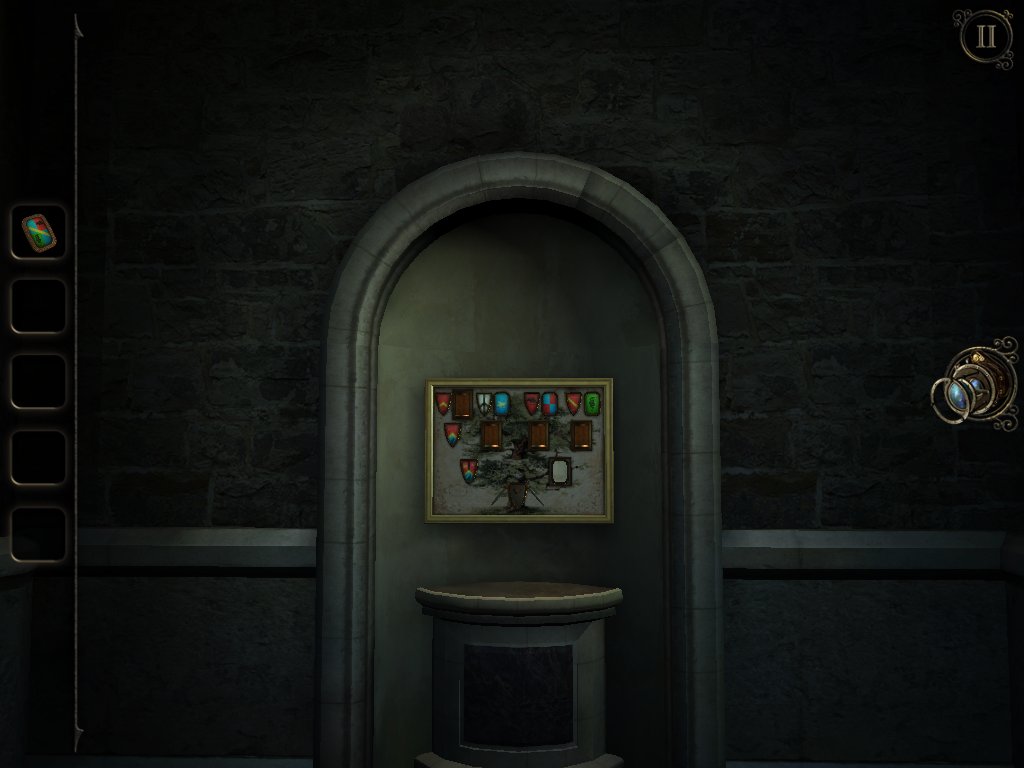
You'll need to use this on the wall behind you.
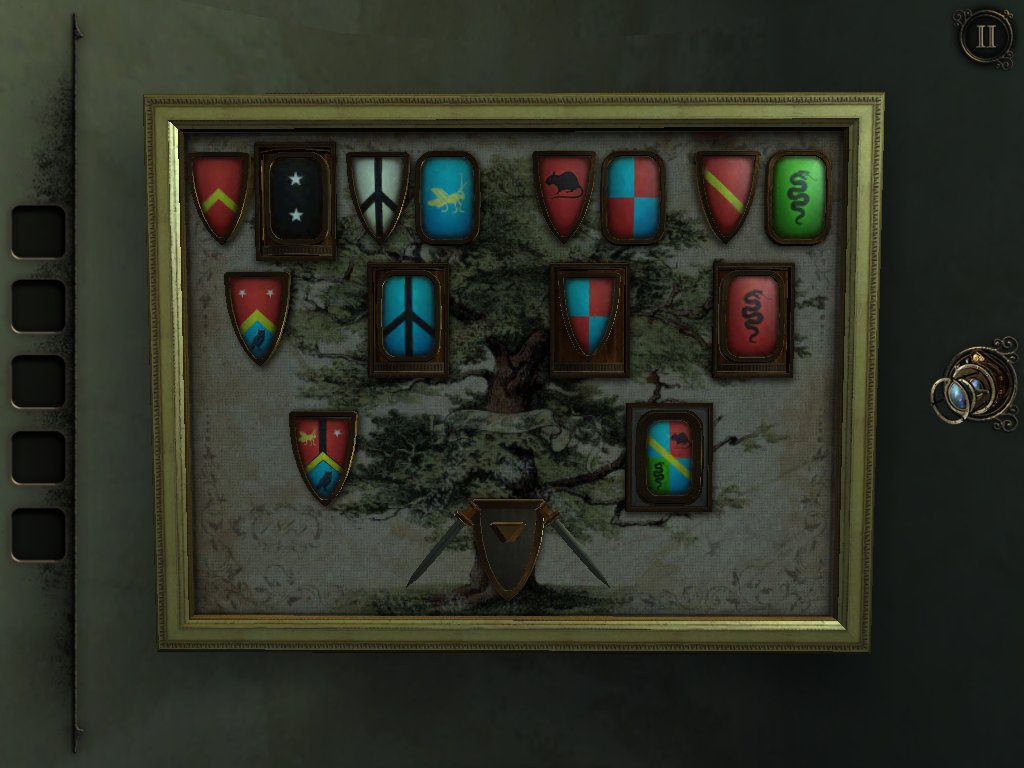
Insert the emblem into the space at the bottom right and you'll be presented with another puzzle.
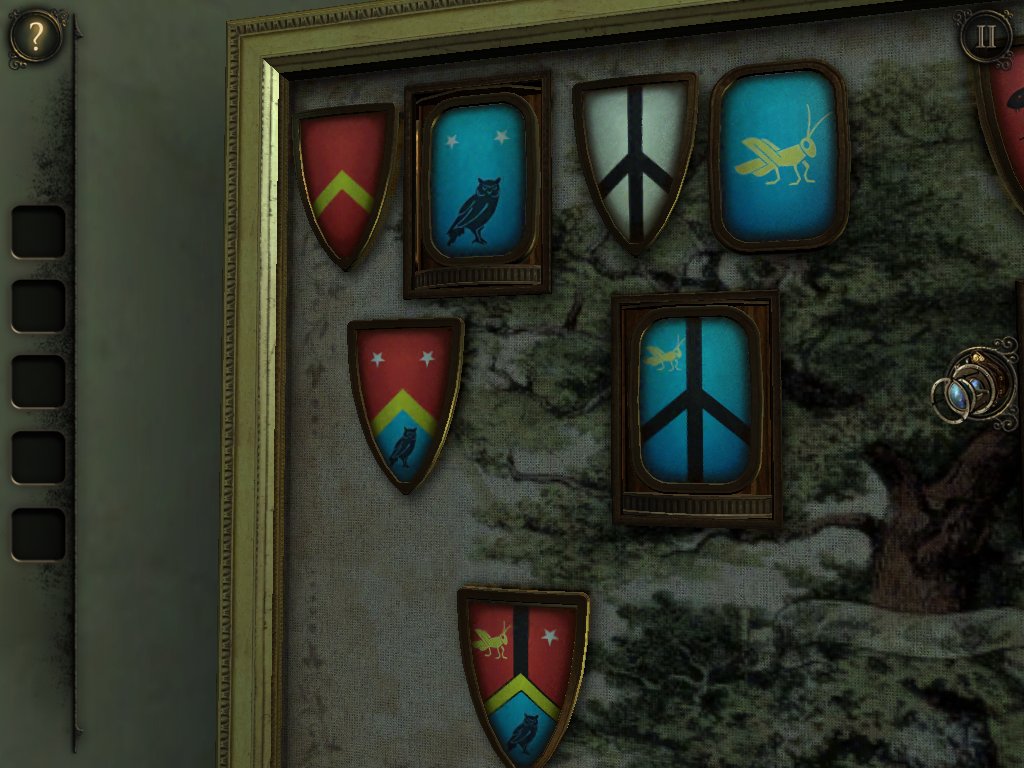
Arrange the left side like so.
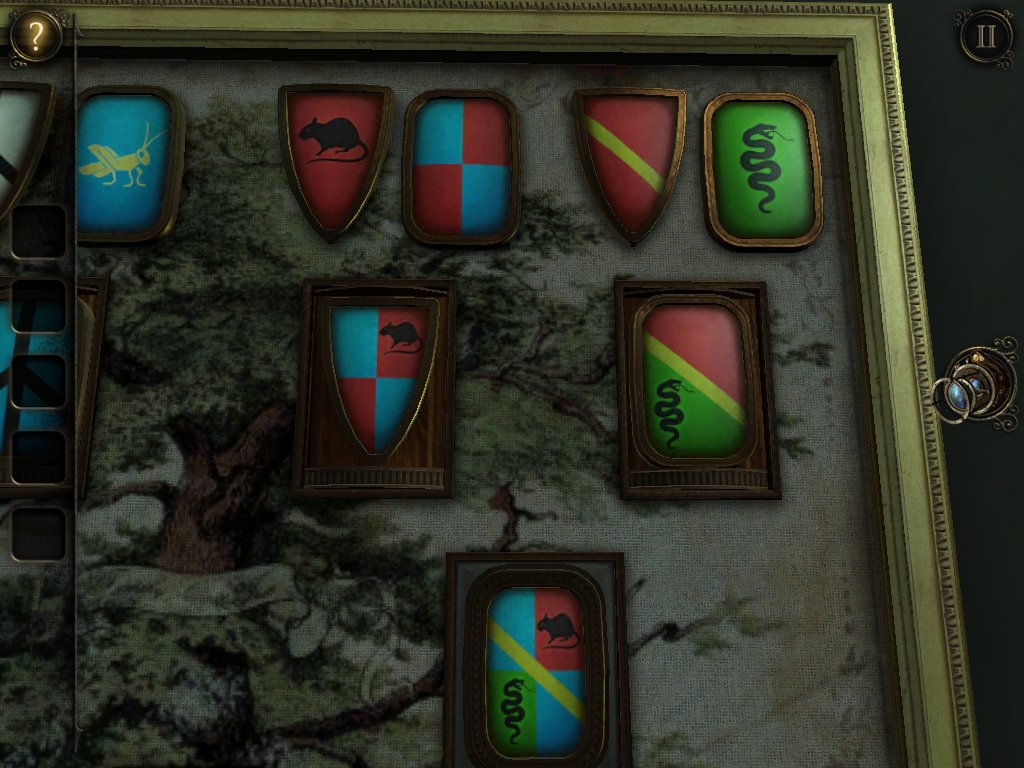
This is what the right side should look like.
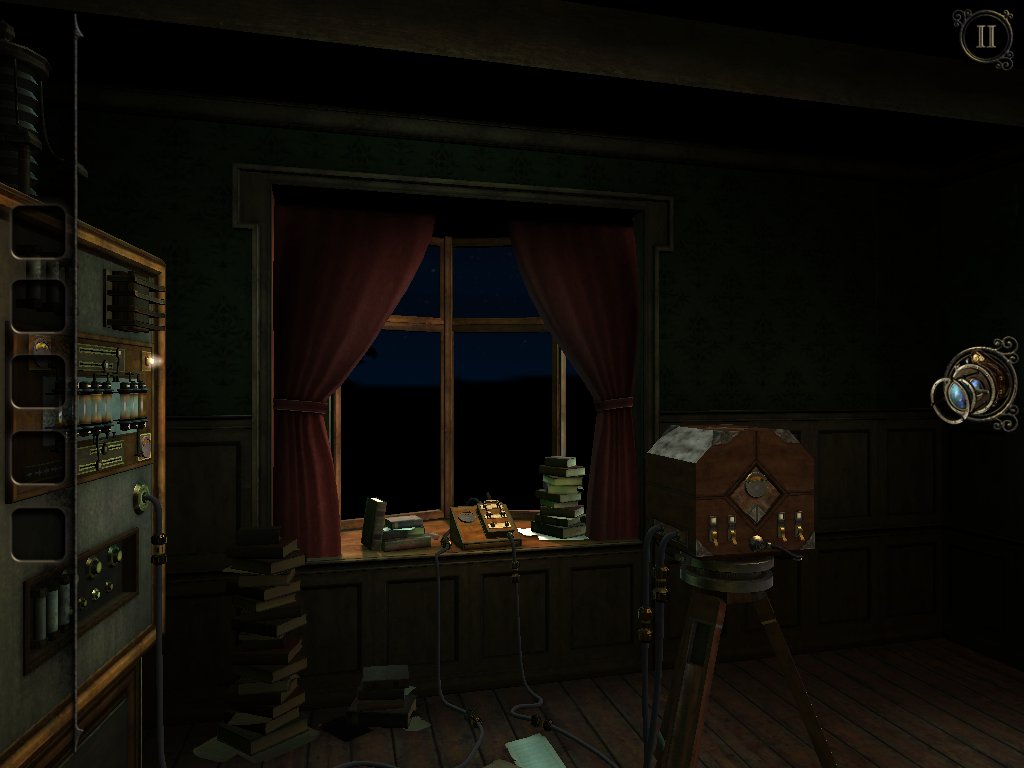
Go through to the newly opened room and investigate the contraption on the left.
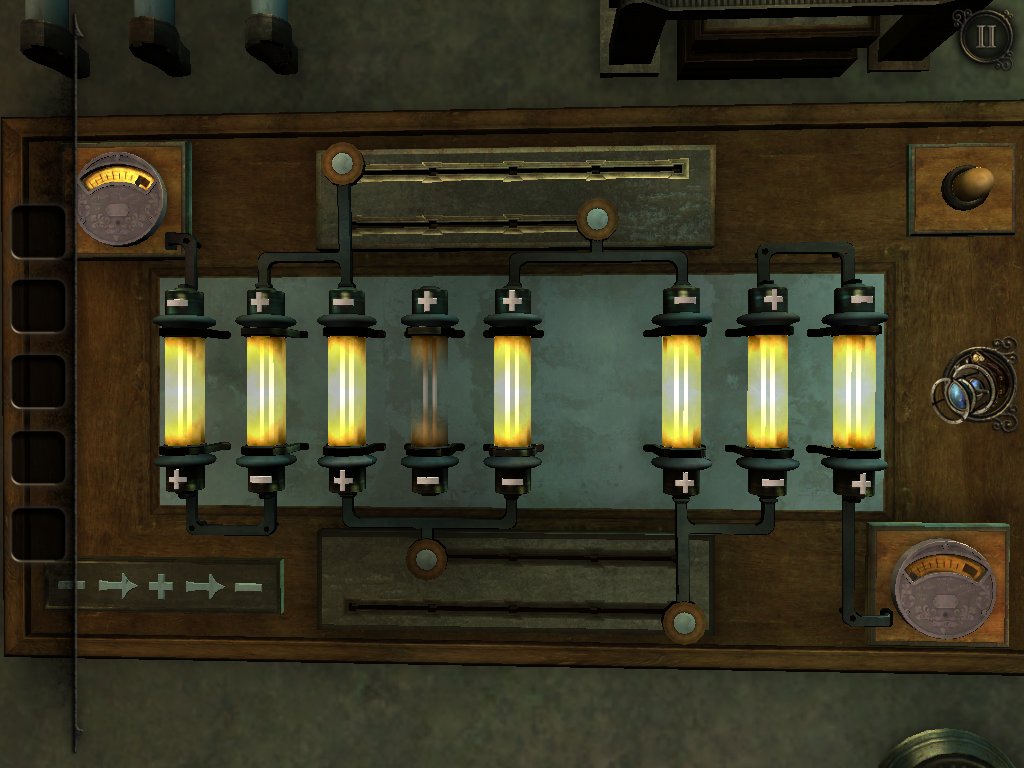
Arrange the switches as pictured to restore power.
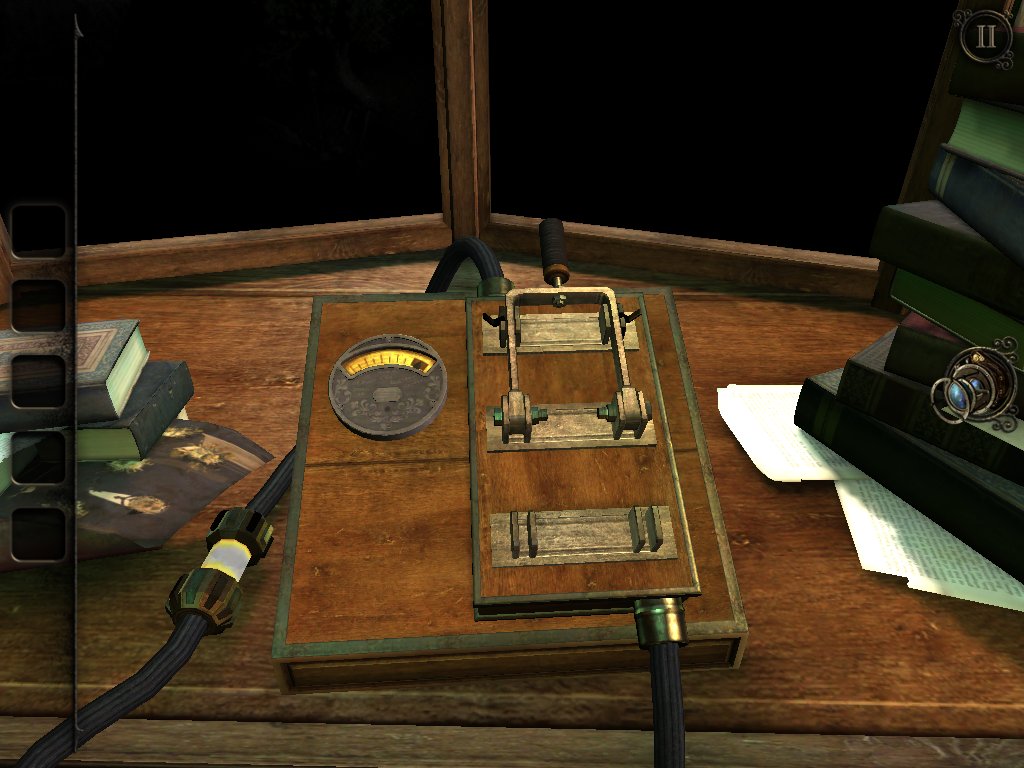
Flip the lever on the board on the desk.
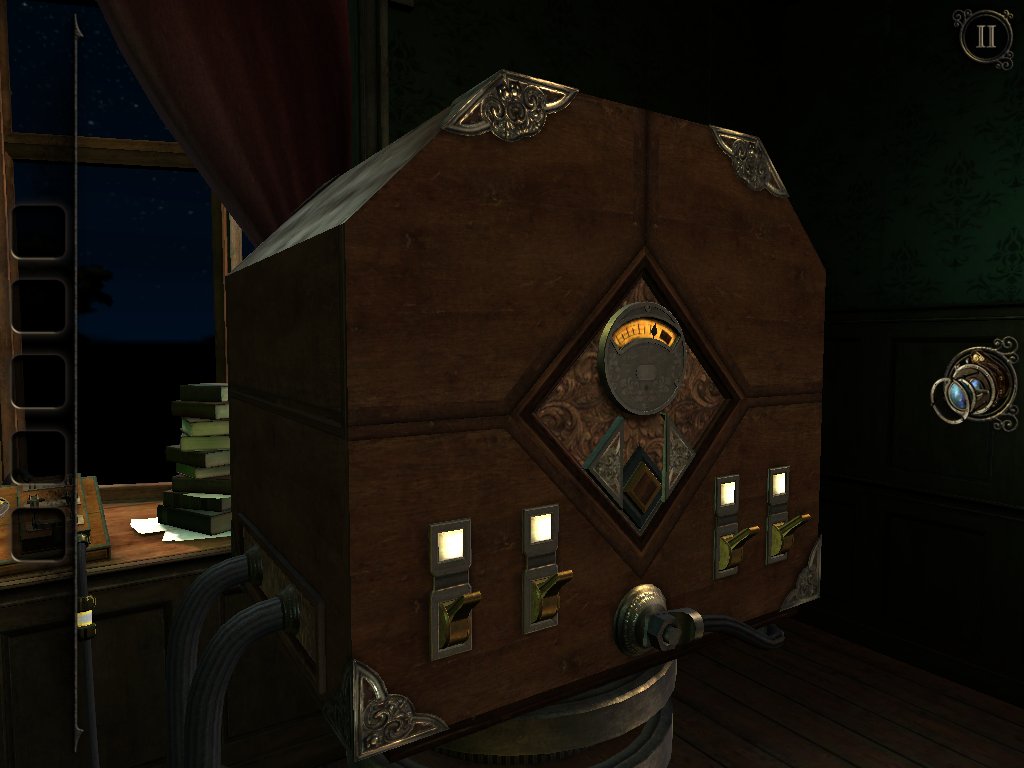
Now examine the large box to the right. Flip all four switches and press the button that's revealed after doing so.
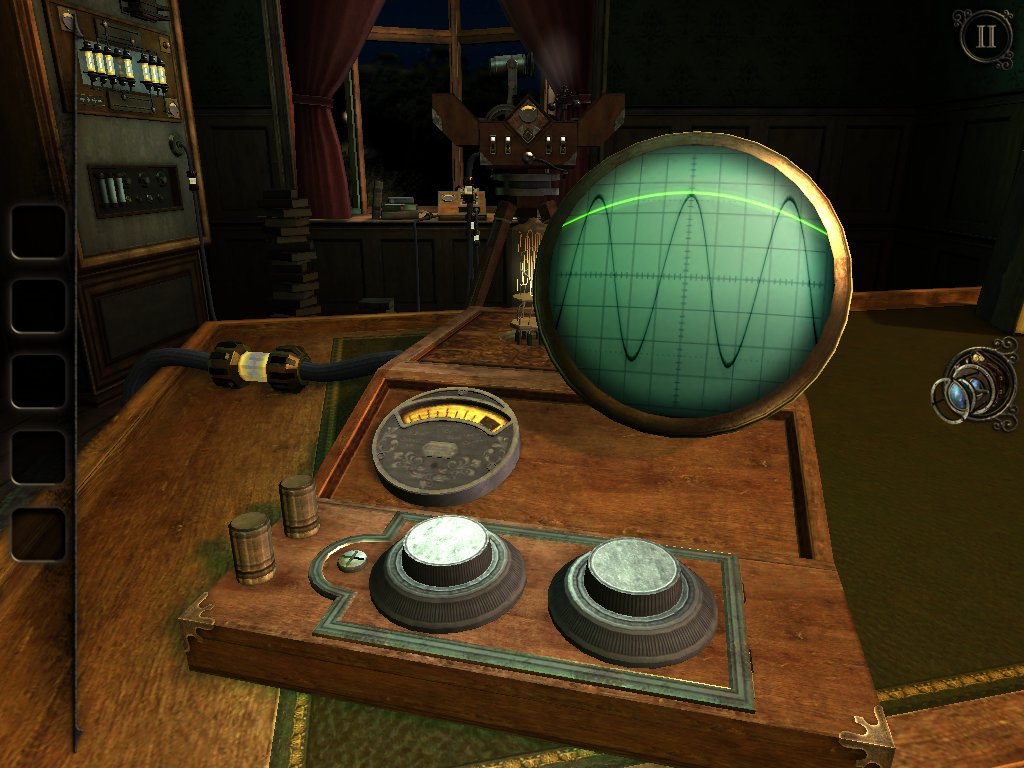
Turn your attention to the small panel at the back of the room. Turn the knob on the left until you see a light switch on at the other side off the room. Turn the right dial until the waveforms are overlayed.
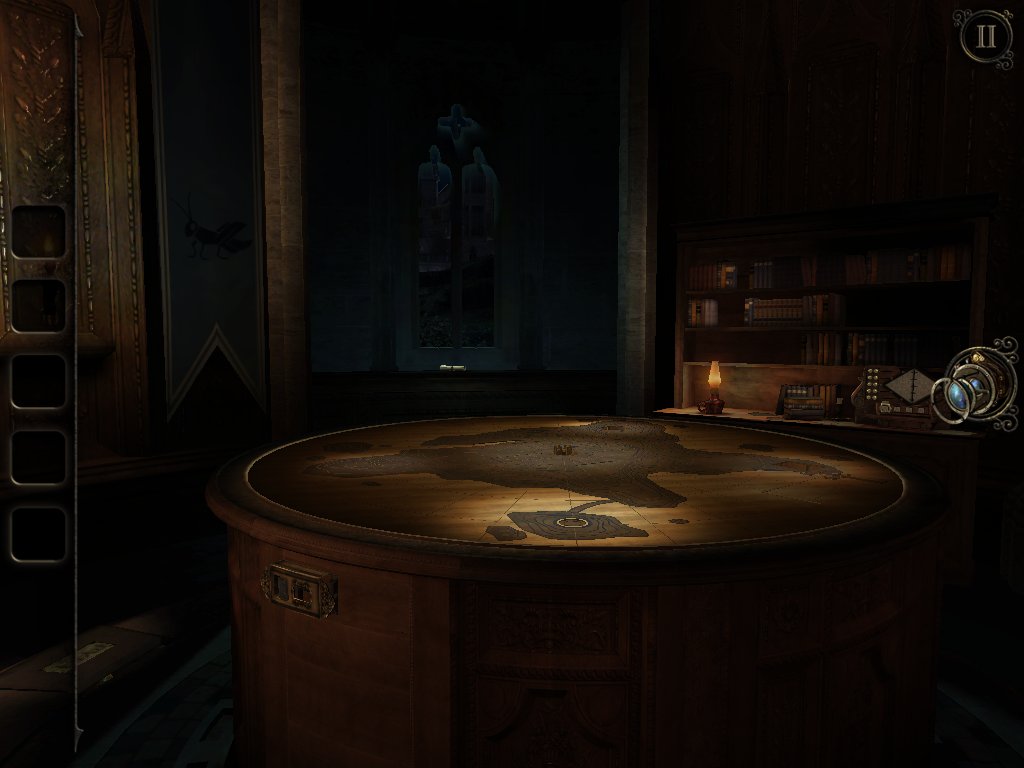
This will bring you to a new room.
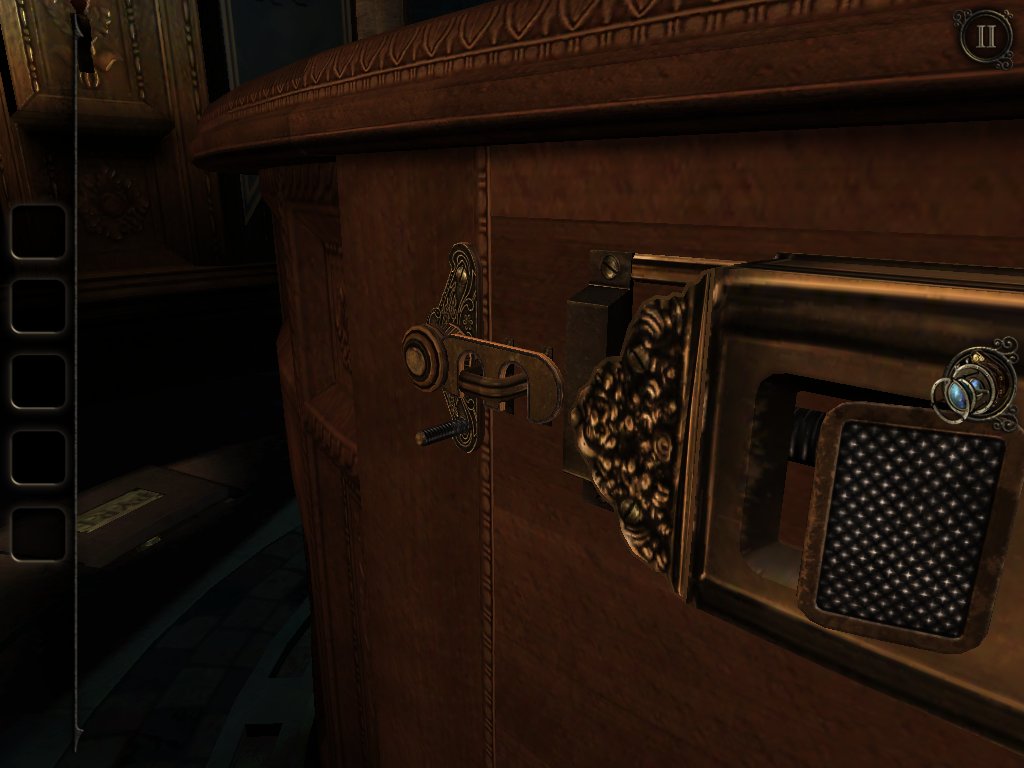
Examine the left side of the table and pull back the cover, then flip the latch.
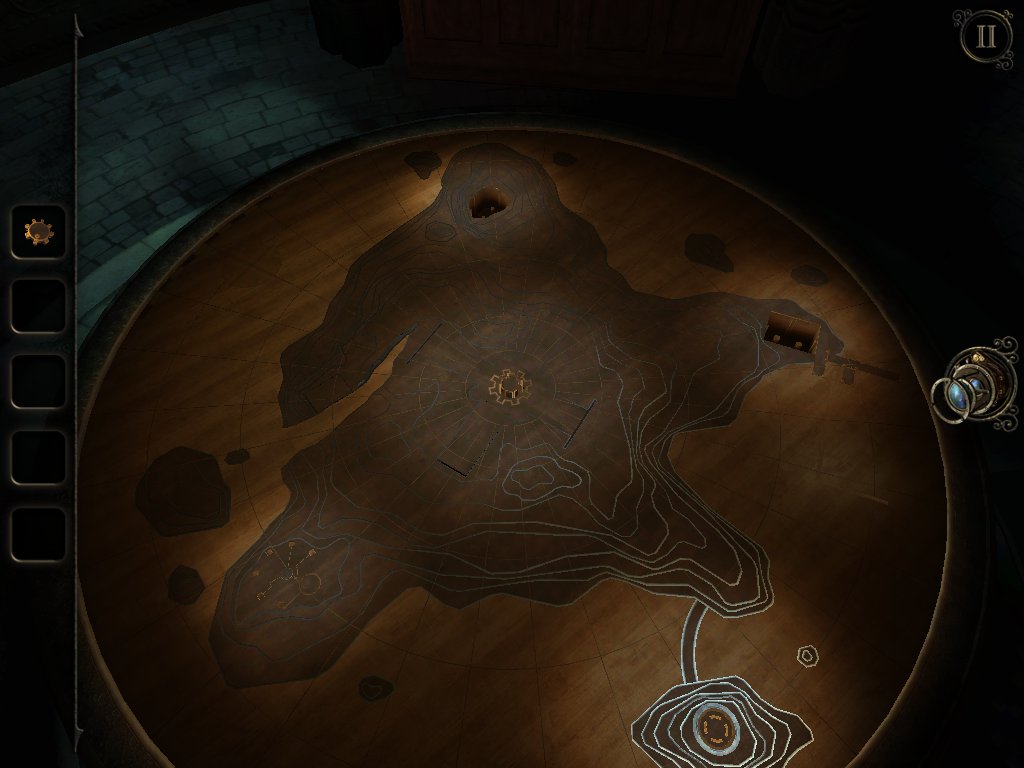
Take the cog from the drawer and slot it into the middle of the table, then watch what looks like the intro to Game of Thrones unfold.
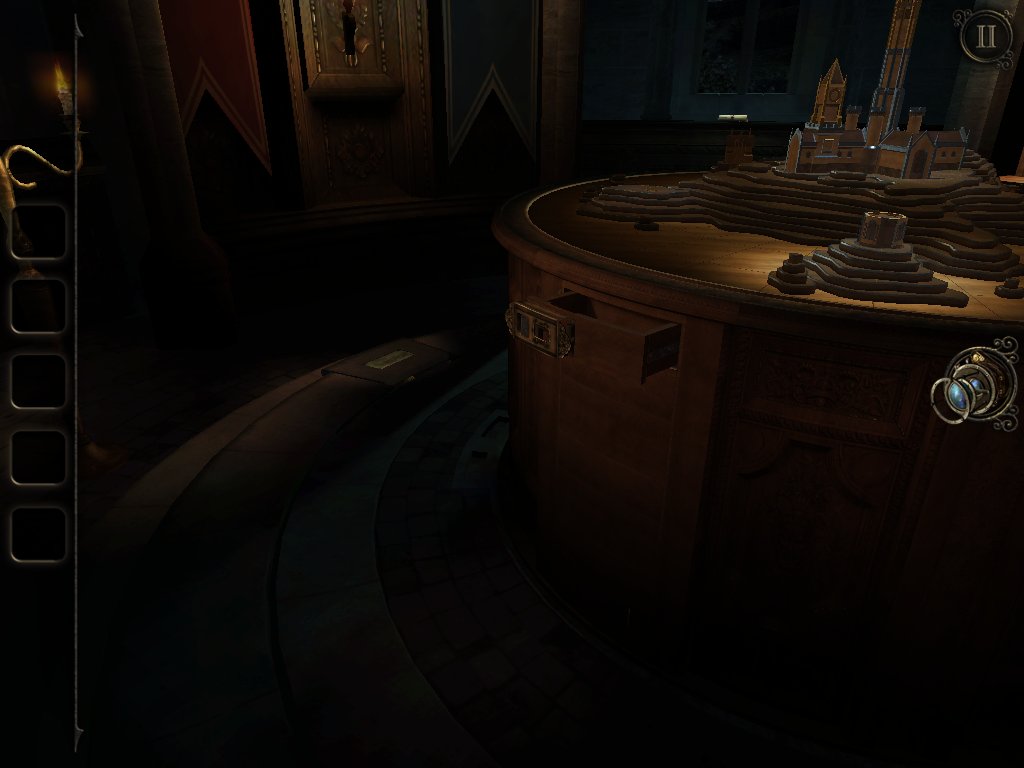
Before we proceed with the goings on at the table, look to the left and you'll spot a plaque on the floor.
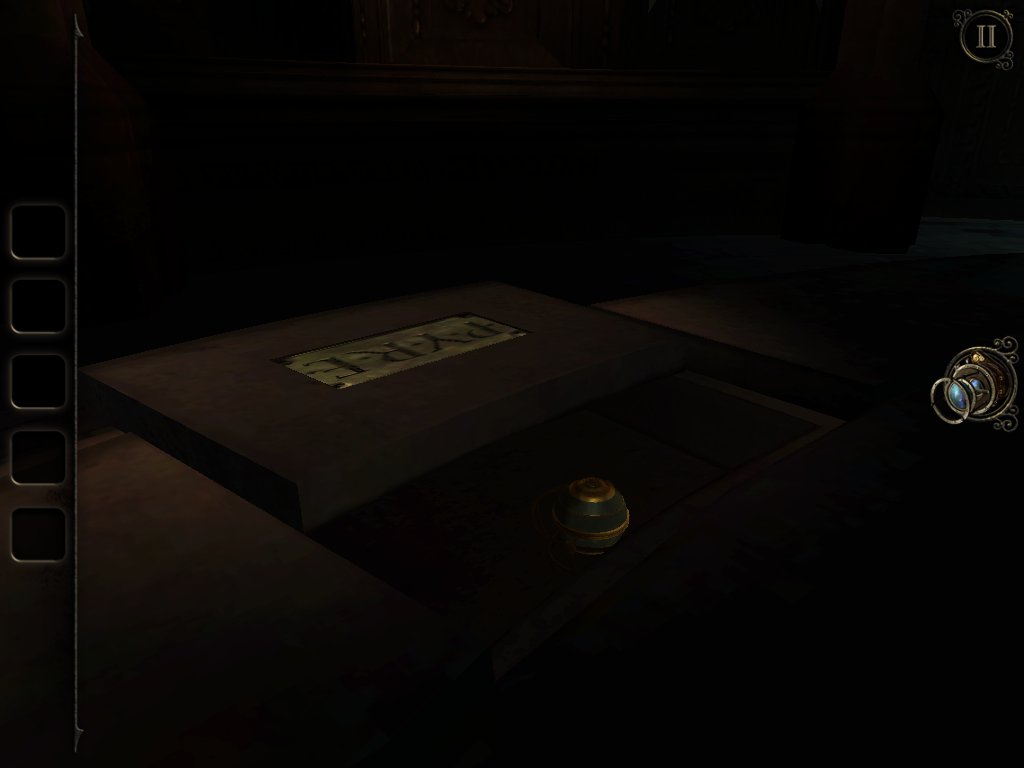
Slide it back to reveal a hidden compartment.
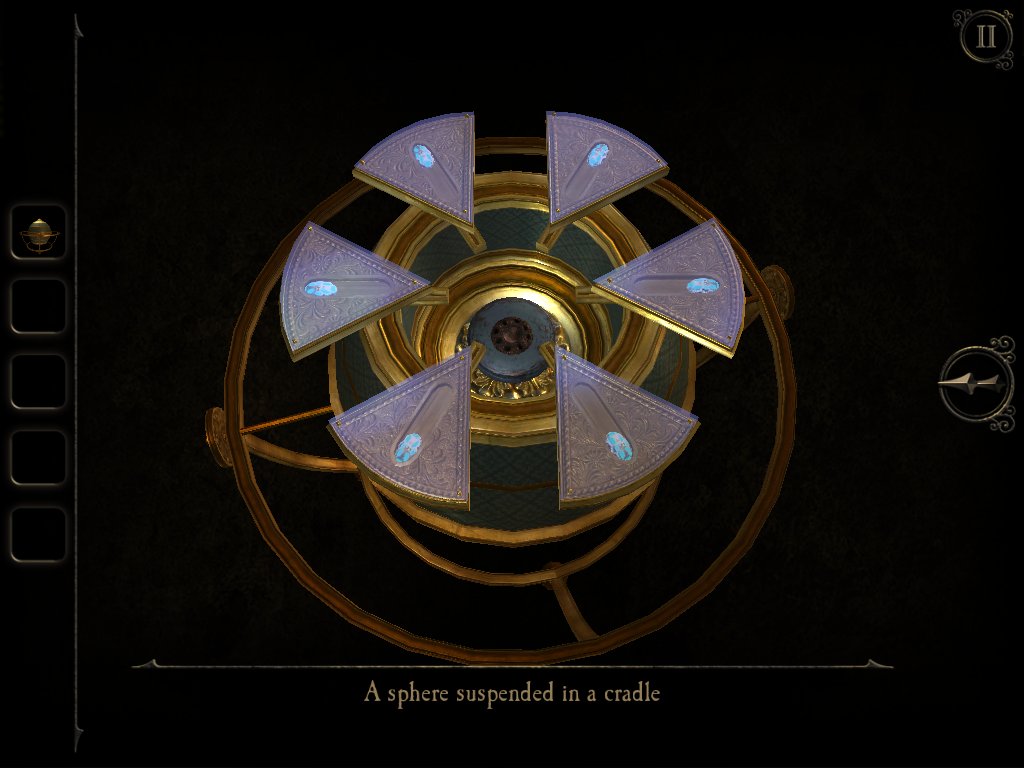
Grab the sphere tucked away in here and spin it around to find the hidden magnet. We'll need this later.
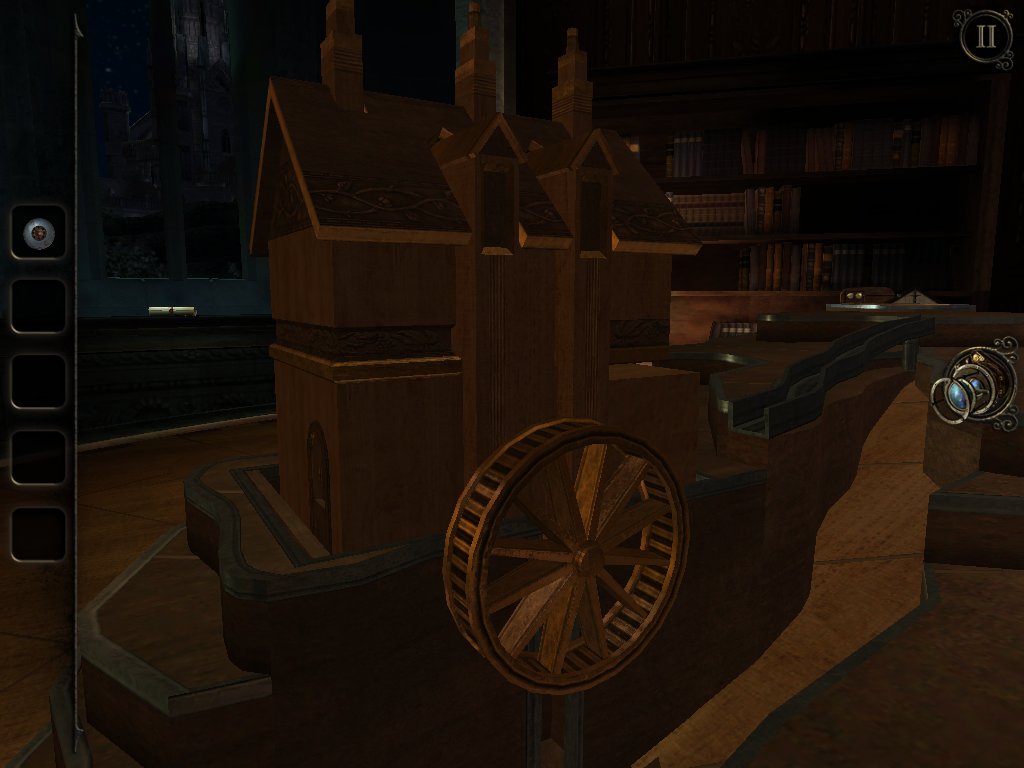
Back at the table, spin the waterwheel on the side of the small house to open up a tiny door. Use the eyepiece to look inside.
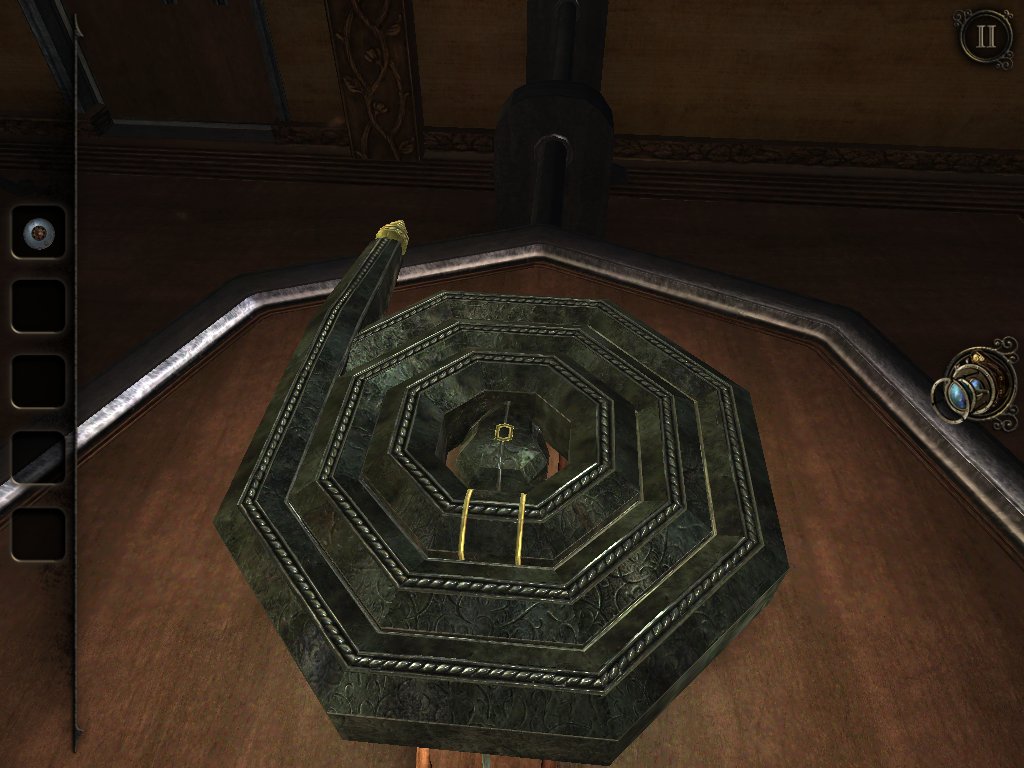
Pull on the snake's tail to start this puzzle.
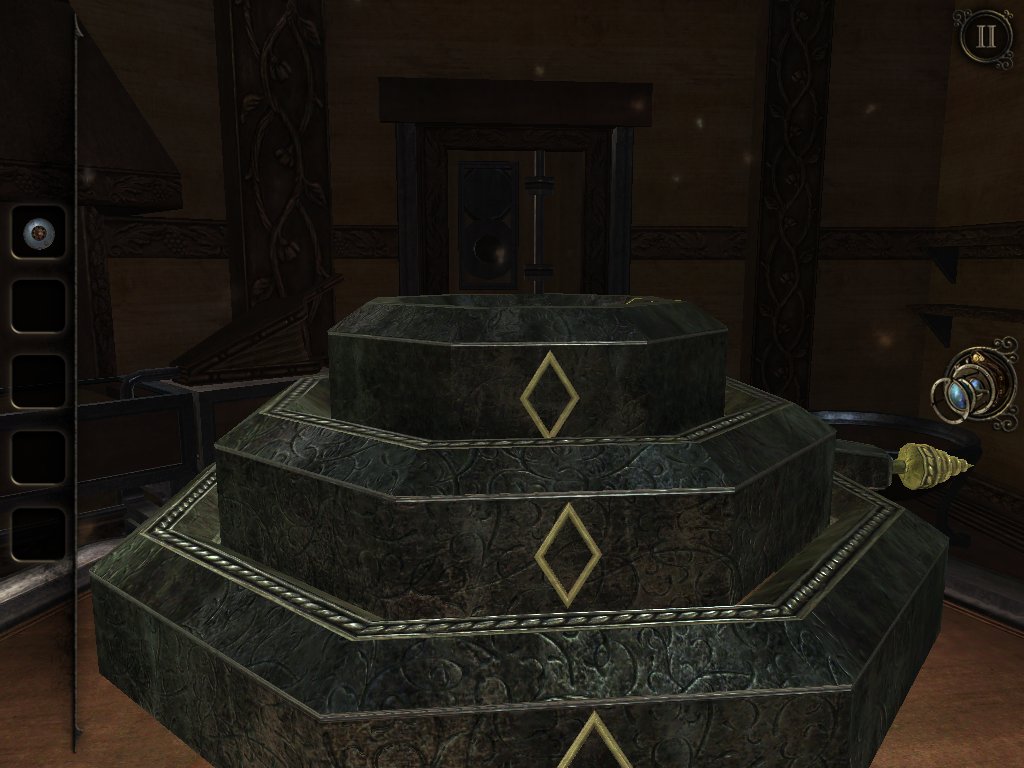
Match up the diamond patterns on its body so that three of the same kind run along the side.
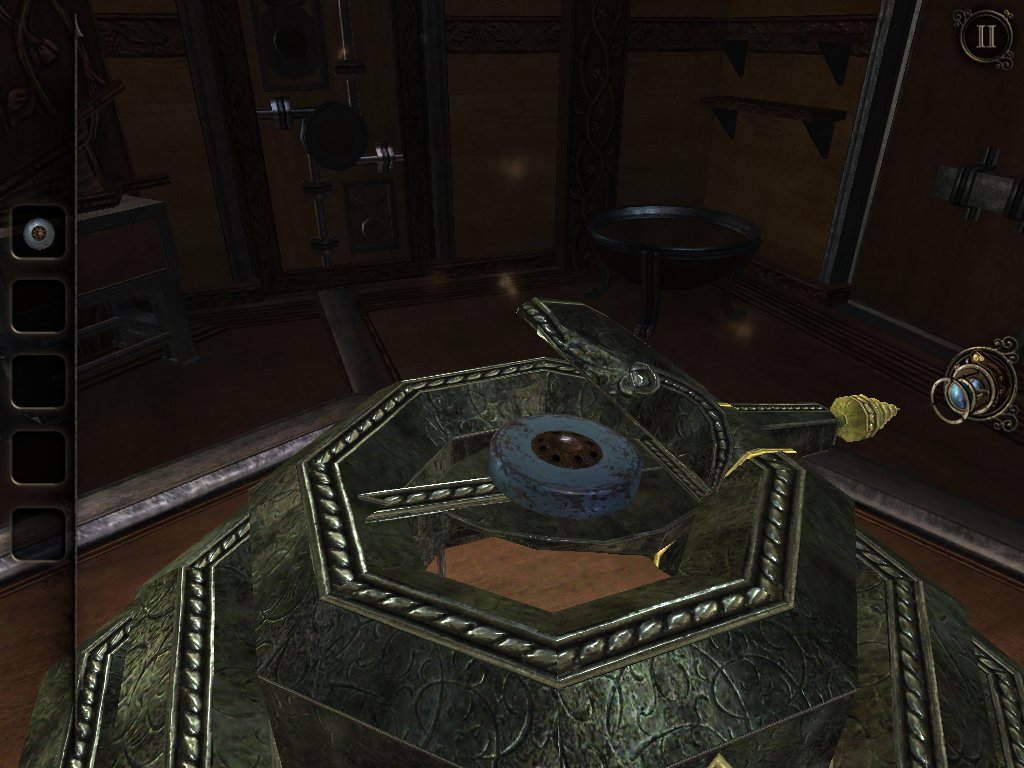
Push the button on the back of its head to make it relinquish the second magnet.
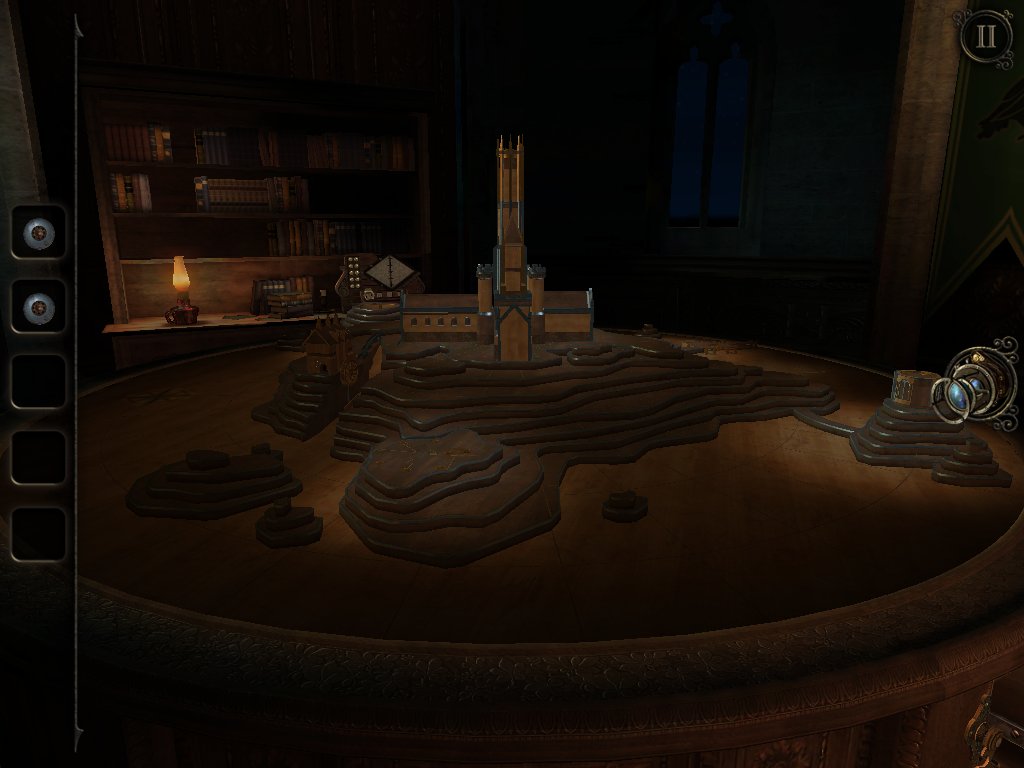
Zoom out and investigate the desk behind the table.
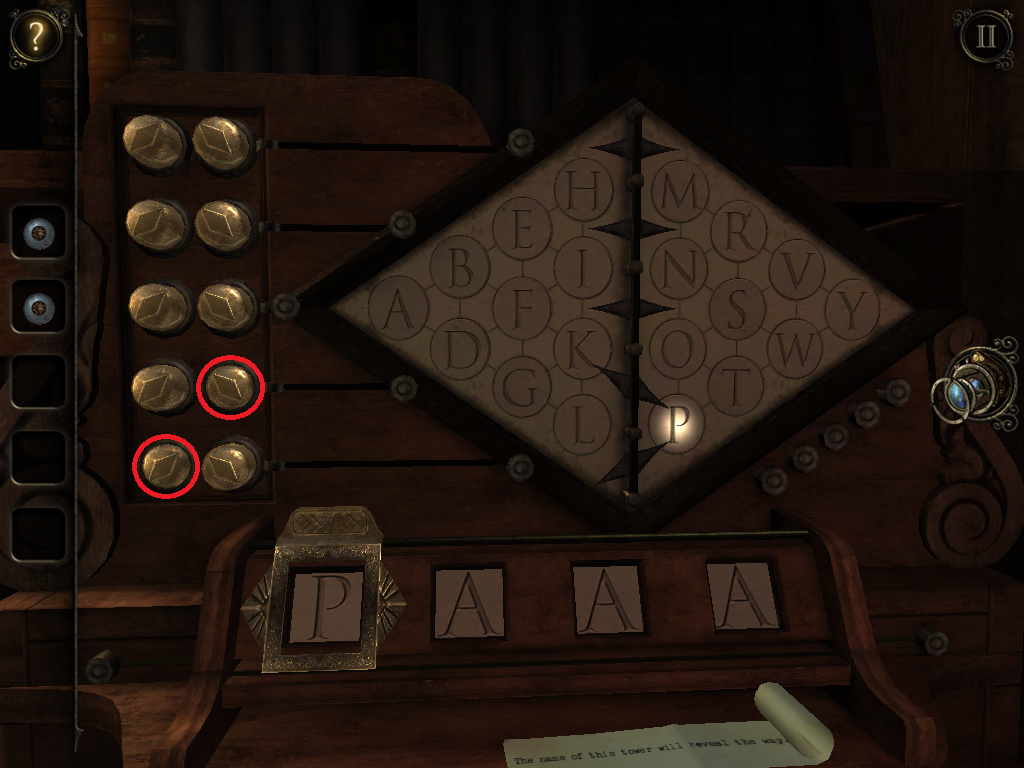
You need to enter the name of the tower - Pyre. With the slider on the first letter, hit the switches pictured above.
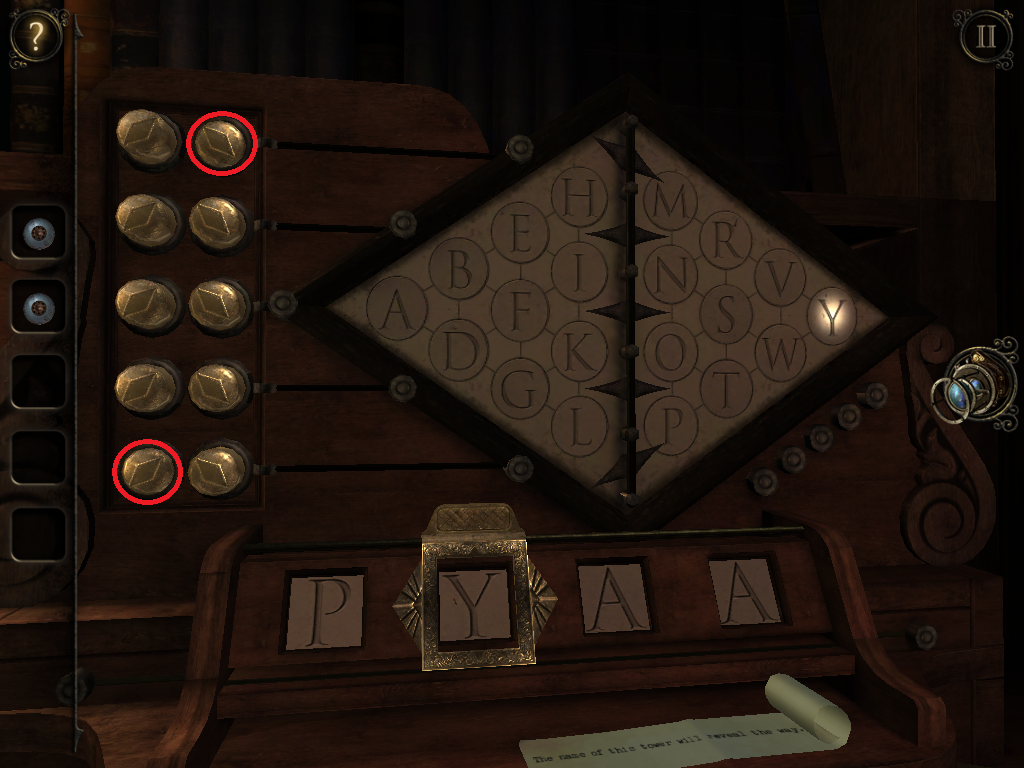
Slide it over to the second letter and push the knobs pictured above.
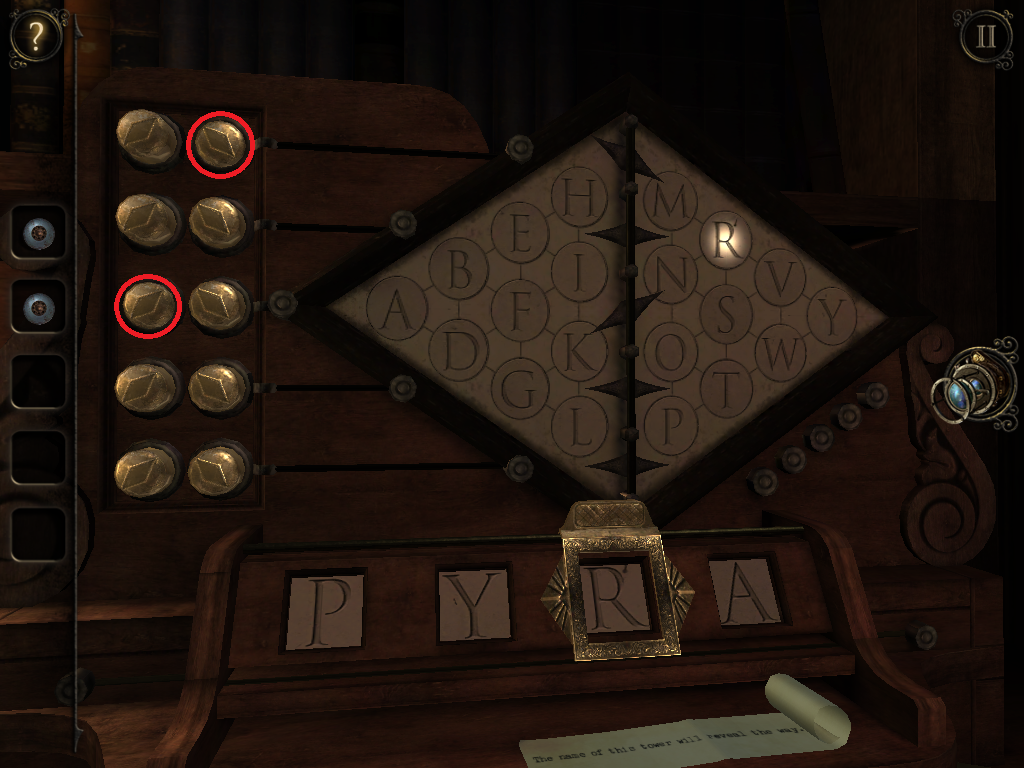
Now for the third letter.
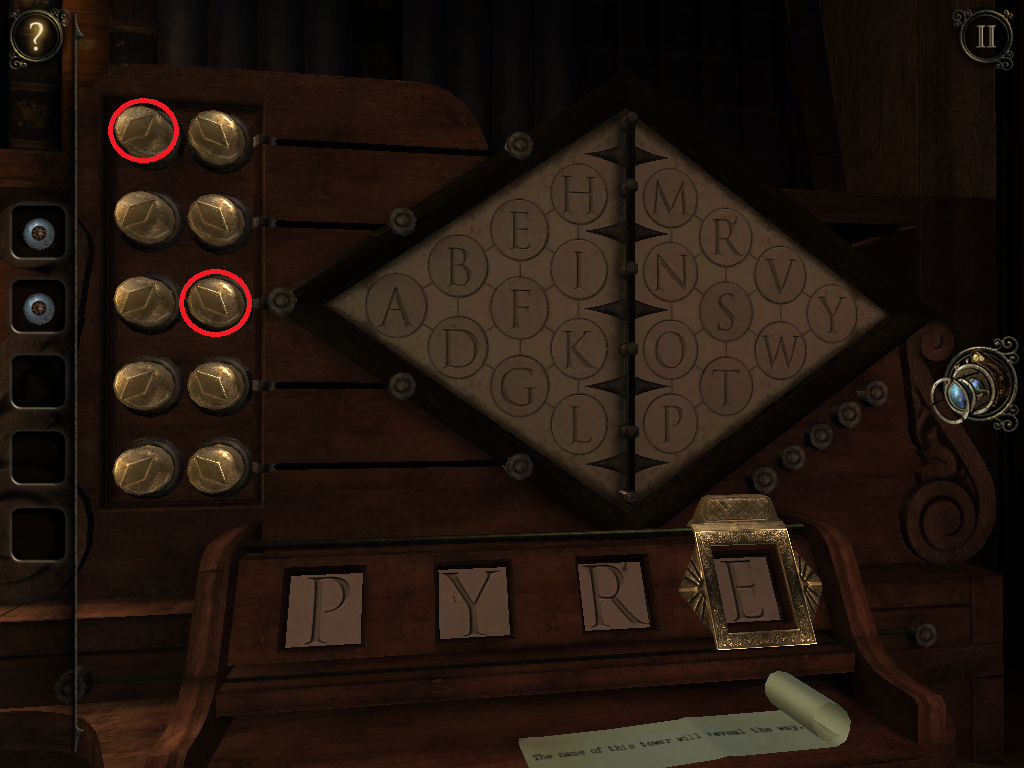
And finally, the 'e'.
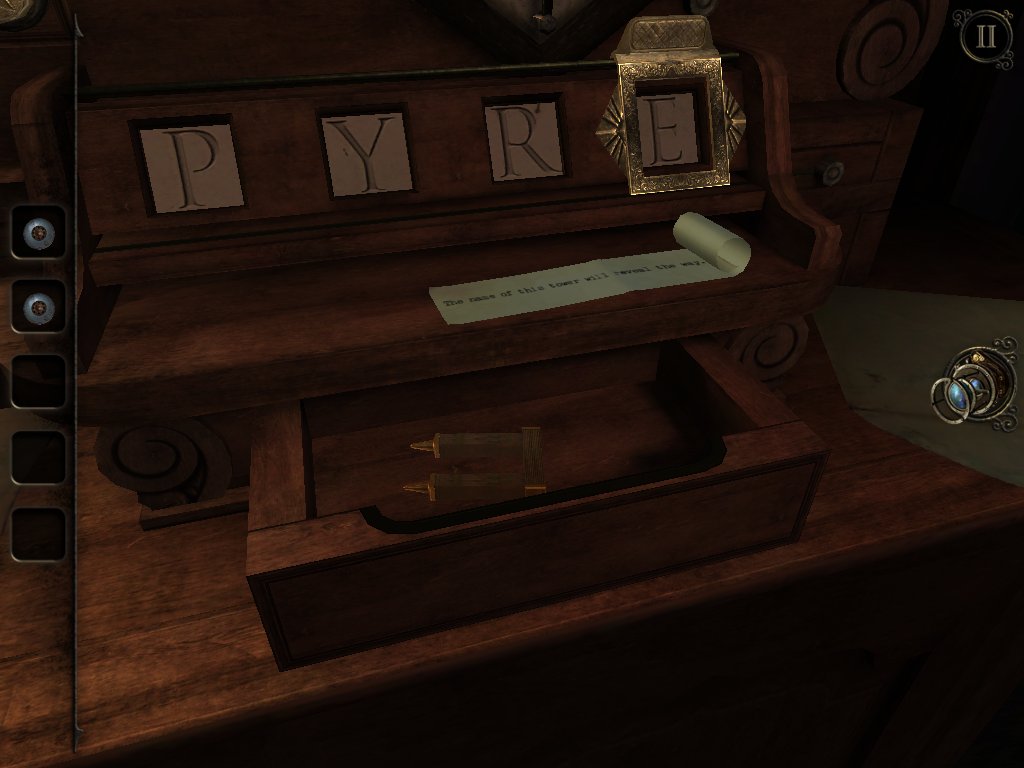
Grab the wooden arch and head back to the table.
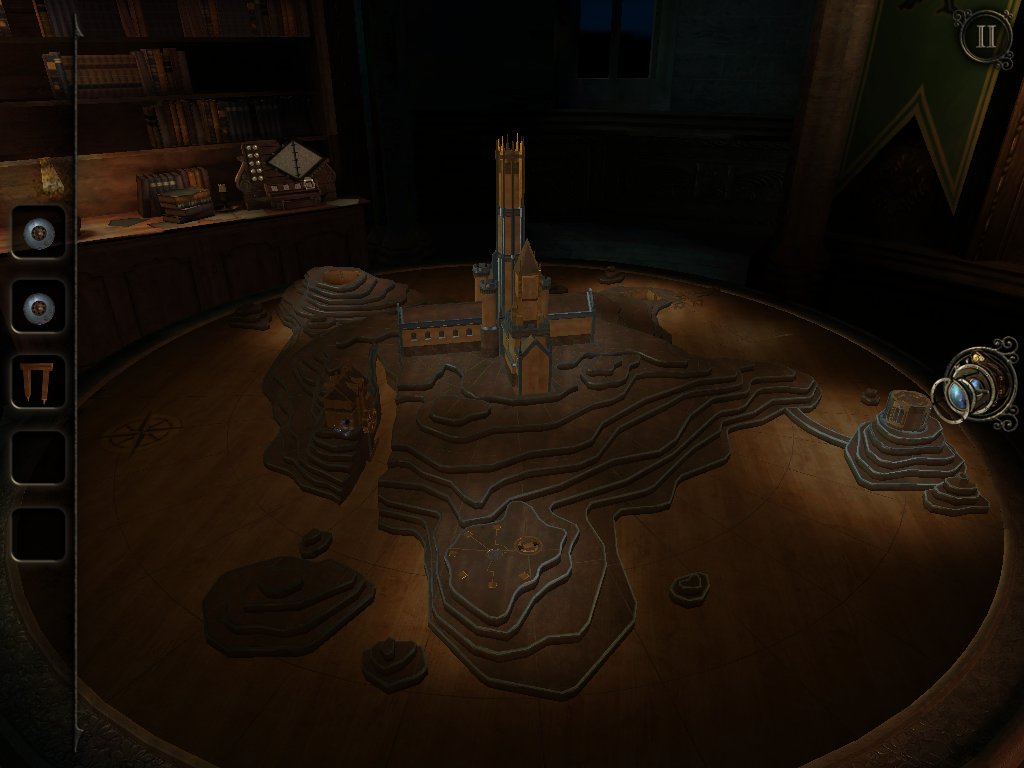
Pop the wooden arch into the slot with the fancy gold patterns around it.
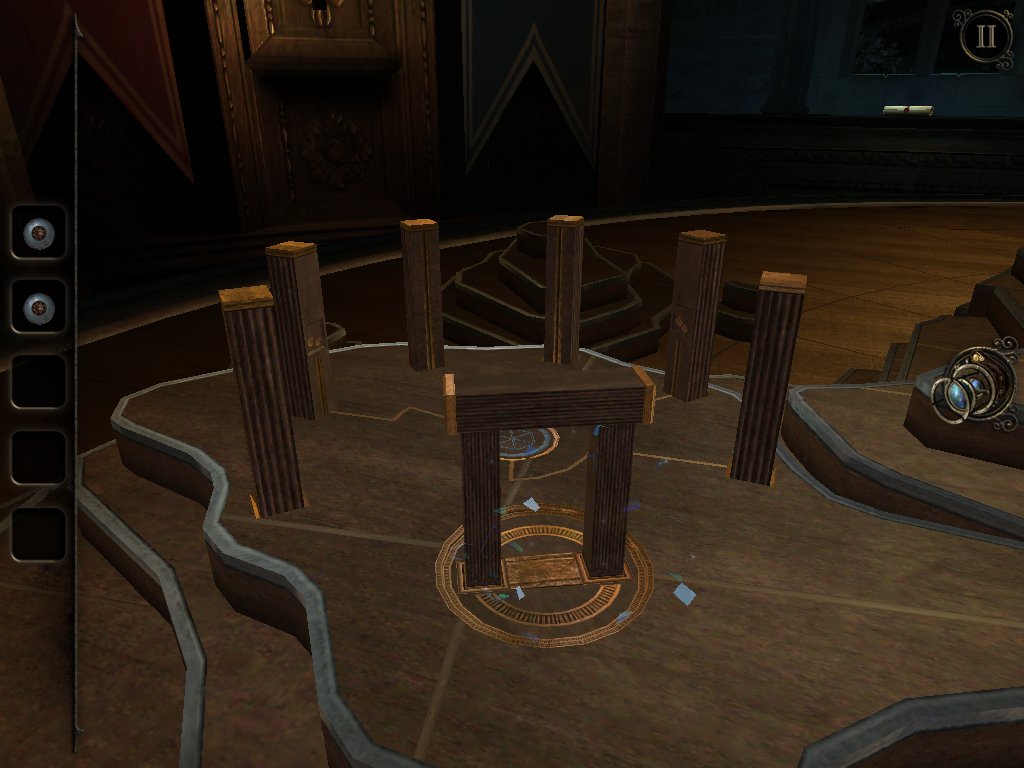
Use the eyepiece to enter the archway.
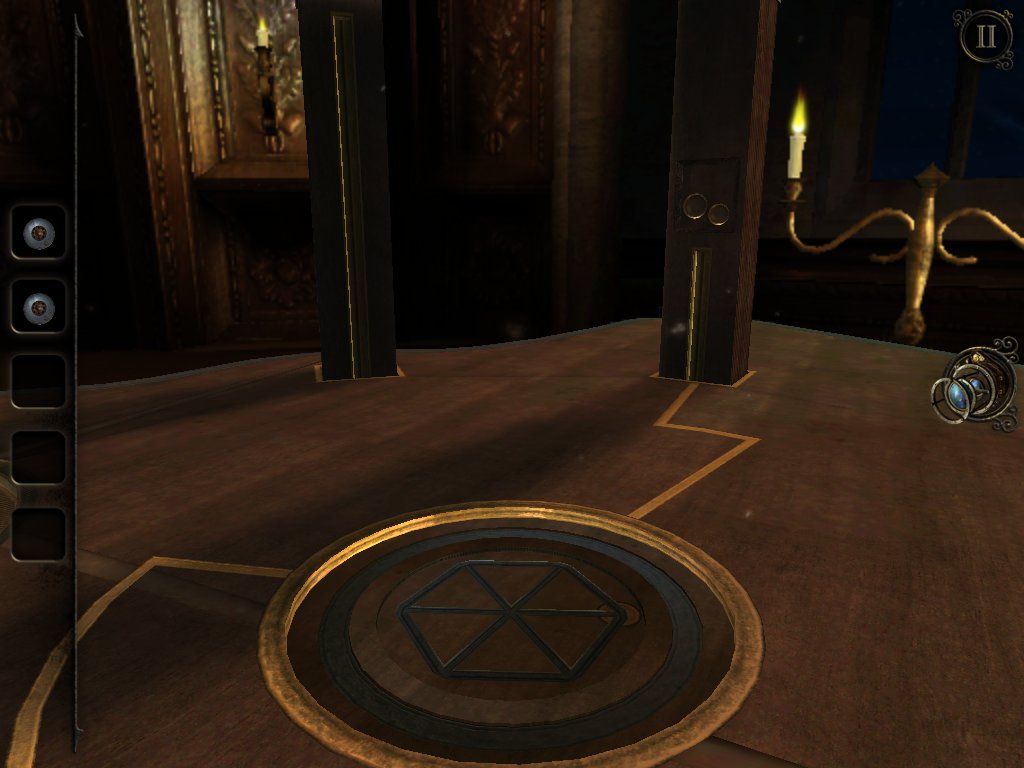
There are three pillars with a pair of circles etched into them. Examine each one and press both circles at the same time to reveal three hidden symbols.
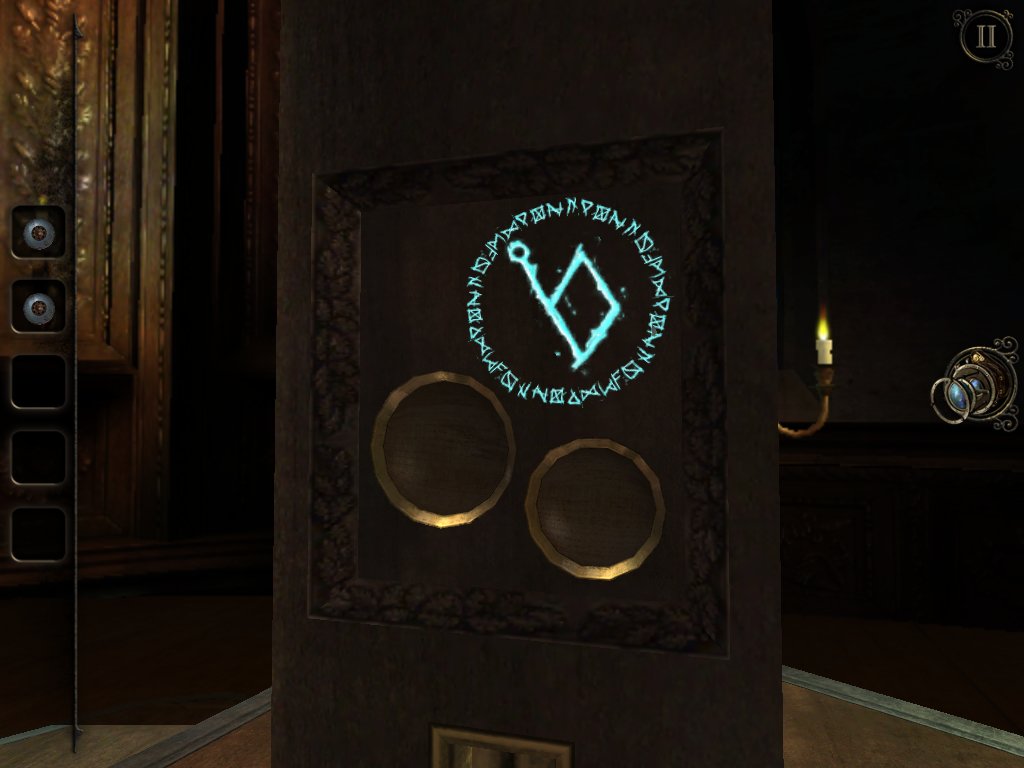
Here's the first one.
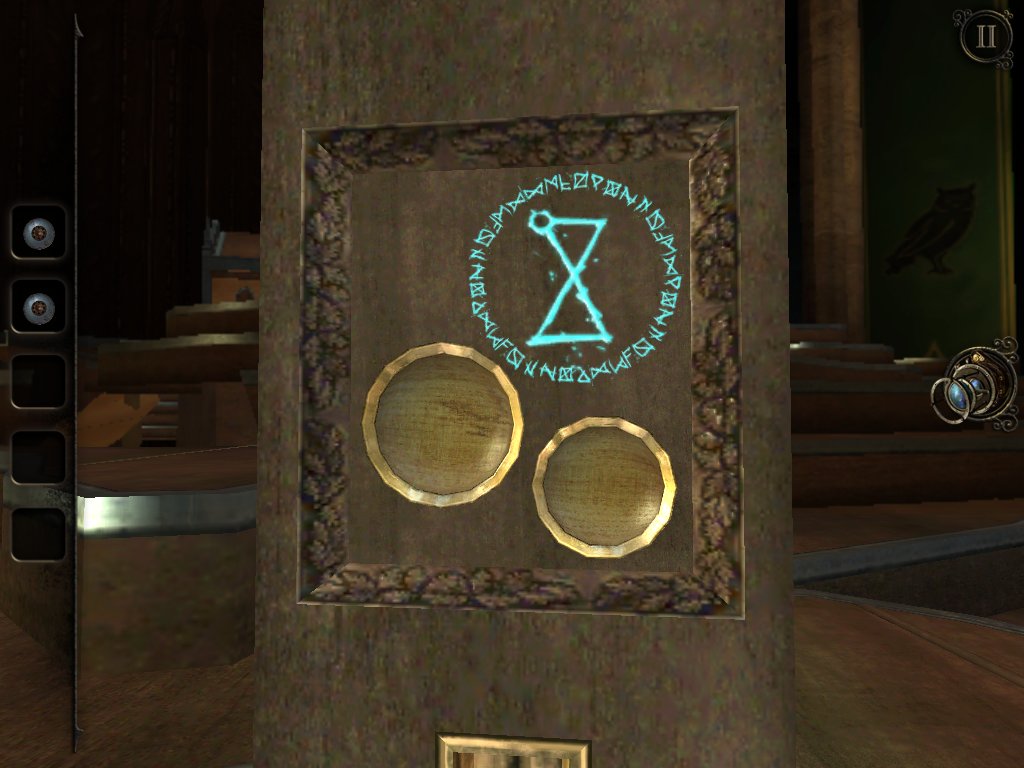
And the second one.
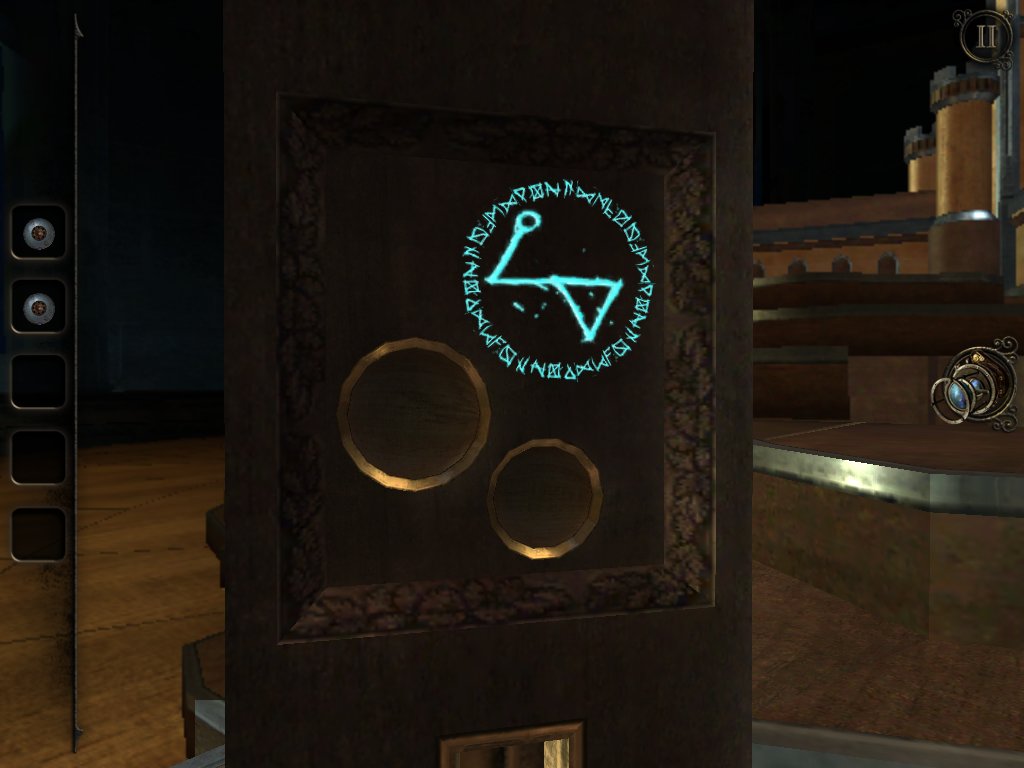
And the third.
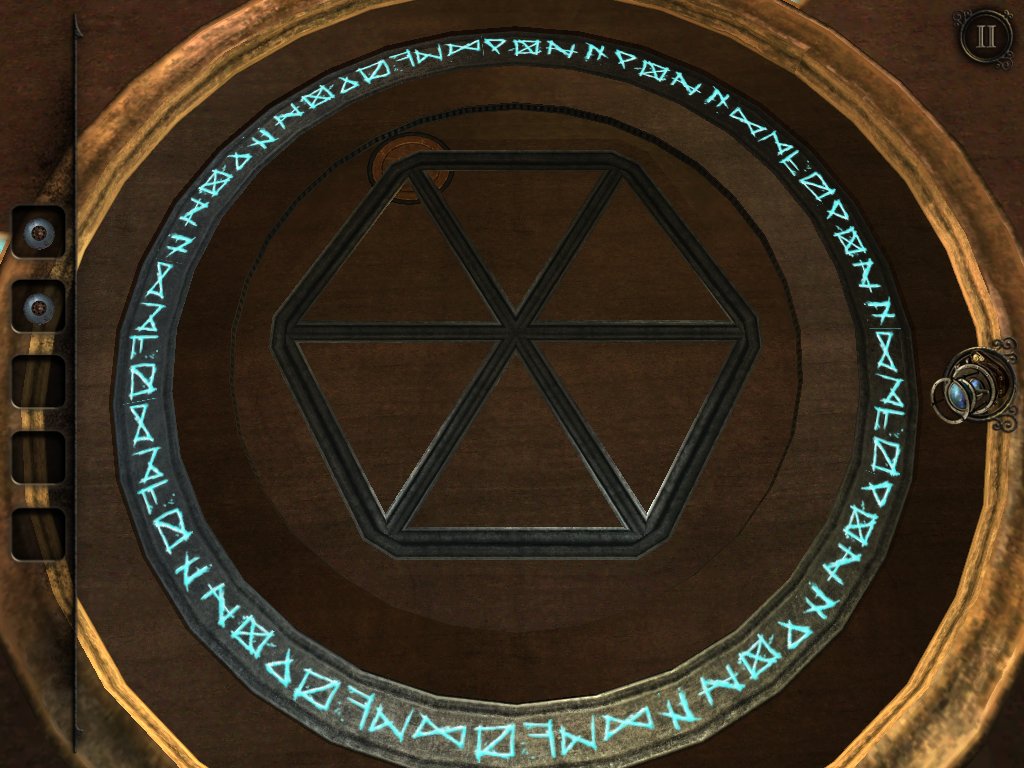
Touch the panel on the floor and draw all three symbols, one a time. You'll know if you've done it right because the letters around the edge will light up.
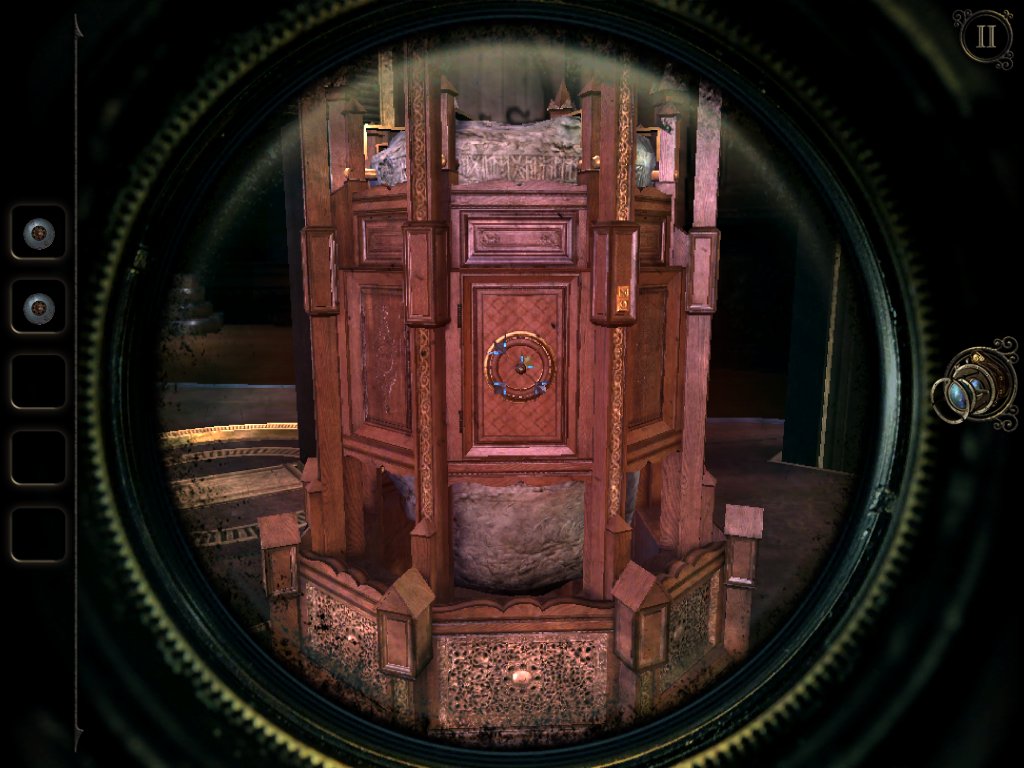
This will prompt a new tower to spring up. Whip out your eyepiece and examine the panel at the back.
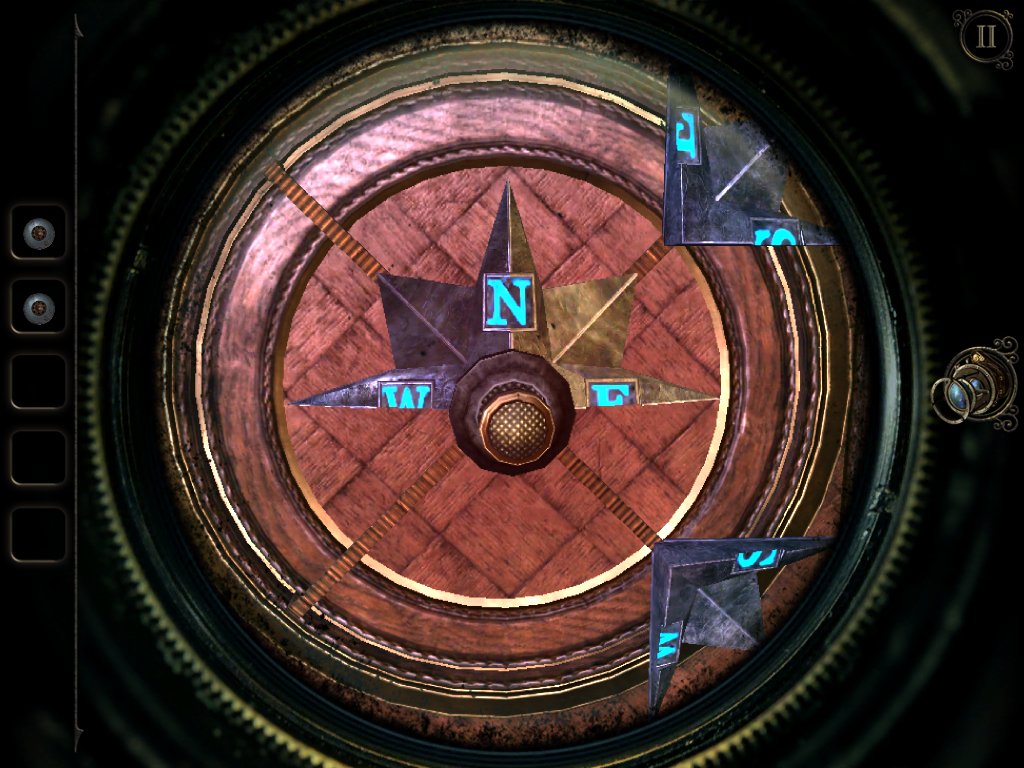
You need to reconstruct the compass. Turn the dial until the piece you want to move is in the right spot, then drag it to the centre. Repeat until it's complete.
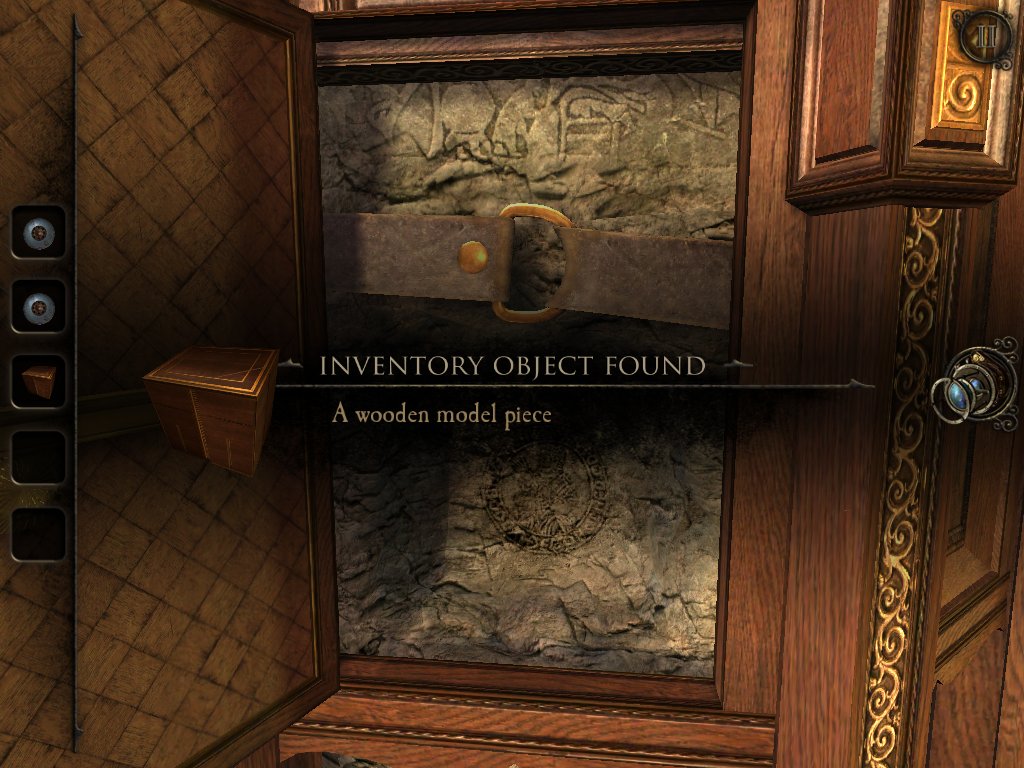
The panel will pop open, allowing you to pick up a wooden model piece.
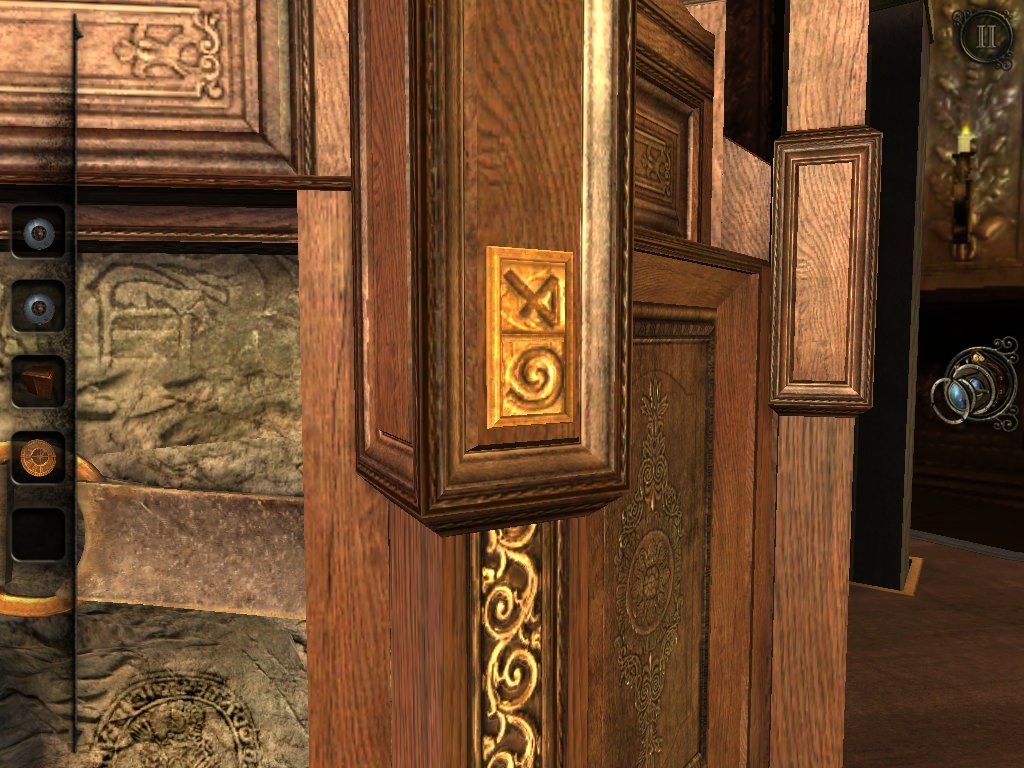
While you're here, make a note of these symbols.
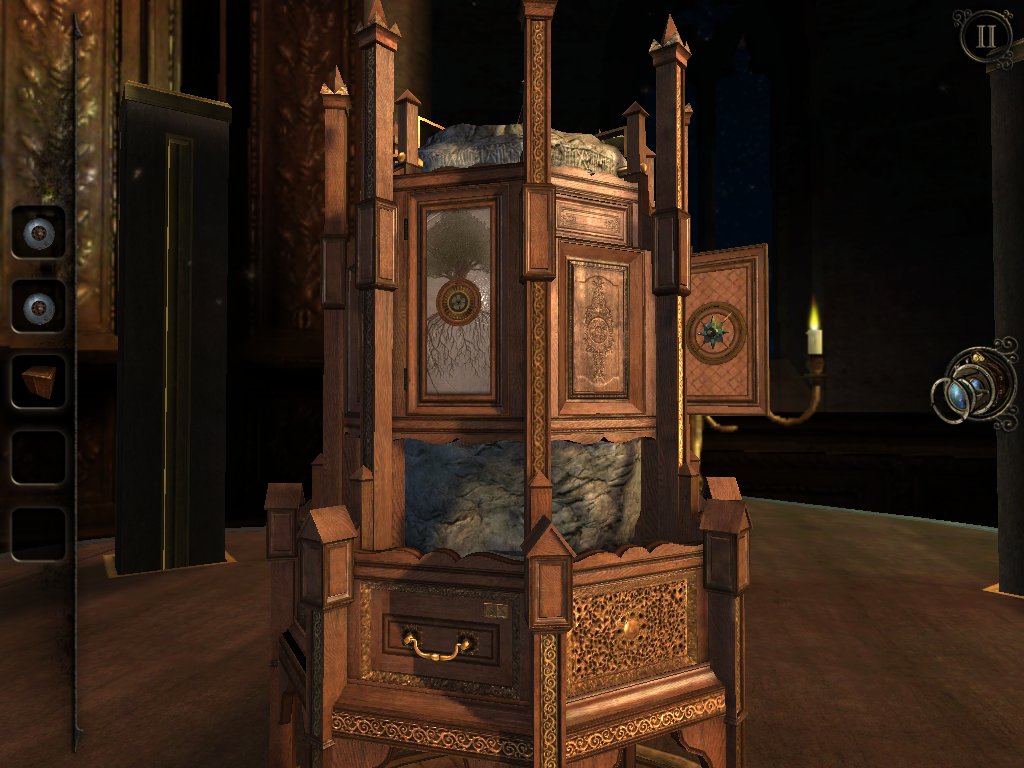
Move around to the left and open the small drawer.
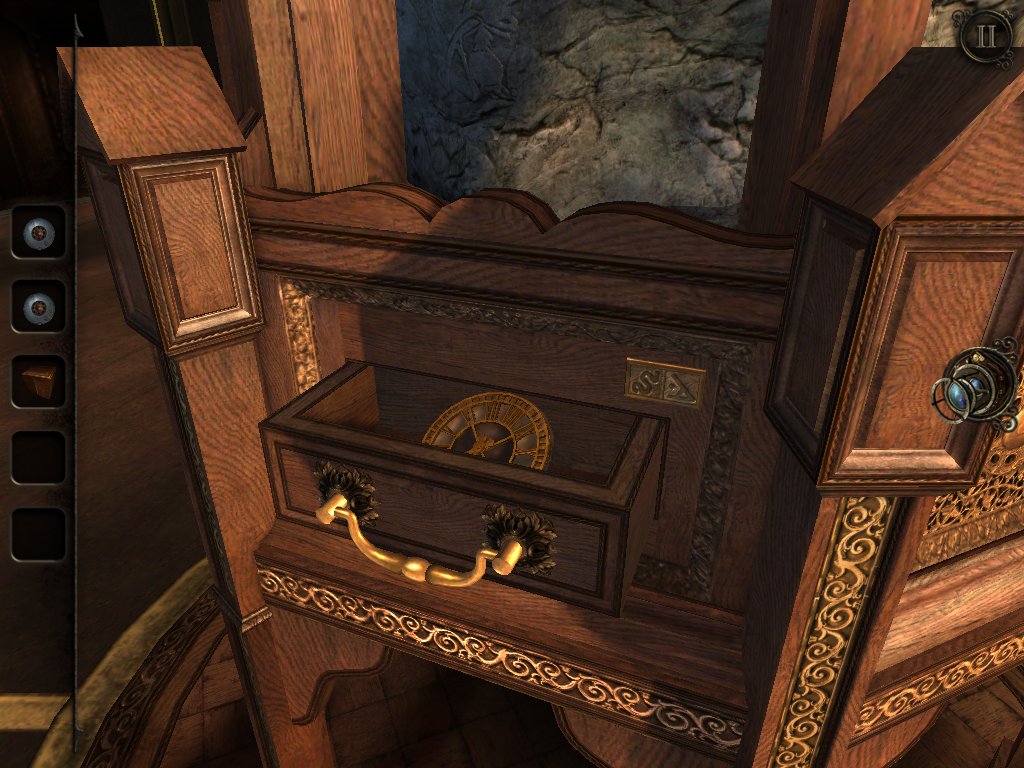
Take the model clock face and make a note of the symbols above the drawer.
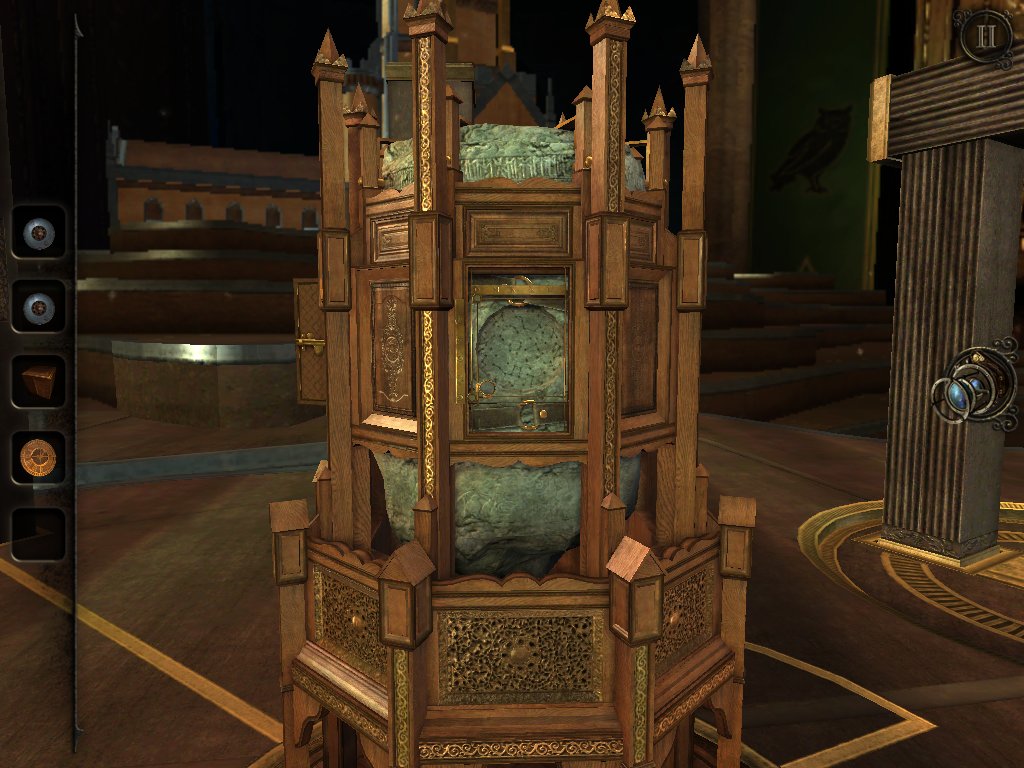
Move around the tower to access the constellation chart.
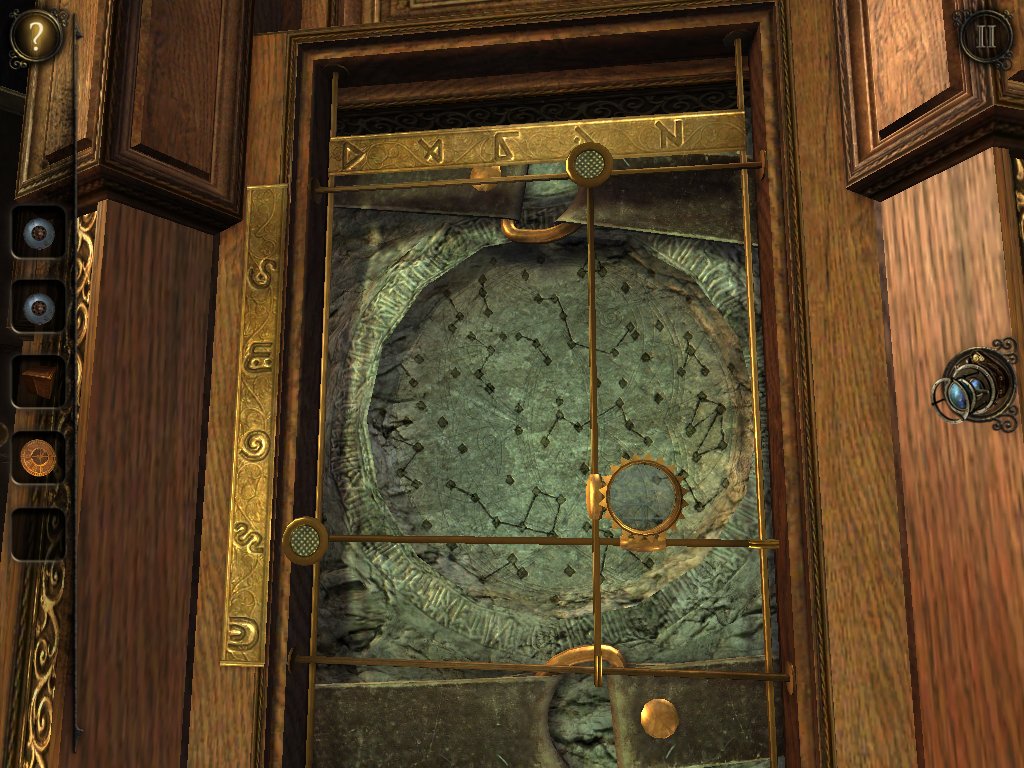
Use the pairs of symbols to set the sliders on the star chart.
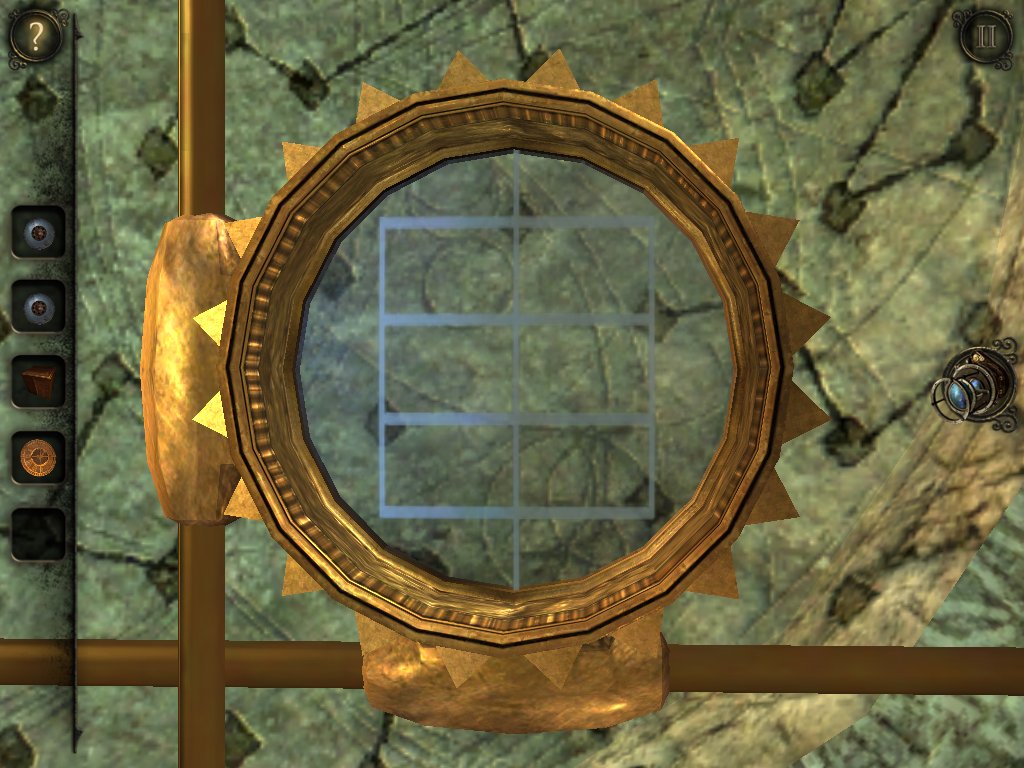
Double tap the lens for a closer look and make a note of the pattern.
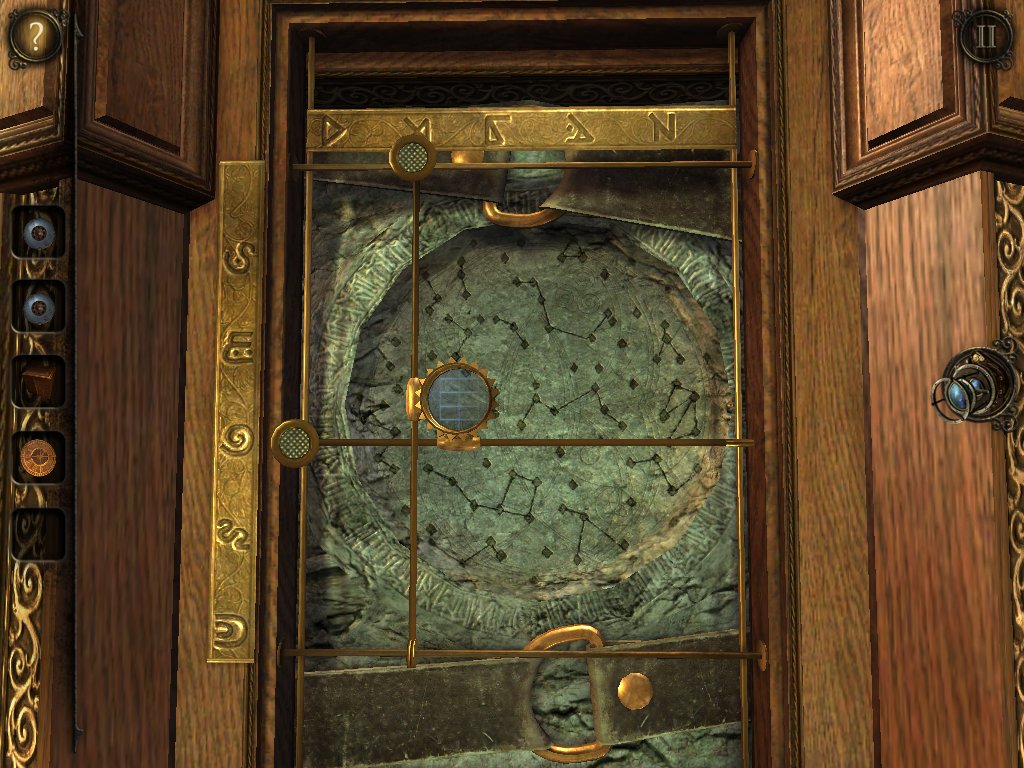
Set the sliders to the second position as above.
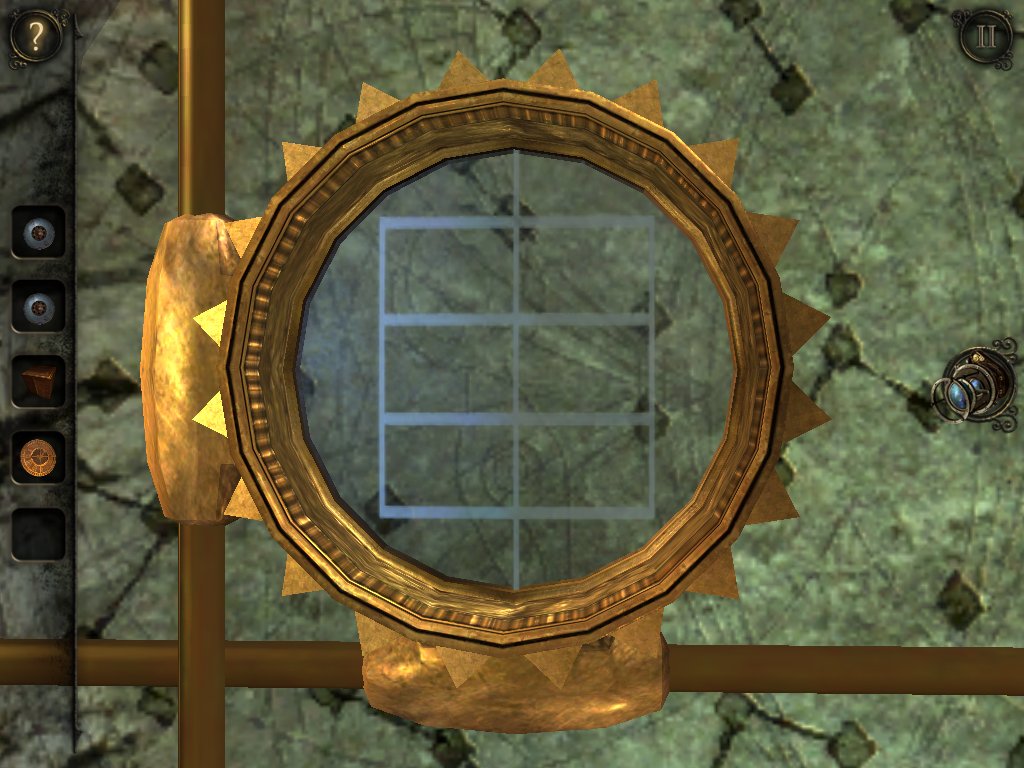
This is what you'll find at these coordinates.
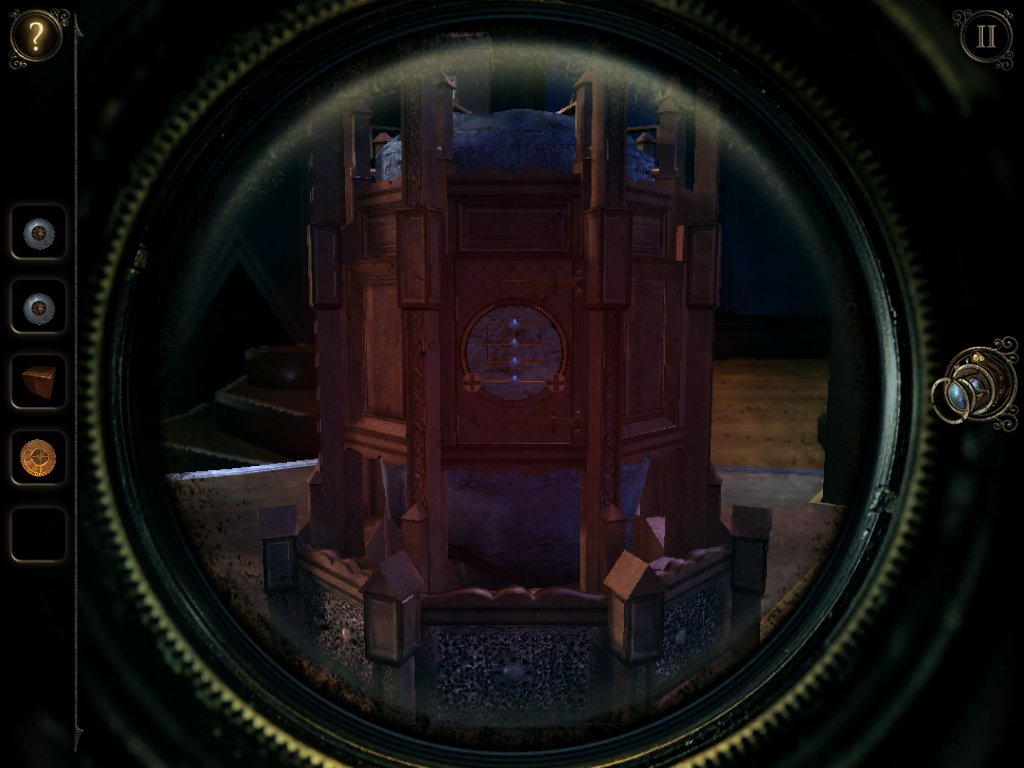
Face the front of the tower and equip your eyepiece once more.
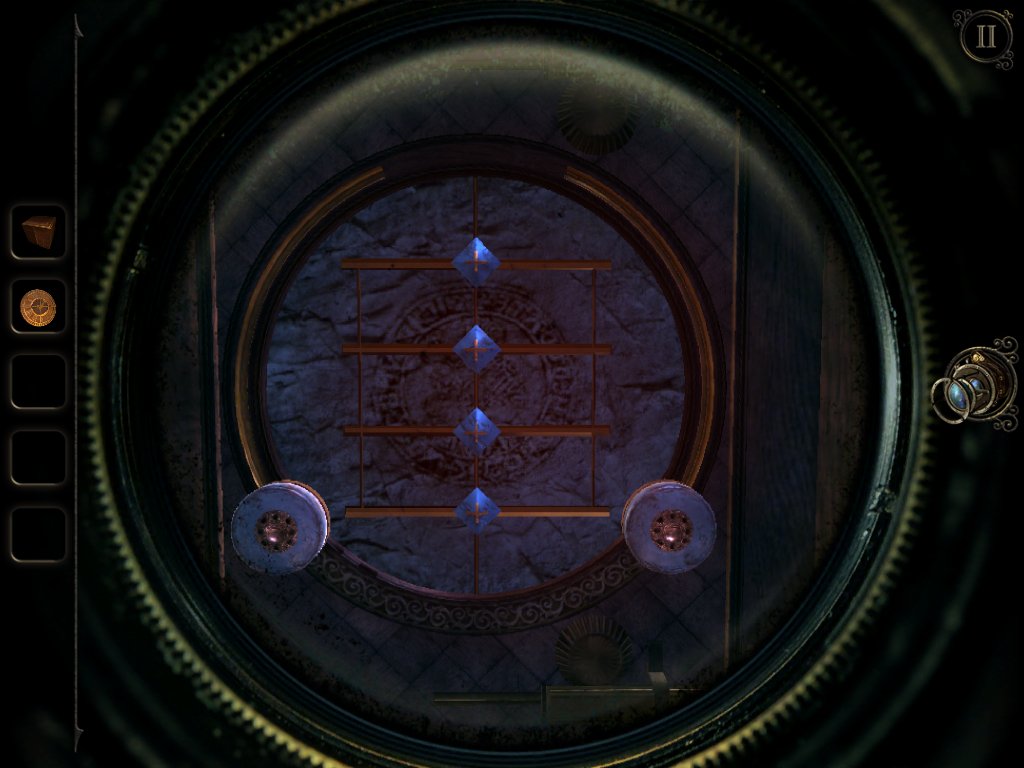
Drag the magnets from your inventory onto the edges of the circle.
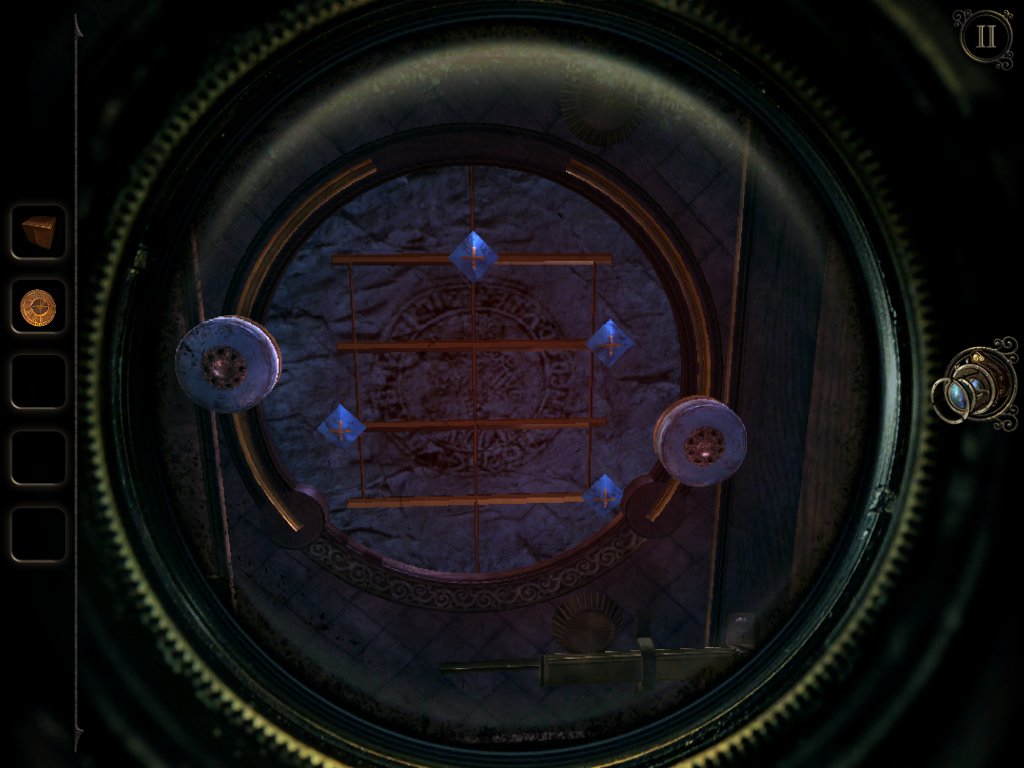
Slide them around the outer edge to move the diamonds and arrange them in the same formation as the constellations.
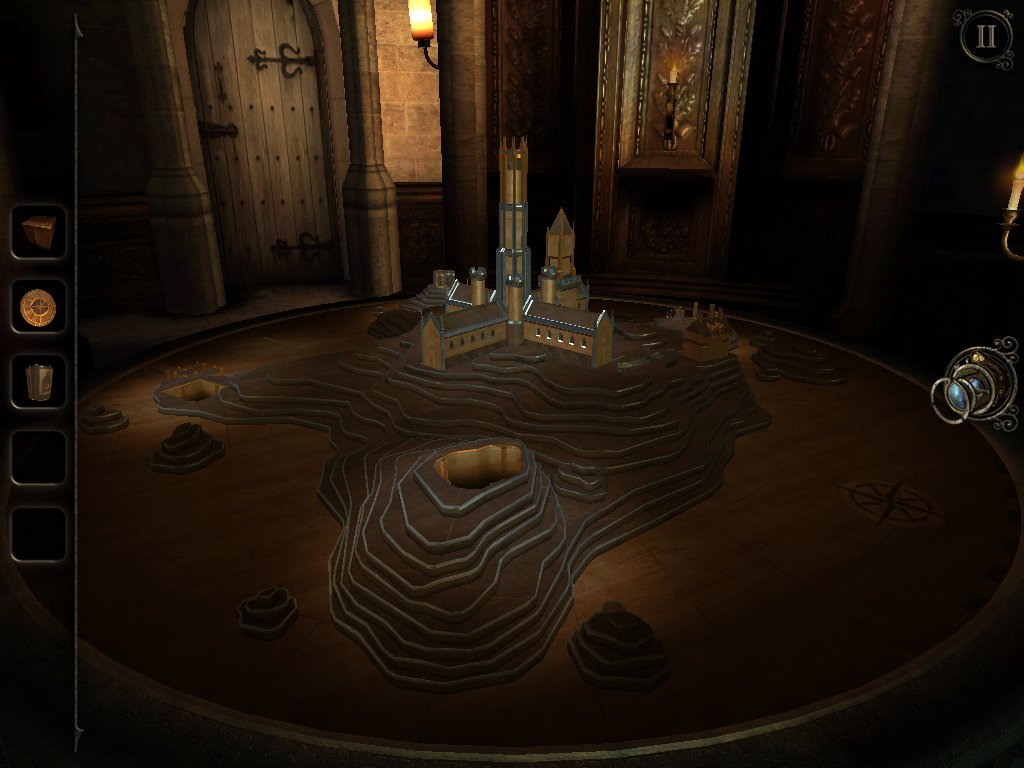
You'll receive a wooden model piece for your troubles, soslot it into the hole at the top of the raised area on the table.
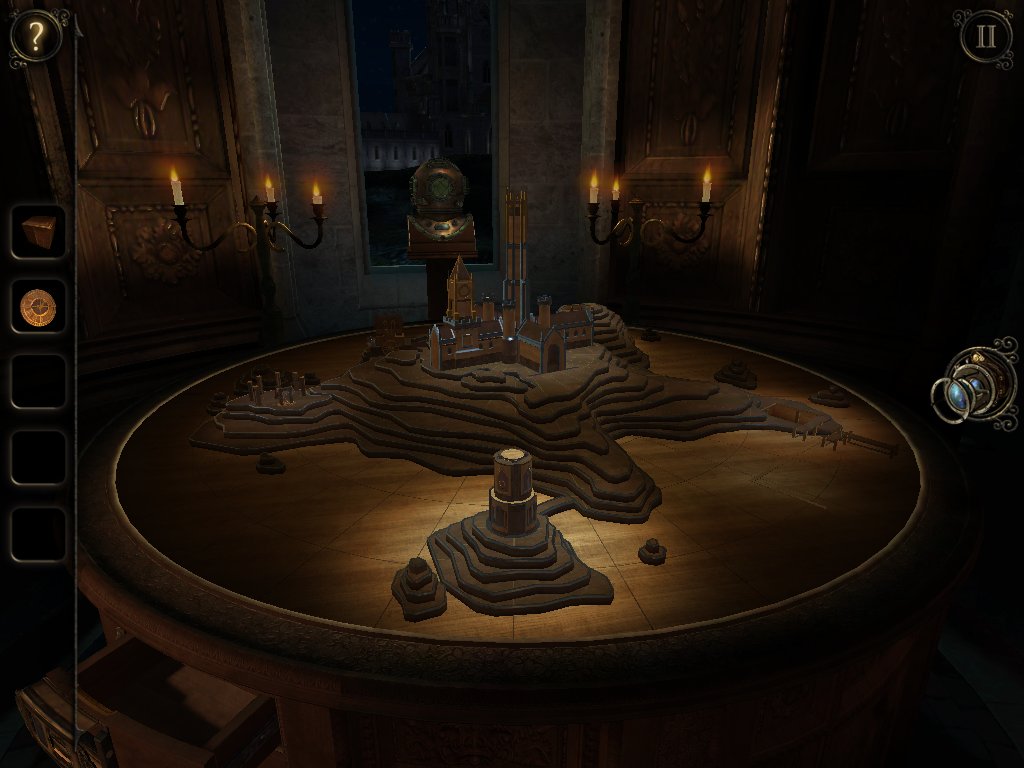
You'll be sent up a floor to a new room, along with the table.
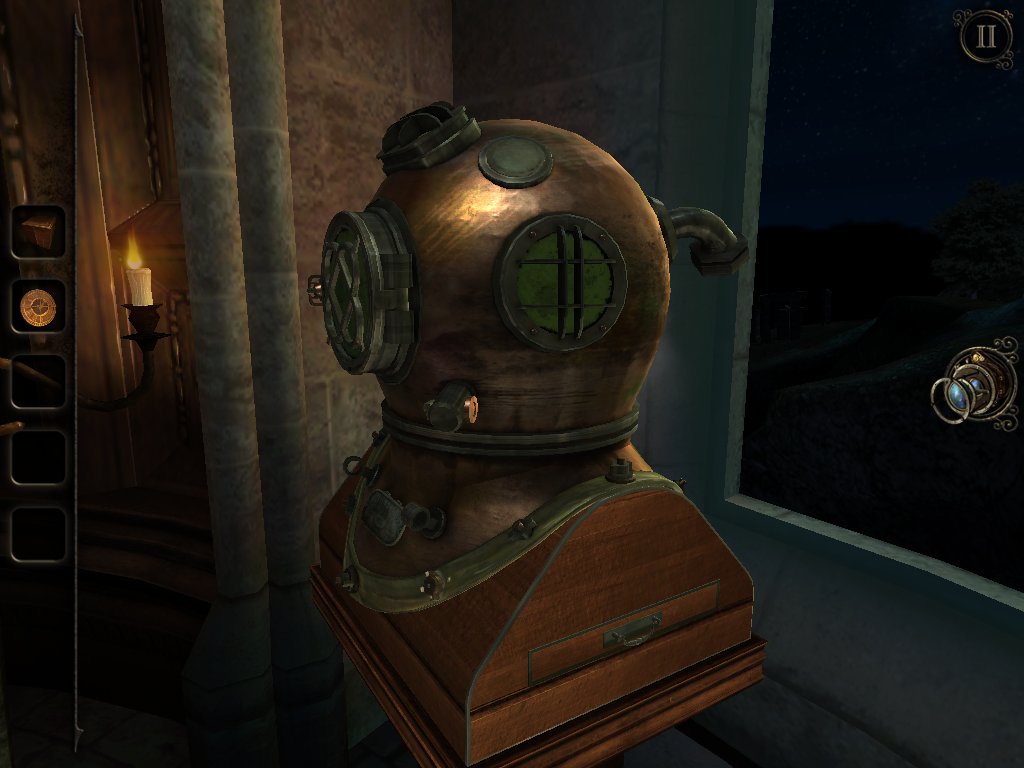
Investigate the diver's helmet and open the drawer on the right of the stand to find an antler and a note.
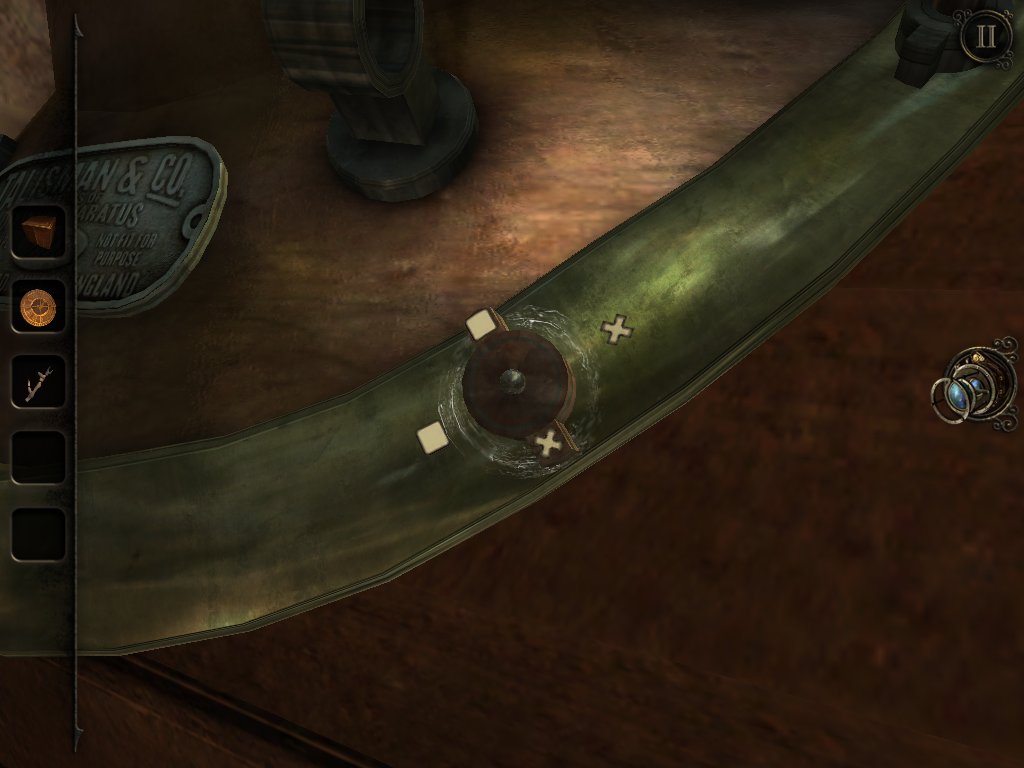
Now examine the dial on the helmet and turn it so that the matching symbols are next to one another,
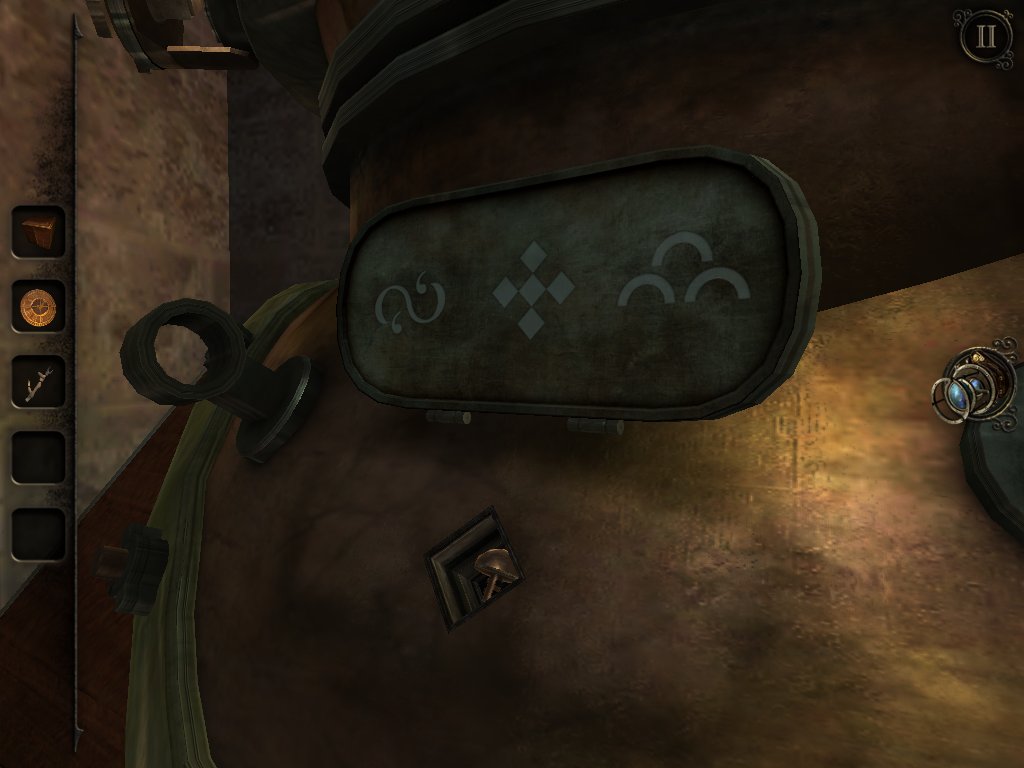
Take the rivet from behind the plaque and make a note of the symbols on the underside.
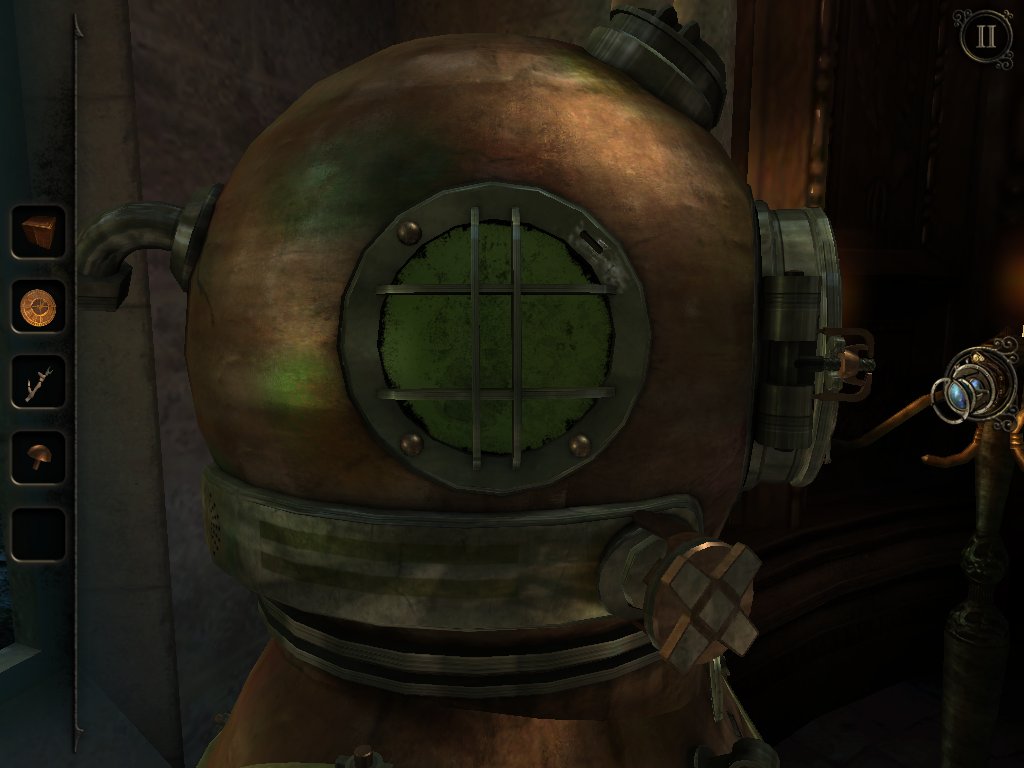
Use the rivet on the hole on the left side of the helmet and slide it over once you insert it.
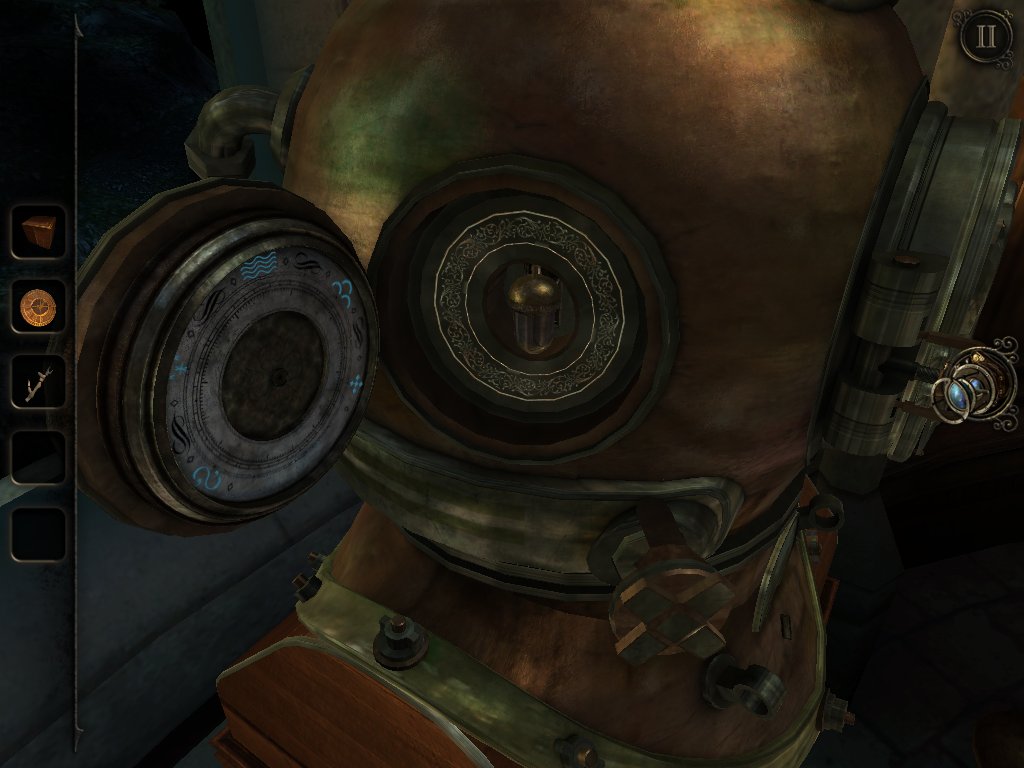
Pick up the metal acorn, flip the switch behind it, and take the wooden model piece.
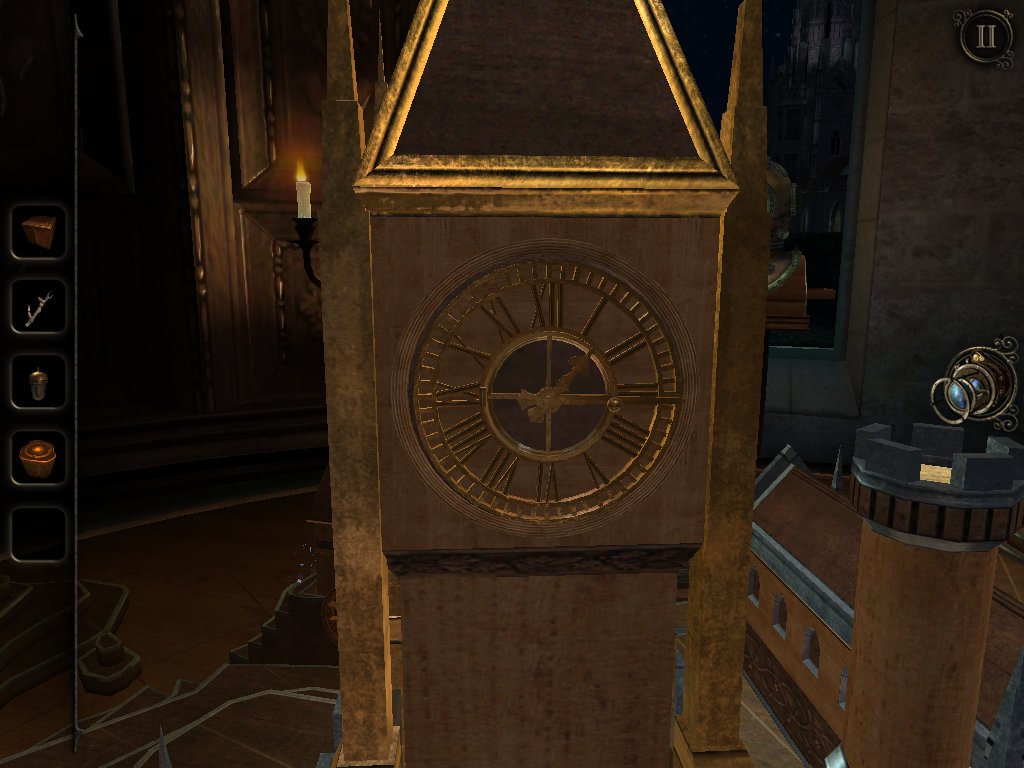
Return to the table and attach the clock face onto the clock tower, then use your eyepiece to look inside.
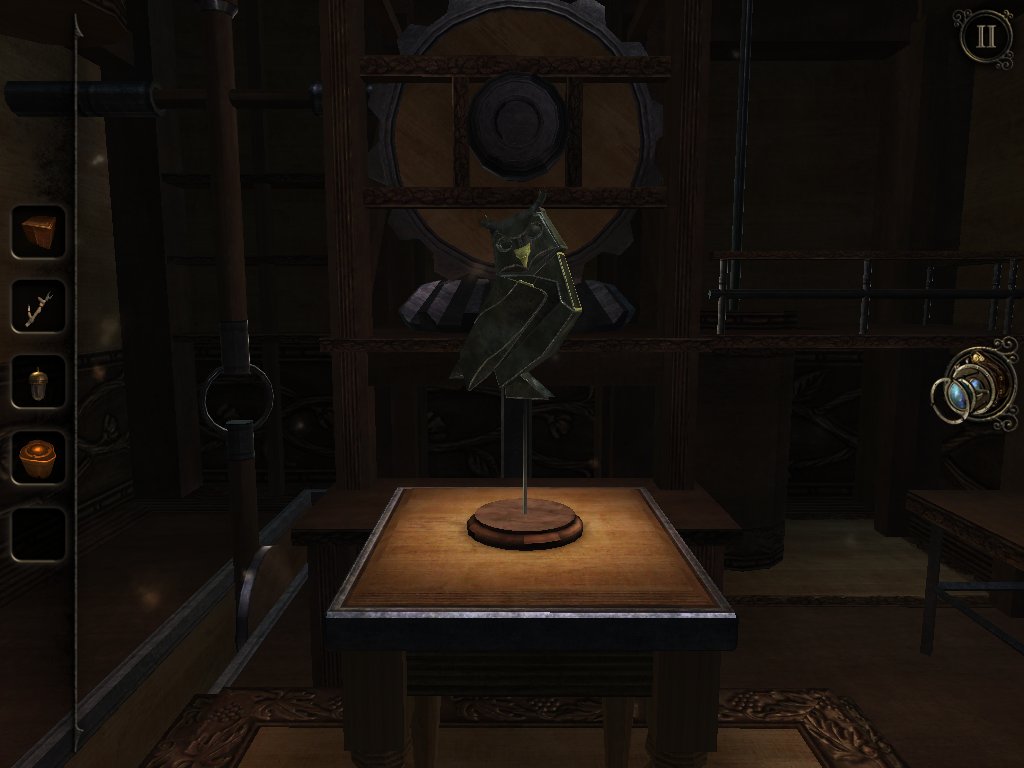
Push the owl's beak up and twist its head around.
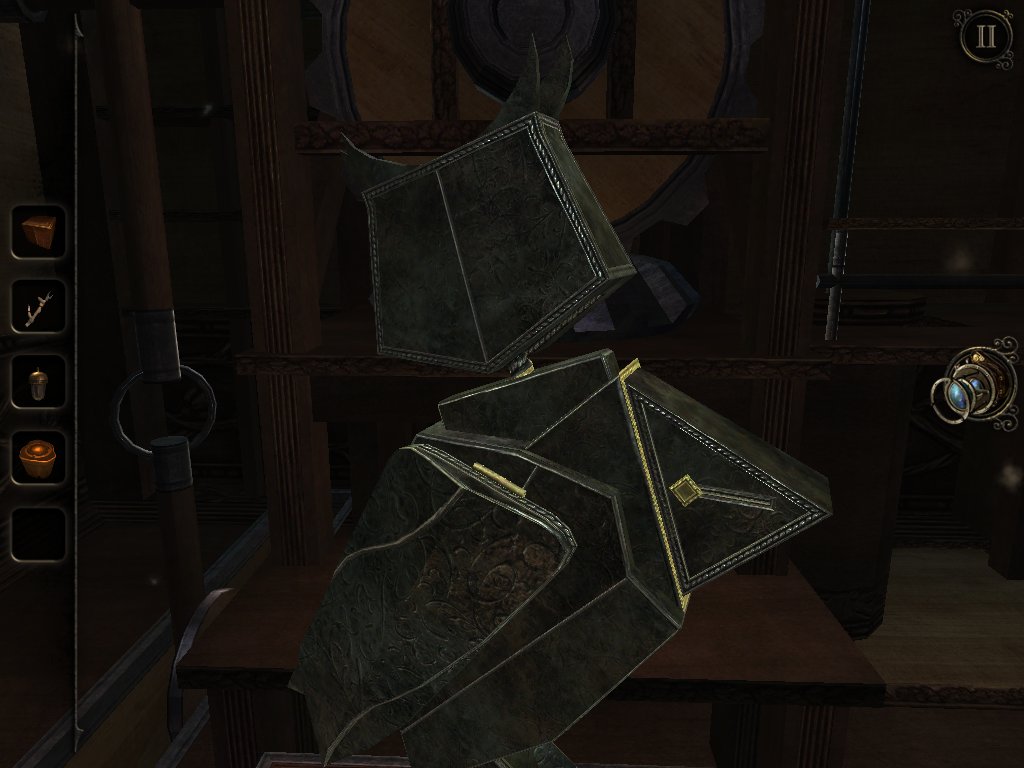
Pull its wing and remove the model boat, then head back to the table.
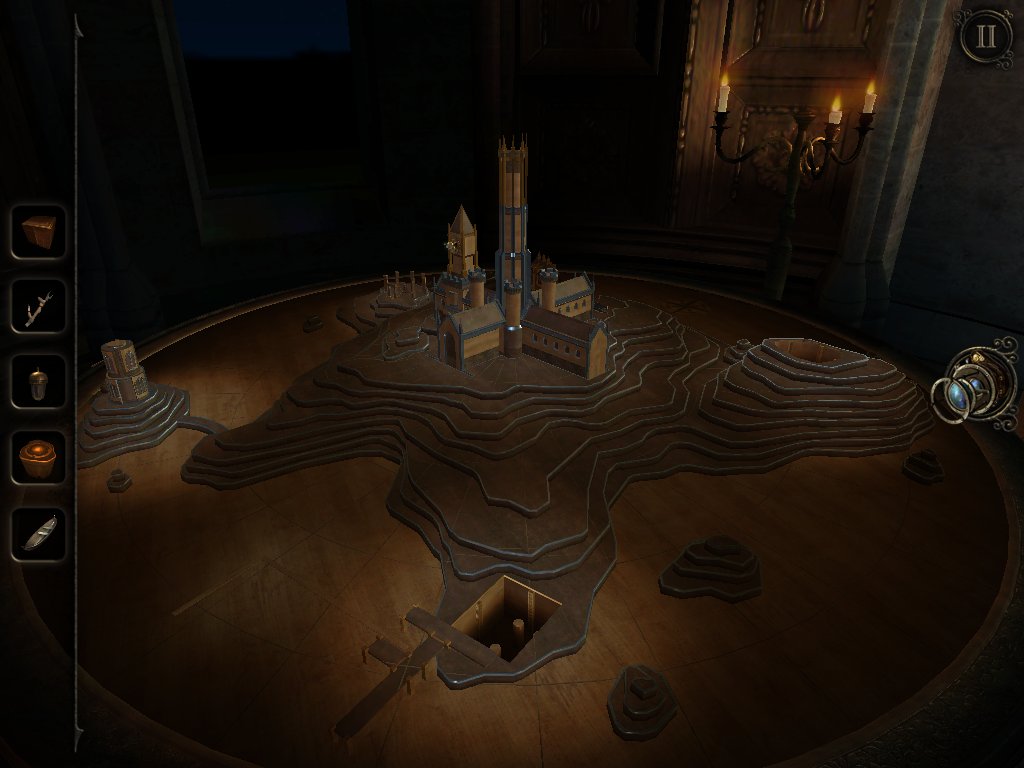
Slot the wooden model piece into hole by the miniature jetty and place the boat at the end of the rail to the left.
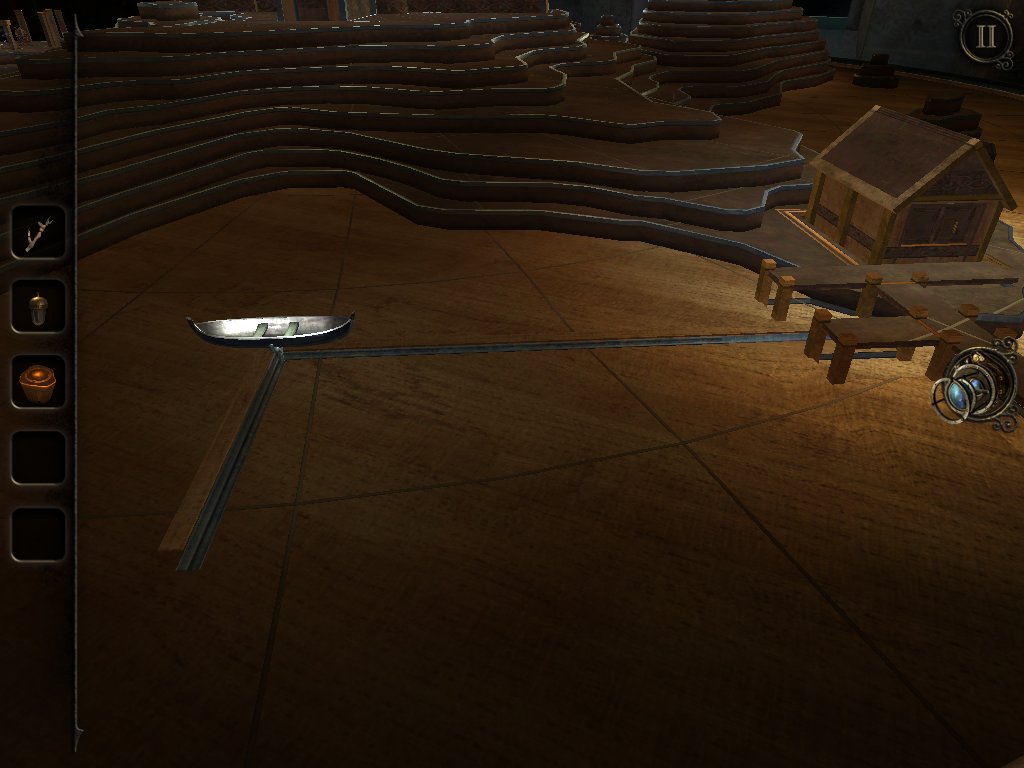
Slide the boat up to the boathouse, then use your eyepiece to look inside.
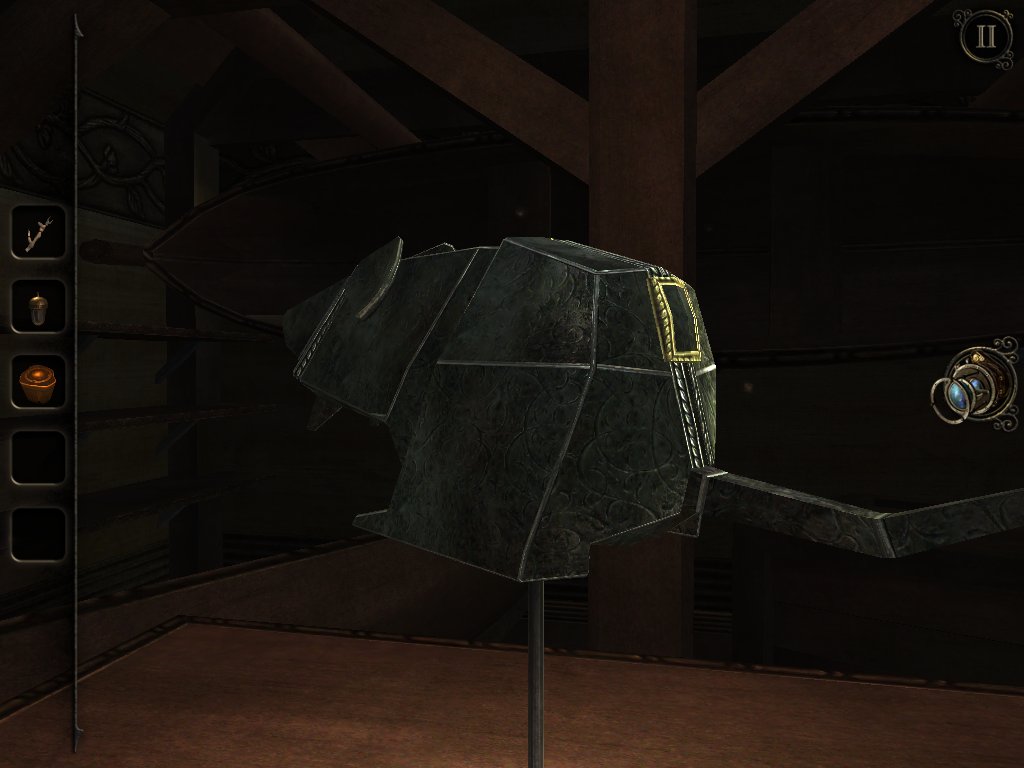
Slide the switch on the rat's back to open its head.
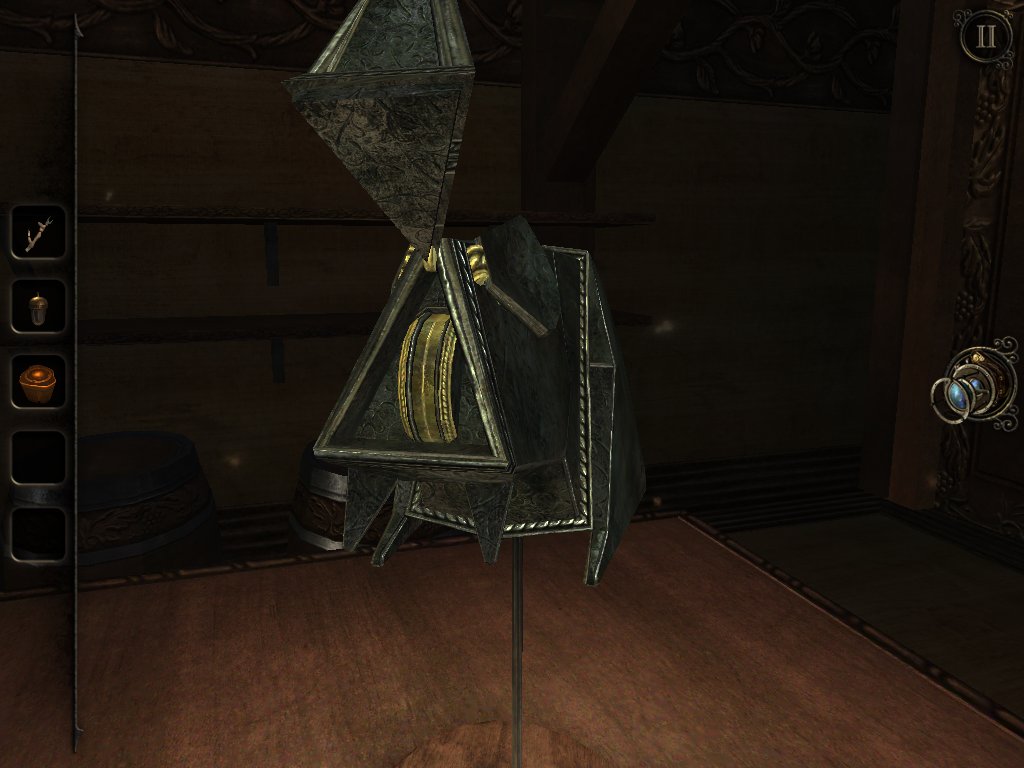
Spin the wheel, then press the two buttons that appear on either side.
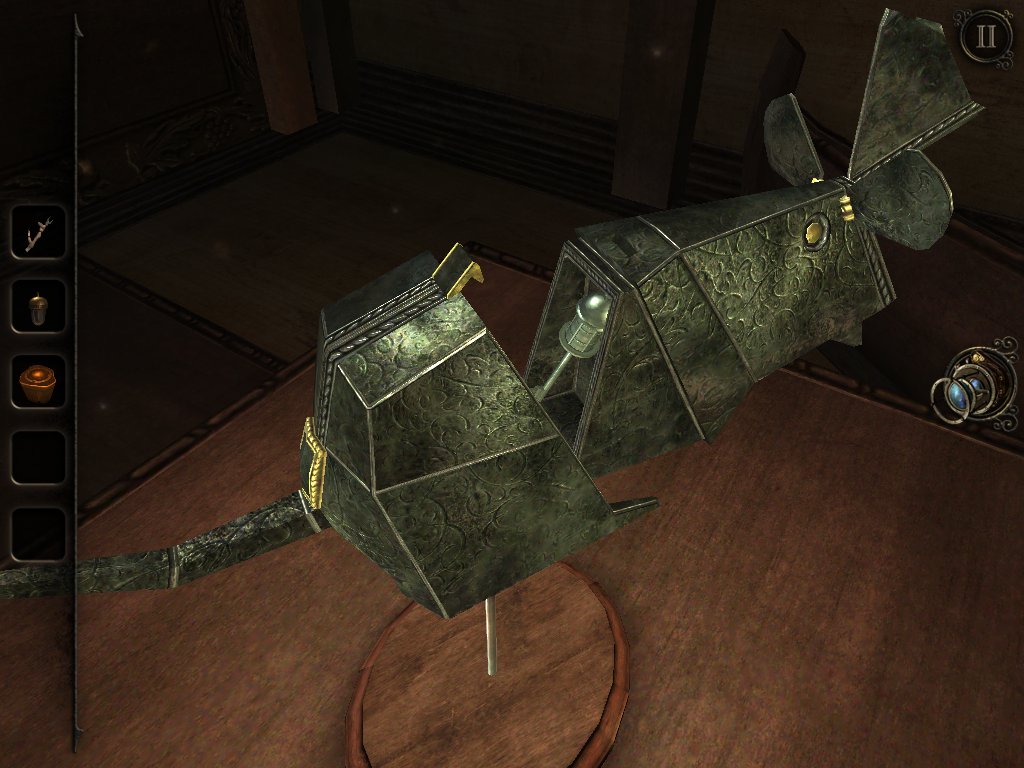
Slide the bum back and take the key.
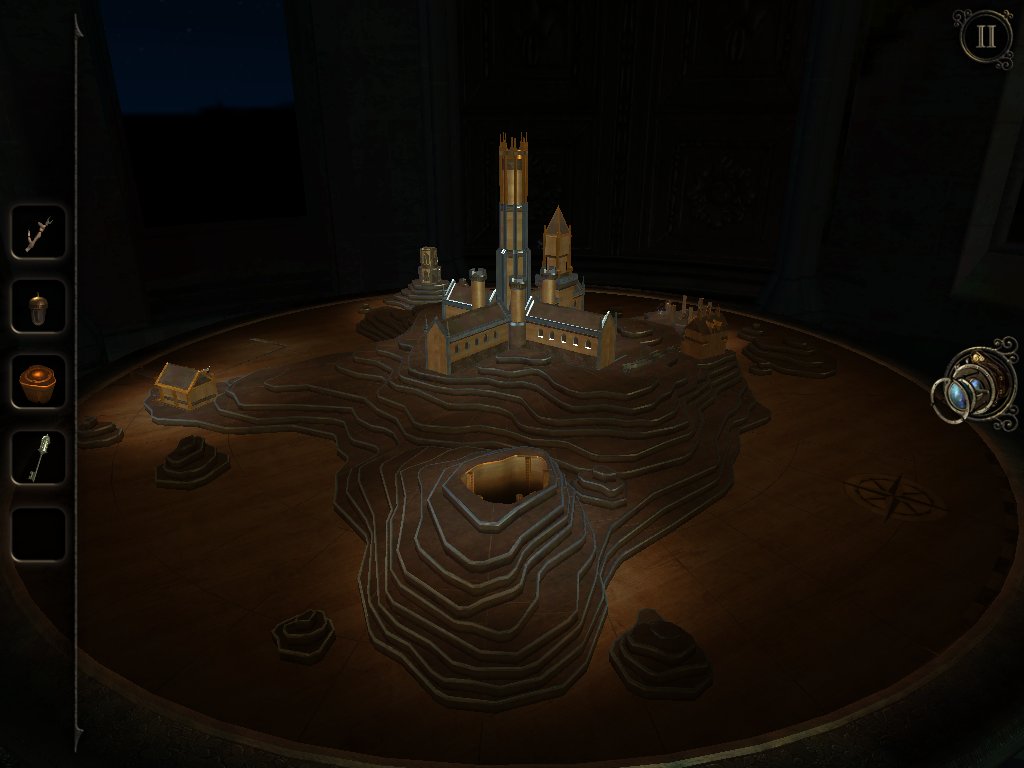
Insert the model piece from the diver's helmet stand onto the table.
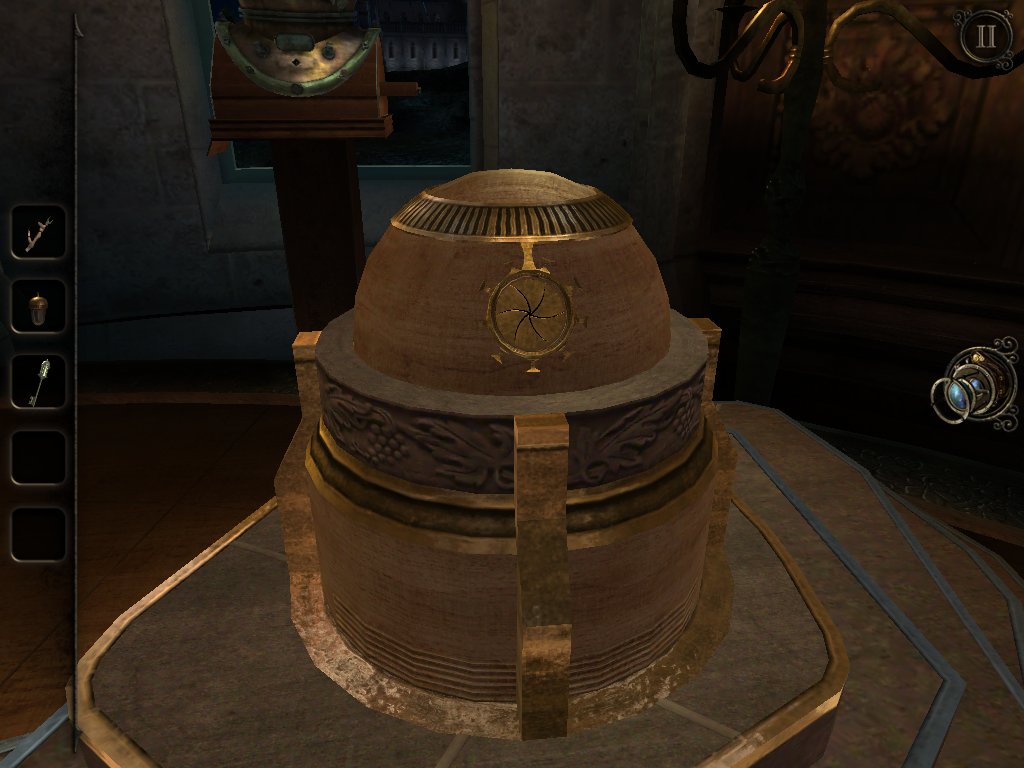
Spin the top around until the metal ring lines up with the metal circle on the roof. Once it's open, use your eyepiece to peek inside.
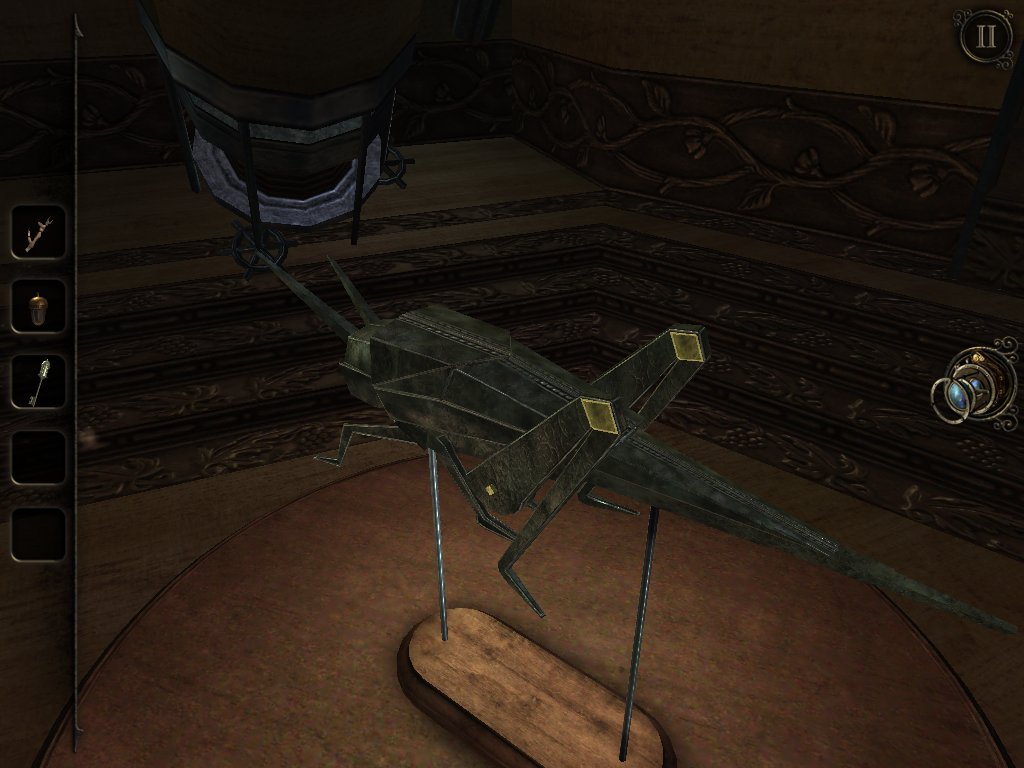
Push the grasshopper's legs down and flip the two switches.
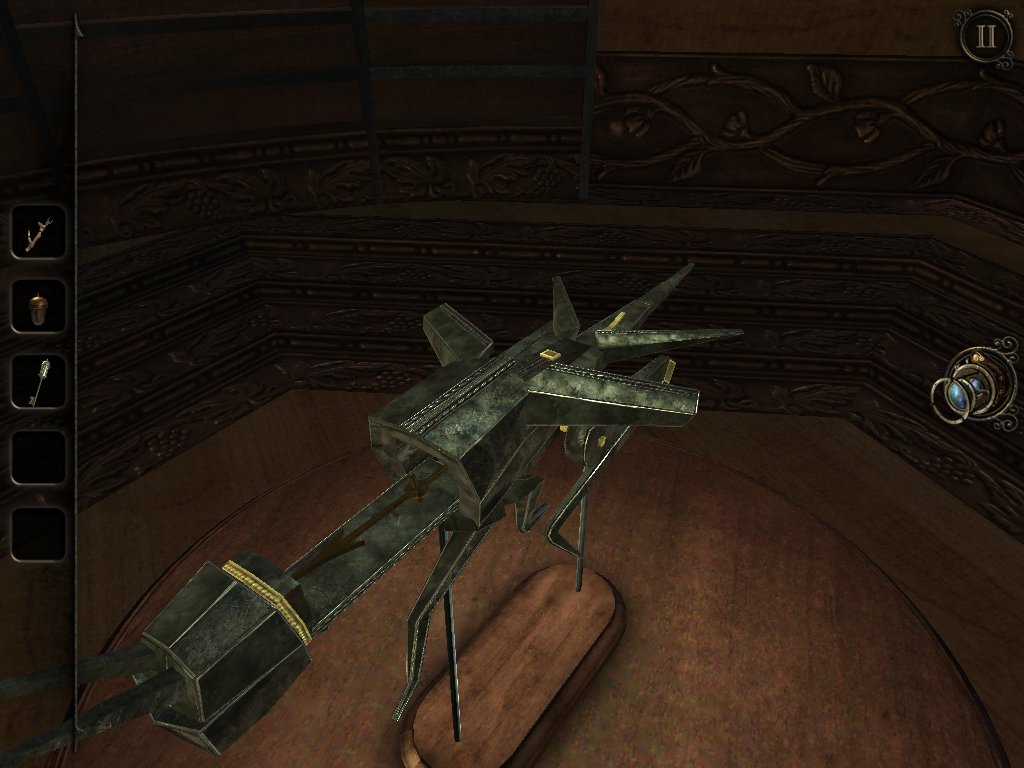
Pull its head and take the metal pointer.
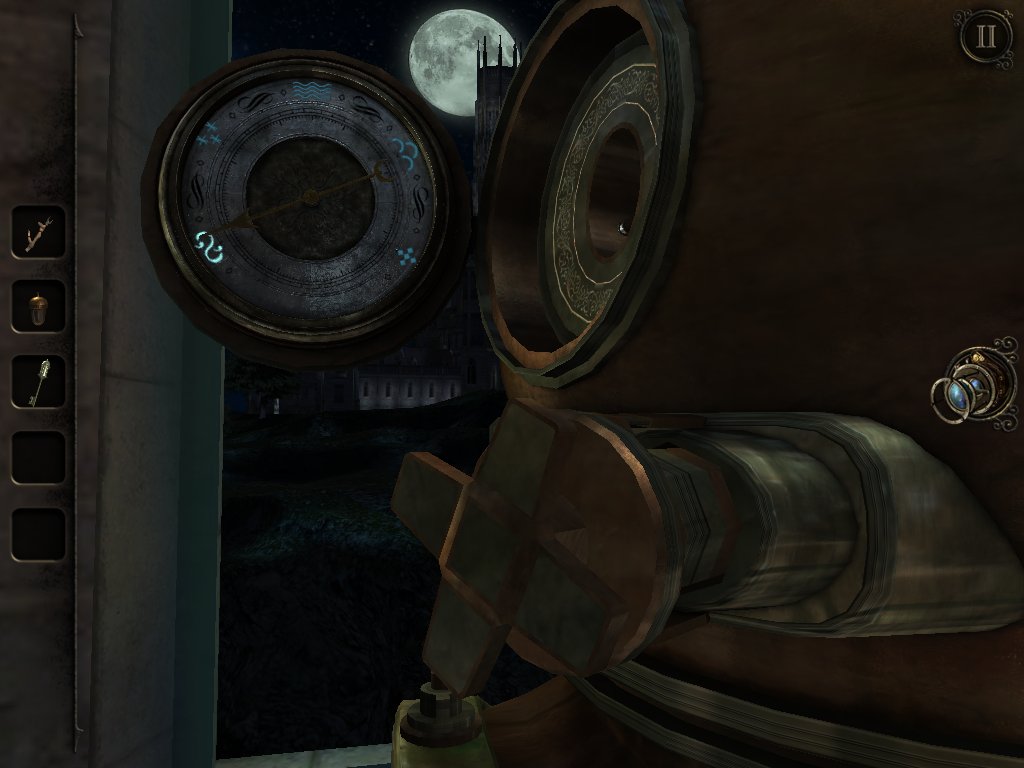
Return to the diver's helmet and attach the pointer to the open panel. Turn it anticlockwise to point at the three symbols from the underside of the plaque in order. This is the first symbol.
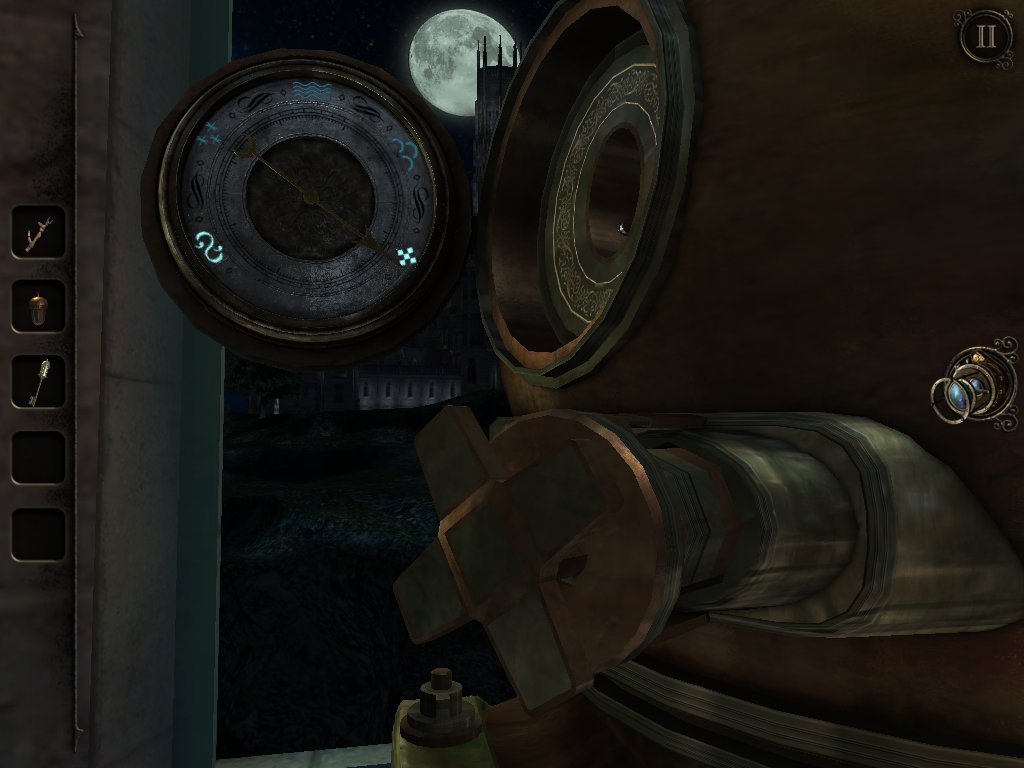
Continue turning it anticlockwise to the second symbol.
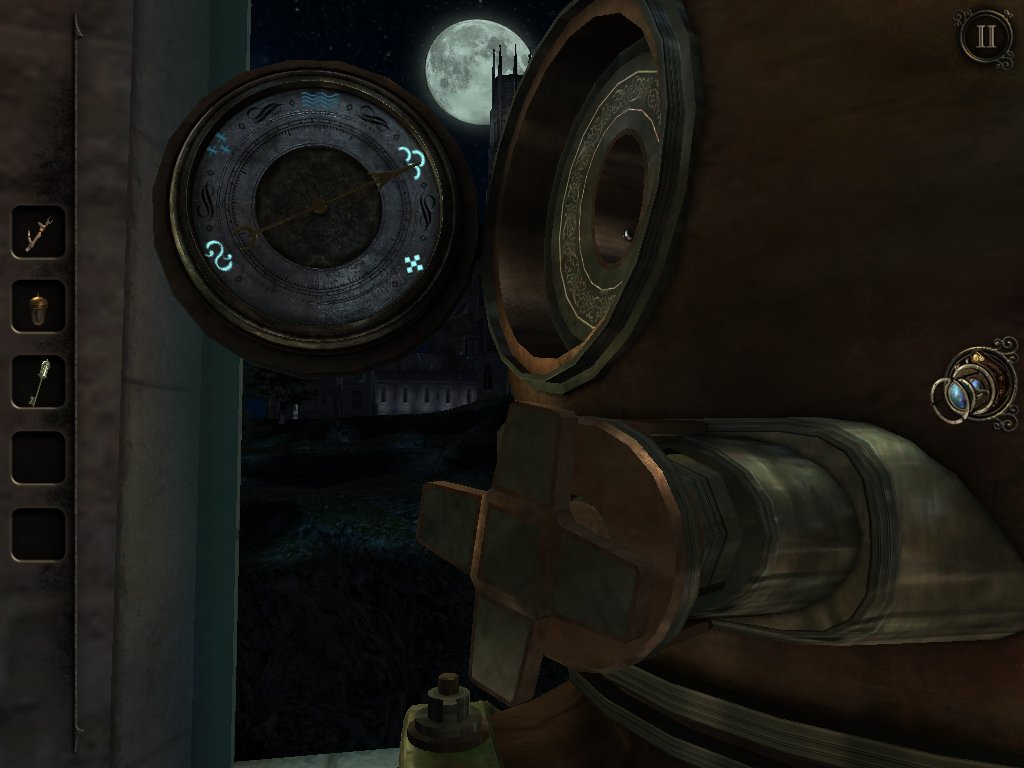
After hitting the third symbol, you'll be given a copper tap.
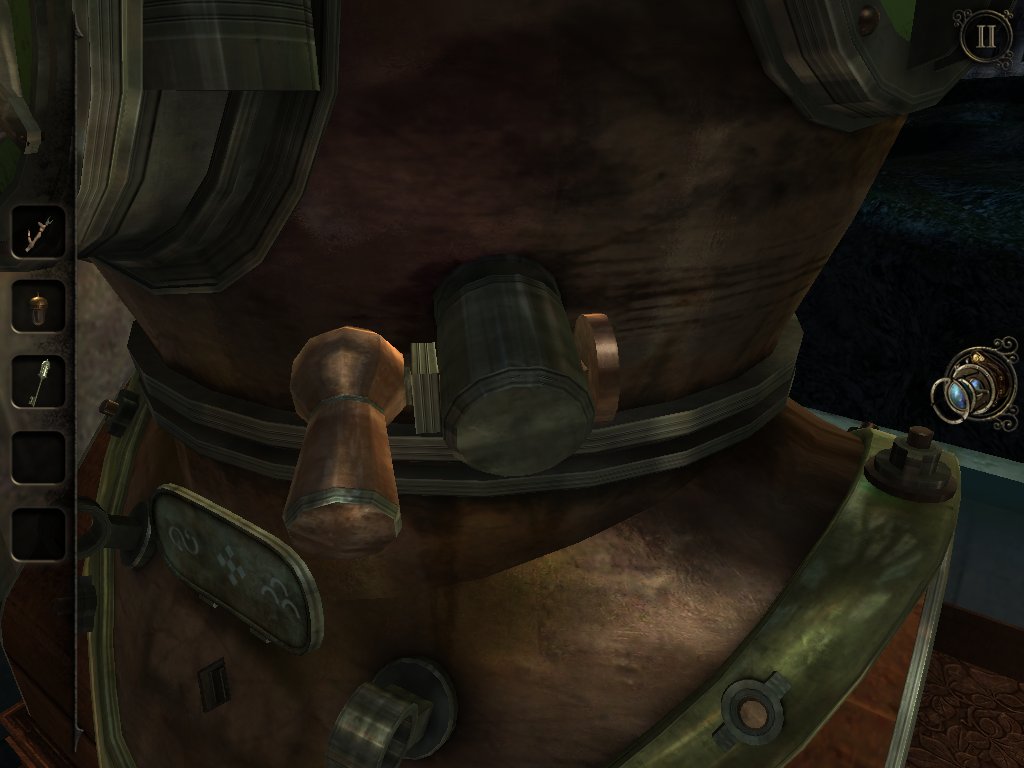
Attach it to the right side of the helmet like so and give it a turn.
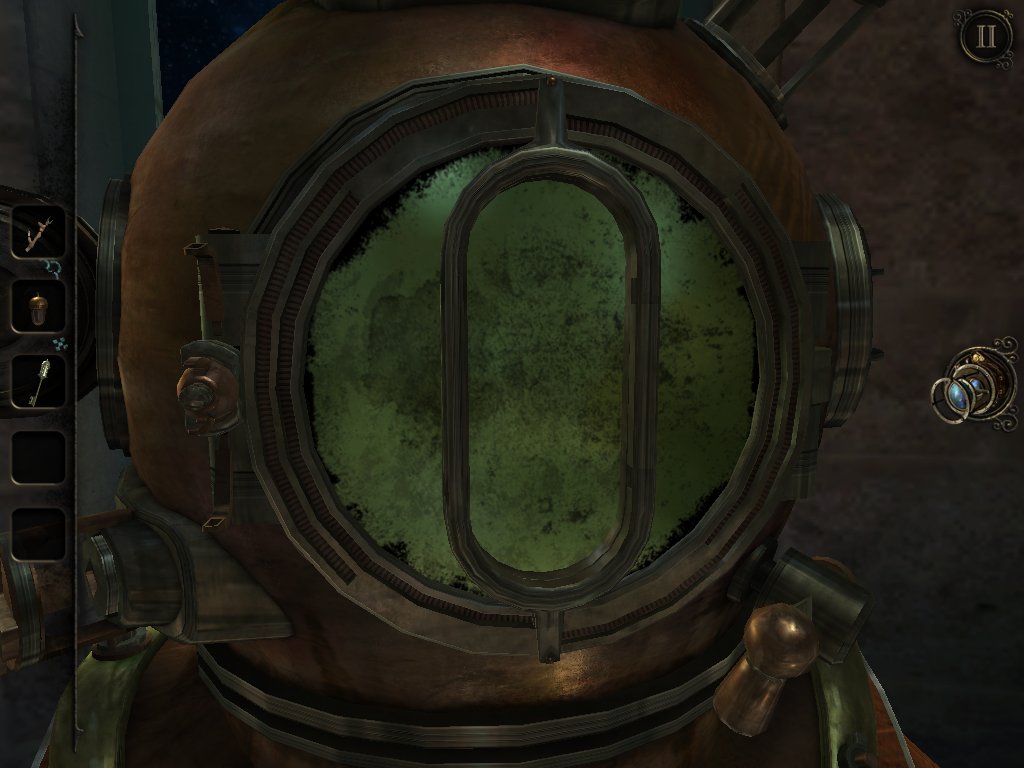
Now align the two metal frames so that they're overlaid in the position above and the helmet will pop open. Retrieve the crystal phial and head back to the table.
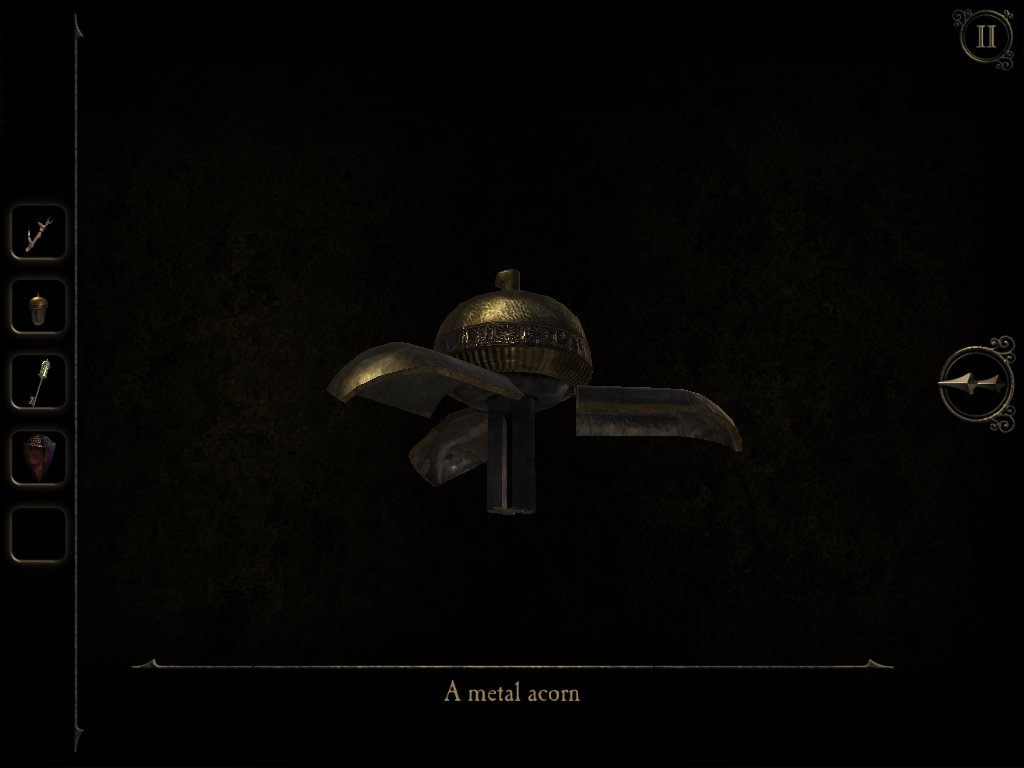
Access the metal acorn in your inventory and twist it to reveal a key.
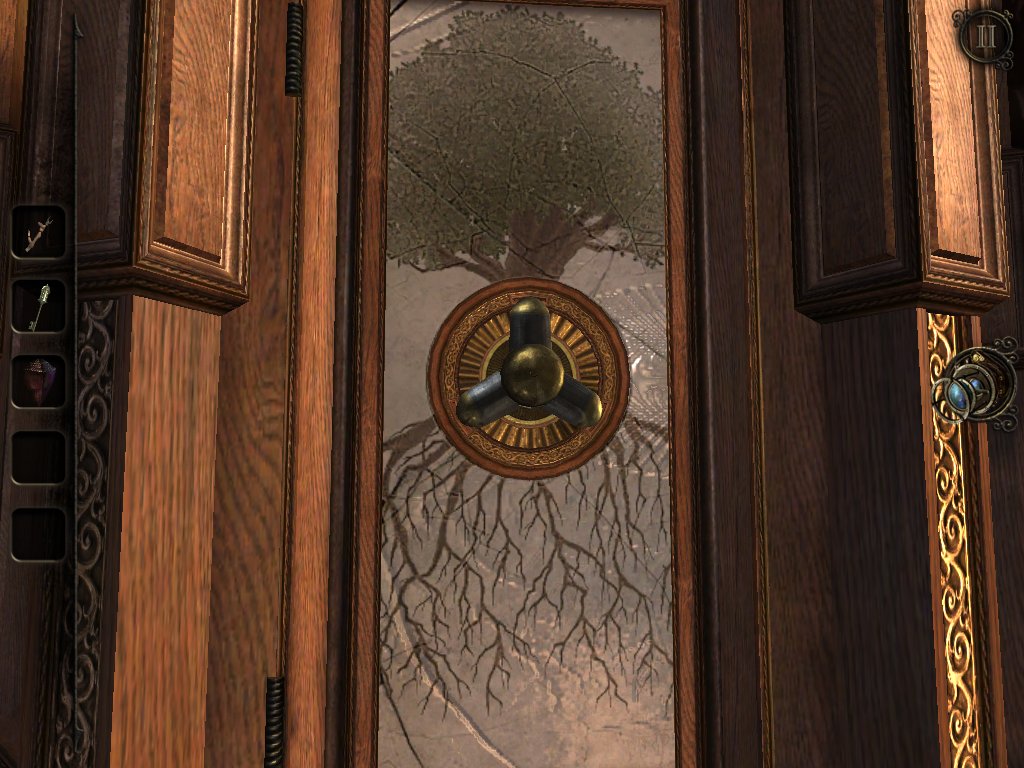
Use the eyepiece on the wooden arch and insert the acorn key into the panel on the tower with the tree painted onto it.
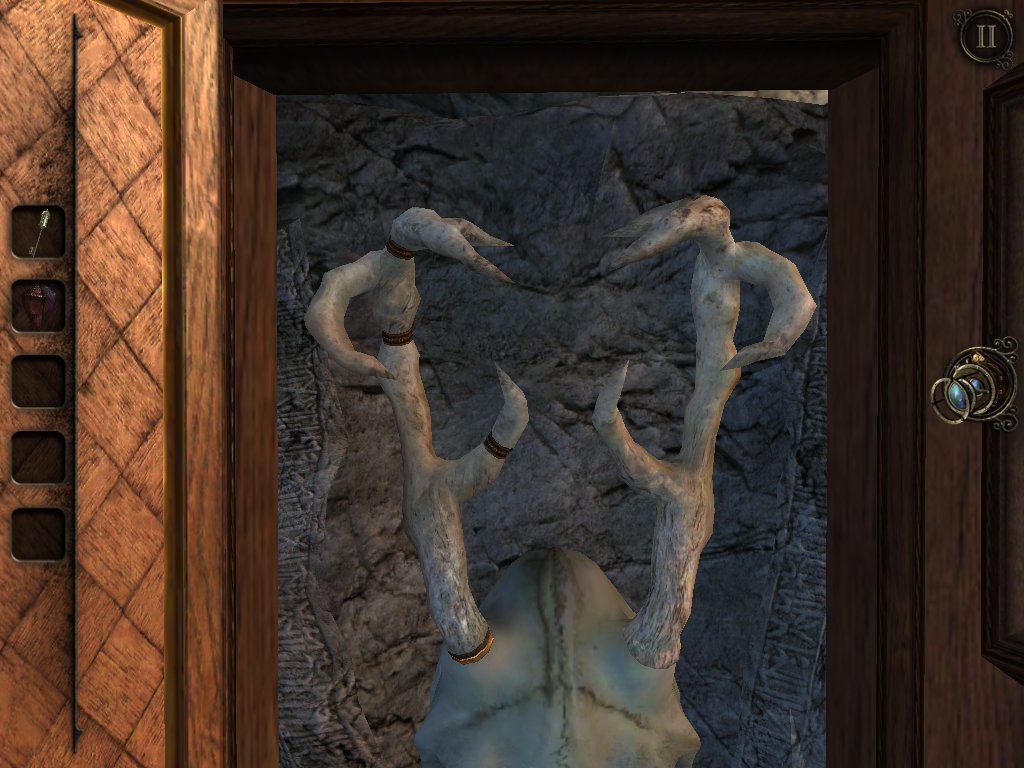
Attach the antler to the skull and rotate the three pieces until they mirror the one on the right.
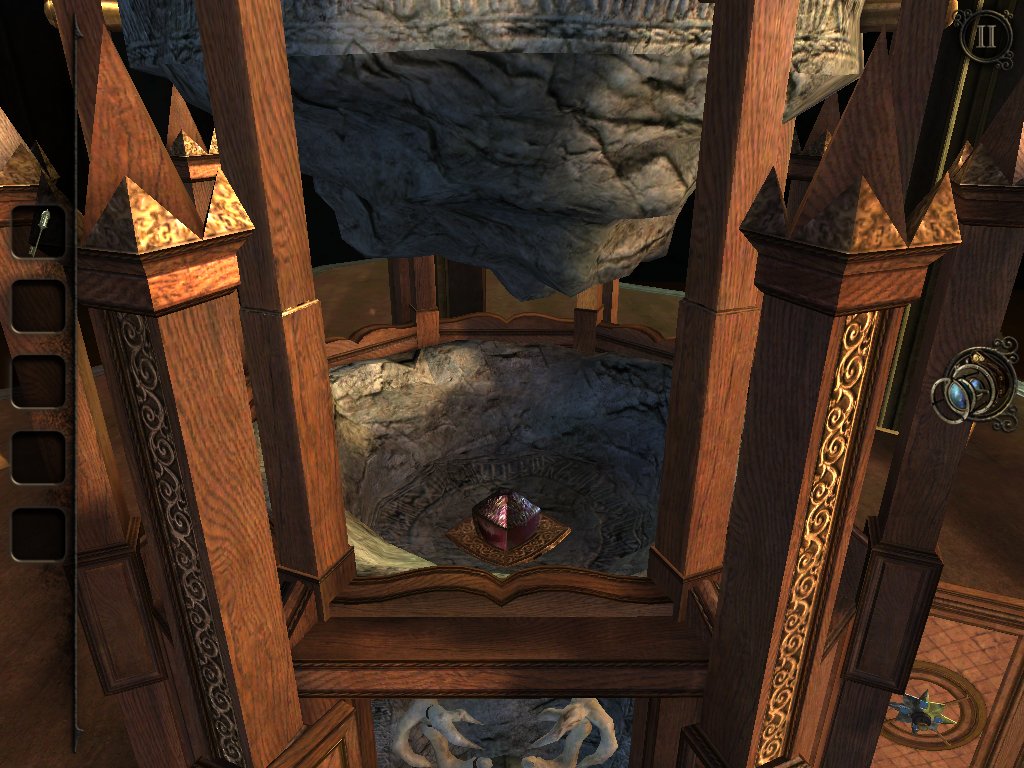
Slot the crystal phial into the hole that's revealed above, and once it's been smashed, pick up the gemstone.
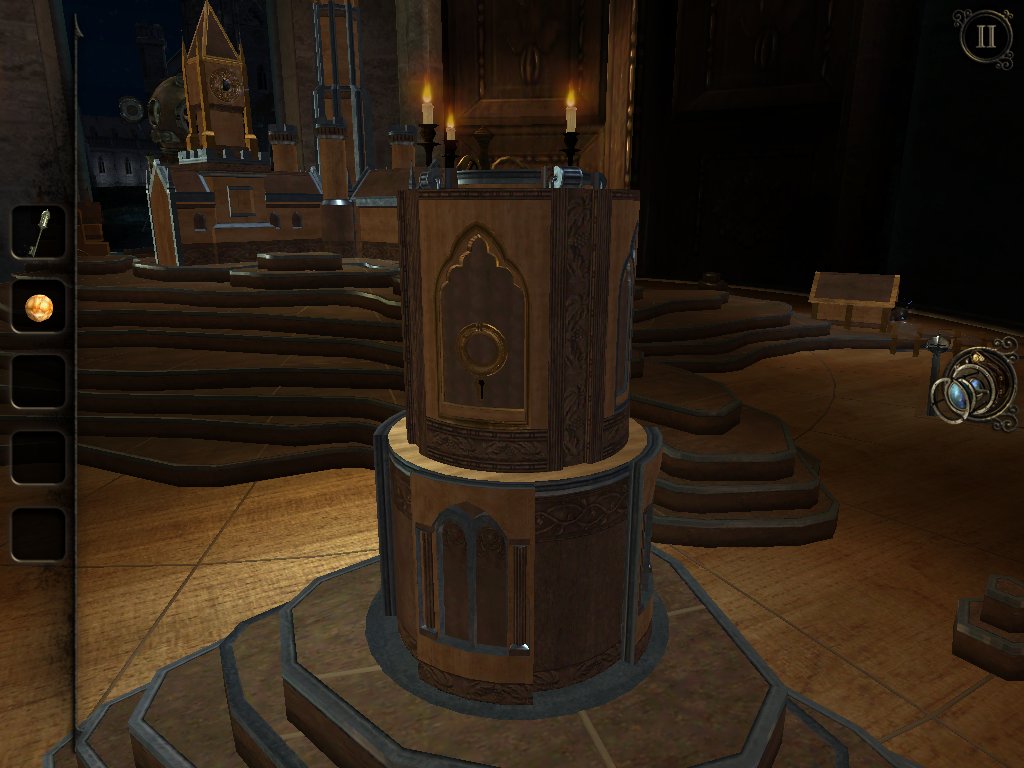
Now use the small key on the two-tiered tower and use the eyepiece to look inside.
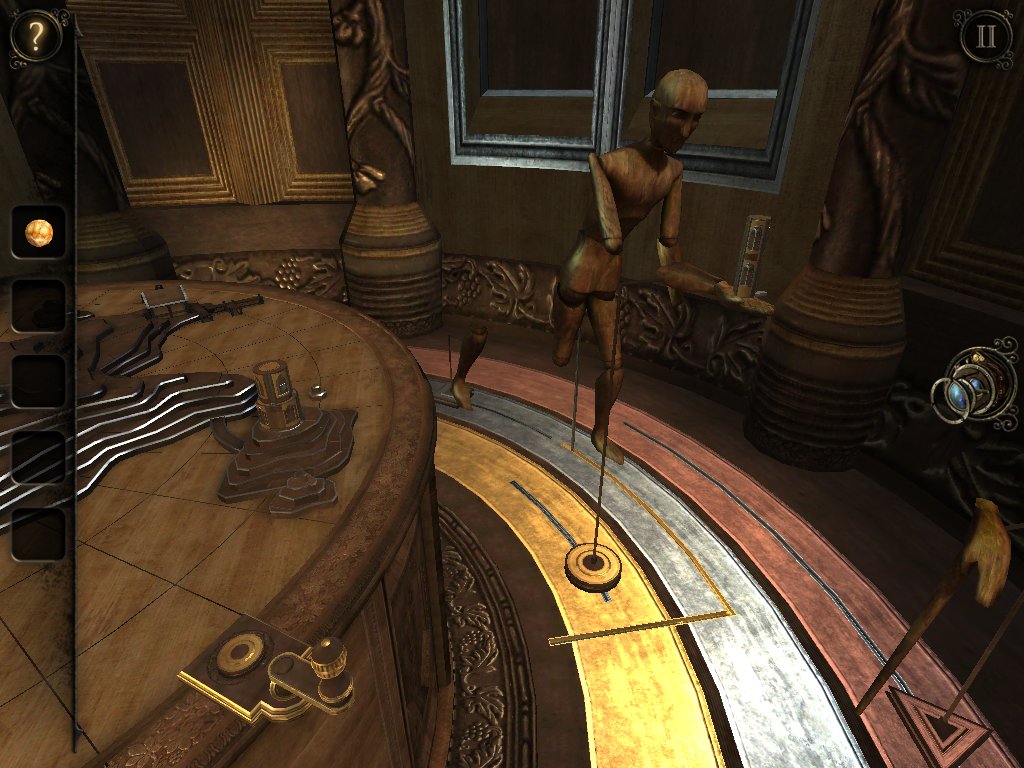
There's a mannequin with three missing body parts. Rotate the lever to the left to attach the first limb, then use the eyepiece to enter the small tower and repeat with the next limb. Continue a third time until you reach peak limb-ception and complete the puzzle.
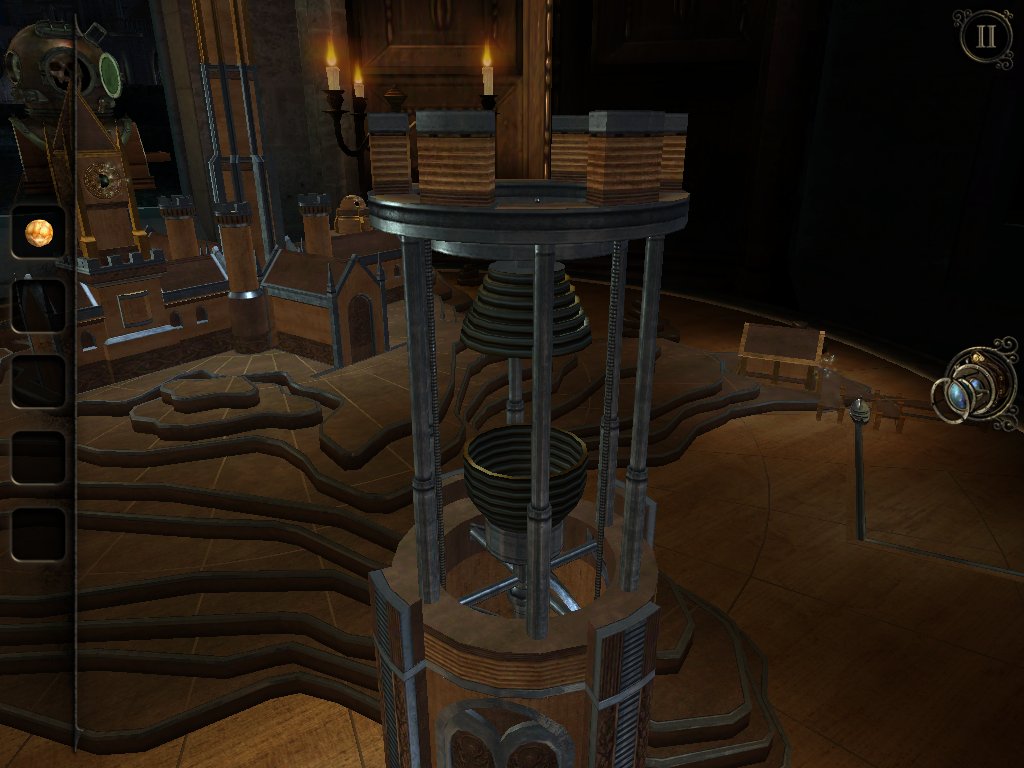
The top of the tower will open up, allowing you to insert the gemstone into the top. This will create a glowing lamp, so pick up this new item.
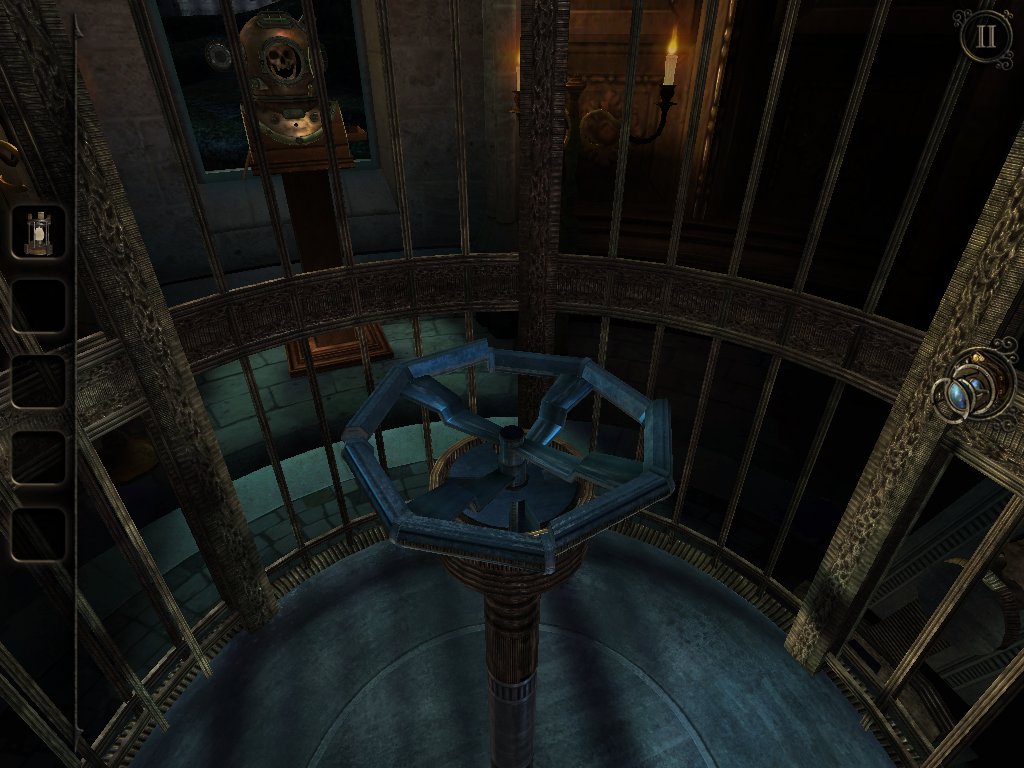
Enter the newly materialised cage and spin the metal bars so that they fan out into a wheel.
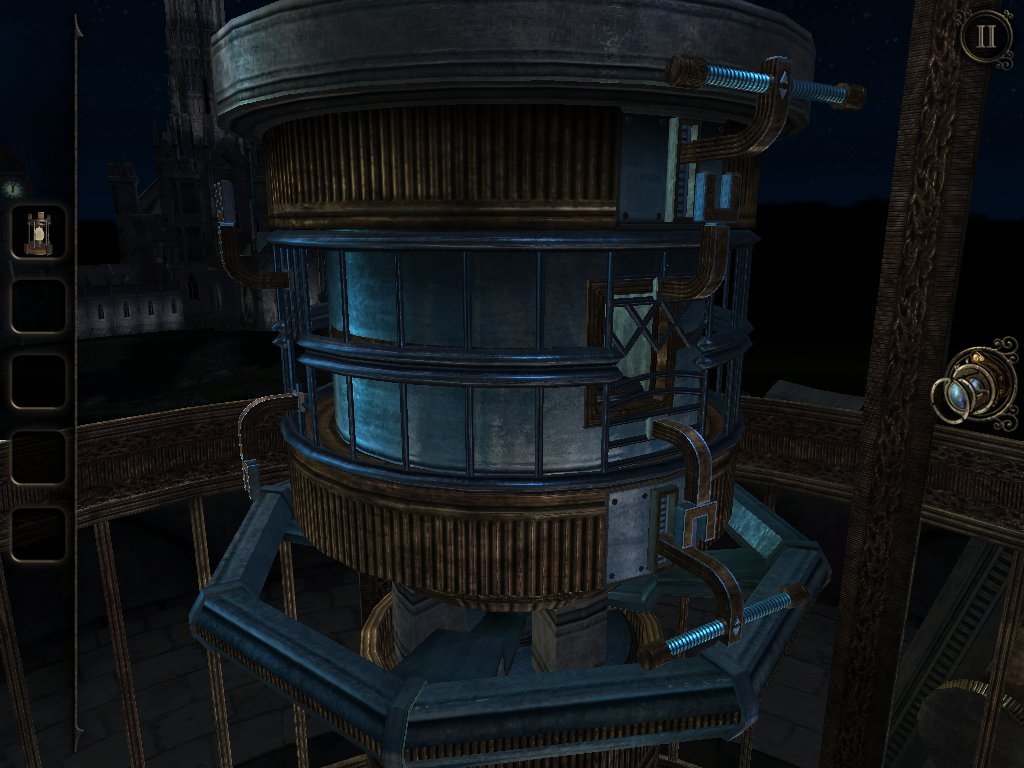
Push the top bar down to lock the upper cylinder in place, then rotate the bottom half to align it with a matching pattern.
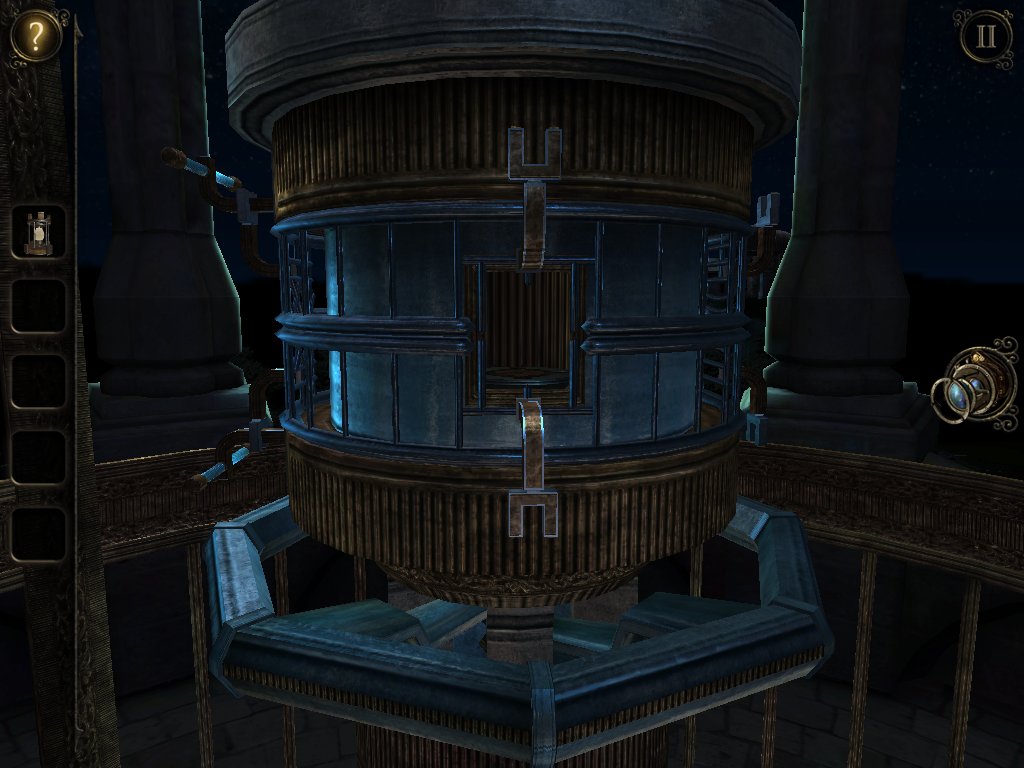
Once the rectangular patterns have been matched up, the plain rectangle - a.k.a. a hole - should be lined up over the opening in the cylinder.
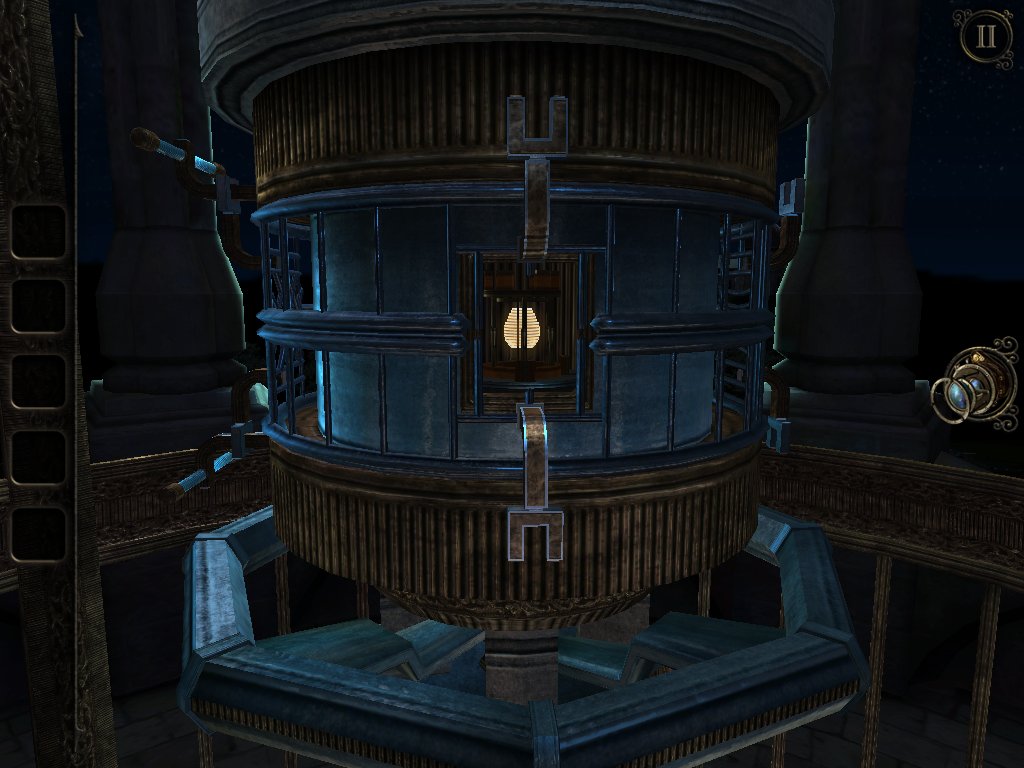
Slot the lamp into the hole.
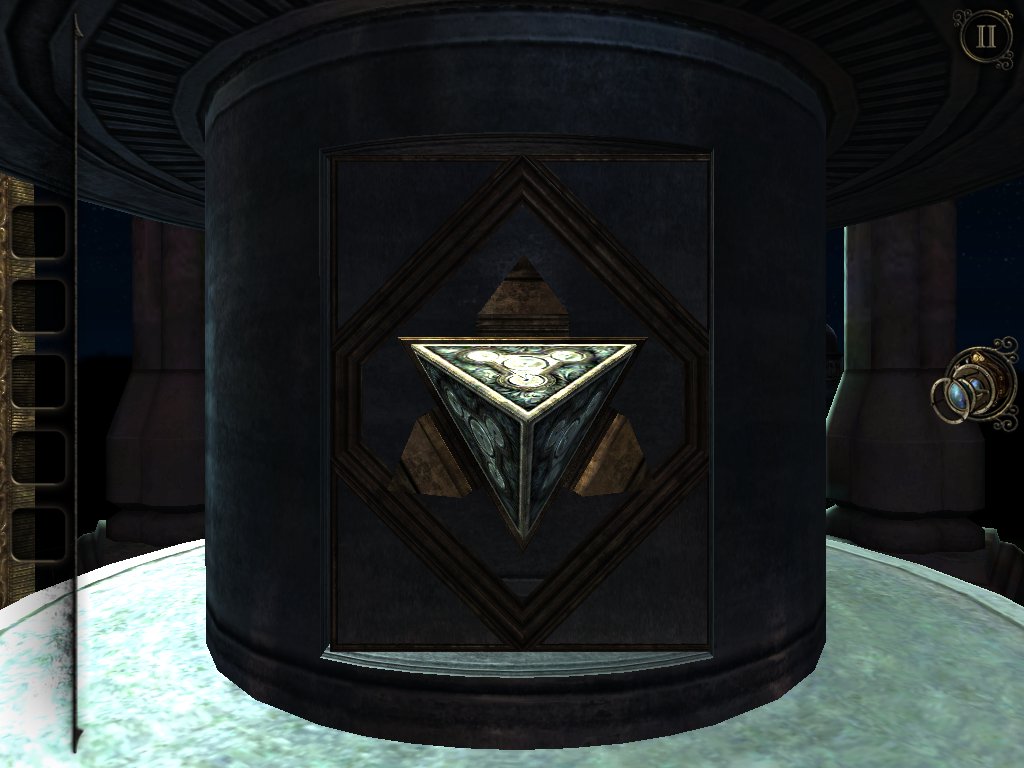
Take the pyramid to complete the chapter.
Chapter 2: The Clock Tower
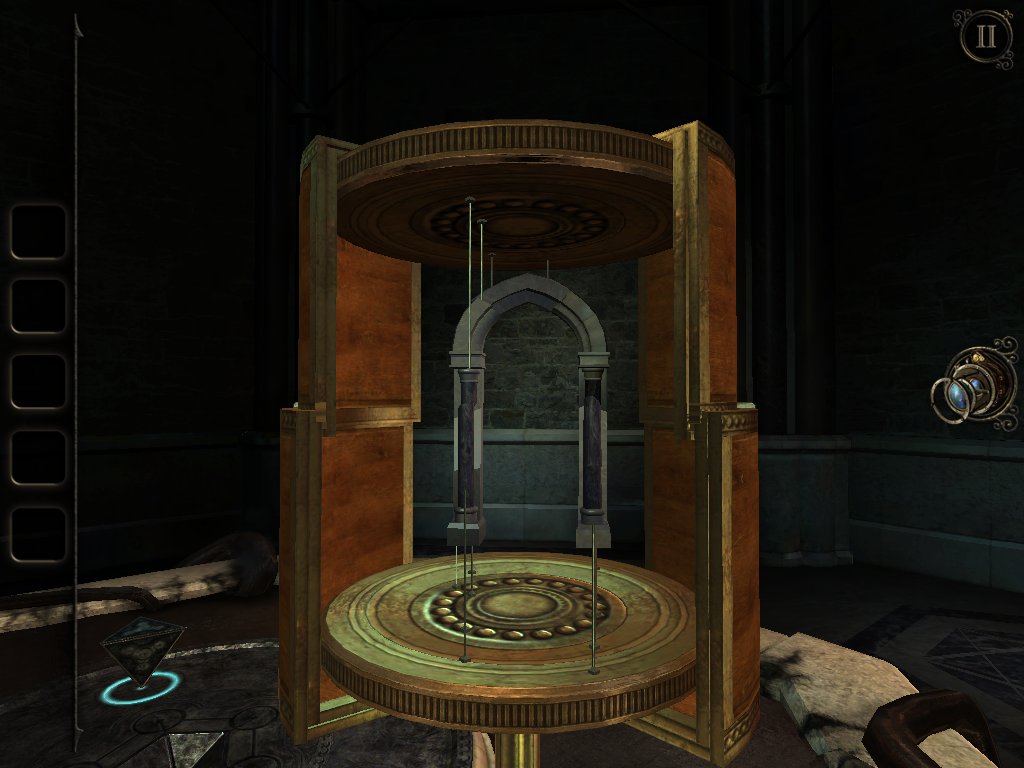
Place your new pyramid on the table and a device will rise up from the gloopy liquid. Use the dials to line up the shapes with the partial arch on the wall to make a complete archway.
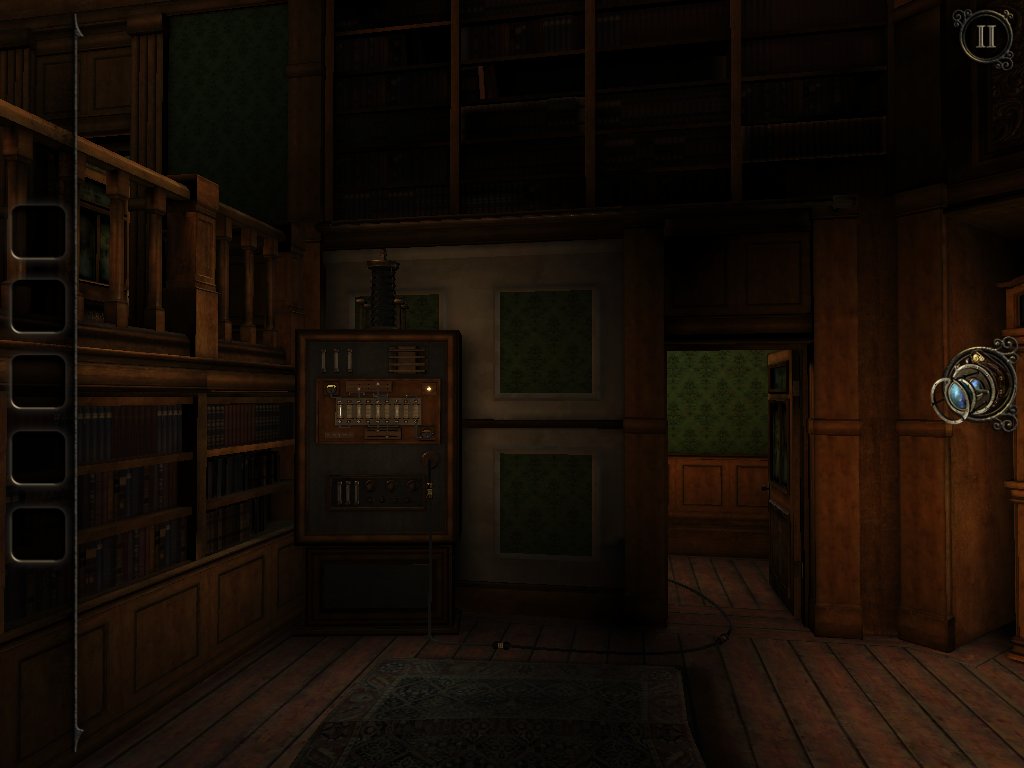
Head through the new door and over to the left corner
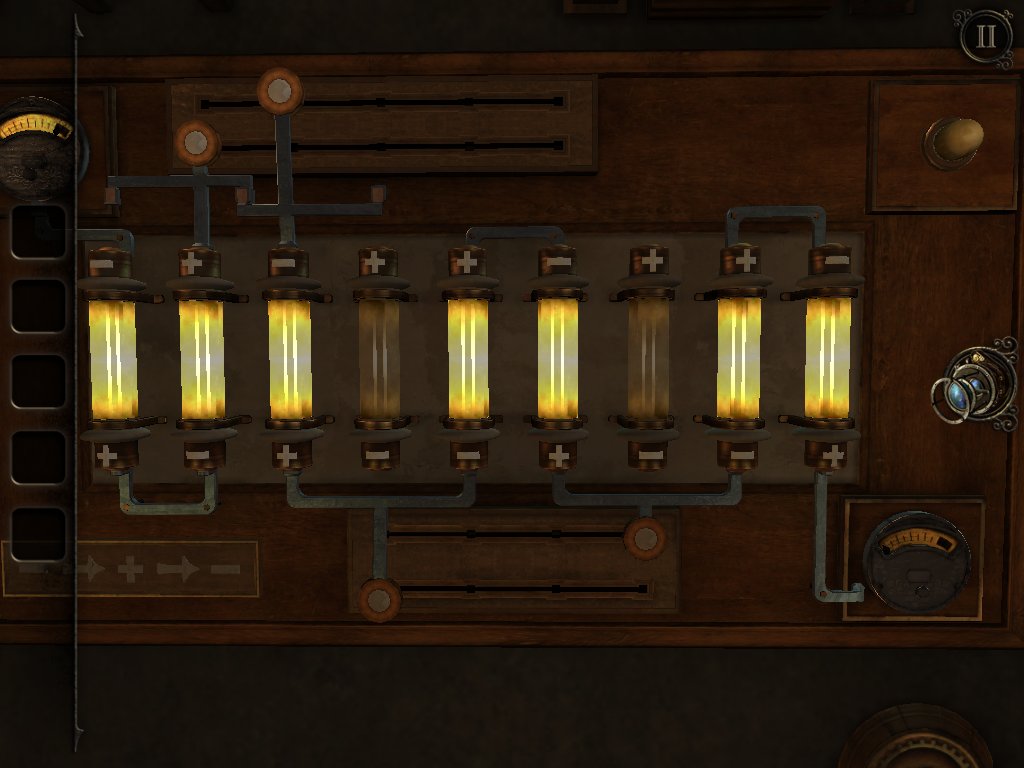
Arrange the sliders as above to get the power flowing.
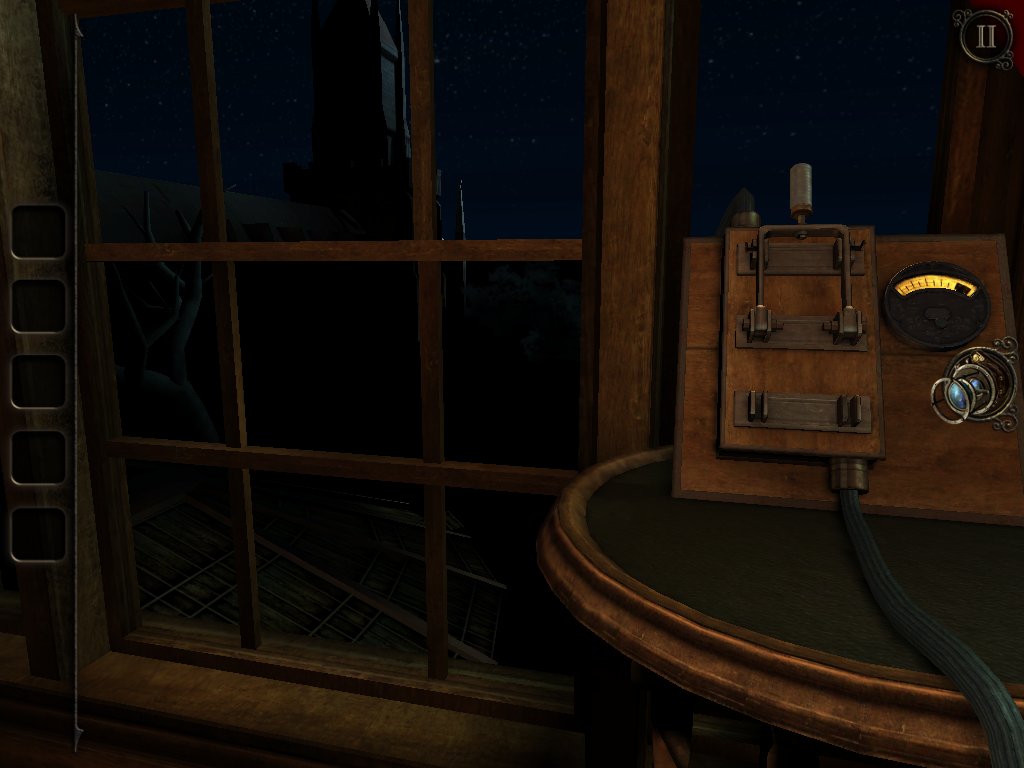
Follow the wire and flip the lever.
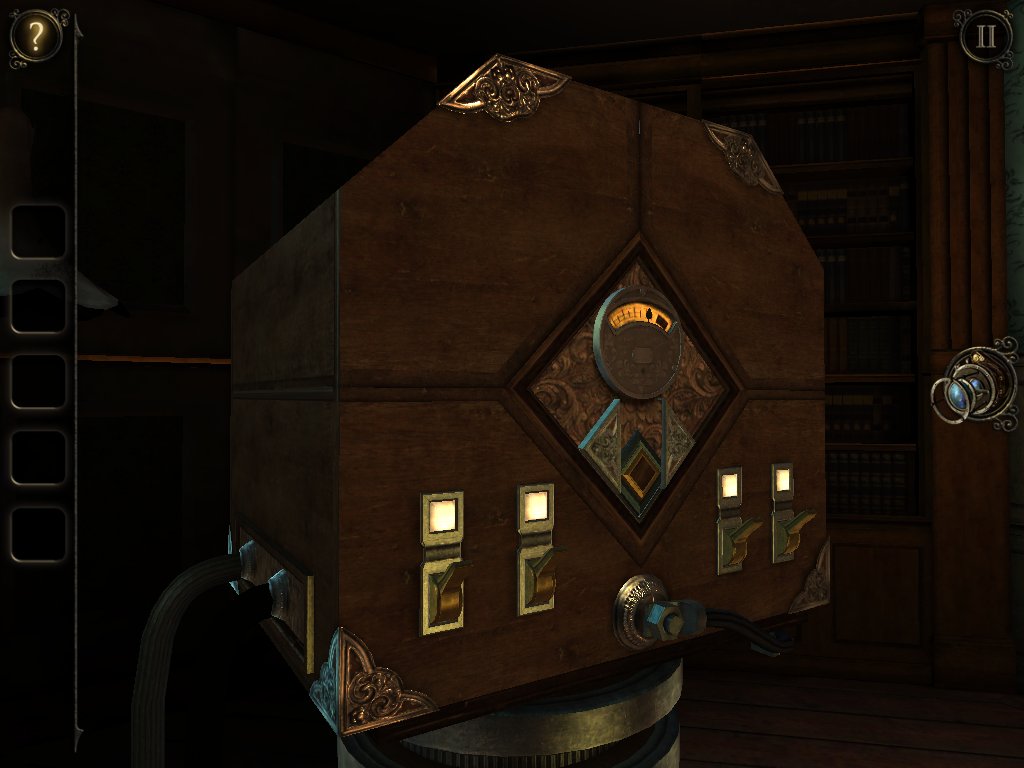
Follow the wire to the box and flip all four switches to reveal the button in the middle. Give it a push.
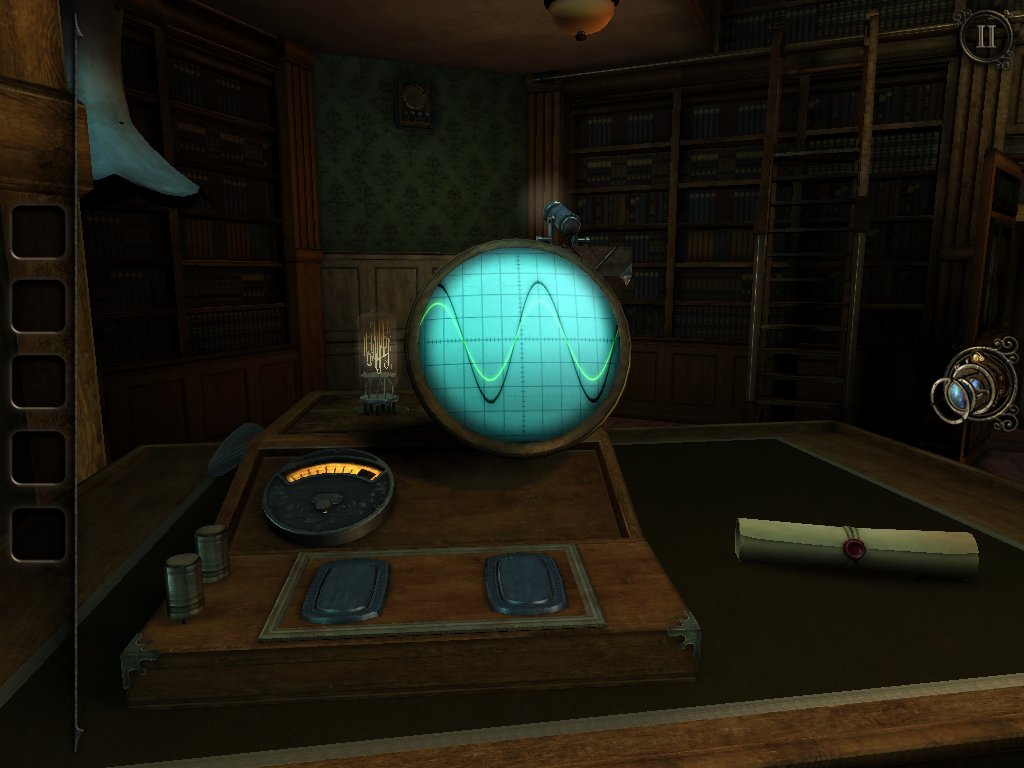
Head over to this panel and press and hold the left button until the lamp in the background switches on, then press and hold the button on the right to match up the waveforms.
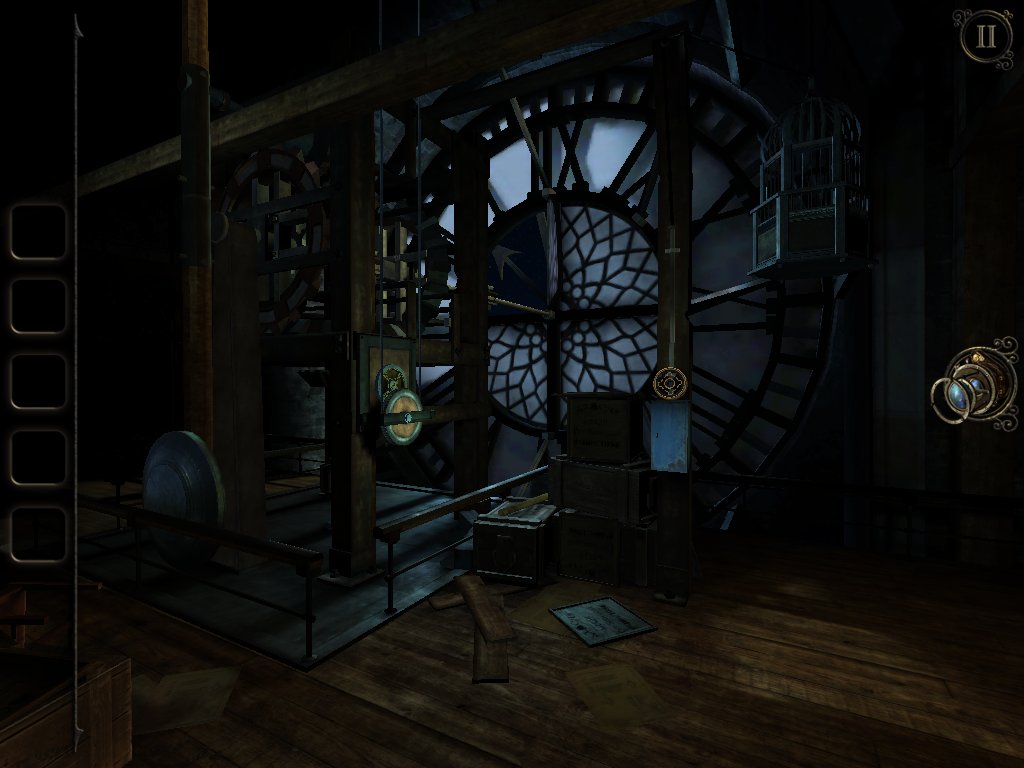
Once you arrive in the new area, grab the wheel with a handle from the top of the grey box by the face of the clock tower.
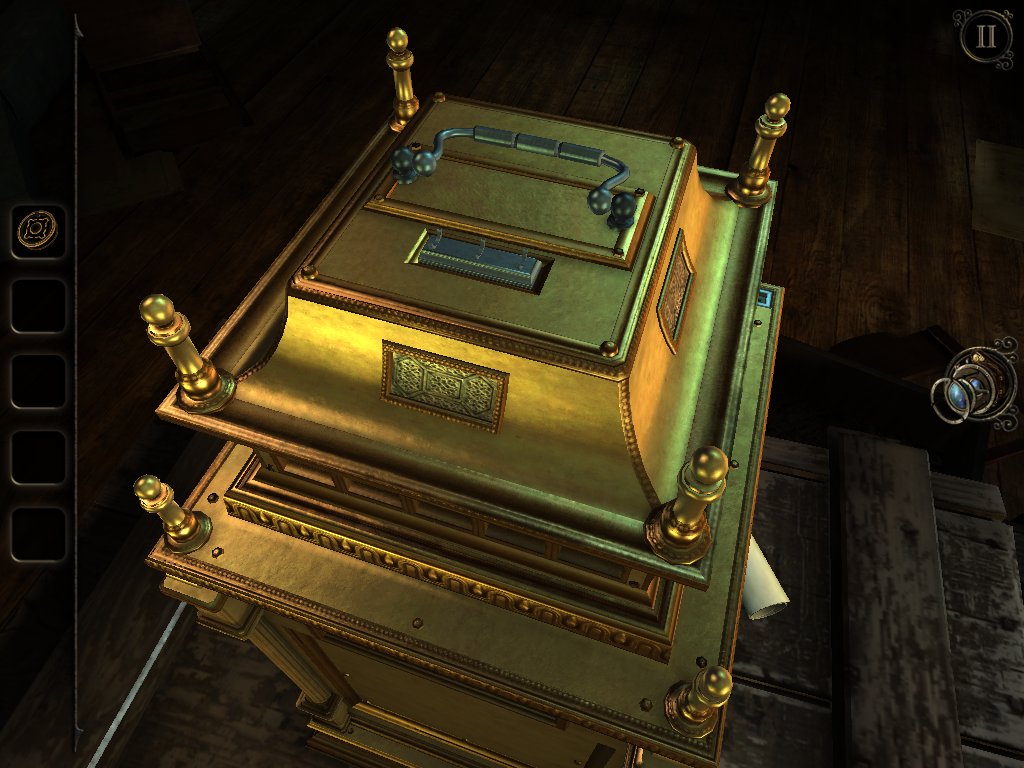
Examine the gold box and flip the handle over into the cradle.
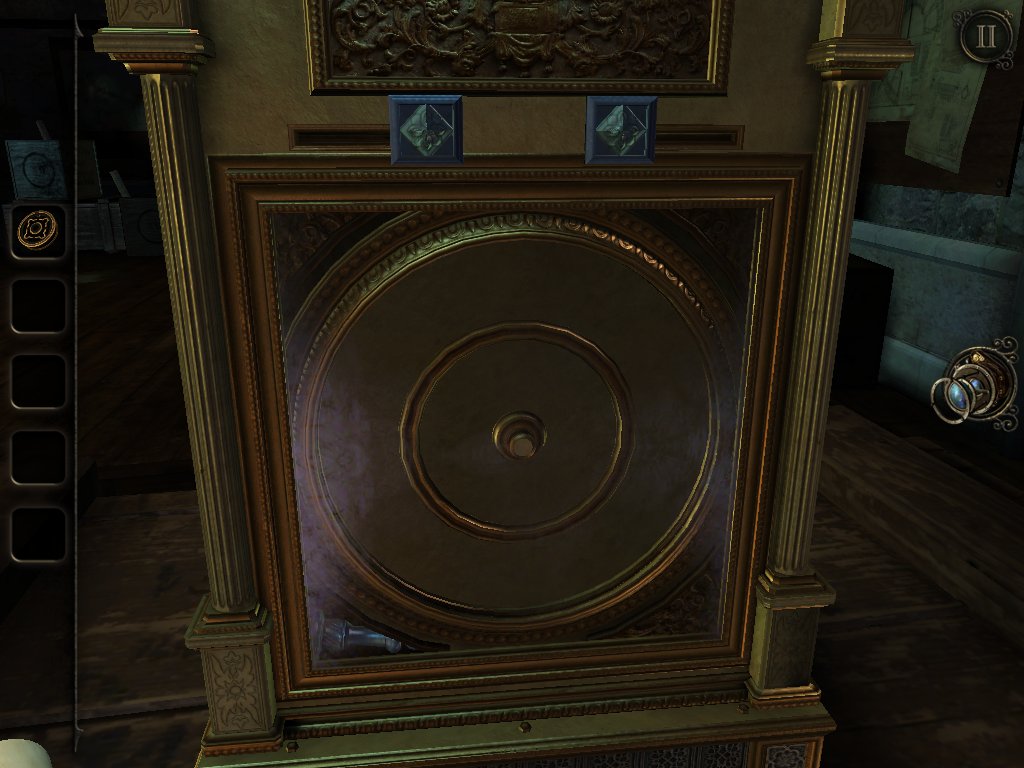
Now examine the side of the box with a metal pillar stuck behind the glass door. Slide the two latches at the top to the outer edges to open the door and retrieve the metal pillar.
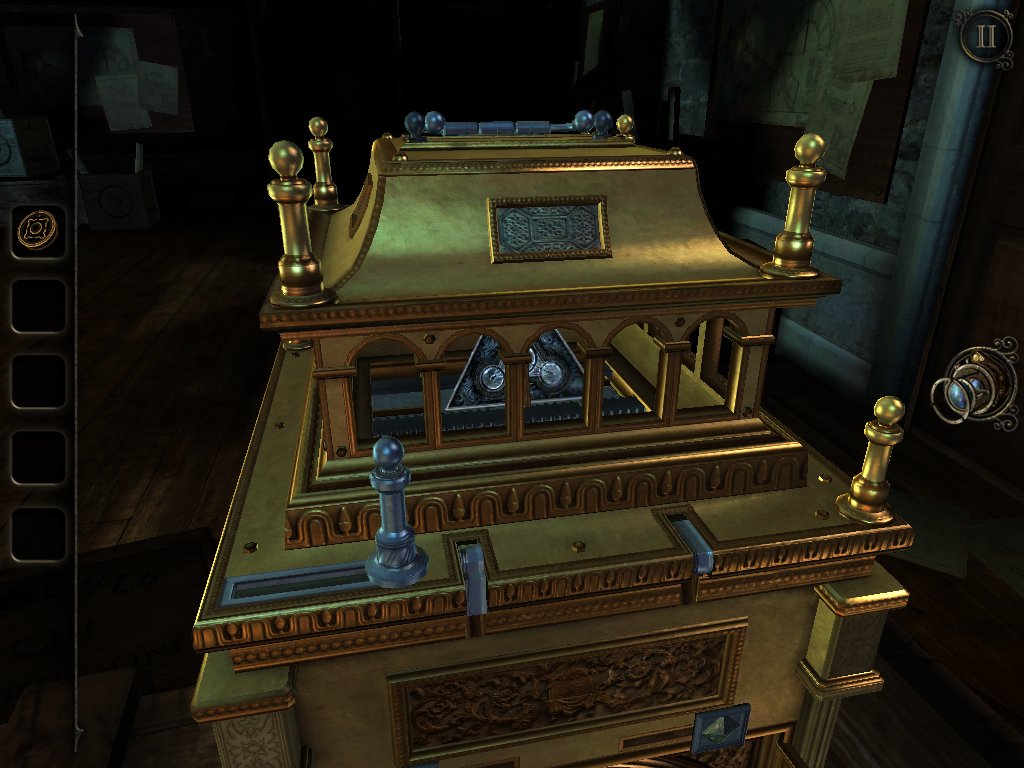
Slot the metal pillar onto the top of the box and slide it over to the left to mirror its gold counterpart.
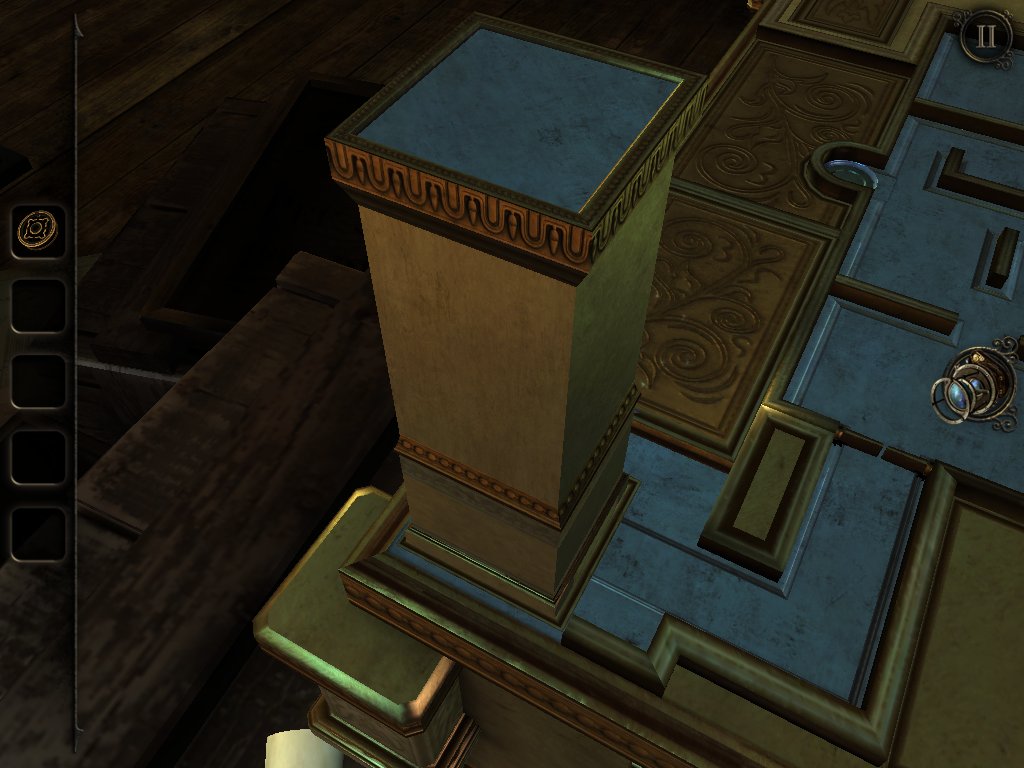
Flip open the lid and slide over the gold panel at the bottom left corner of the maze. This will prompt a tower to appear. Use your eyepiece to look inside.
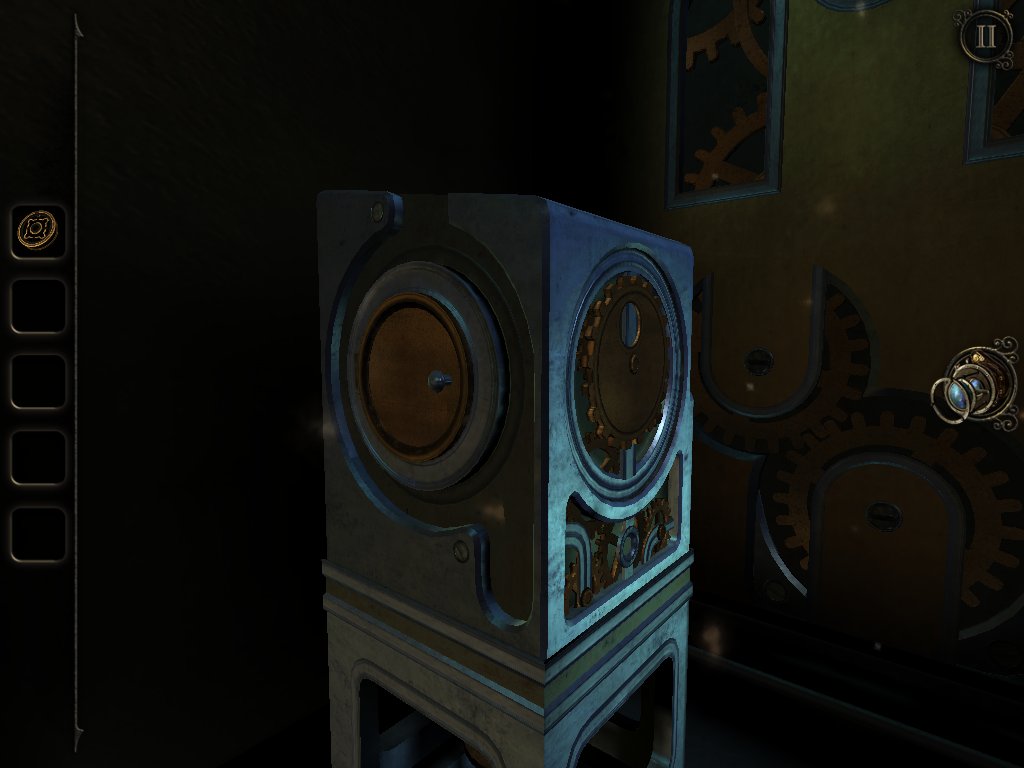
Open up the circular panel on the left of the box to find a crank handle.
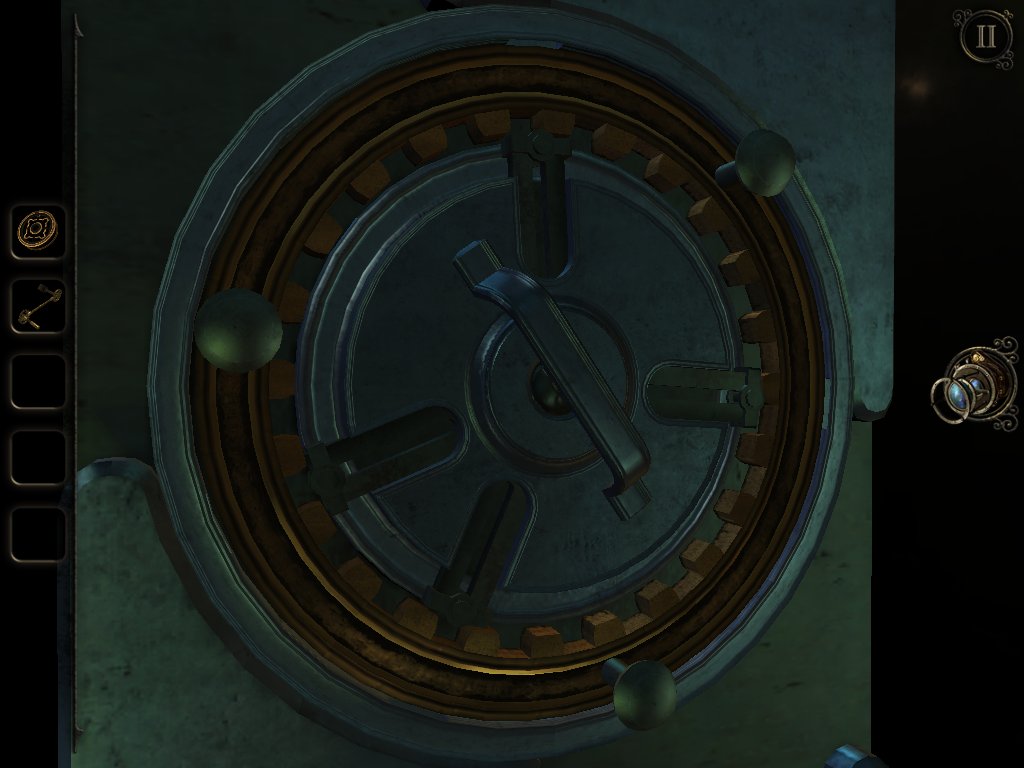
Inspect the right side of the box and turn the centre piece until it aligns with the four metal pins on the outer edge. When they drop into place, take the metal ring.
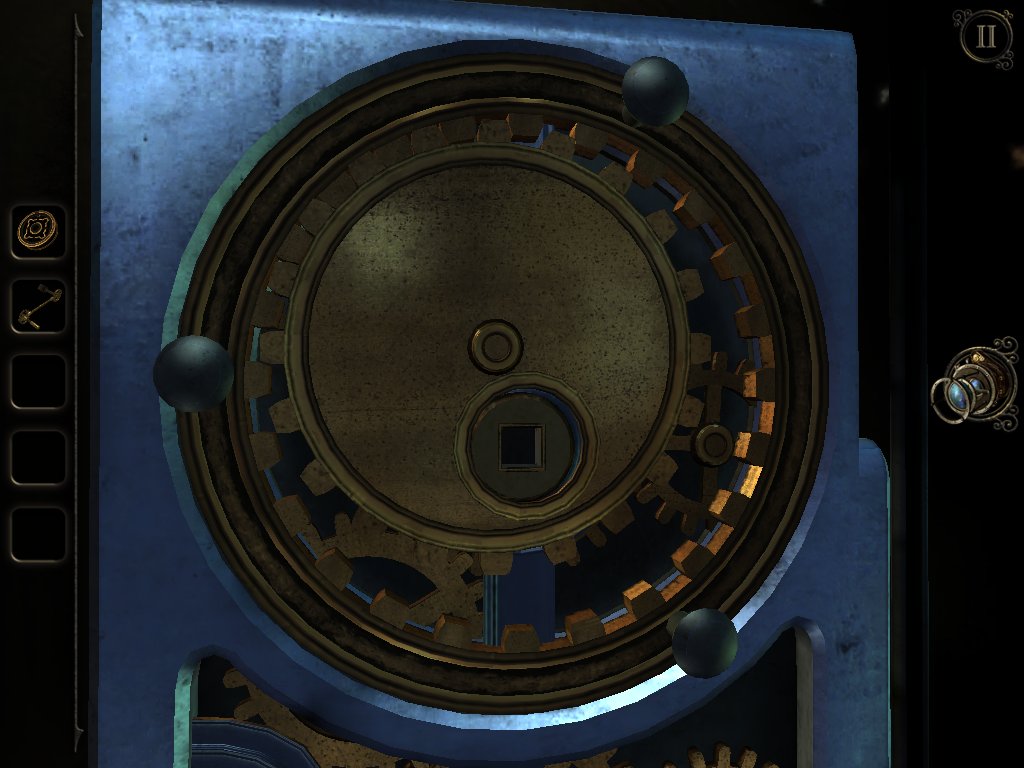
Pop the metal ring onto the front of the box and rotate it so that the hole is over the square slot. Insert and use the crank handle to reveal a panel at the top of the box.
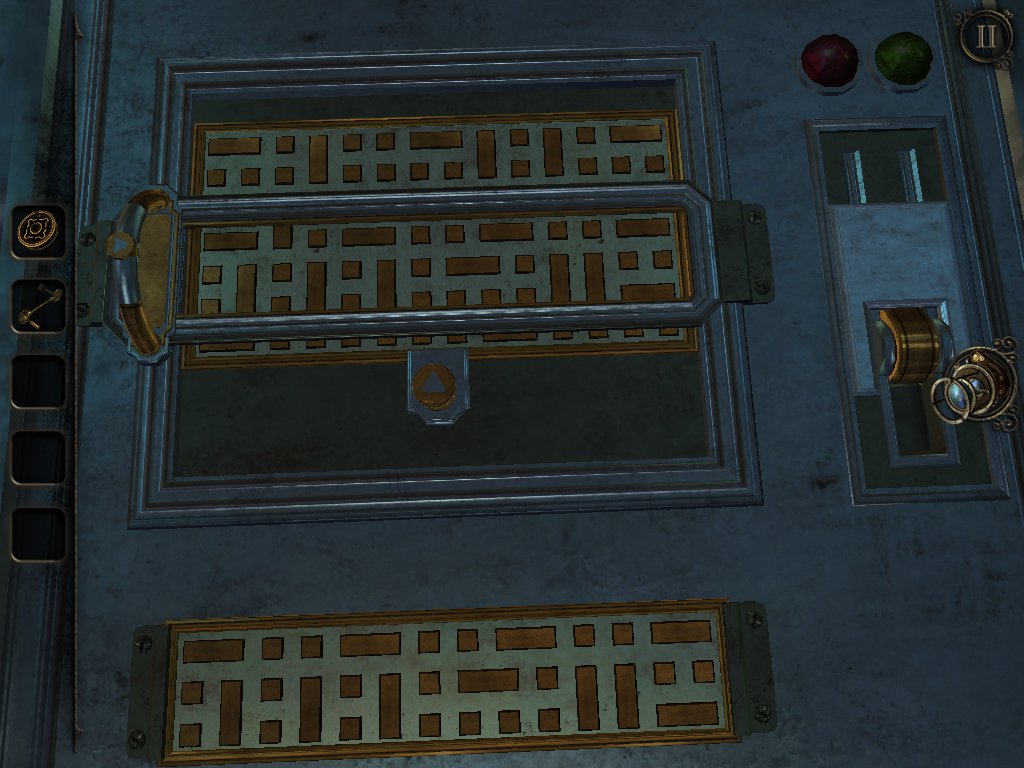
Slide the frame into the position above so that it matches the image at the bottom, then pull the handle on the left across to the right and flip the switch.
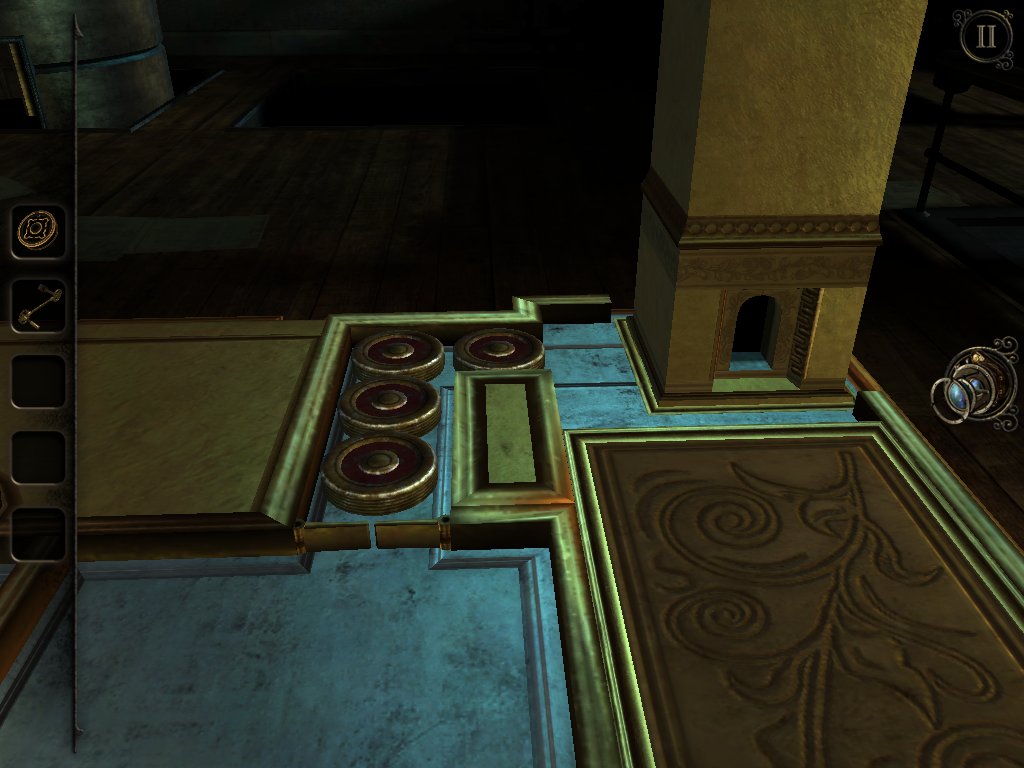
You'll be deposited back outside to solve the maze puzzle. Use the bottom left switch to move the discs horizontally, and the one on the right to move them vertically.
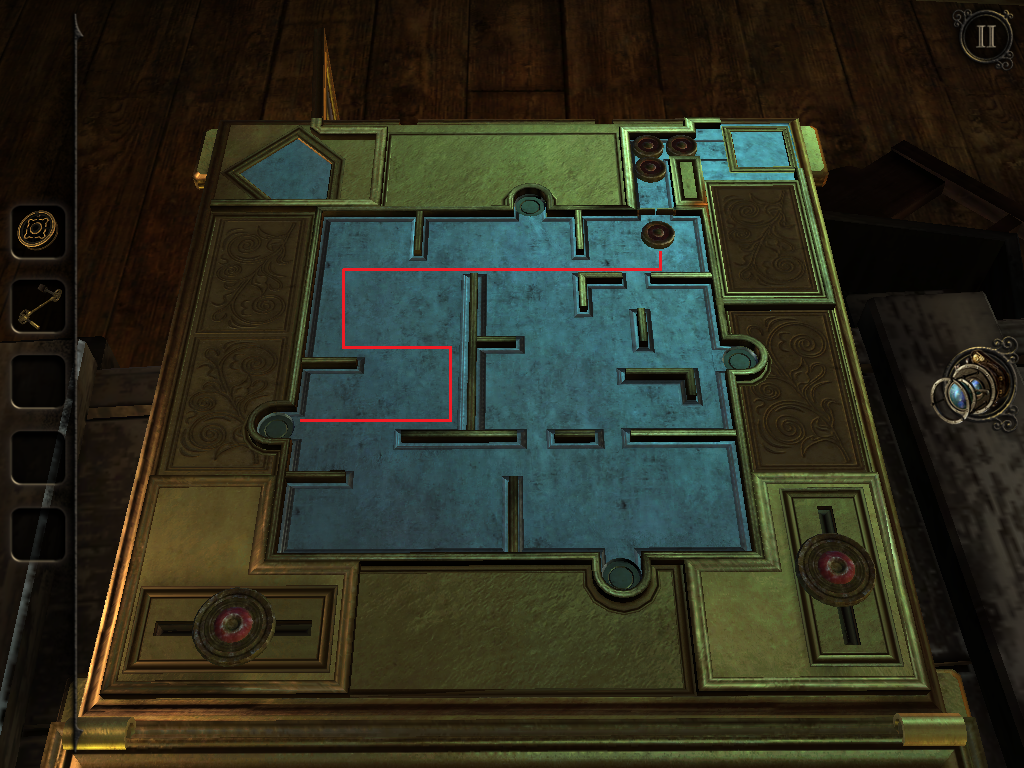
Here's what to do with the first puck.
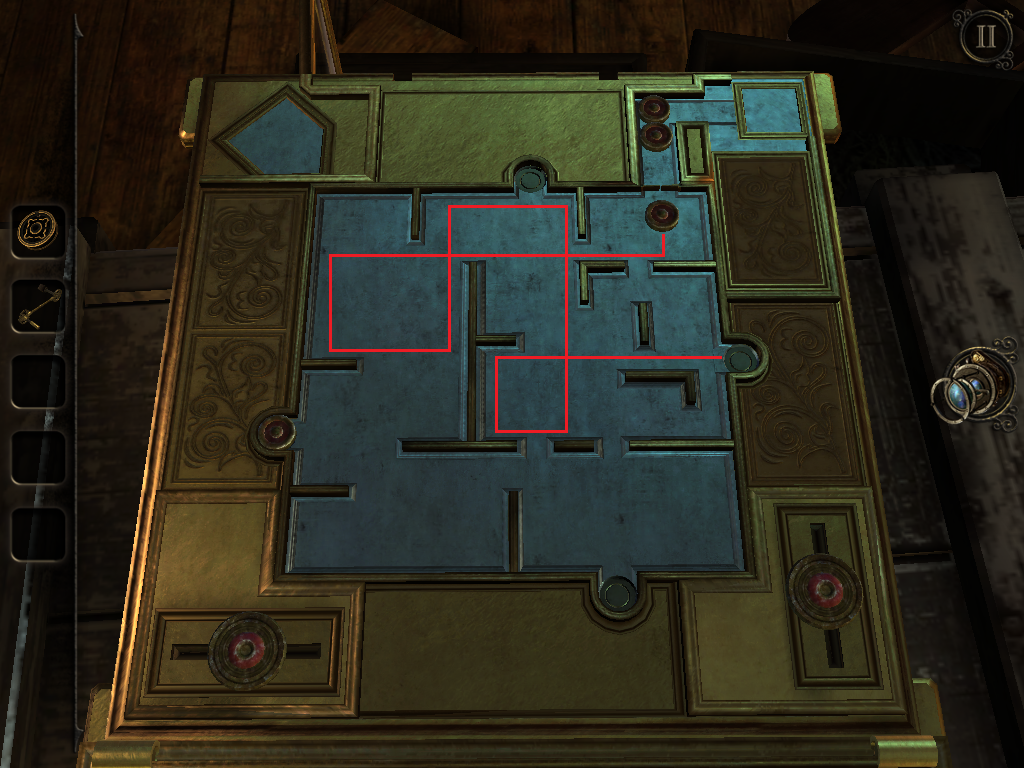
Here's the path for the second one.
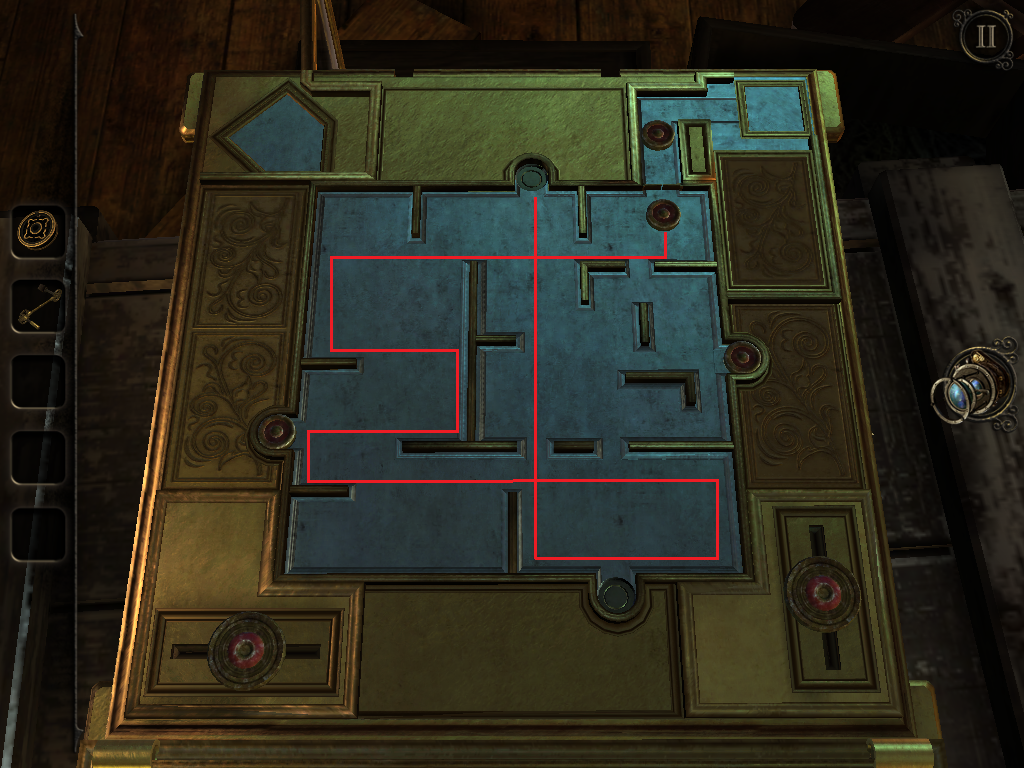
The third route.
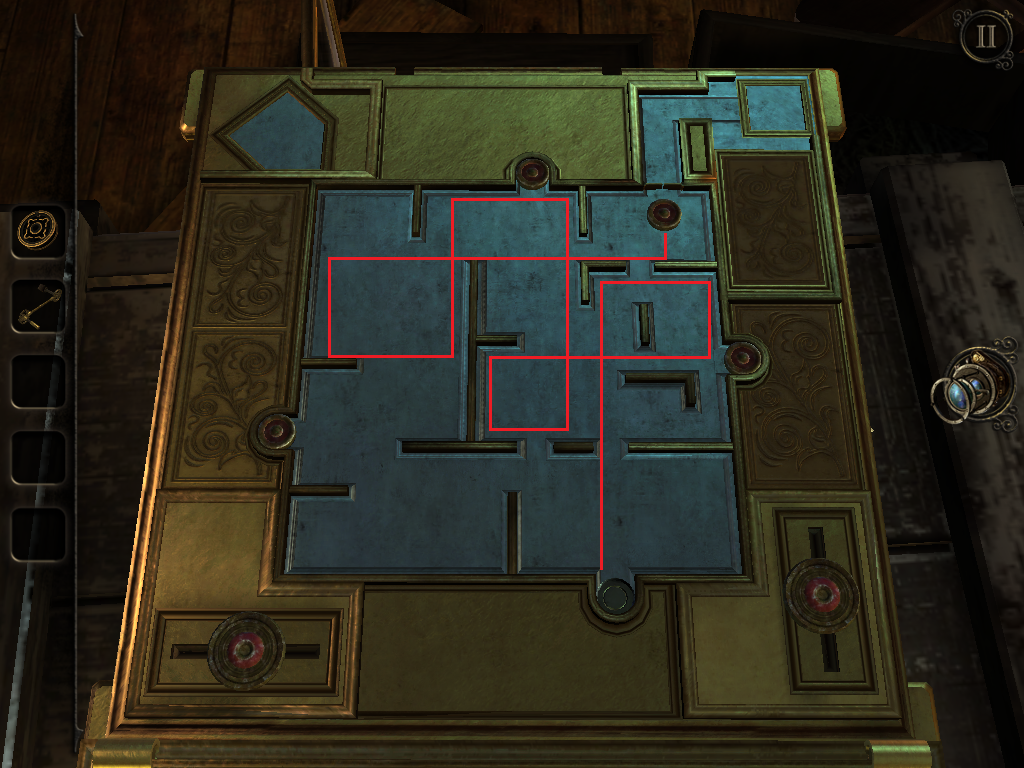
And the final puck's path.
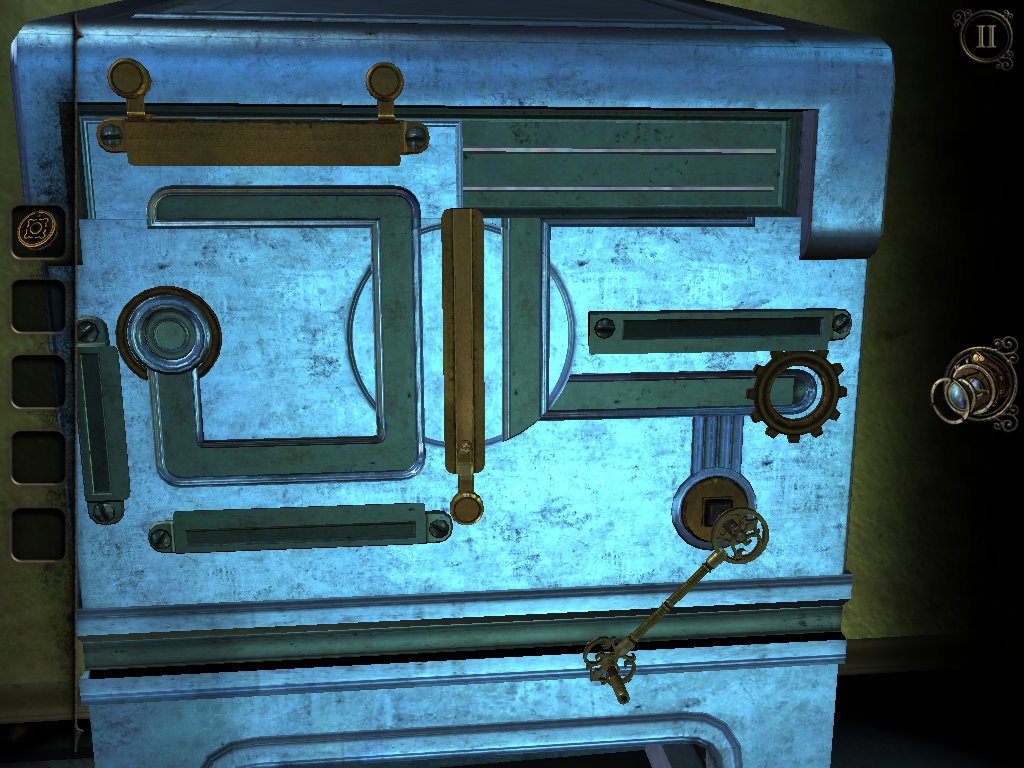
Use your eyepiece to peek into the newly opened hole and insert the crank handle into the slot on the right.
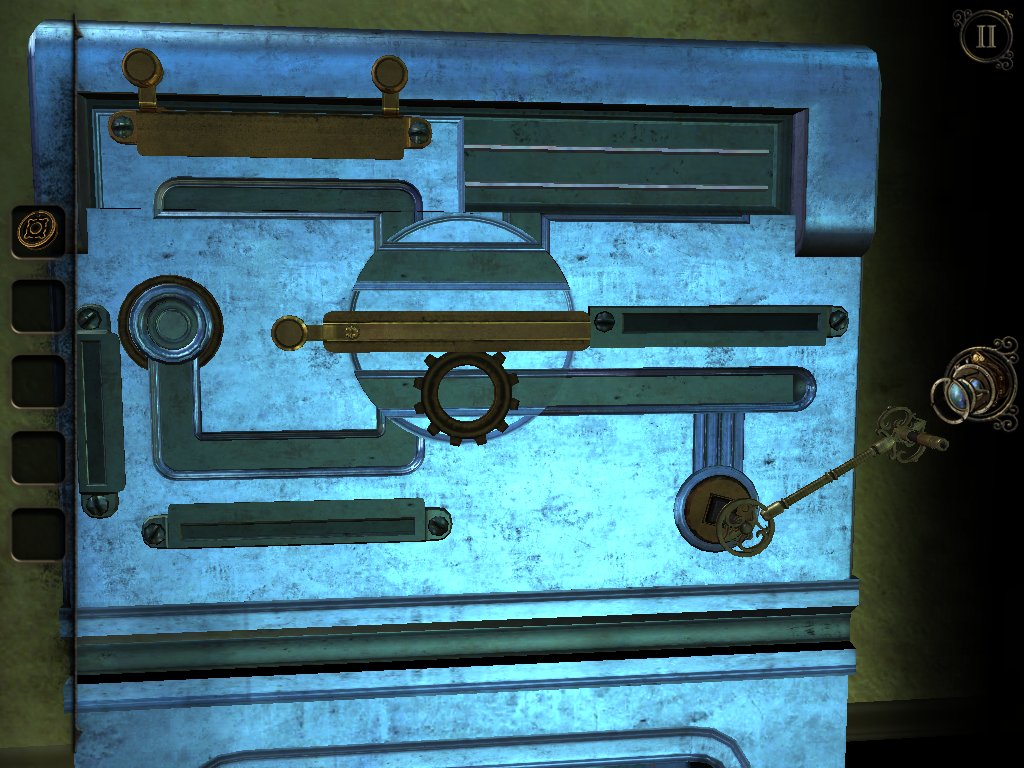
Rotate the disc in the middle so that the lines are horizontal and move the gear over to it using the crank.
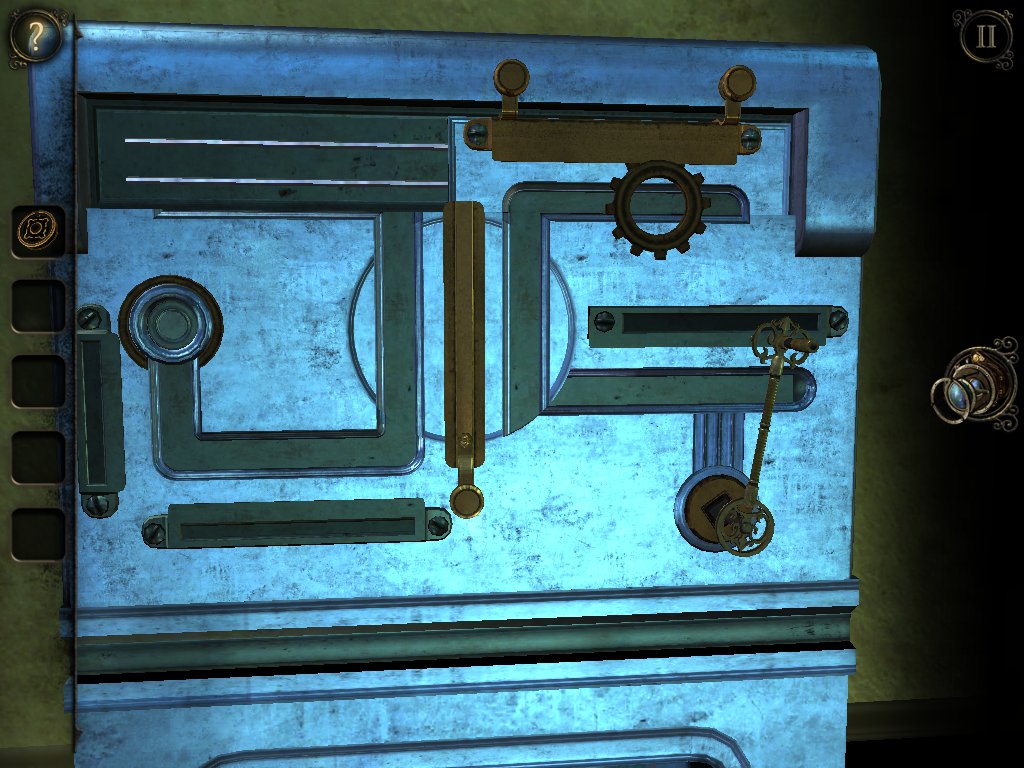
Rotate the disc to the vertical position and slide the top section across to the right, Use the crank to move the gear onto the top panel.
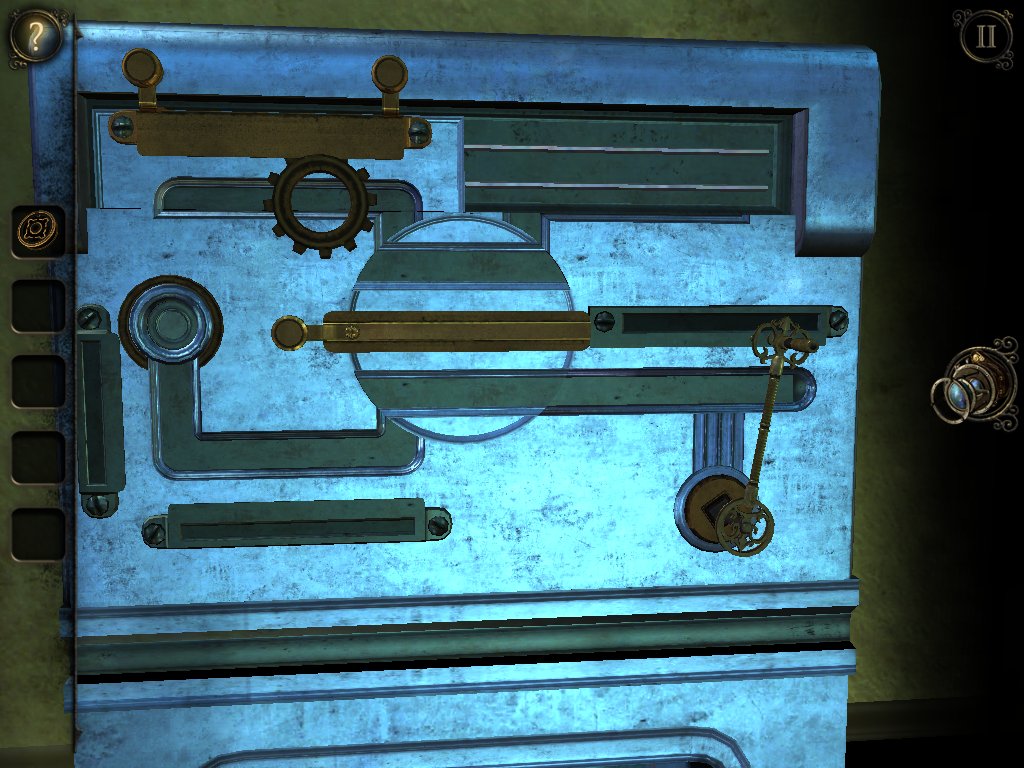
Rotate the central disc to the horizontal position and slide the top panel back over to the left.
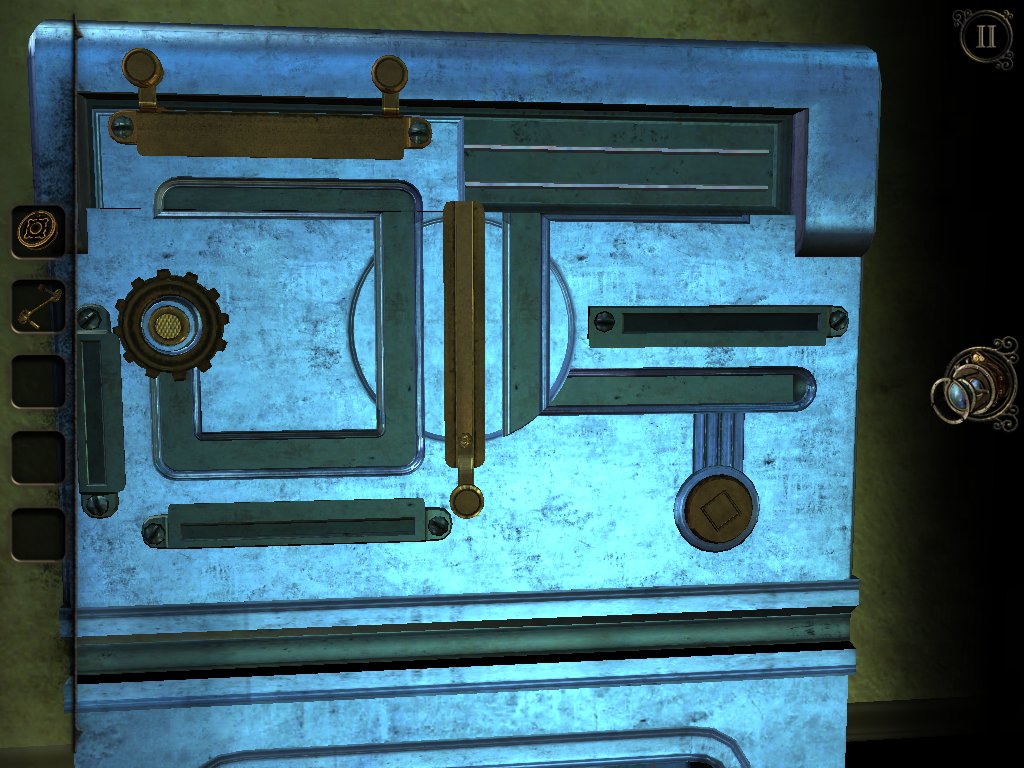
Now spin the centre circle to the vertical position again and use the crank to get the gear to the end of the track over on the left, then push the button that pops up.
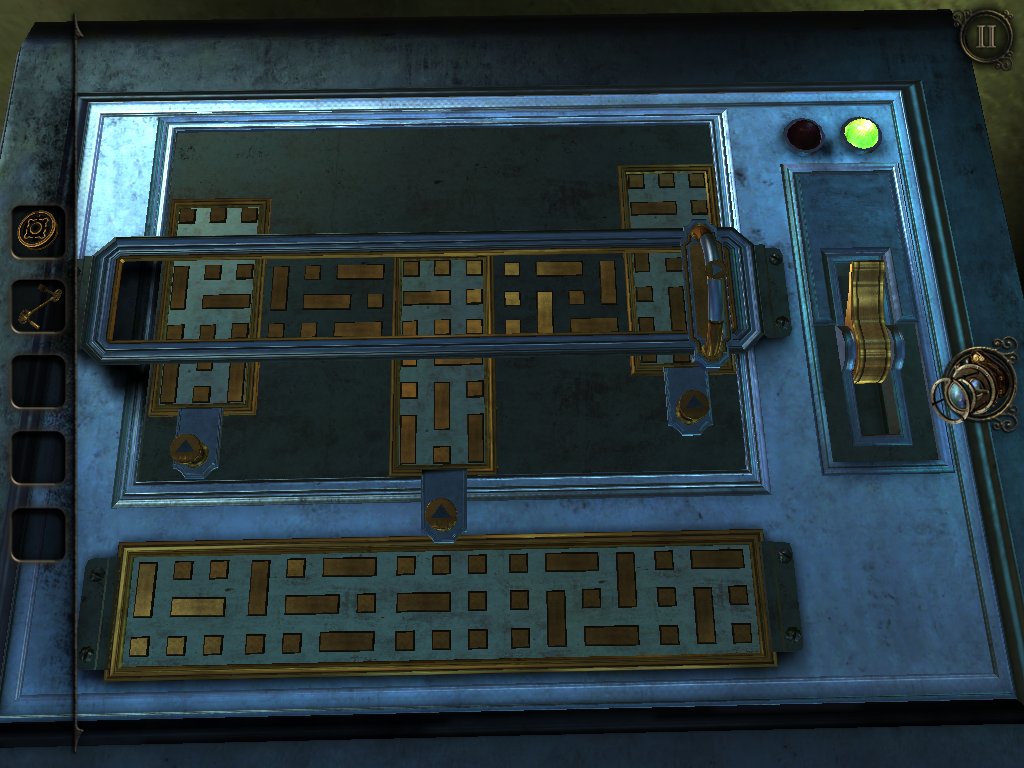
Scoot up to the top of the box and line up the panels underneath the metal frame to match the bottom image, then slide the handle from left to right, flip the switch, and grab the gear.
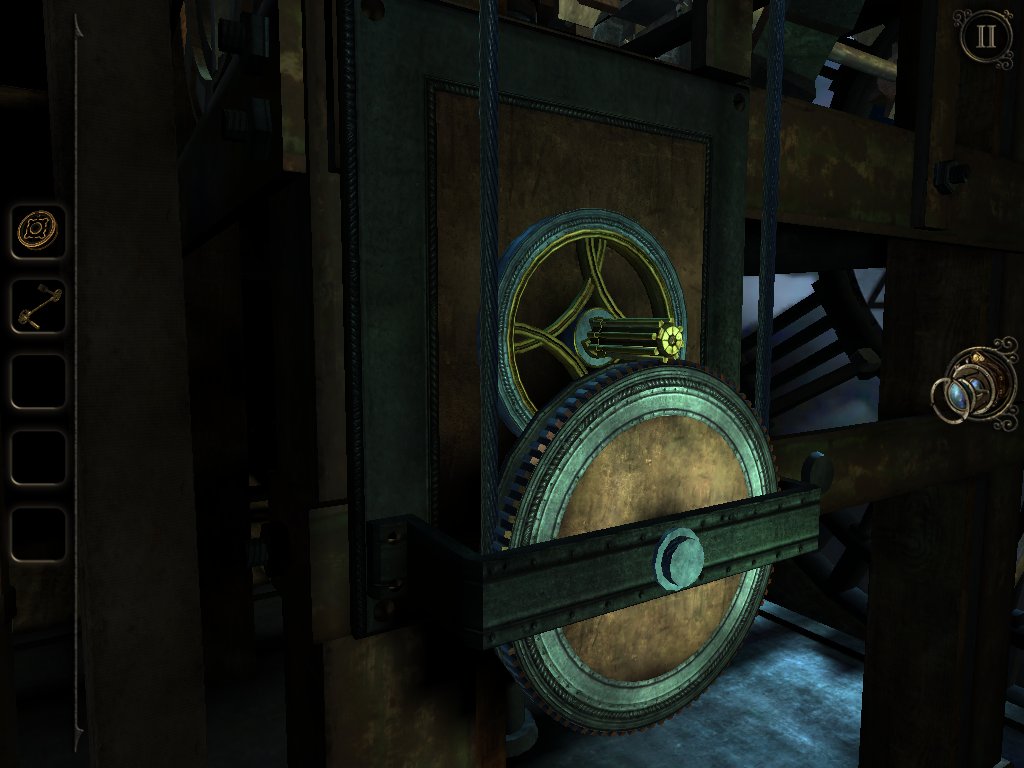
Now that you're back in the main room, stick the gear into this mechanism, to the left of the grey box.
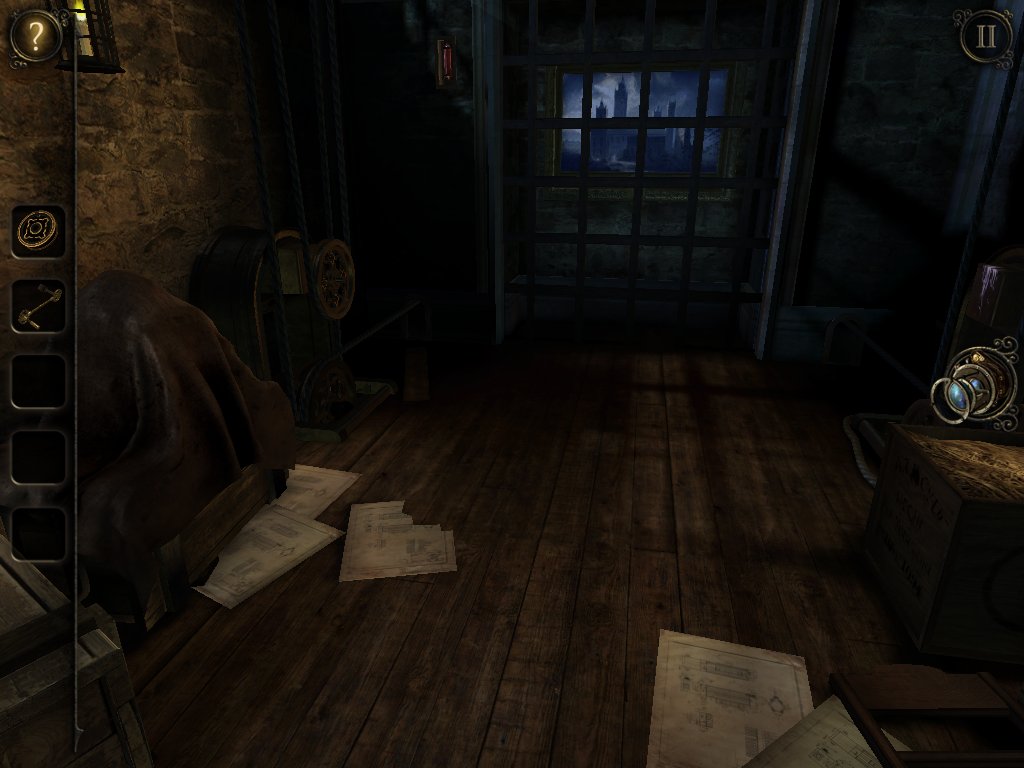
Make your way up the new staircase and examine the wheel to the left.
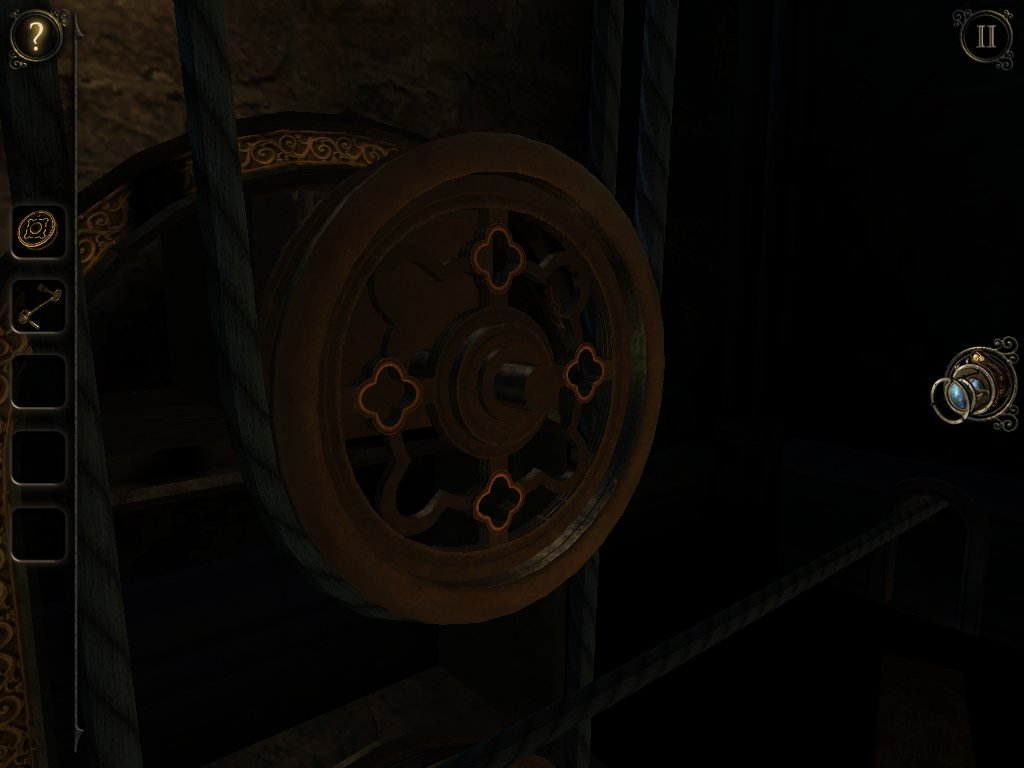
Pop the metal wheel over this one and spin it anticlockwise to ring the bell above.
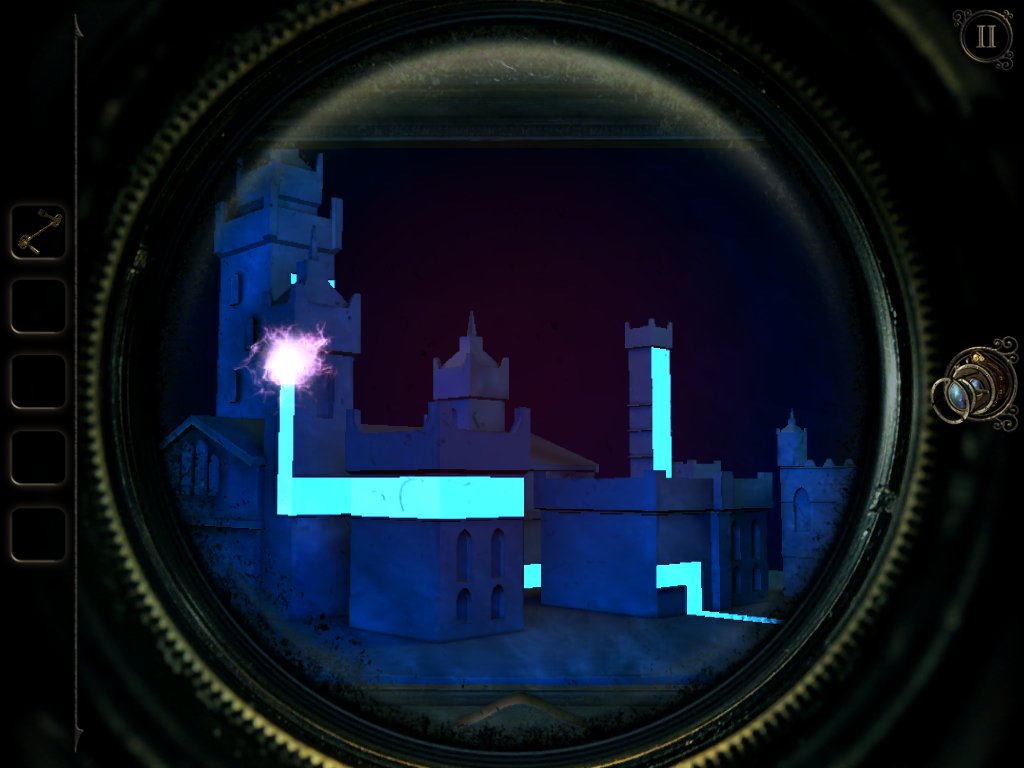
Use your eyepiece to view the painting and you'll see a puzzle inside. This is really straightforward - just rotate the camera so that blue lines form connected pathways to move the purple blob along. Keep spinning it to reveal the route and take the clock face that's your reward.
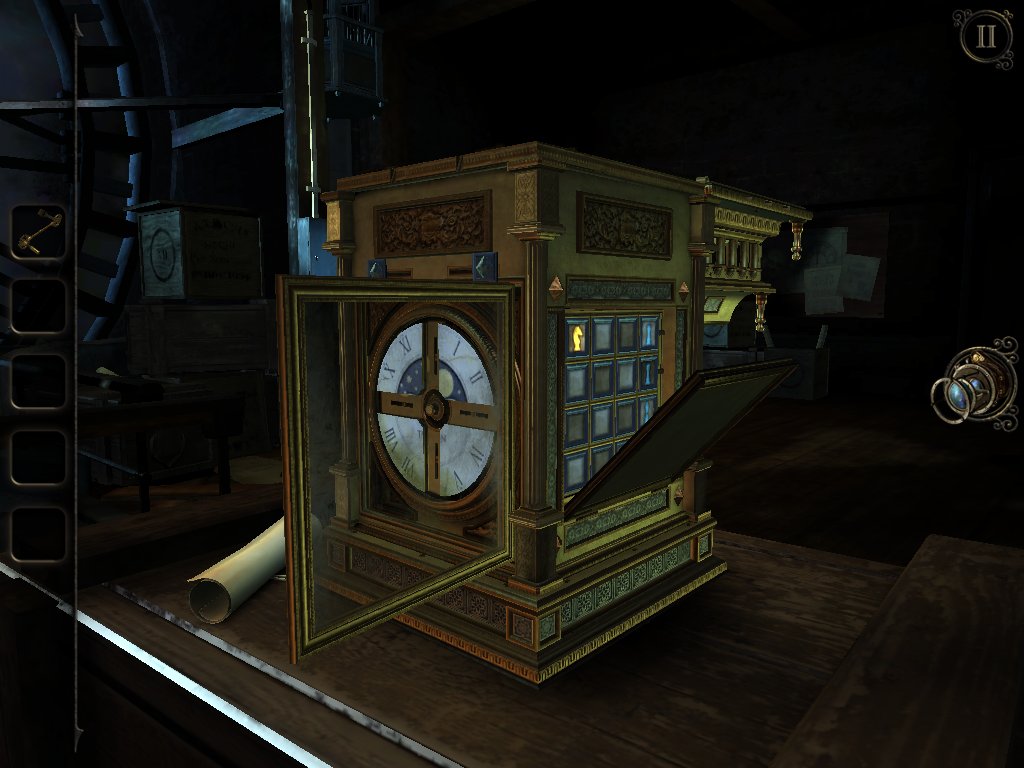
Make your way back downstairs and push the clock face onto the side of the gold box to reveal a panel on the side. The aim of this puzzle is to defeat the rooks with the gold knight.
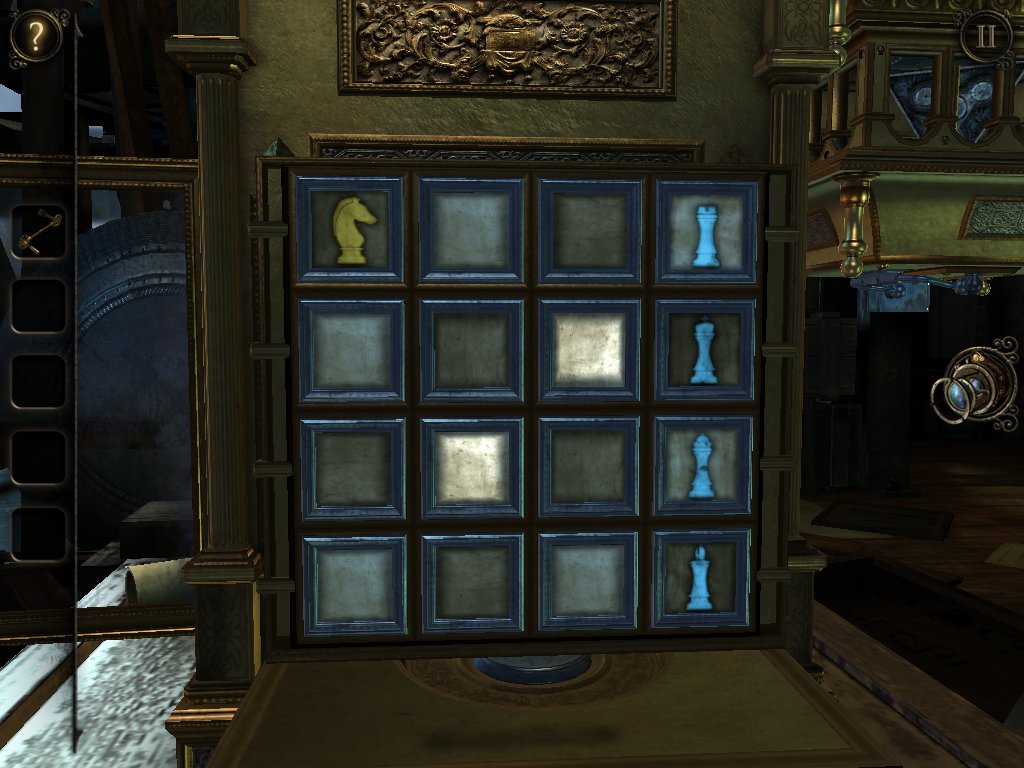
Tap the knight to view the possible positions it can move to. Tap the top of the two squares.
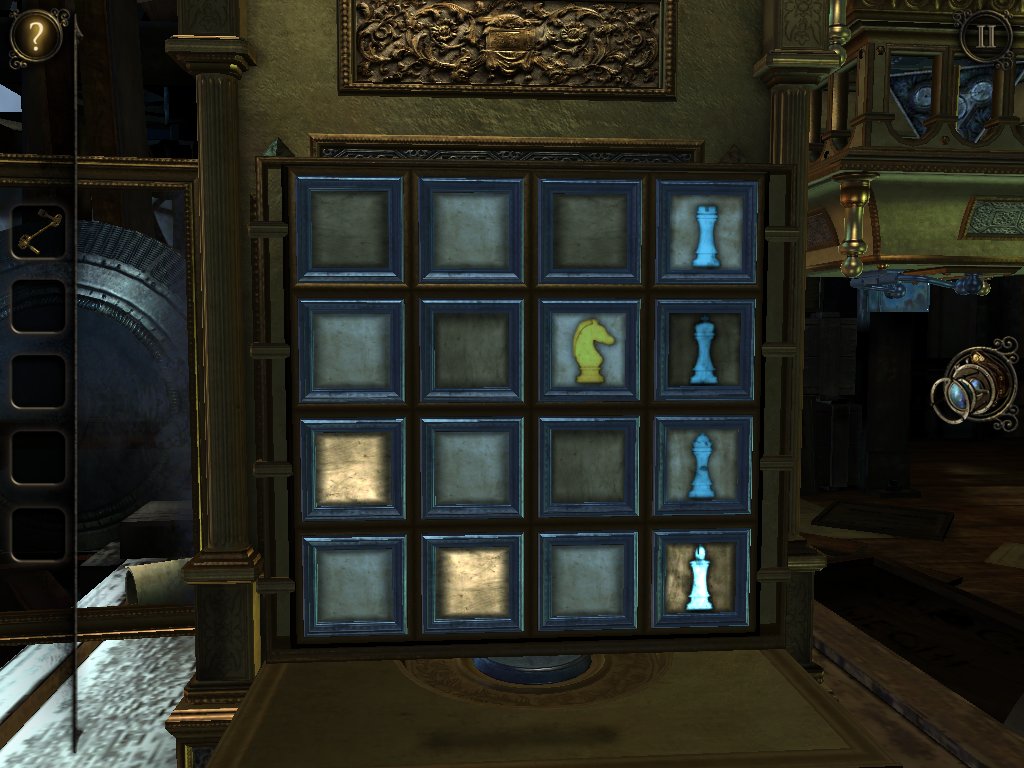
From here, take the rook highlighted at the bottom right.
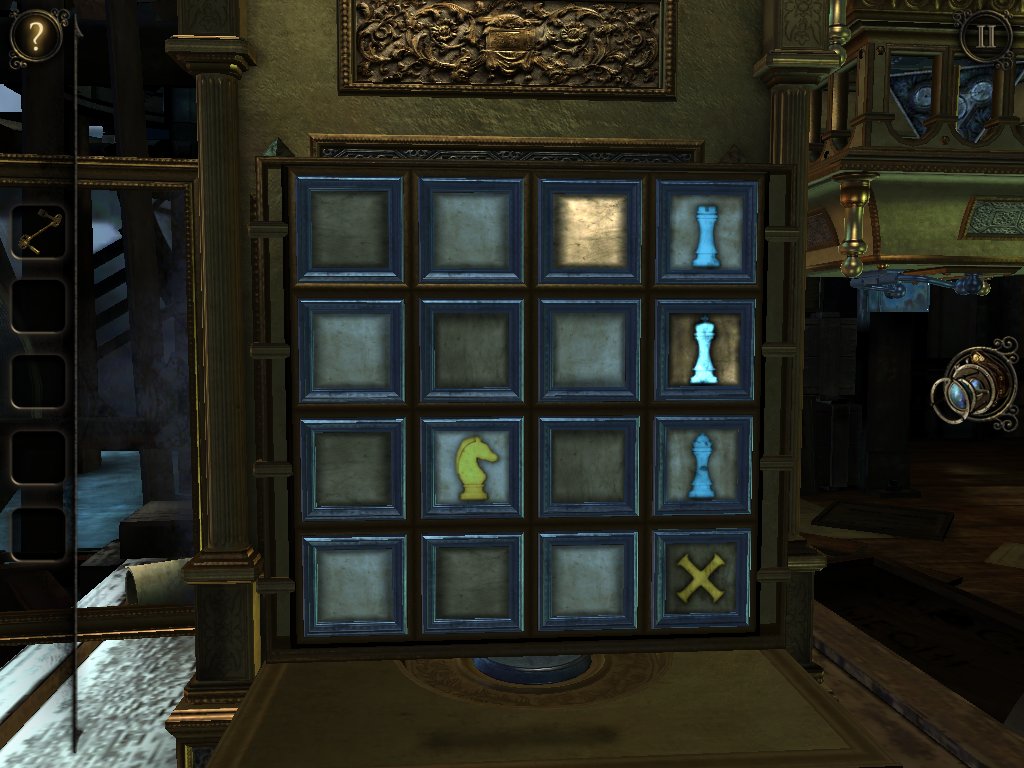
The board will reset, so tap the knight and move it to the square pictured above, then take the highlighted rook.
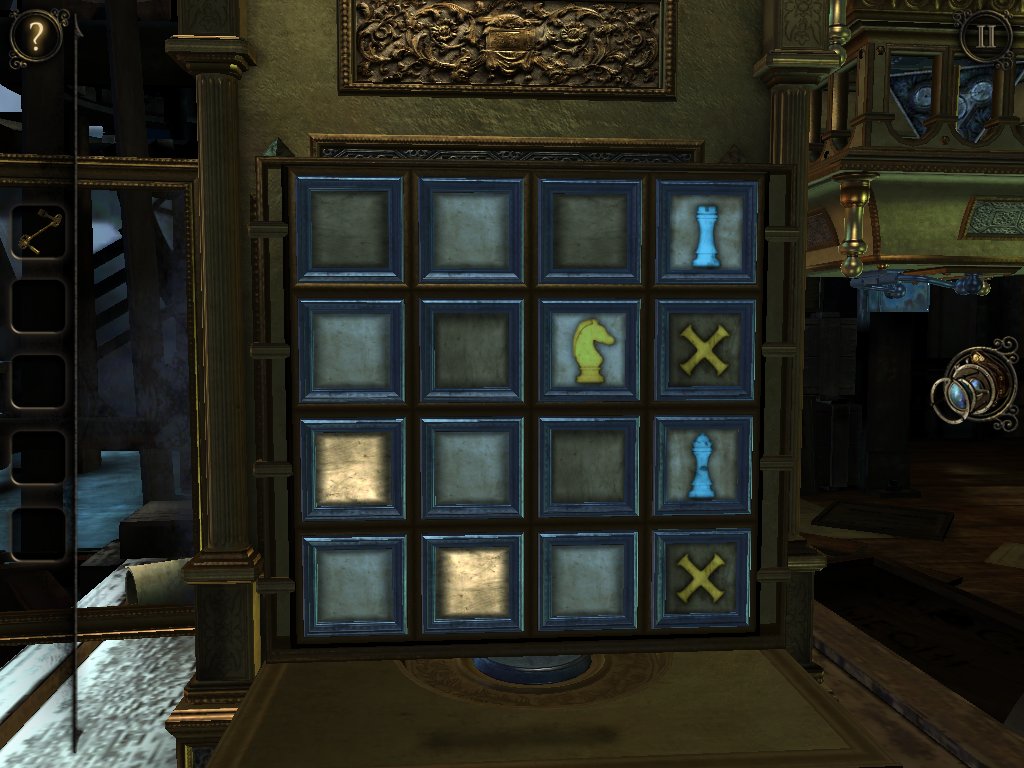
Once the board resets, move the knight to the position above.
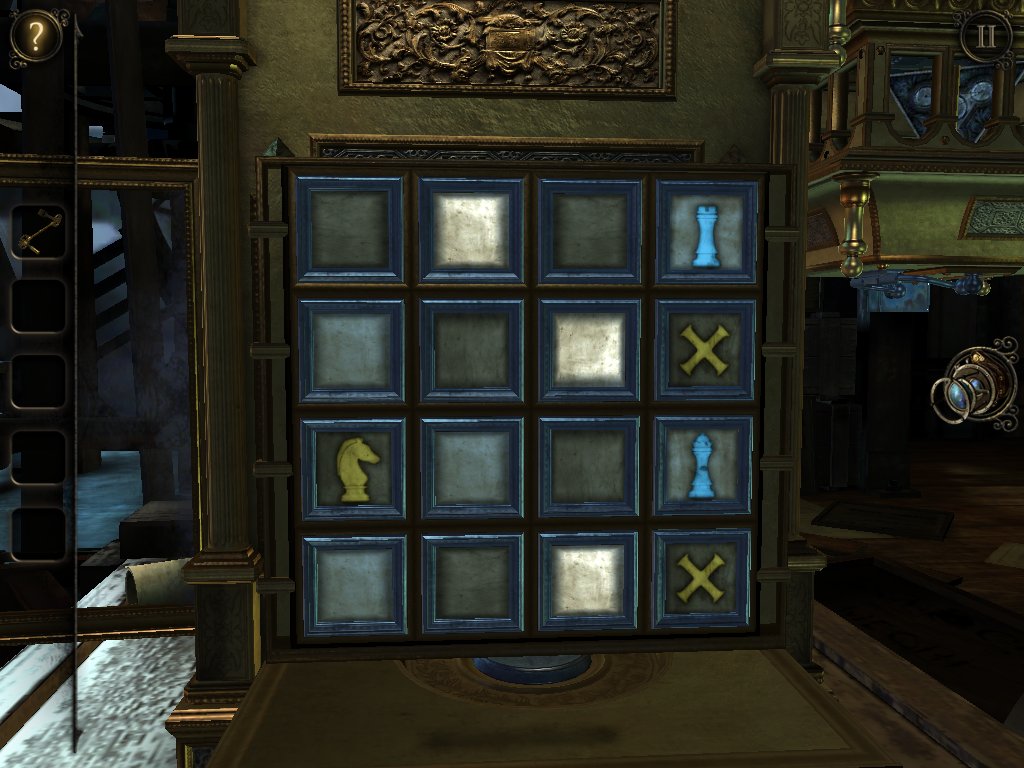
Then to this square.
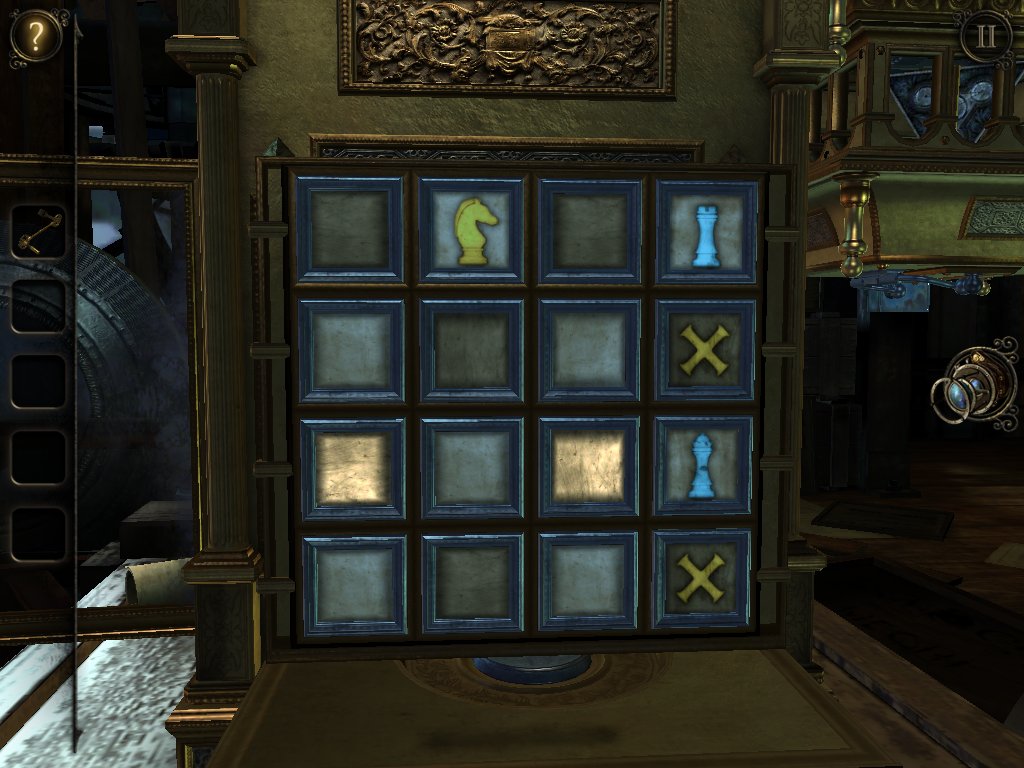
The next move is to the top of the board.
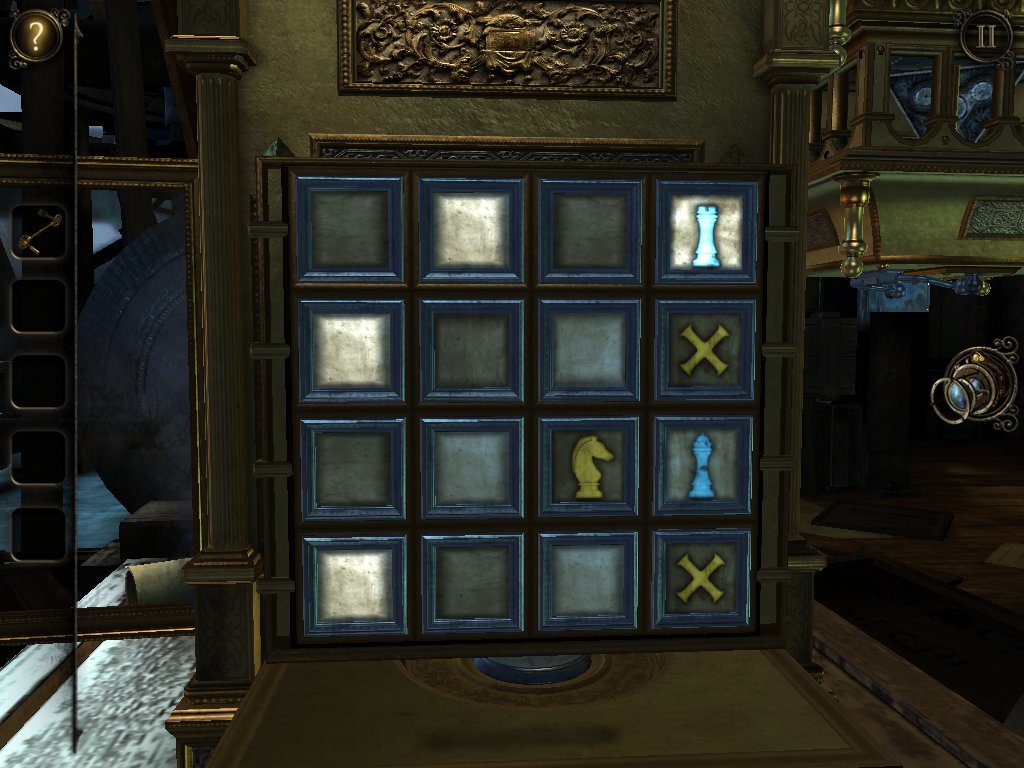
Now move it to this space. From here you can take the rook at the top.
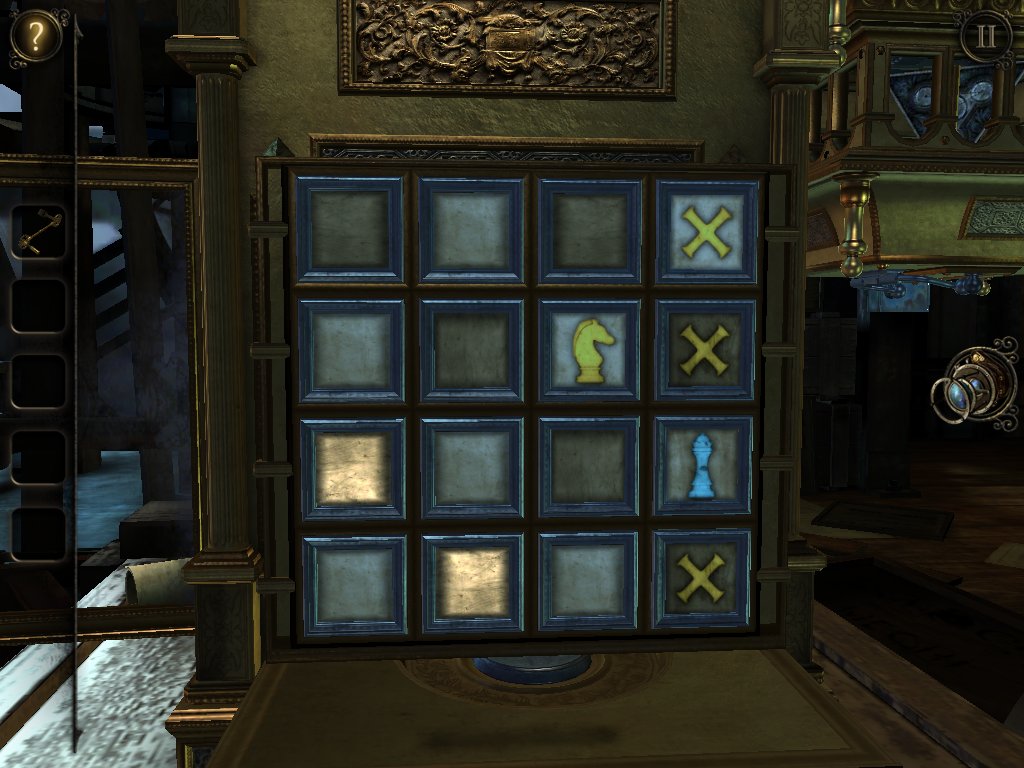
After the final reset, move the knight to the square as above.
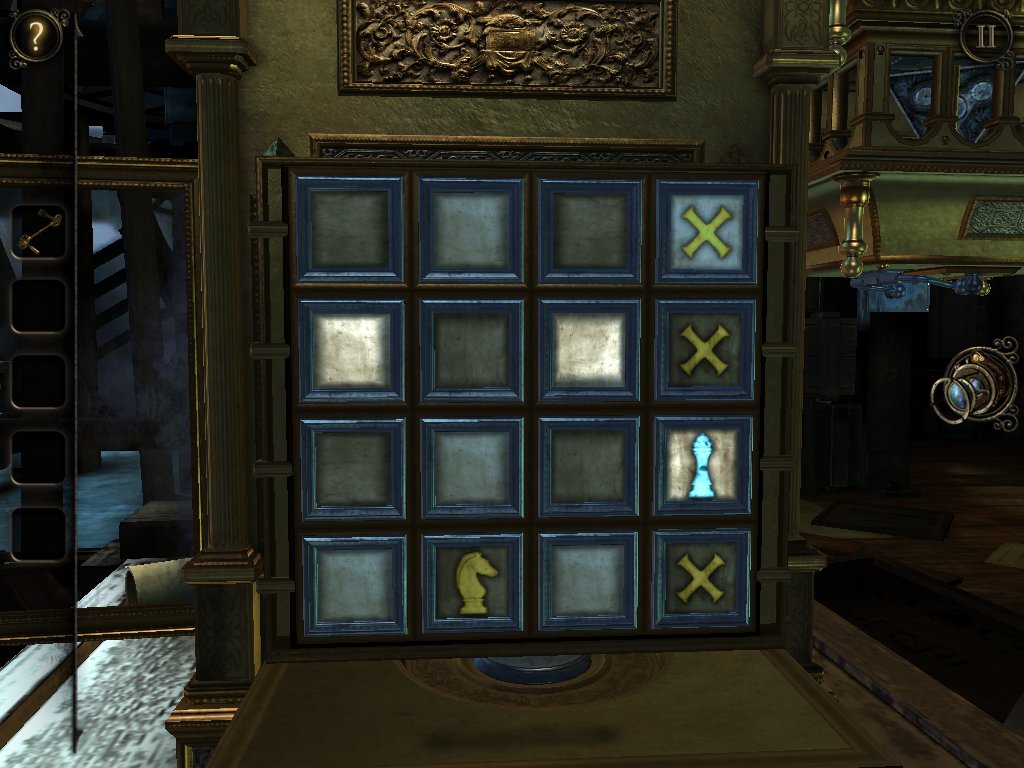
Then down to the bottom, where you can take the last highlighted rook.
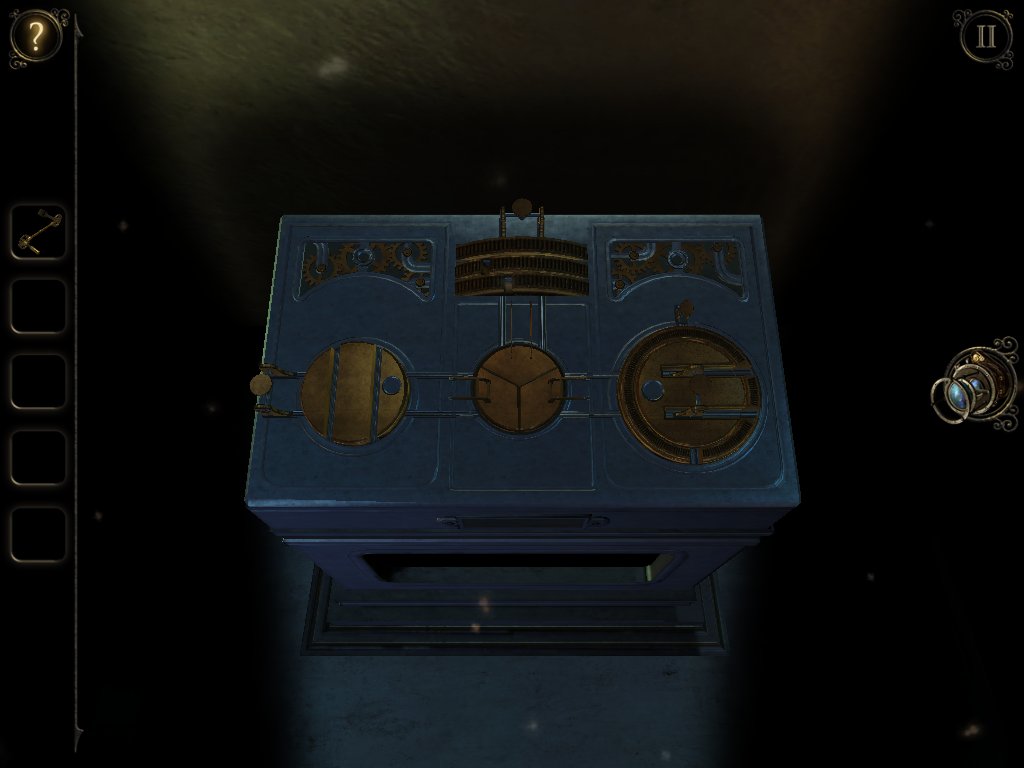
Look inside the opening that materialises using your eyepiece.
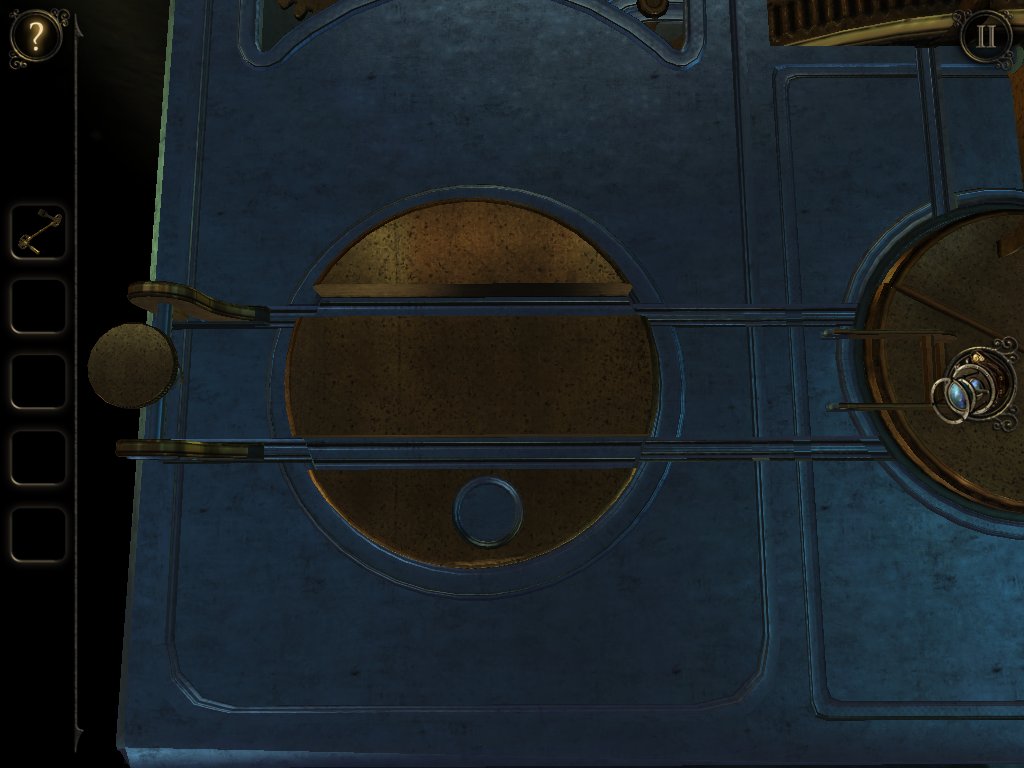
Rotate the disc on the left so that the lines are horizontal and slide the handle on the edge over tot he middle.
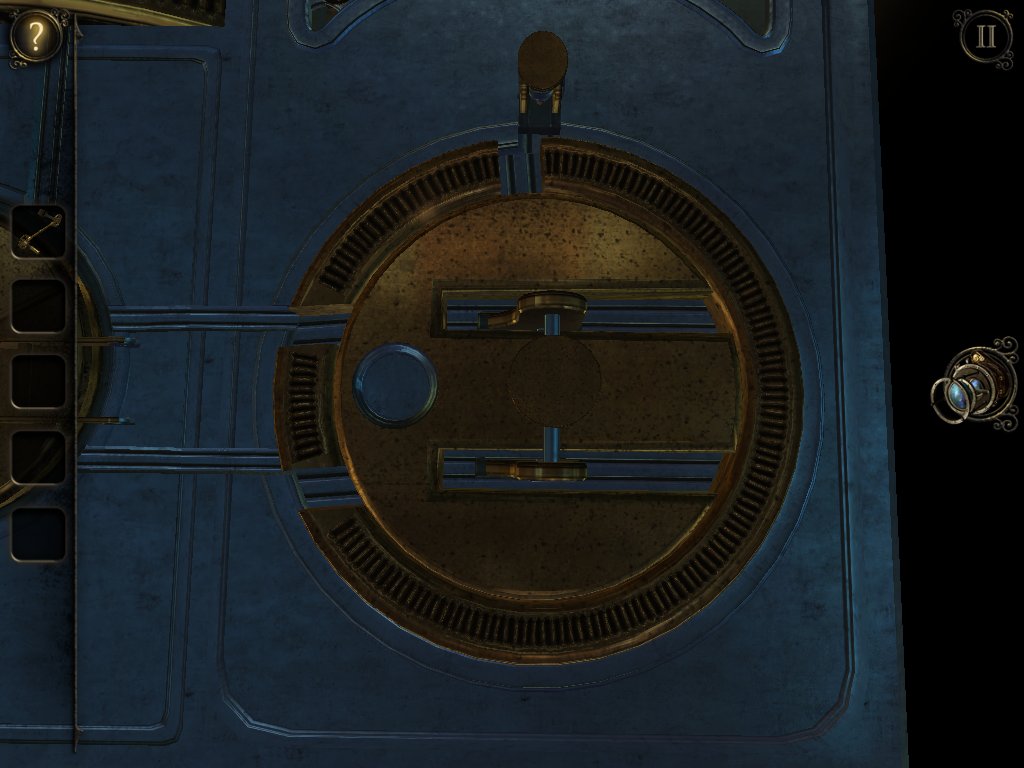
Spin the left disc around to the horizontal position. You'll need to use your other hand to slip the latch at the top into the third slot to keep the disc in place. Slide the handle over to the middle.
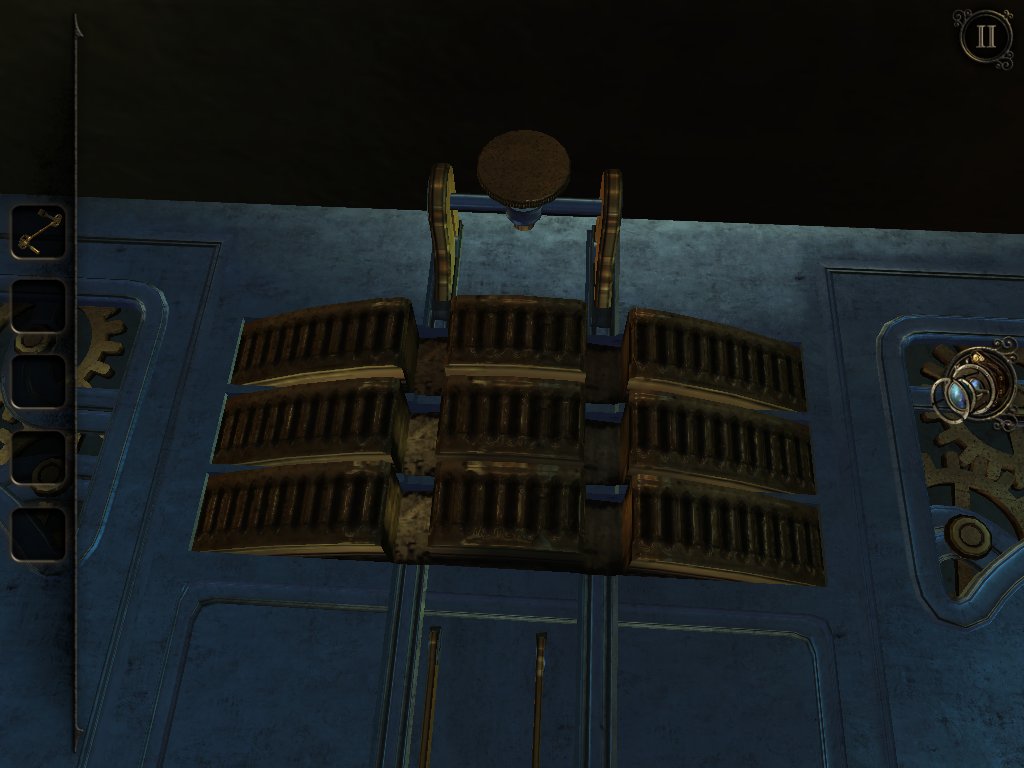
To get the third handle to the middle, spin the dials around until you've created two vertical tracks for the handle to be pulled through, and yank it down.
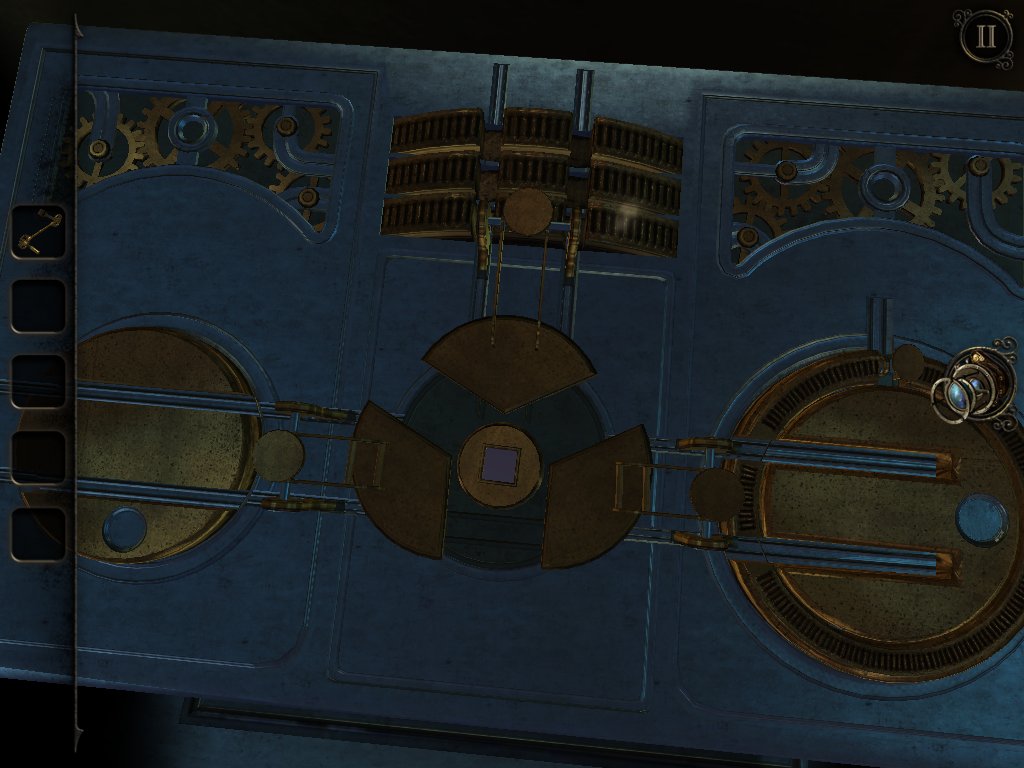
Retract all three handles and insert the crank into the hole. Twirl it around to pop the lid open.
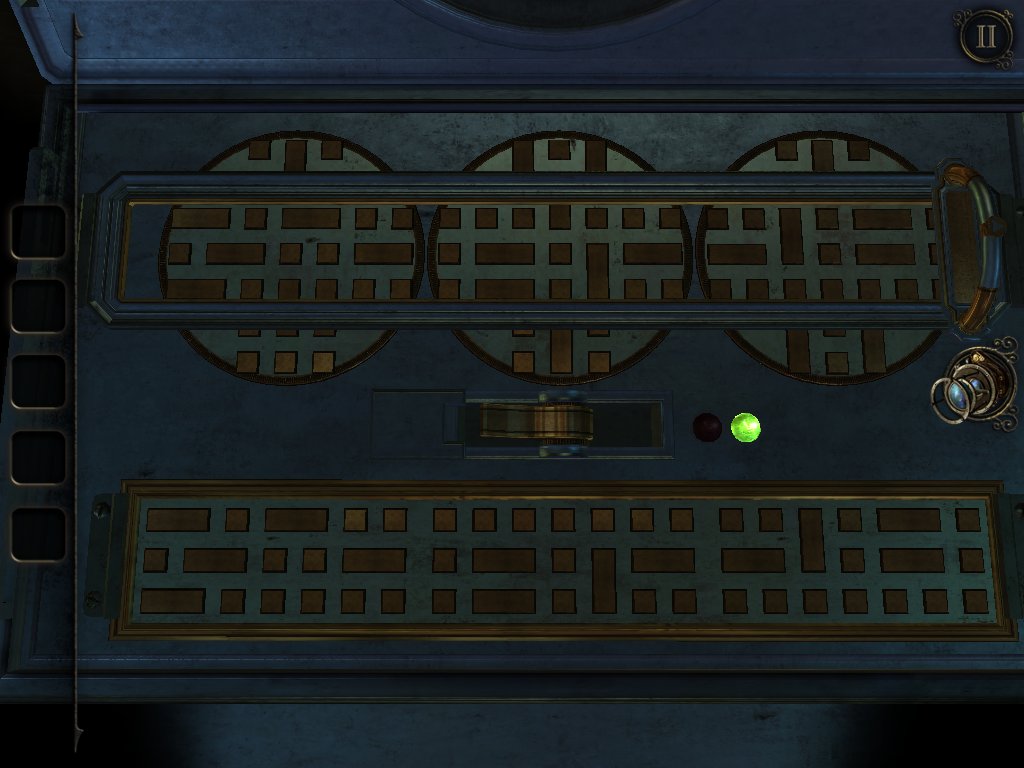
Match the pattern beneath the metal frame to the one at the bottom of the panel, slide the handle over, and flip the switch. Pick up the handle with the socket.
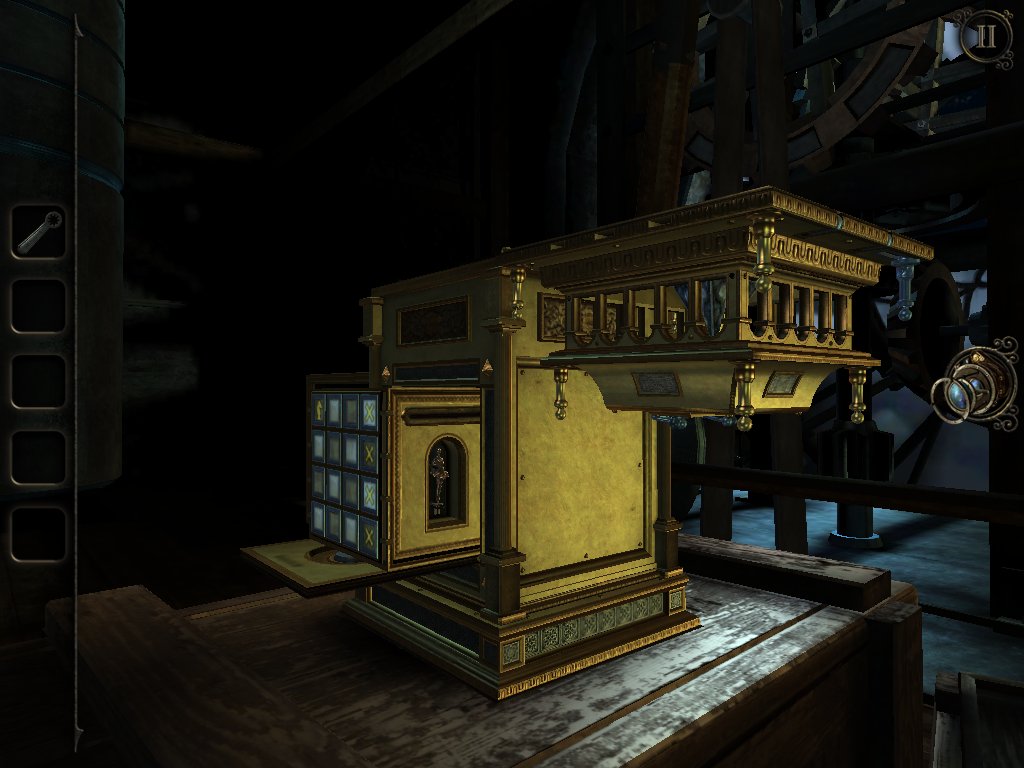
Back in the main room, grab the ballerina figurine from the side of the box.
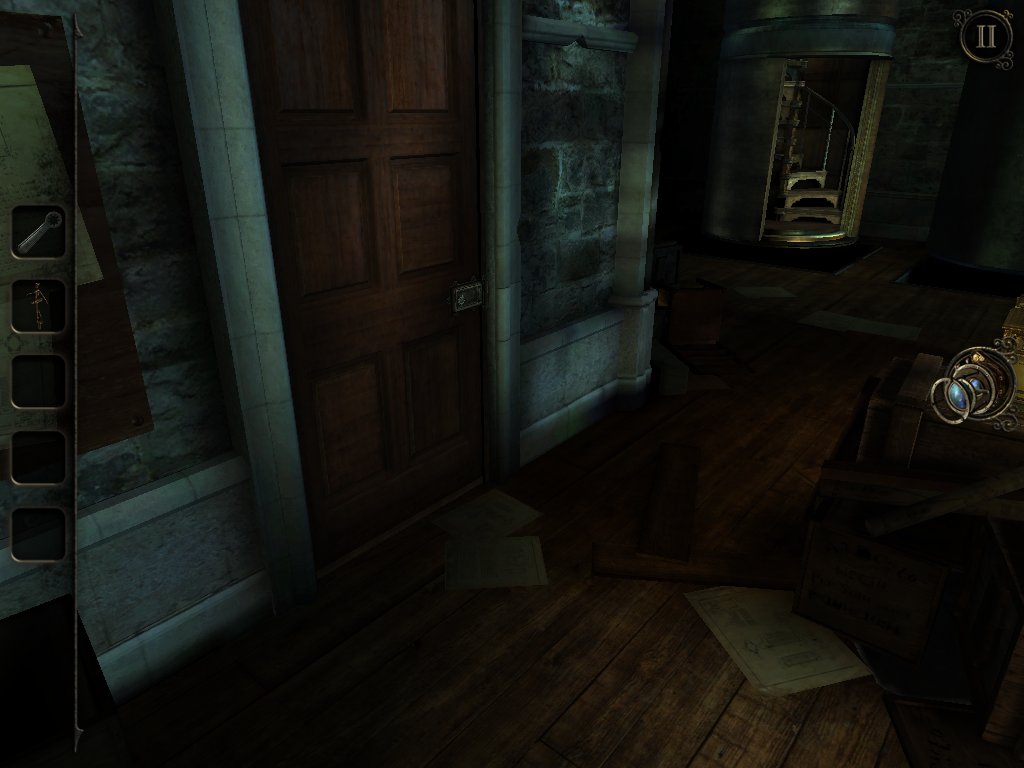
Open the door to the left of the stairs using the handle you just picked up and head on through.
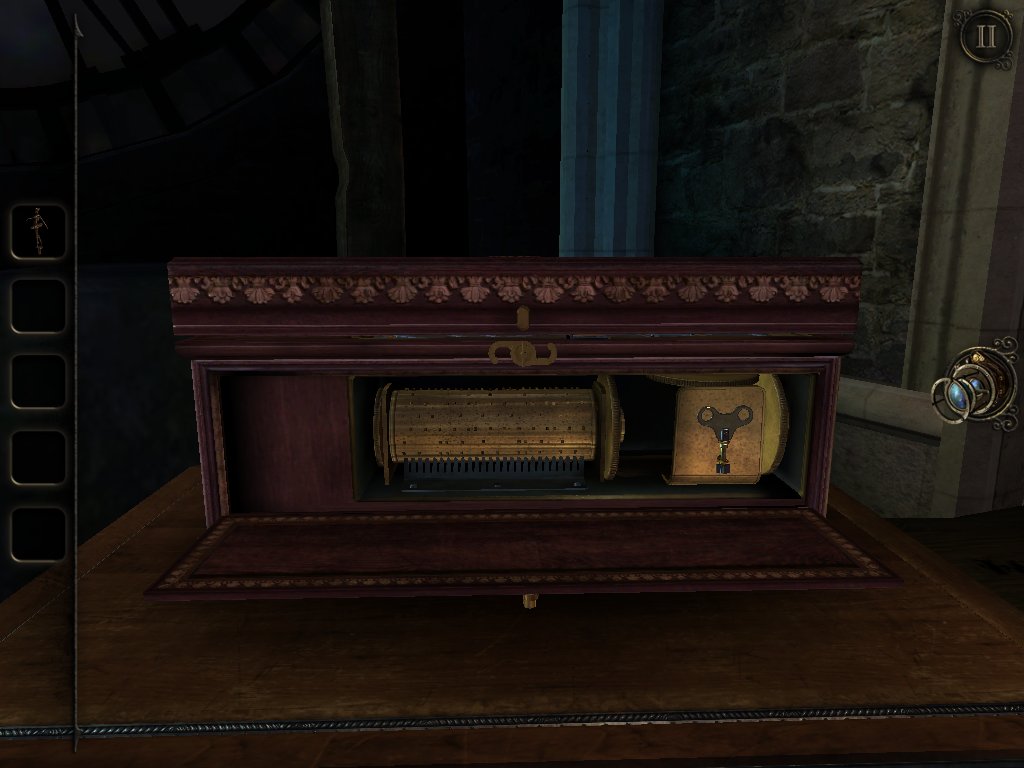
Examine the red box in the corner, flip the latch, and pick up the winding key.
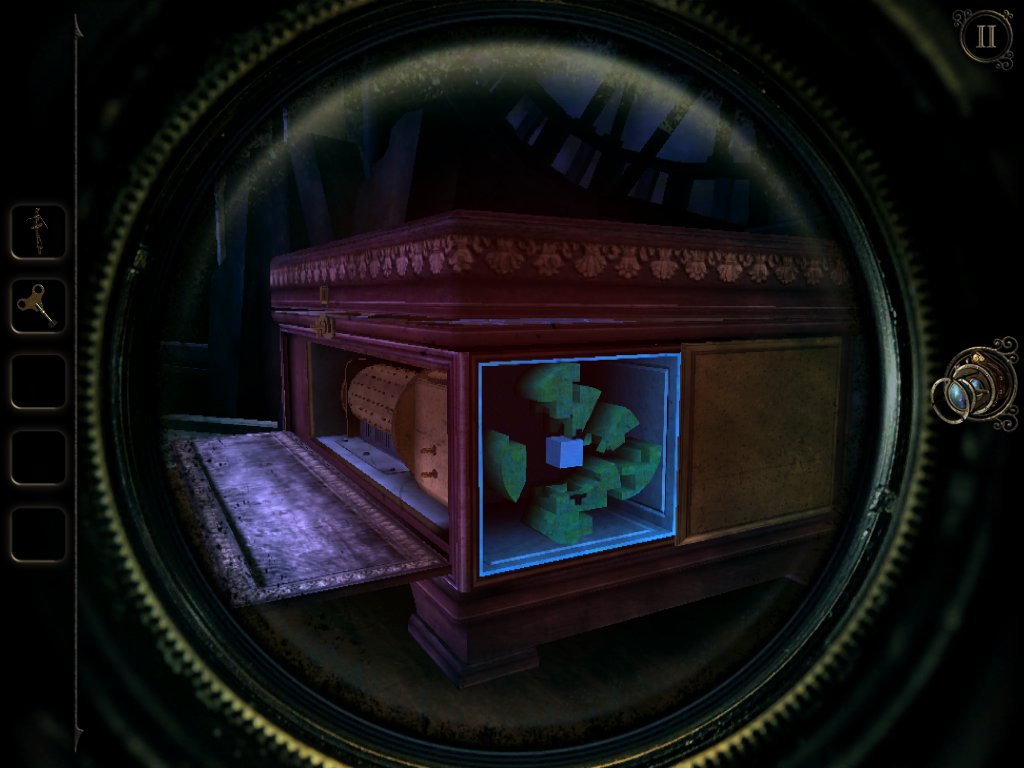
Slide the panel over on the right side of the box and whip out your eyepiece.
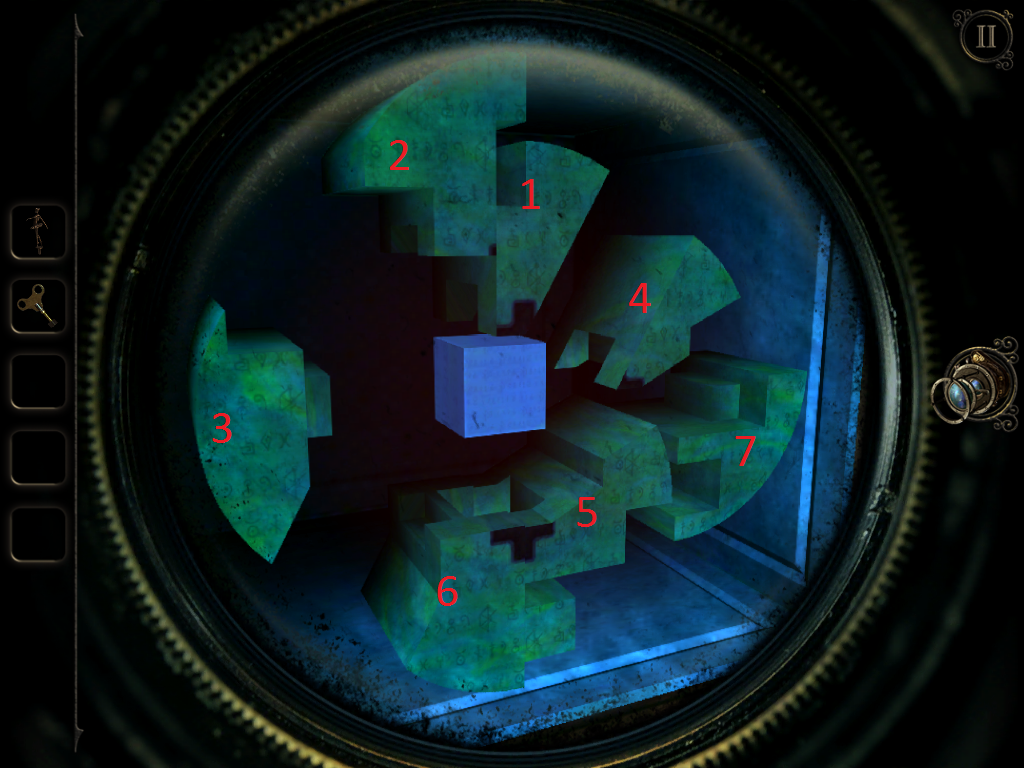
Slot the pieces into place in the order above, then use the winding key in the hole.
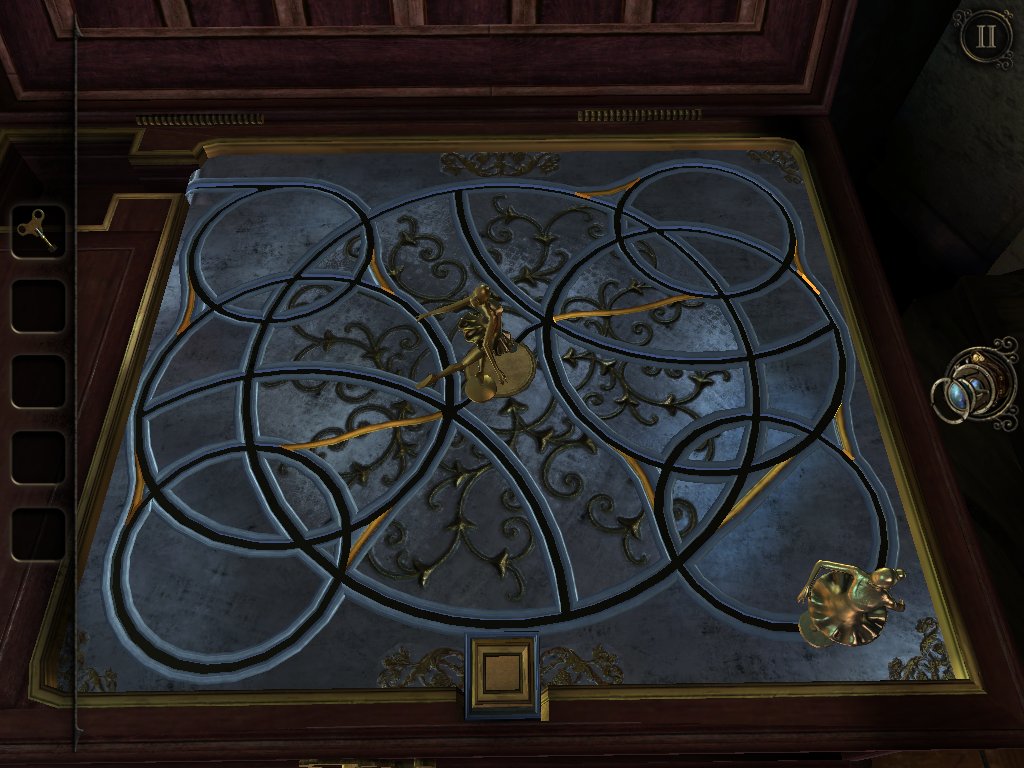
Open the lid to find another simple puzzle. Press the button to depress the gold pieces in the track and guide the ballerina into the centre. Insert the ballerina figurine you picked up earlier and repeat the process.
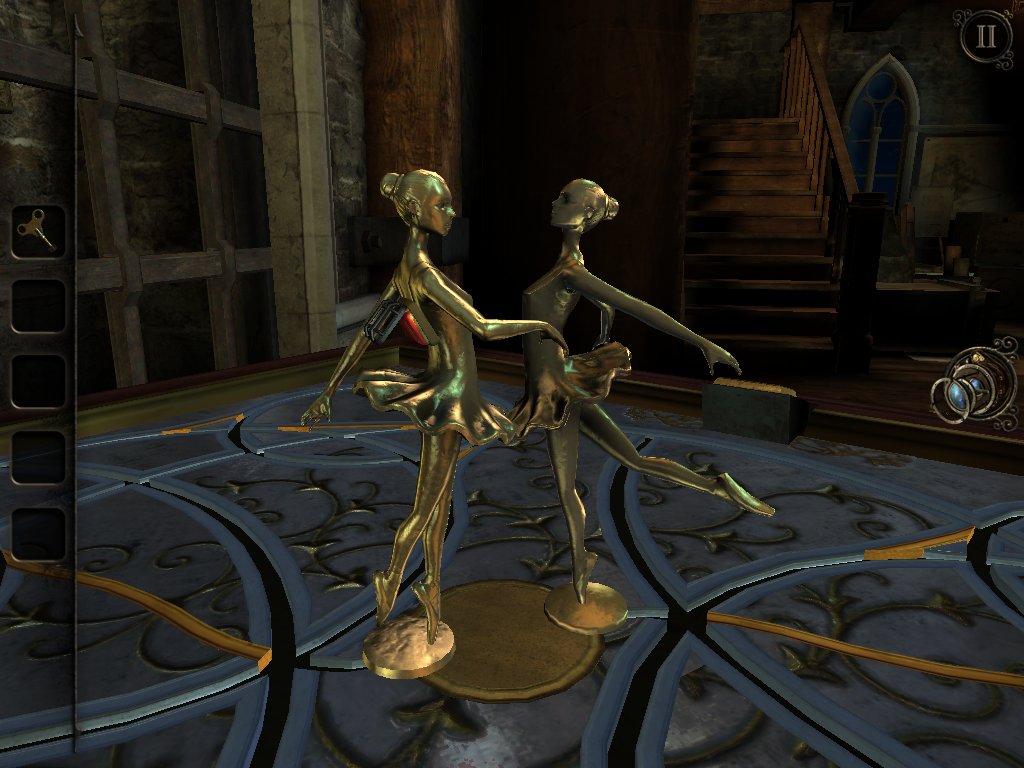
Once they've been reunited, take the gem from the figurine's back.
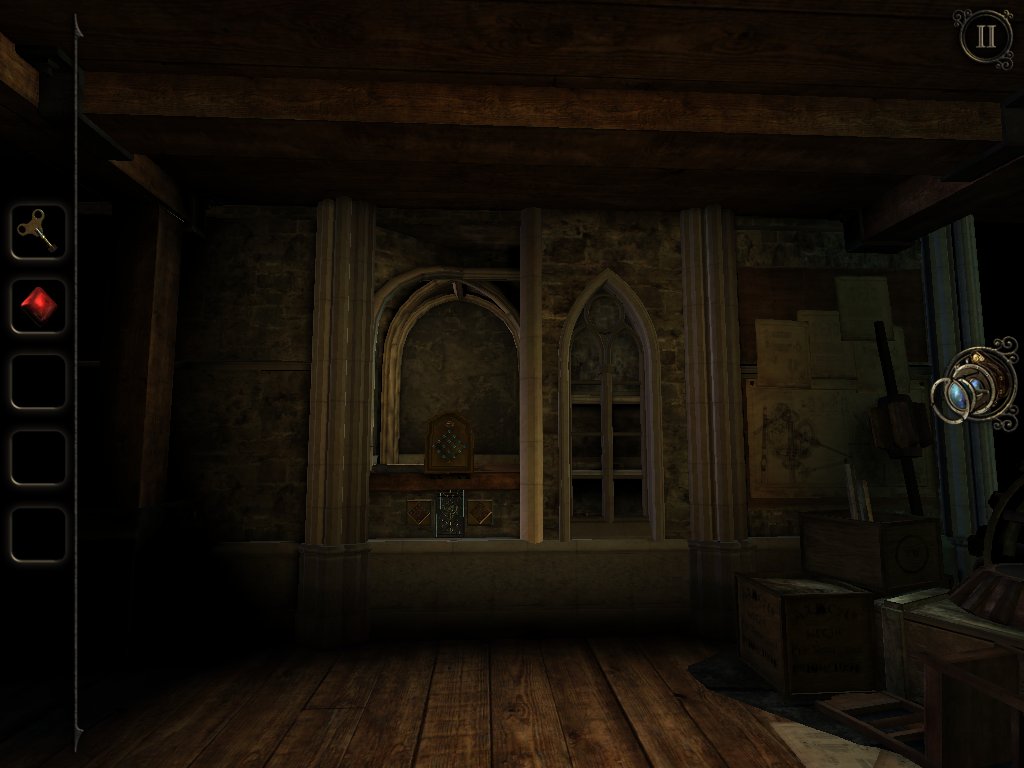
Turn around and head over to the wooden board on the wall.
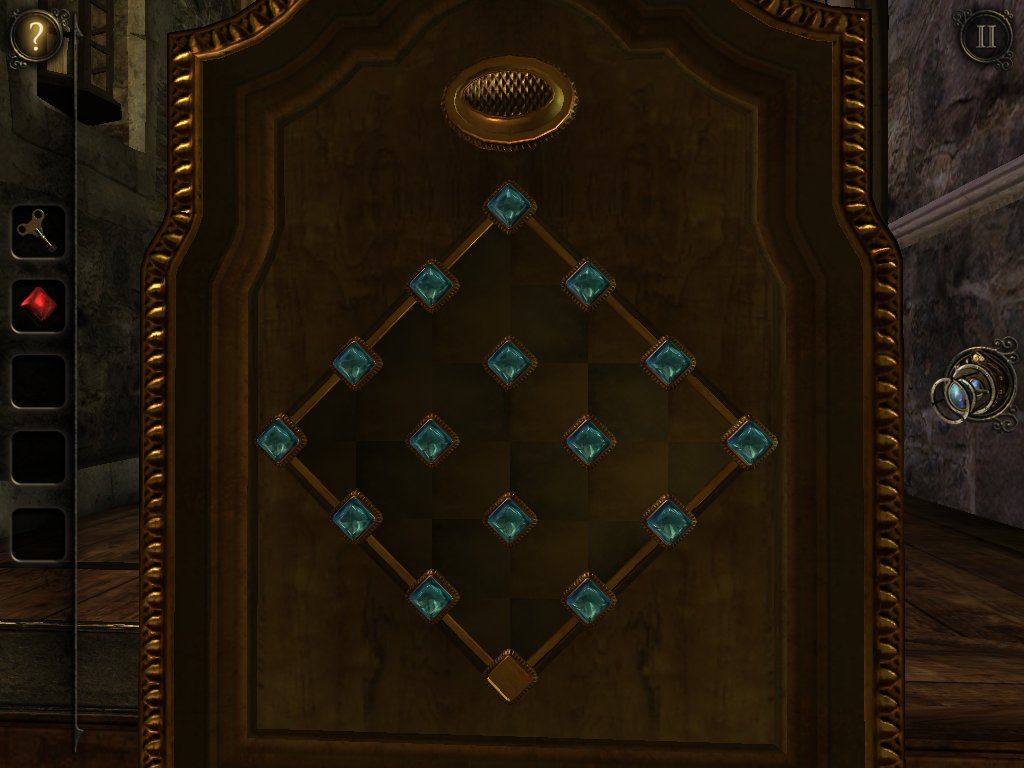
Insert the red gem into the hole at the bottom.
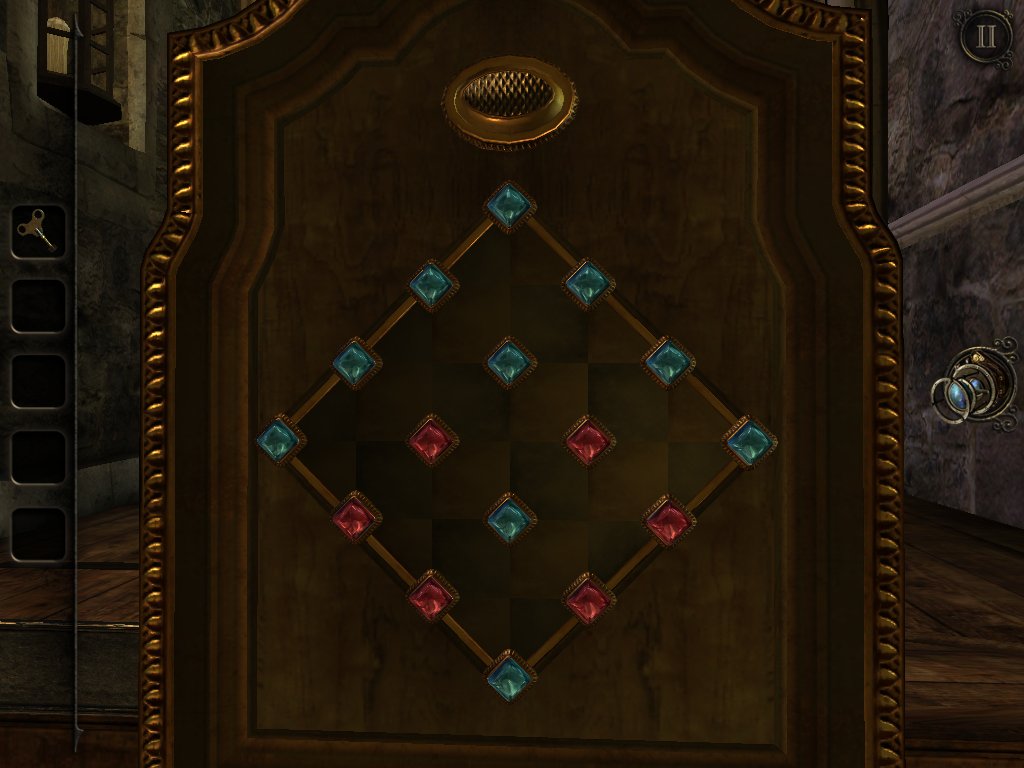
Recreate this pattern and hit the button at the top.
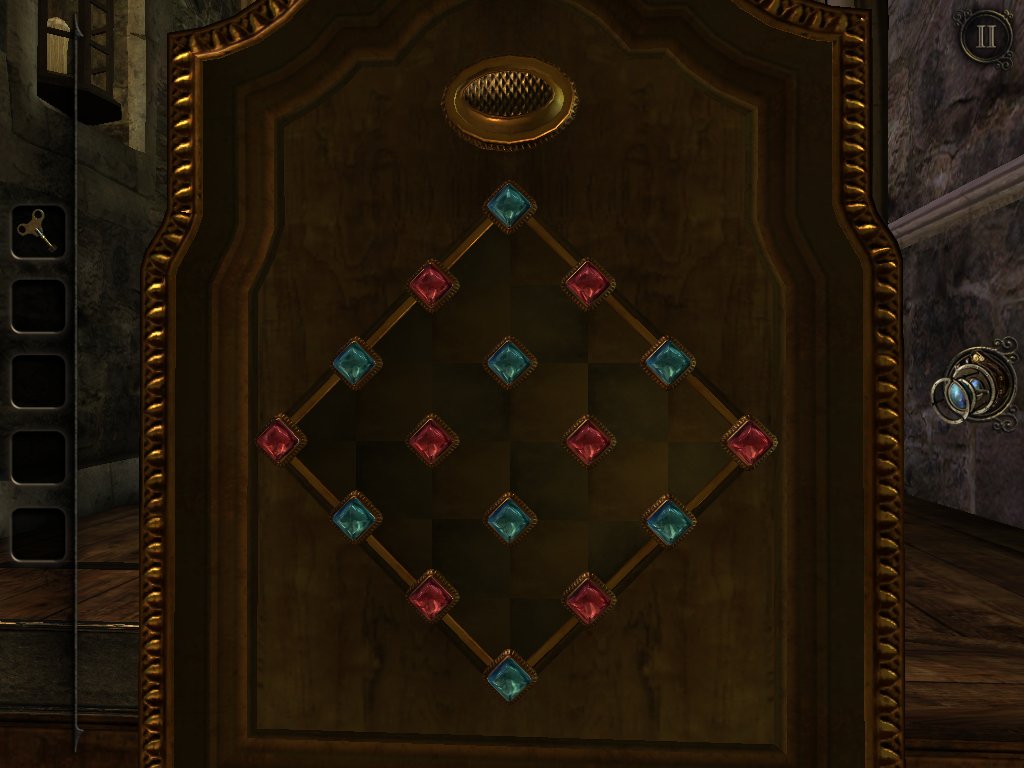
Do the same for this one.
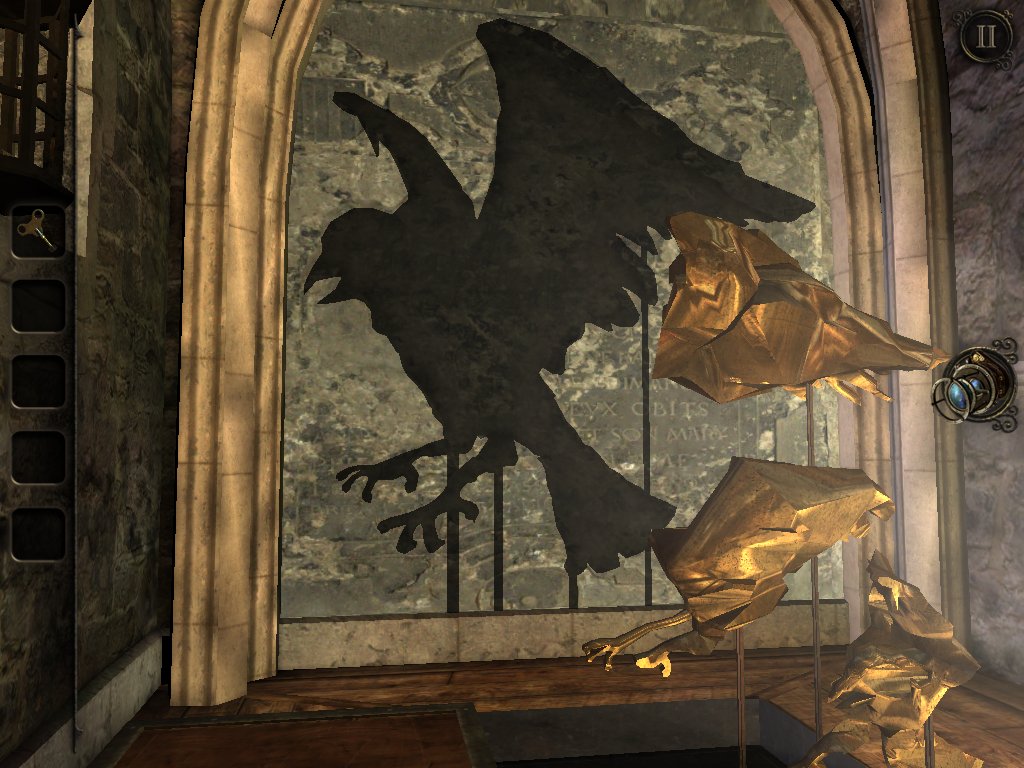
Now rotate the pieces in front of the lights using the four buttons to cast a crow's shadow on the wall. You'll be rewarded with a key,
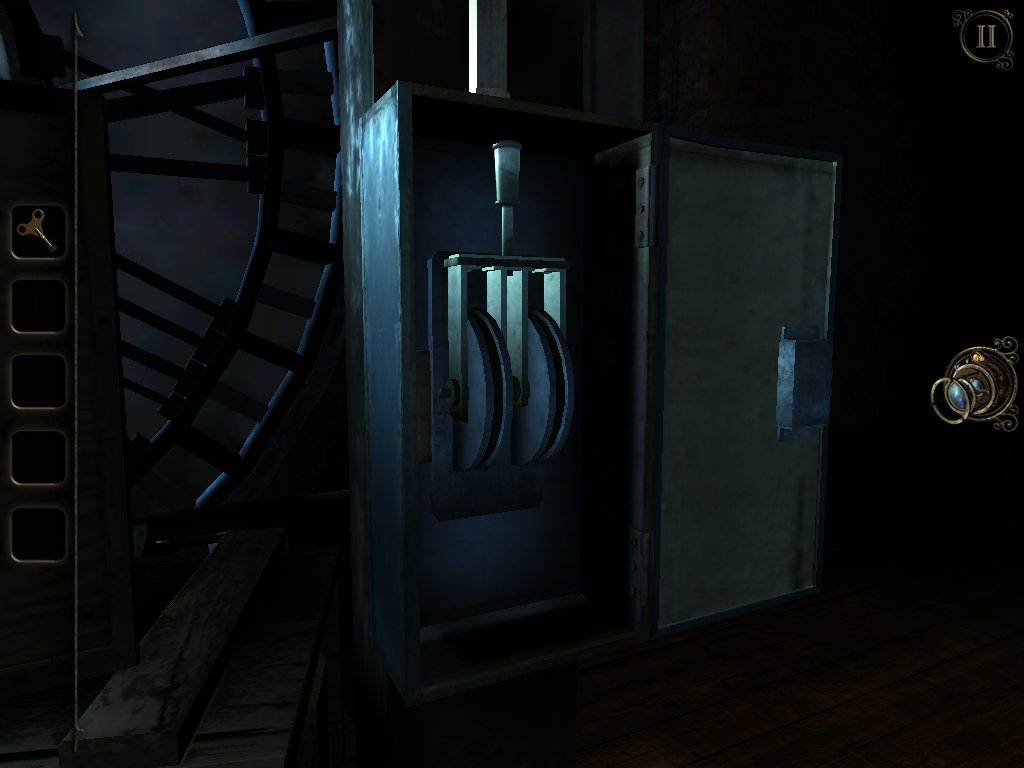
Return to the main room and use the key to open the grey box. Flip the switch inside.
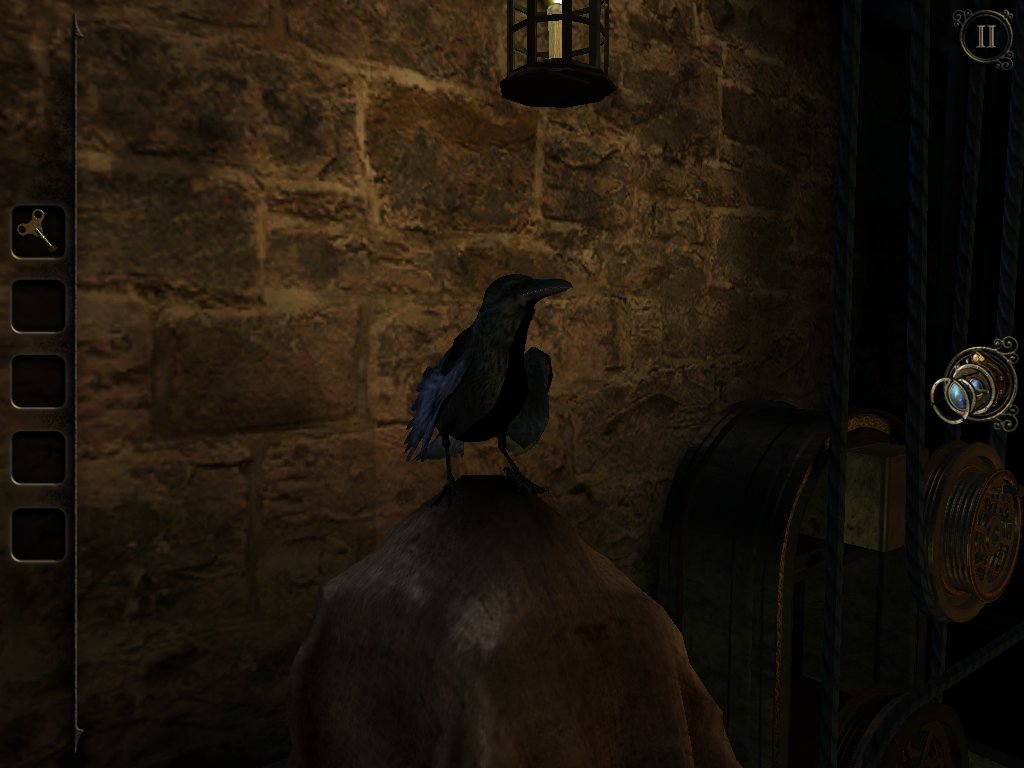
Follow the crow upstairs where he'll fly into the bell above.
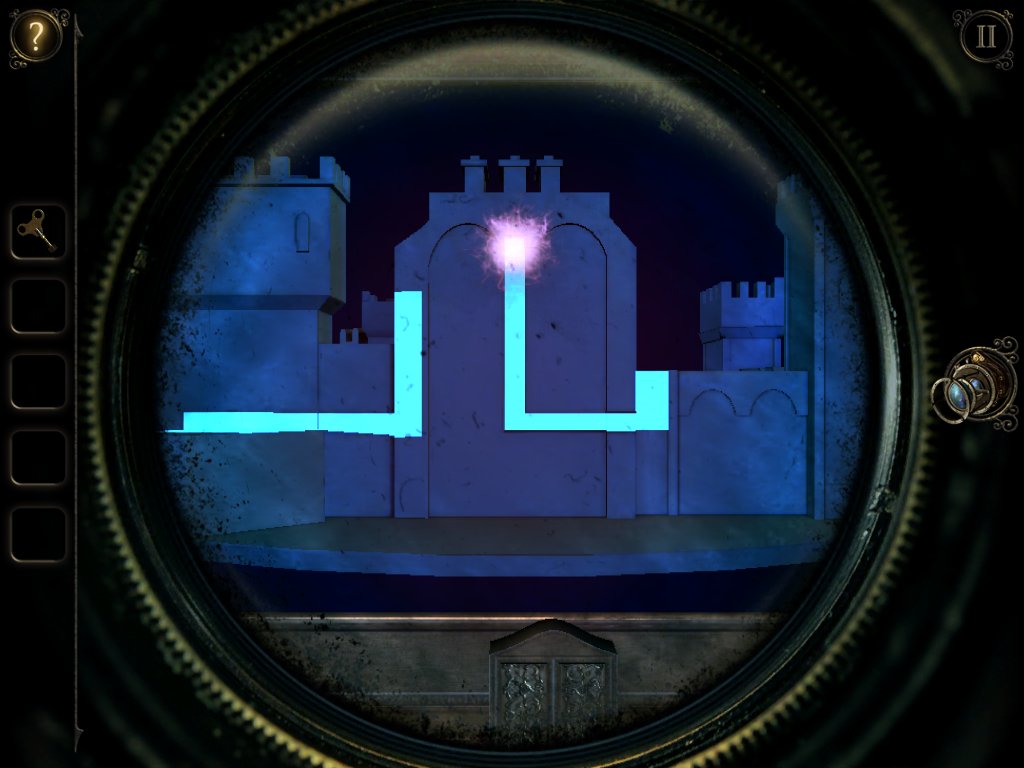
Go back to the room with the painting and use your eyepiece to guide a second purple blob to freedom. You'll receive clock hands for doing so.
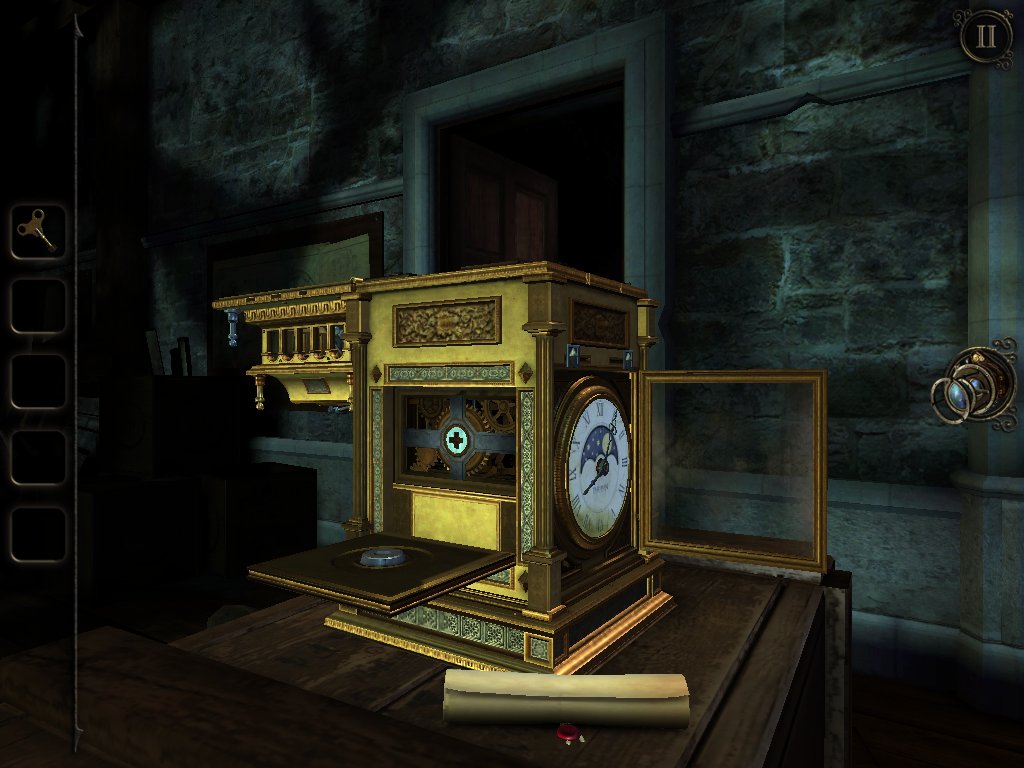
Attach the clock hands to the clock face on the gold box, then use the winding key on the hole to the left.
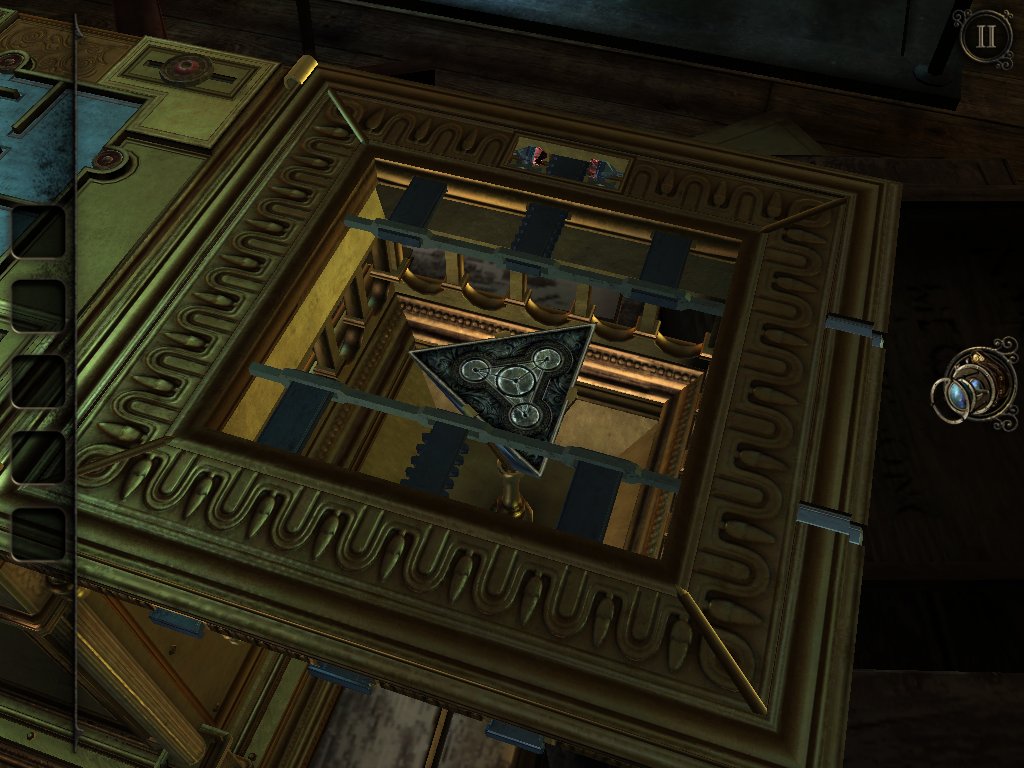
This will set the third bell ringing and grant you access to another pyramid, wrapping up the chapter.
Chapter 3: The Forge
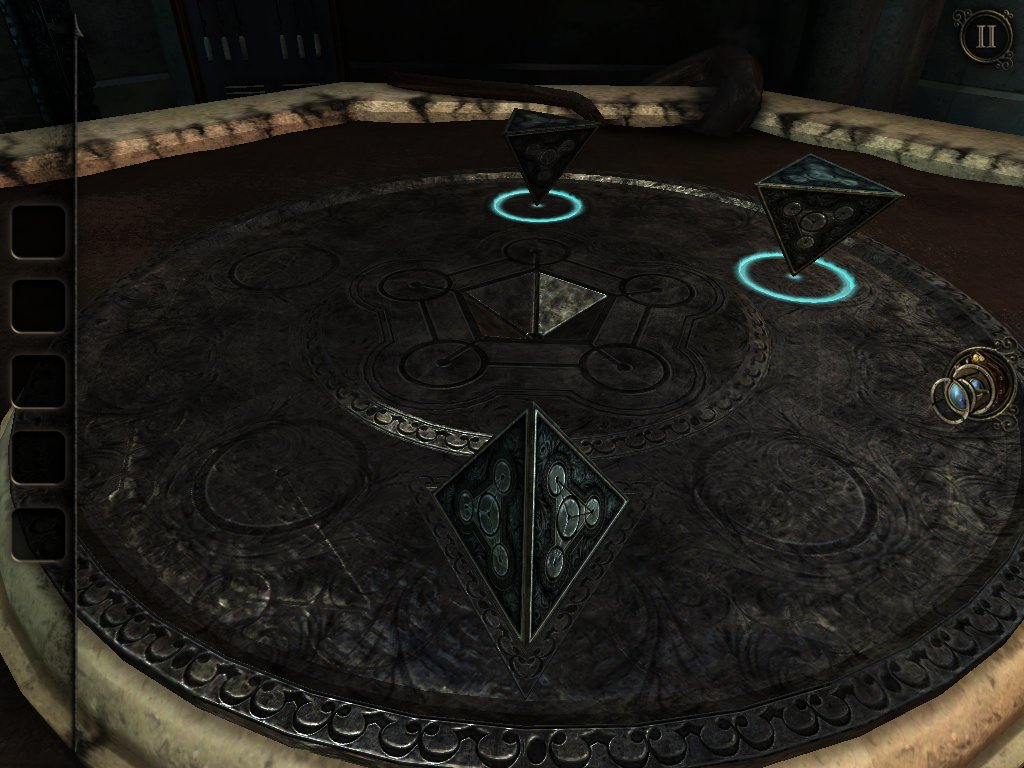
Place the pyramid onto the table and pick up the optical device.
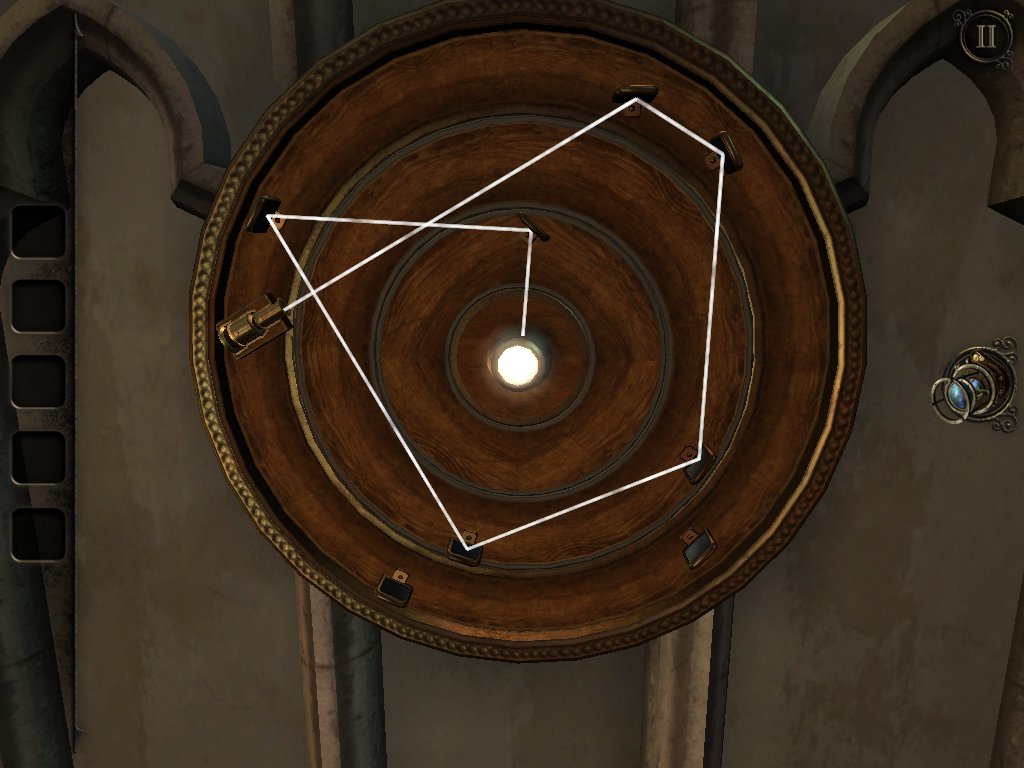
Attach the optical device to the circular wooden panel on the nearby door and rotate the dials so that the beam of light hits the gem in the middle.
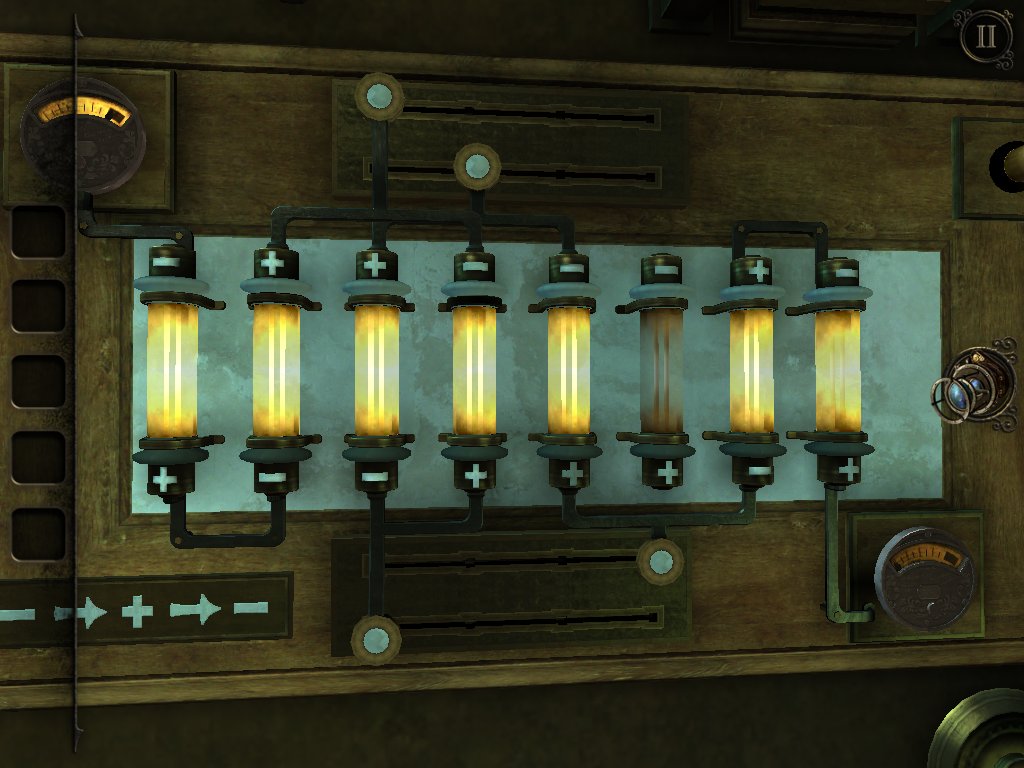
Go through to the room beyond and get the power up and running by arranging the sliders as pictured above.
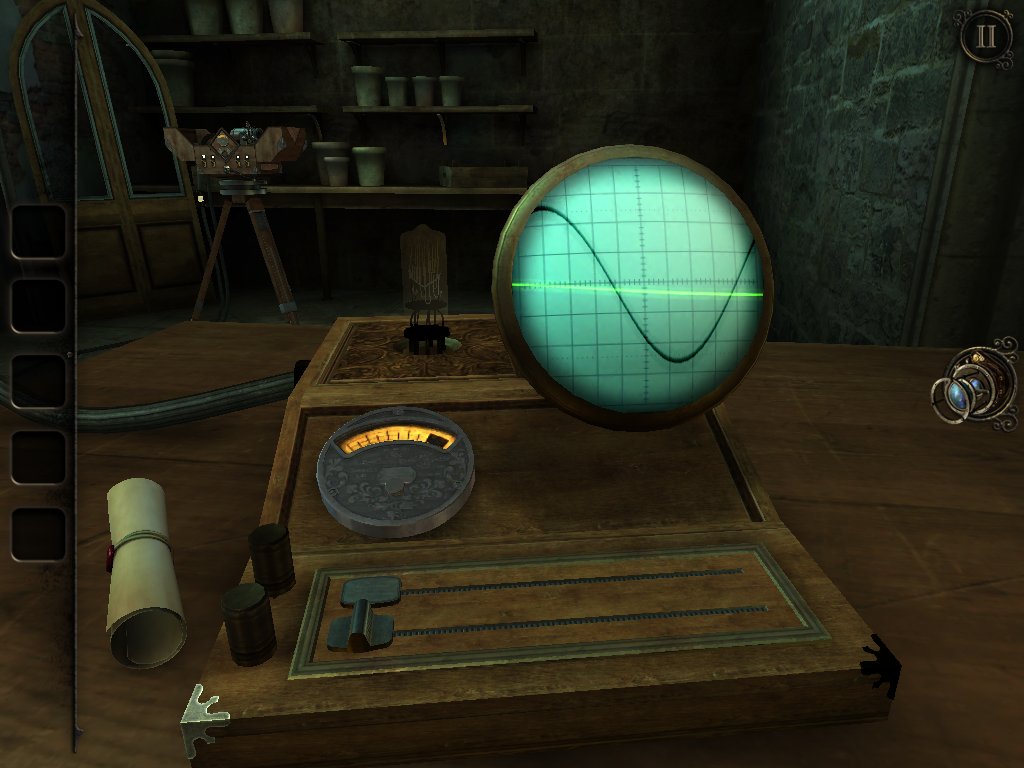
Flip the lever followed by the switches on the box, and push the button. Move the bottom slider on the panel above so that it's in sync with the one at the top to create the doorway.
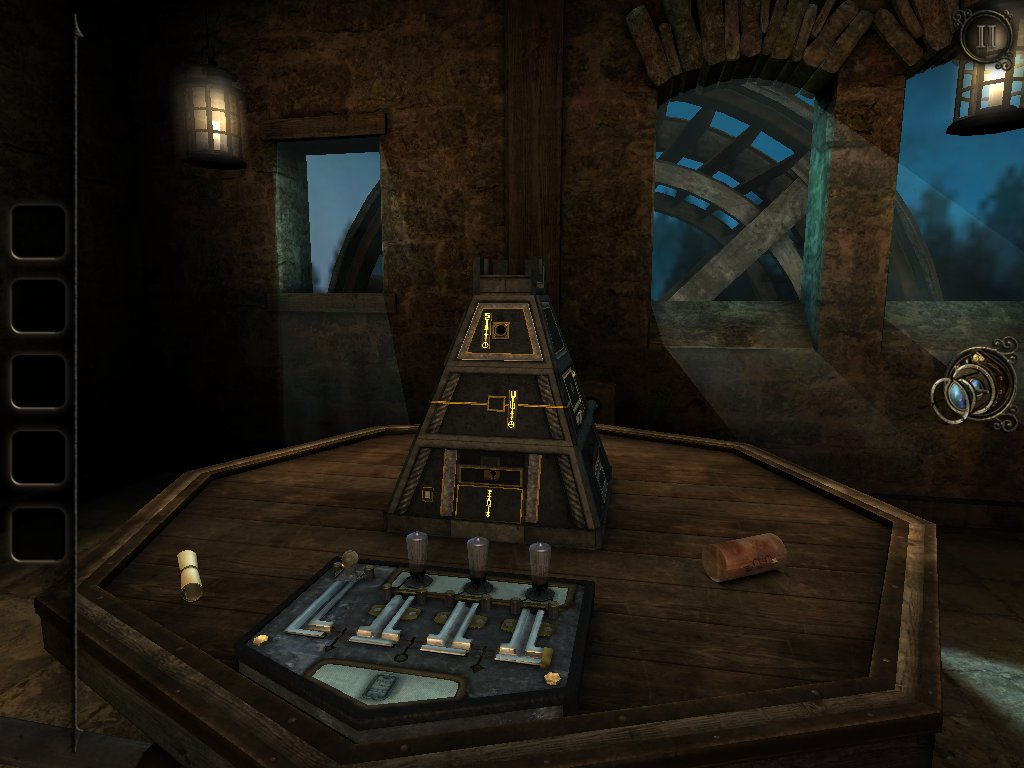
Pick up the leather case from the right side of the table and open it to find kindling.
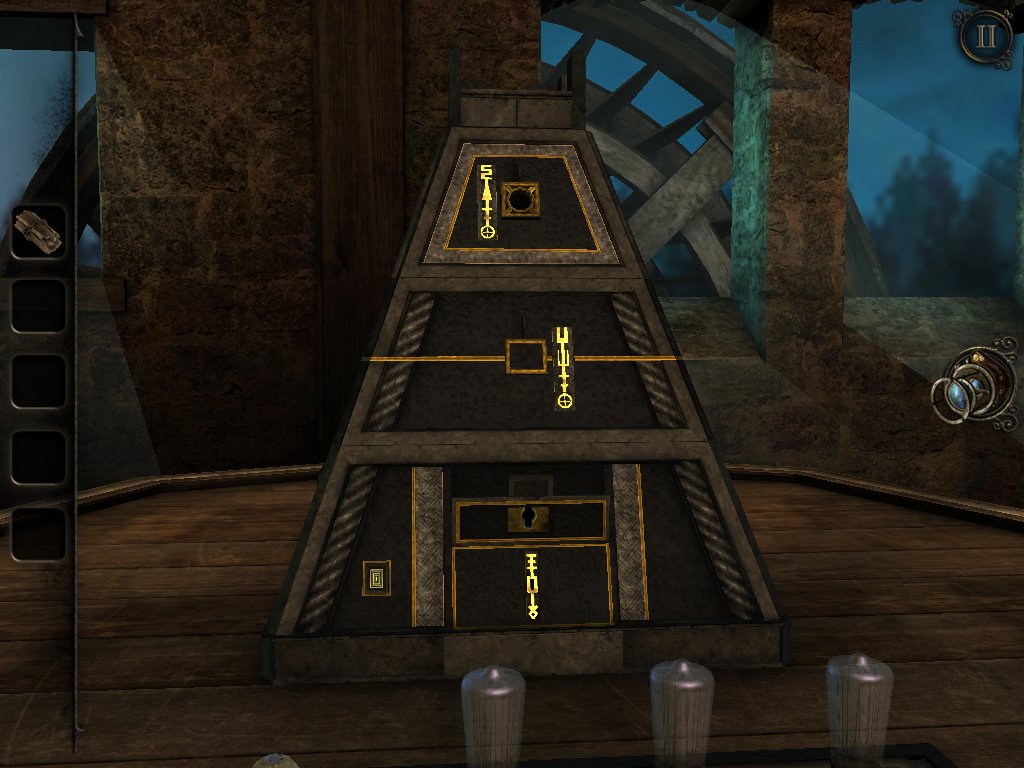
Now examine the front of the pyramid and push the button on the bottom left. Take the flint from inside.
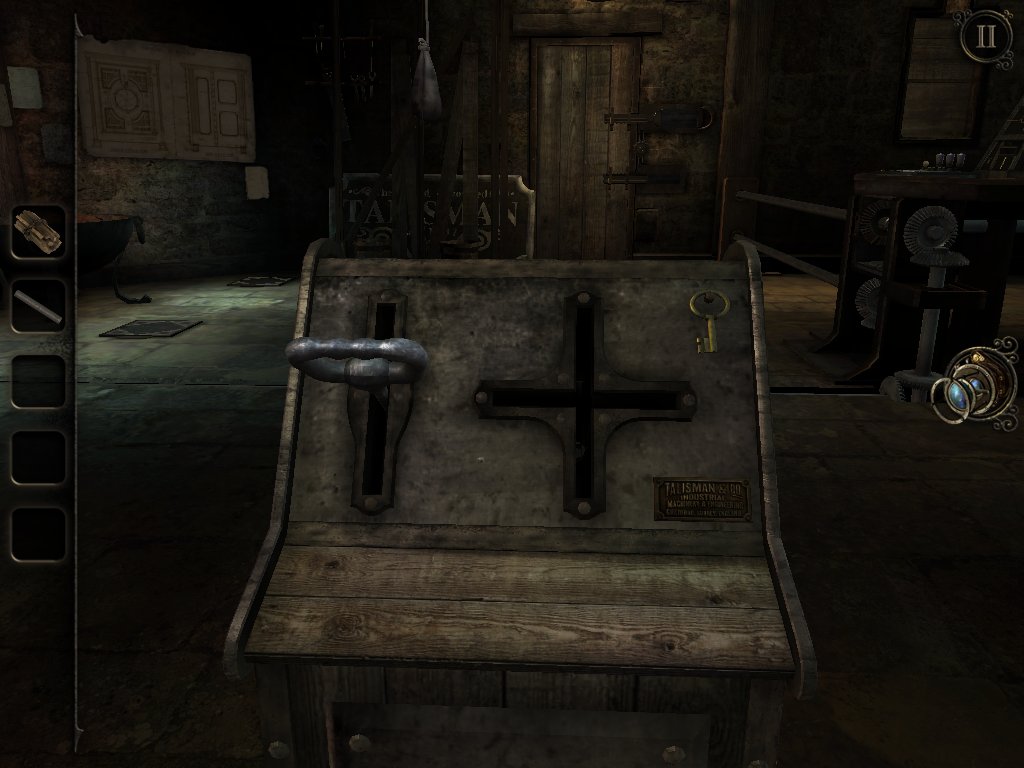
Take a gander at the control panel to the right and pick up the small key.
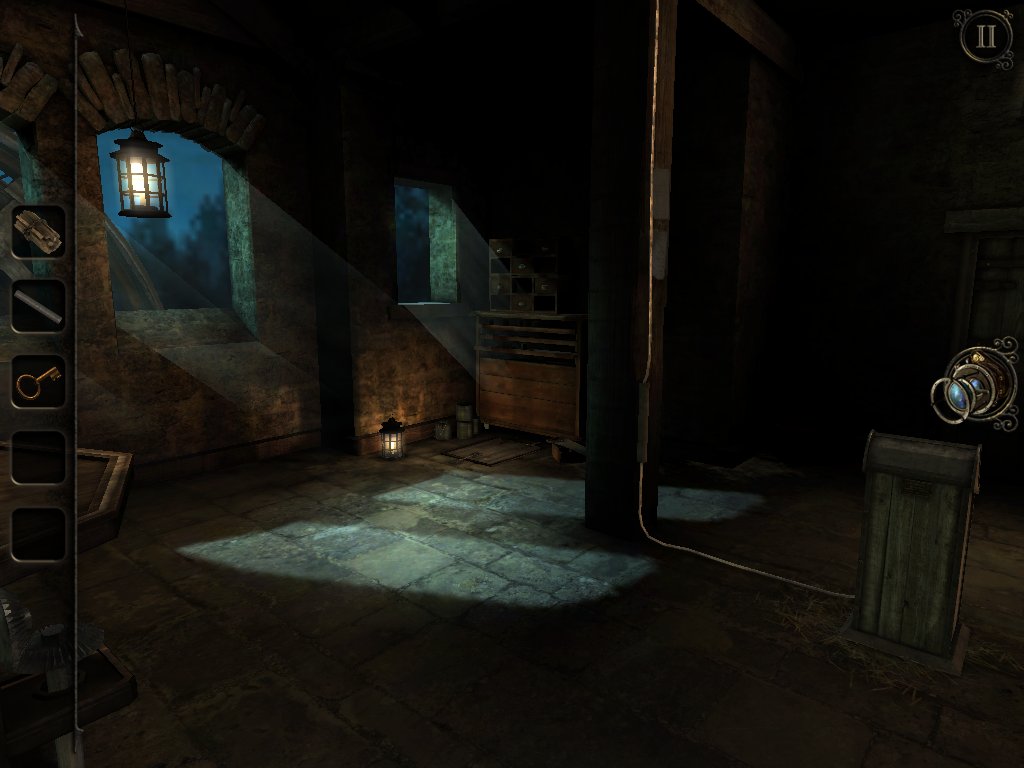
There's a trapdoor in the corner of the room by the window. Slide open the cover on the padlock and open it using the small key. Pick up the metal rod.
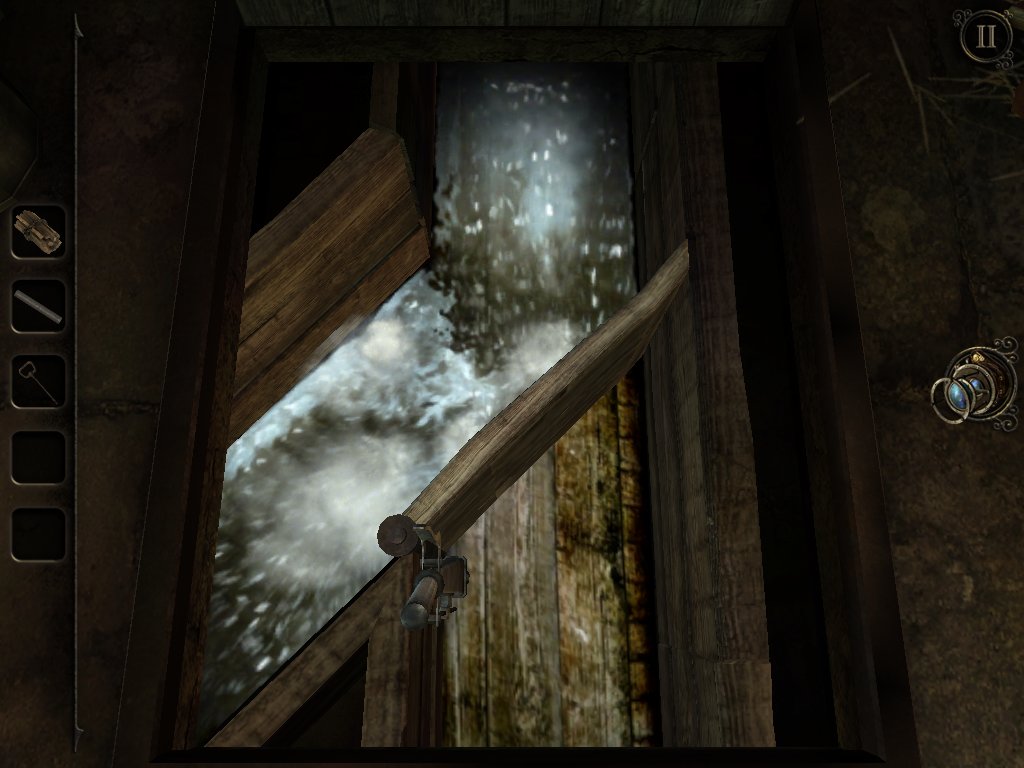
Open the trapdoor and yank the handle back to redirect the flow of water.
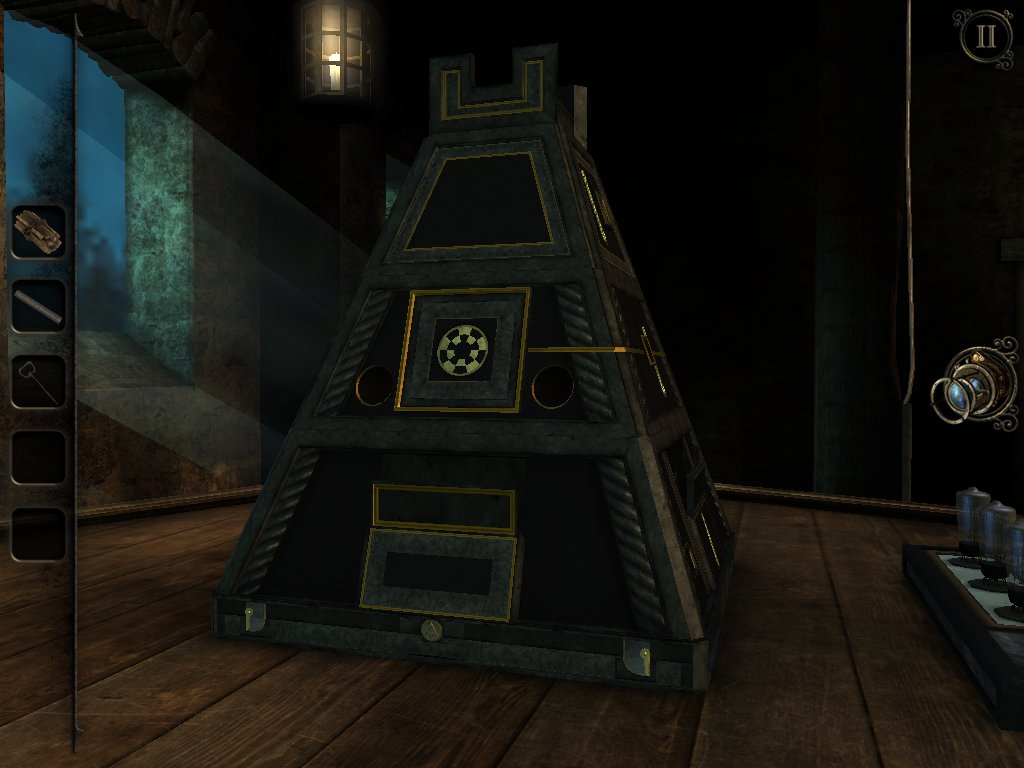
Head back to the pyramid and flip the small catches on the bottom corners of the left side.
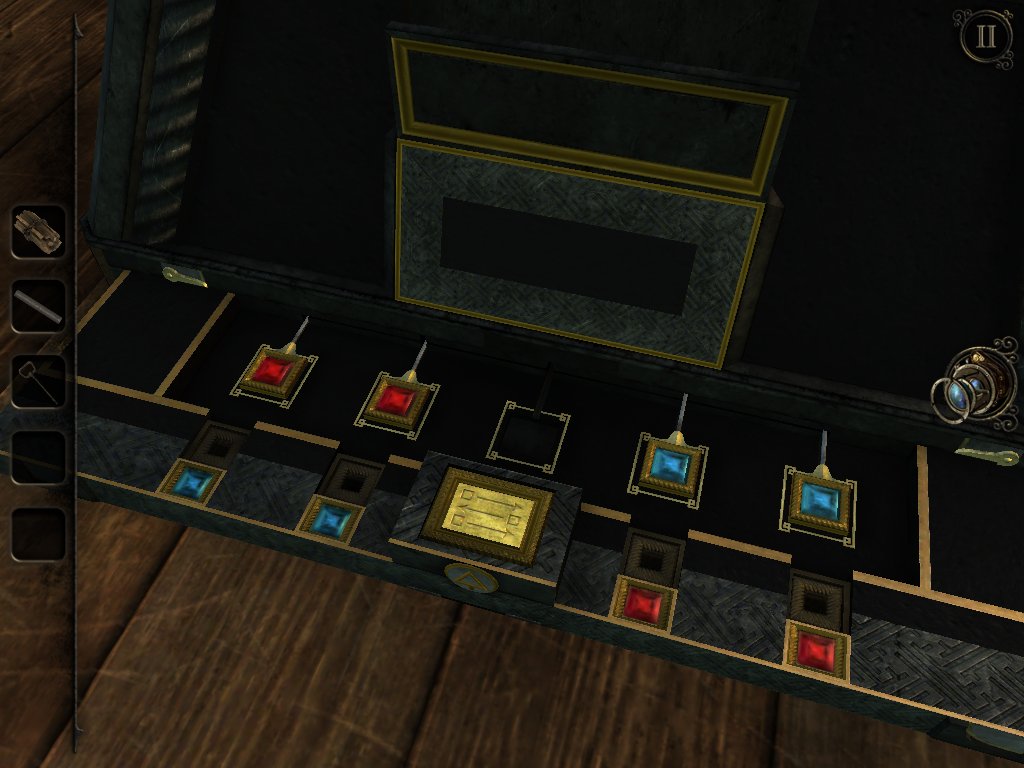
A panel will slide out with an accompanying puzzle.
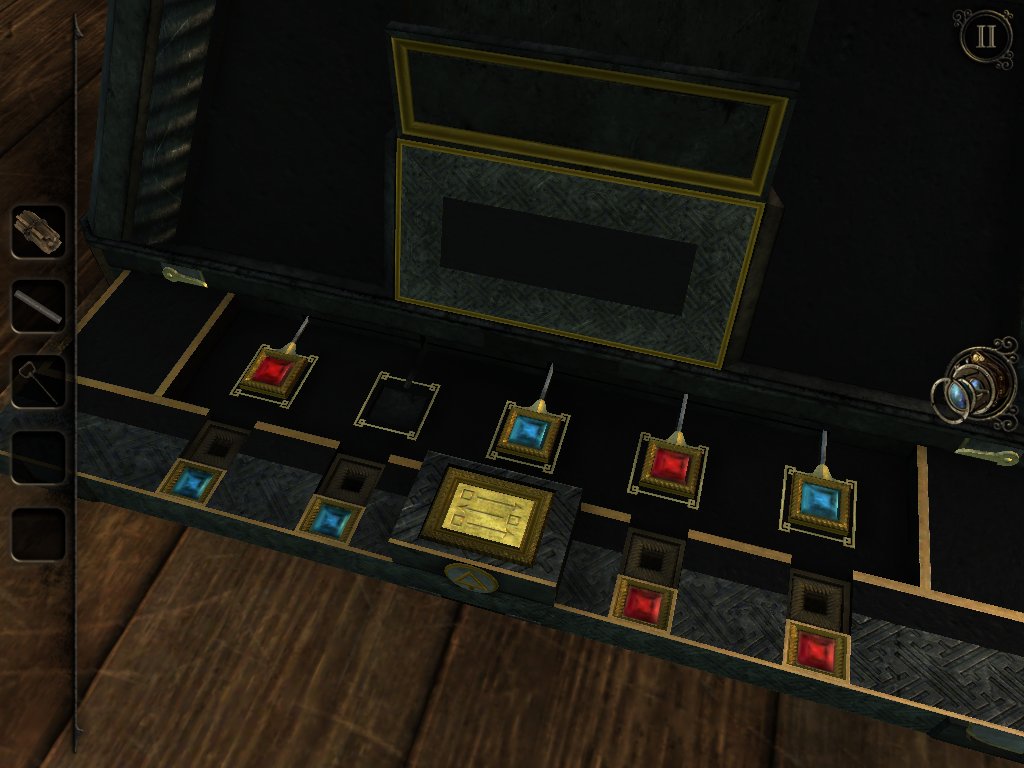
Move the inner blue stone to the left, and the inner red stone to the right as above.
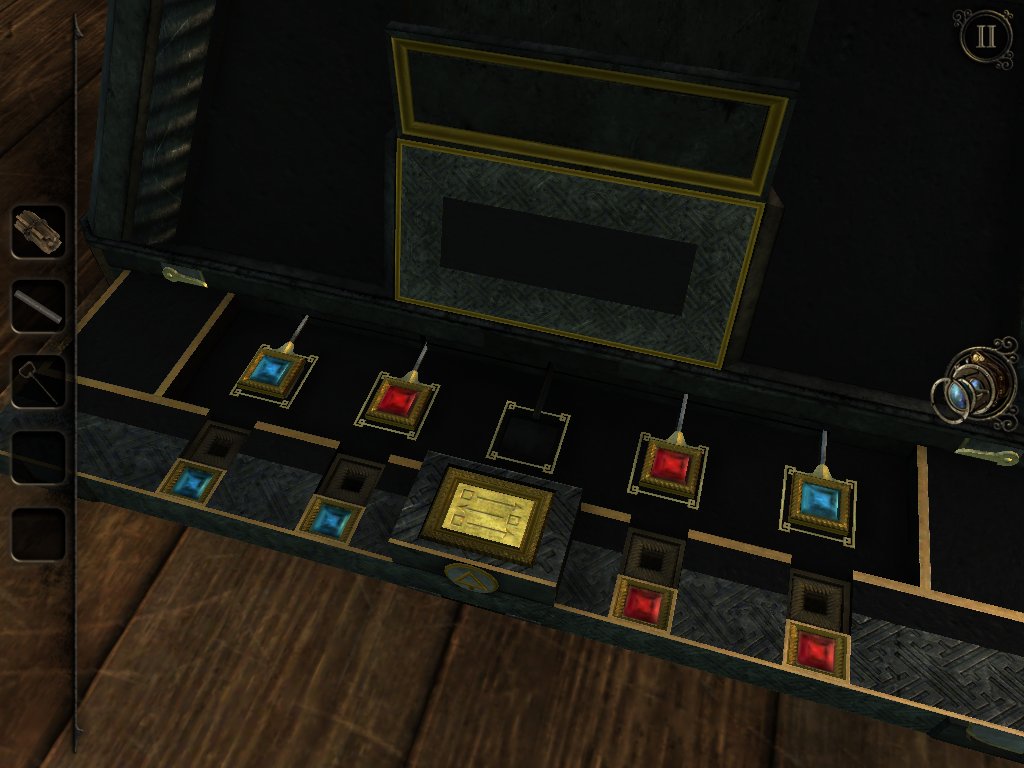
Move the outer red stone to the right, and the blue stone from the middle to the left edge, like so.
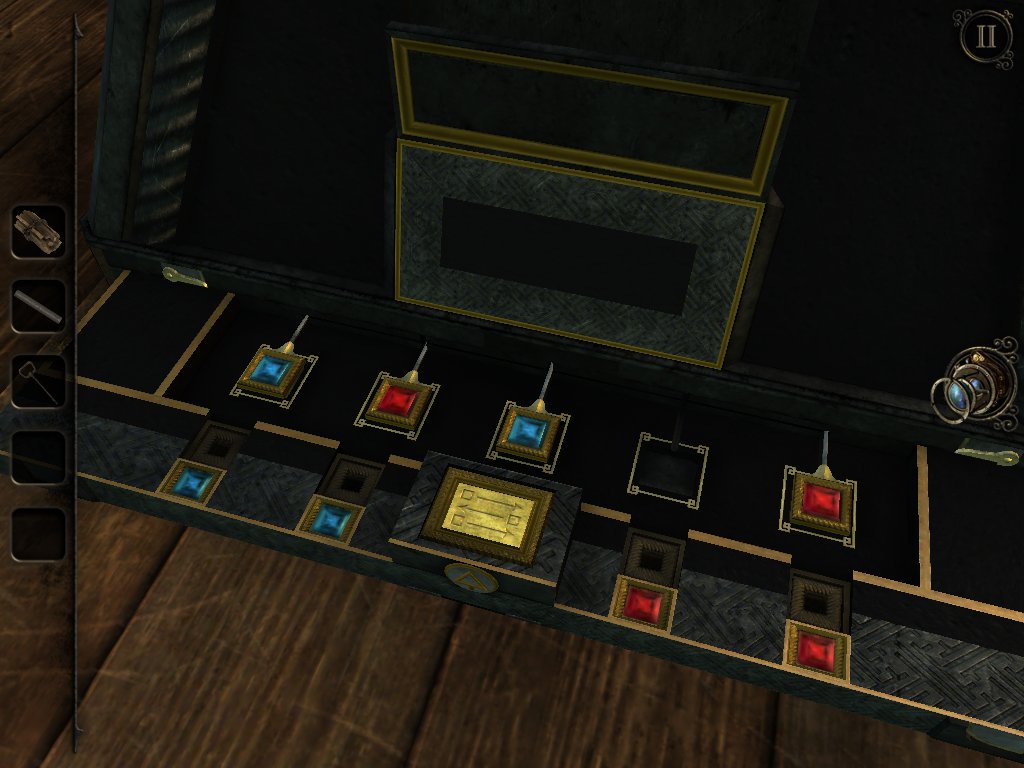
Move the blue stone from the right into the middle, and the rightmost red stone to the outer right edge. Now your panel should look like this.
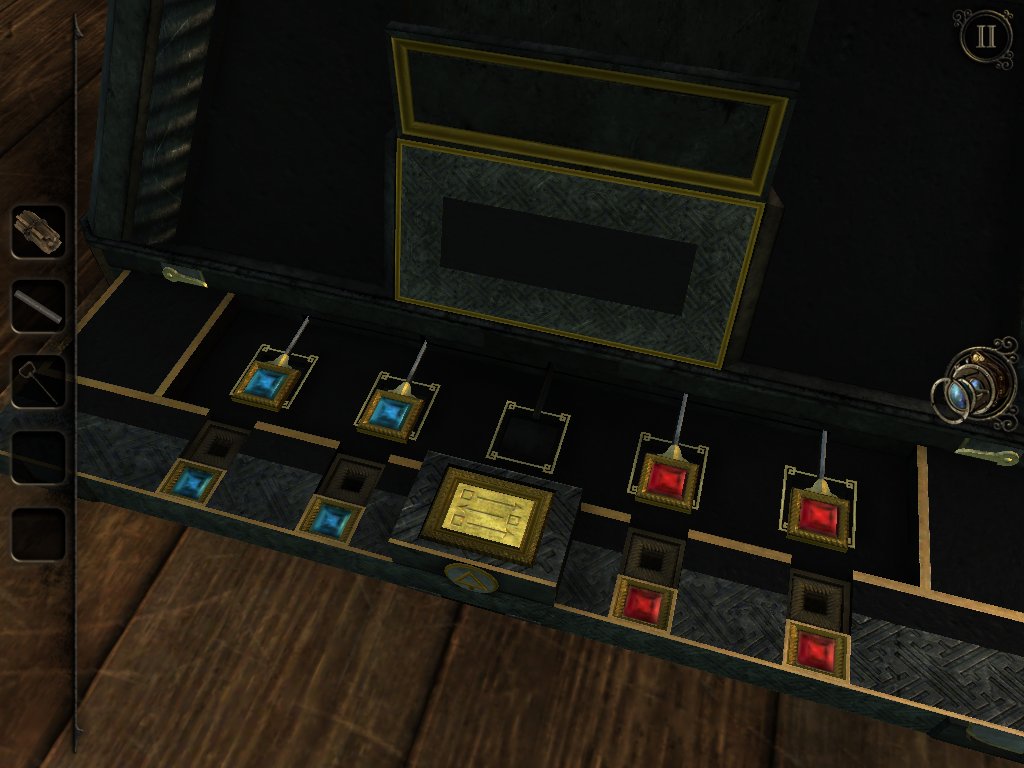
Finally, move the red stone from the left over to the right, and the blue stone from the middle to the now empty space on the left.
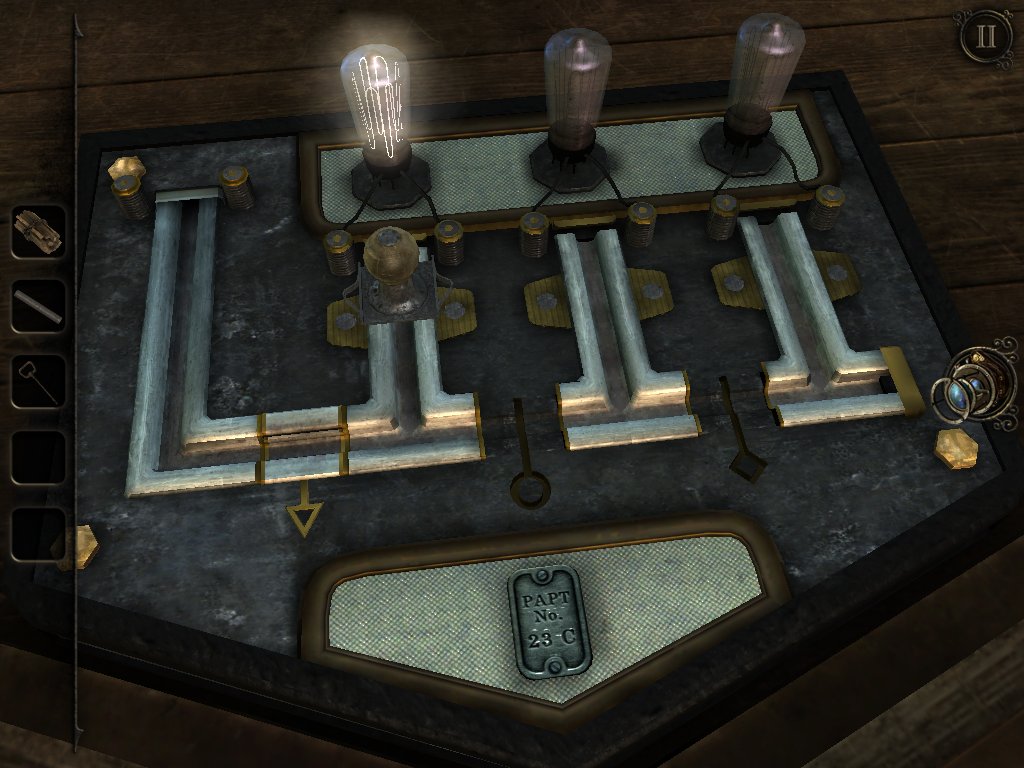
Take the metal casting and insert it into the panel in front of the pyramid. Guide the handle on the left around to the first light bulb.
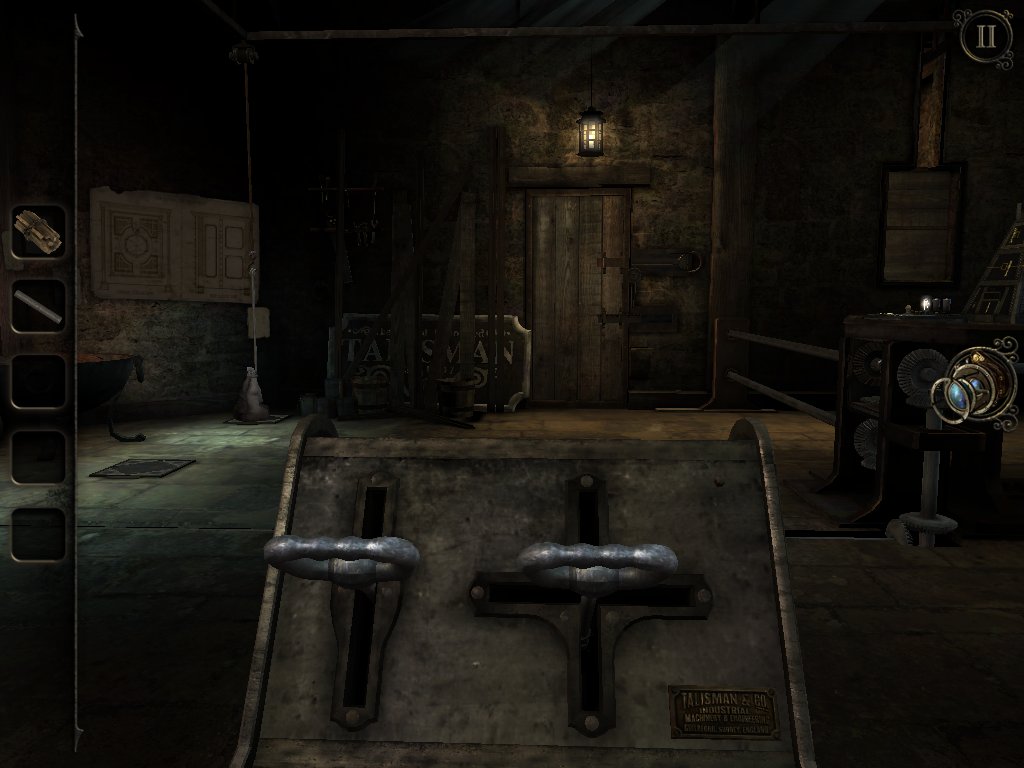
Go back to the control panel and insert the metal rod into the slot on the right. You need to guide the sandbag onto the pressure plate in the back left corner of the room. This is another straightforward one, so move the bag over there.
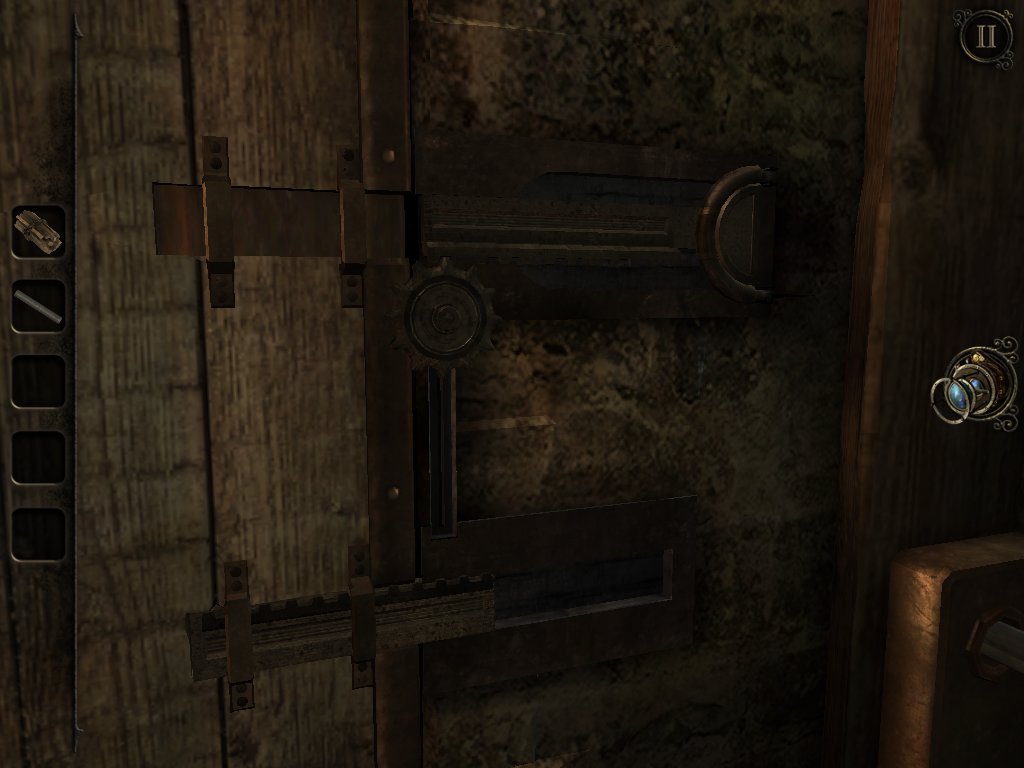
Once the plate is depressed, the top lock on the door will have slid back. Push the metal handle over to the left to lock it into place, as we need to move the sandbag again.
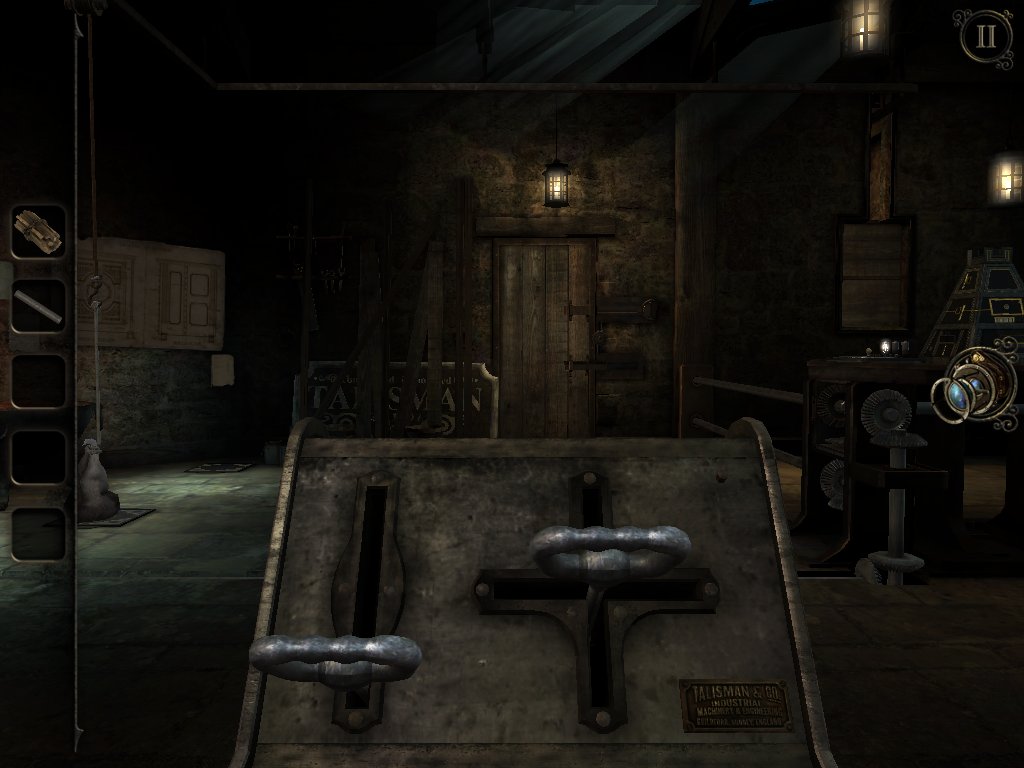
Steer the sandbag over to the pressure plate at the front left of the room to open the wooden door ahead.
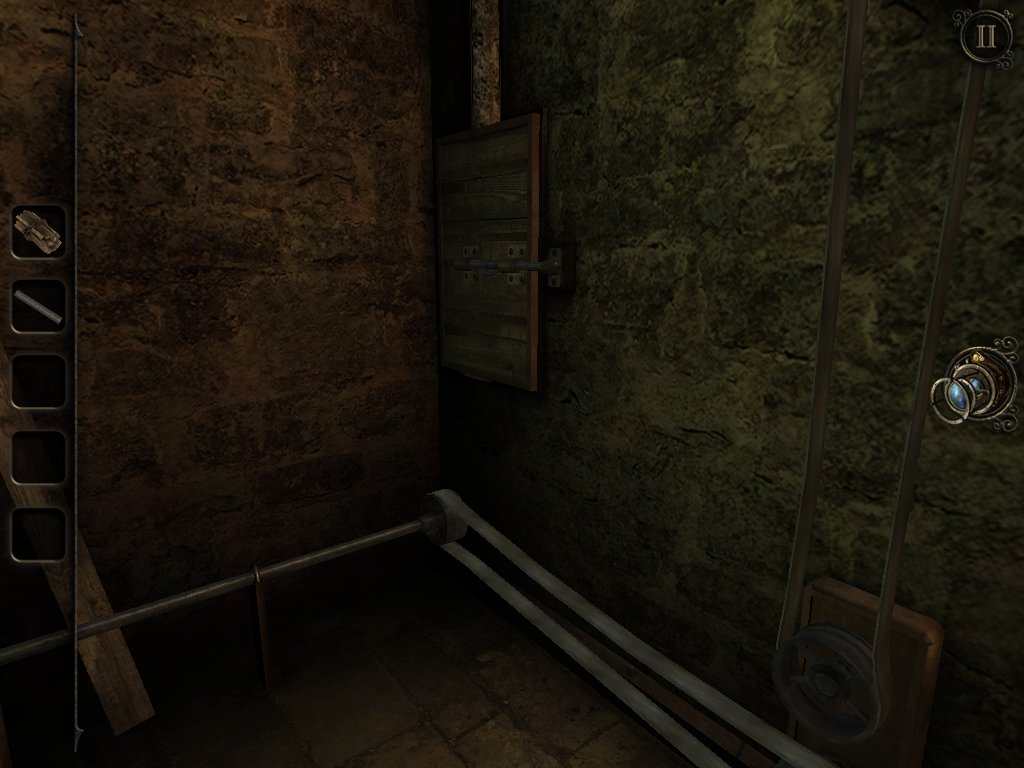
Head through the door and pull back the latch on the panel to the right. Return to the control panel.
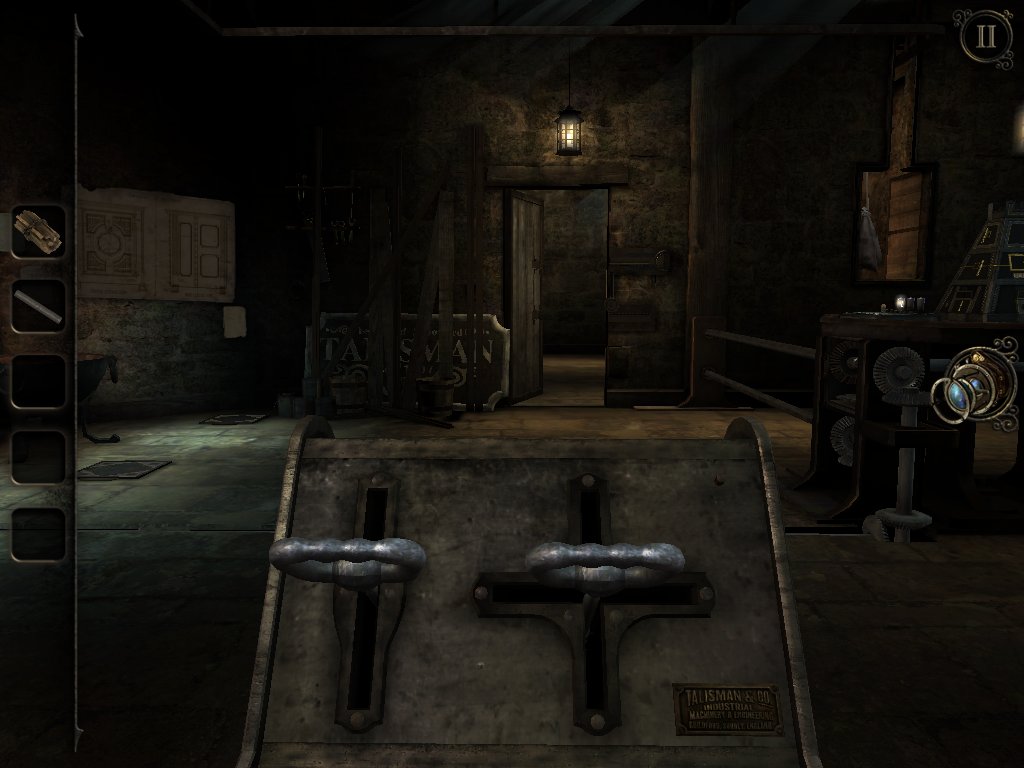
Guide the sandbag through the newly opened hatch and into the room beyond.
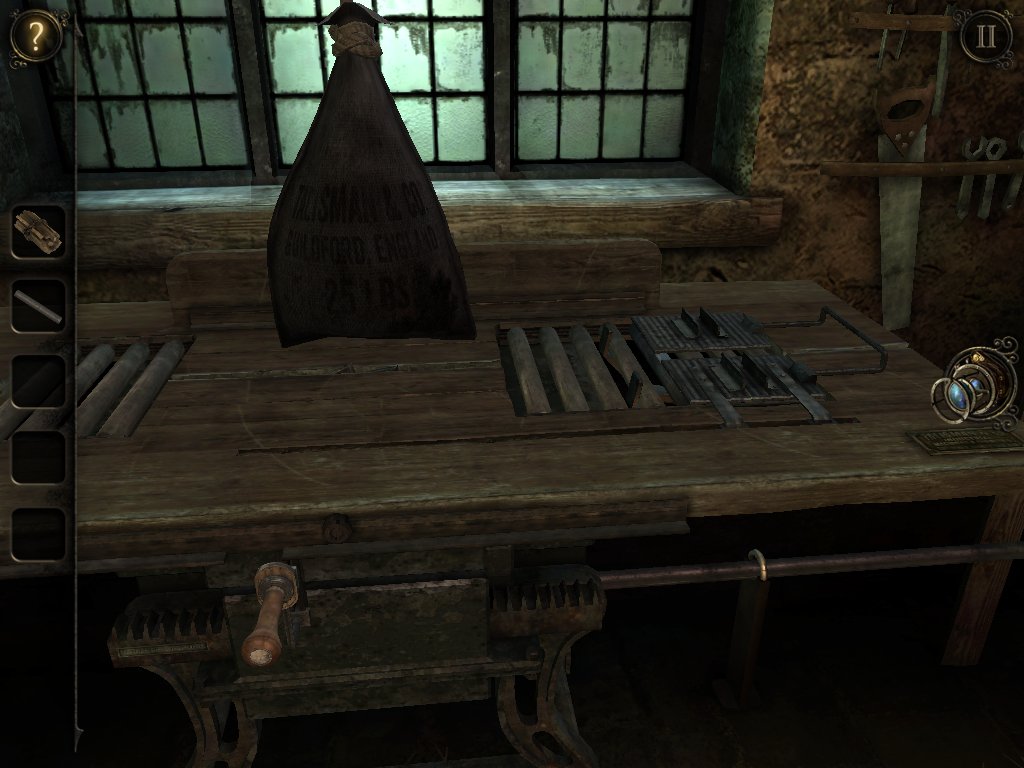
Use the handle on the left to lift the saw blade and split the sack open. Take the metal bar and go back to the main room.
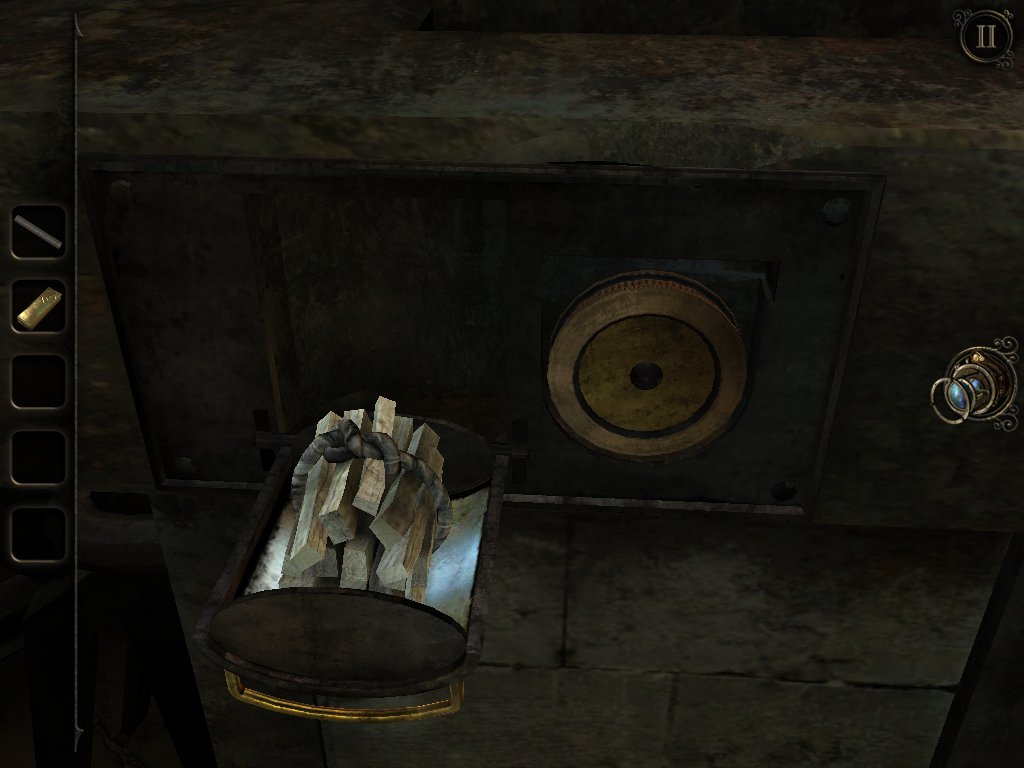
Now you need to use the forge. Open the drawer on the front, pop the kindling in, and close it again.
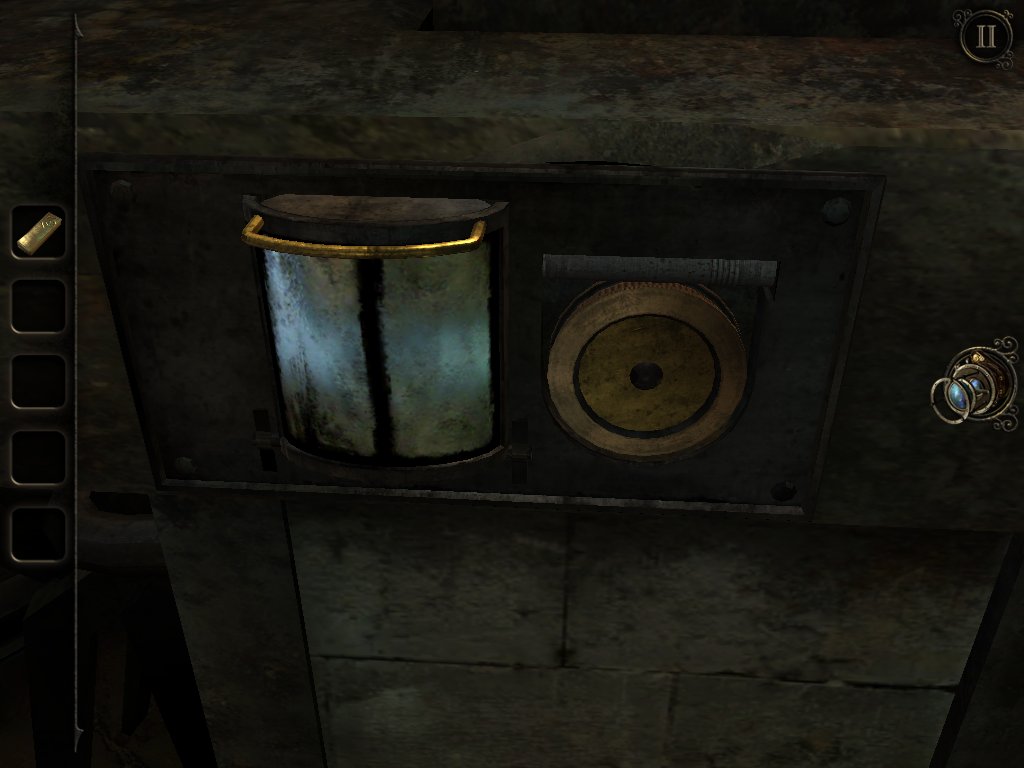
Stick the flint onto the top of the circular mechanism and start spinning it around until the forge is lit.
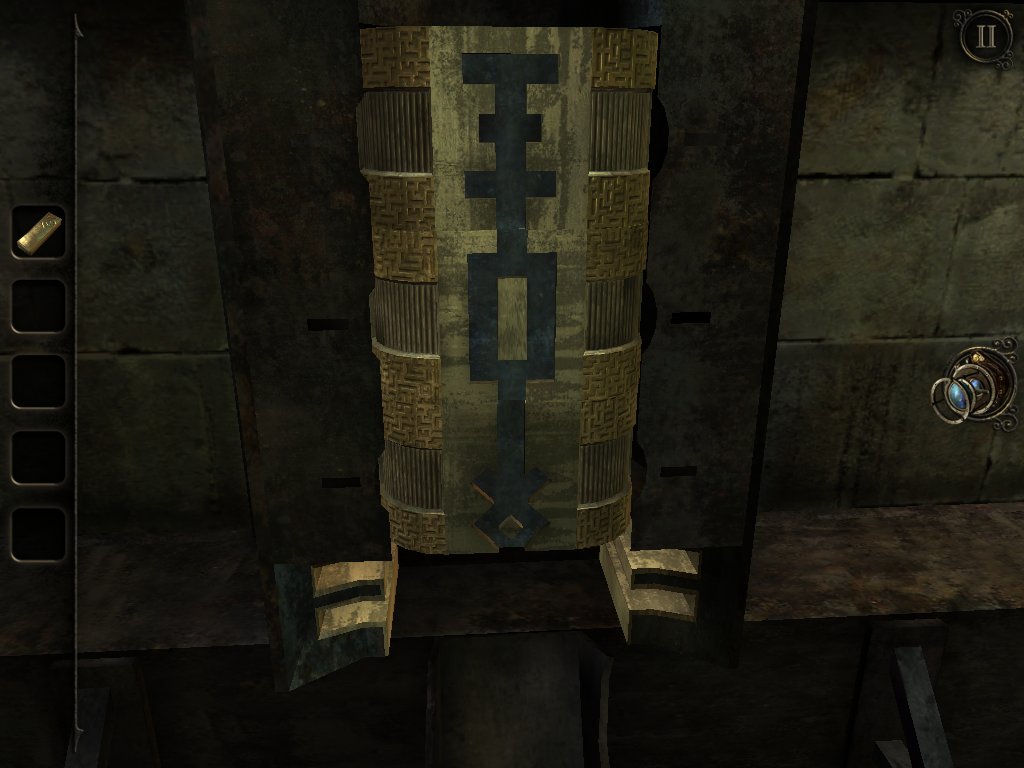
Arrange the column of blocks in the pattern above which is the shape of the key needed for the bottom level of the pyramid.
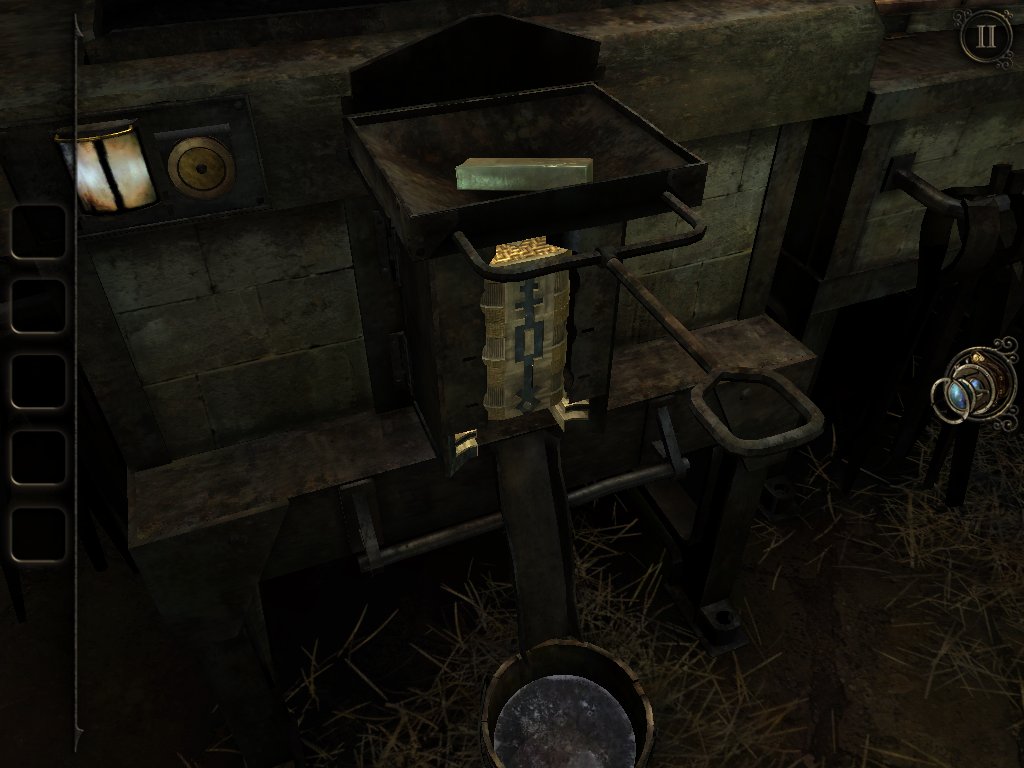
Pull out the drawer above, chuck in the metal bar, and shut it again.
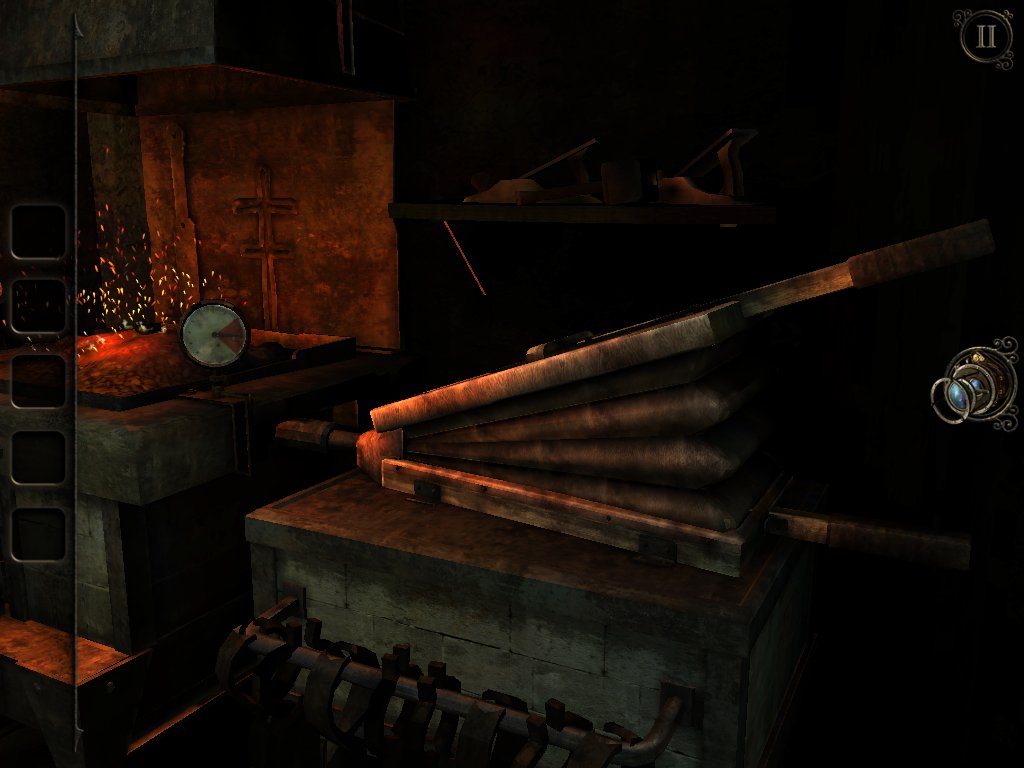
Keep pumping the bellows until the forge spits out a key.
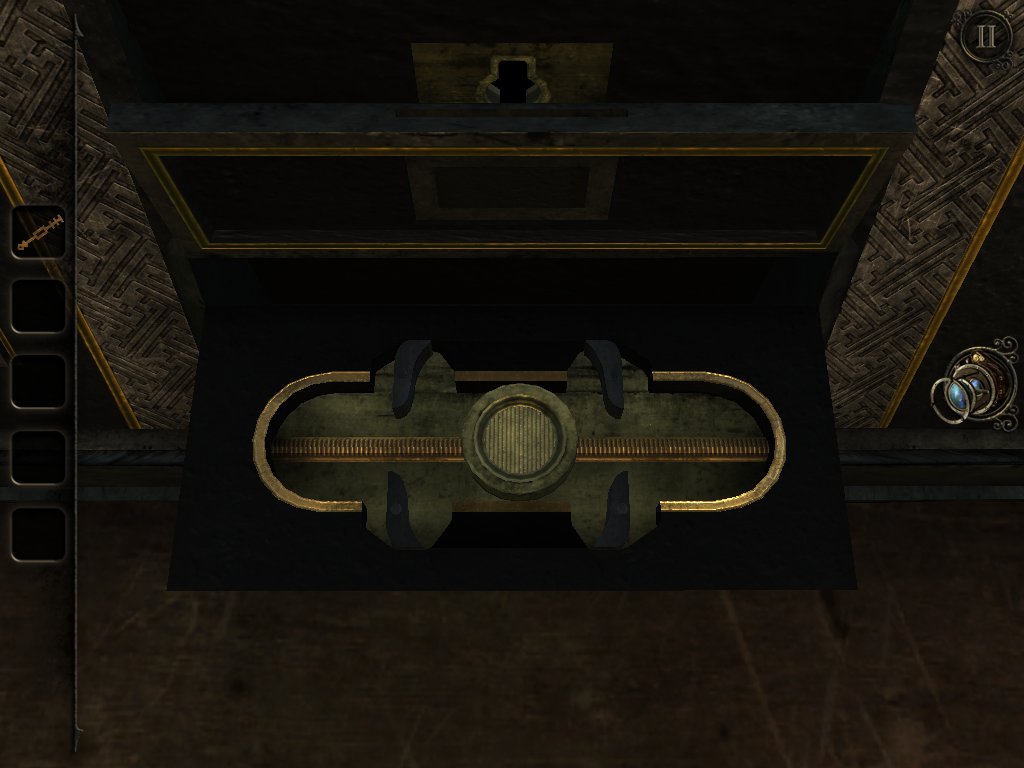
Use the key at the bottom of the pyramid and a small drawer will open. Slide the round component over to the left.
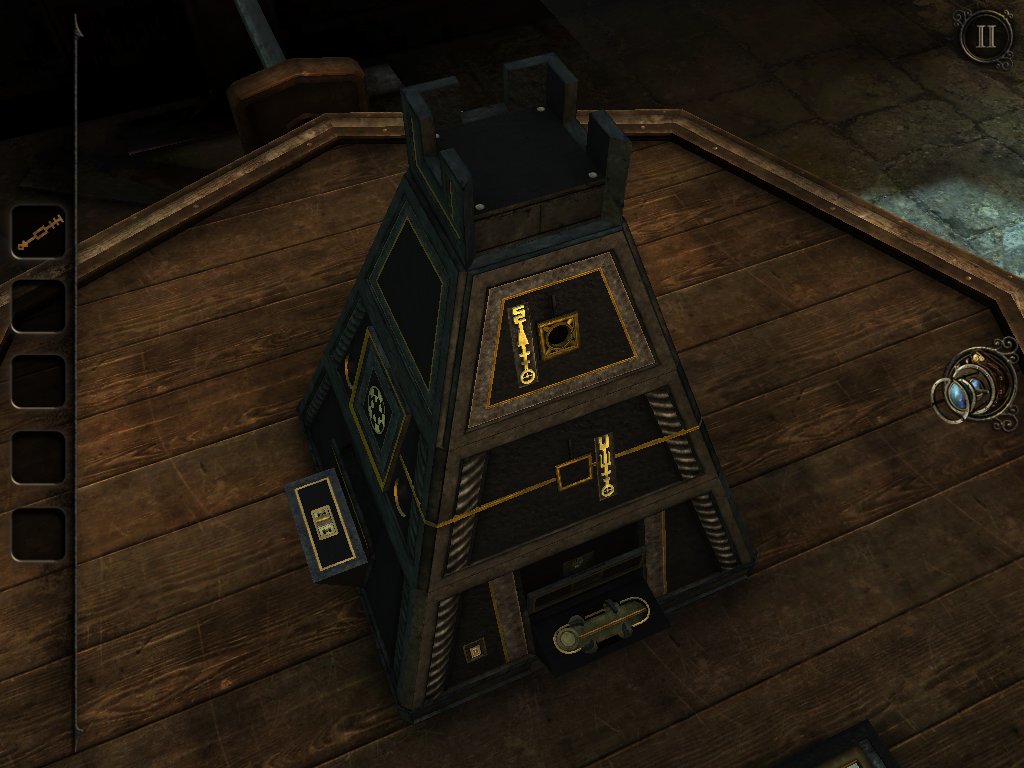
A panel on the left will have opened containing a small connector. Take it out and slide the component over to the right.
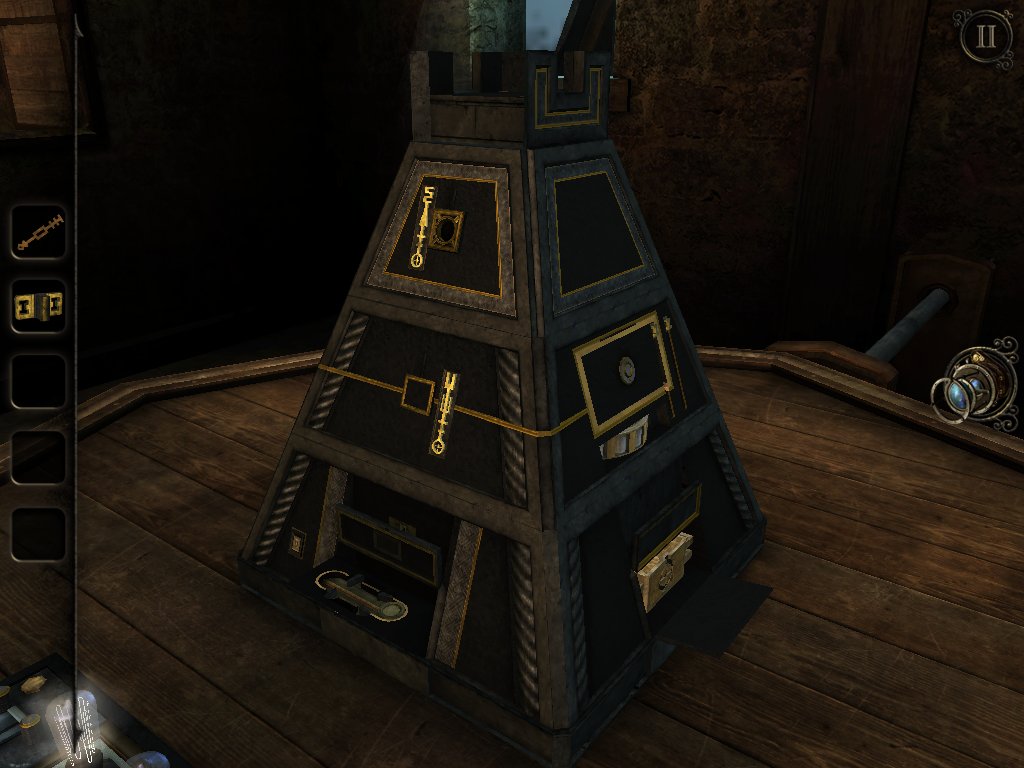
A panel on the right will have opened. Take the hollowed-out metal block.
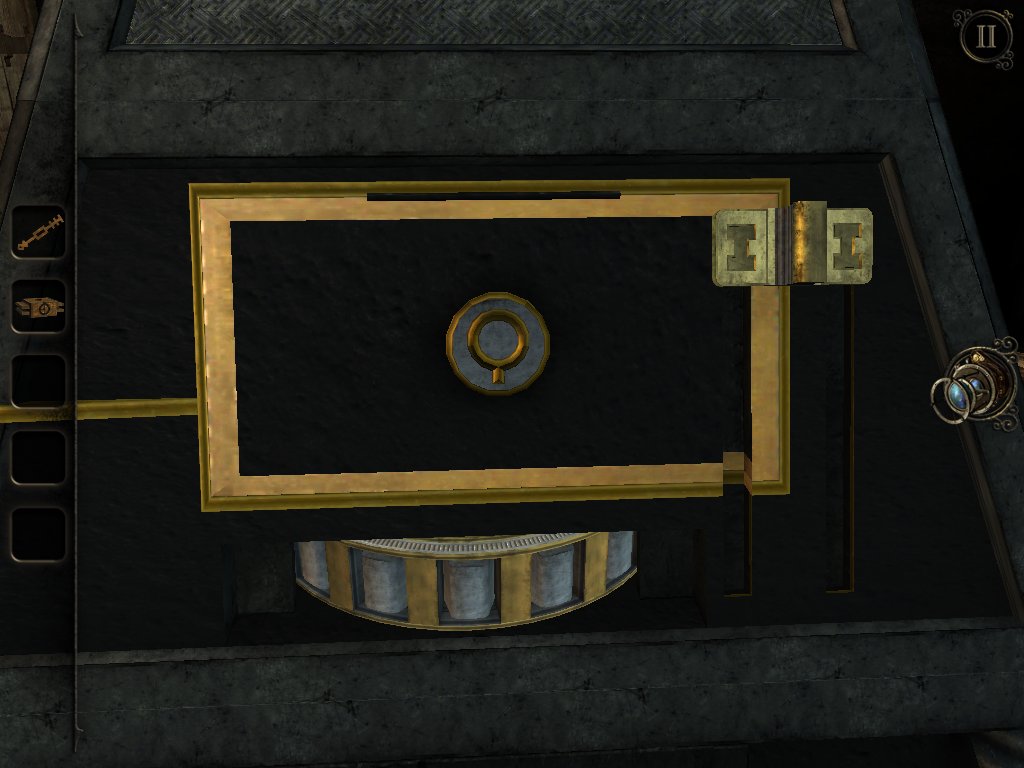
Zoom in on the panel above the compartment that held the hollowed-out metal block and insert the connector on the right side.
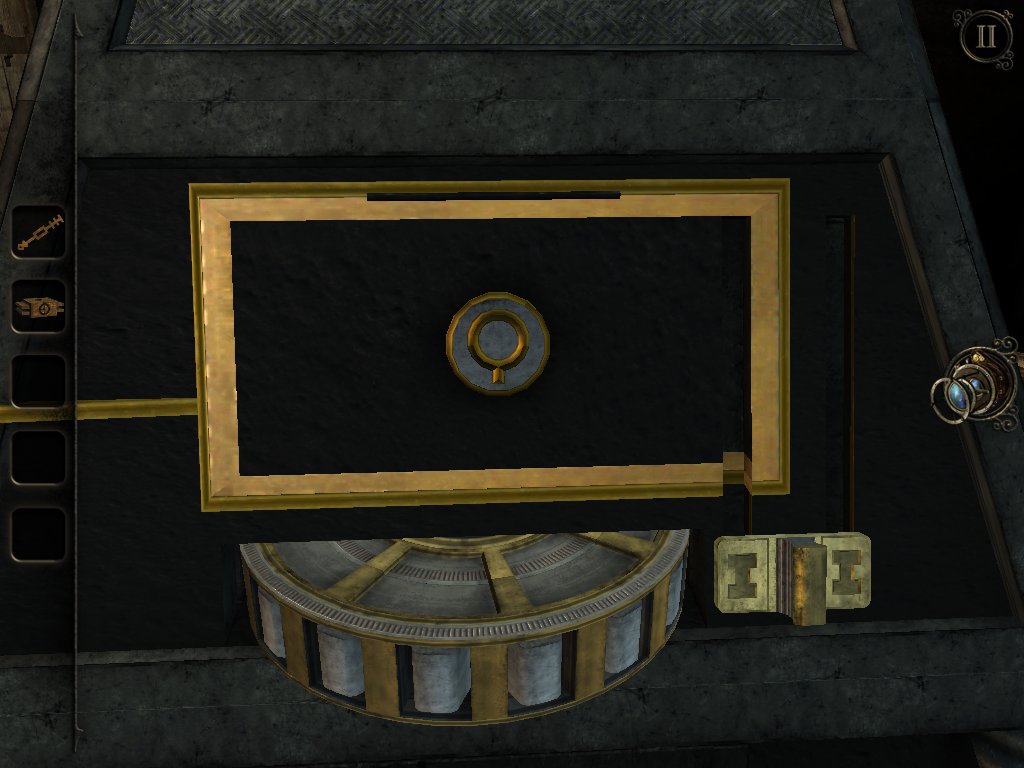
Spin the dial at the bottom until you can pick it up.
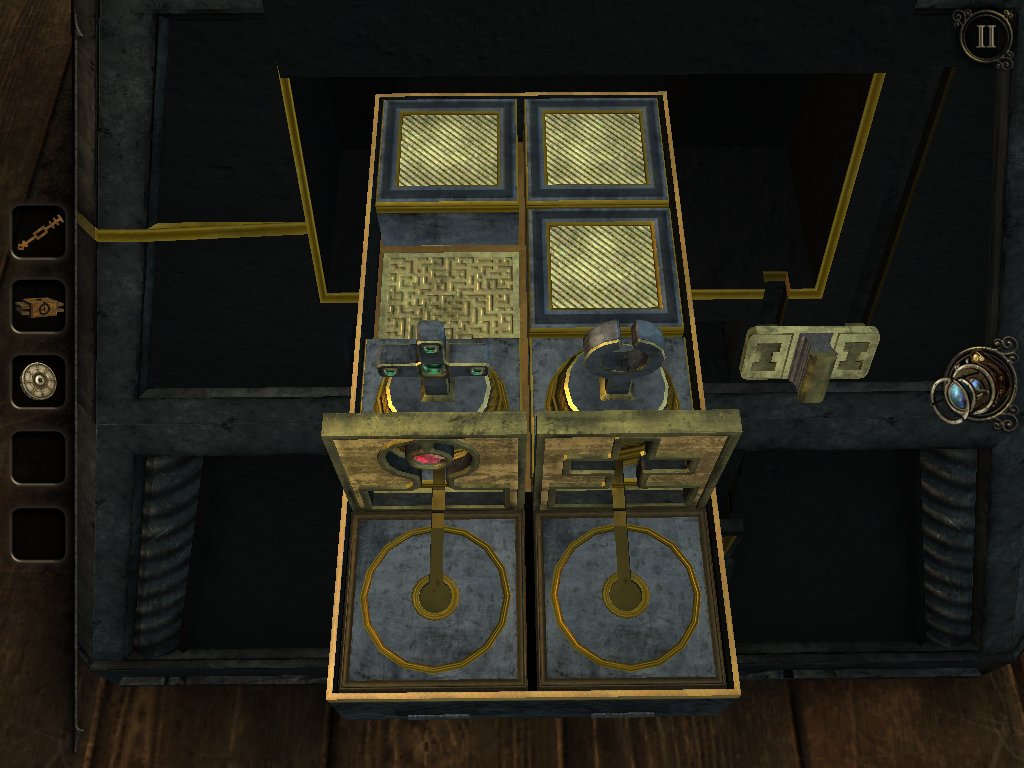
Now we need to solve another puzzle by following a convoluted set of directions to switch the positions of the blocks with pieces on top of them.
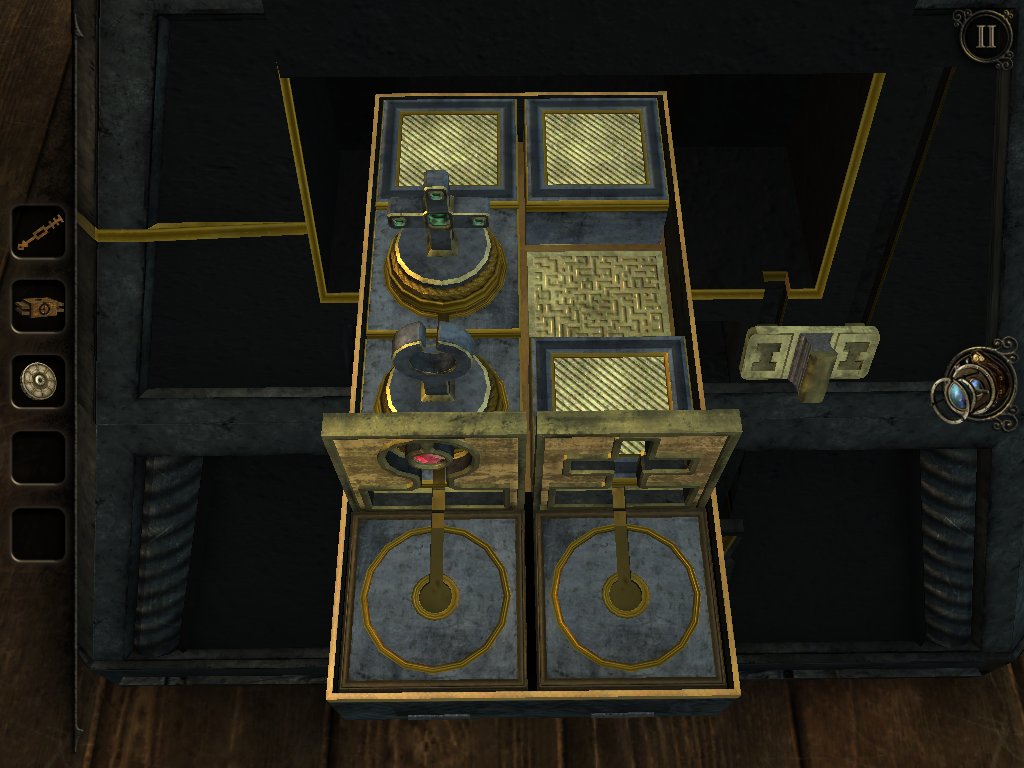
Move the cross up, and the ringed piece to the left. Move the gold block in the middle row down a space.
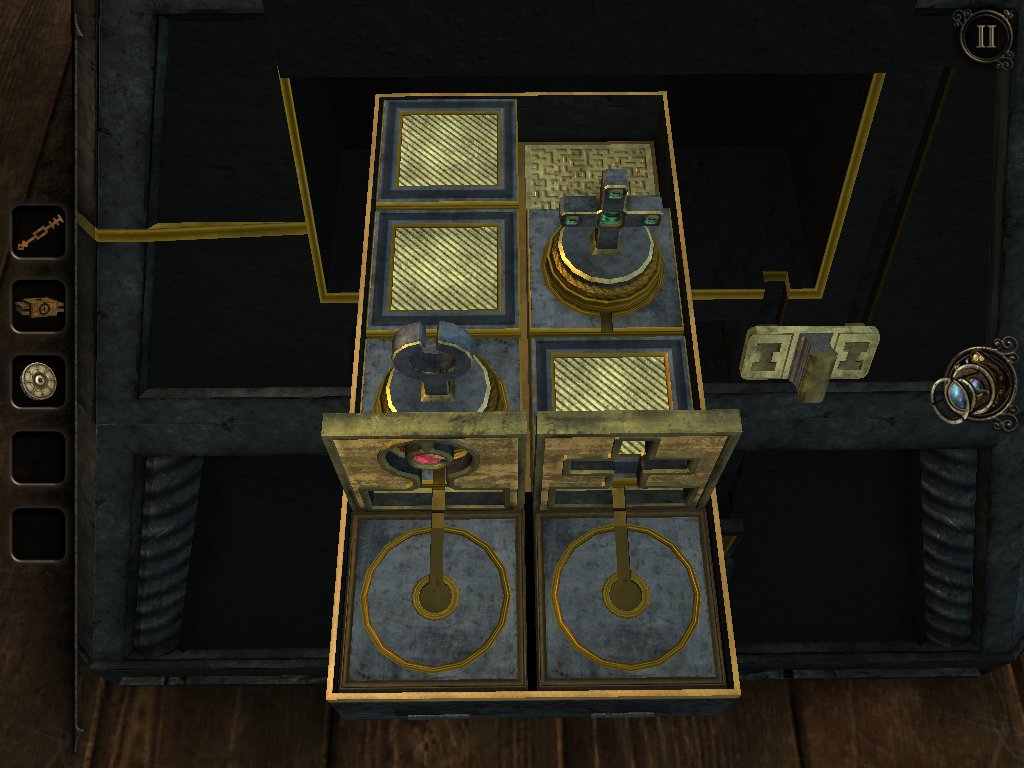
Move the cross to the right, the top left gold block down a space, and the top right gold block across to the left.
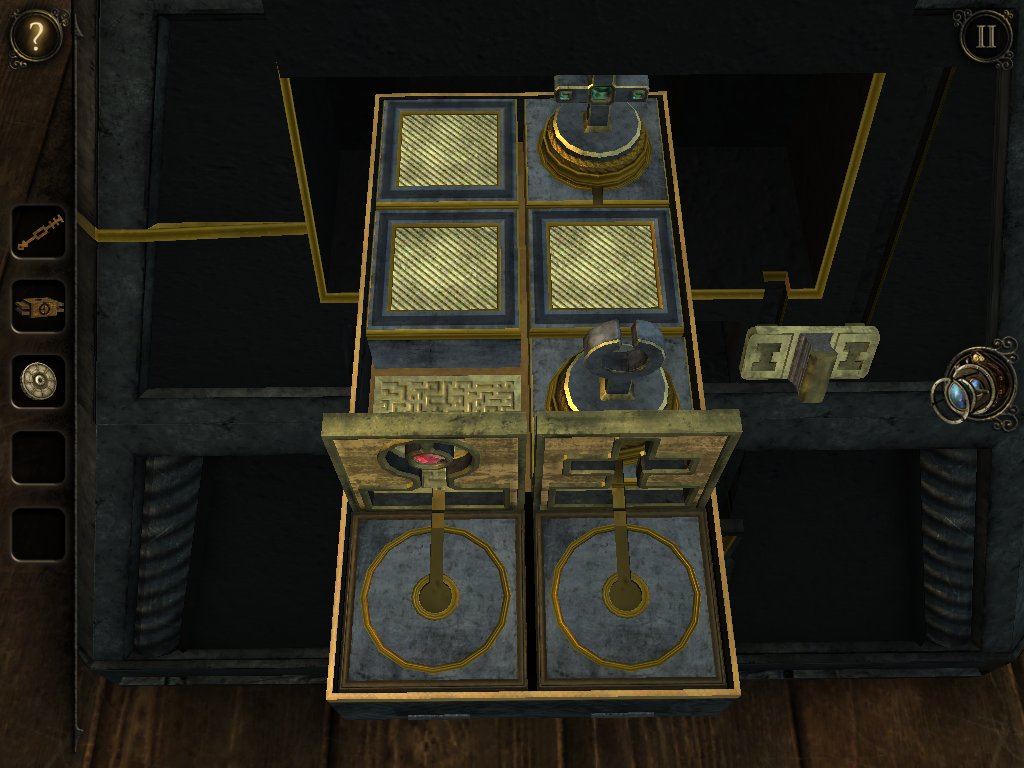
Move the cross up, the bottom right gold block up, and the ringed piece to the right.
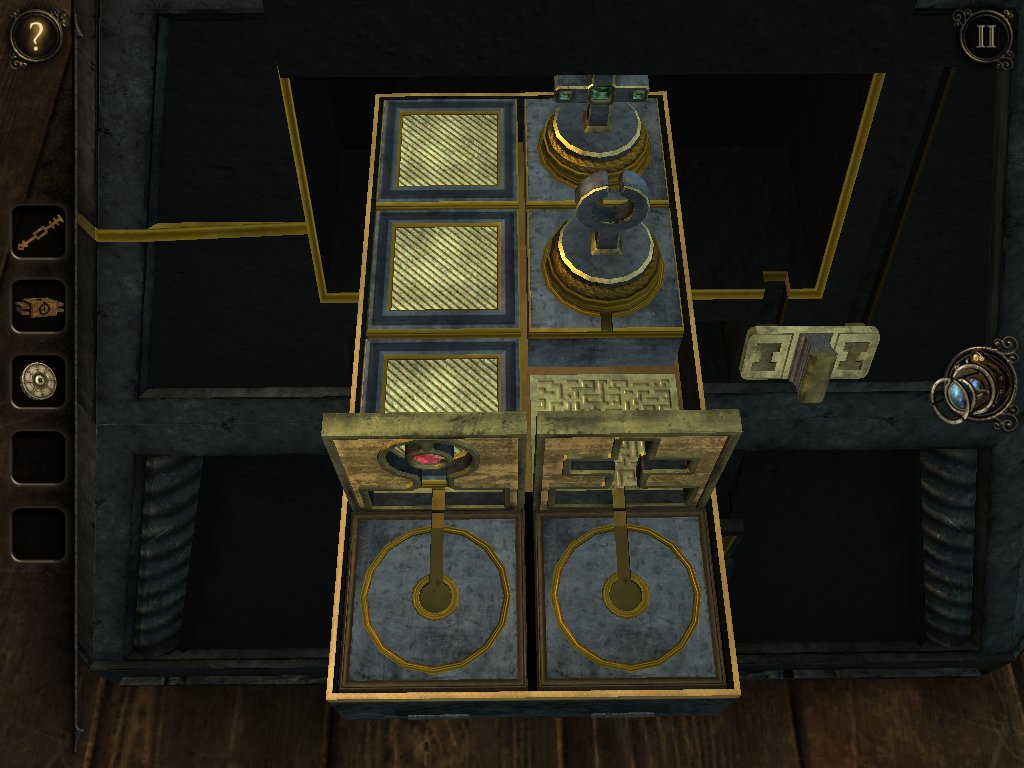
Move the gold block from the middle left down a space, and slide the gold block from the right over to the left. Move the ringed piece up one. The blocks should now look like this.
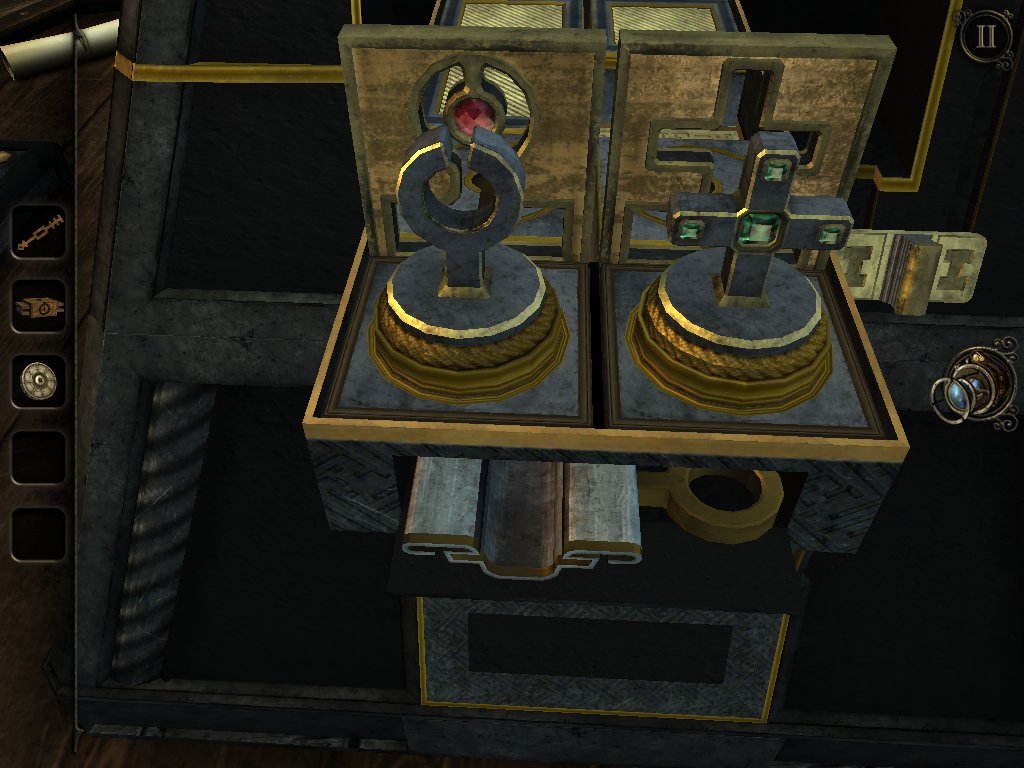
Starting with the ringed piece, simply move all of the blocks around clockwise until the pieces align with the cutouts. Take the metal casting.
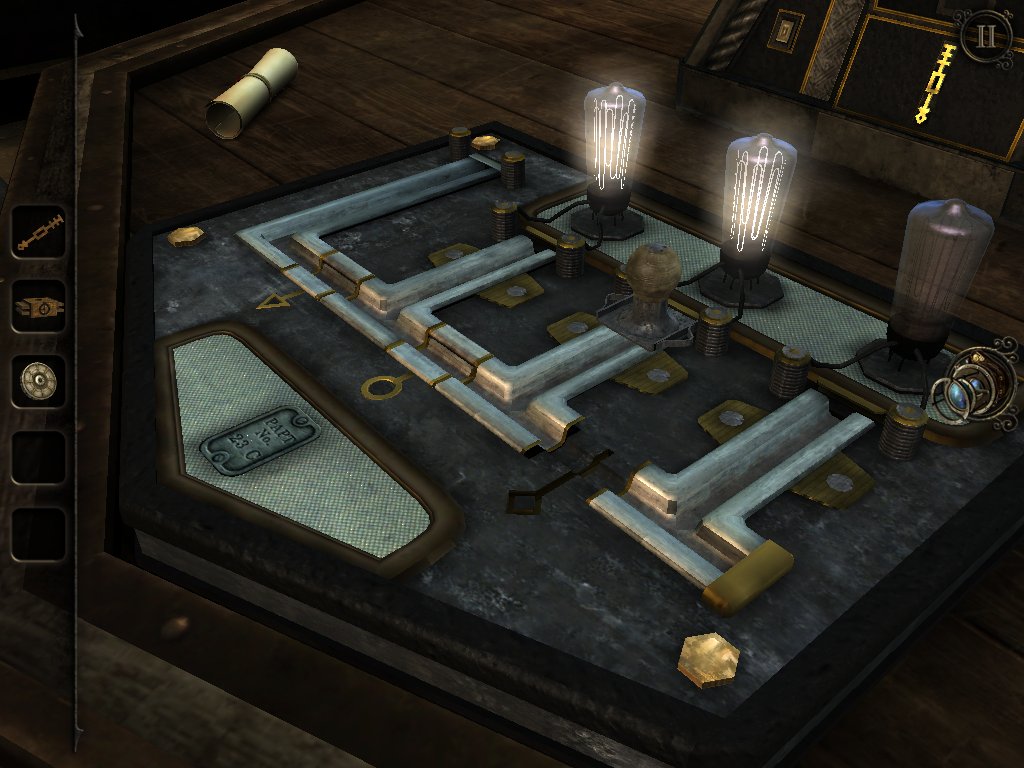
Slot the metal casting into the panel at the front of the pyramid and slide the handle around to the second light bulb.
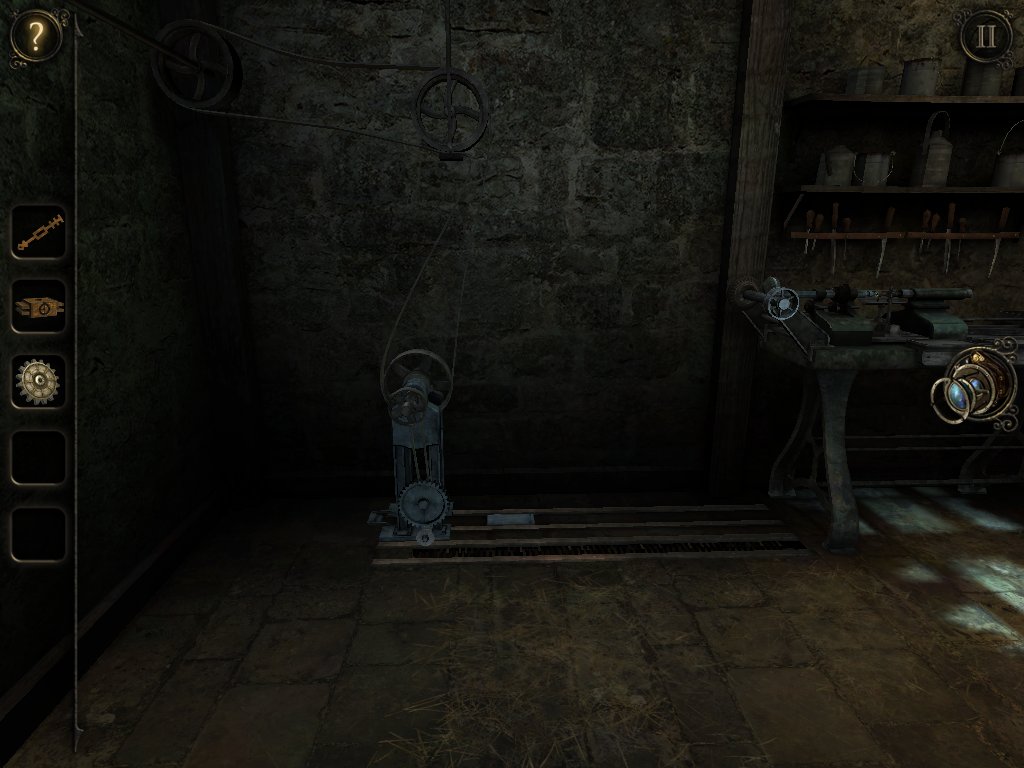
Head back into the room with the circular saw.
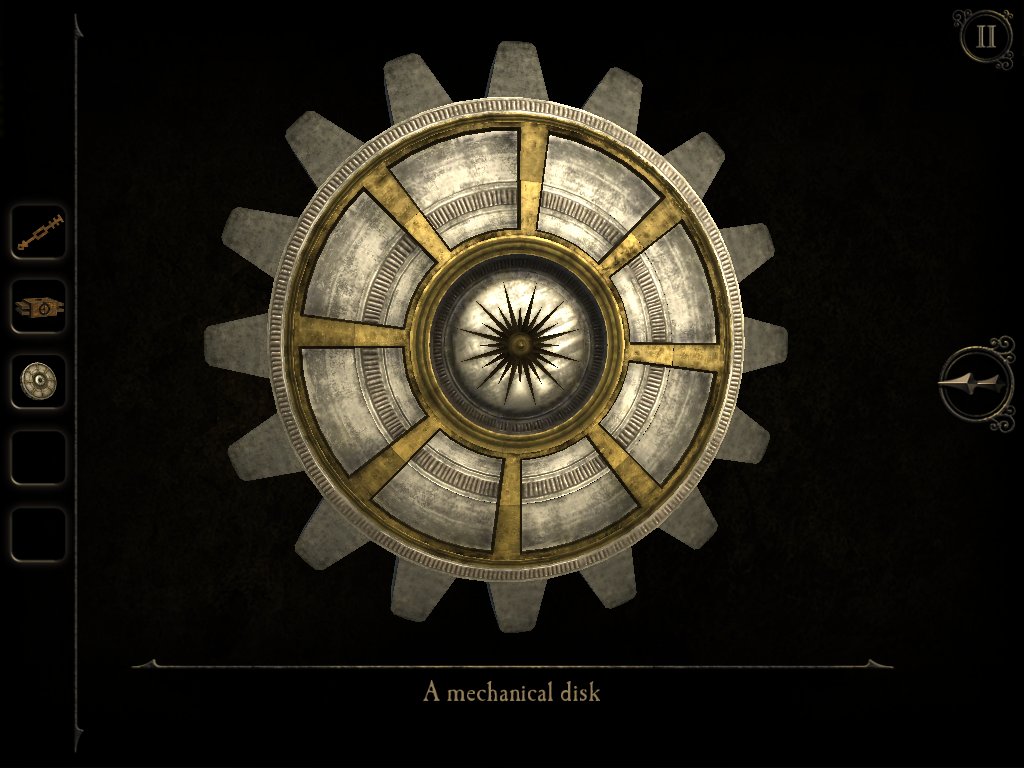
Examine the mechanical disk in your inventory and spin it around until the the edges pop out.
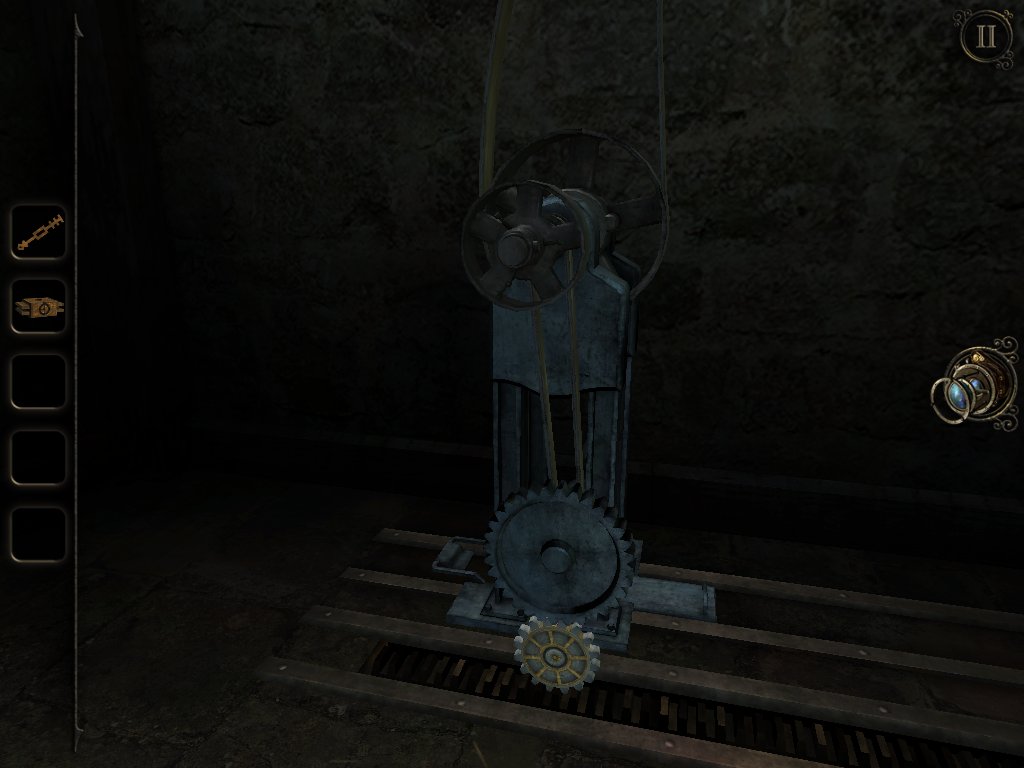
Attach it to the bottom of this mechanism and once it's finished its journey across the rails, grab the belt left in its wake.
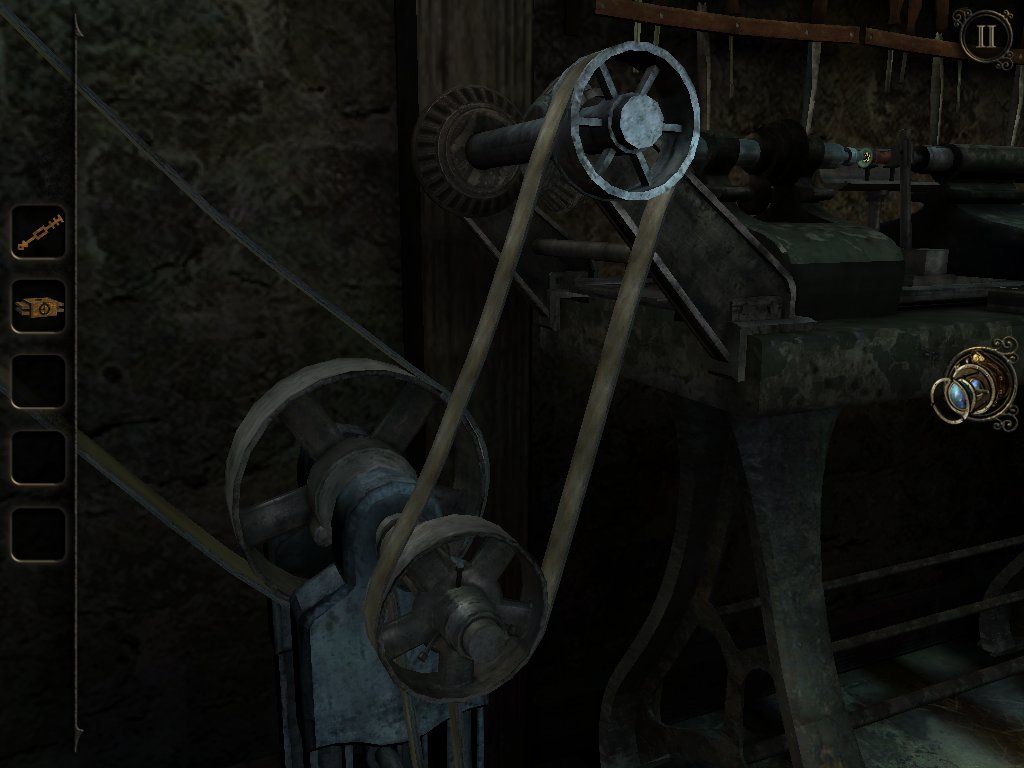
Use the belt to attach the wheel at the top to the wheel on the table.
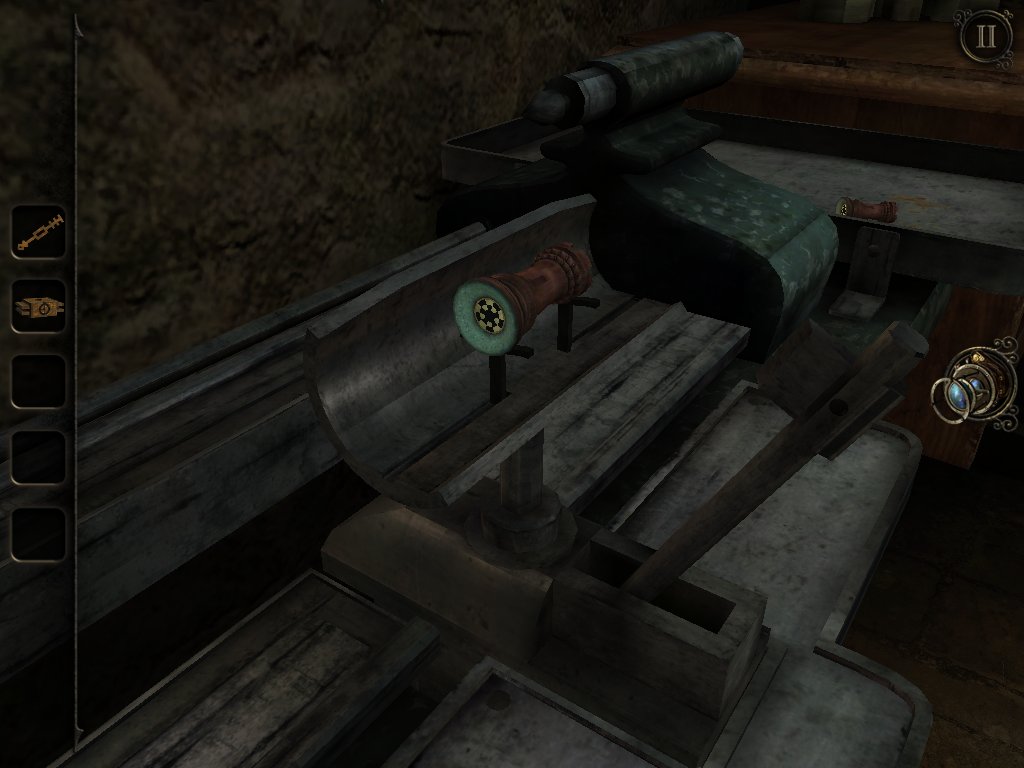
Turn on the milling machine and pick up the two chess pieces.
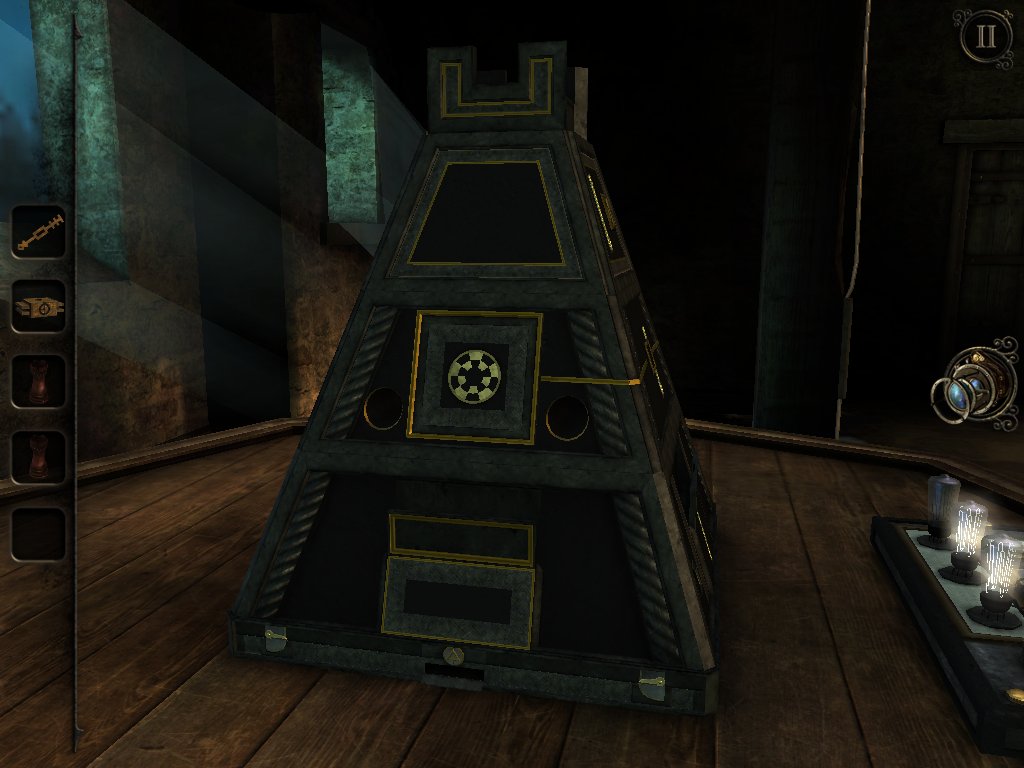
Slot the chess pieces into the holes on the left side of the pyramid.
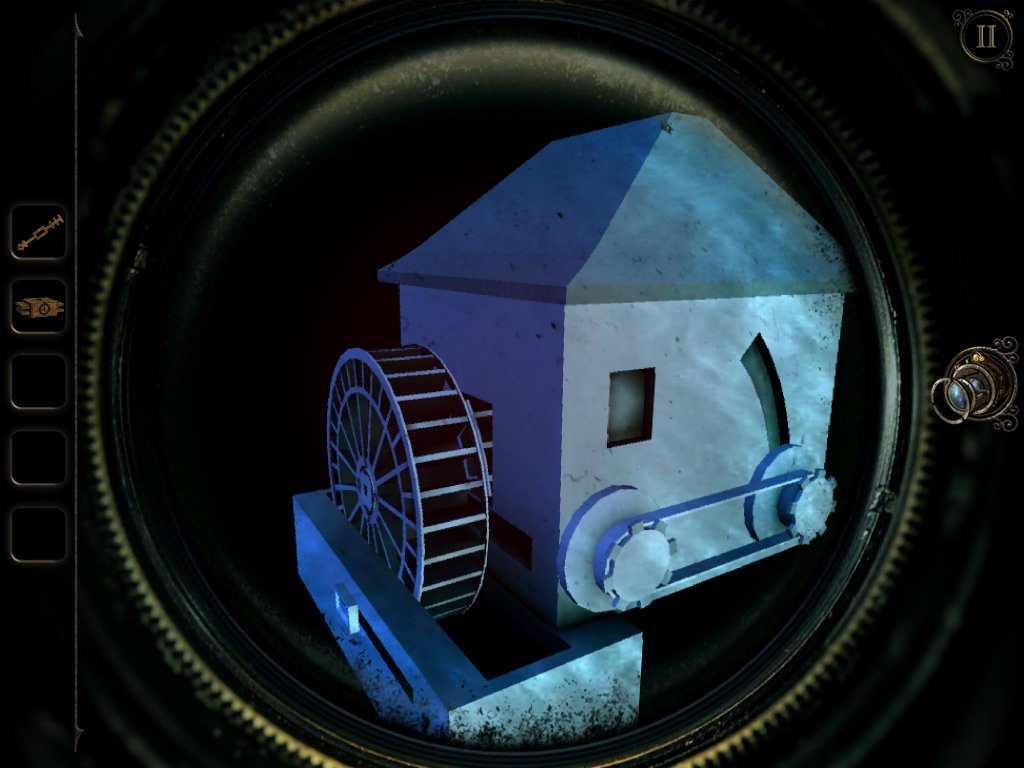
Whip out your eyepiece again. Use the slider on the left to move the water wheel and align it with portion you can see inside of the house. Do this successfully and the wheel will become magically restored. Move it over to the right.
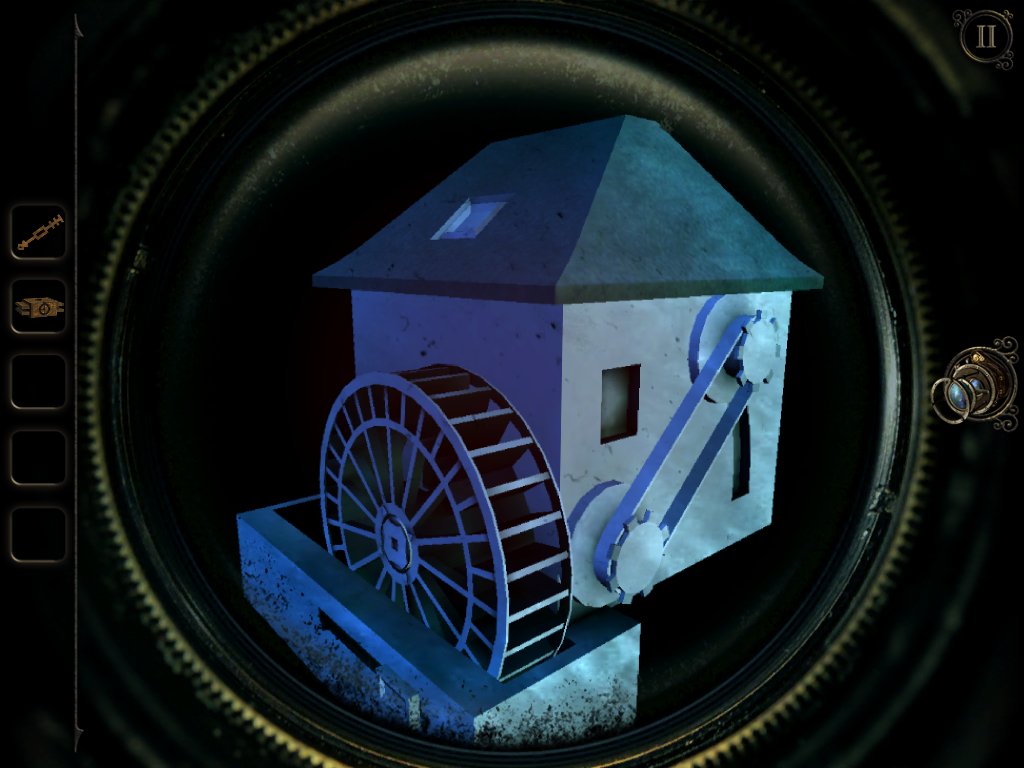
Now slide the gear on the right upwards and push the button on the roof. The top of the house will open up revealing another slider for you to push up.
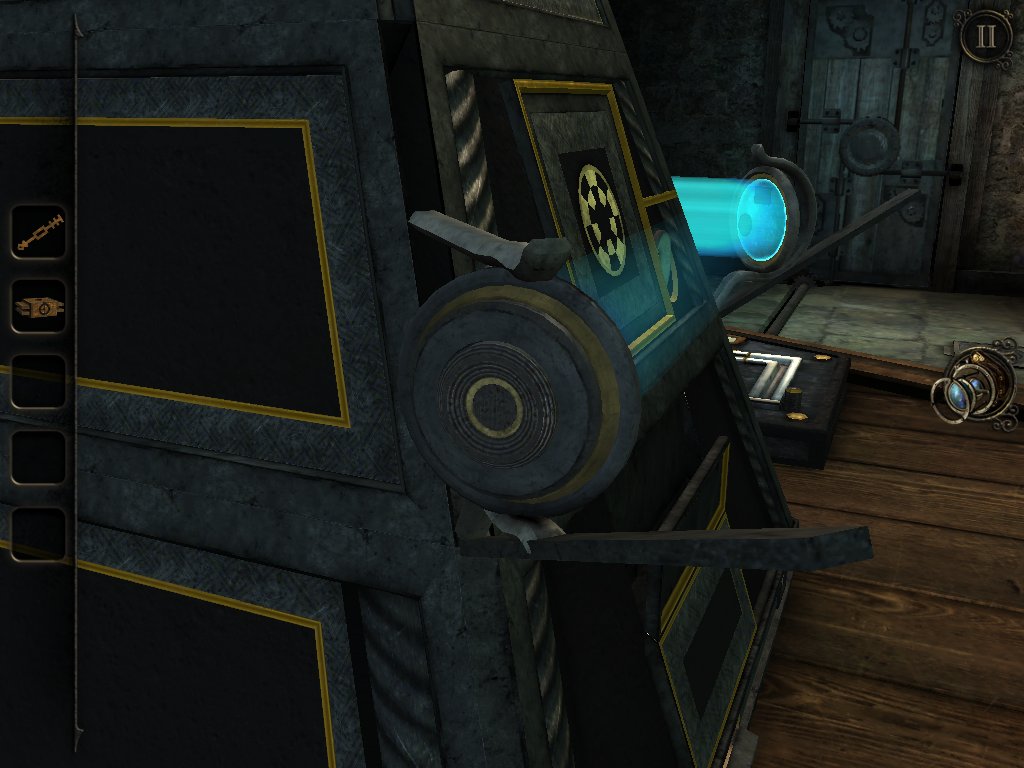
Back outside the pyramid, press the button on the back of the lens to shoot out a beam of light.
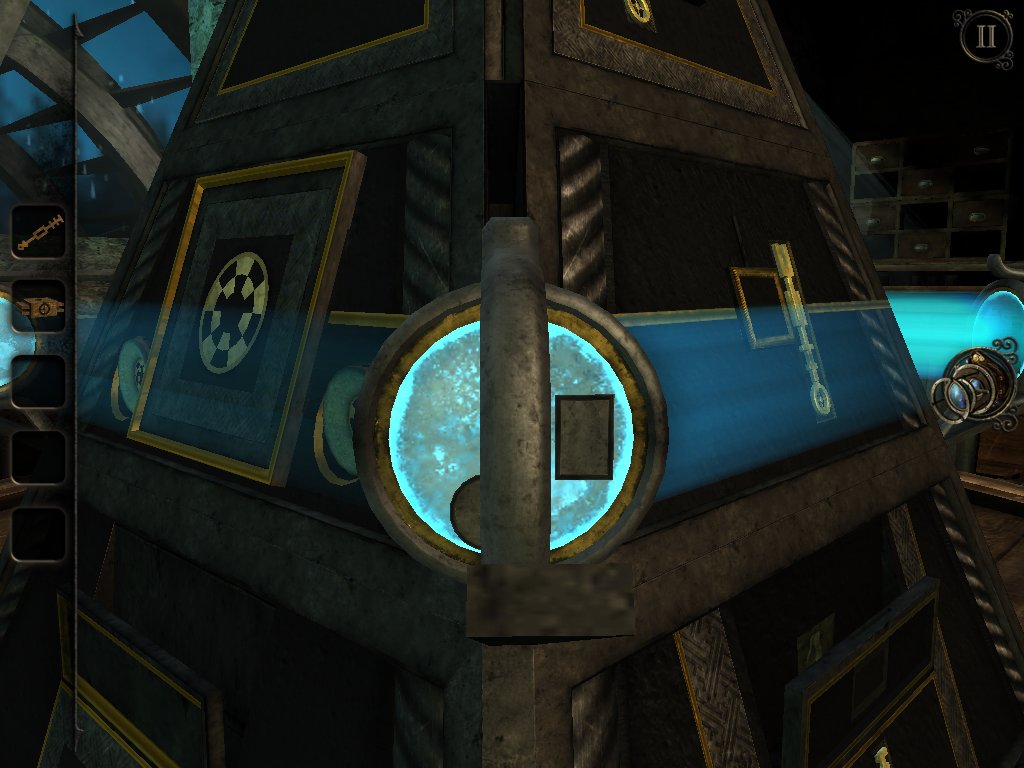
Move over to the lens on the right and rotate it to match the position above.
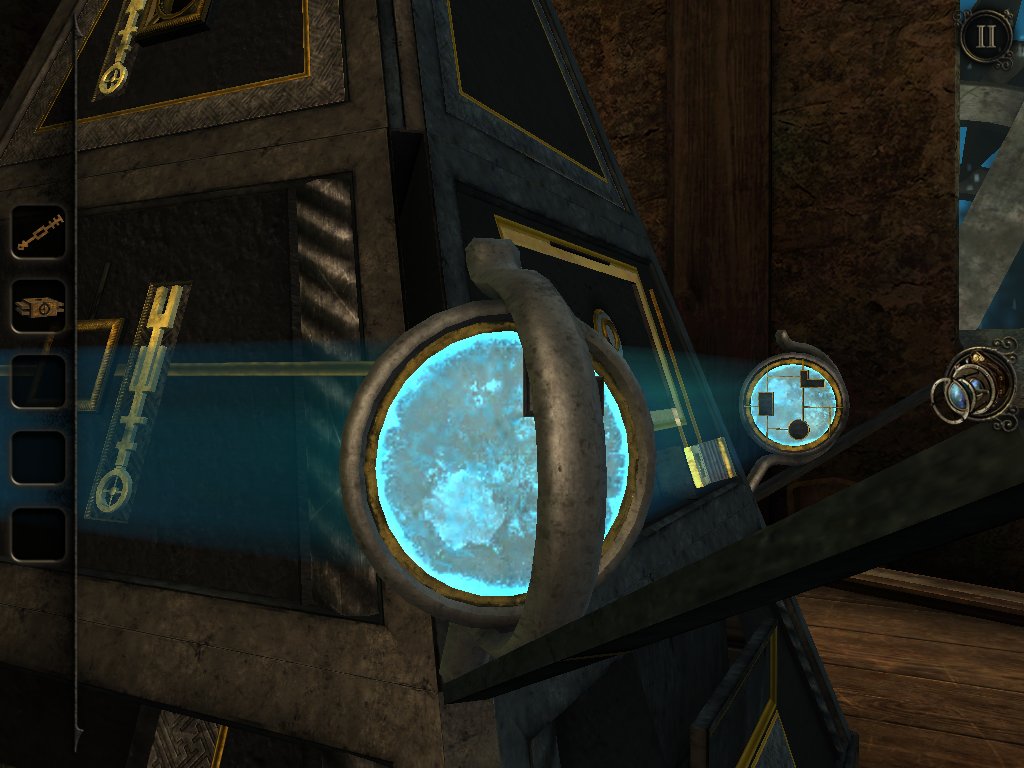
Do the same with the next one. You want the shapes being made by rotating the lenses to match the outlines on the last lens in the chain.
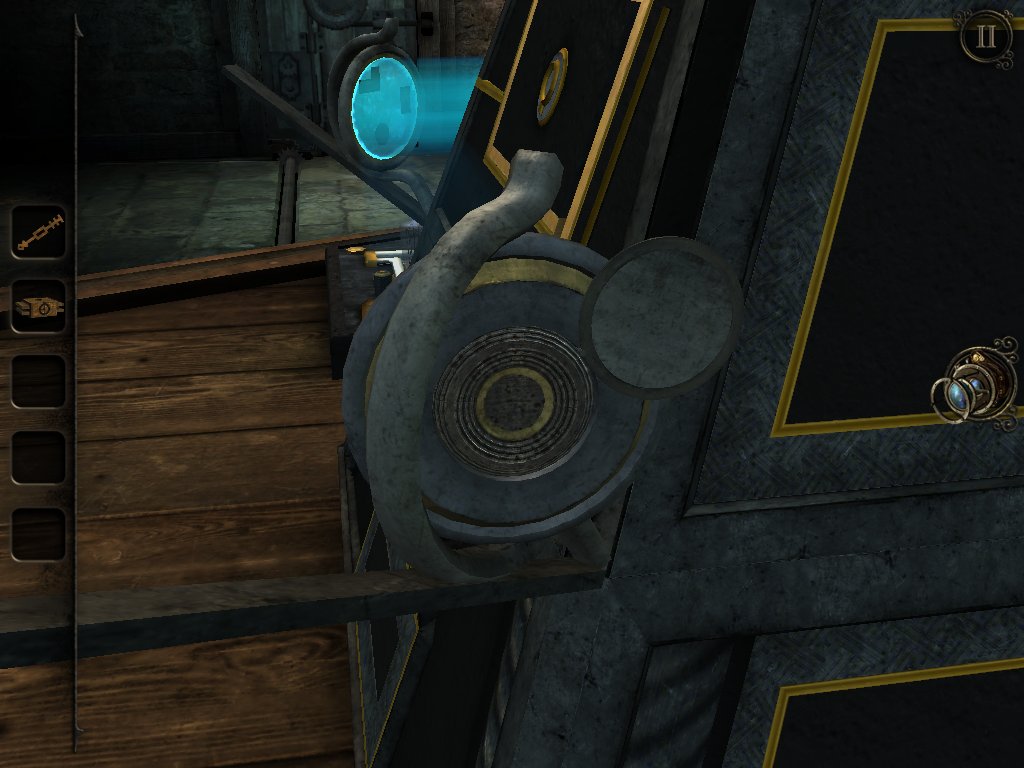
Press the button on the back of the first lens and a keyhole will be revealed.
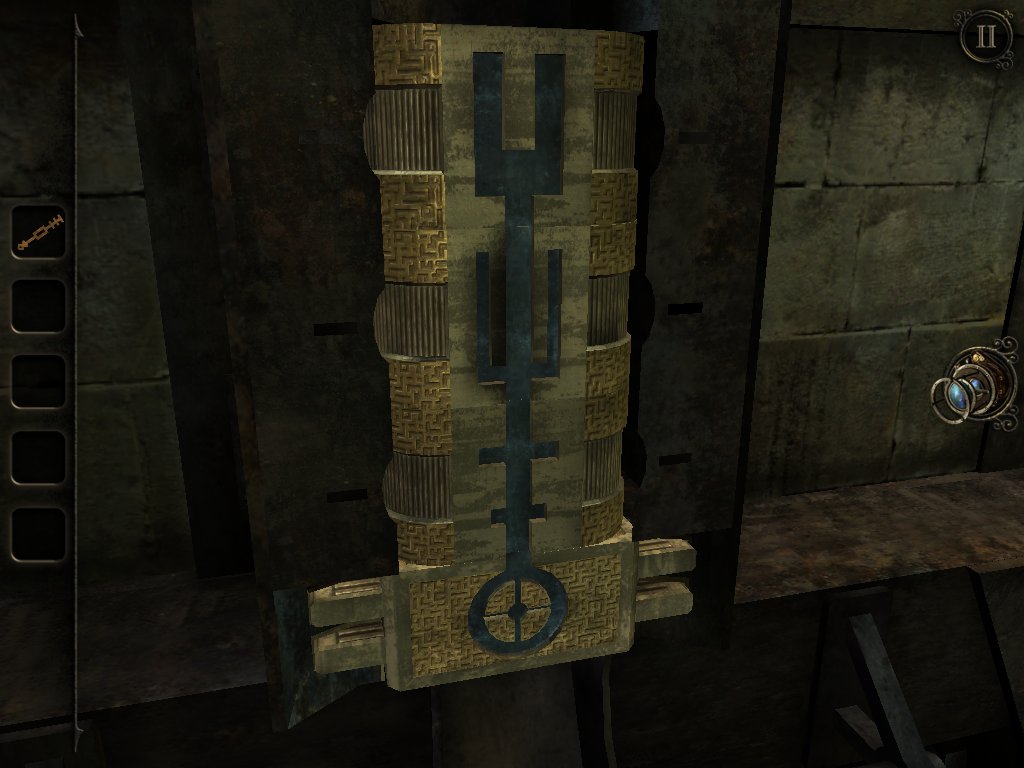
Head back to the forge and arrange the column of blocks to match the pattern for the next key. Follow the same process as before, but this time, use the key we made earlier to put in the drawer at the top.
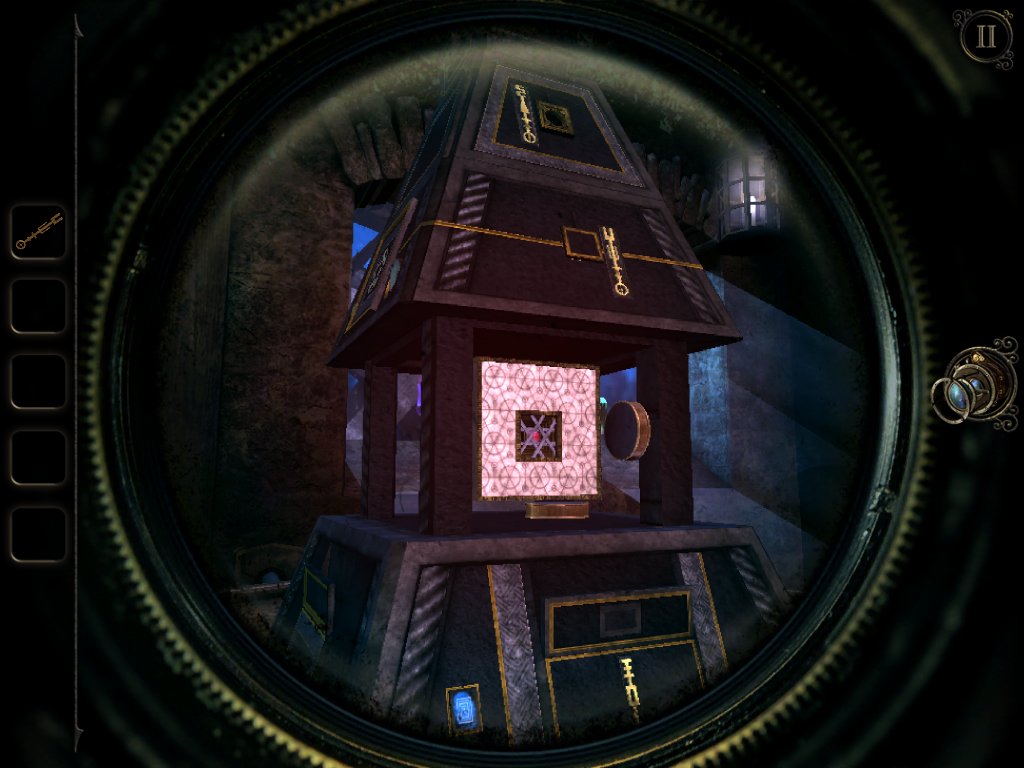
Use the key on the second tier of the pyramid and have your eyepiece to hand for the next puzzle.
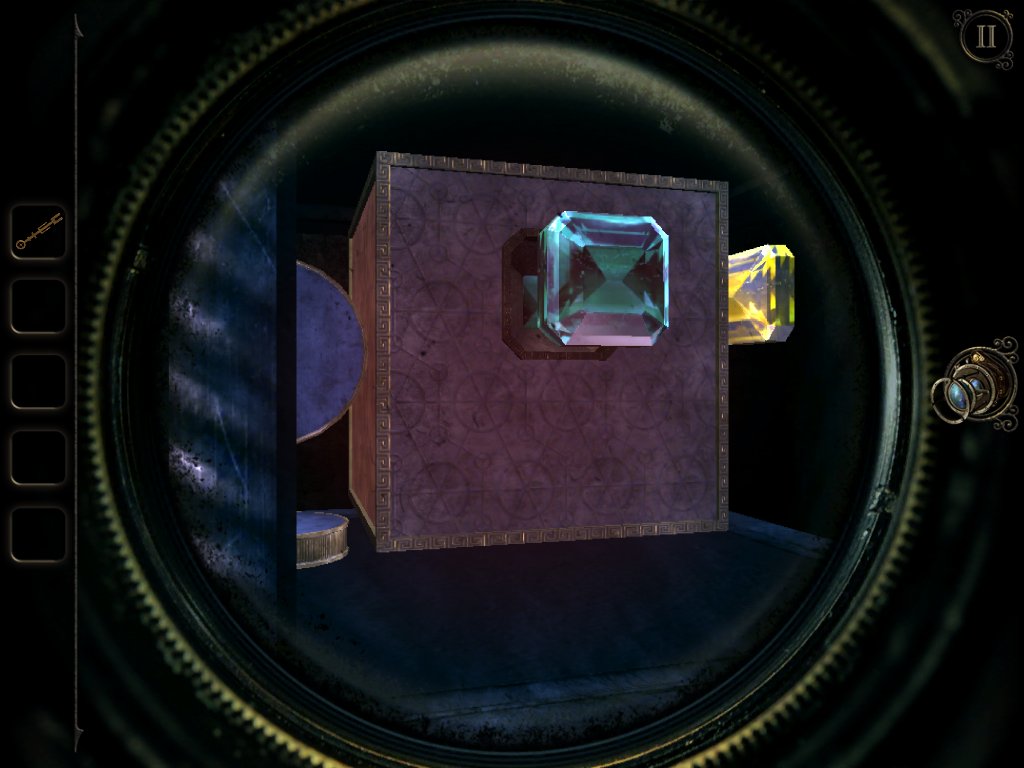
This is another really simple one. Rotate the cube using the dials to line up the coloured indentations with gems of the matching colour. Push each one into the cube before addressing the next one.
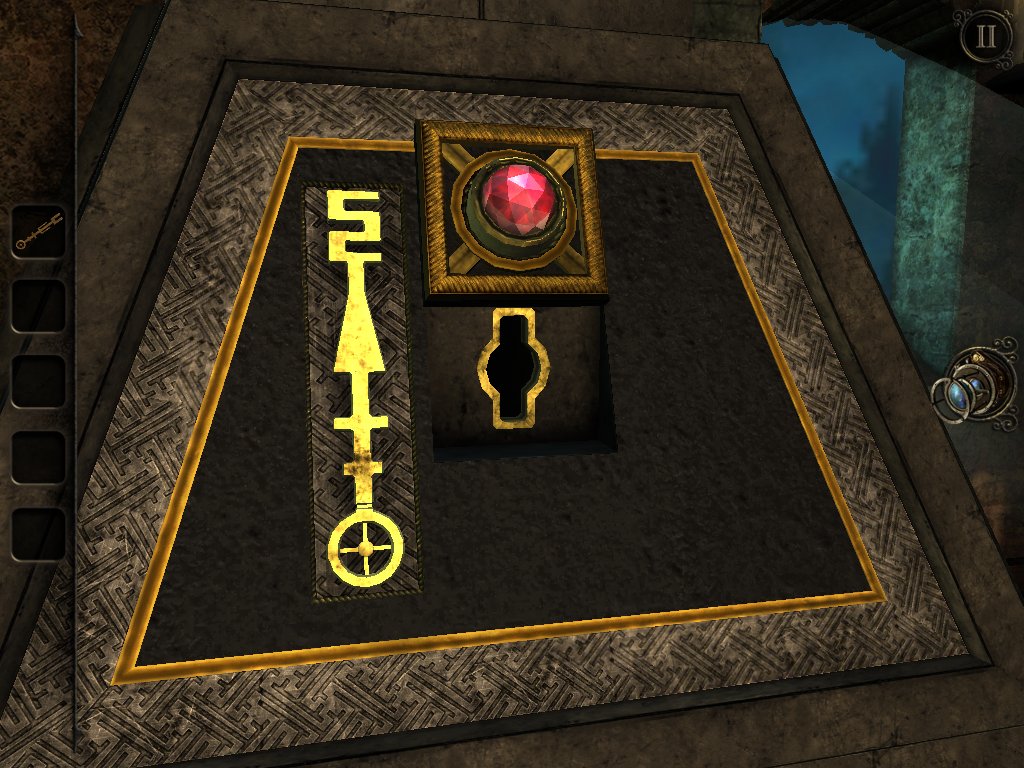
Once you're victorious, take the red gem and pop it onto the slot at the top of the pyramid next to the emblem of the key required to open the lock.
Turn to the next page for the rest of our The Room 3 walkthrough...
