Sekiro Shinobi Prosthetic tools: How to find every mechanical arm
Sekiro Shinobi tools are unique replacements for Wolf's left arm in the latest From Software game, and we've got all the locations
Learning the best Sekiro Shinobi prosthetic tool to use in a given situation can make a huge difference between success and failure. These mechanical limbs can help with combat, traversal, evasion and, in some cases, certain things can be impossible without the right Sekiro Shinobi prosthetic tool to, um, hand - for example some boss fights are almost impossible without the explosive powered stunning of Robert’s Firecrackers. There are 10 Sekiro Prosthetics in total and a trophy or achievement for collecting them all. Coming up we'll tell you how to find all the Sekiro Shinobi Prosthetic tools and how best to use them.
Sekiro walkthrough | Sekiro tips | Sekiro Dragon rot | Sekiro Prayer Beads | Sekiro Gourd seeds | Sekiro bosses | Sekiro endings| Sekiro Snap Seeds | Sekiro Treasure Carp Scales
Loaded Shuriken Shinobi Prosthetic tool - Ashina Outskirts
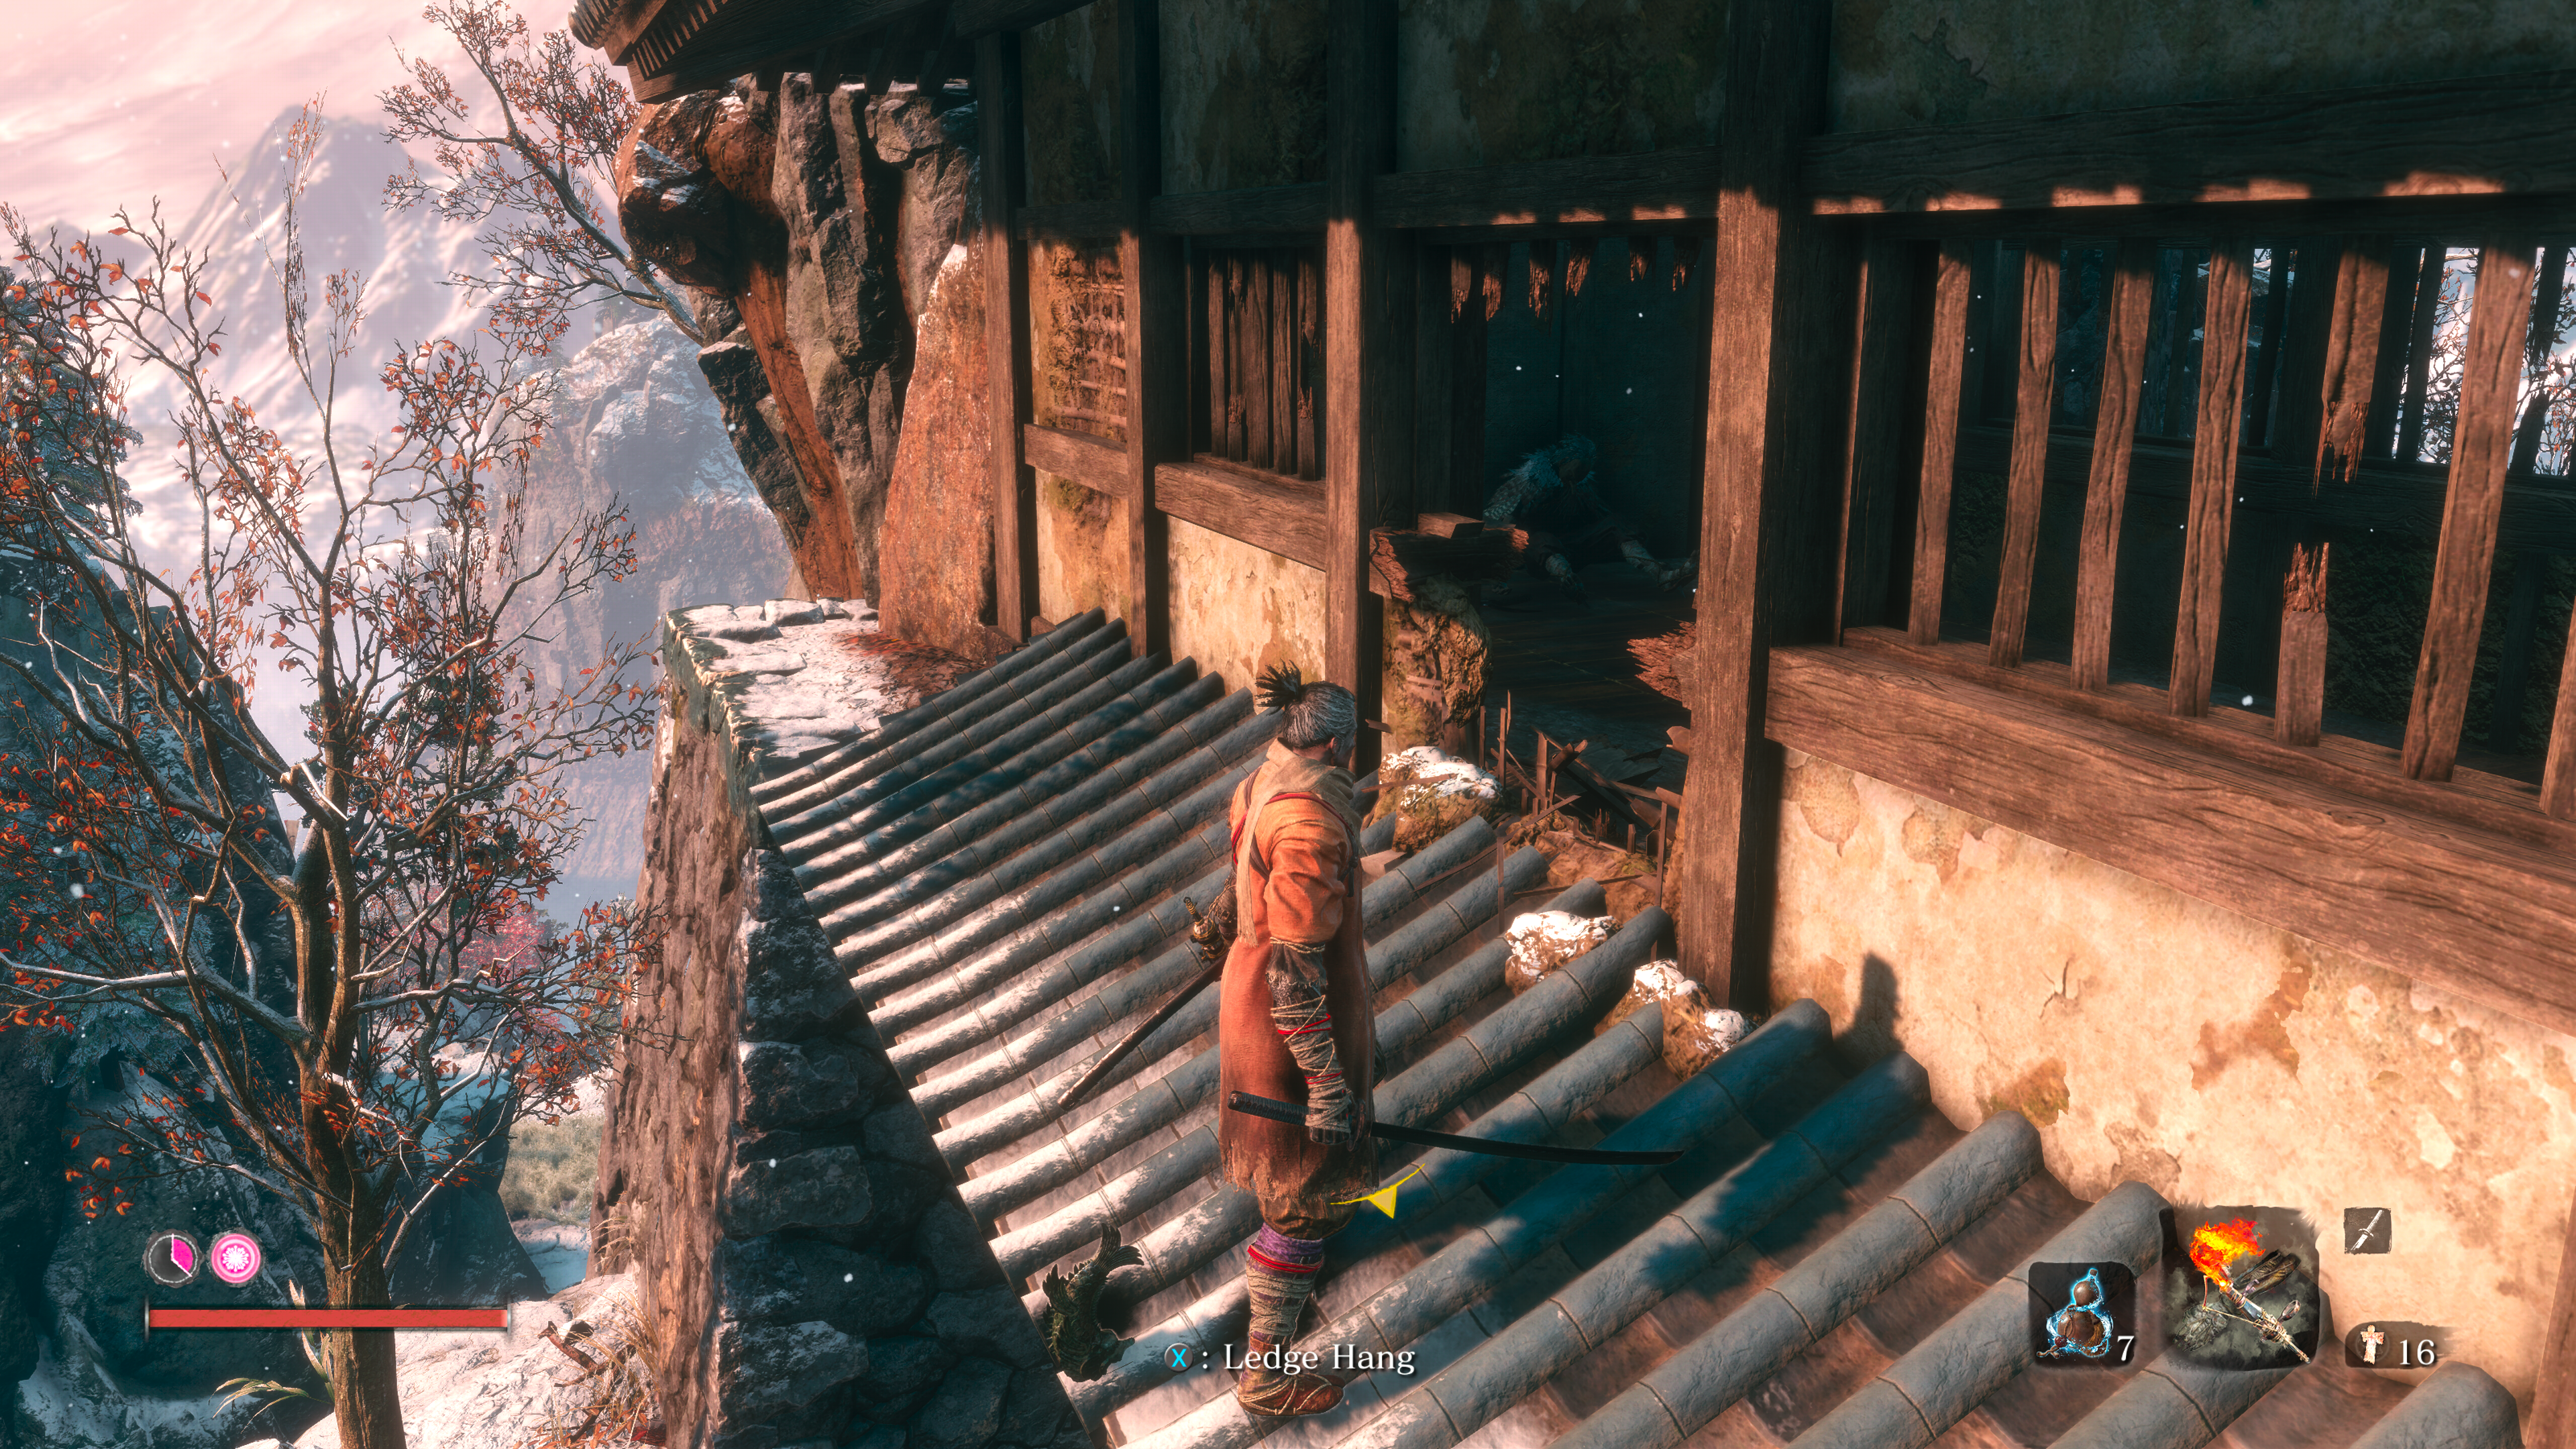
The first prosthetic available to the player is fairly iconic and easily found. Simply progress from the starting area until you reach the battle with a set of wolves and a sculptor’s idol on a ledge up to your right. Unlock the safe point and then wipe out the competition, there will be a small pagoda thoroughfare in front of you. On the second floor, there will be an opening. Head in there and there will be a furry corpse on your left. Head over there and pick up the Loaded Shuriken Prosthetic.
Robert’s Firecrackers Shinobi Prosthetic tool- Ashina Outskirts

The second Shinobi Prosthetic is found just around the corner from the first. After the fight with the dual-health bar general, you will enter an open area with a tower on the right. Head to your left and you will see a stone plateau in the centre of this battle area. Scale it and you will find the Crow Memorial Mob vendor. This is a recurring vendor in the game, but this first one is special as it sells the material ‘Robert’s Firecracker’ which is used to create the Firecracker prosthetic. Simply purchase it to unlock this incredibly useful piece of kit.
Shinobi Axe of the Monkey Shinobi Prosthetic tool - Hirata Estate
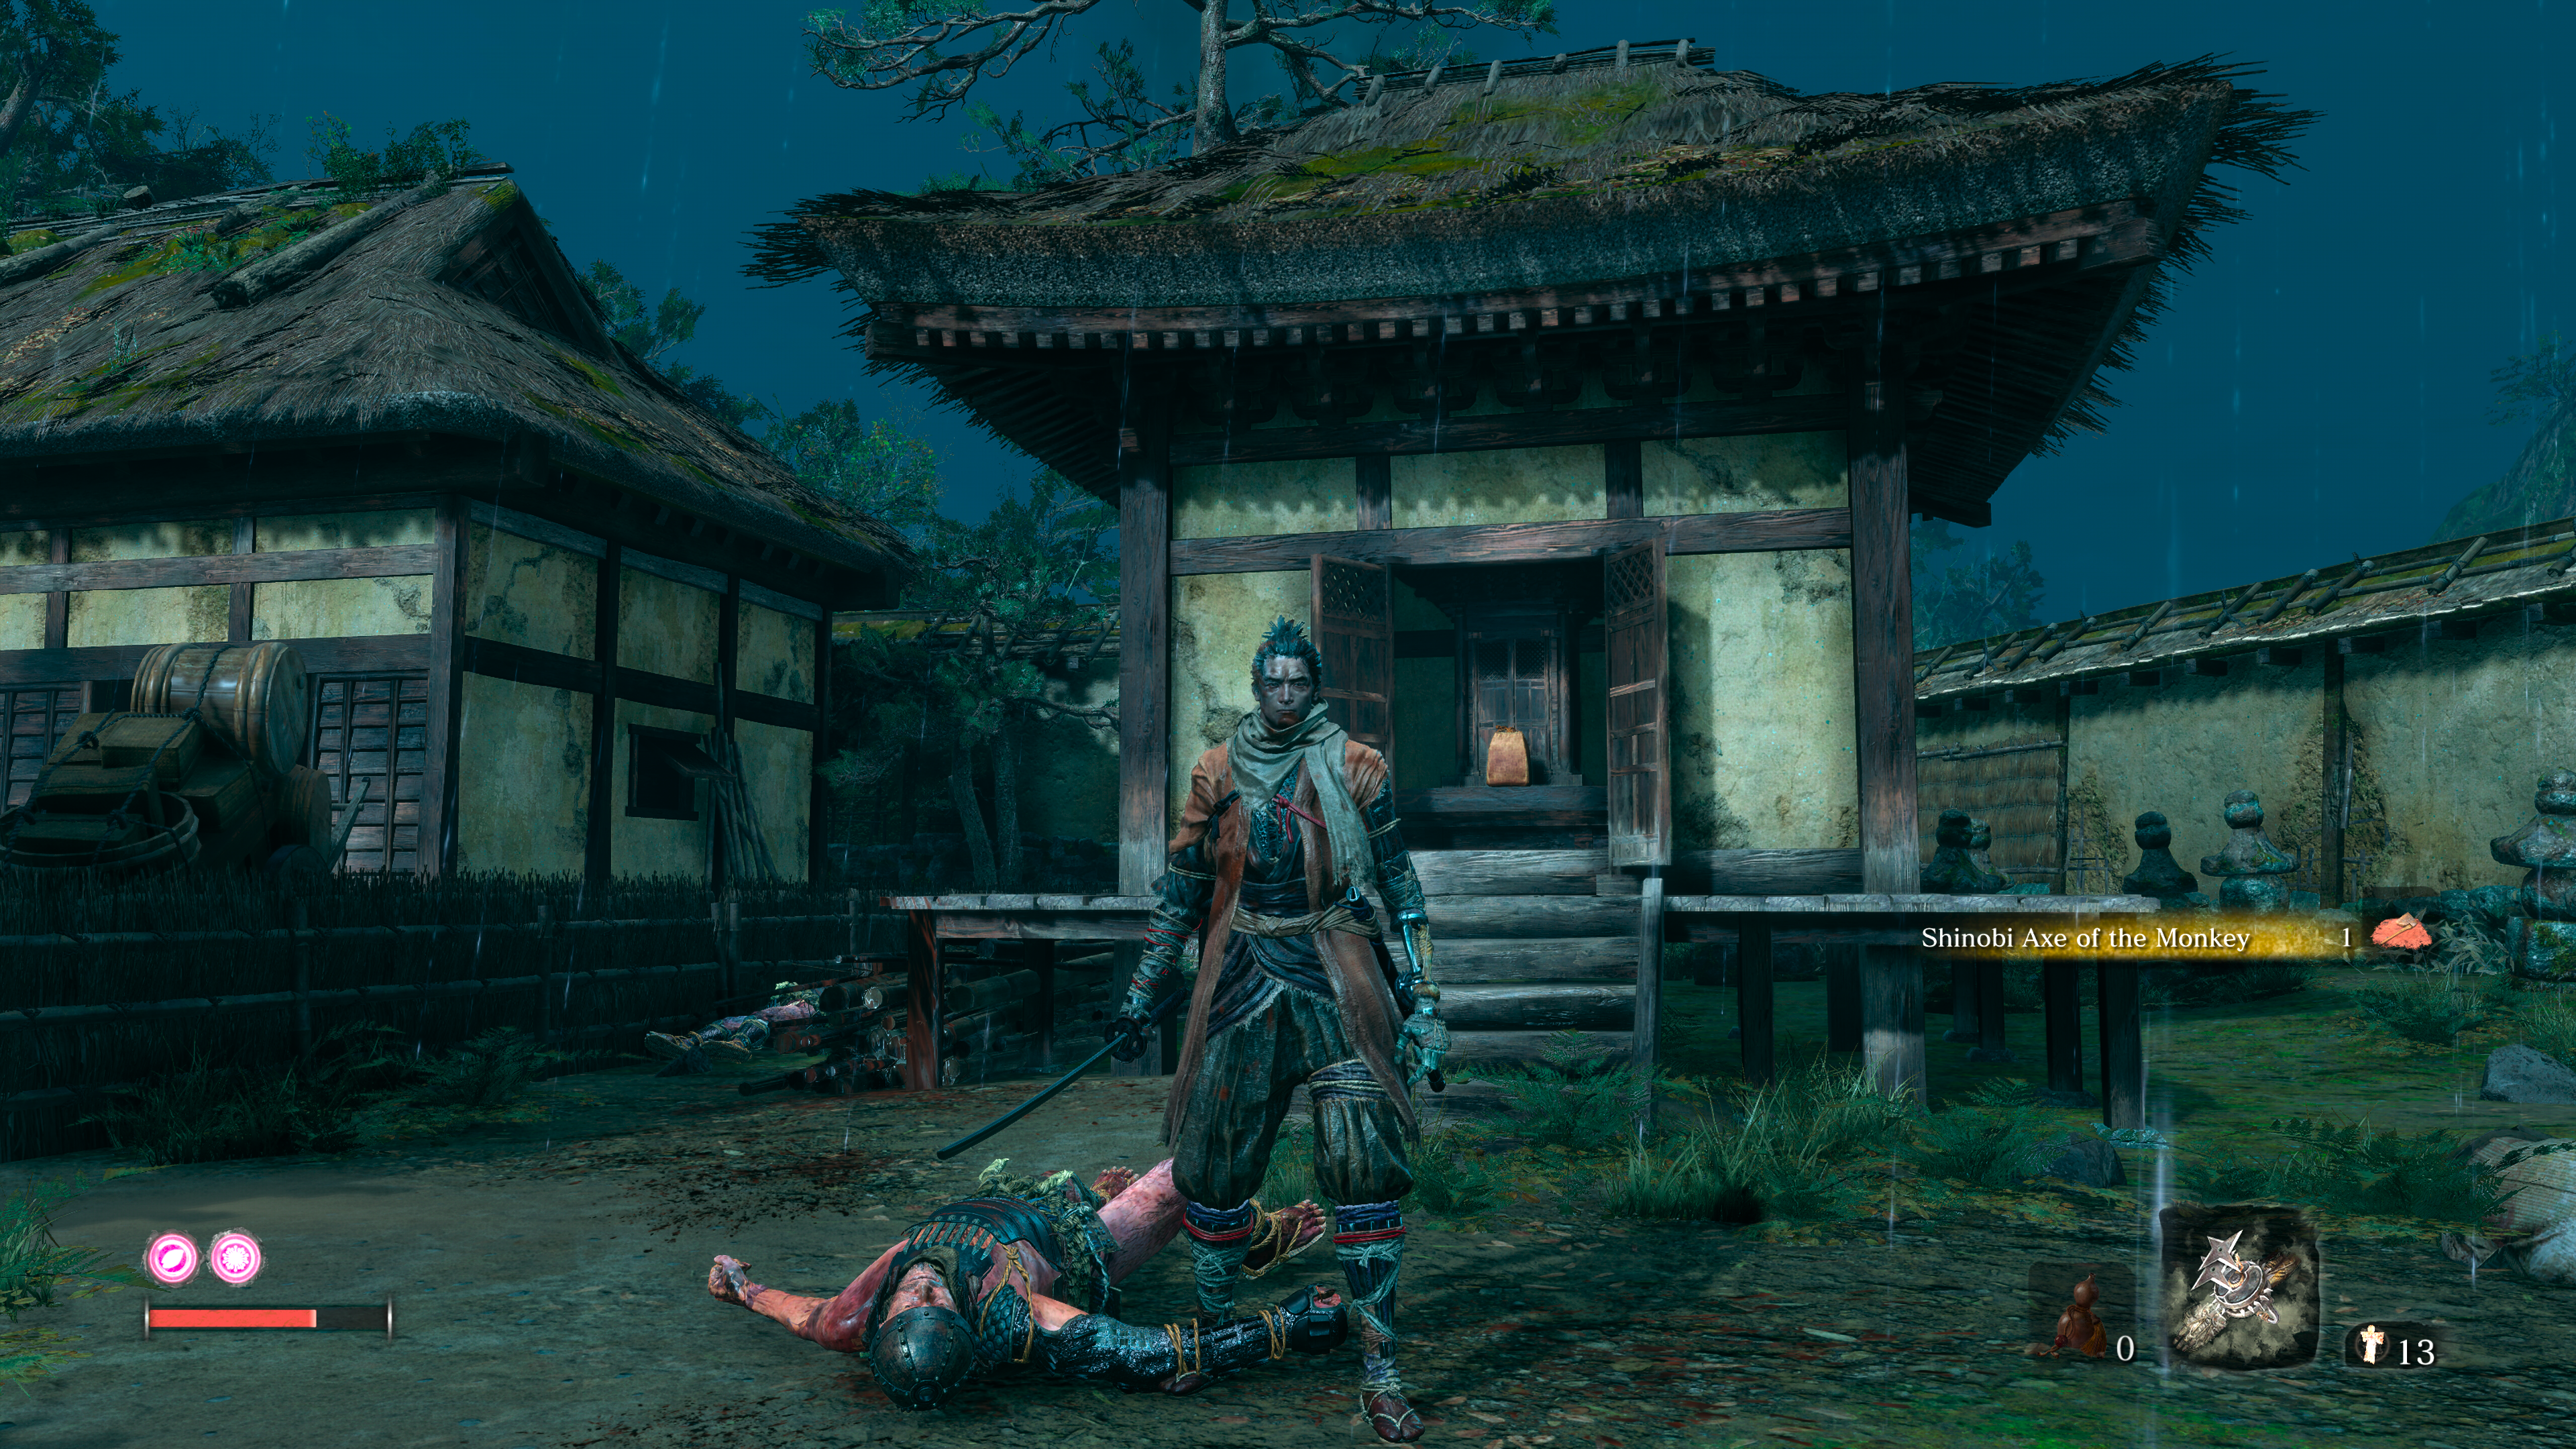
This is inside the first memory in the game, which you can find by speaking to the old lady ringing the bell who is down and to the right from the mob vendor who holds the firecracker material. Once you’ve ventured into the dream, advance until you open the shortcut in Hirata Estate by taking the wooden plank out. From this sculptor’s idol, look to your right on your way in, there will be a chicken compound on the left if you need to get your bearings. In the opposite area, you will see a small temple with two bandits who you can eavesdrop on. They are preparing to burn it. Kill them and open the door to find the Shinobi Axe of the Monkey Prosthetic which can break enemy shields.
Flame Barrel Shinobi Prosthetic tool - Hirata Estate
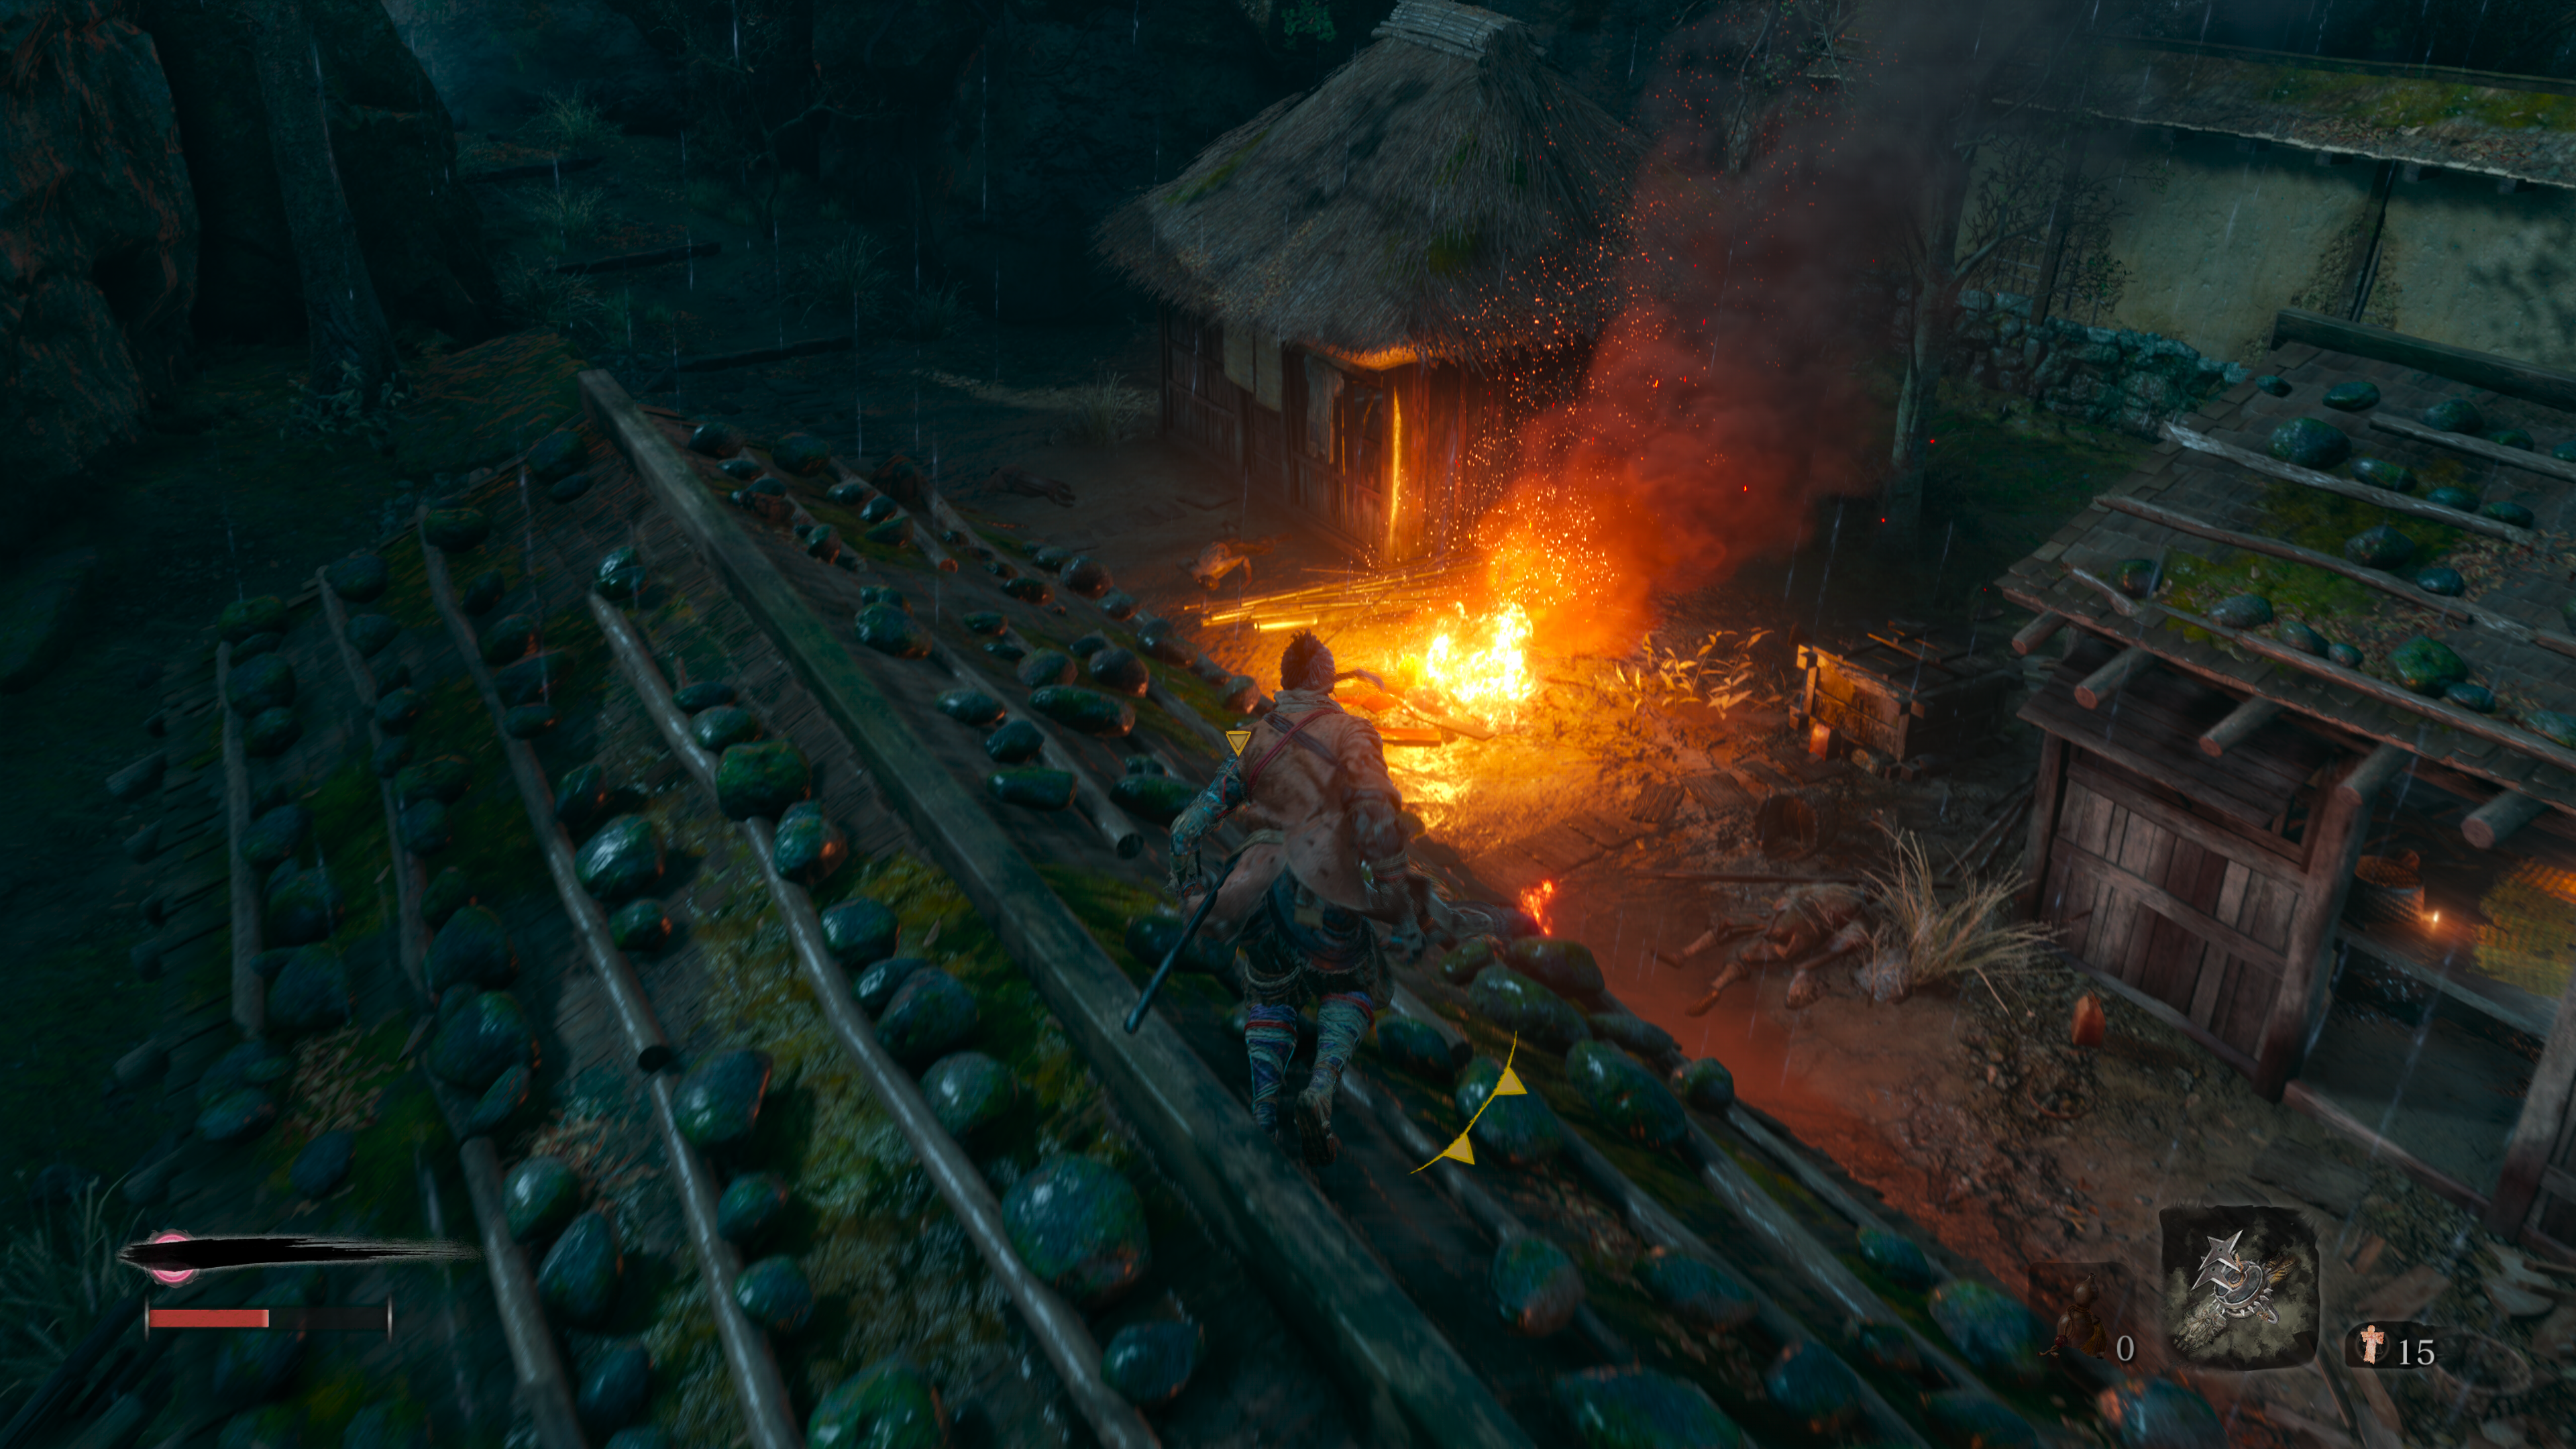
Hirata Estate again. This time, when you get deeper into the level, veer off to the right when the game wants you to head into the bamboo thicket. Leap over the archways until you come across a terraced compound with multiple enemies who fire fiery arrows at you. They are mostly crowded around a bonfire. Turns out the bonfire is where this Flame Barrel Shinobi Prosthetic is, which is fitting, seeing as it covers your enemies in hellfire.
Mist Raven’s Feathers Shinobi Prosthetic tool - Hirata Estate
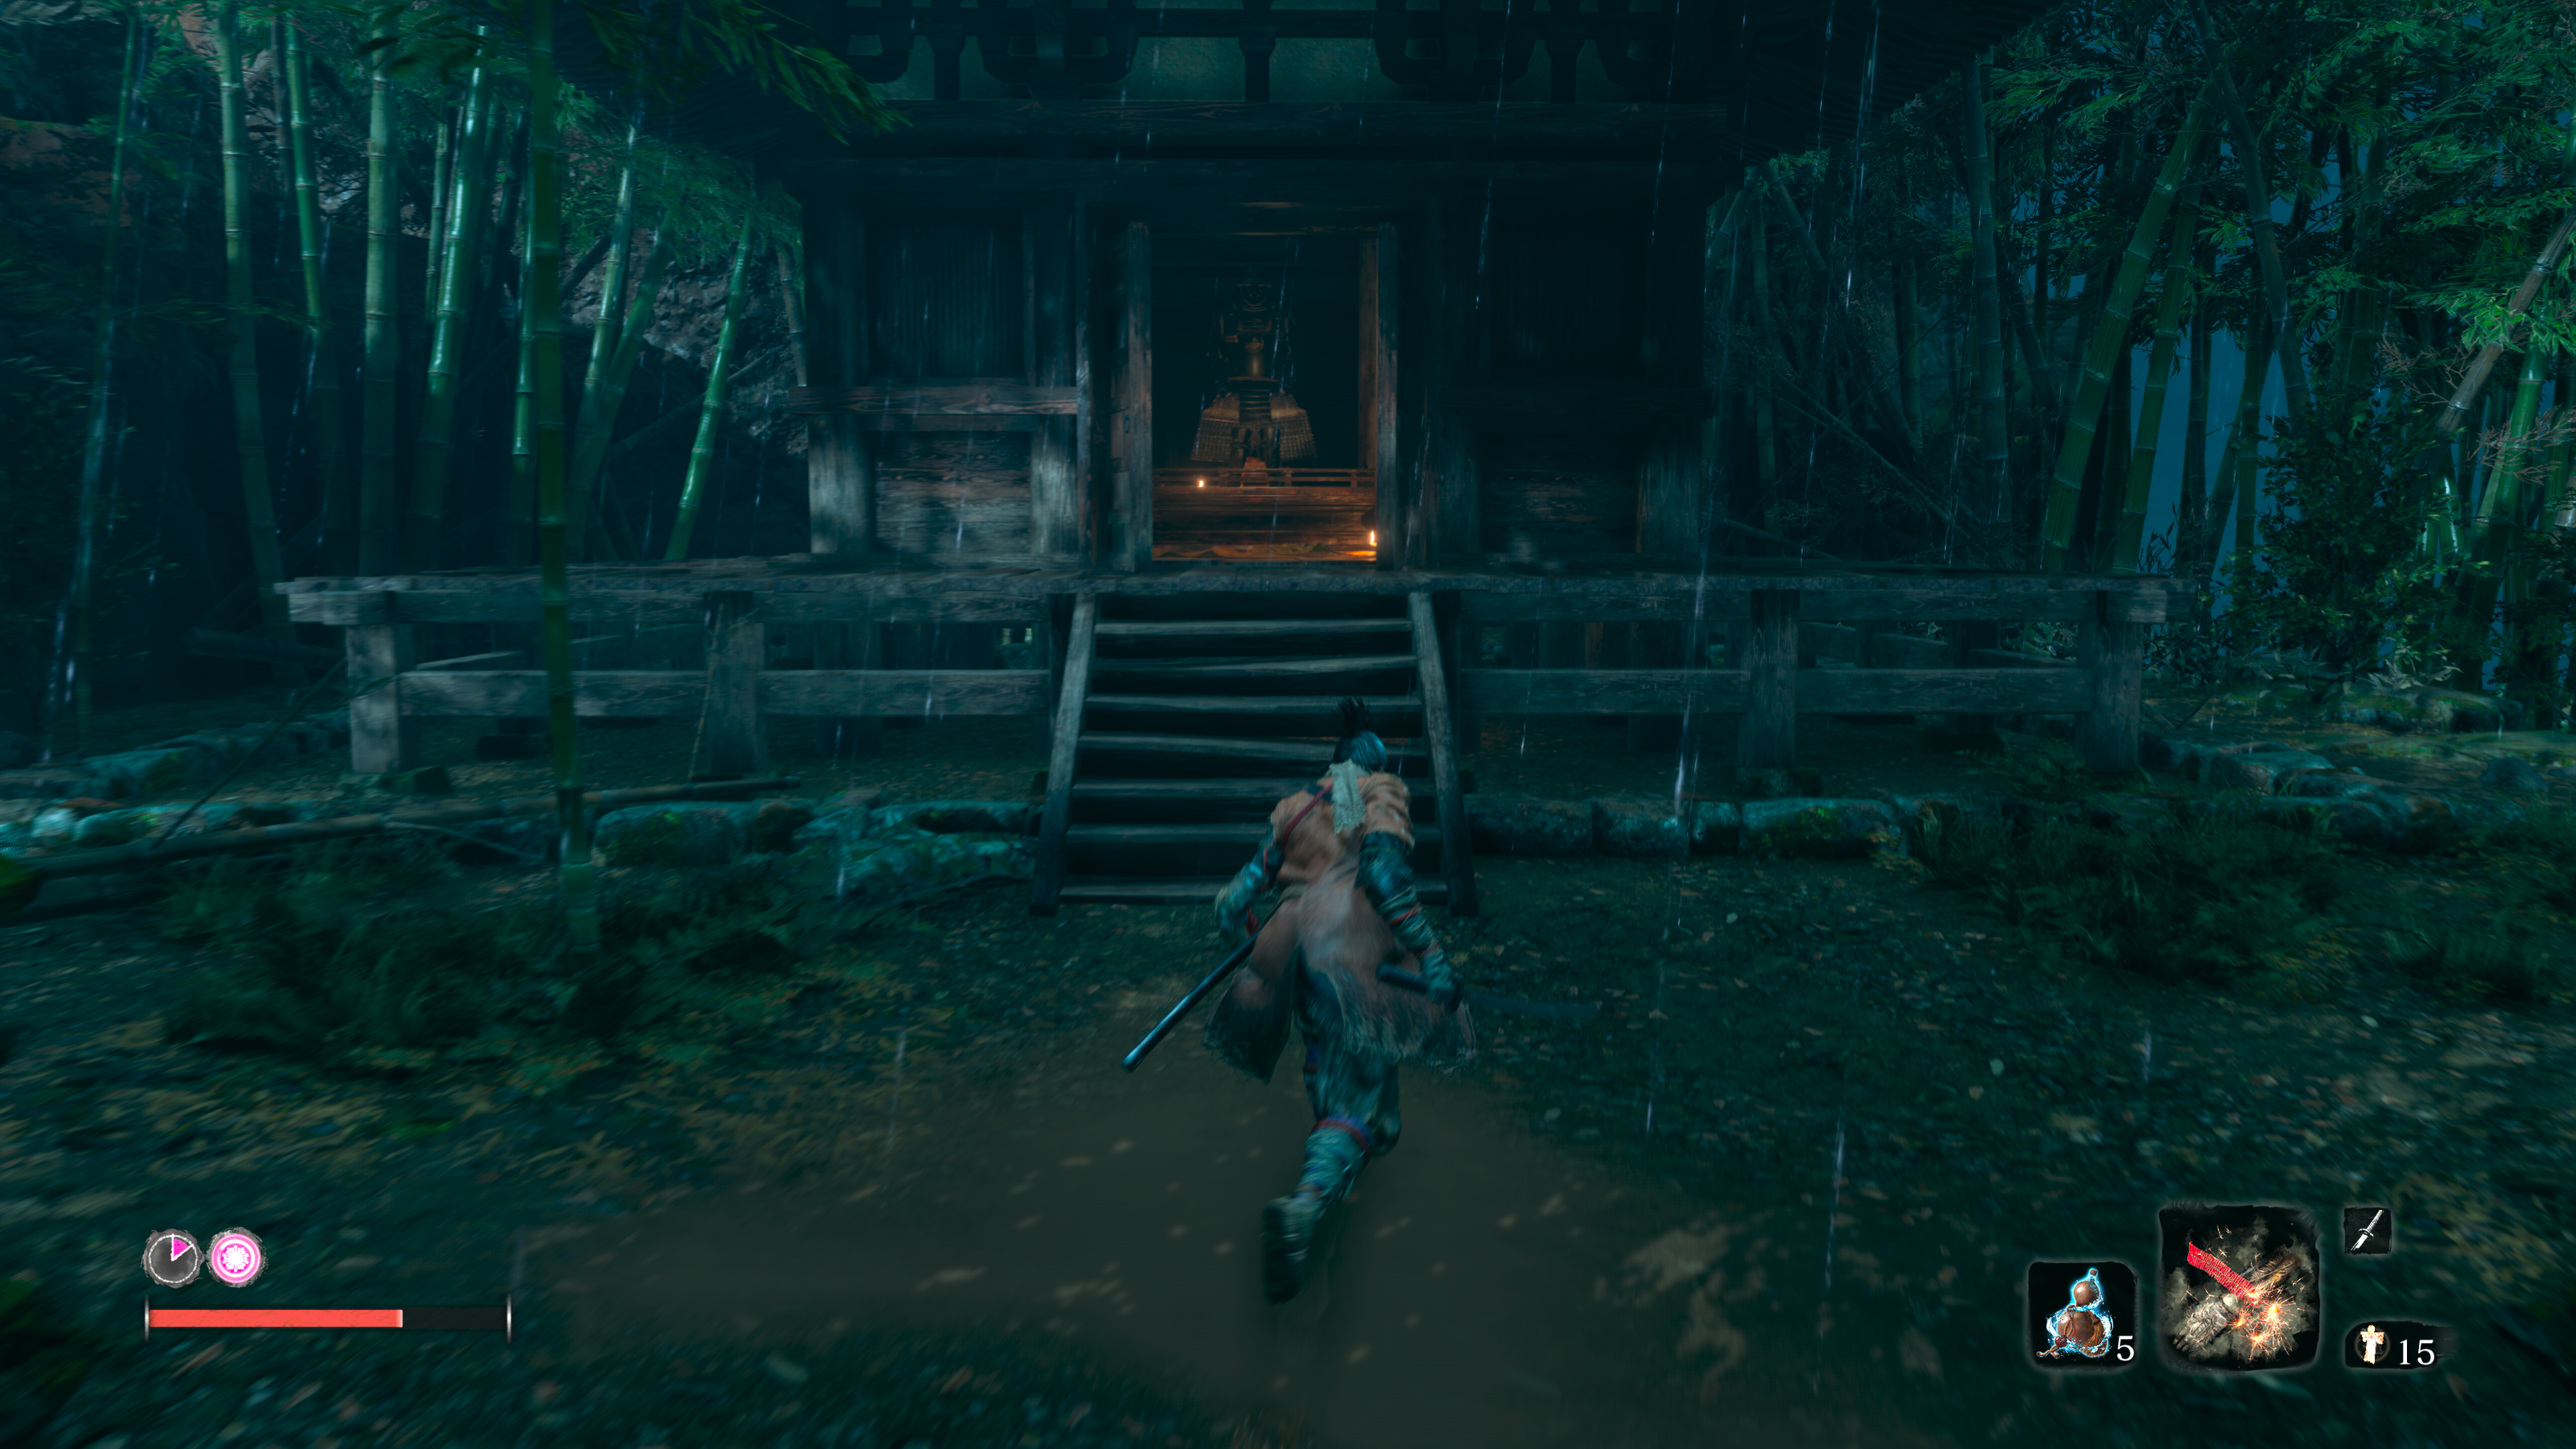
Still in the Hirata Estate, advance into the bamboo thicket and you will reach a bridge with shield enemies. Hop into the water and follow the stream up to the left until you find a treasure carp. Kill it for the scale then walk up the right path until you hit a bamboo reed door. You can break through it by walking into it. Do this, then follow the path up until you see a temple with a purple ninja. Kill the ninja and open the temple he’s guarding, or do what I did and brute force the door open, using the invincibility frames gained by doing so to dodge his attacks, steal the item and sprint away from the nasty piece of work.
Gyubou’s Broken Horn Shinobi Prosthetic tool - Ashina Reservoir
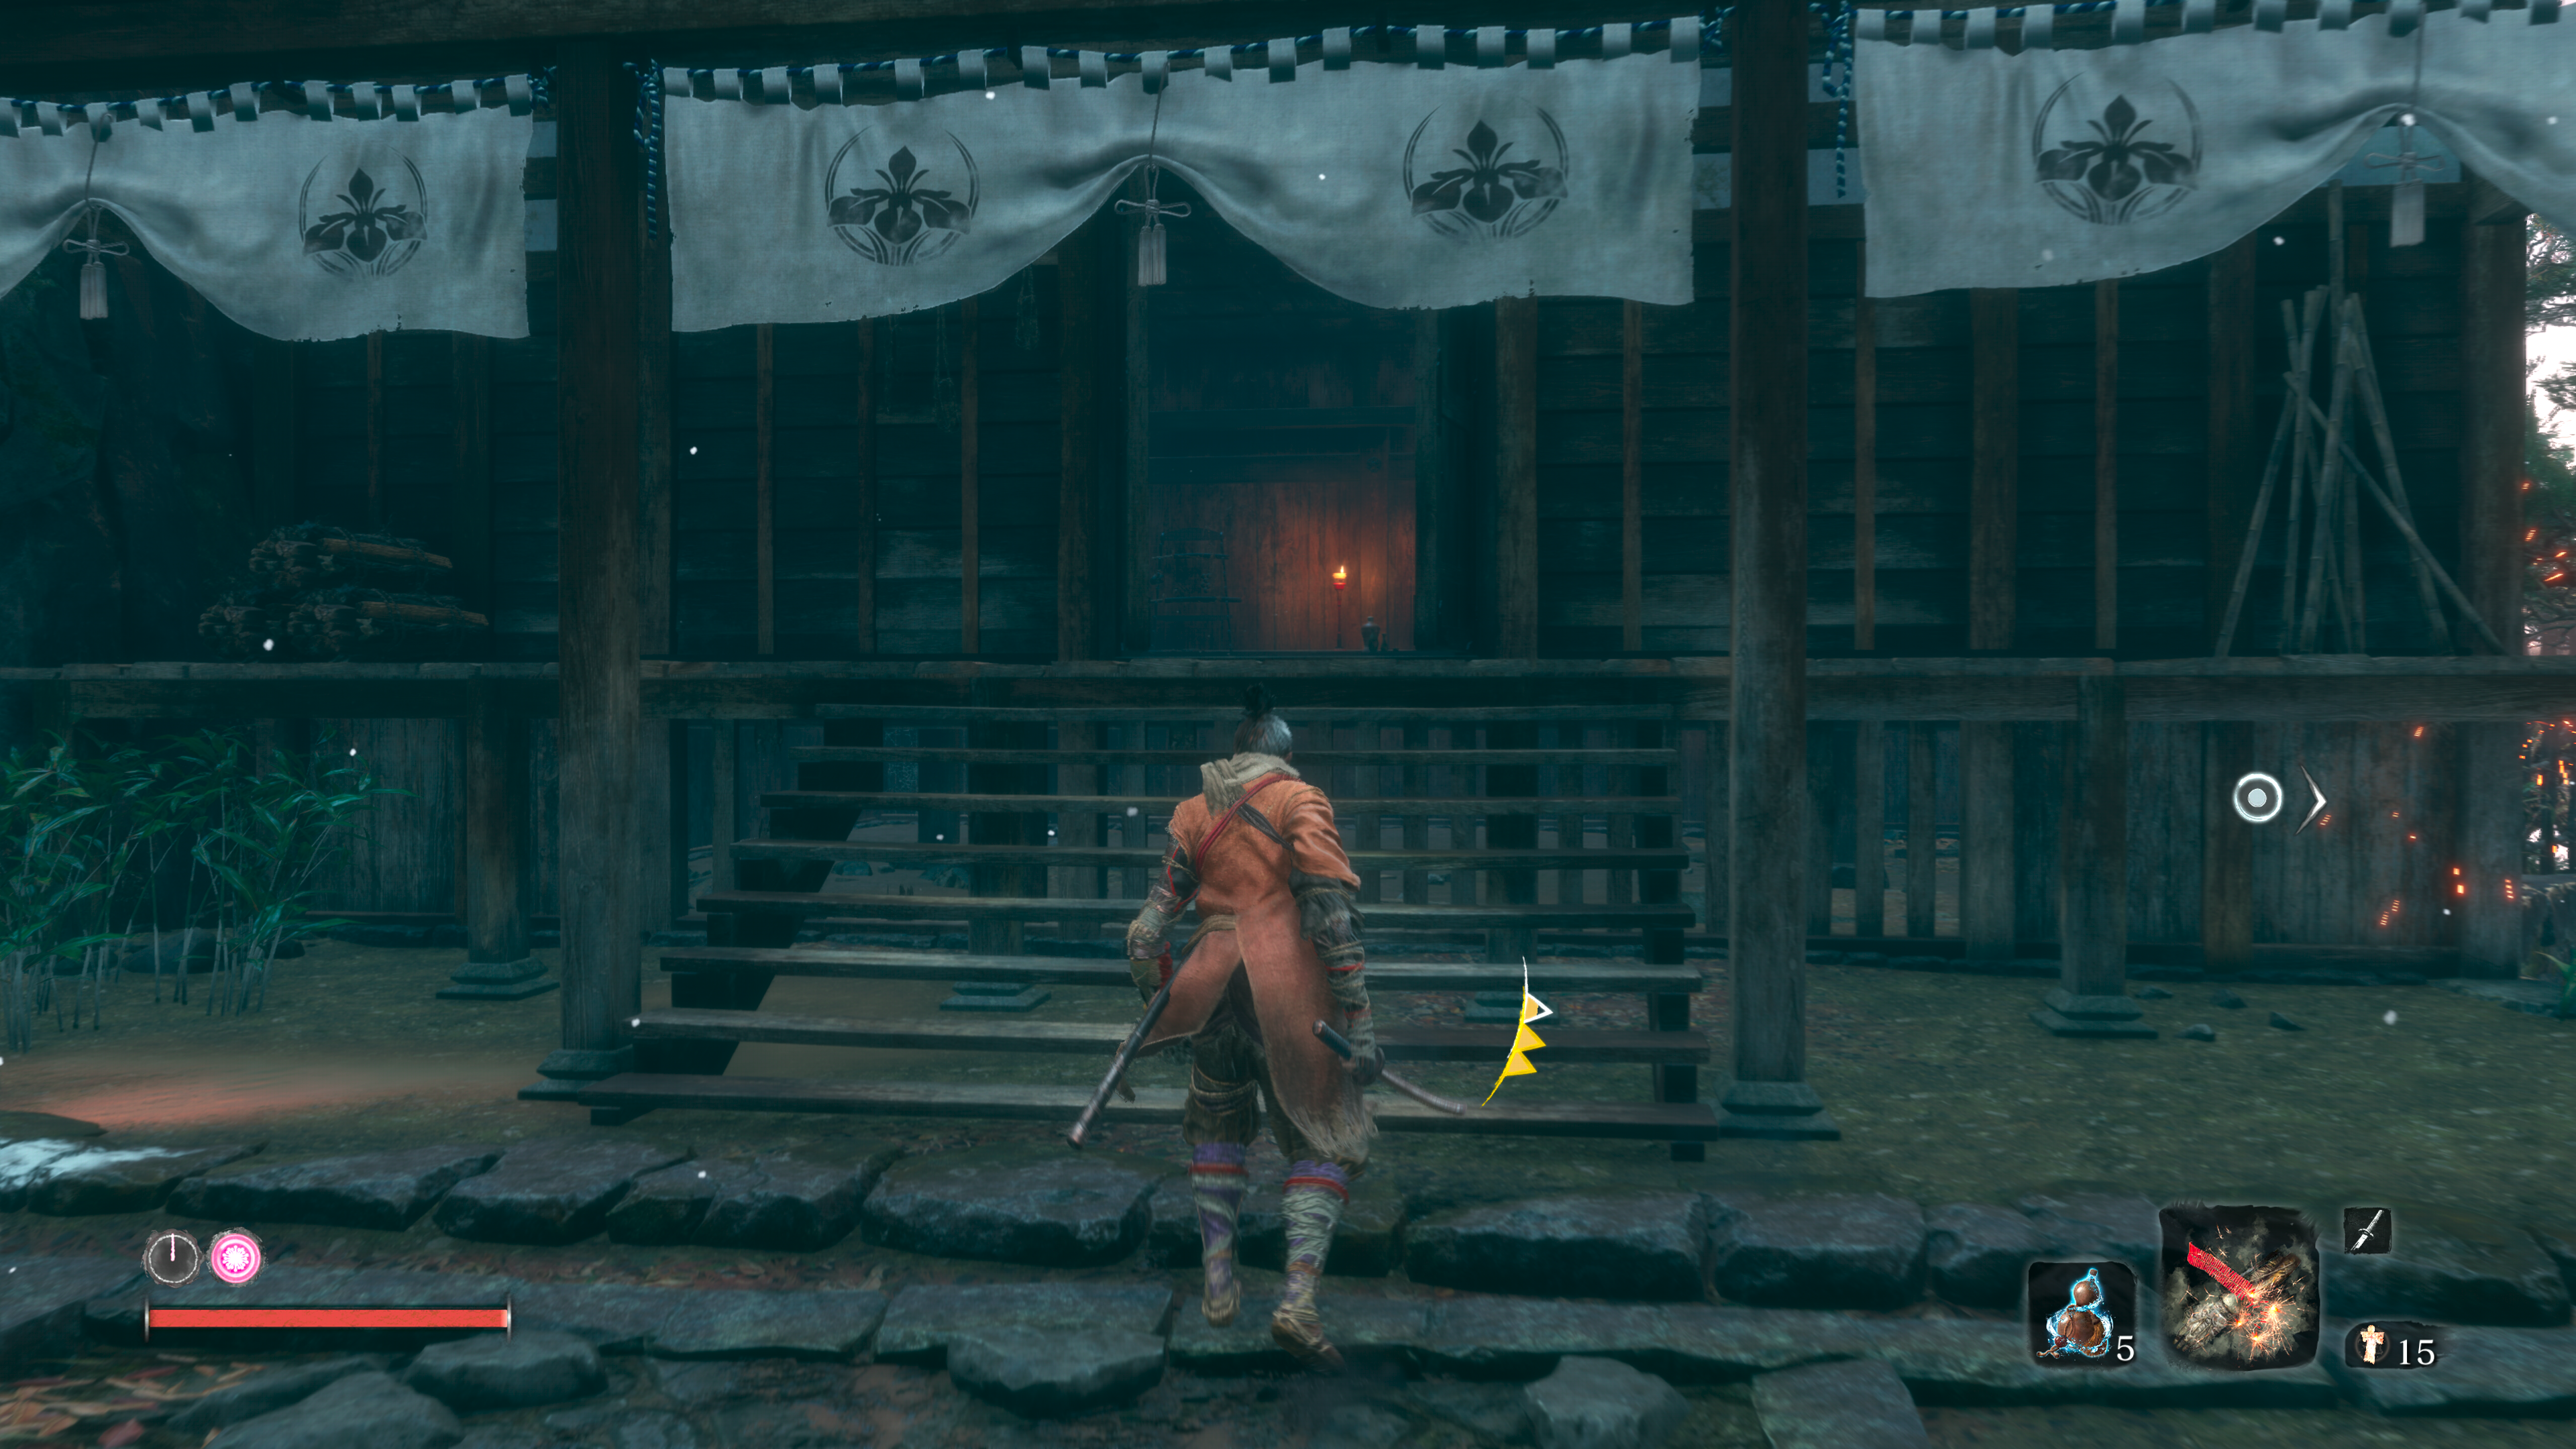
When you eventually find your way to the Ashina Castle, head left at the moat bridge before the echo. Grapple across the gap and you will find yourself staring at a long bridge with two enemies pacing up and down it. Wipe them both out and one will drop the Gatehouse Key, an item that will unlock the room that houses this Gyubou’s Broken Horn Shinobi Prosthetic. From the bridge, double back to where you arrived after the grapple and head left. You will enter the reservoir area from the demo, and hopefully, find the related Sculptor’s Idol. Once you’re safe, advance into the next area and you’ll see a familiar compound, the same one where you tested your skills during the tutorial. The house the game had you creeping under at the start is where you want to be. Watch out, as there is a bell-ringing scruff to your left who will alert everyone if you don’t kill them first. Dispatch of them then go up to the gatehouse and unlock the front door with the key, and sure enough, Gyubou’s horn will be right in front of you.
Iron Fortress Prosthetic tool - Ashina Castle

From the Old Grave Sculptor’s Idol in the Ashina Castle area, head down and to your left and you will see the first rocket launcher grunt in a guard tower. You will want to wipe this enemy out first so he doesn’t accidentally kill the NPC you need to talk to. Continue down the stairs and you should see a pagoda with a little guy with a hat on standing there. He looks like the ‘rats’ you are tasked with killing by Tengu of Ashina. Have a chat to him and you will find out his name is Blackhat Badger, who is selling the Shinobi part for this prosthetic.
Sabimaru Shinobi Prosthetic tool - Ashina Castle
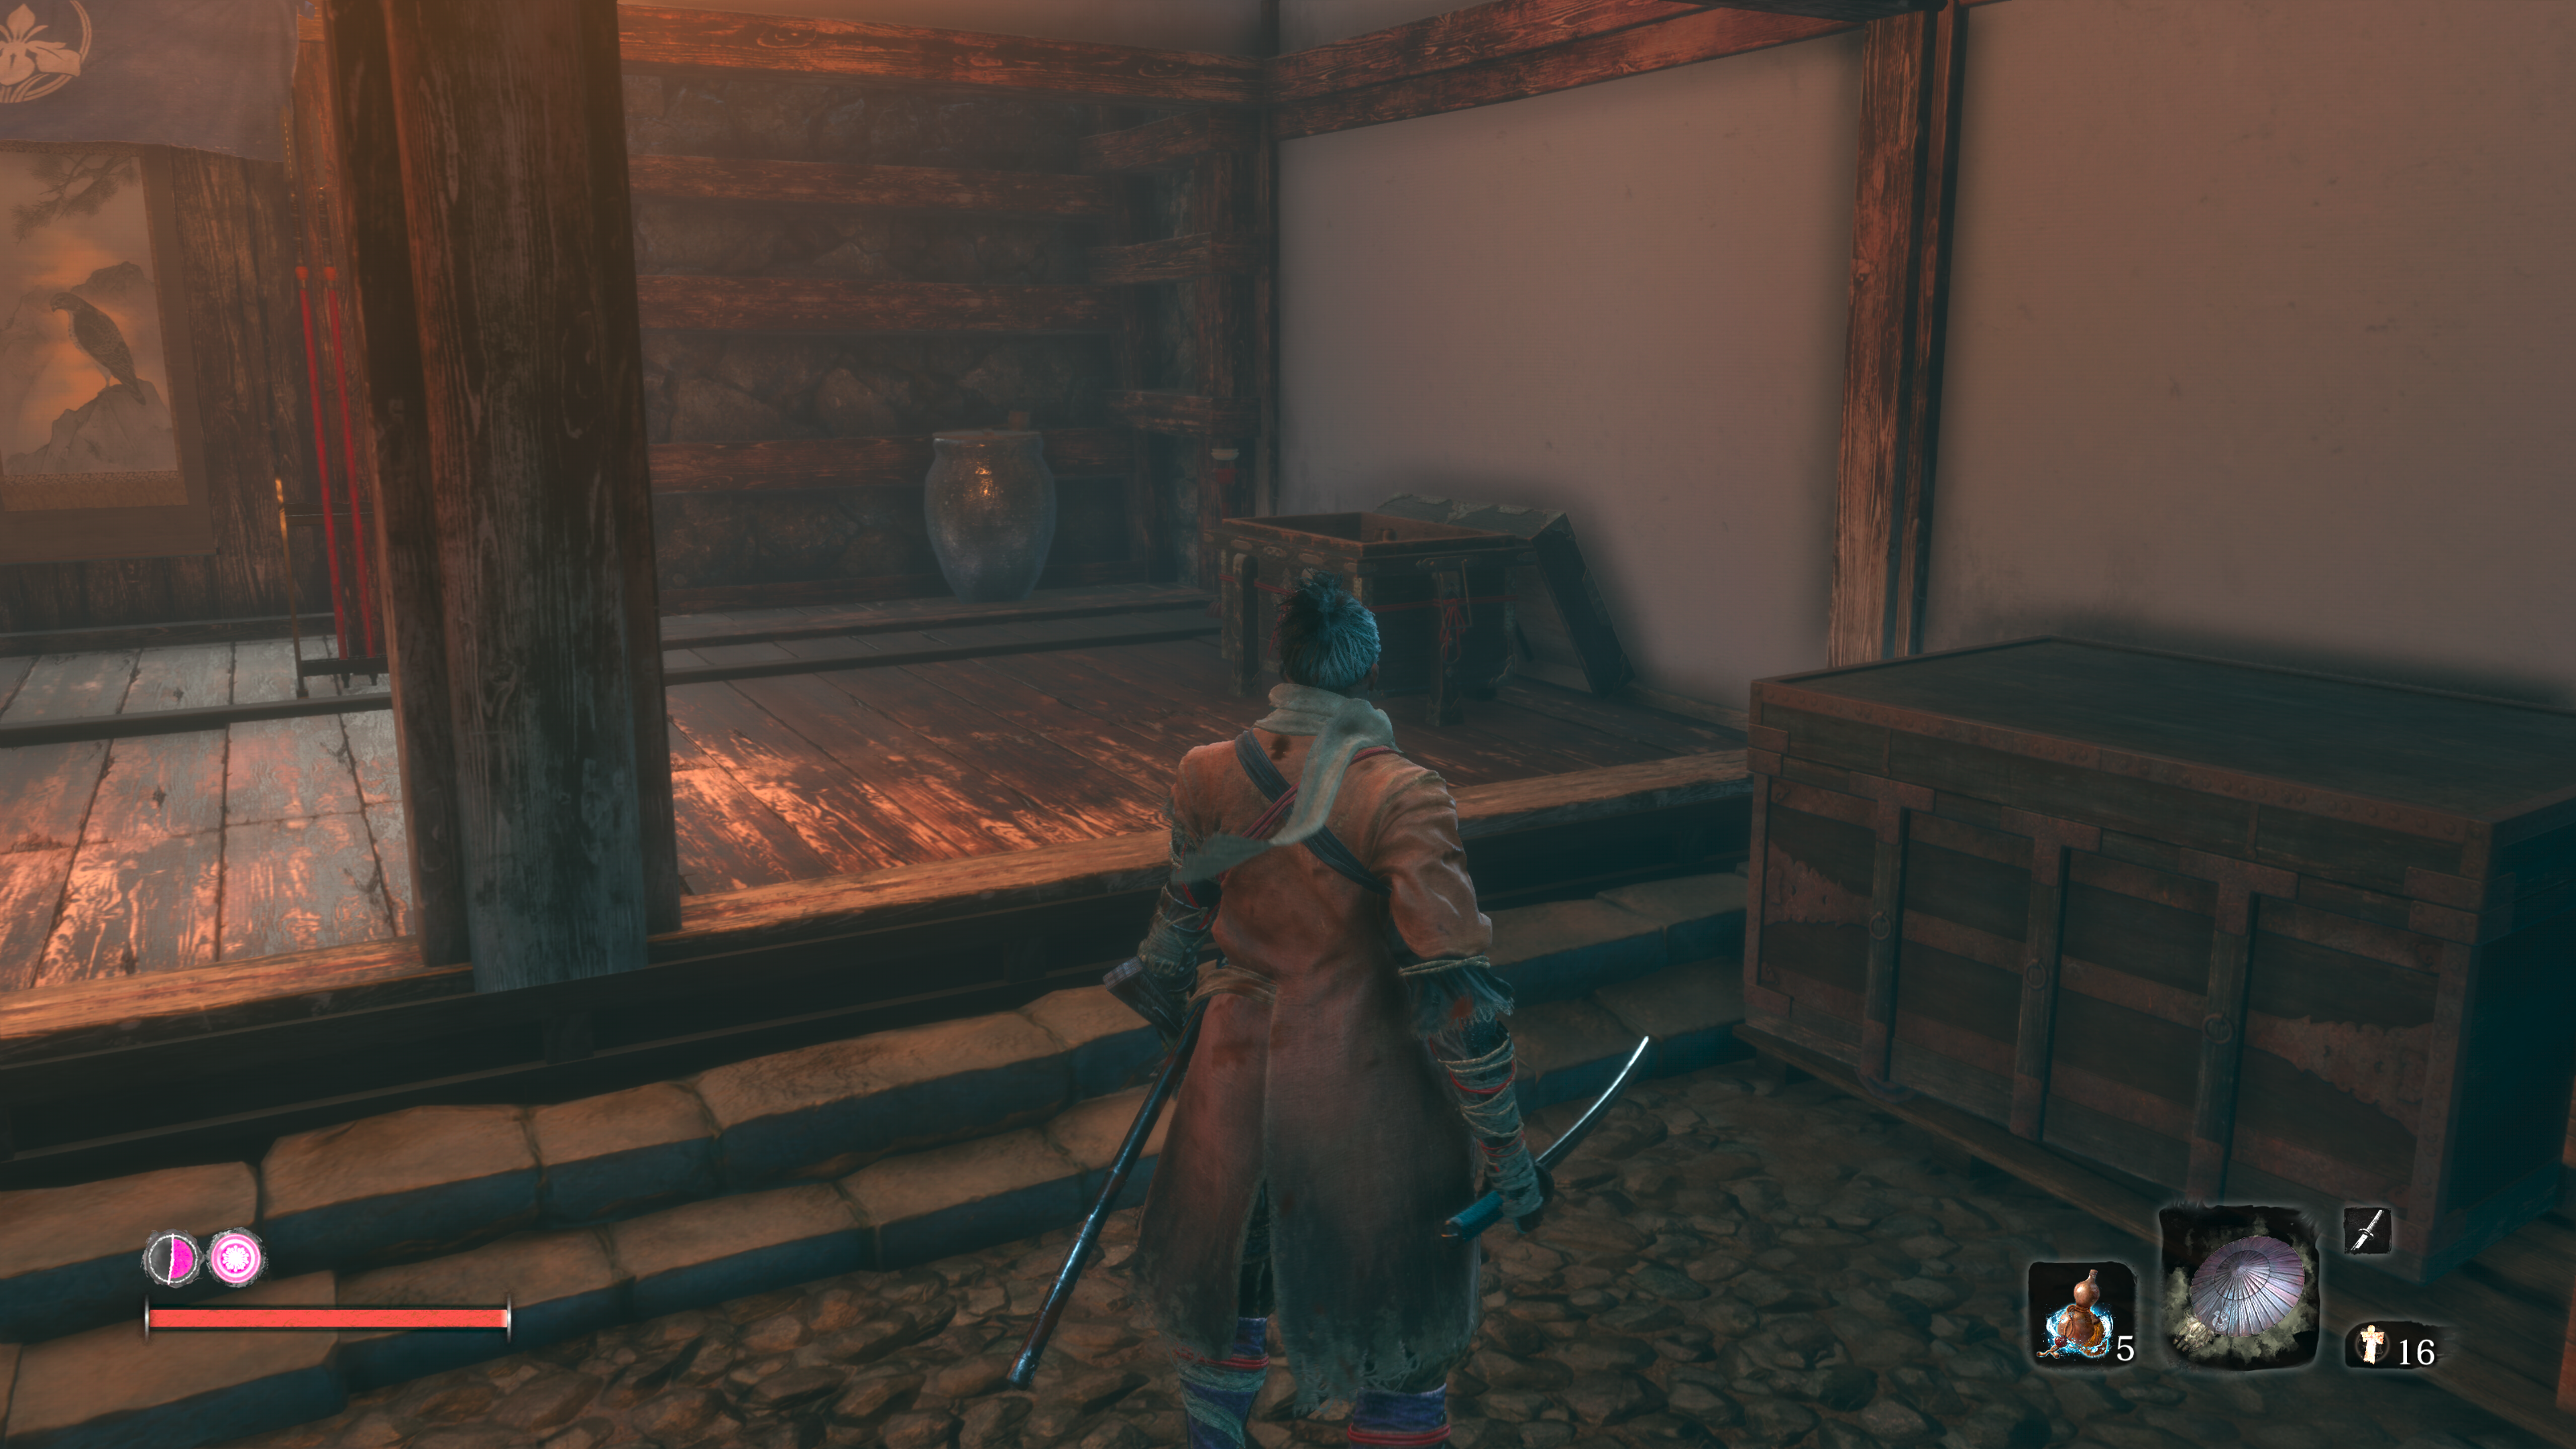
When you reach the Ashina Castle area, zip across the rooftops and round to the left-hand side of the giant castle. When you can see a body of water ahead, turn to your right and look to the smoke signals and you should see a little door you can grapple to. You will land in a room with the Upper Tower Antechamber Sculptor’s Idol. From here, sneak through the castle into the room where you can see a big drop down to a small roof. Jump down here and turn around to face the direction you came from, and you should see a line of three samurai talking to another enemy in a blue robe. There is a chest in the room that he is guarding that holds the material for Sabimaru Shinobi Prosthetic.
Finger Whistle Shinobi Prosthetic tool - Sunken Valley
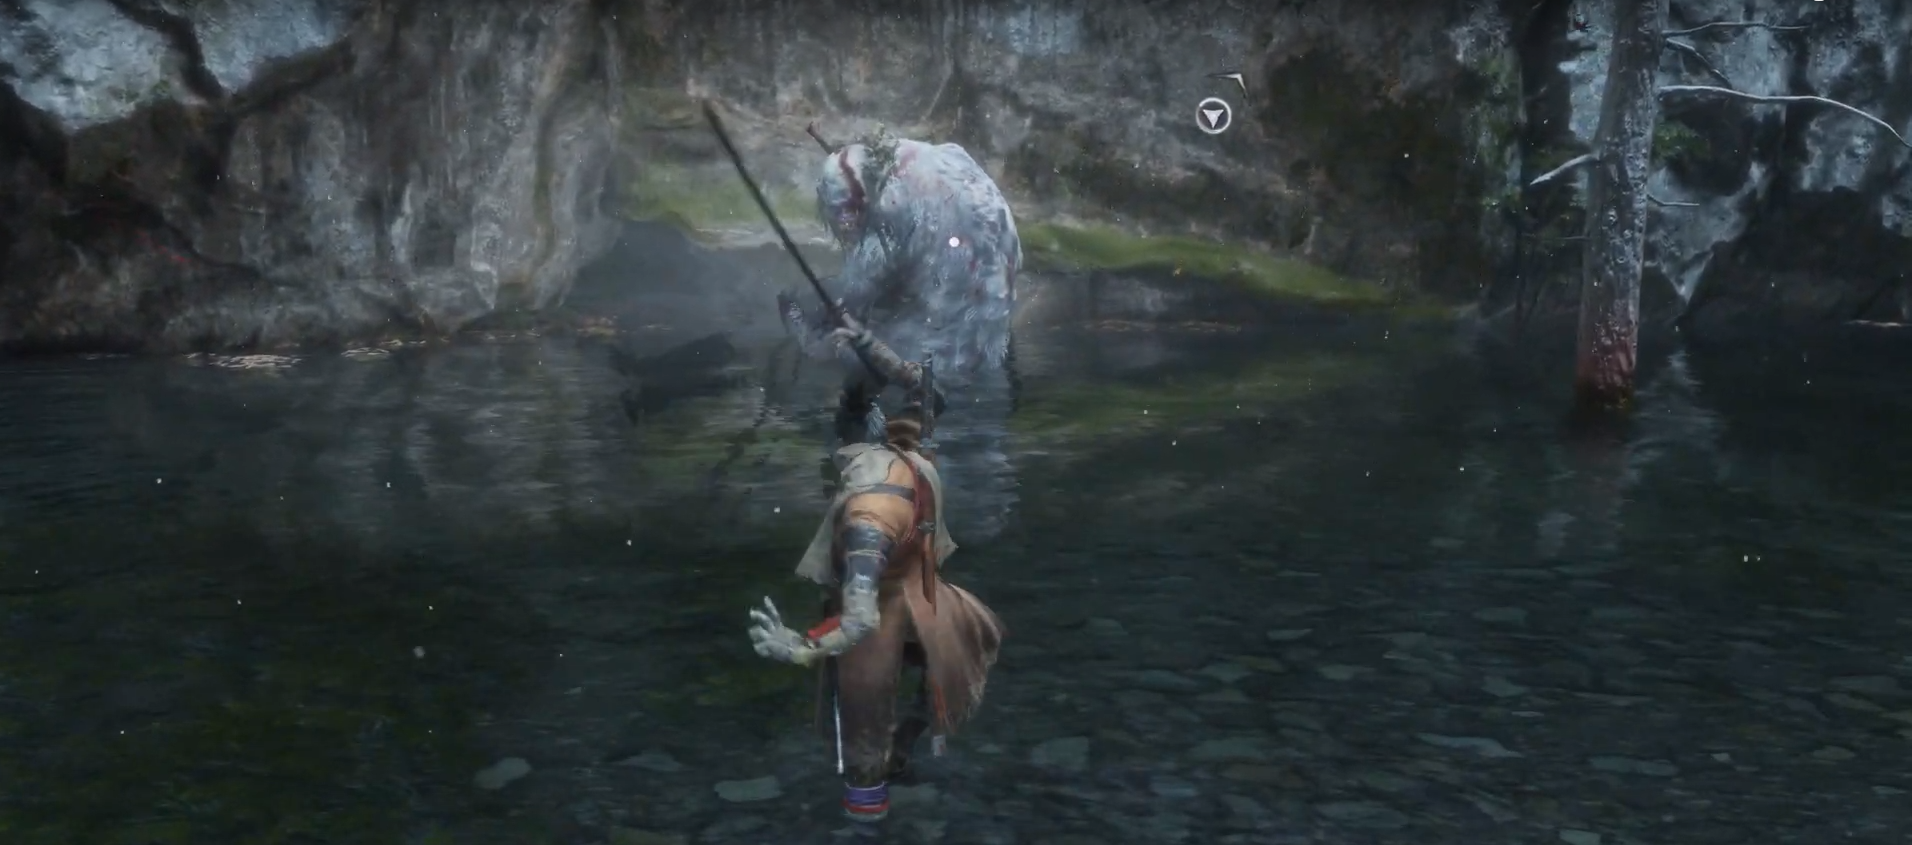
Much later in the game, you will come across a boss known as the Guardian Ape near the Bodhisvatta idol in the Sunken Valley area. All you have to do is beat this boss to get the Finger Whistle Shinobi Prosthetic. Fairly simple compared to the other more hidden prosthetics, but this boss is frenetic and terrifying to deal with, a hulking beast unlike many of the other bosses in the game. Learn to dodge it properly and leverage the prosthetics you’ve picked up so far to take it down.
Divine Abduction Prosthetic tool - The Gun Fort
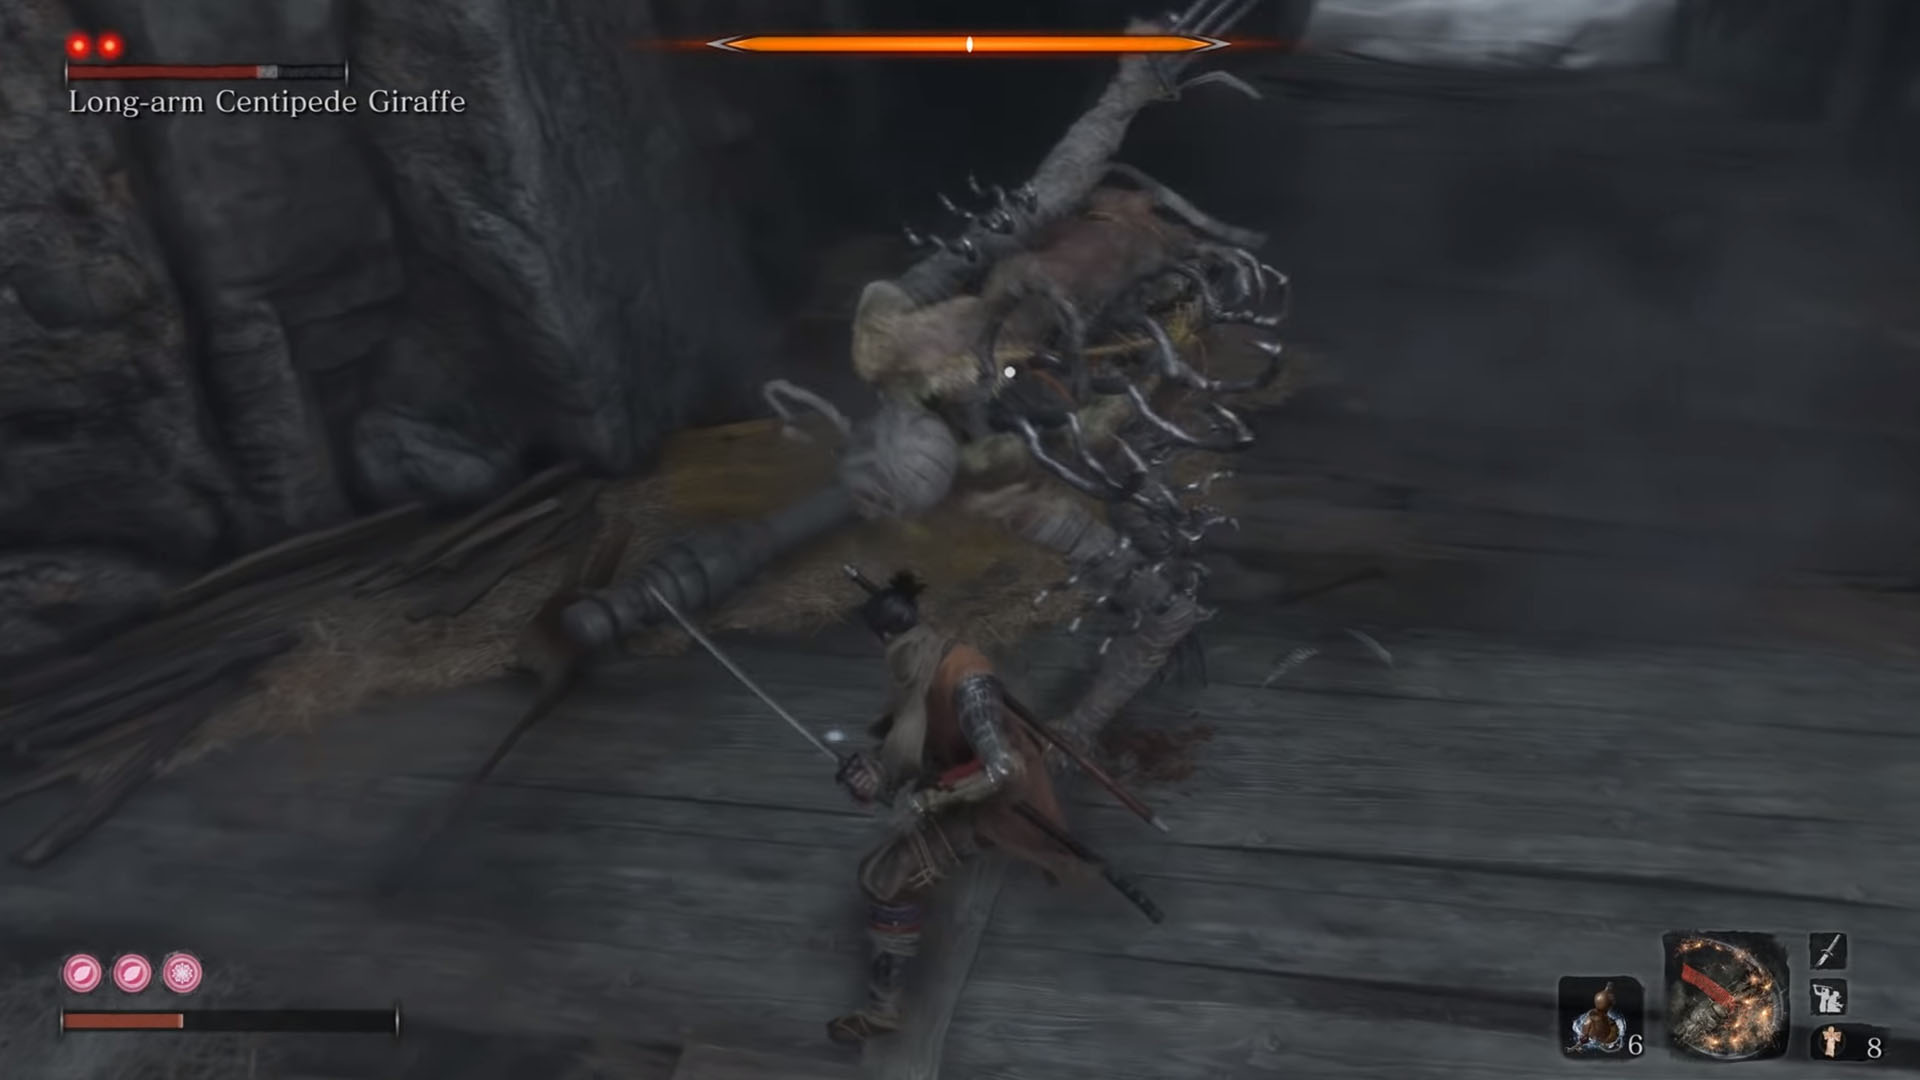
Dropped by the Long-Armed Centipede Giraffe right at the end of the Gun Fort area, this prosthetic material is pretty much unmissable. Progress as normal until you get inside of the wooden complex and, after some difficult shotgun-toting enemies, you will square up against this boss in a tiny room. This fight is easier if you just focus on breaking its posture, so get your deflections at the ready and don't be afraid of using a firecracker or two to stun the beast. Once it's all over, pick it up and take it back to the Sculptor to lock in every Shinobi Prosthetic and nab your achievement!
Sign up to the GamesRadar+ Newsletter
Weekly digests, tales from the communities you love, and more
Jordan Oloman has hundreds of bylines across outlets like GamesRadar+, PC Gamer, USA Today, The Guardian, The Verge, The Washington Post, and more. Jordan is an experienced freelance writer who can not only dive deep into the biggest video games out there but explore the way they intersect with culture too. Jordan can also be found working behind-the-scenes here at Future Plc, contributing to the organization and execution of the Future Games Show.
