Shadow of the Tomb Raider Challenges guide: How to complete them all
Pick flowers, shoot barrels, go swimming deep, hang from cliffs, and more
Dunkin’ Bones (Hidden City)
If there’s one thing there’s definitely a lot of in Shadow of the Tomb Raider, it’s skeletons. So the thought of finding three more doesn’t sound too appealing. Good thing then, that the task here is to bump three boney sets of remains with Lara’s body, causing them to fall into the river. That means clever use of the rappel line. Remember, you can rappel from any grapple-friendly wall by pushing either of the triggers (tap it, don’t hold). Then use the left stick to select the height you’d like Lara to be when she swings, then push in the right trigger again but hold it this time, and push backwards and forwards on the left stick, building up momentum, and hopefully knocking those skellies into the drink. So where are they? Let’s find out.
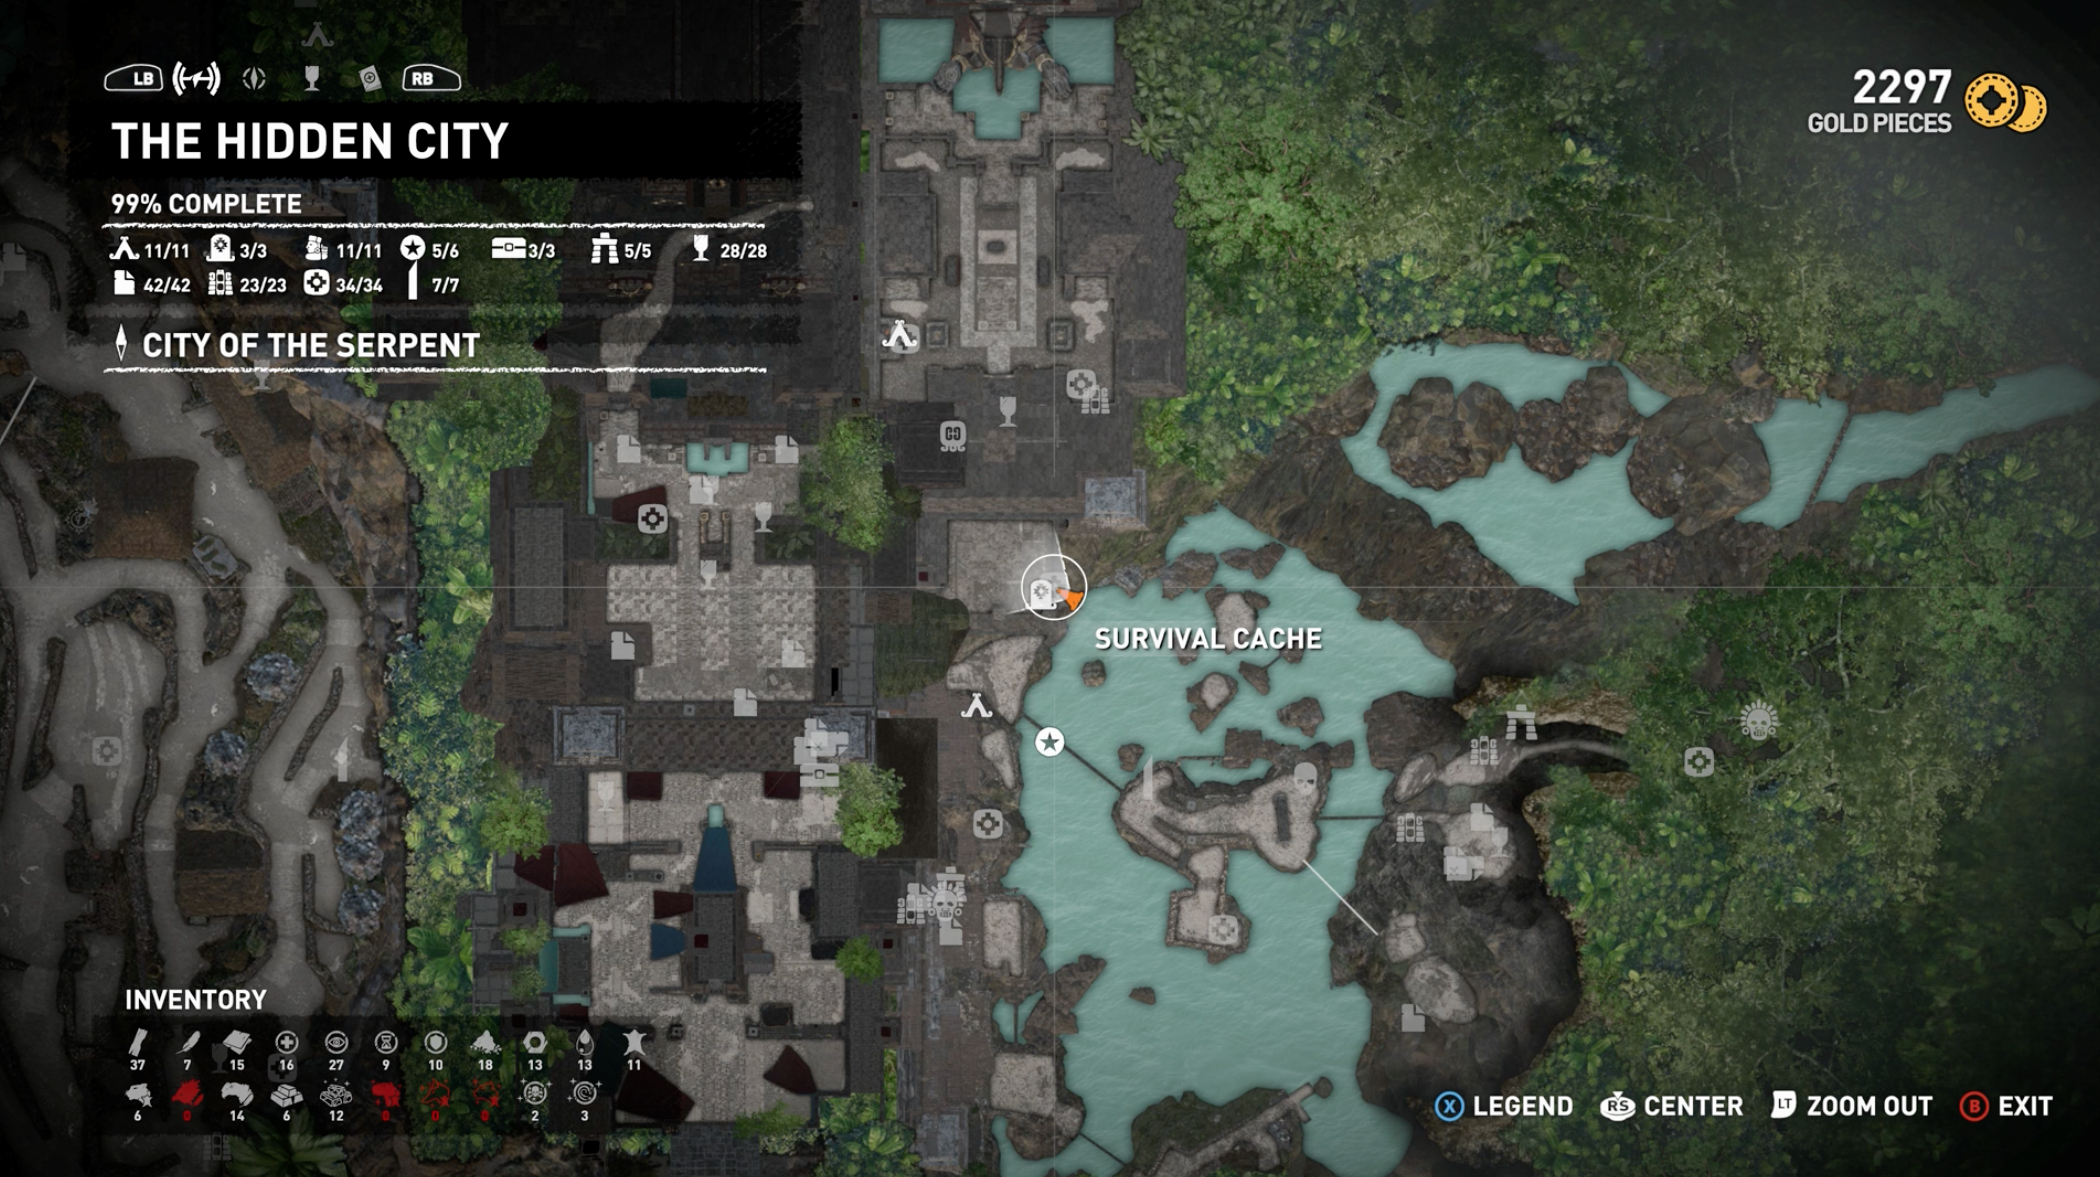
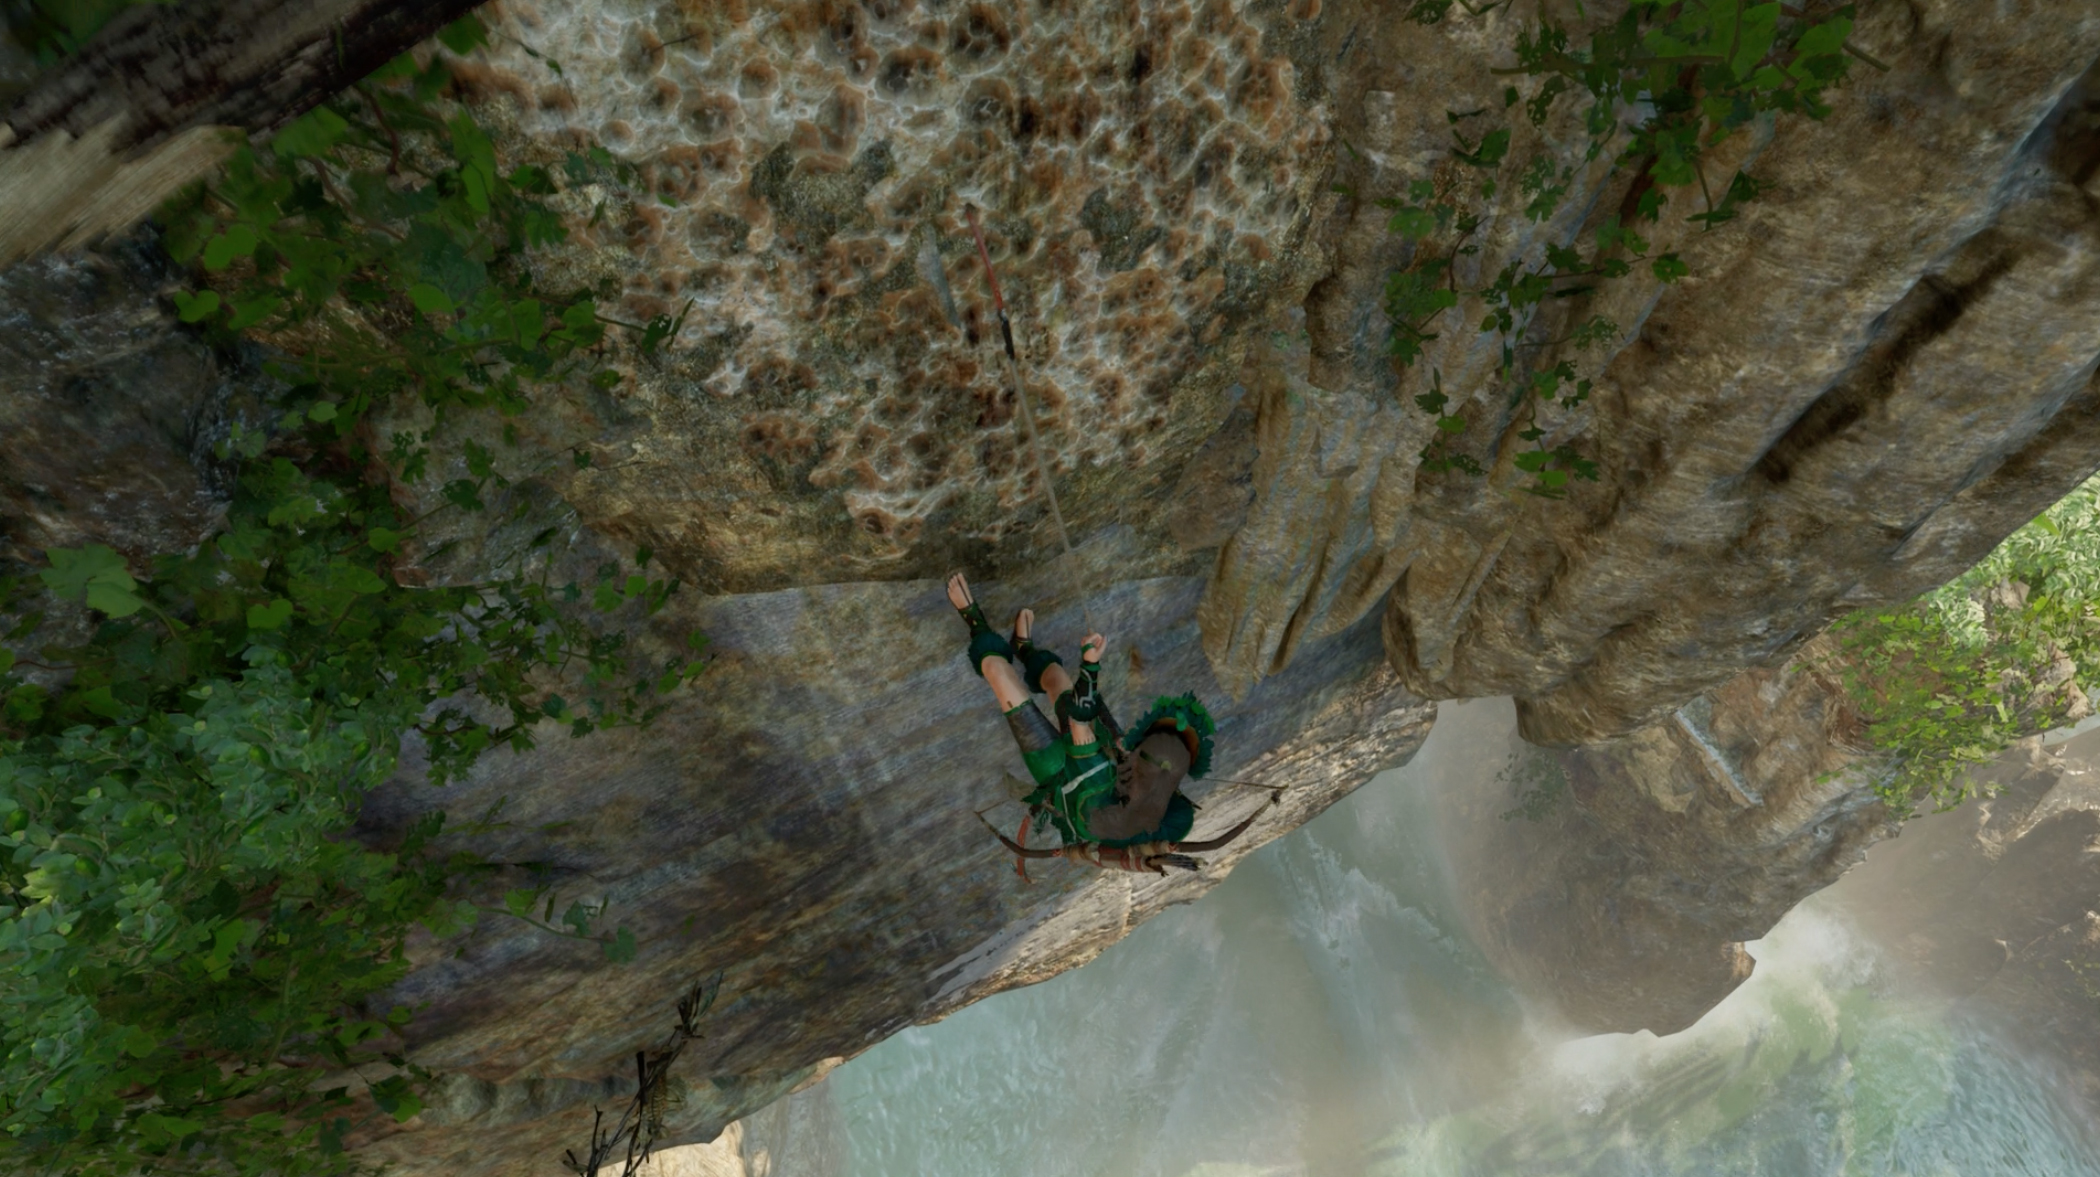
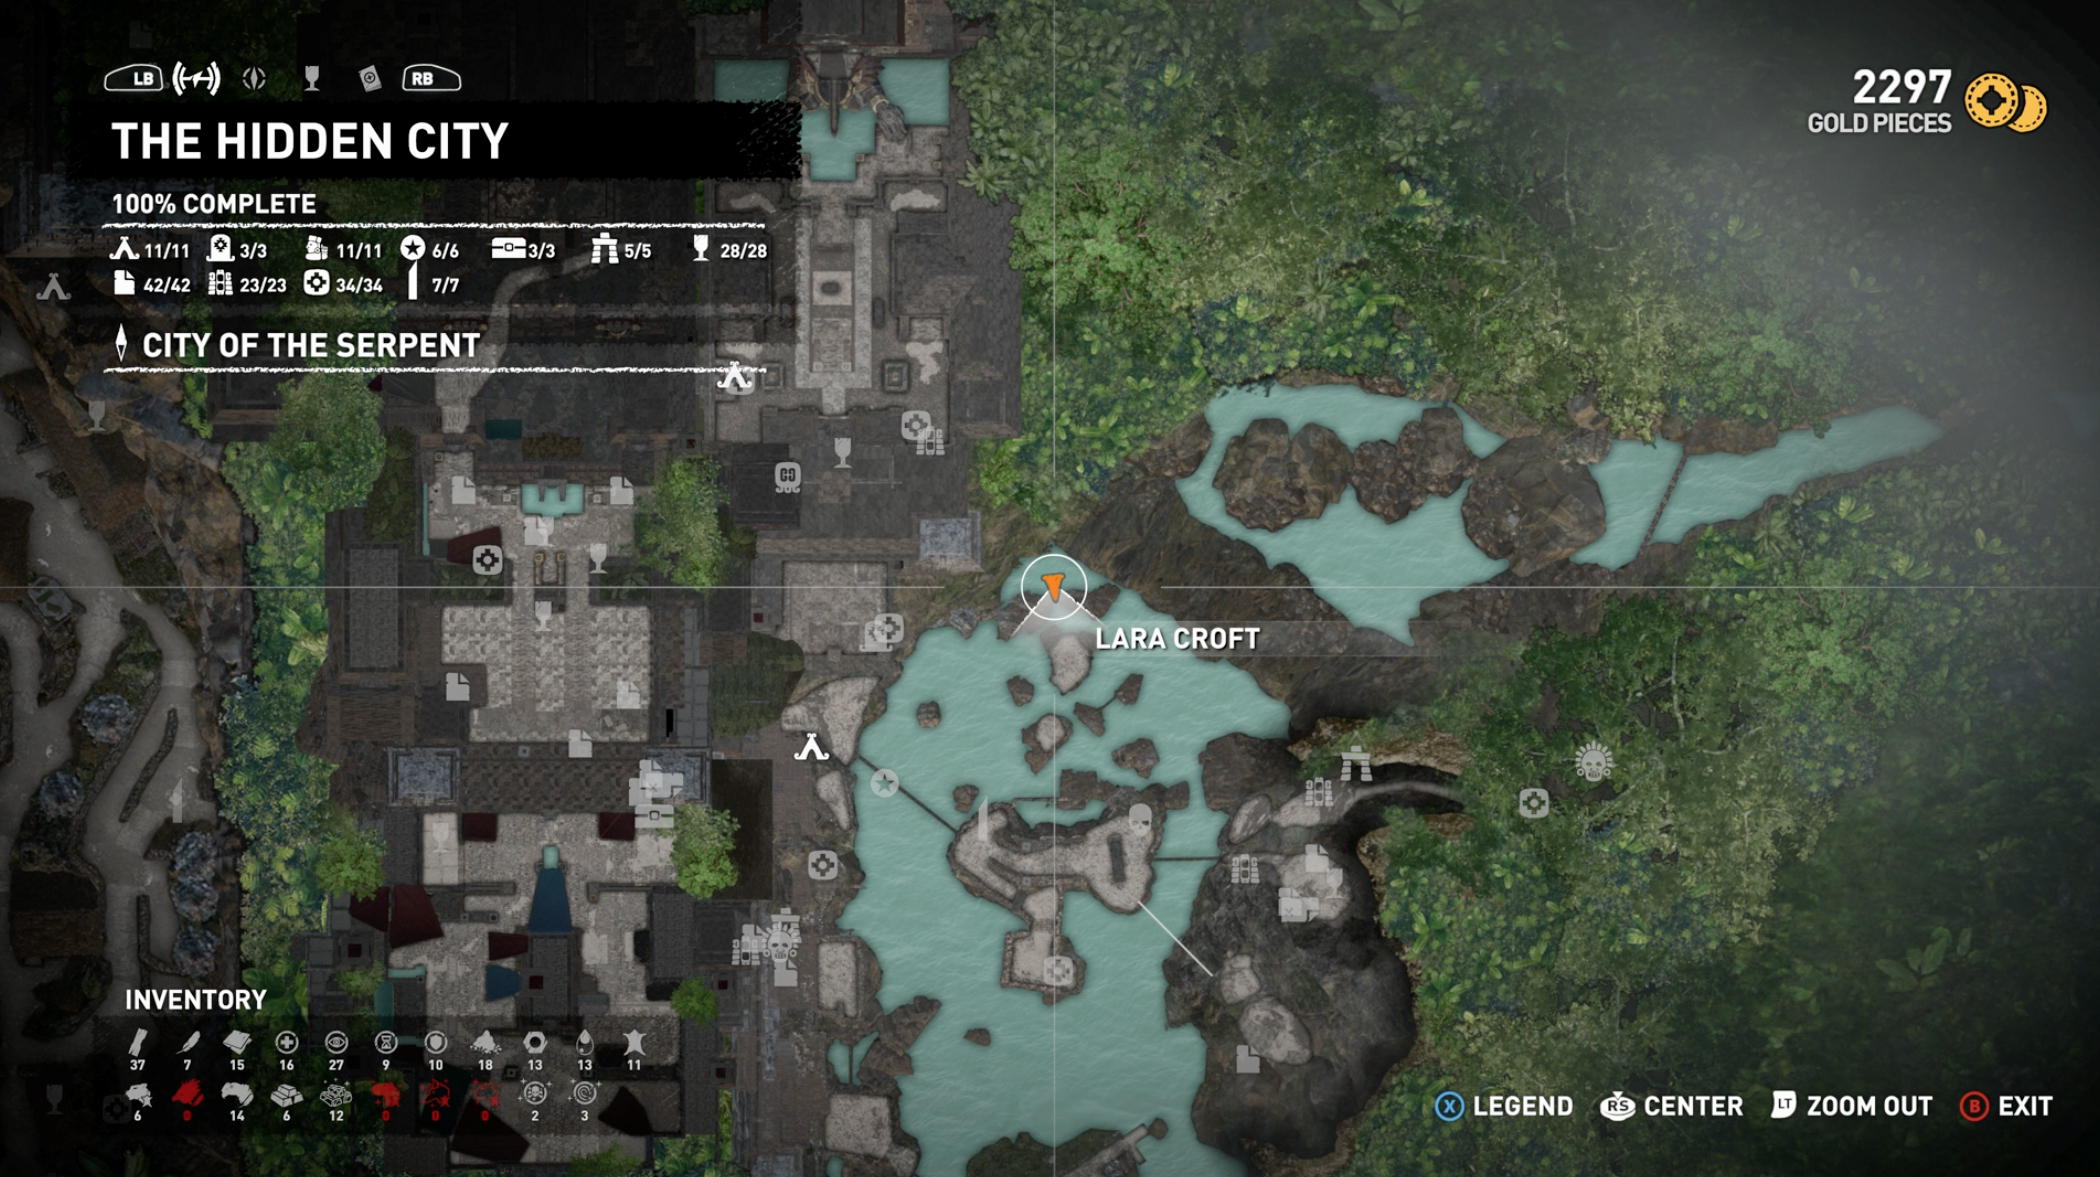
1. Fast Travel to the base camp at the Temple of Kukulkan. Make your way along the cliffs that lead to the prison where you freed Unuratu and, very soon after starting, you’ll find this fellow. So jump to the climbable wall, clamber around then get yourself up to the top and along the shimmy ledges, then down onto the wall that you can climb on. Now rappel down and run along the wall until you knock into him. Note: This skeleton may not appear in your game when you arrive due to an apparent bug. So if it isn’t there, leave the area and fast travel back again, or even reset your Xbox. The skeleton will be there eventually.
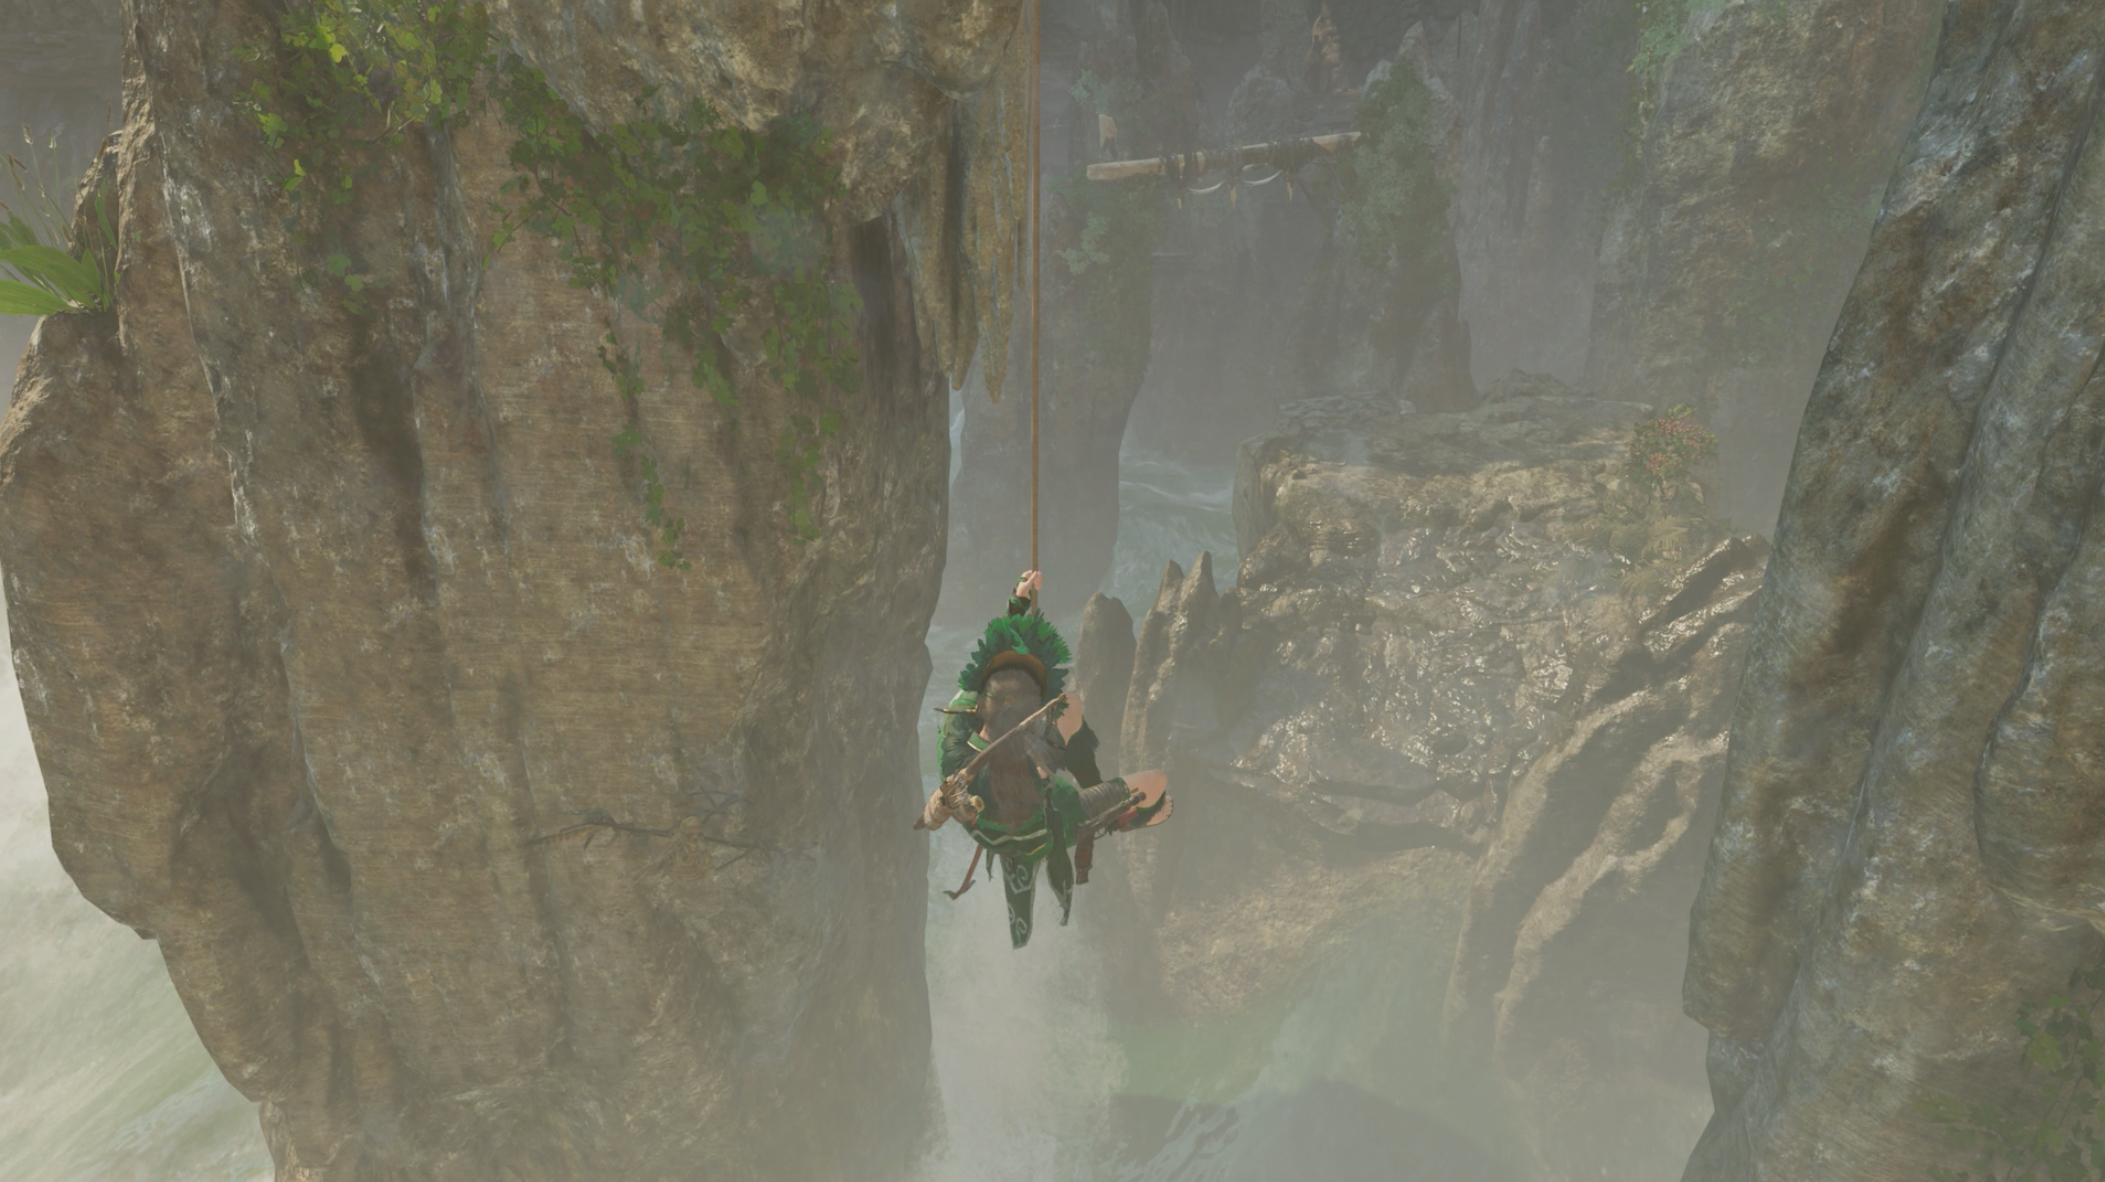
2. The second is a little further along the route to the prison from the first. So continue along until you are required to rappel down and do a swing jump to the island below. But don’t jump just yet - the skeleton is to your left as you’re hanging. Take your time and bump into him by swinging. So let go of all the buttons, then turn Lara with the left stick, then when you’re facing old boney face, hold the right trigger and rock the left stick backwards and forwards with Lara to build up momentum. If you’re too high, stop, let go of the trigger, pull the stick slightly down and have another go.
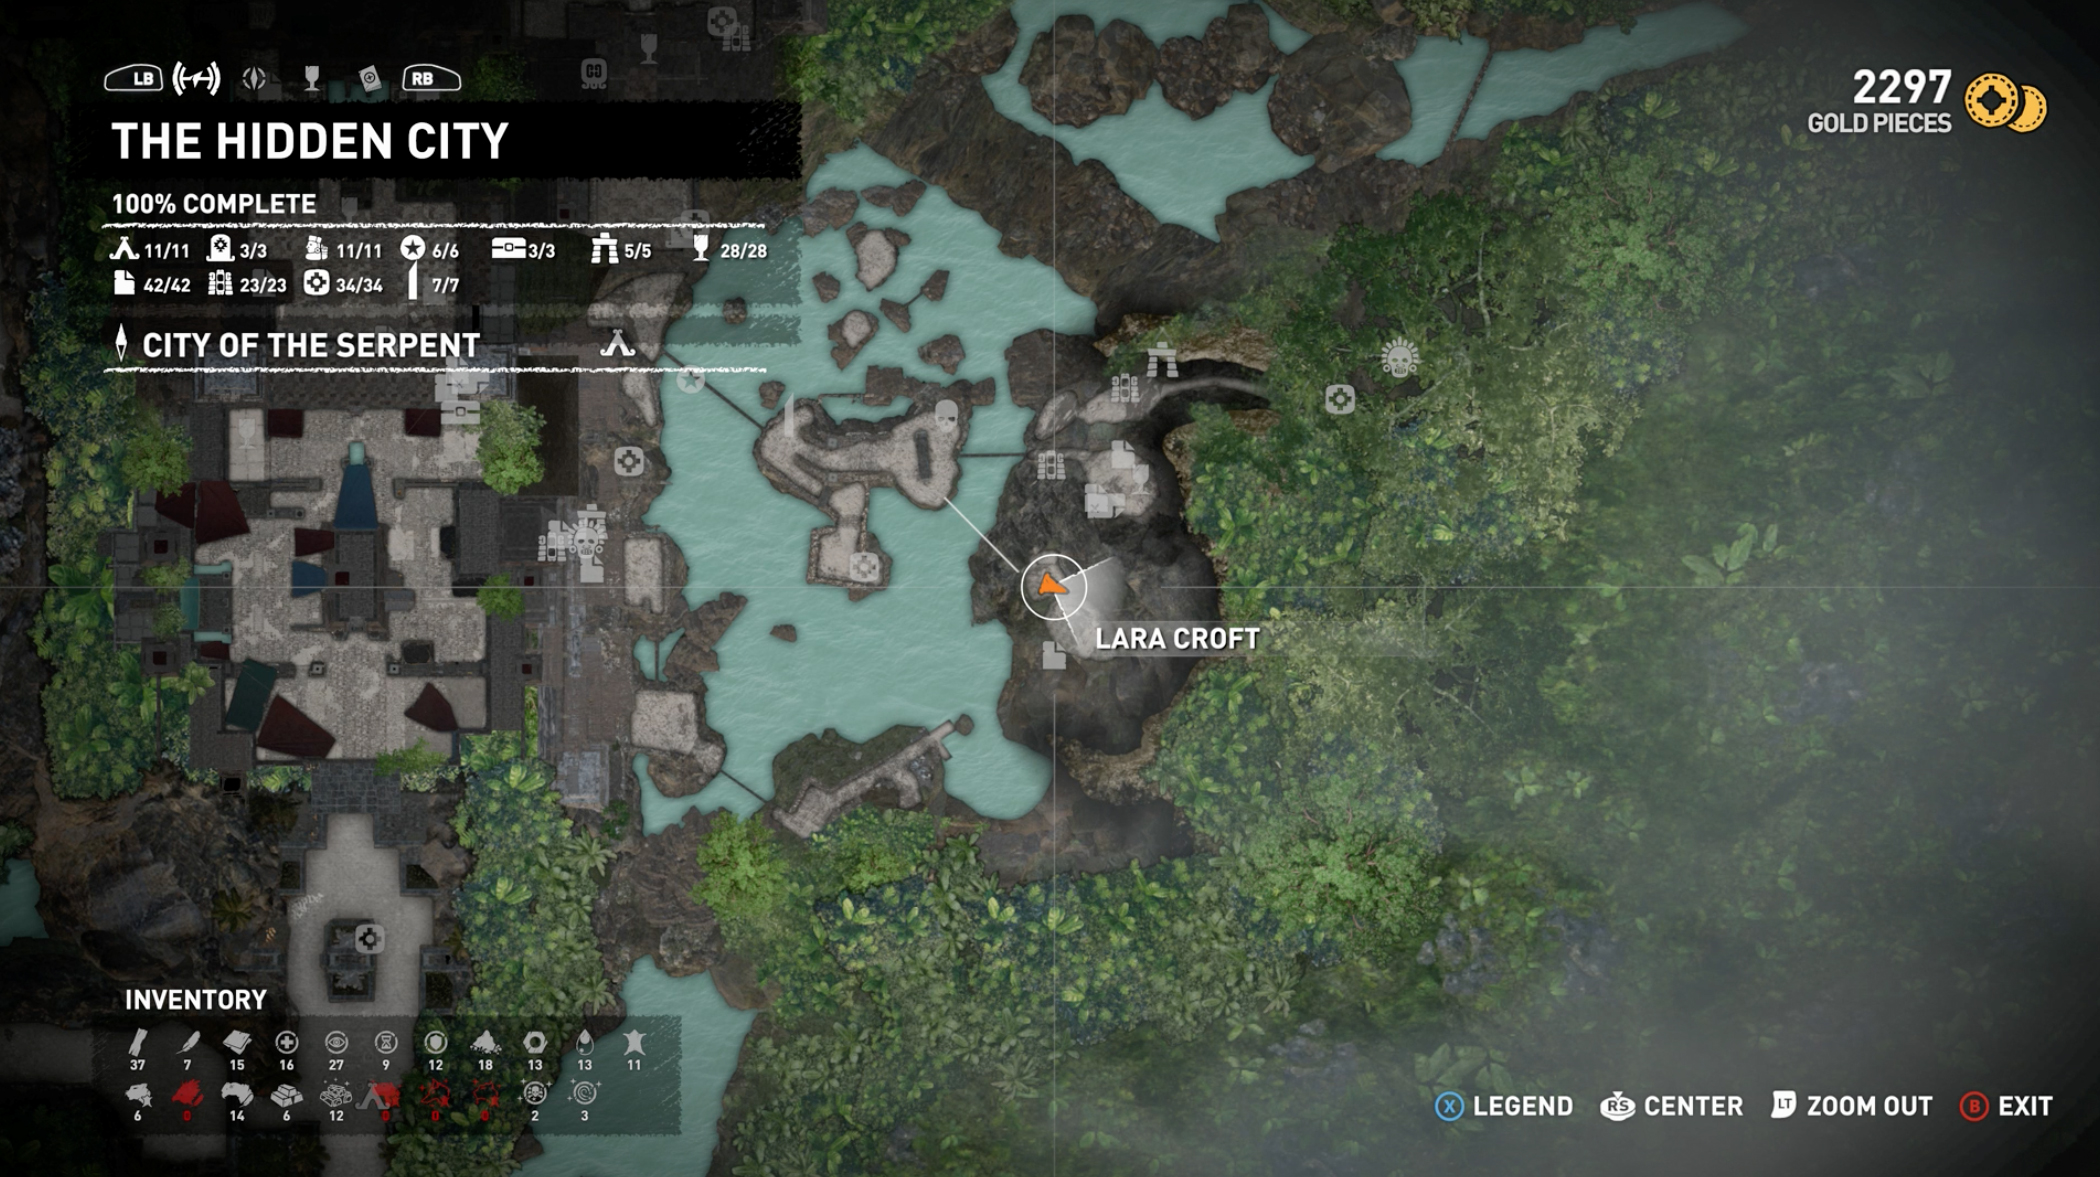
3. Continue along this path towards the prison. When you reach the fork, go left and make a rope line over to the prison itself. Once across, turn right and use the swing pole to jump across the gap. Make your way around on the climbable wall, and you should see the last skeleton there on the wall beyond. But you can’t reach it from here. So you need to jump to the right and push X/Square to tether to the ceiling (yes, it’s a real leap of faith), and when you’re dangling there, you can swing into the skeleton to complete the challenge. Woo hoo!
Dropping Decimals (Hidden City)
This is one of the hardest challenges in the game, not because the objects in question are hard to destroy, but because one of them is so far away from the other two, it feels a bit cheap in all honesty. Anyway your target here are ‘quipus’ which were Incan messages, we believe. All you need to do, however is swing off them with your grappling line. So make sure you’re close enough to them, jump up and then press either Square (PS4) or X (Xbox One) to tether the hoop at the bottom, which then breaks as Lara puts her weight on it. And here’s where you’ll find them:

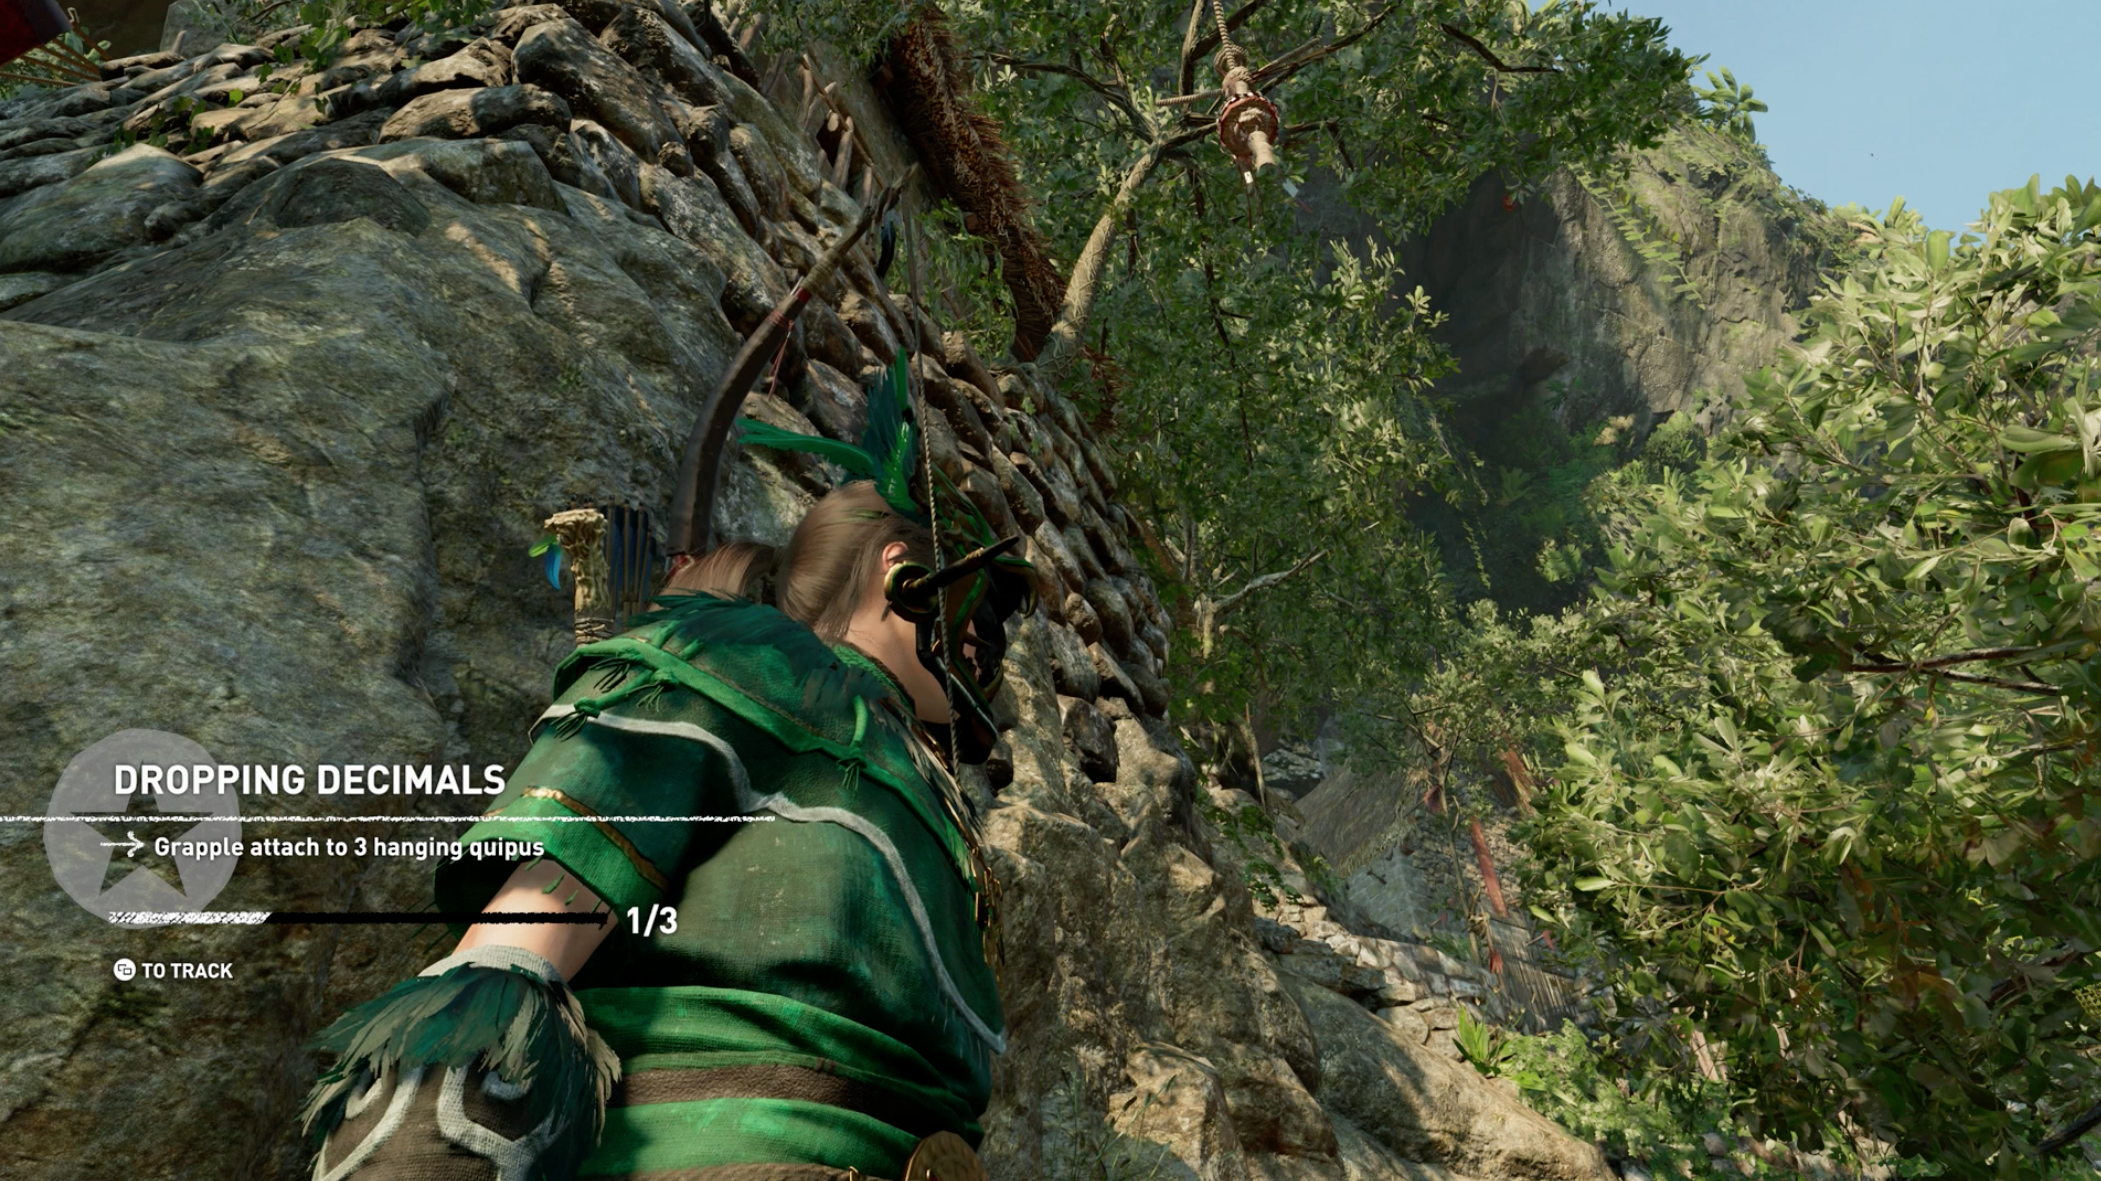
1. The first is at the point where the lines intersect of due north of the Temple Path base camp and east of the diagonal white line (the zip line) on the map. Go where those imaginary lines intersect to find the first quipu.
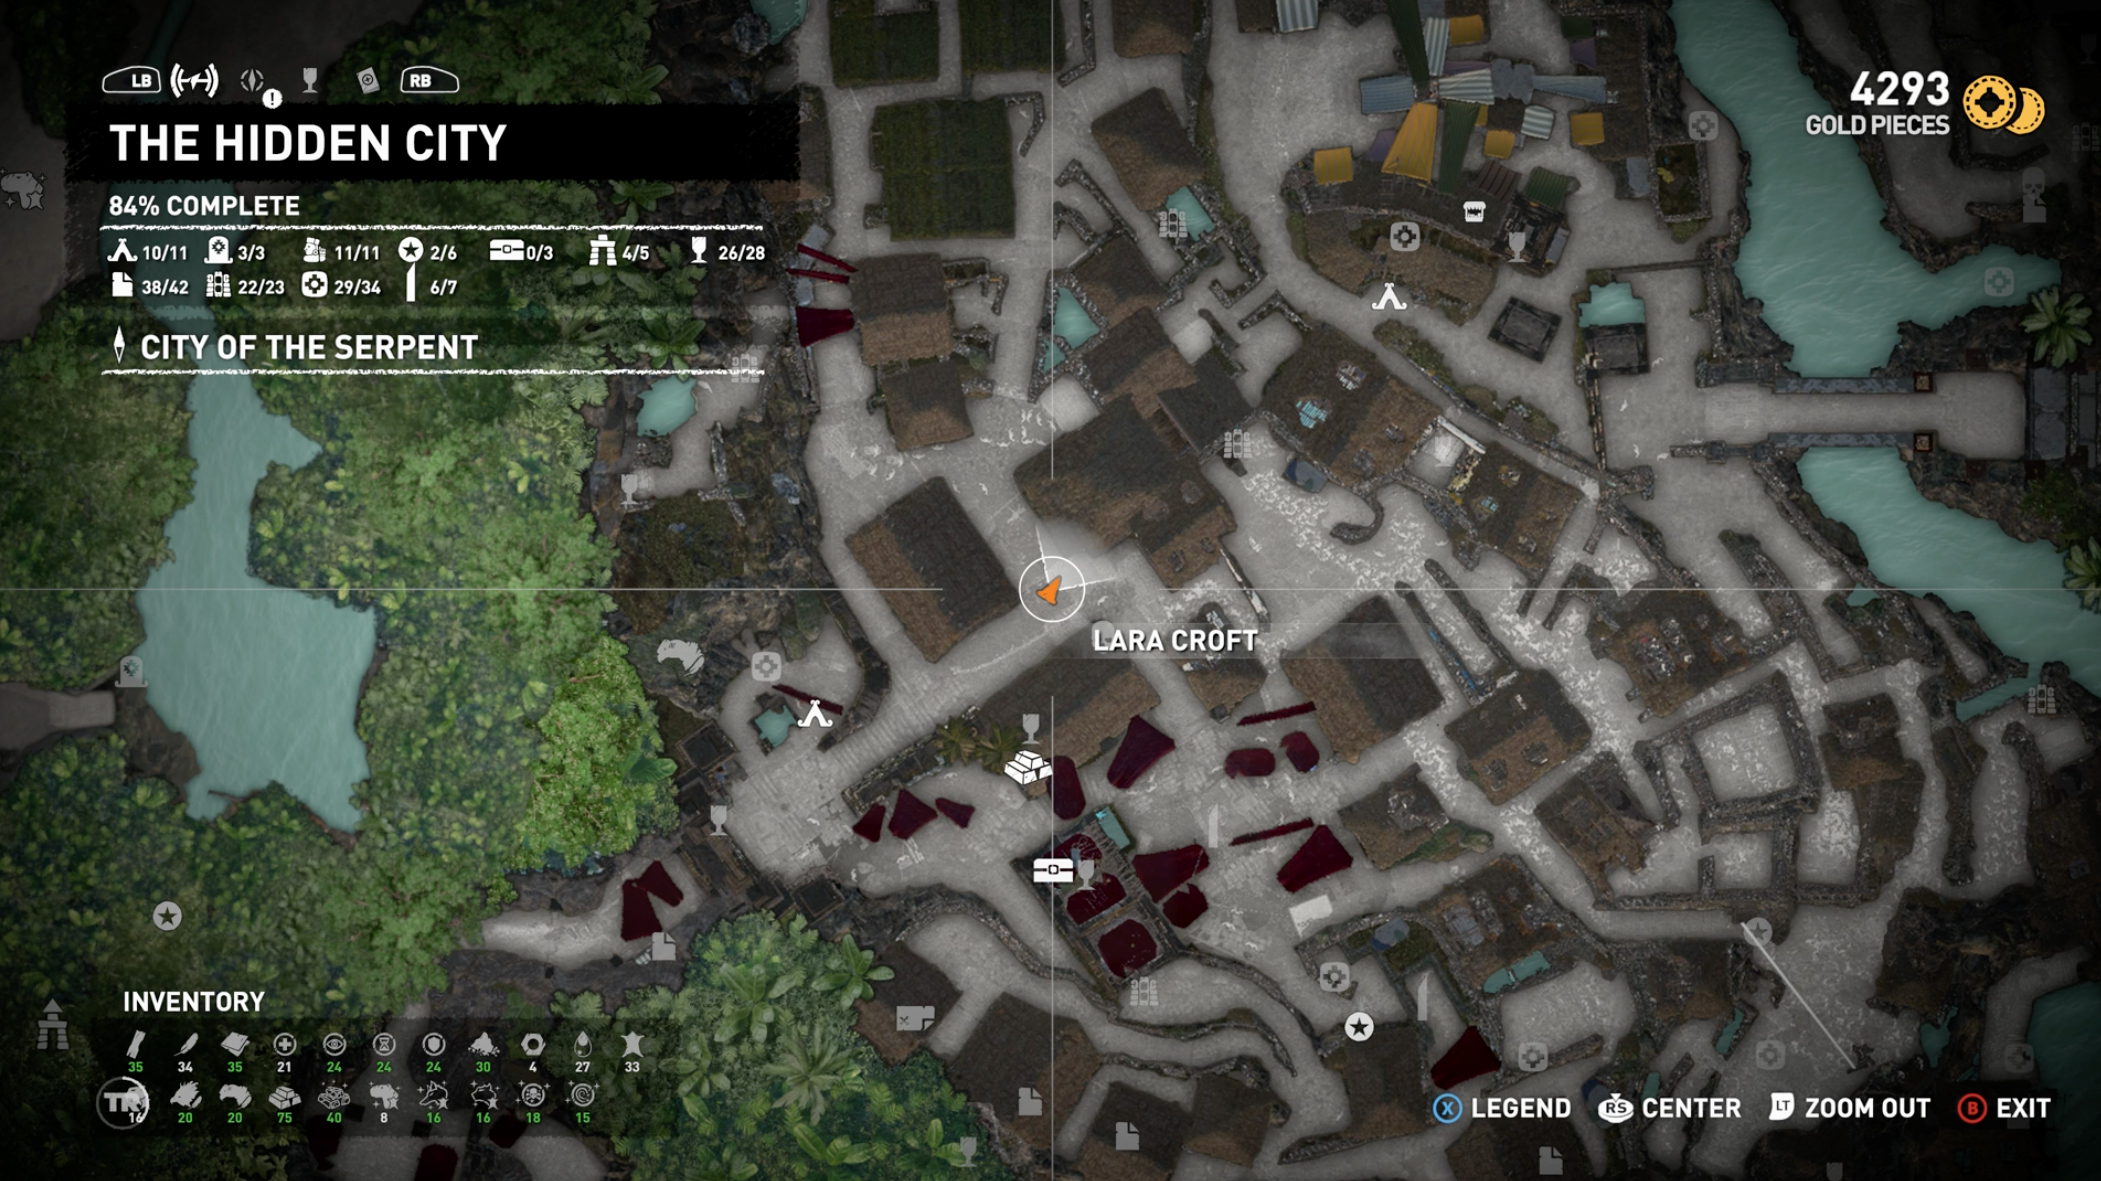
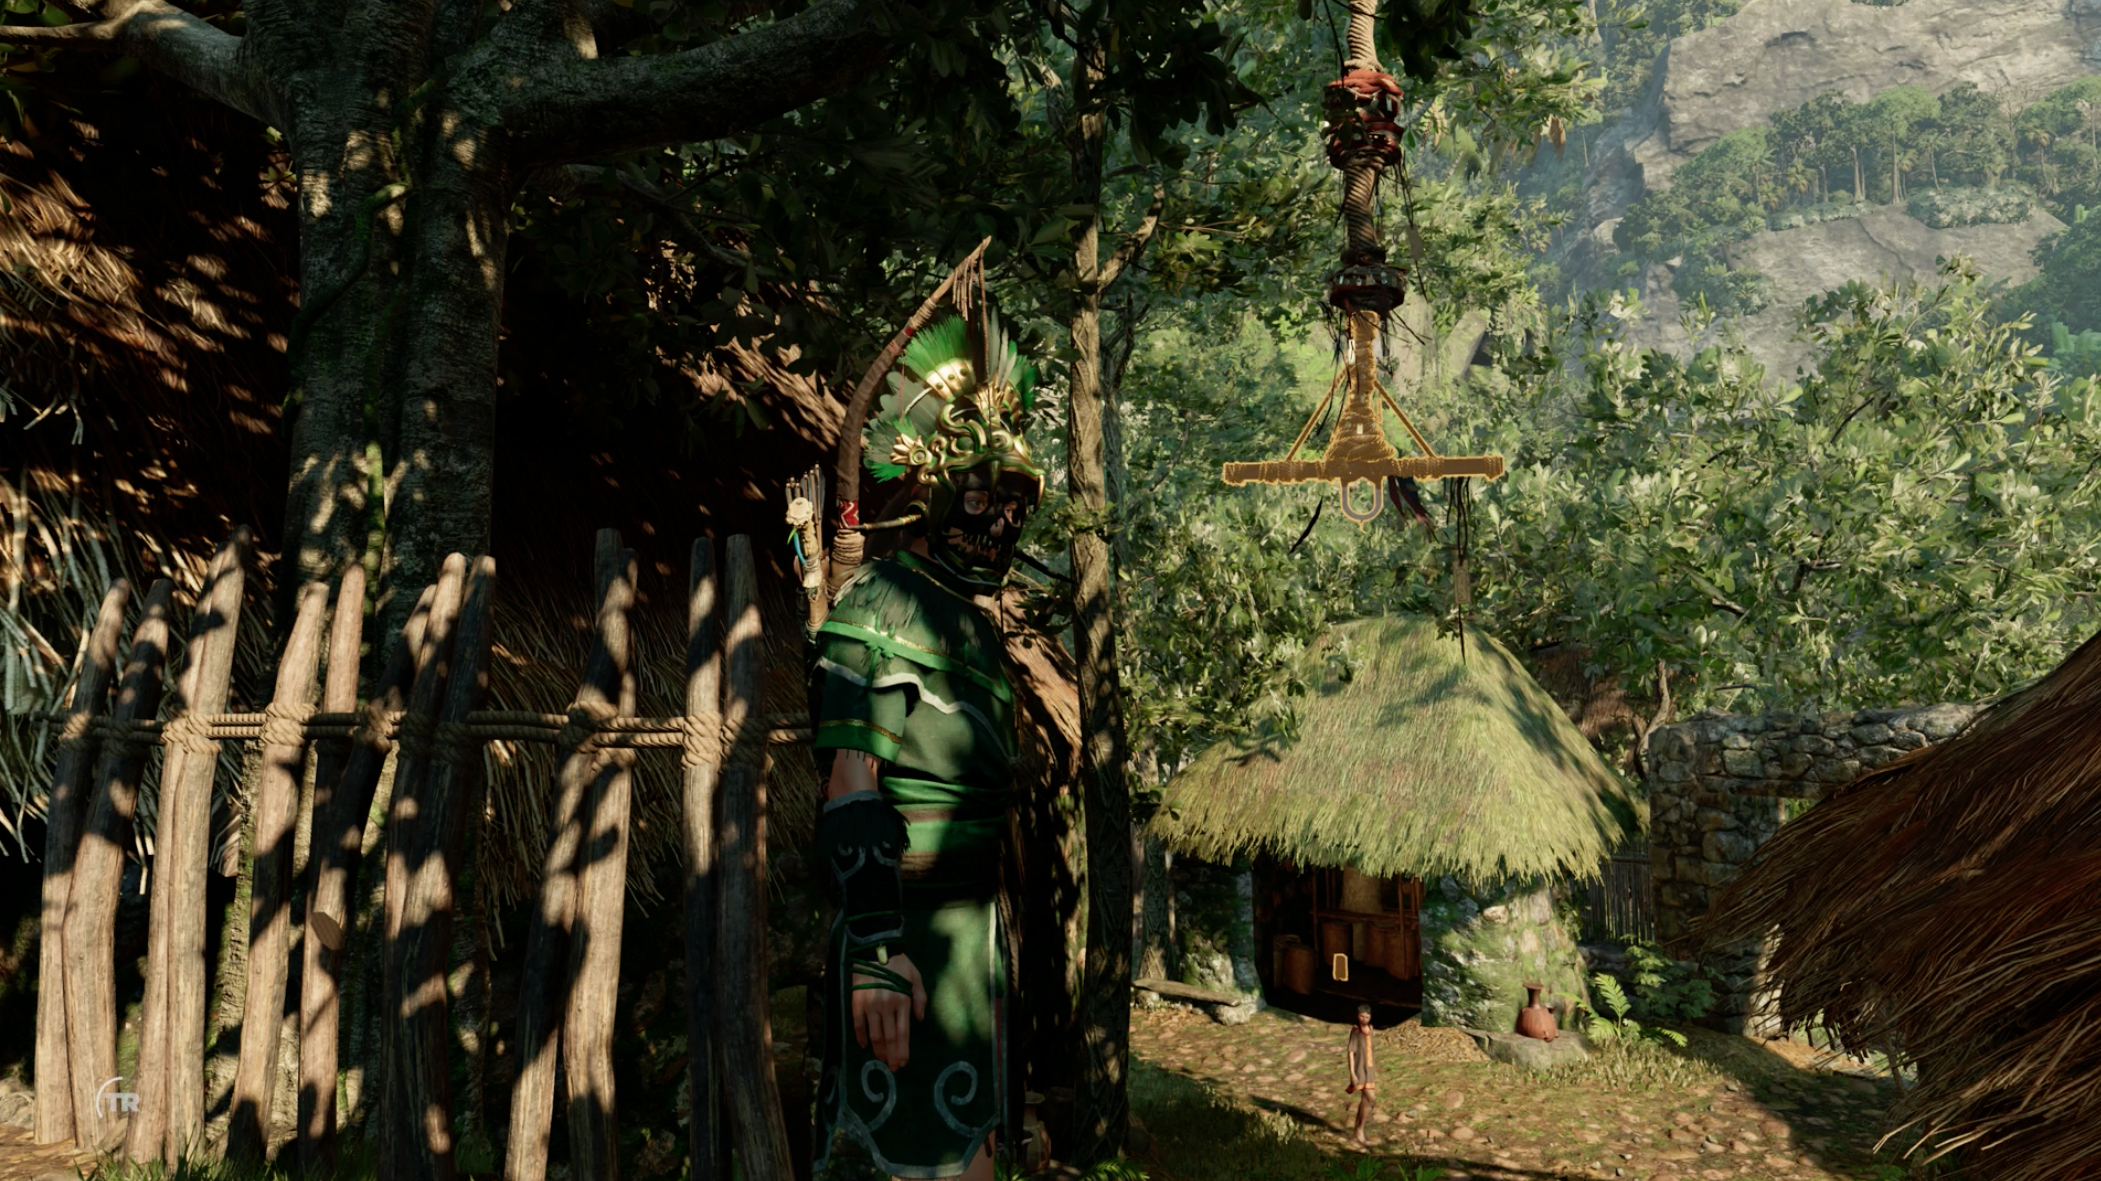
2. North-east of the Temple District base camp, you’ll need to climb up onto the wooden platform to make the grab with your grapple line.
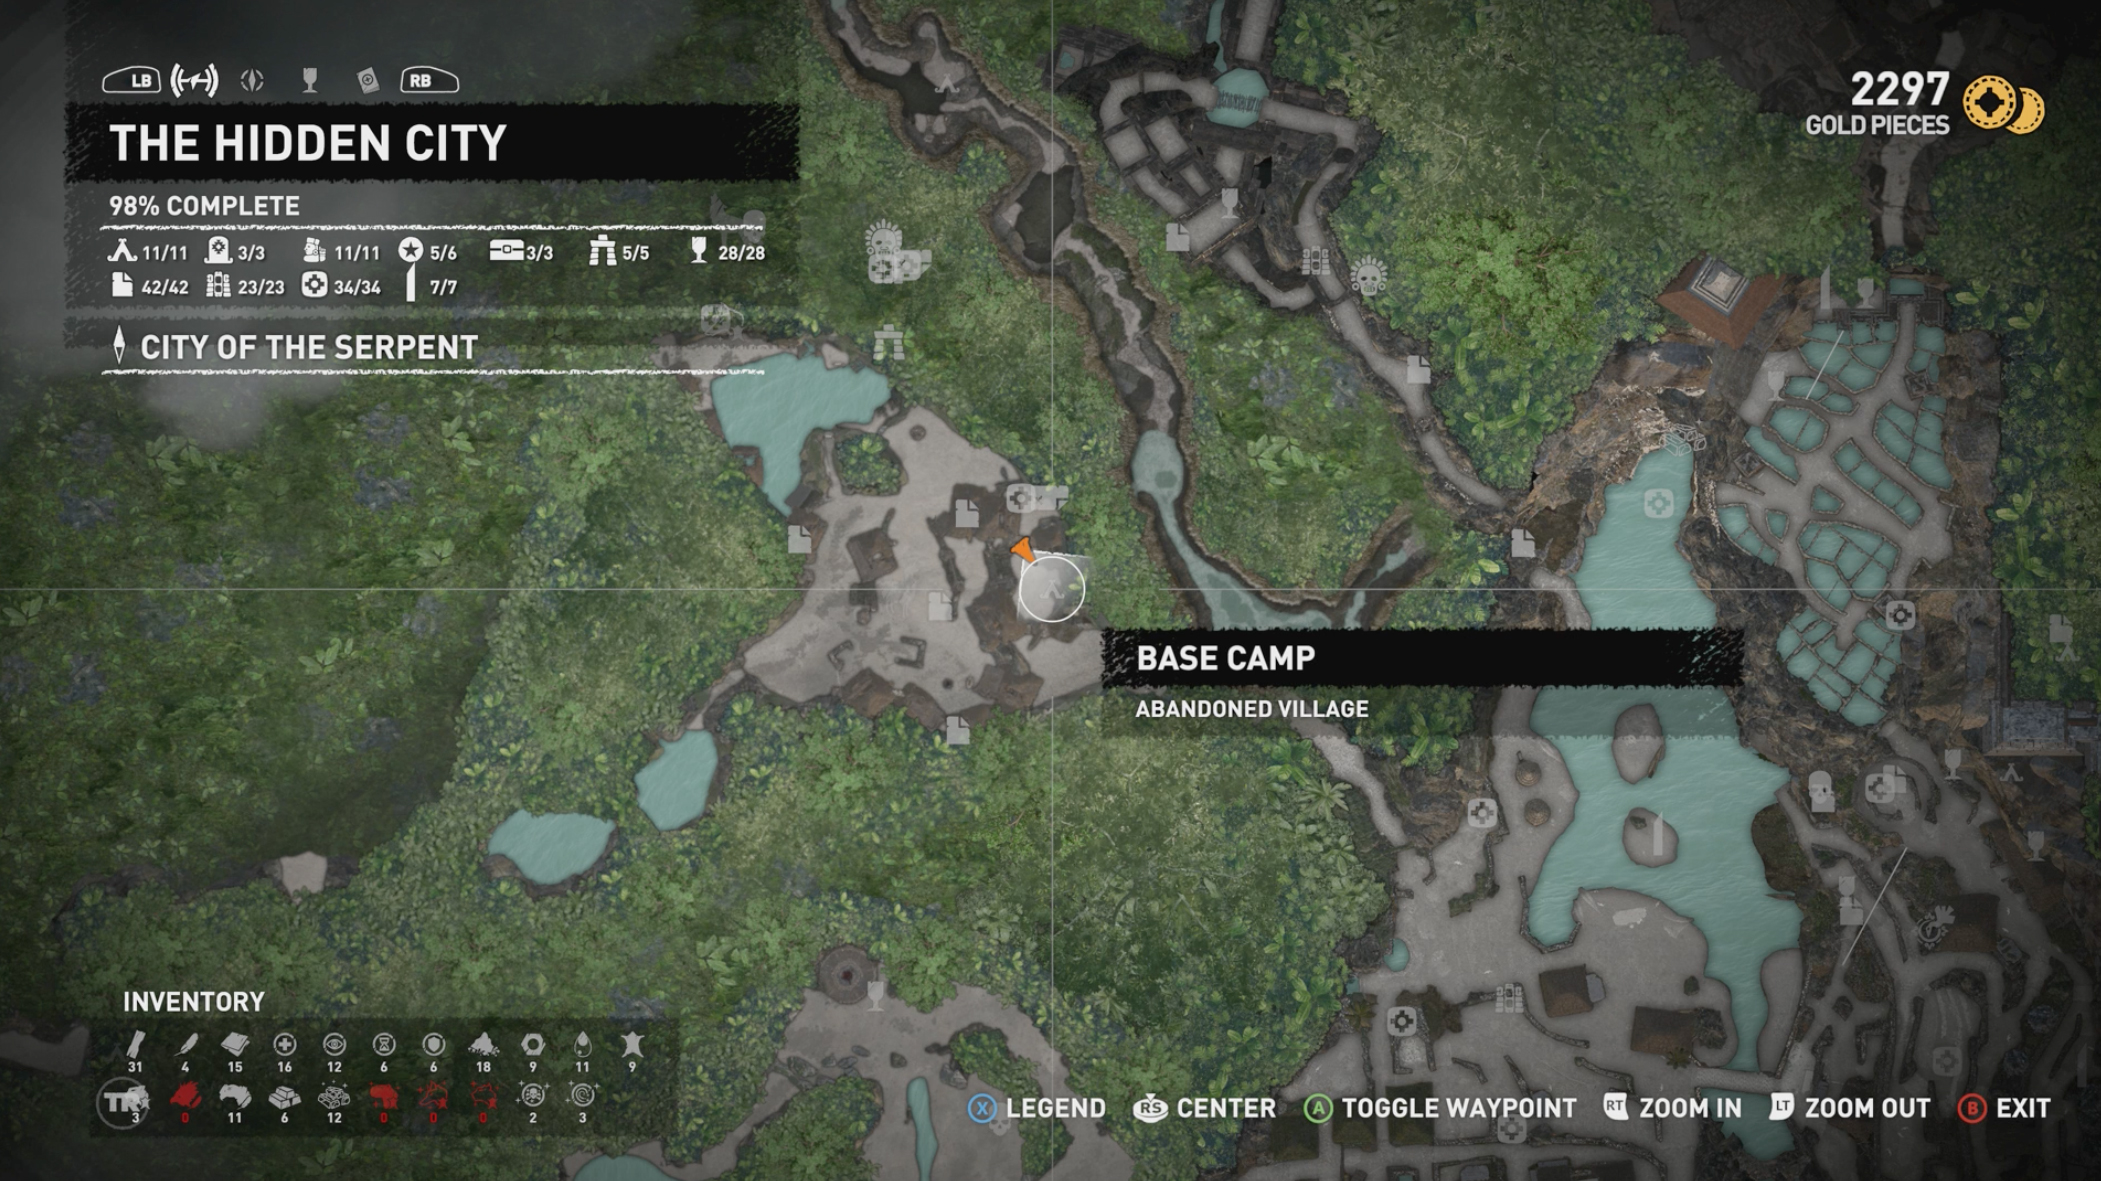
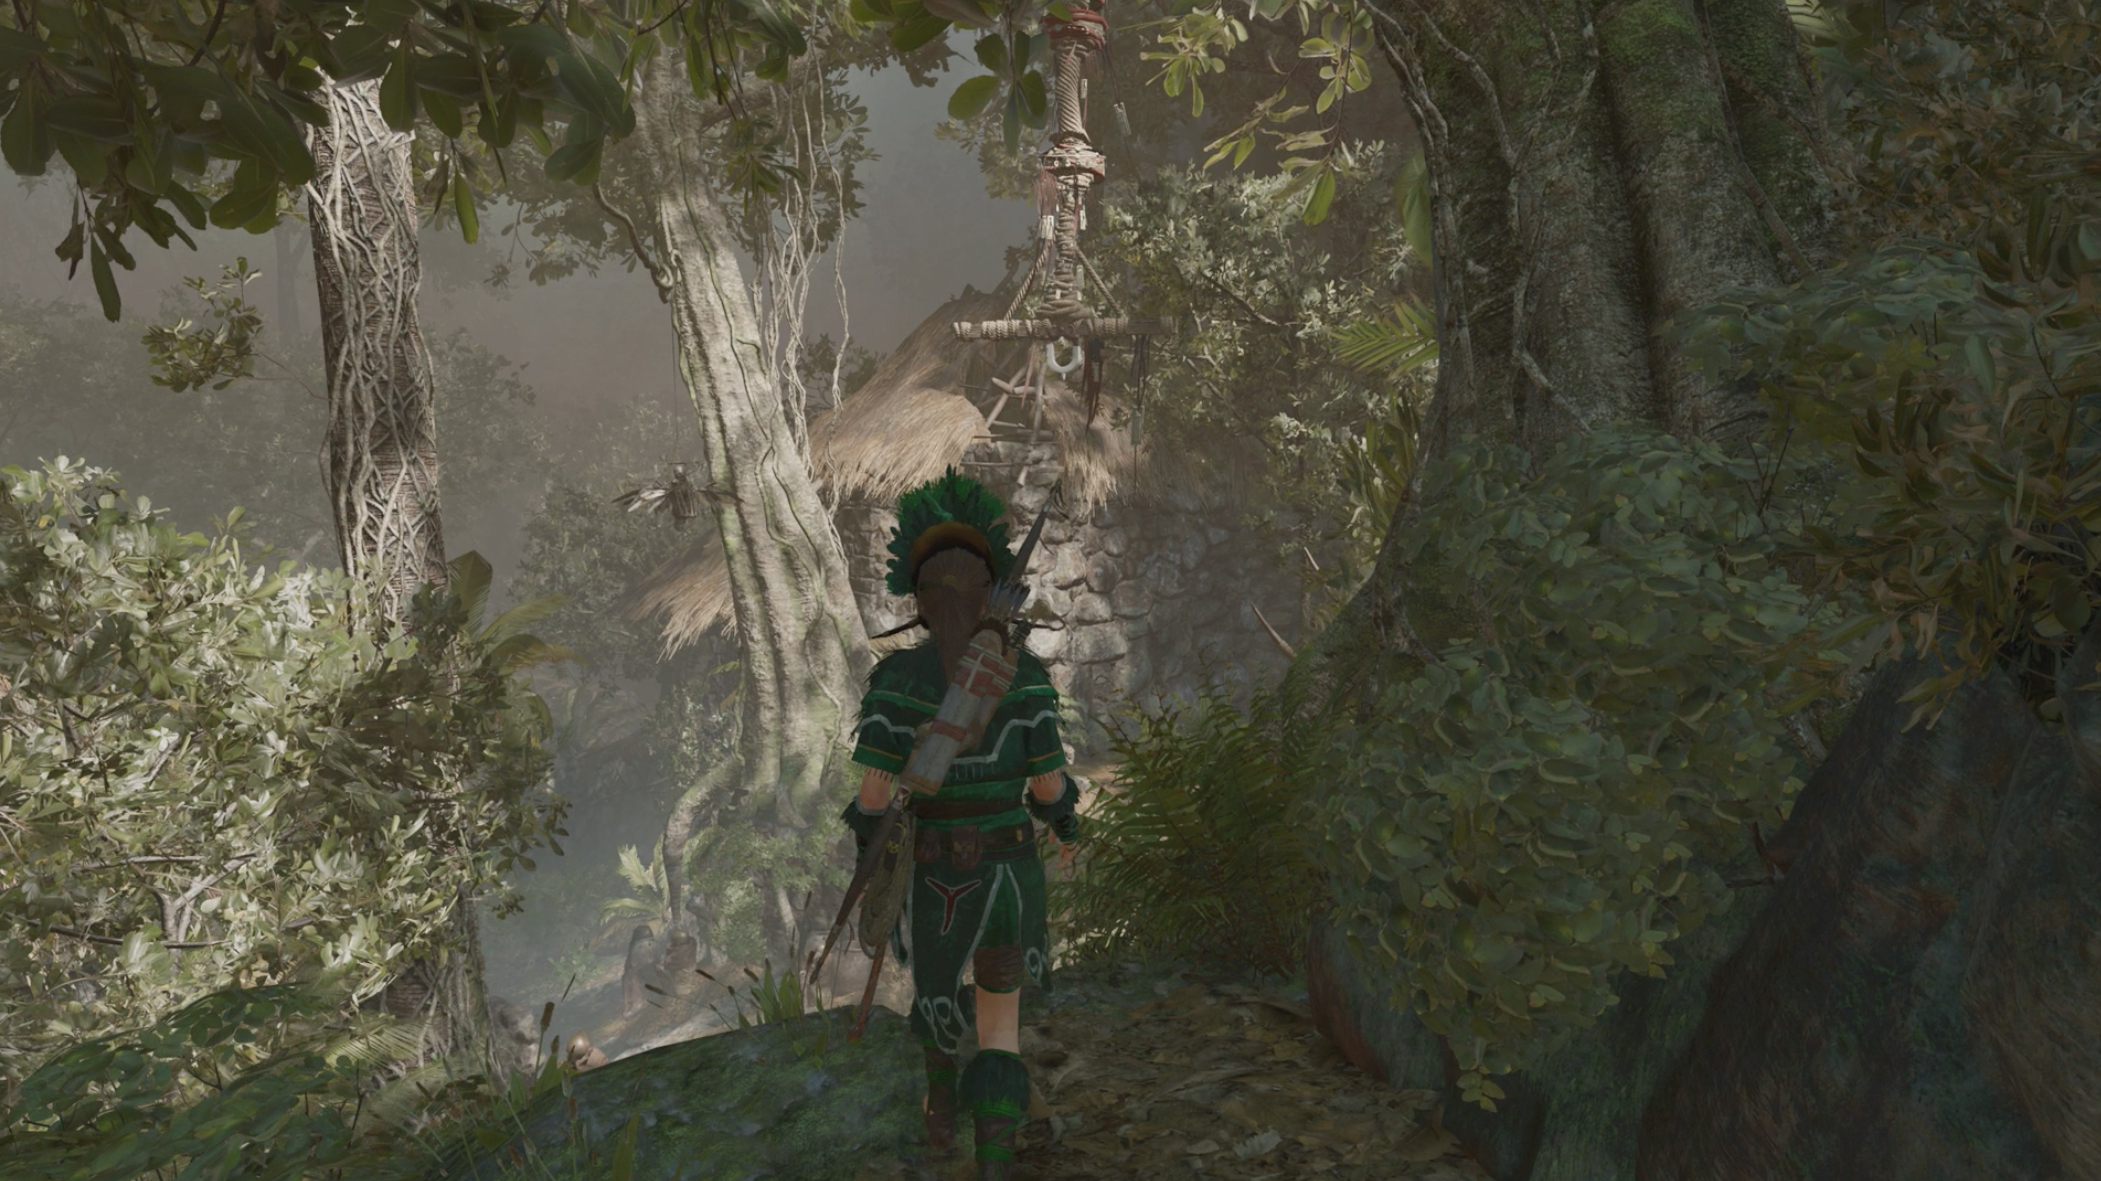
3. Amazingly, this isn’t ANYWHERE NEAR where the quest marker and the other two quipus are. No, you need to go to the Abandoned Village base camp, up the spirally stairs and then it’s ahead of you. Boom. Challenge complete. How long were you looking?
Changing the Weather (Hidden City)
The ‘changing the weather’ challenge asks you to rope pull 5 frog totems. They’re hanging from stakes around the village, and not the easiest of things to spot, even though they are pinky purple.
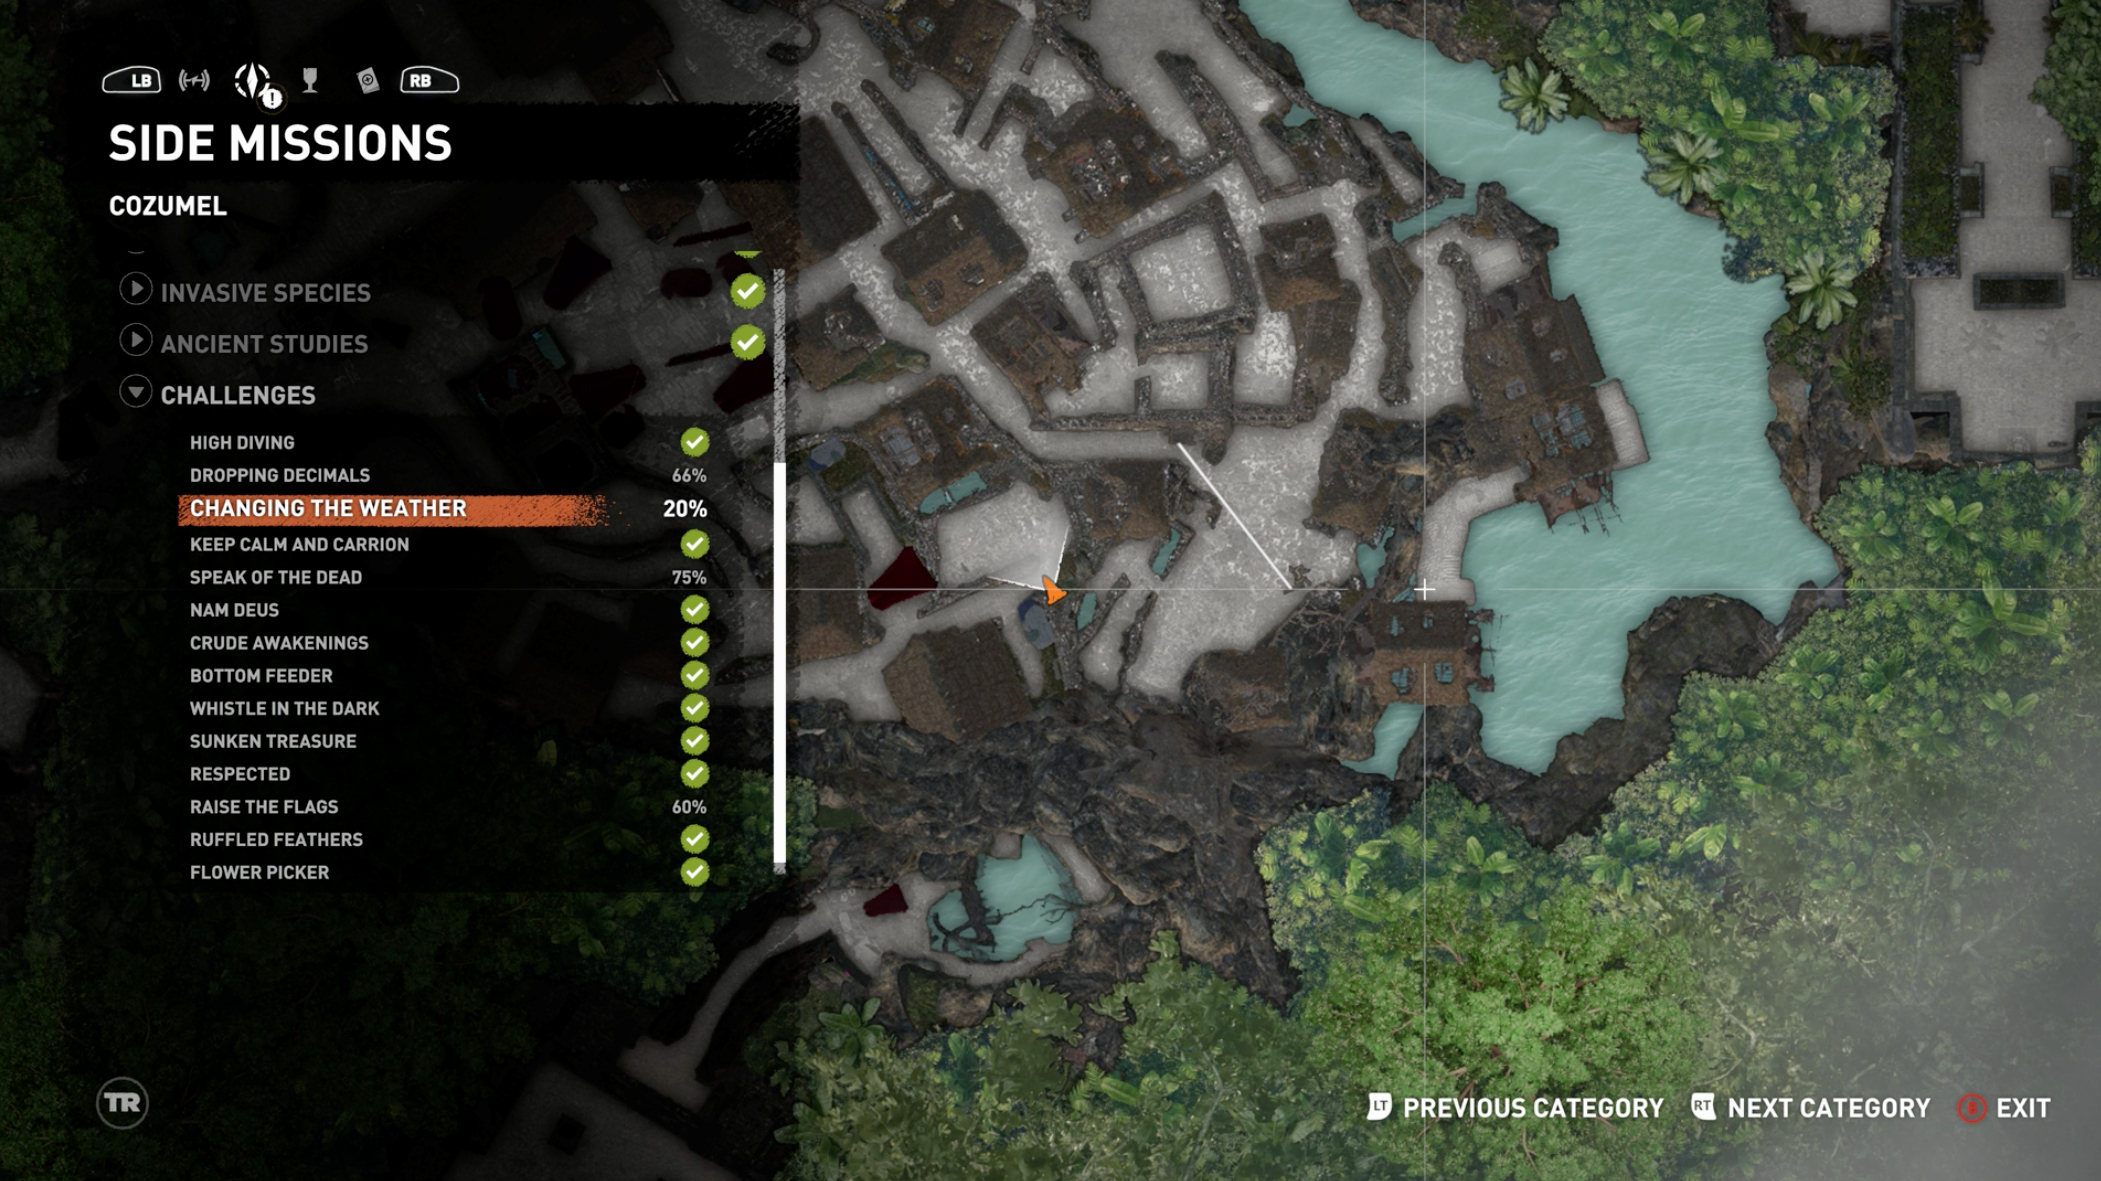
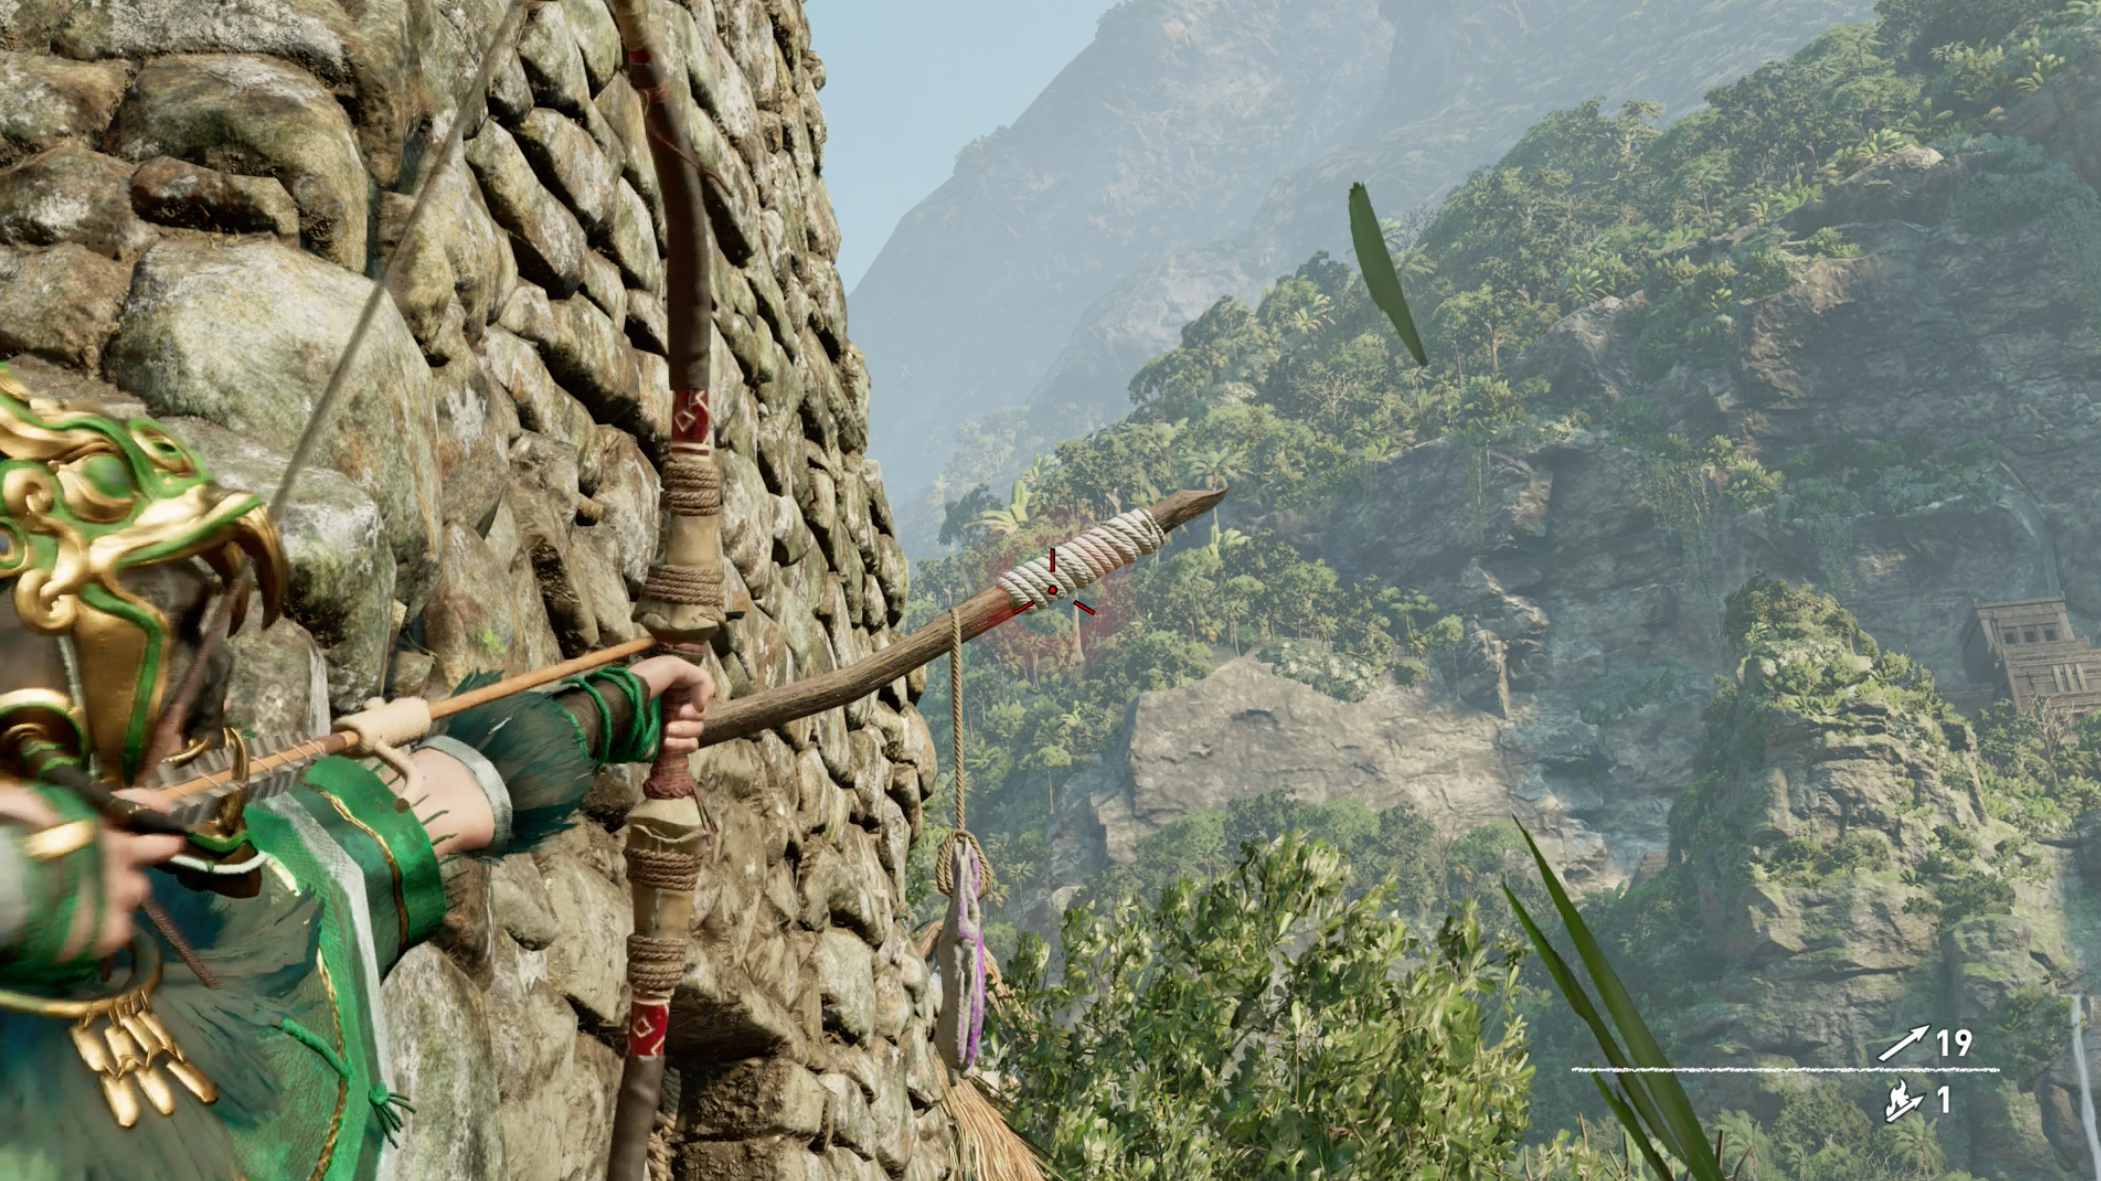
1. The first one can be found just to the west of the diagonal zip line near the south of the village. Just take out your bow - even though normally you can’t fire it in the village area for obvious reasons - and Lara will nock an arrow when you hover over the rope on the stake. So fire away and Lara will pull it down. That’s one frog in the box. So to speak.
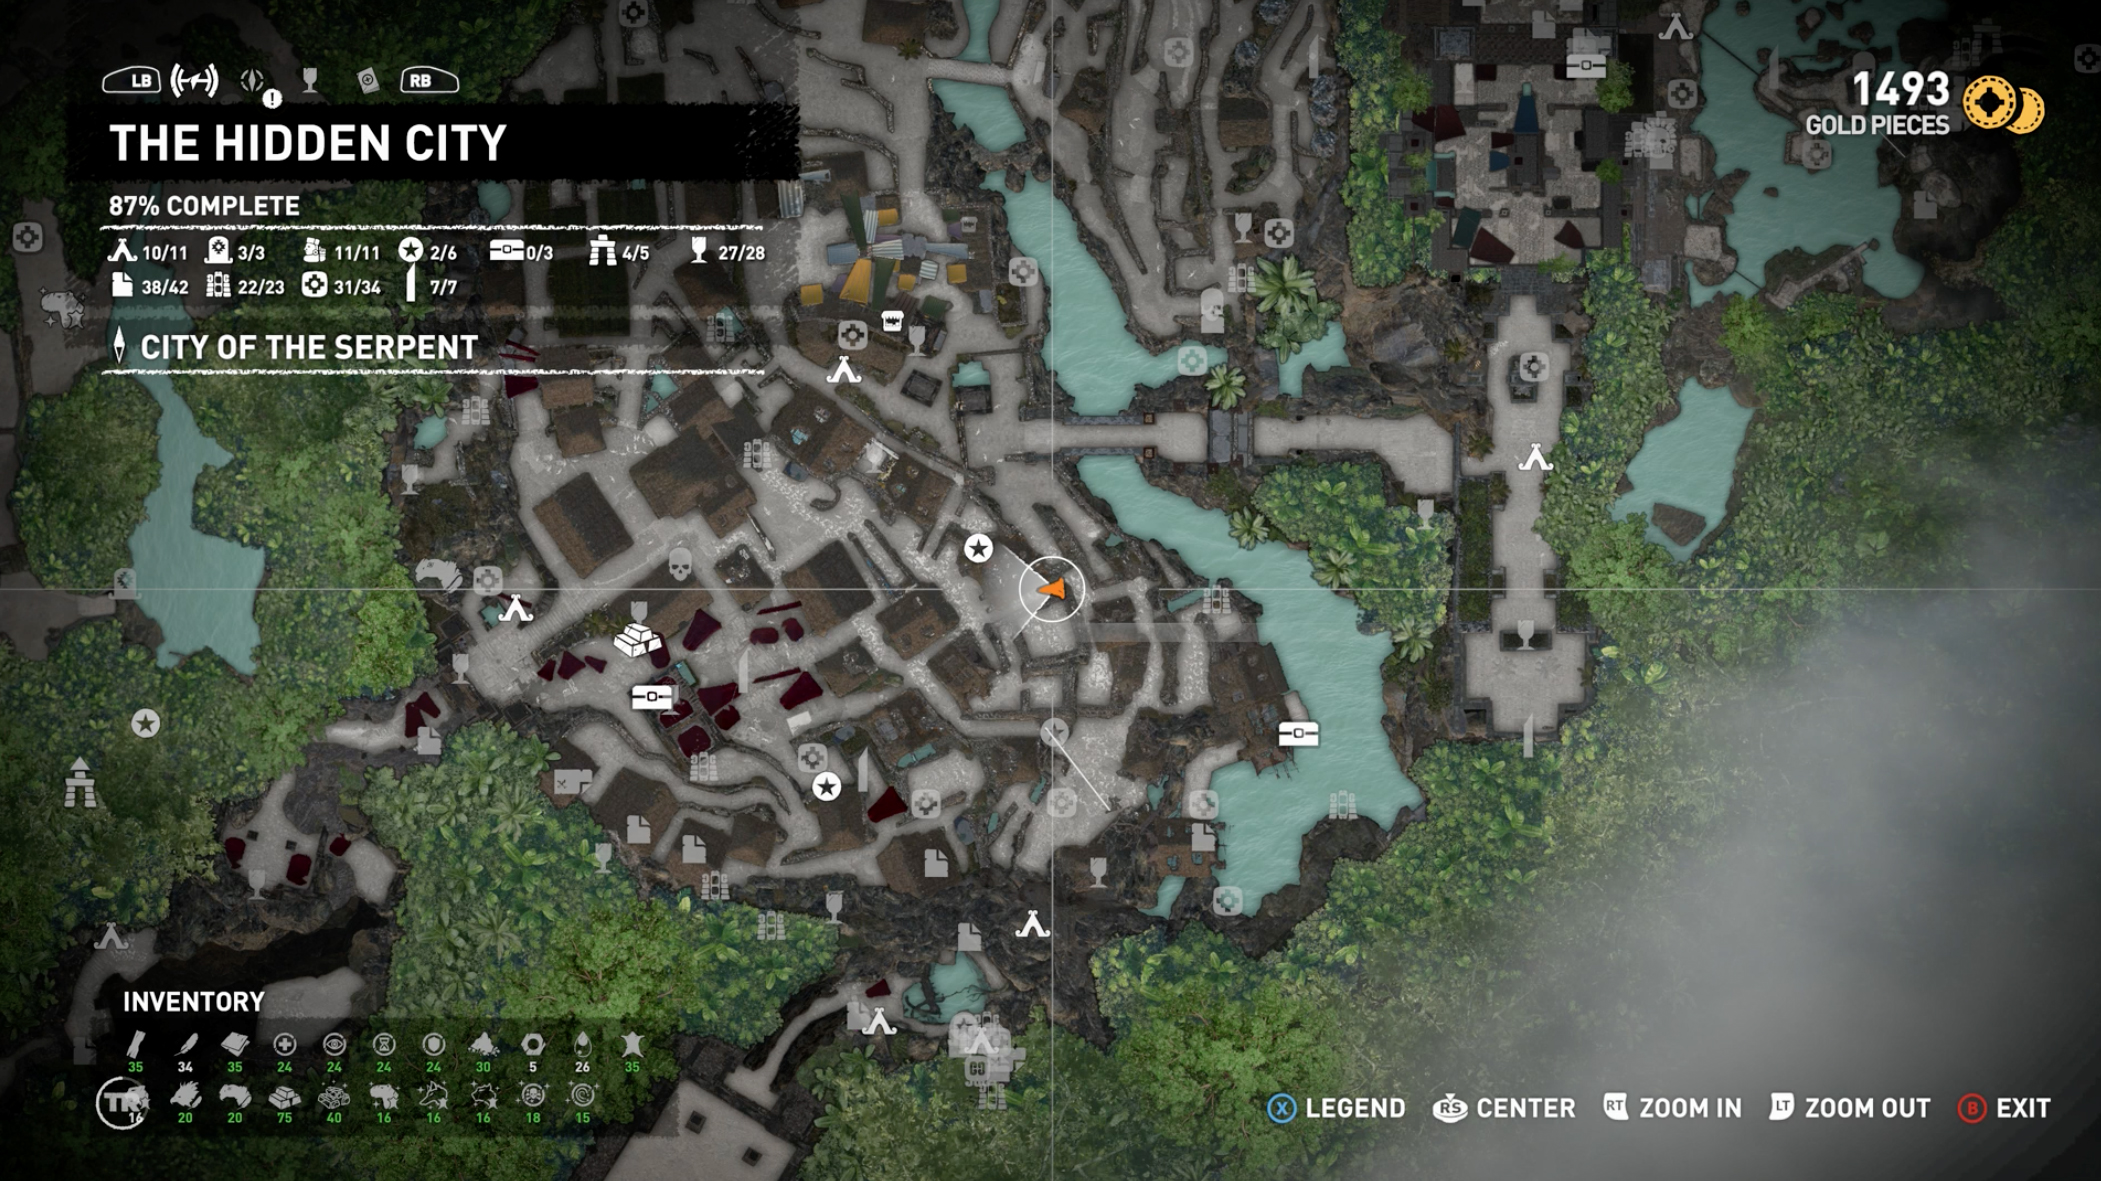
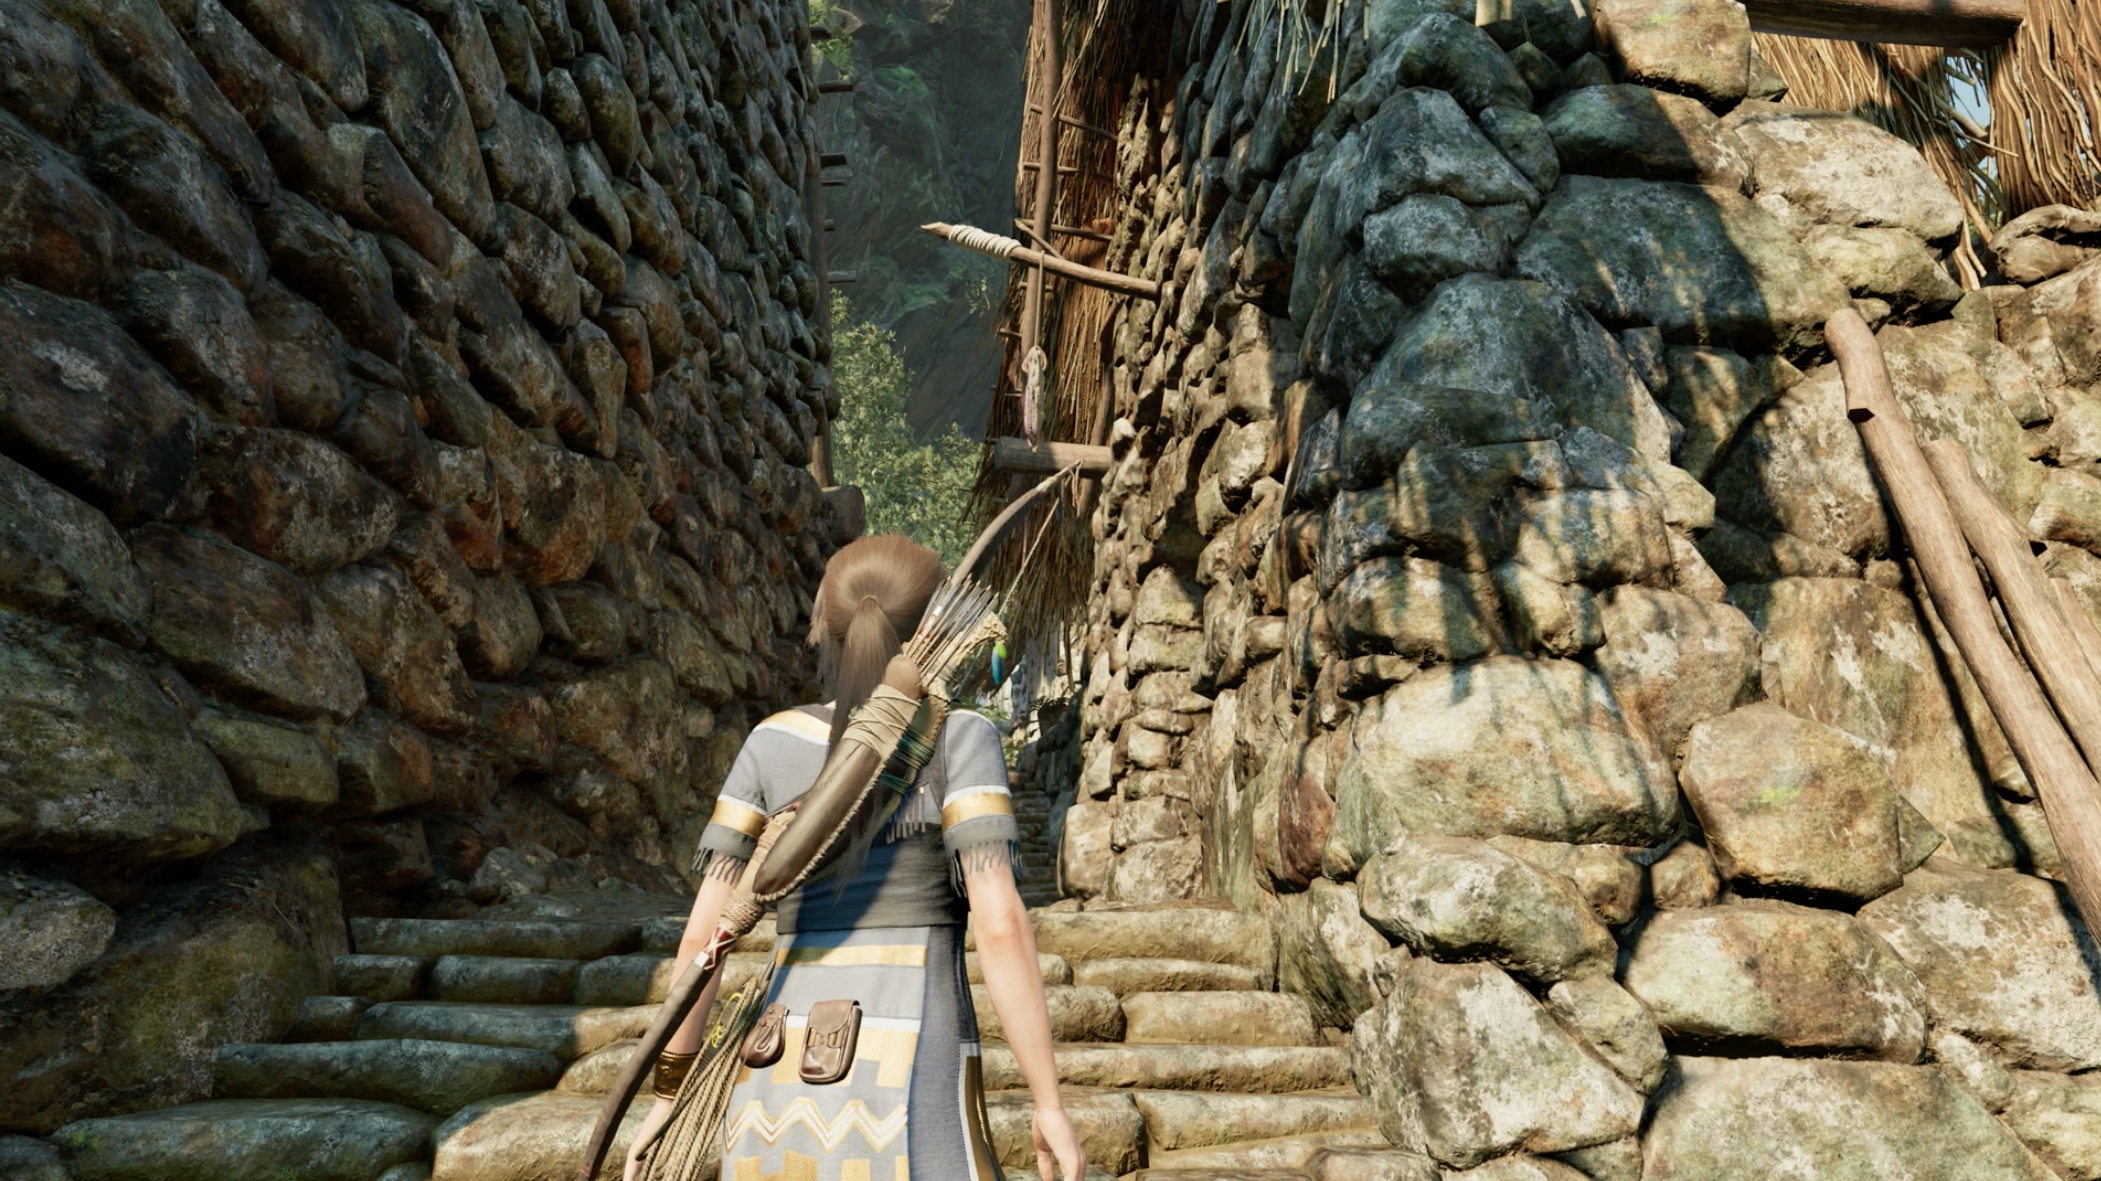
2. This one is just south of the southern bridge, between the two buildings with steps in-between. Again, shoot it with your bow and Lara pulls it down.
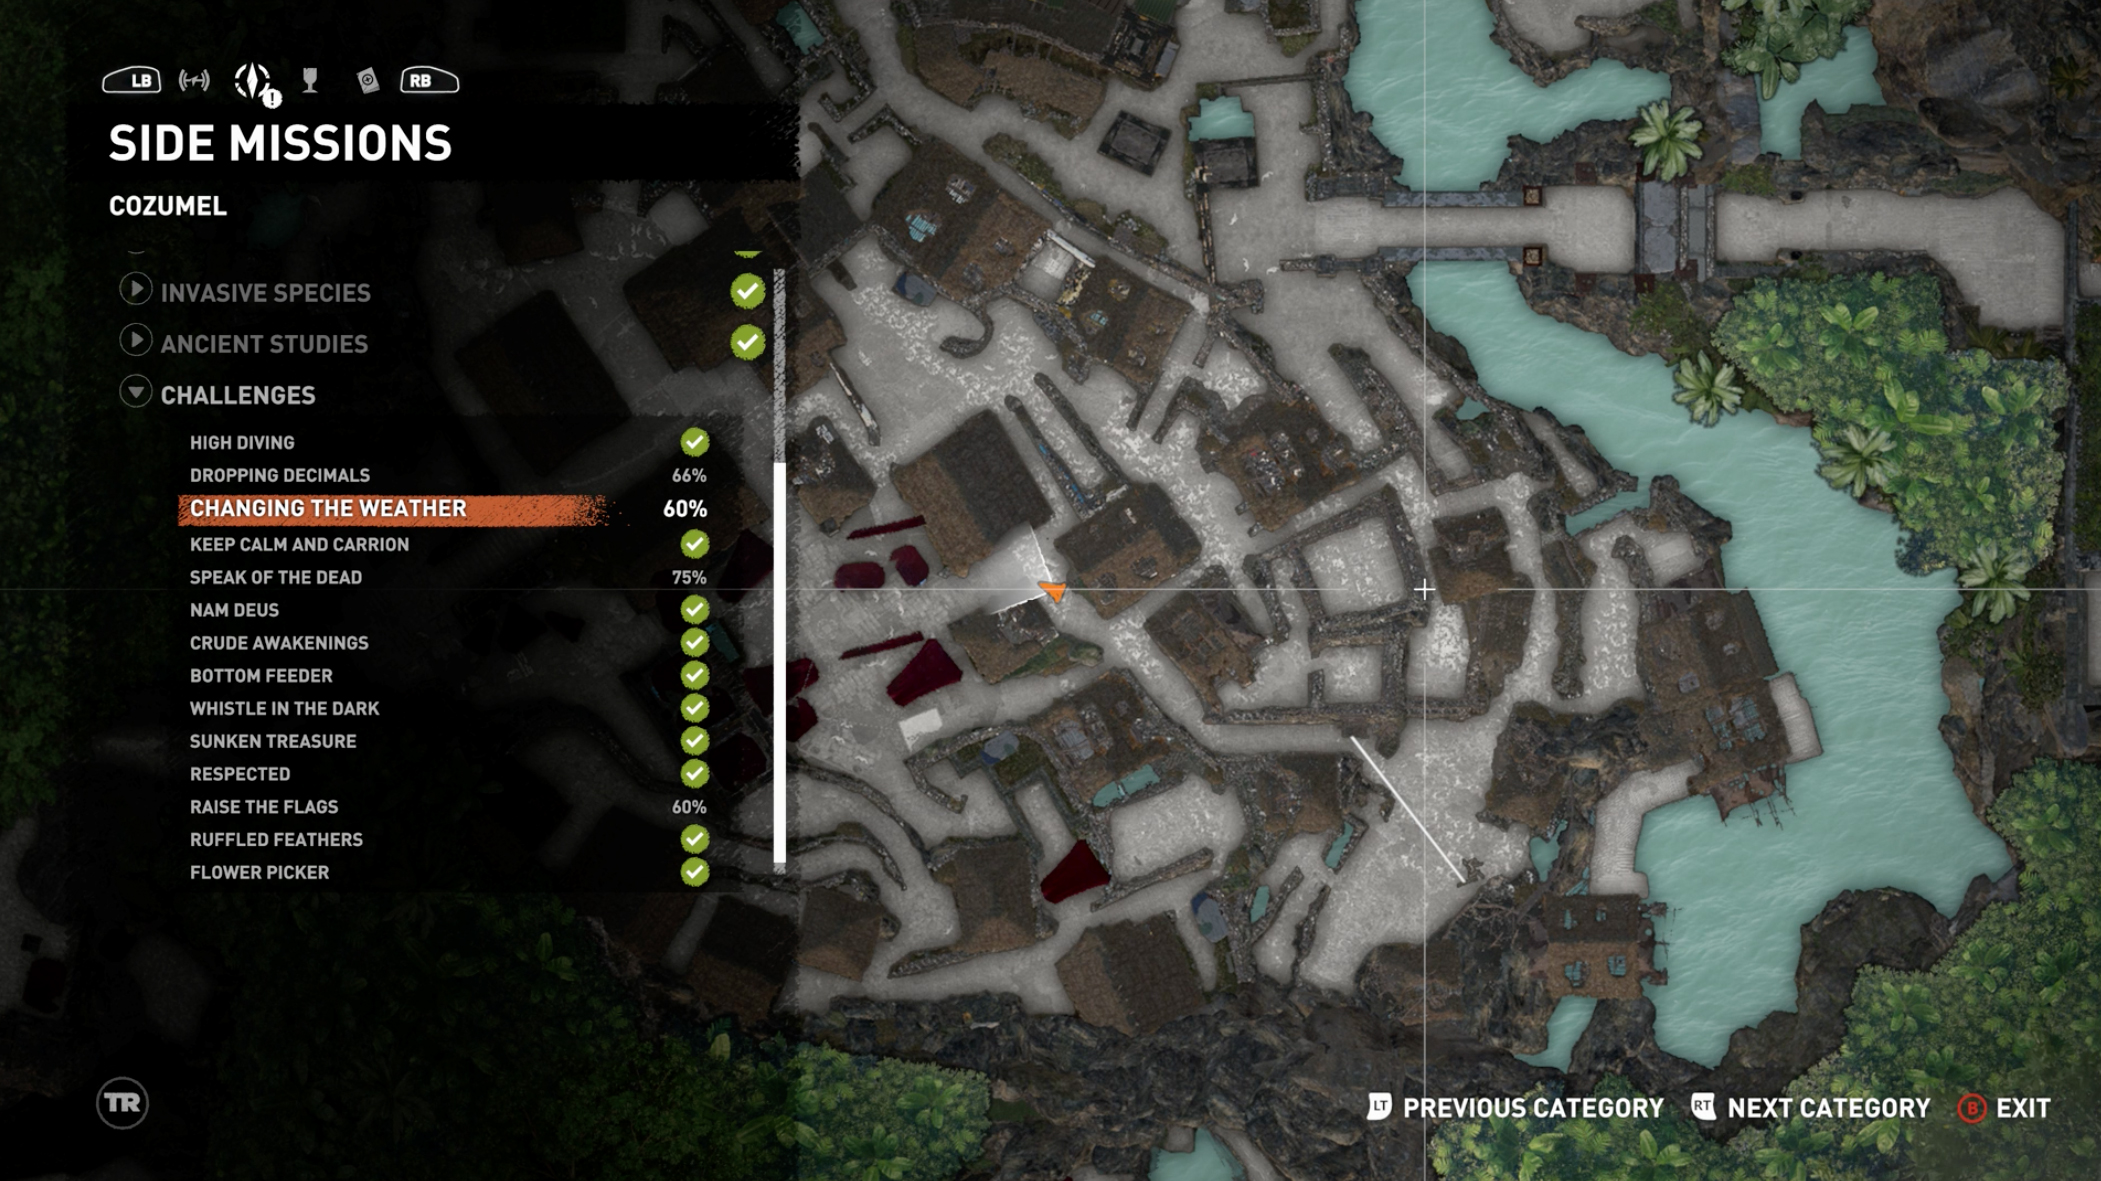
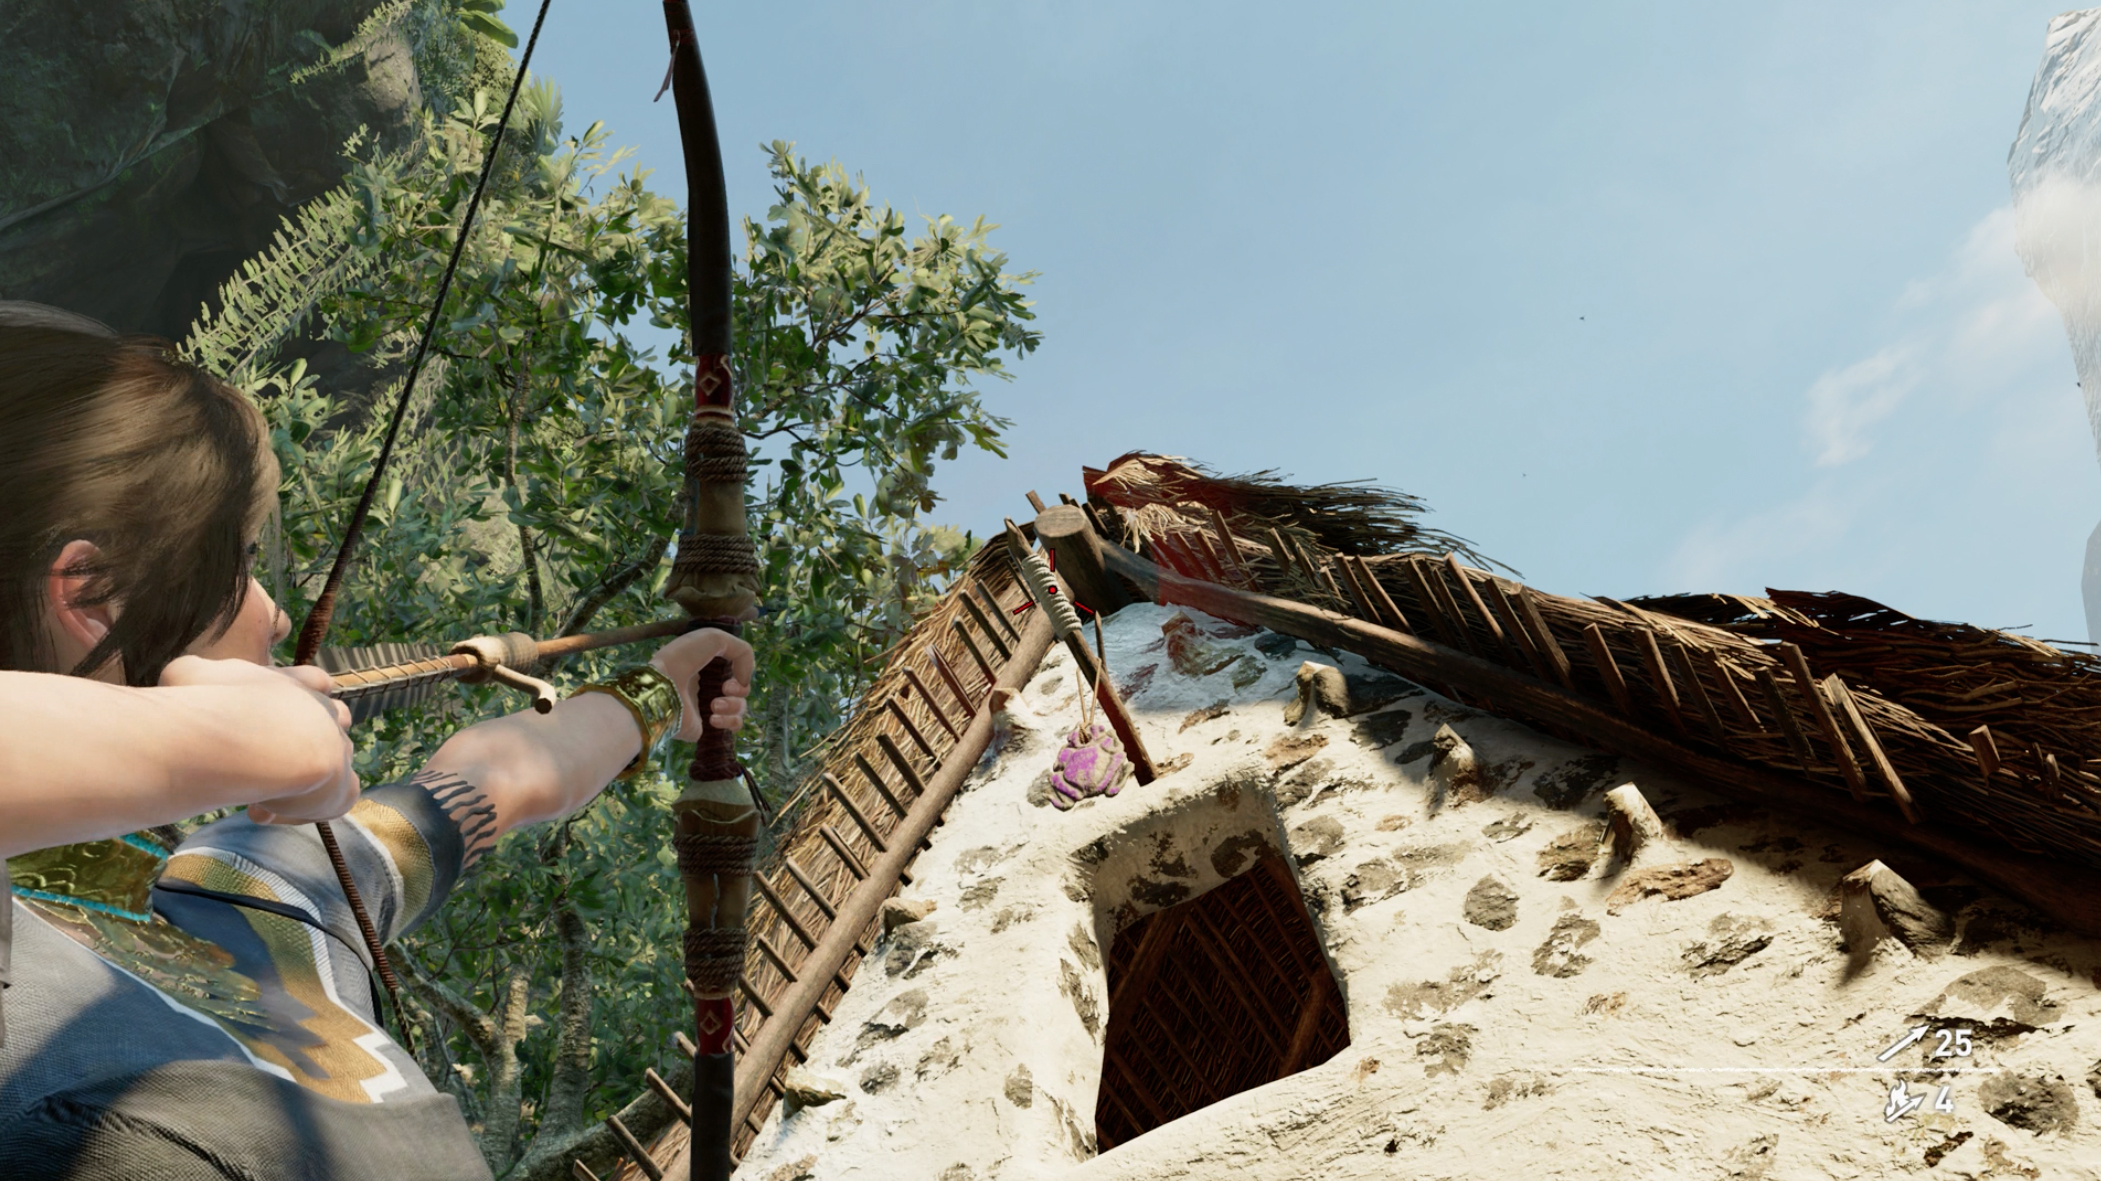
3. This one is much higher up. Head for the are of the map directly south-west of the lower bridge and directly north of the Temple Path base camp. Look up to the roof of the building here and you’ll see it by the window.
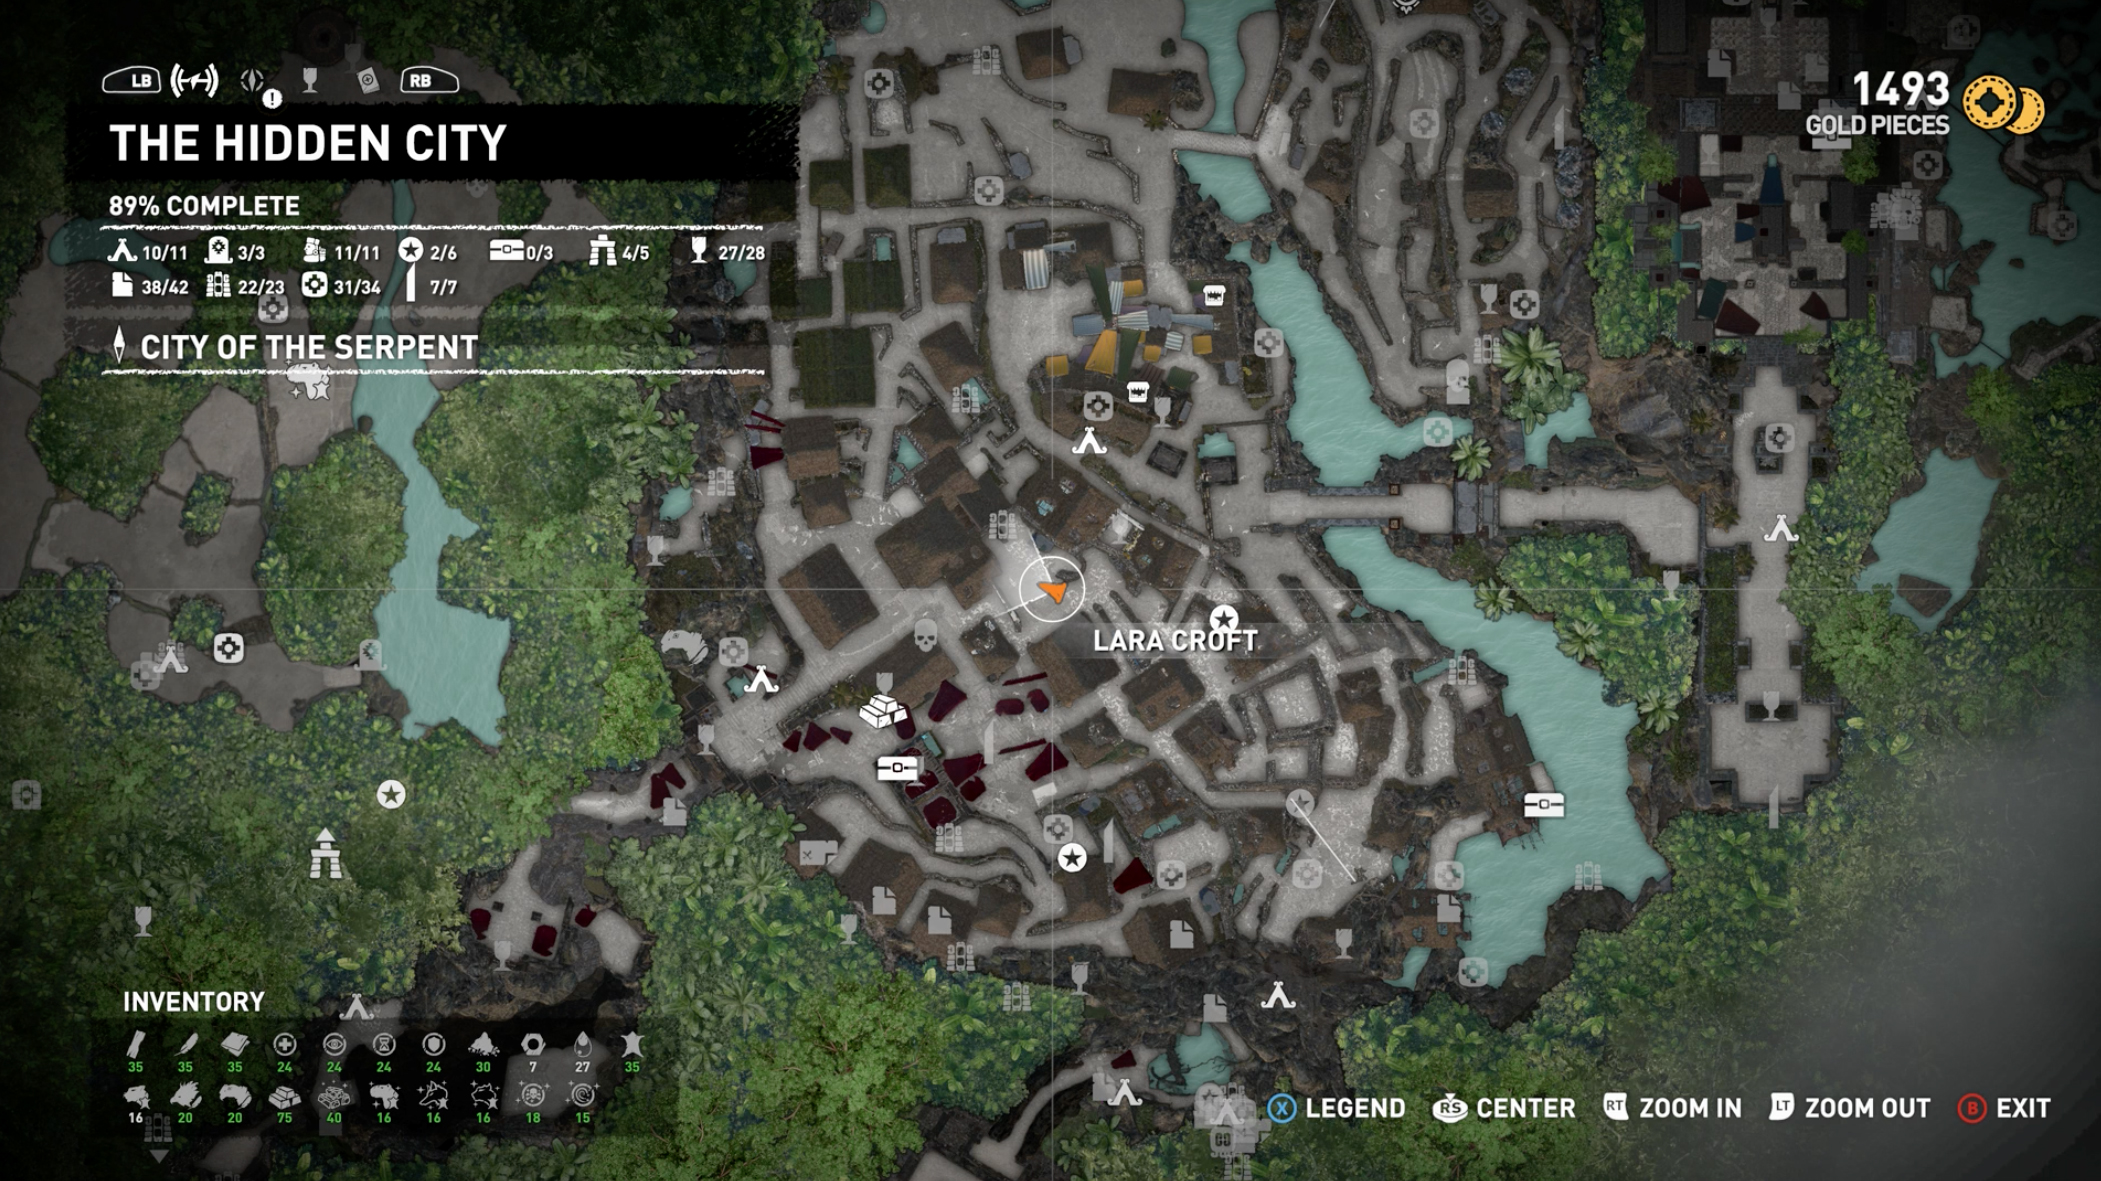
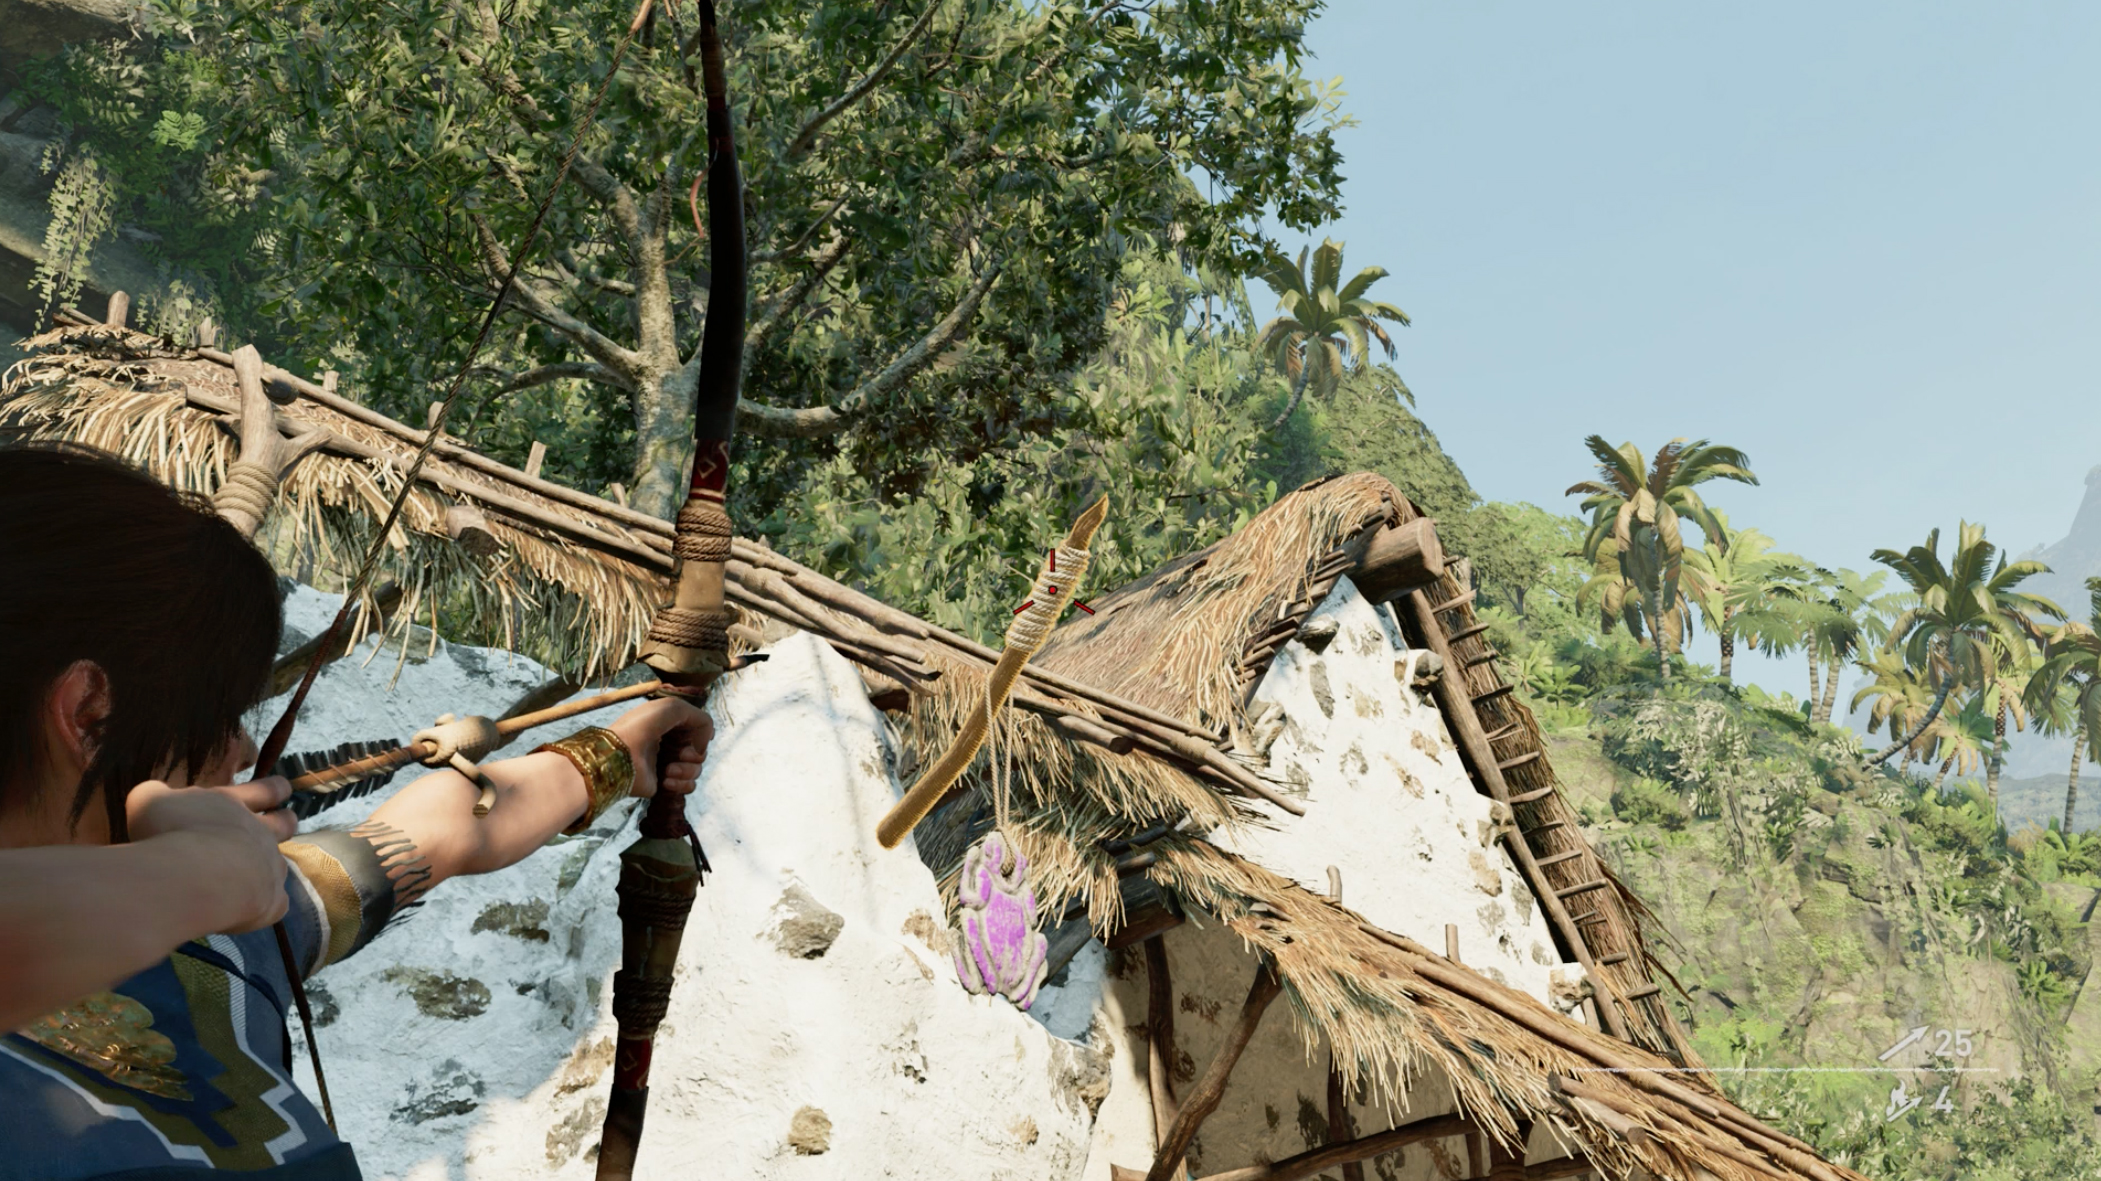
4. Stand in the infirmary area and look north-west. You’ll see the totem on this house. One to go!
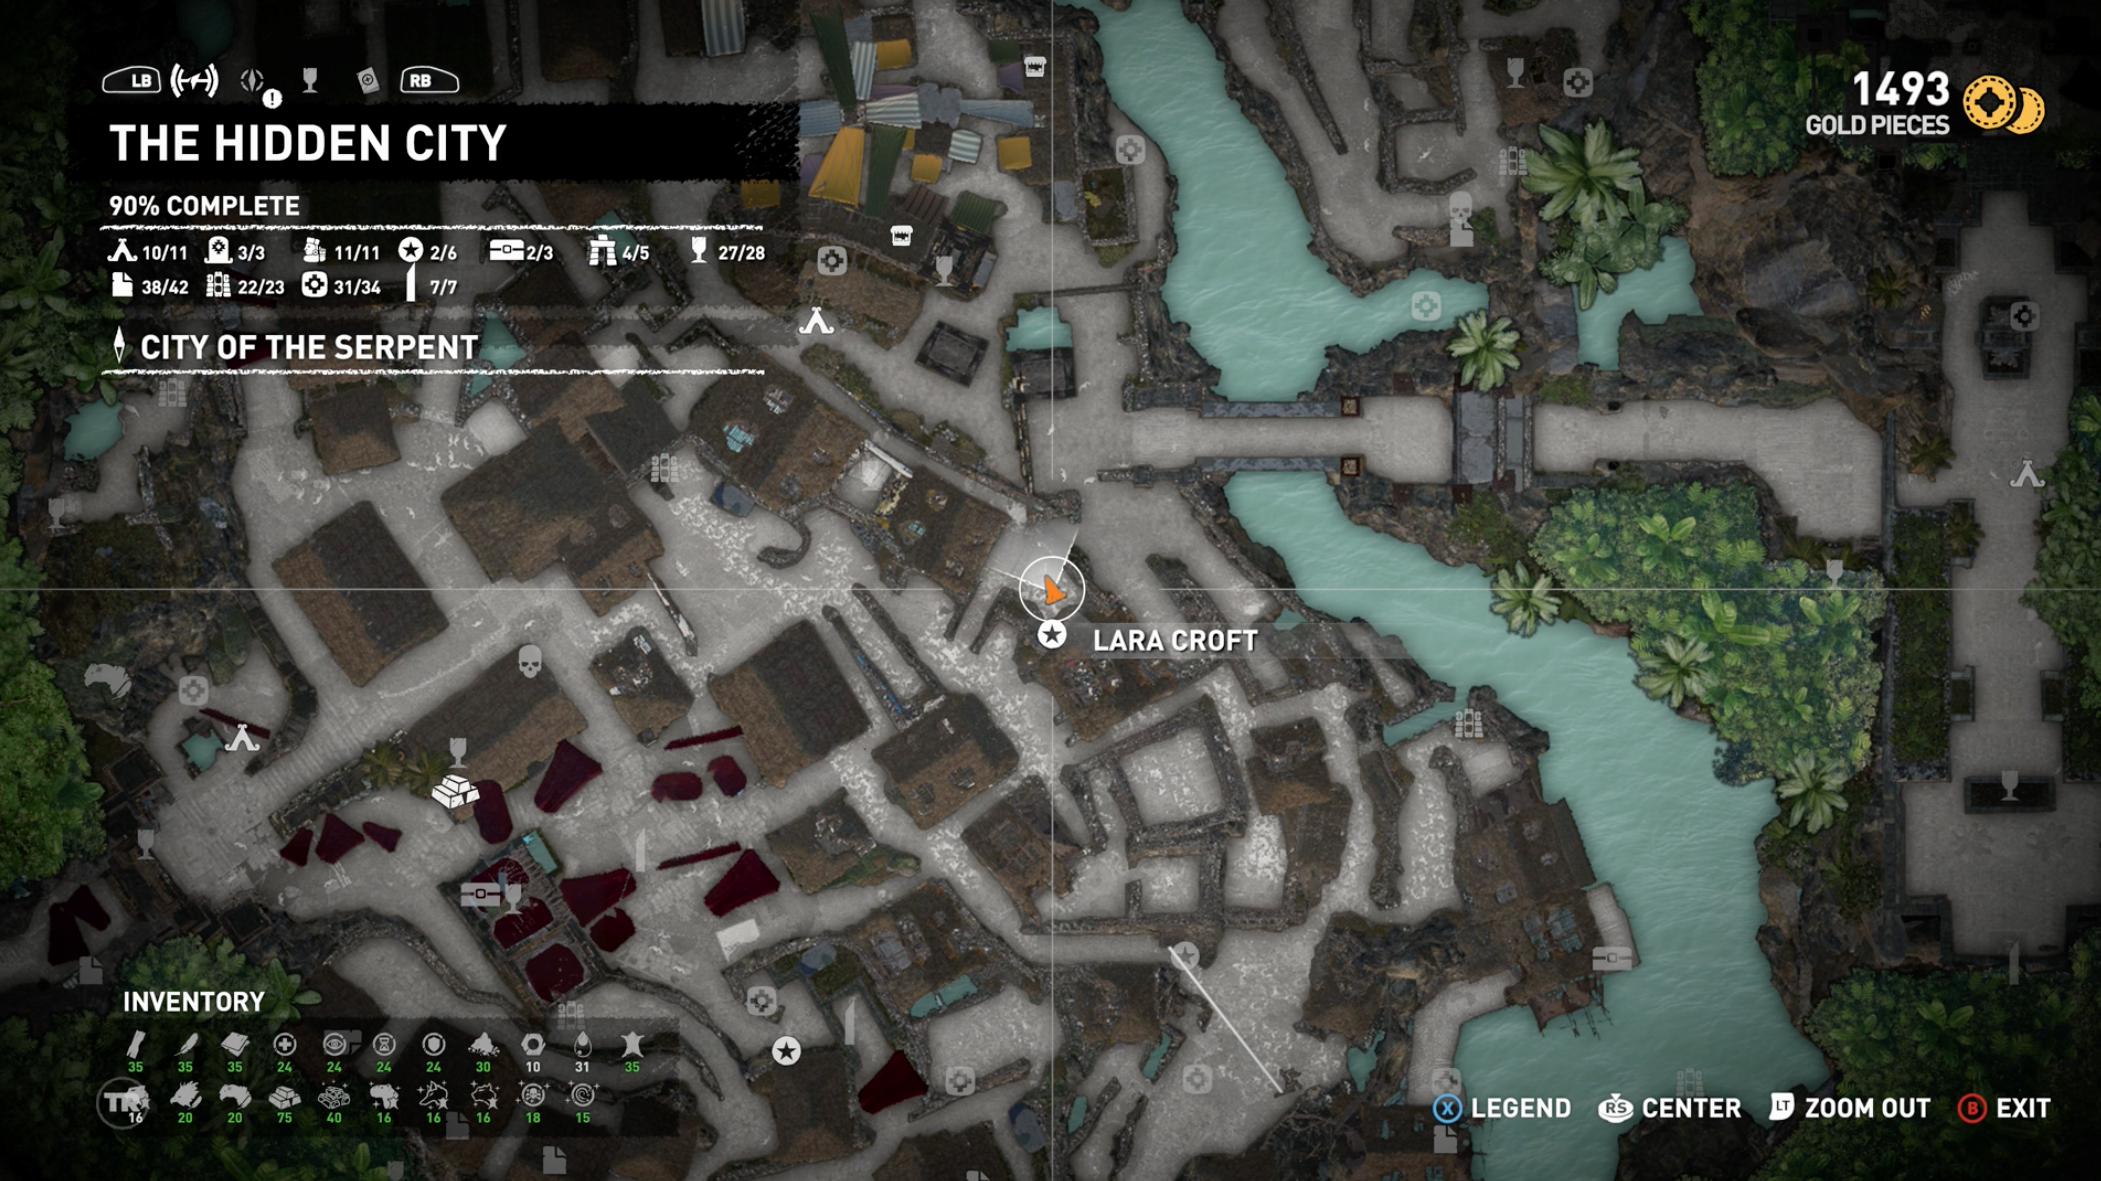
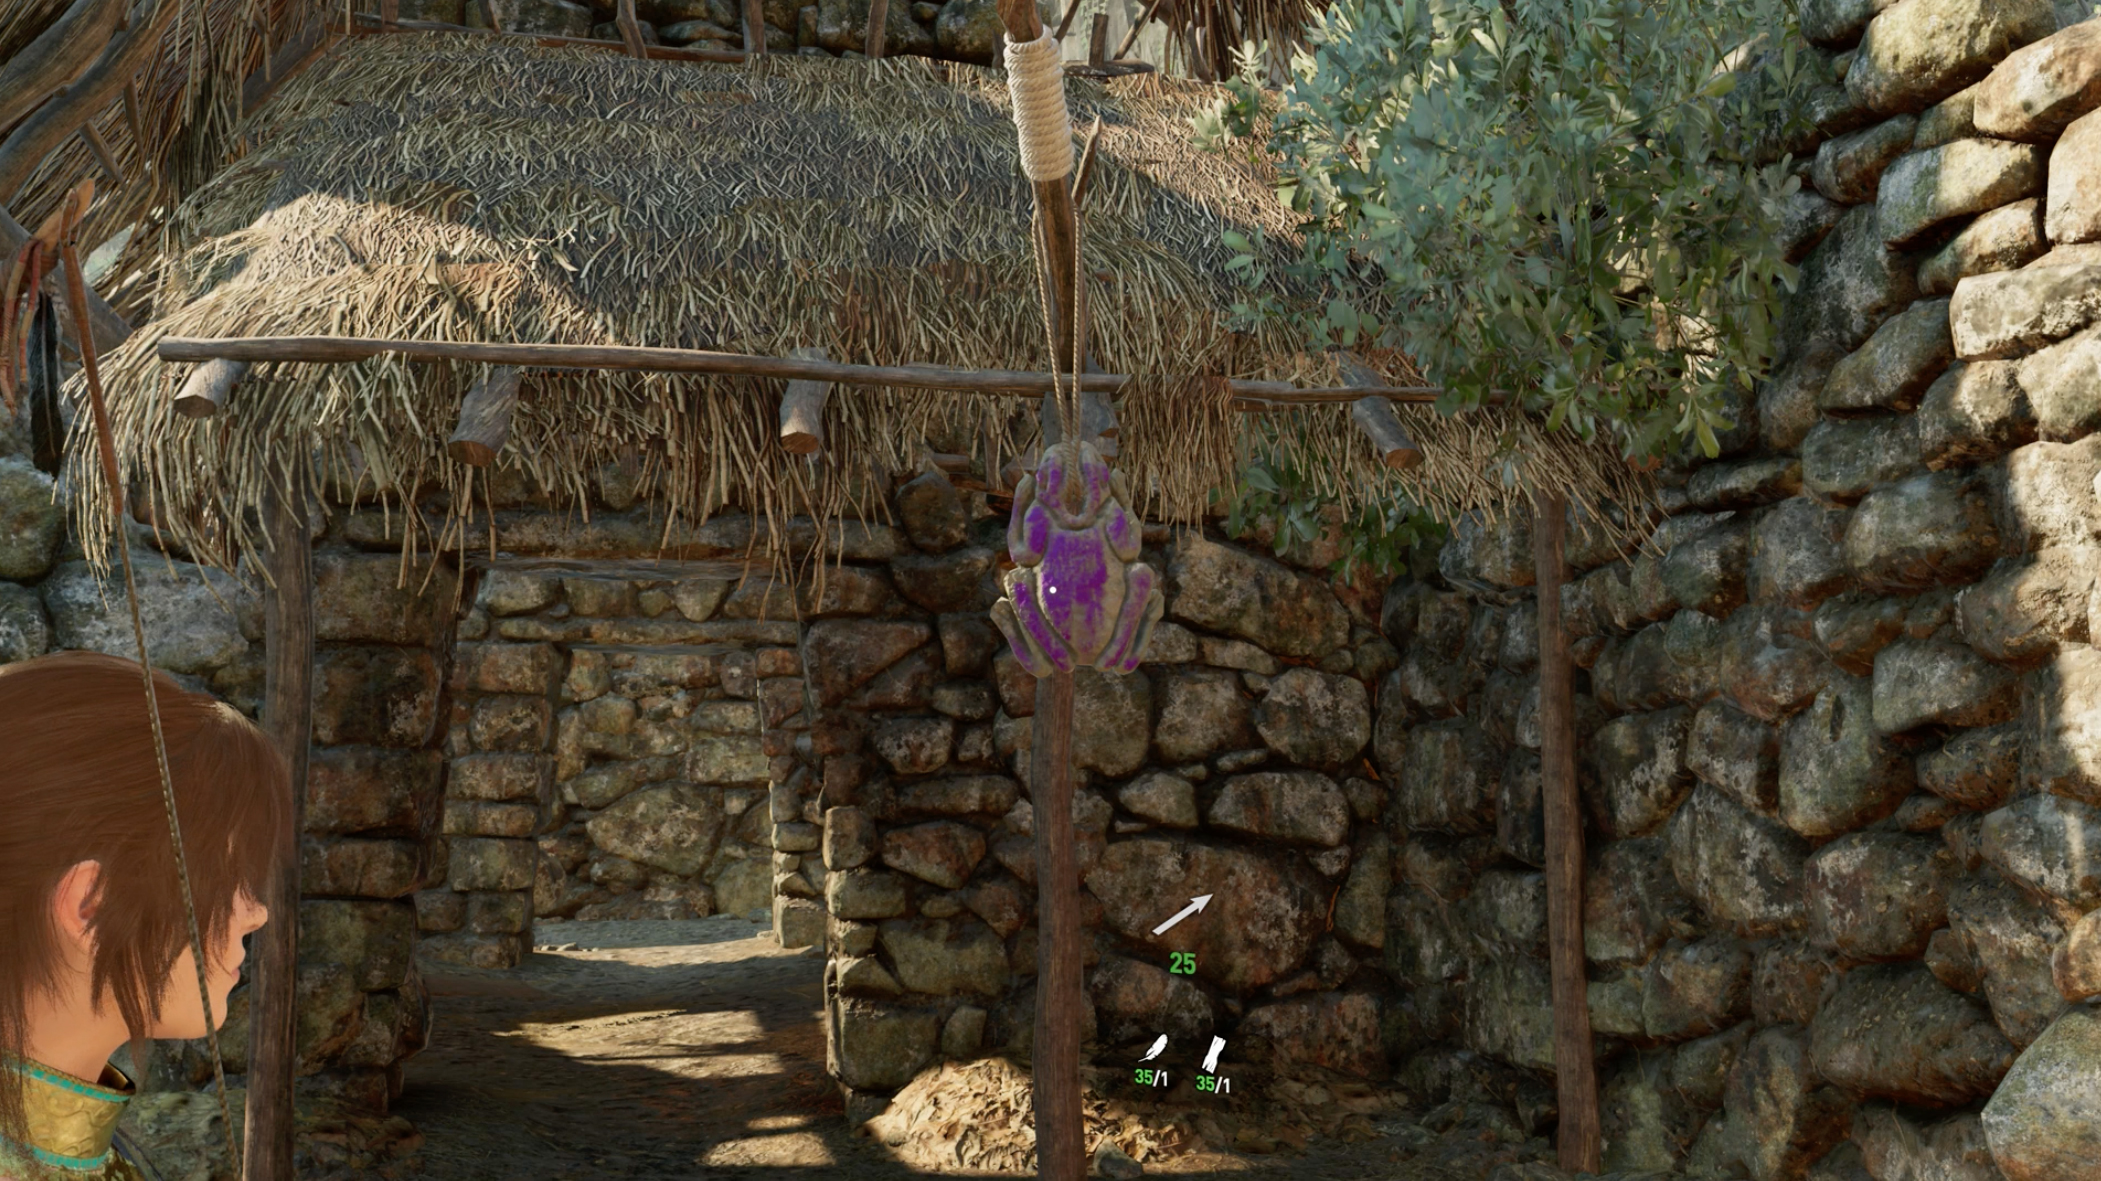
5. The last one is right by the mission marker on the map, even though they don’t normally represent any of the answers. Look for it above your head as you come out of this hut. Boom! All the frogs are yours. And the weather? Well, it’s still the same. Meh.
Keep calm and carrion (Hidden City)
This is an enjoyable hunt, as you seek out five bird’s nests around Paititi. All you have to do is push X or square while you’re standing directly over the next and you’ll add it to your challenge tally, as well as snagging some rare feathers.
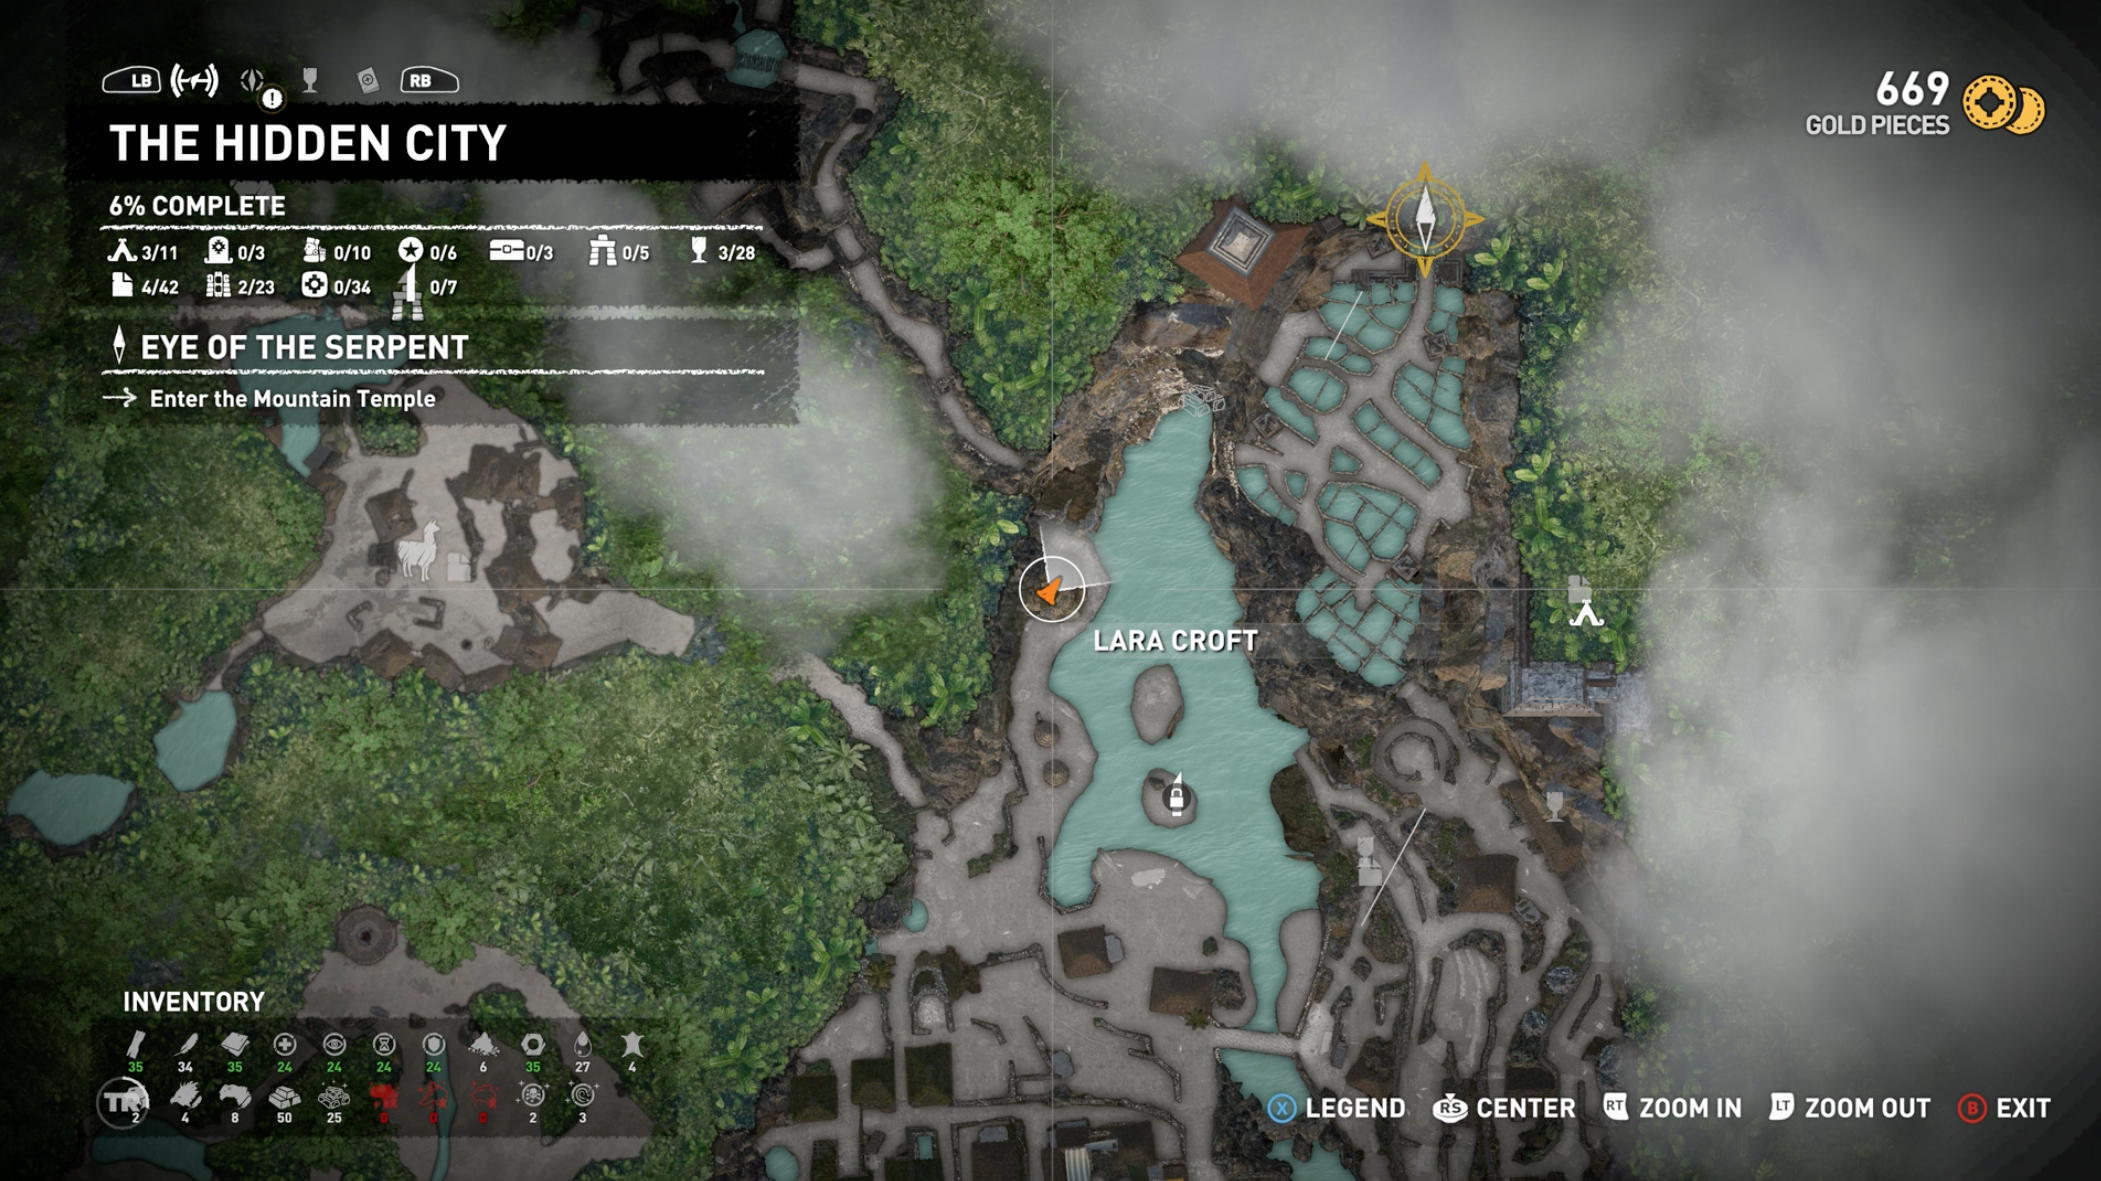
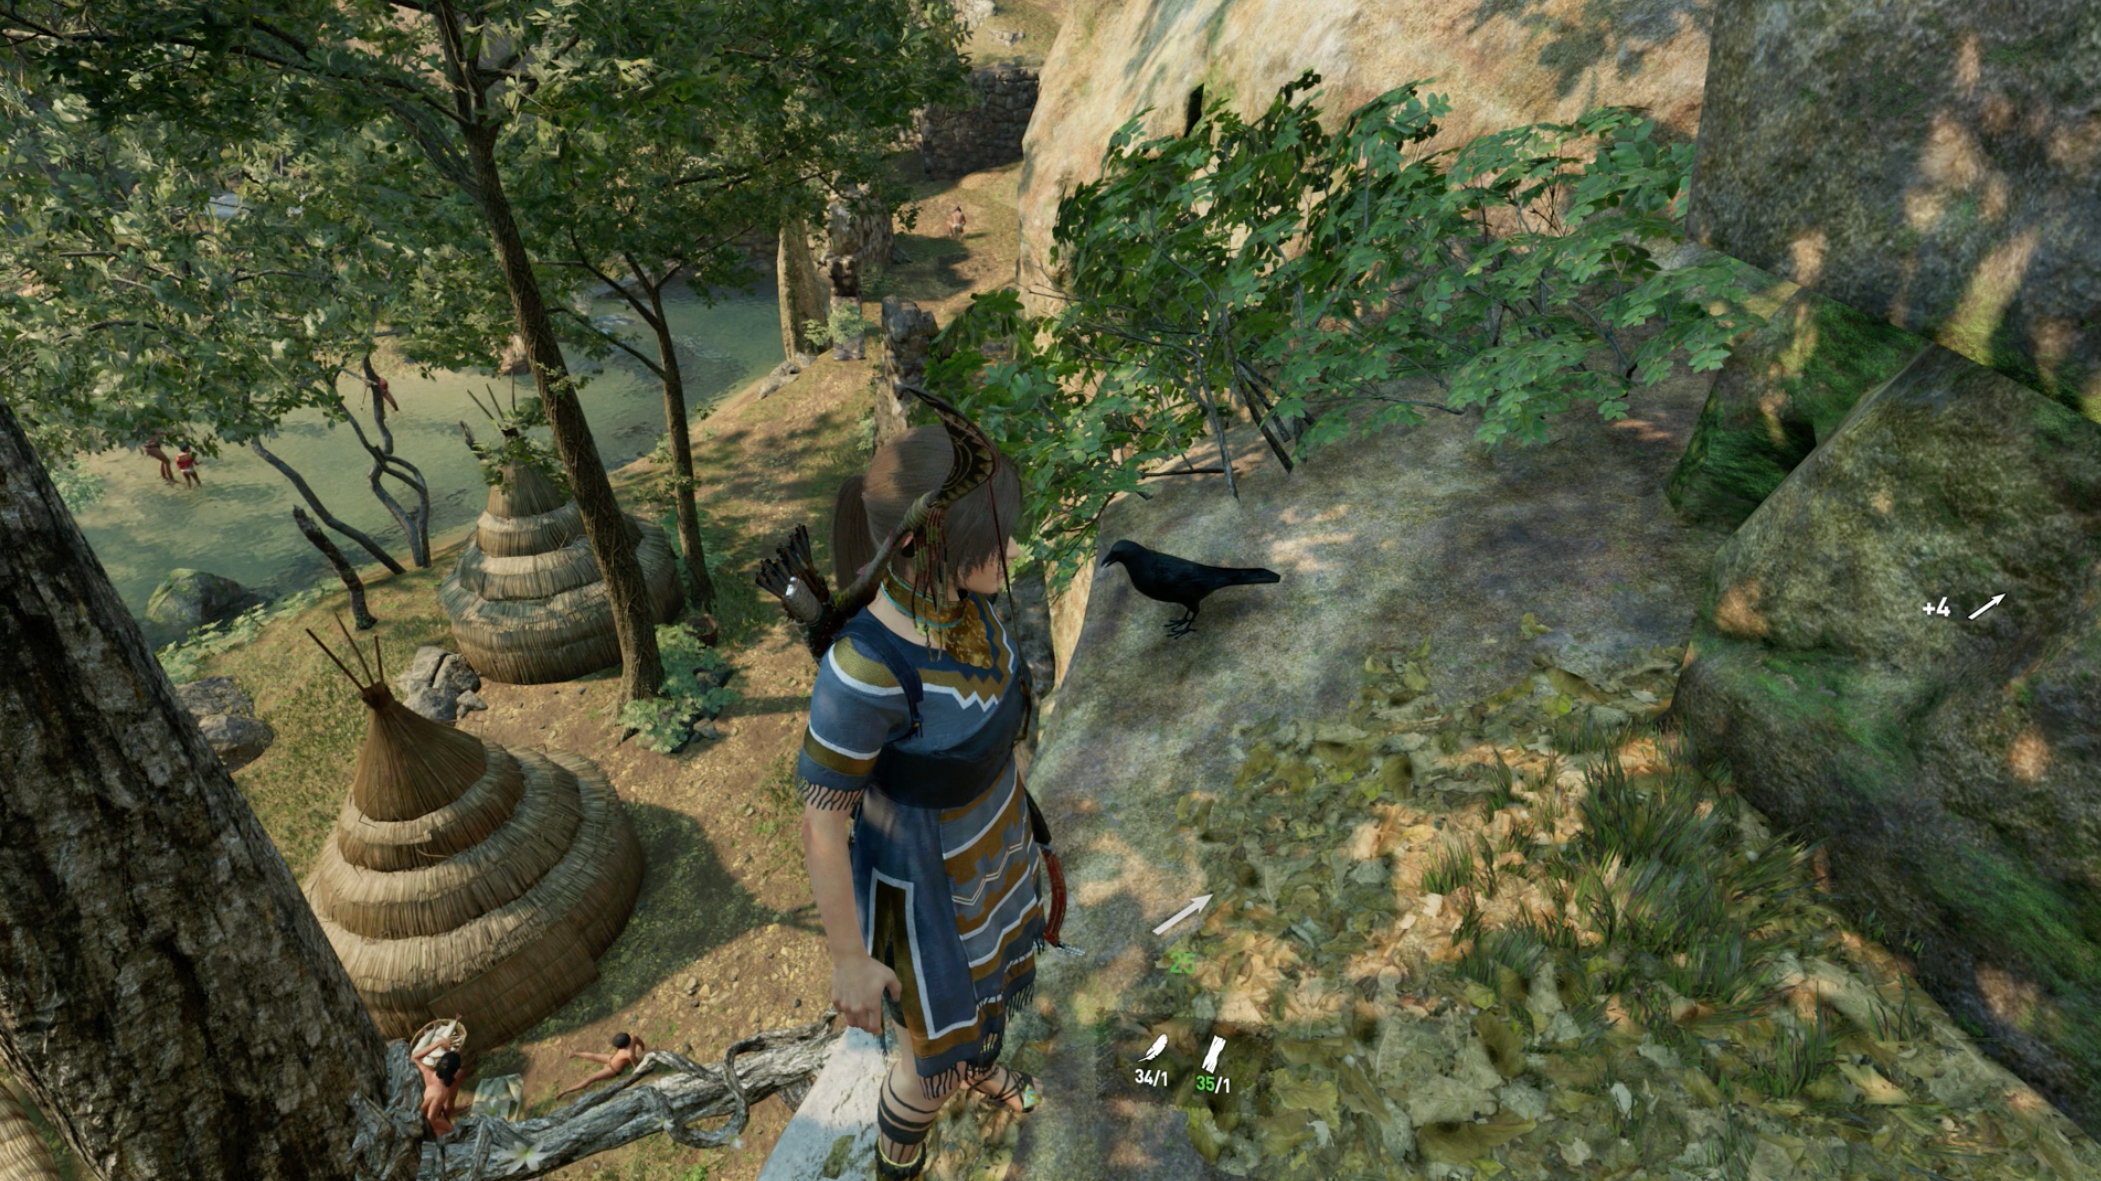
1. Number one is found by climbing up the big, white tree (pictured) near the water at the top of the village with the two small islands and making your way from the tree to the cliff. Once you’ve clambered up (watch for the white wall at one point, which you’ll need to double-tap A to scramble up), there’s a nest there.
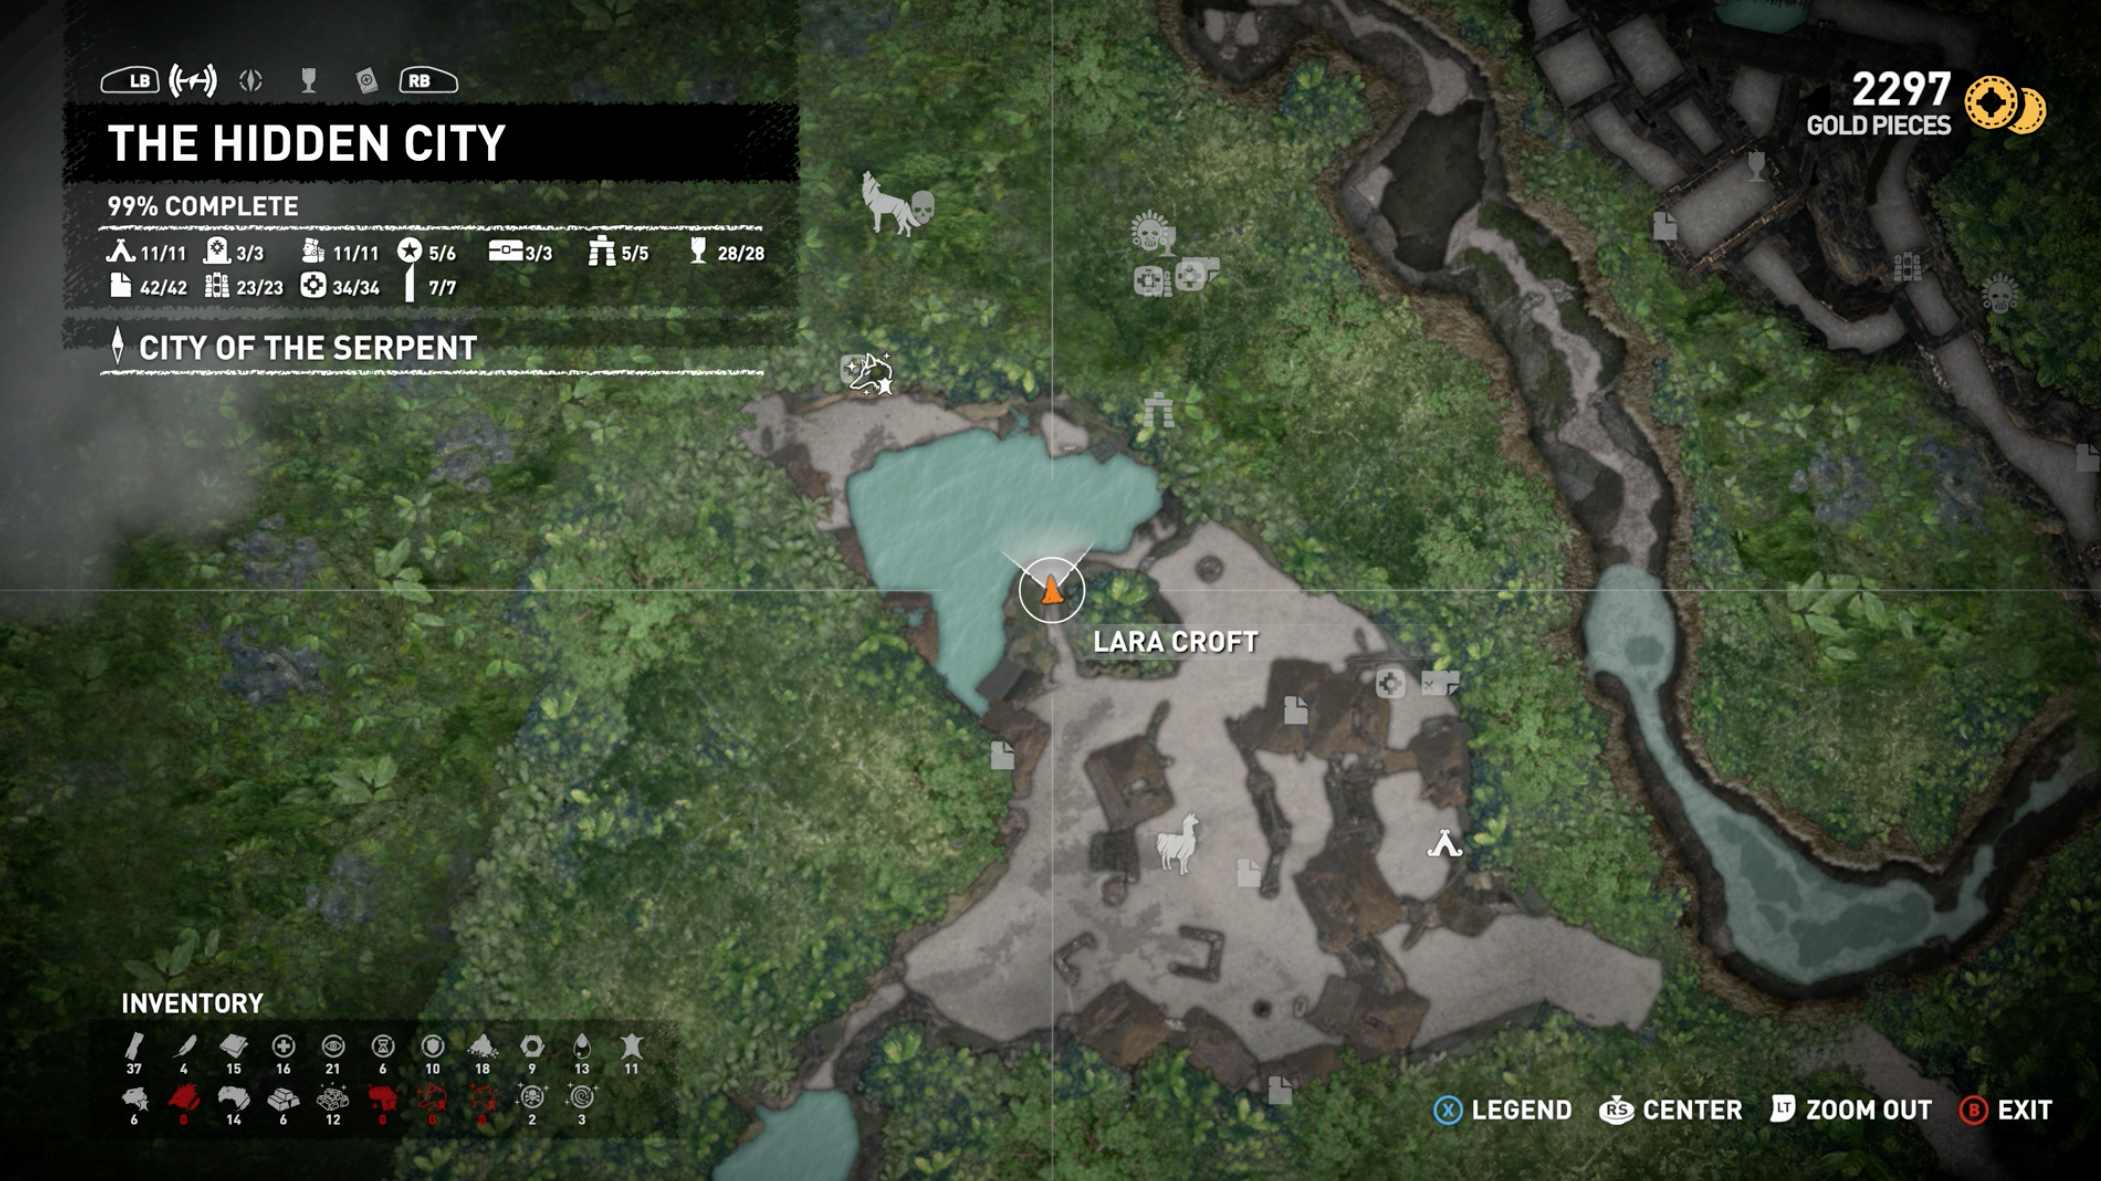
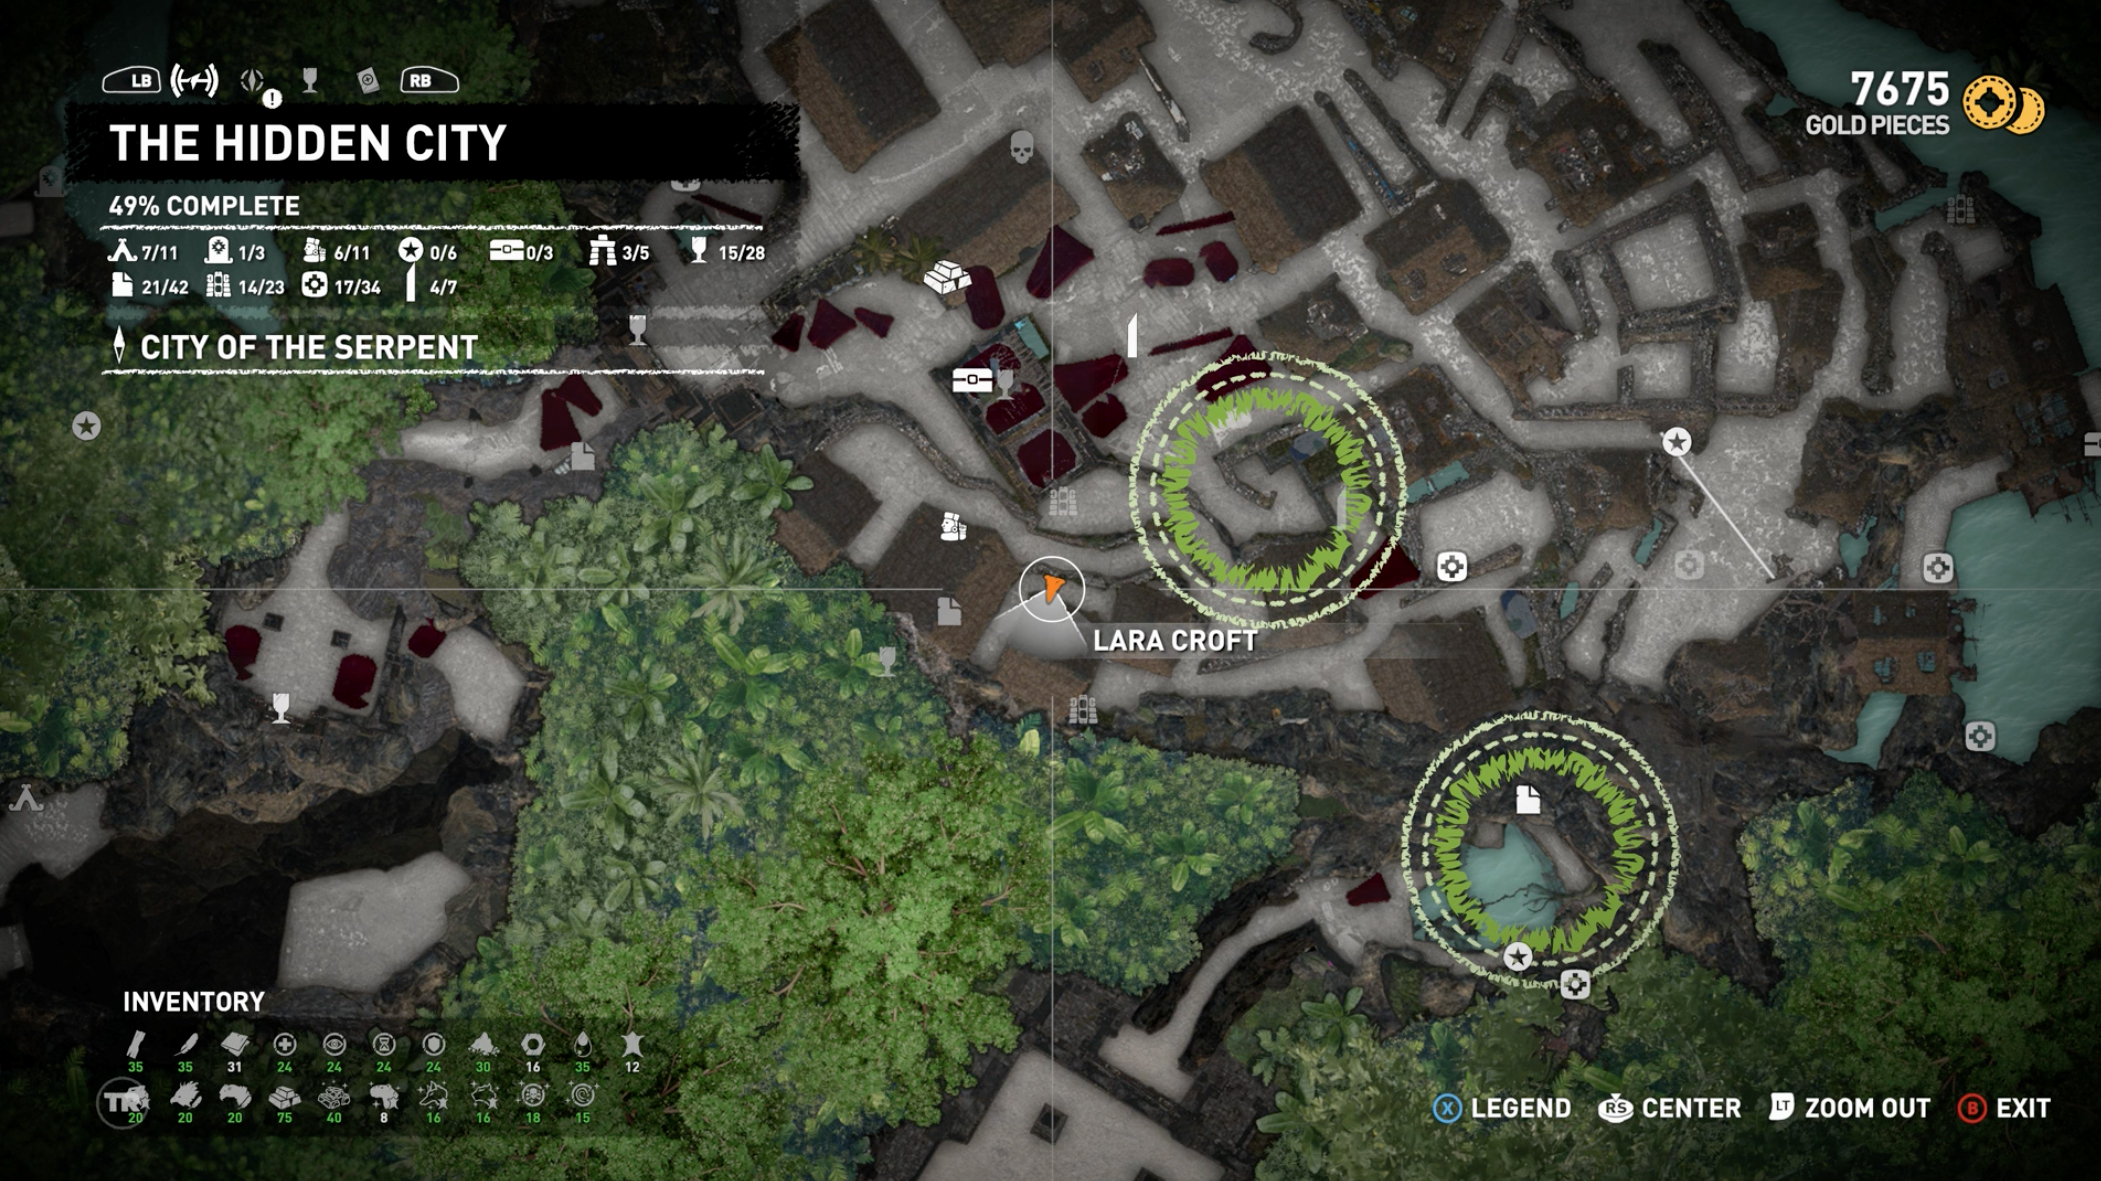
2. There is a rope bridge you make to take you across the water to the crypt in the north-east of the abandoned village. But before you make said rope line, look down by your feet just to the right of the rope poles. Very easy to miss, so don’t do that. As for where this is, exactly, start by looking for the white wall in this screenshot:
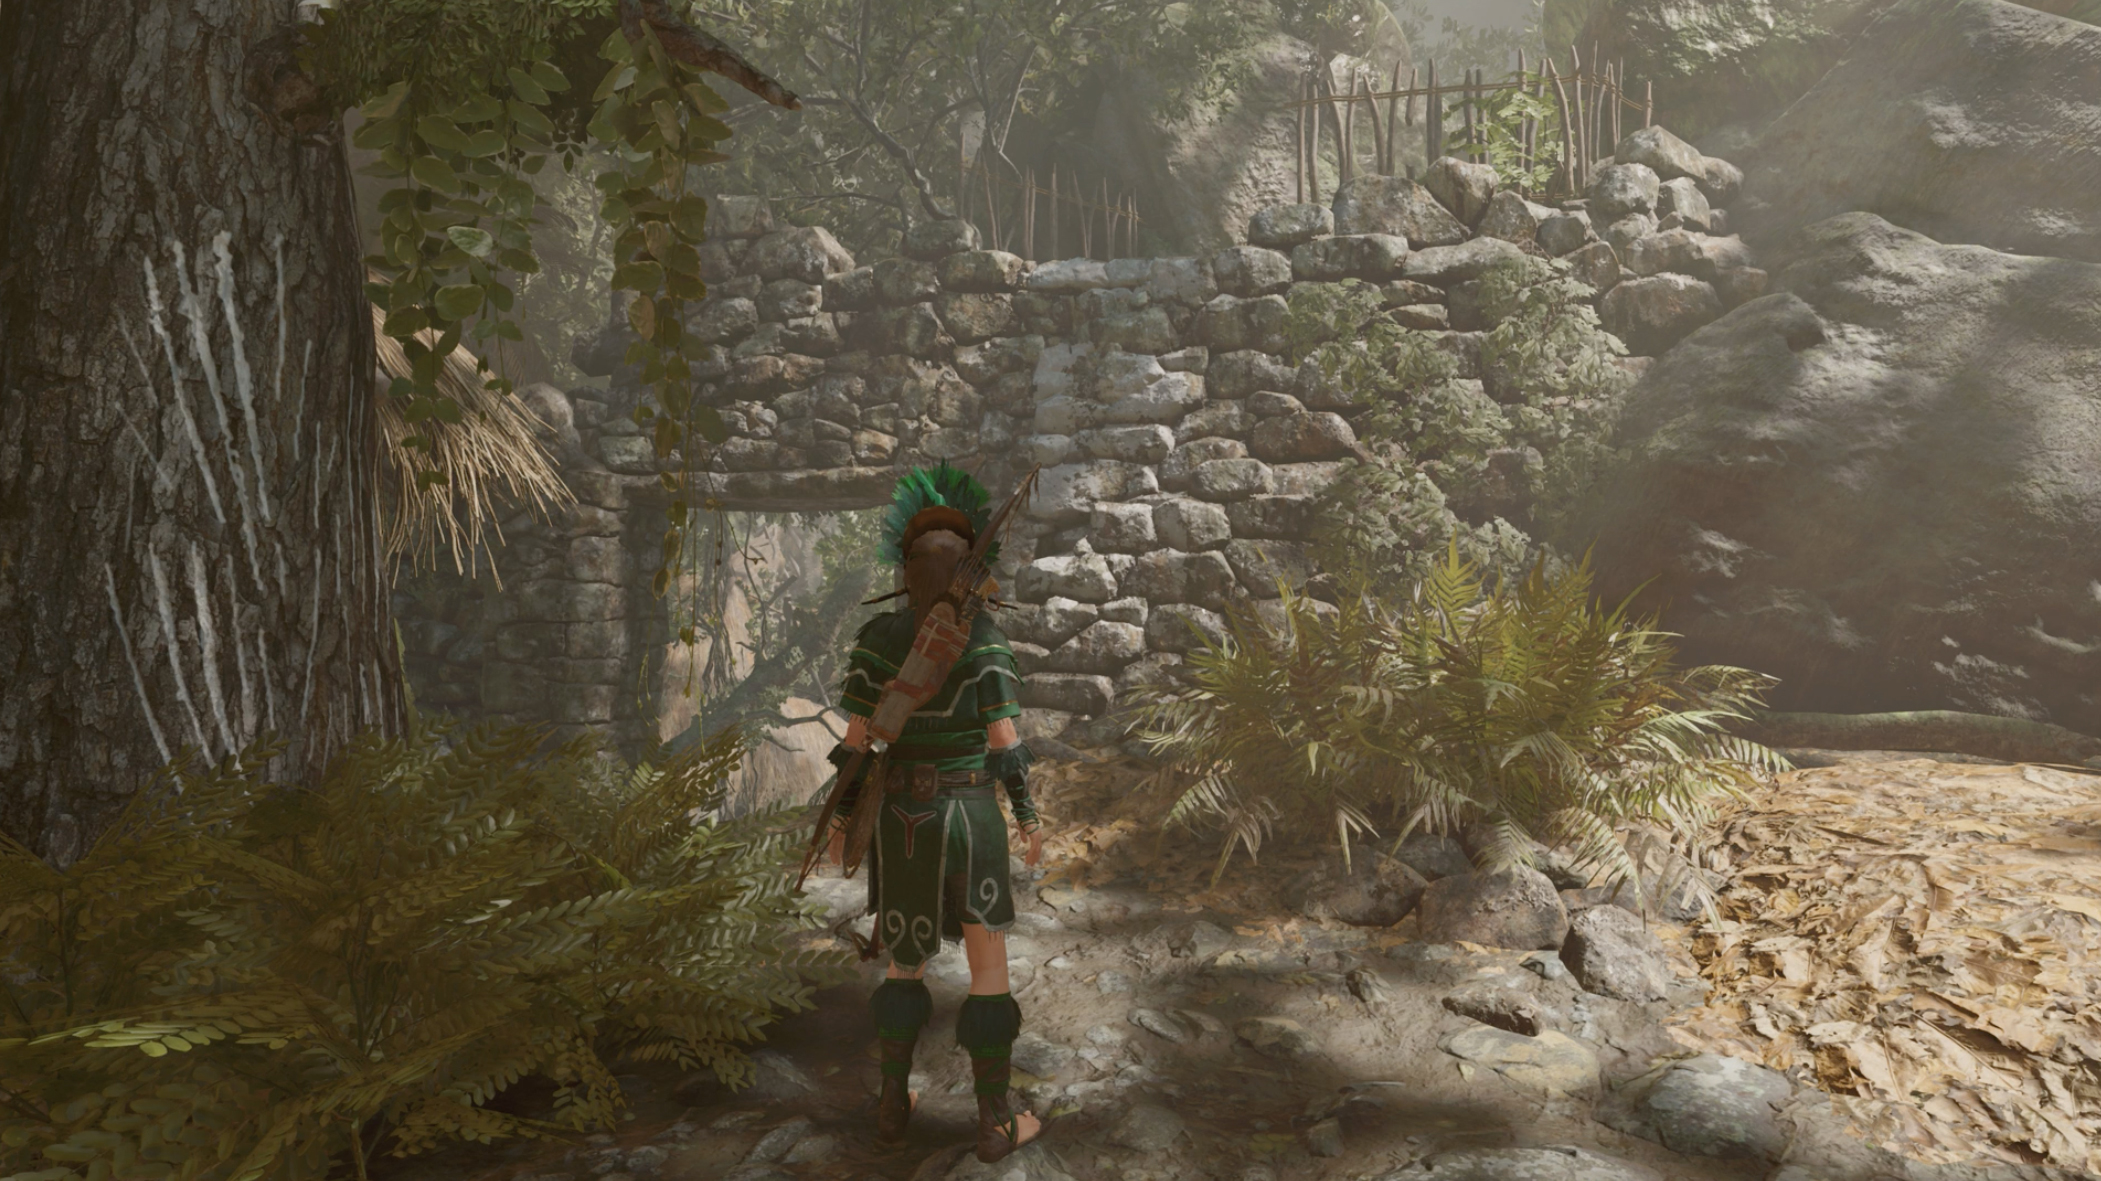
which is just south of the nest, as shown in this map screen:
Climb up the white wall and you’ll find it a little way along.
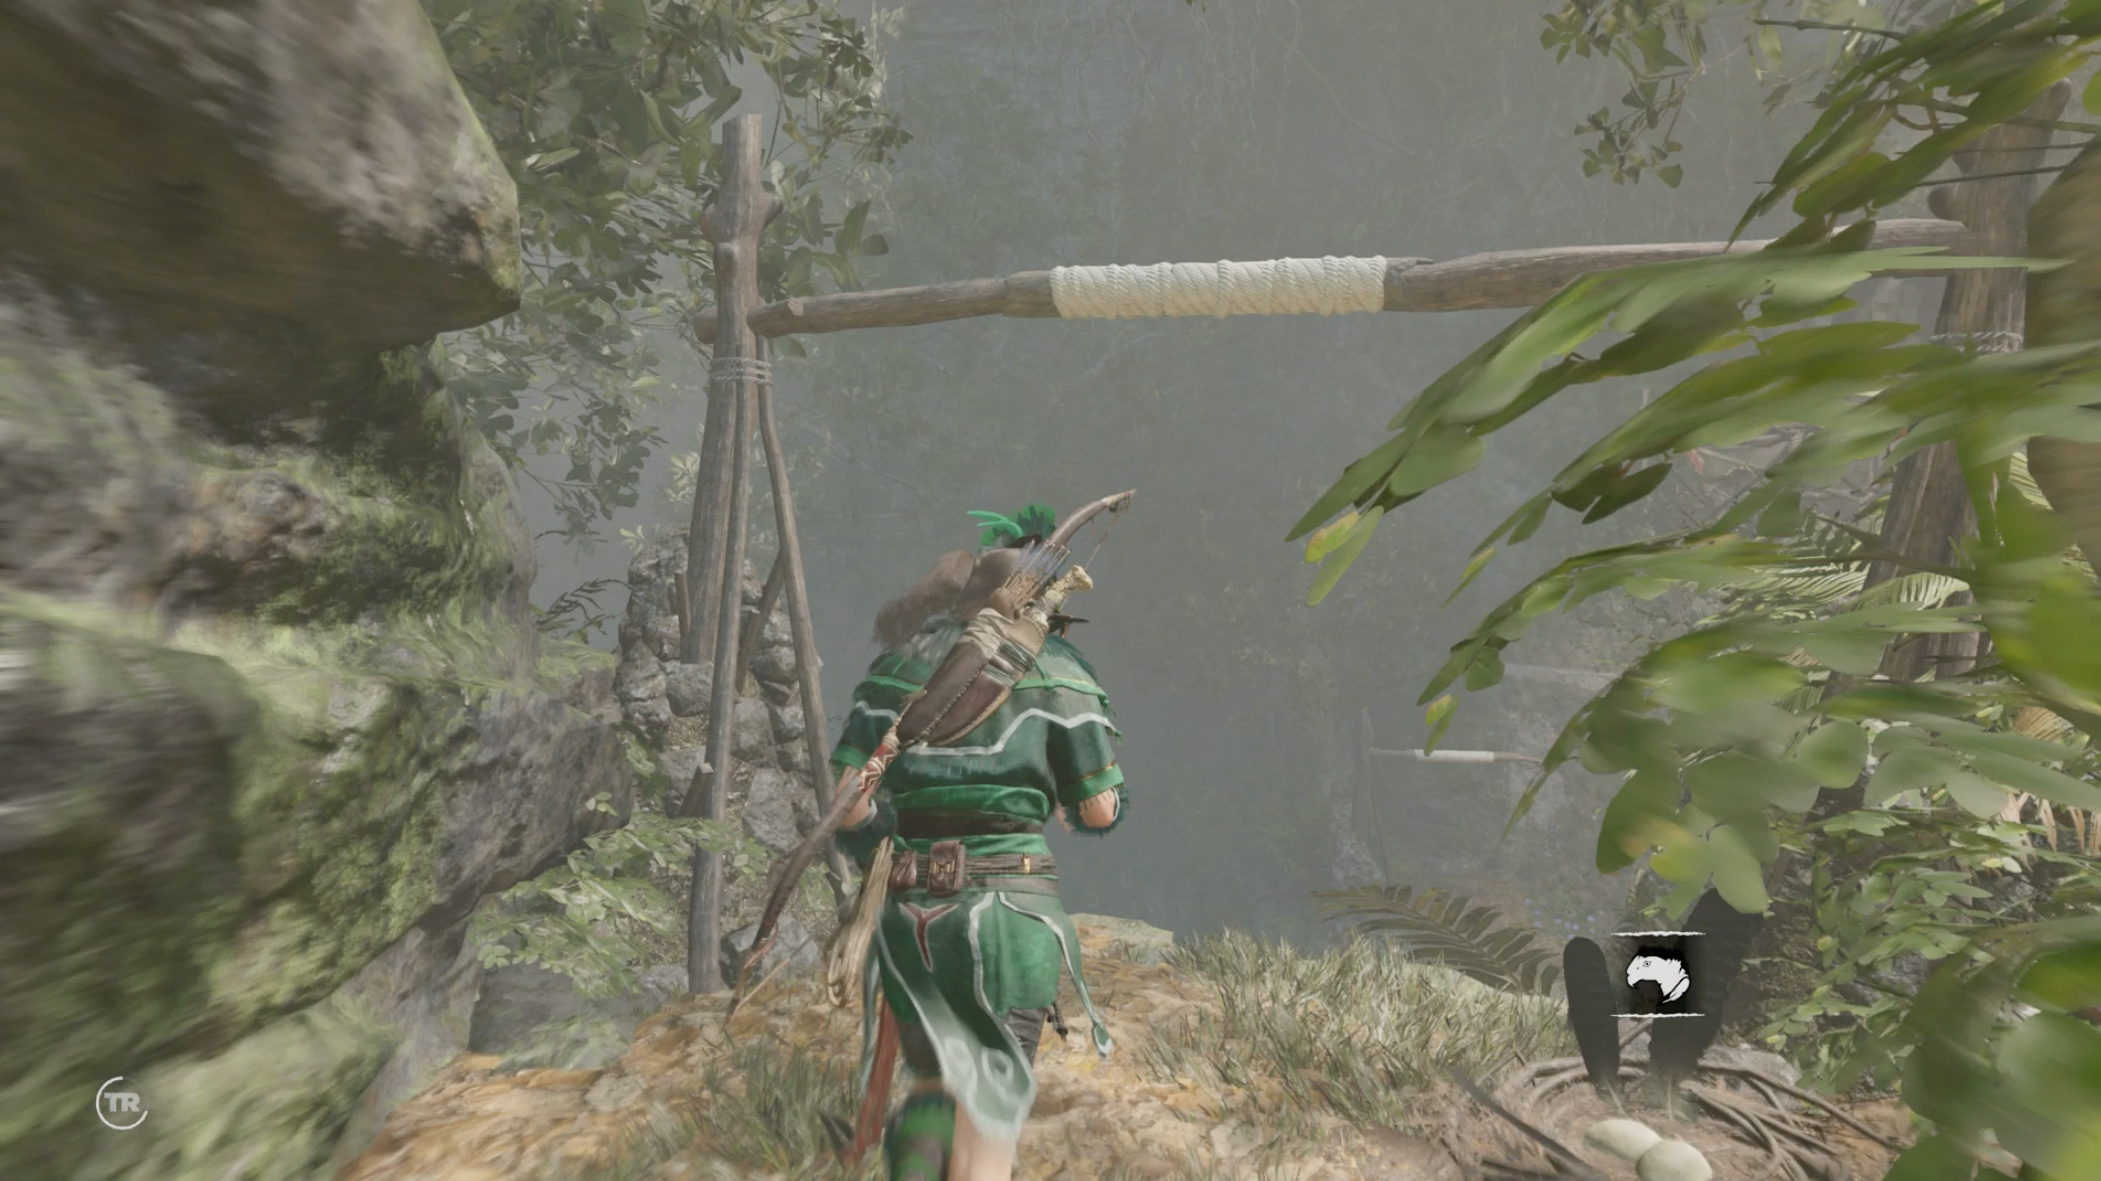
3. As for the final nest, climb up at this point in the Hidden City and make your way along in the small gap between this tree and this house. The nest is in there, on the floor. Easy.
Speak of the Dead (The Hidden City)
This challenge doesn’t feel like the others, because it involves finding crypts, which are very similar to the challenge tombs. But hey - it’s a tomb and you get to raid it, which is kinda the point of a game called Tomb Raider, so you’d better be made aware of their whereabouts, hey? Here’s where they are.
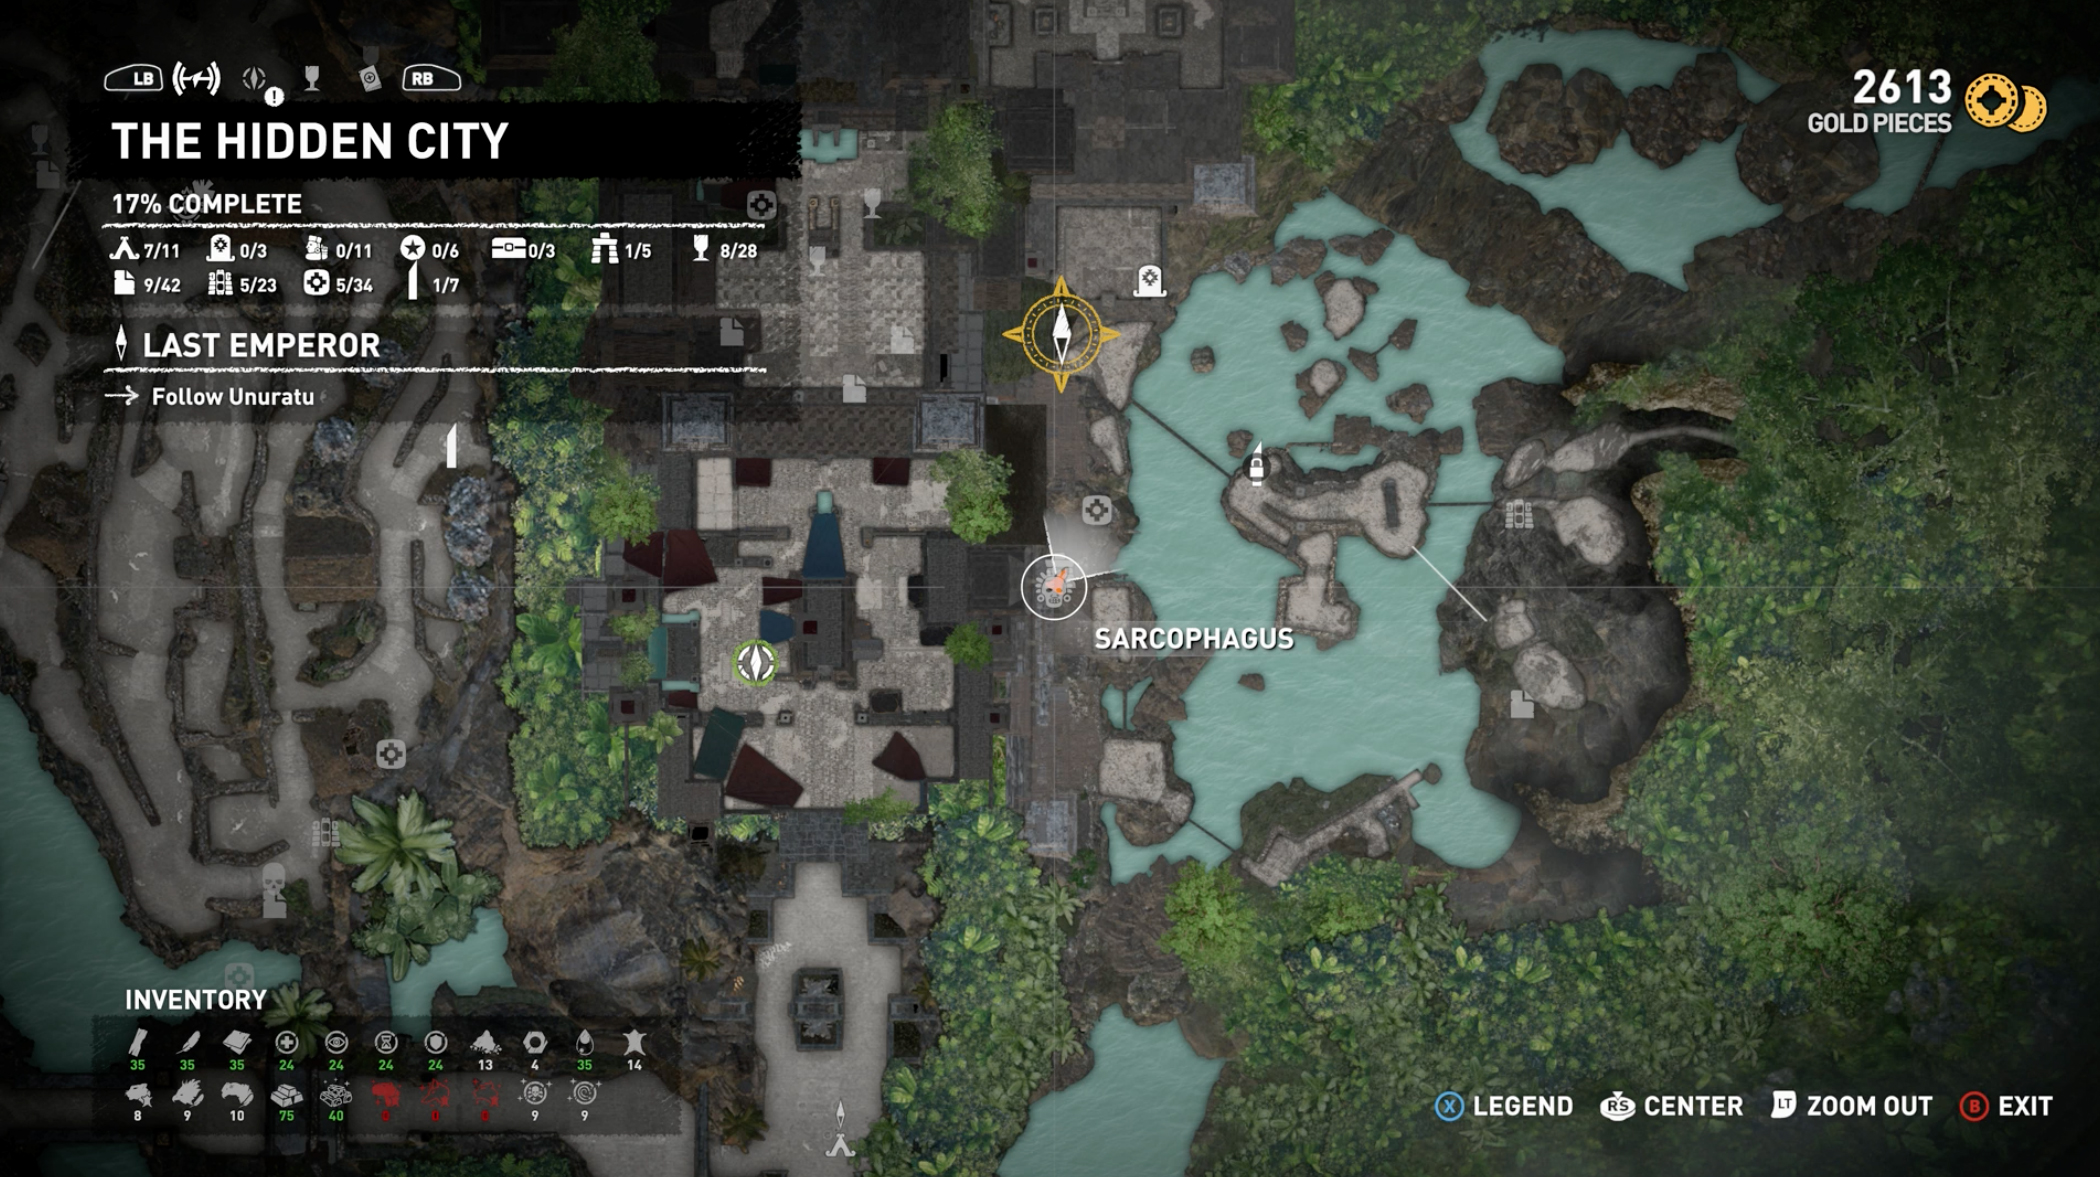
1. From the Wild Jungle base camp, head south along the water until you reach this point.
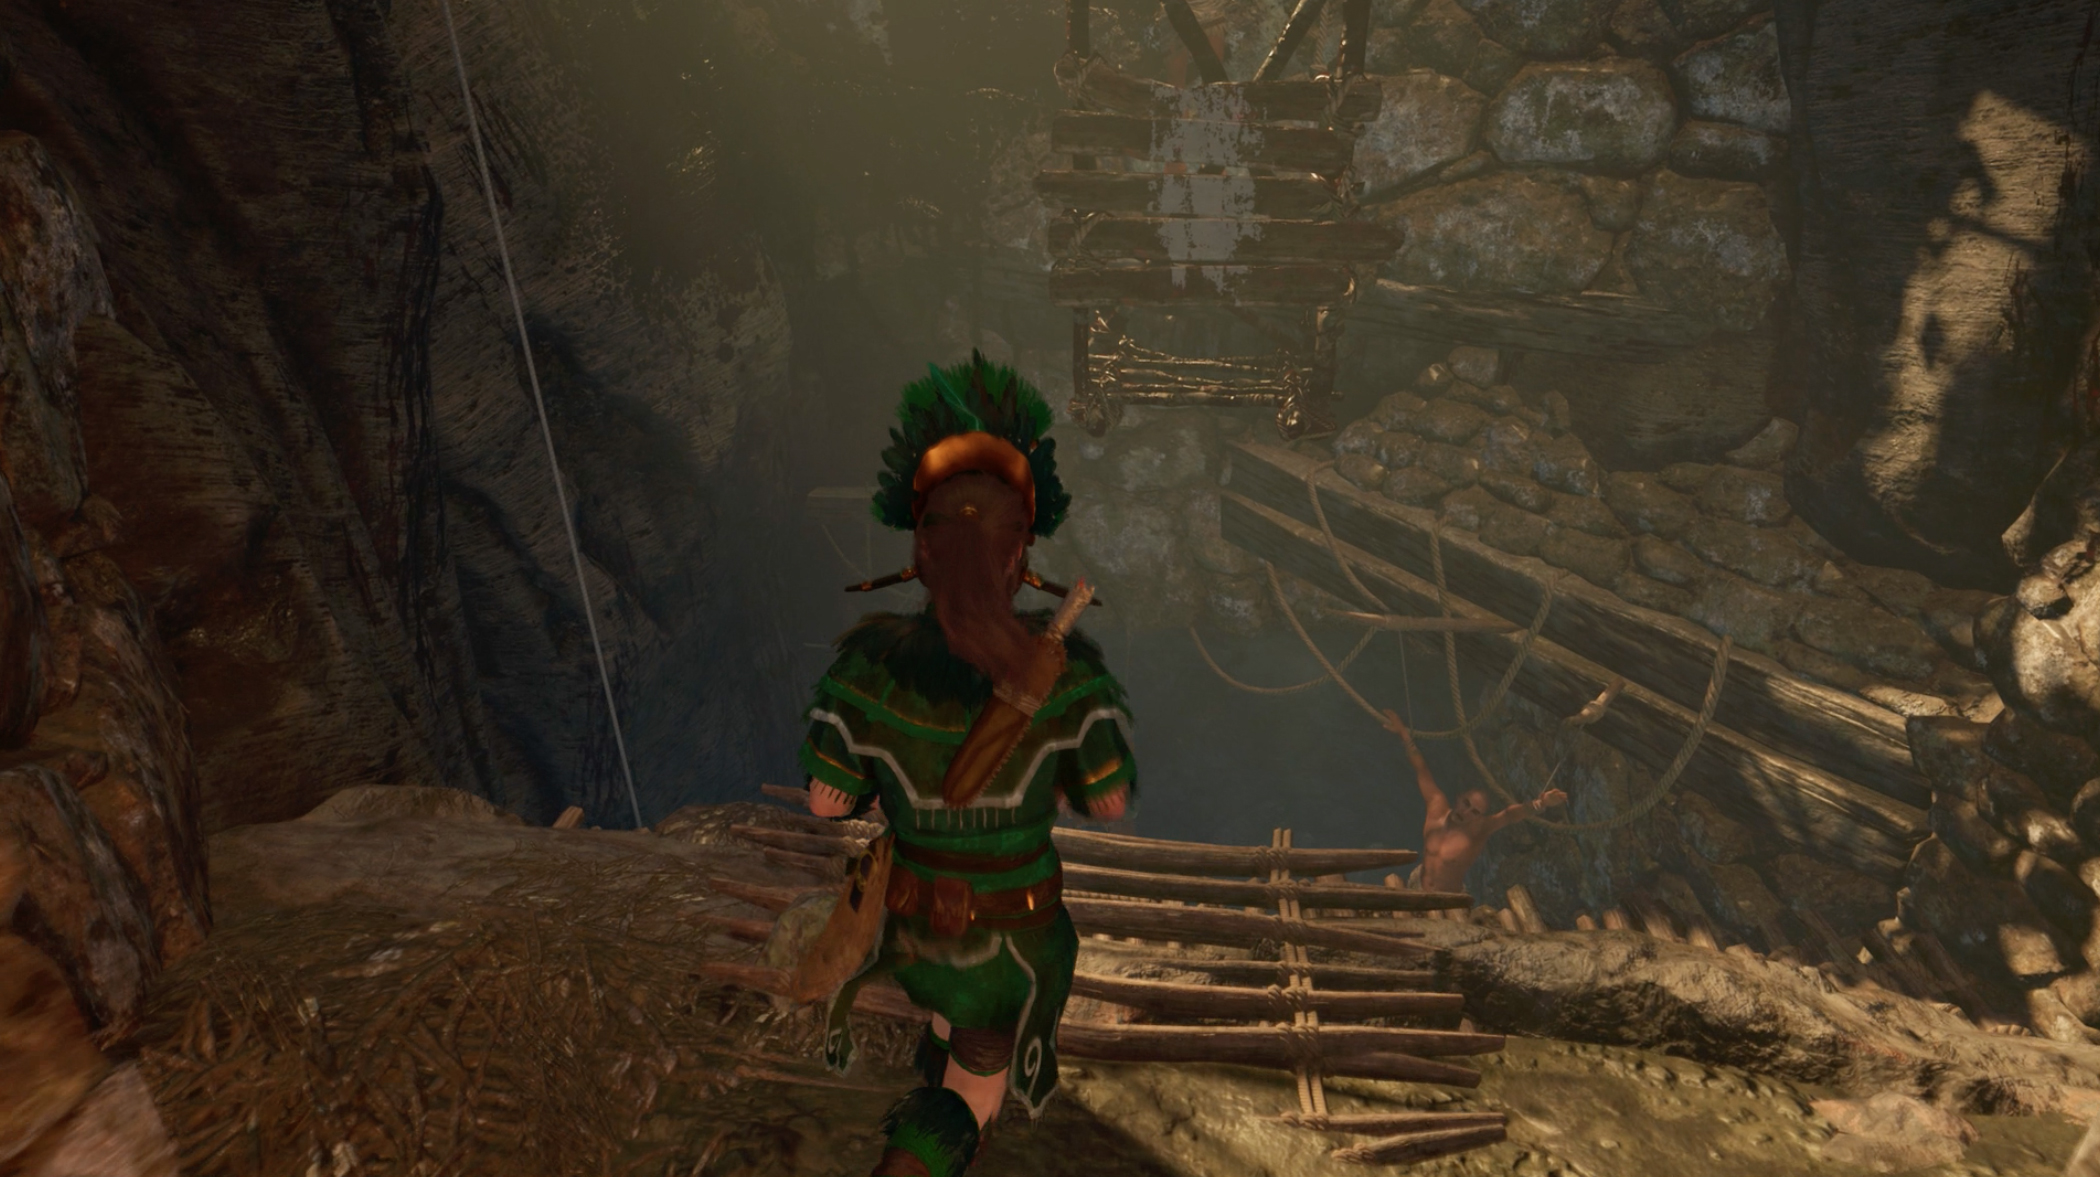
There’s a climbable tree and once you get high enough in it, you can swing over to the cliffs. A little way along, you can pull yourself up. Then there’s another jump until you end up climbing up to a ledge. Don’t jump off with the swan dive prompt - enter the crypt instead. Walk in, then squeeze through the wall to the room with the sitting corpse, then continue through to the left. Make your way through and down, all the way to the bottom of the tall, circular room. The sarcophagus is just off this room, up the climbable wall.
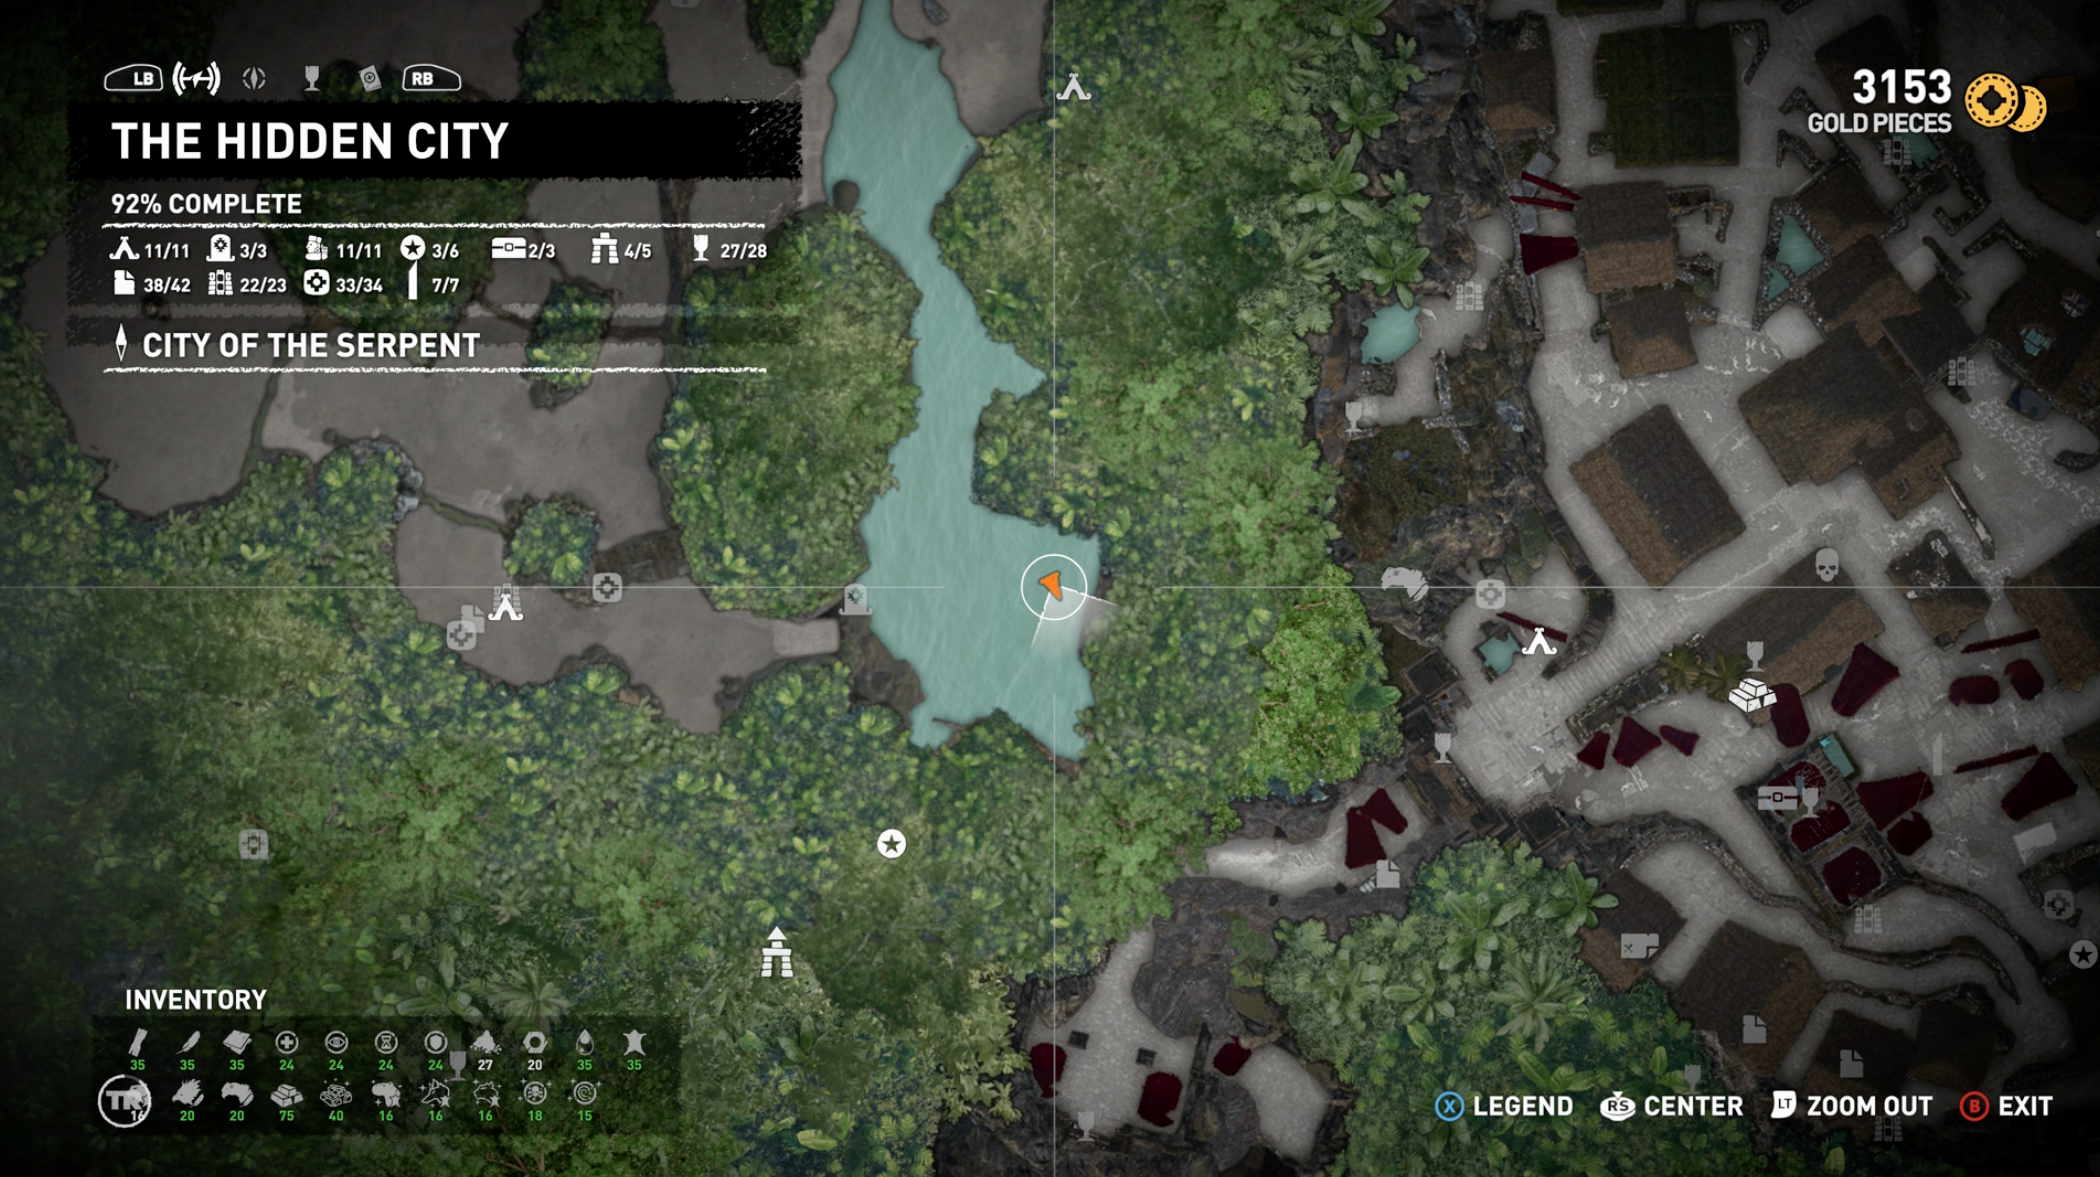
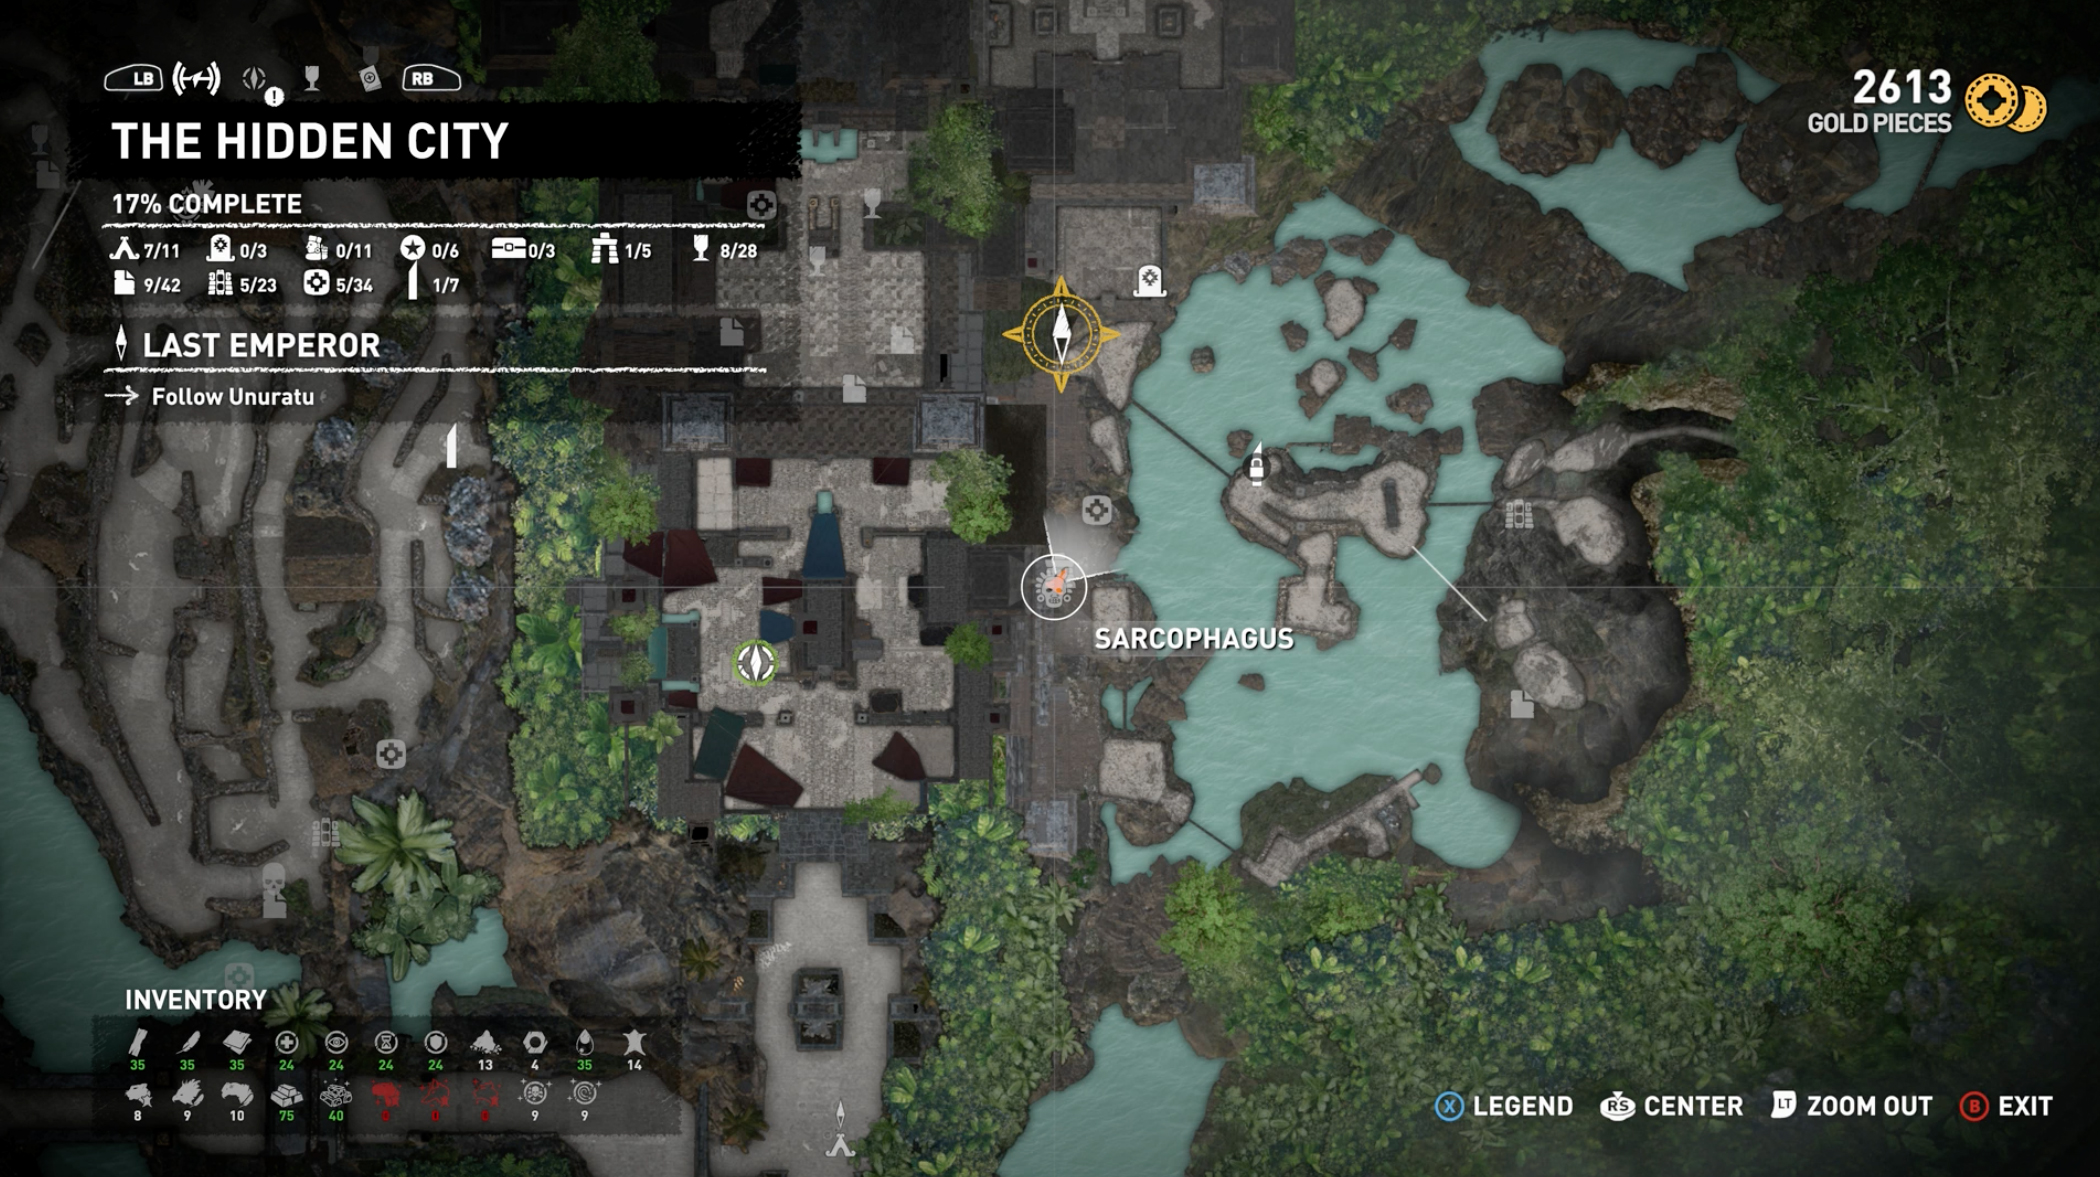
2. This is actually where you were for the Keep Calm And Carrion challenge. So start at the map here:
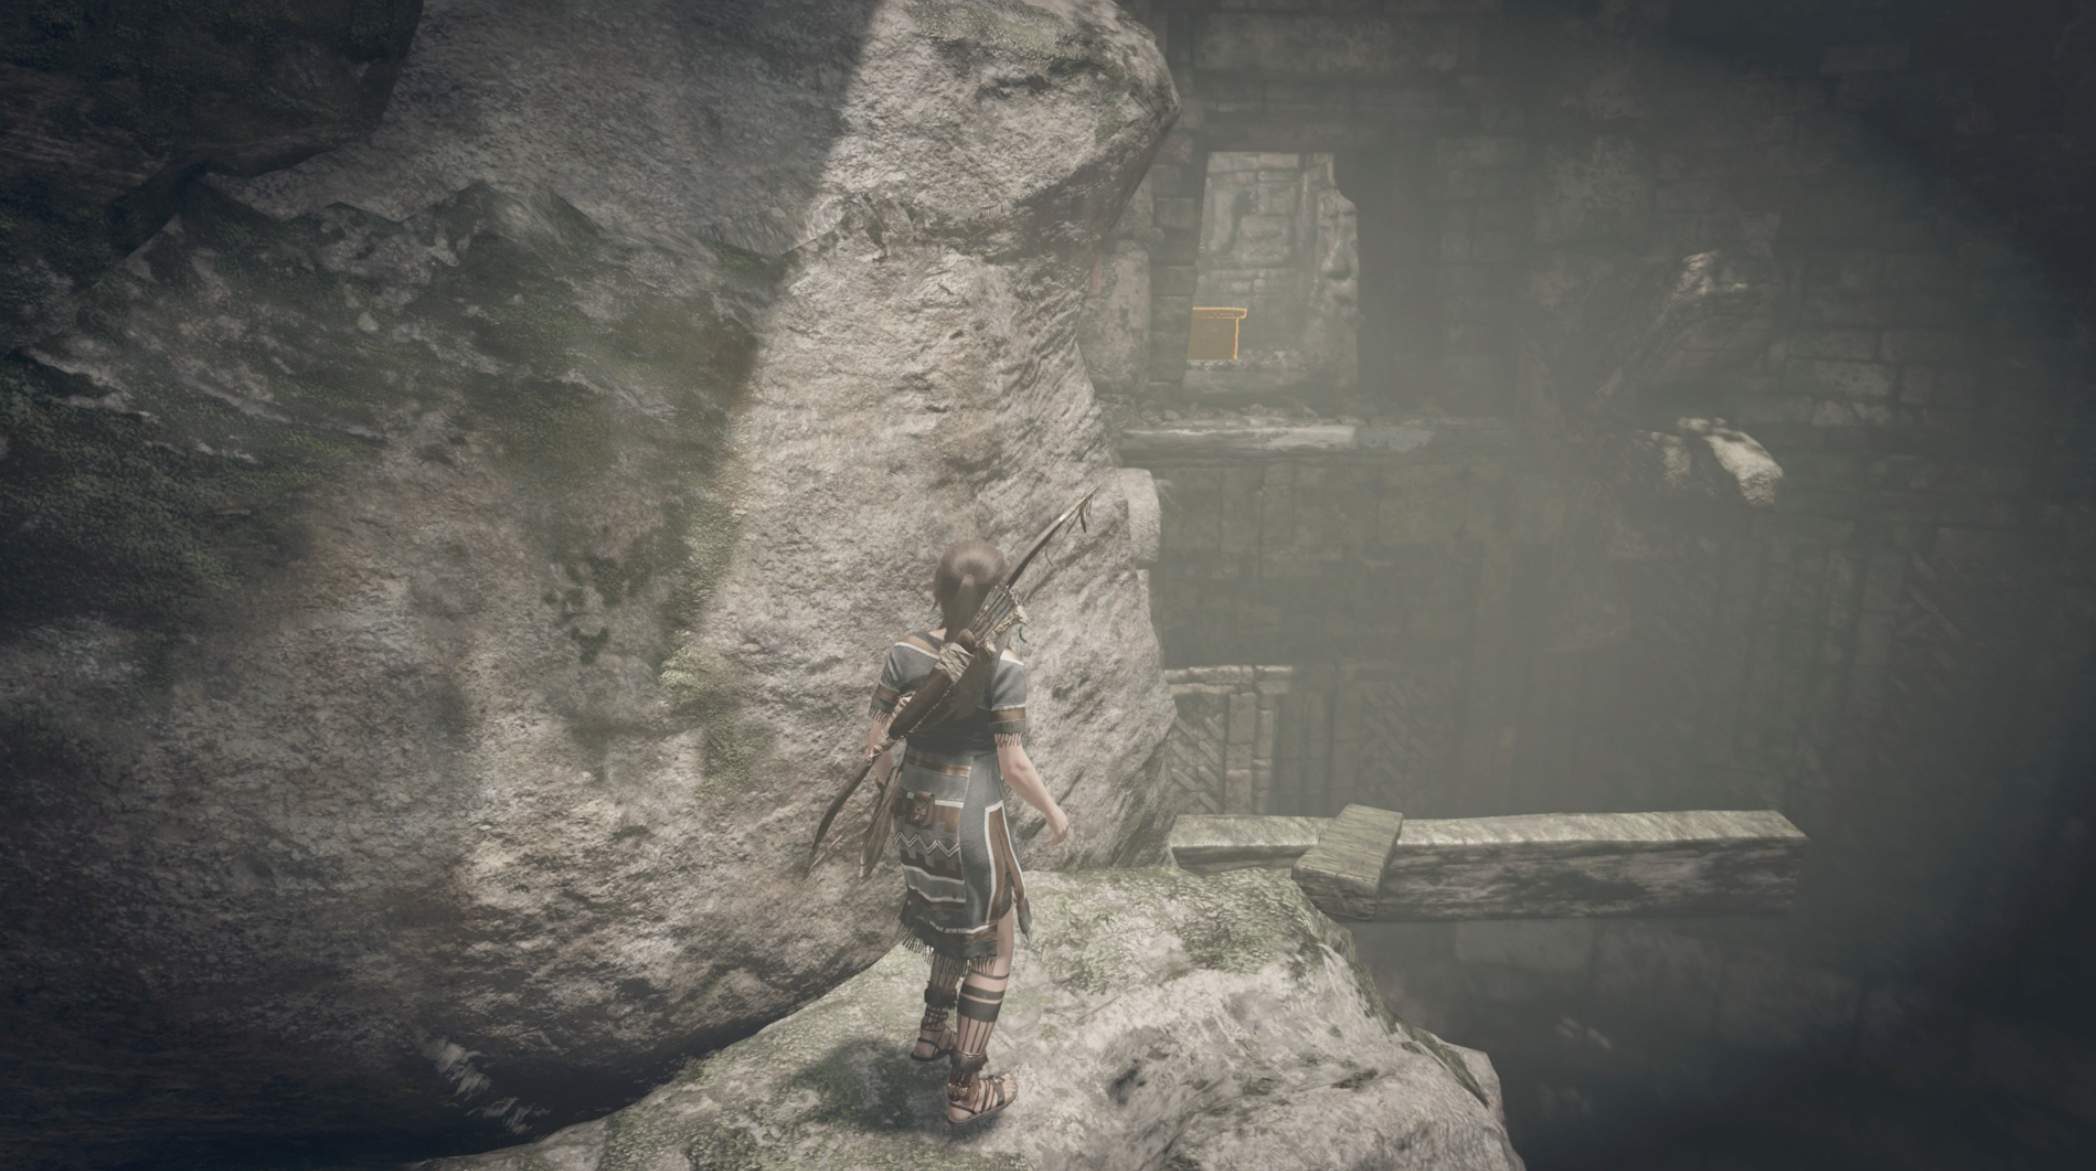
And climb up the wall that has white paint on it to the rope line point. Fire an arrow to the white rope on the other side and Lara will attach it, making a zipline. Jump up to it and ride it across - don’t forget to hold forwards as it’s possible to fall in the water at the end if you don’t maintain your momentum. This is the entrance to the crypt. Once inside, watch for the tripline trap (disable it with Y/Triangle), then go into the water. Swim through the tunnels taking in air as you go, until you come to a barrier that needs to be broken (use Instinct to make it easier to see). After that, squeeze through the small gap and continue, then swim to the surface in the circular room. The sarcophagus awaits!
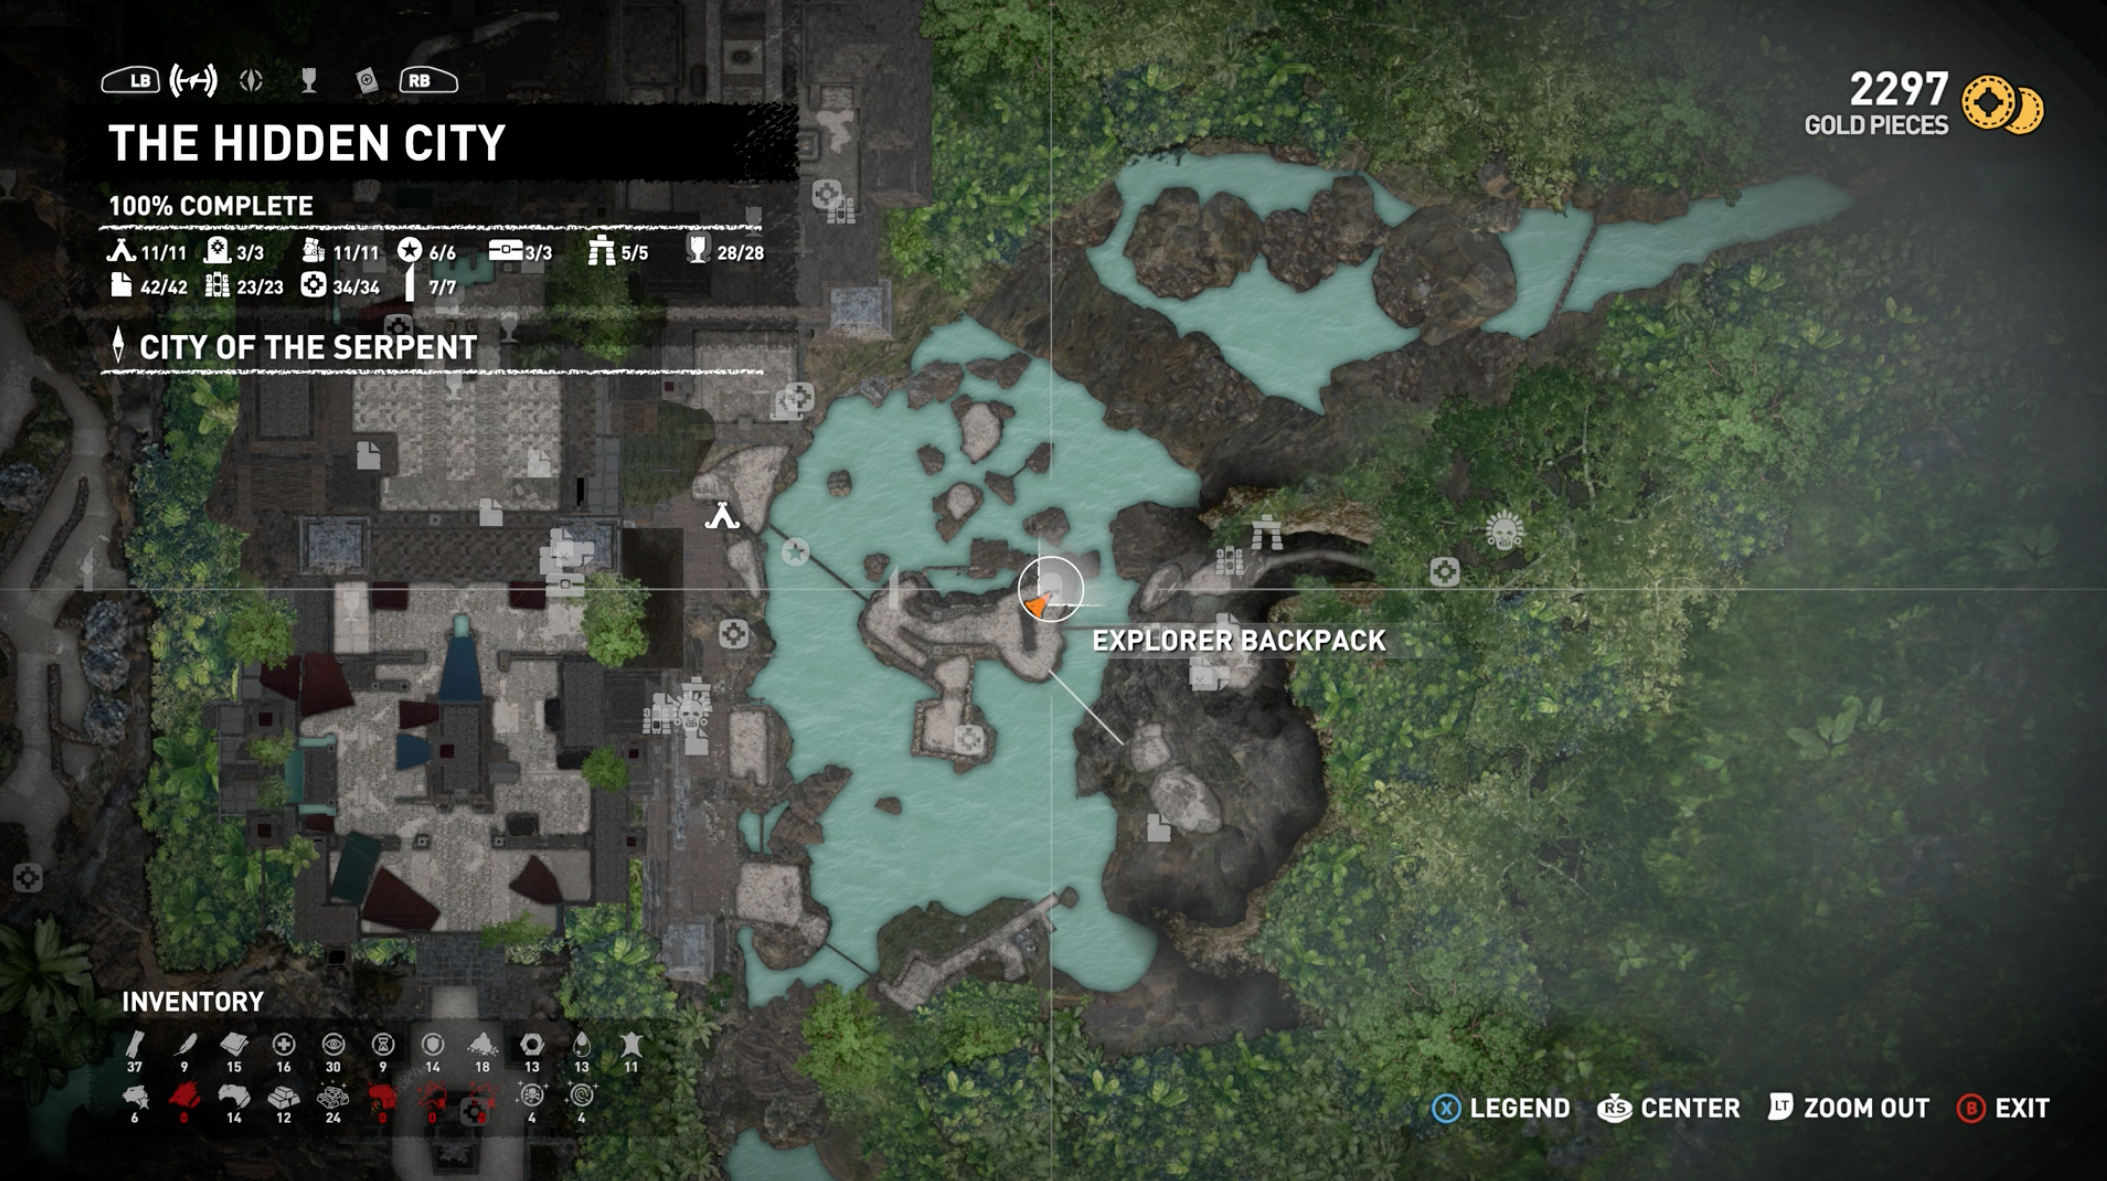
3. Fast Travel to the Temple of Kukulkan base camp - we’re heading across to the far side of the prison - here, in fact.
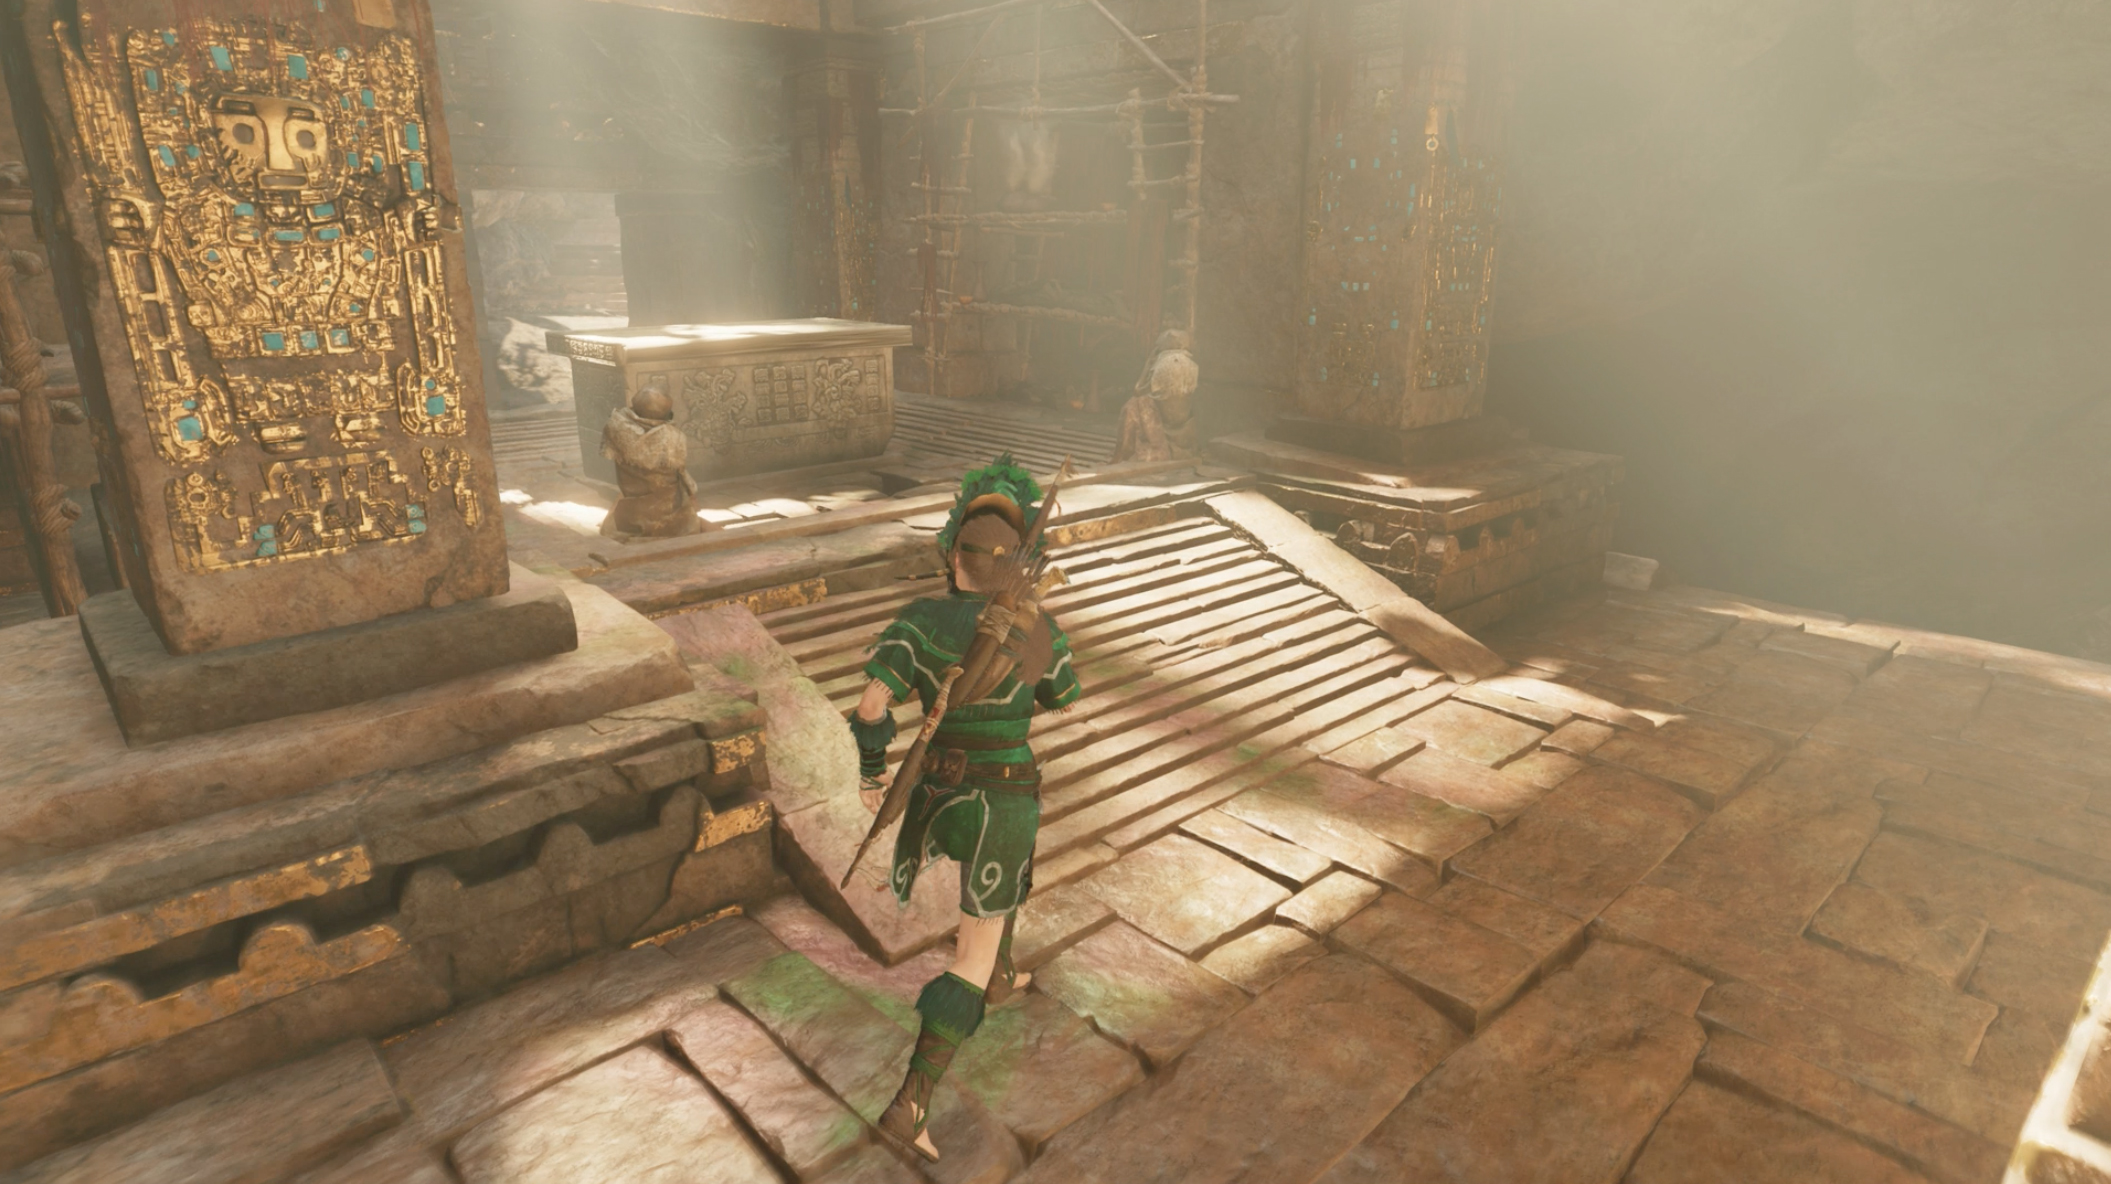
This is where the explorer backpack is, but there’s a rope line next to it. Jump down from the ledge here if you can’t see either - it’s nearer the water and a bit hard to see. Make the rope line to the scaffolding on the far cliff and cross it. Follow the path of shimmy ledges and jump up the white wall to get inside the crypt. Then there’s just some swimming to be done. Make your way down and to the right to enter through the squeeze gap, then be sure to grab air whenever you find a pocket of it. Then the only slightly tricky part is the rappel swing once you’ve climbed up the wall with your pick and jumped to the ceiling (again remembering to press X/Square to reattach your line to the roof). Once you’ve done so, the sarcophagus is there for the looting!
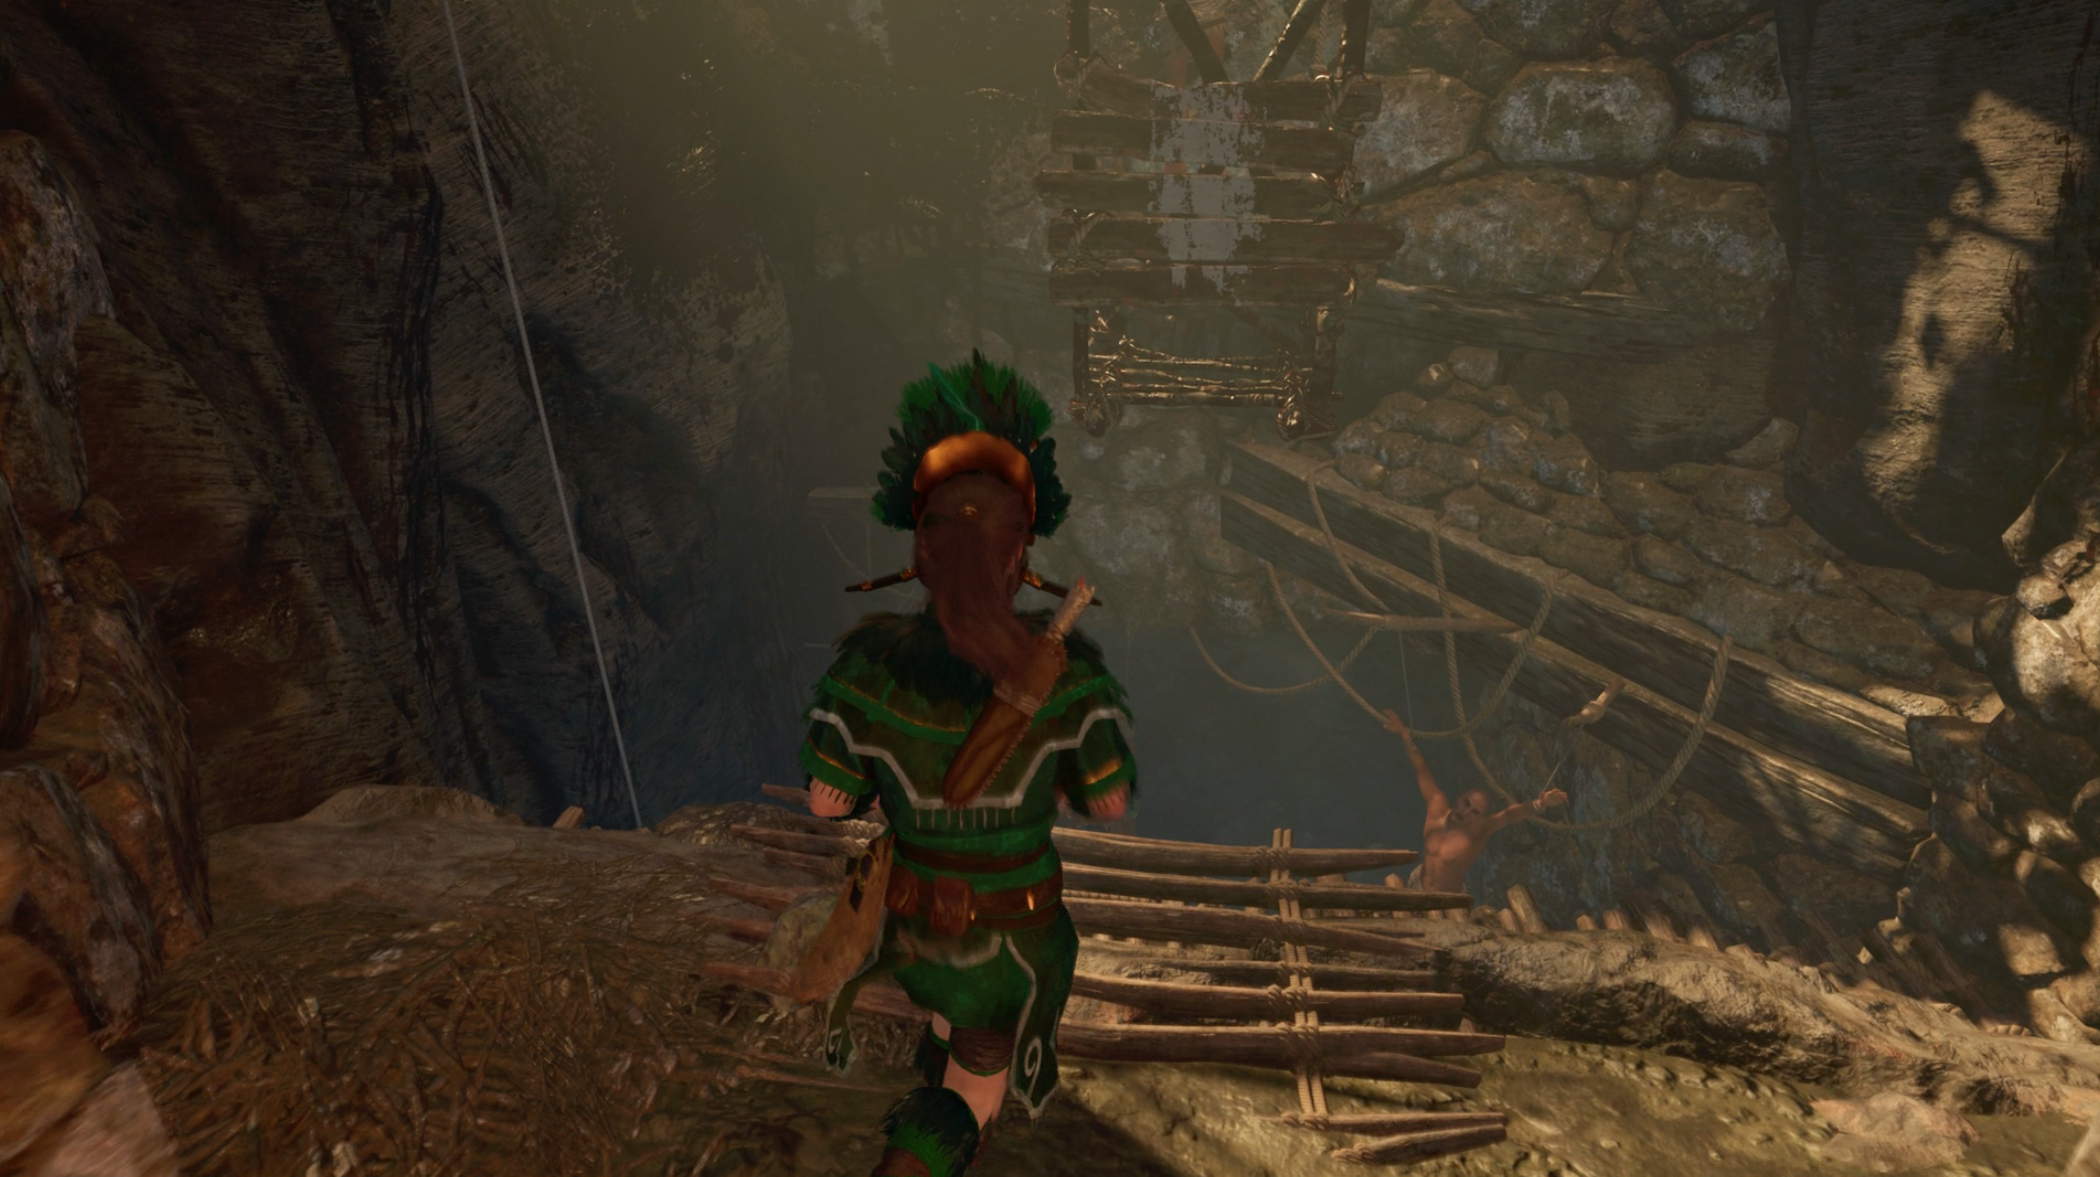
4. From the Temple of Kukulkan base camp, drop down off the ledge and shimmy left, then climb the ceiling wall downwards before rappelling down and swinging to the ledge. Enter the crypt through the hole in the wall. Once inside, after the slide, scrabble-jump when you leap to the counter weight (press jump again when you land on it) and ride the counter-weight all the way to the bottom, where you’ll find the sarcophagus.
Use these links to jump to specific Shadow of the Tomb Raider challenge locations:
- Peruvian Jungle Challenges
- Hidden City Challenges
- Kuwaq Yaku Challenges
- Cozumel, Cenote, and Mission of San Juan Challenges
Current page: Shadow of the Tomb Raider Challenges - Hidden City
Prev Page Shadow of the Tomb Raider Challenges - Peruvian Jungle Next Page Shadow of the Tomb Raider Challenges - Kuwaq YakuSign up to the GamesRadar+ Newsletter
Weekly digests, tales from the communities you love, and more
Justin was a GamesRadar staffer for 10 years but is now a freelancer, musician and videographer. He's big on retro, Sega and racing games (especially retro Sega racing games) and currently also writes for Play Magazine, Traxion.gg, PC Gamer and TopTenReviews, as well as running his own YouTube channel. Having learned to love all platforms equally after Sega left the hardware industry (sniff), his favourite games include Christmas NiGHTS into Dreams, Zelda BotW, Sea of Thieves, Sega Rally Championship and Treasure Island Dizzy.

