Shadow of the Tomb Raider Challenges guide: How to complete them all
Pick flowers, shoot barrels, go swimming deep, hang from cliffs, and more
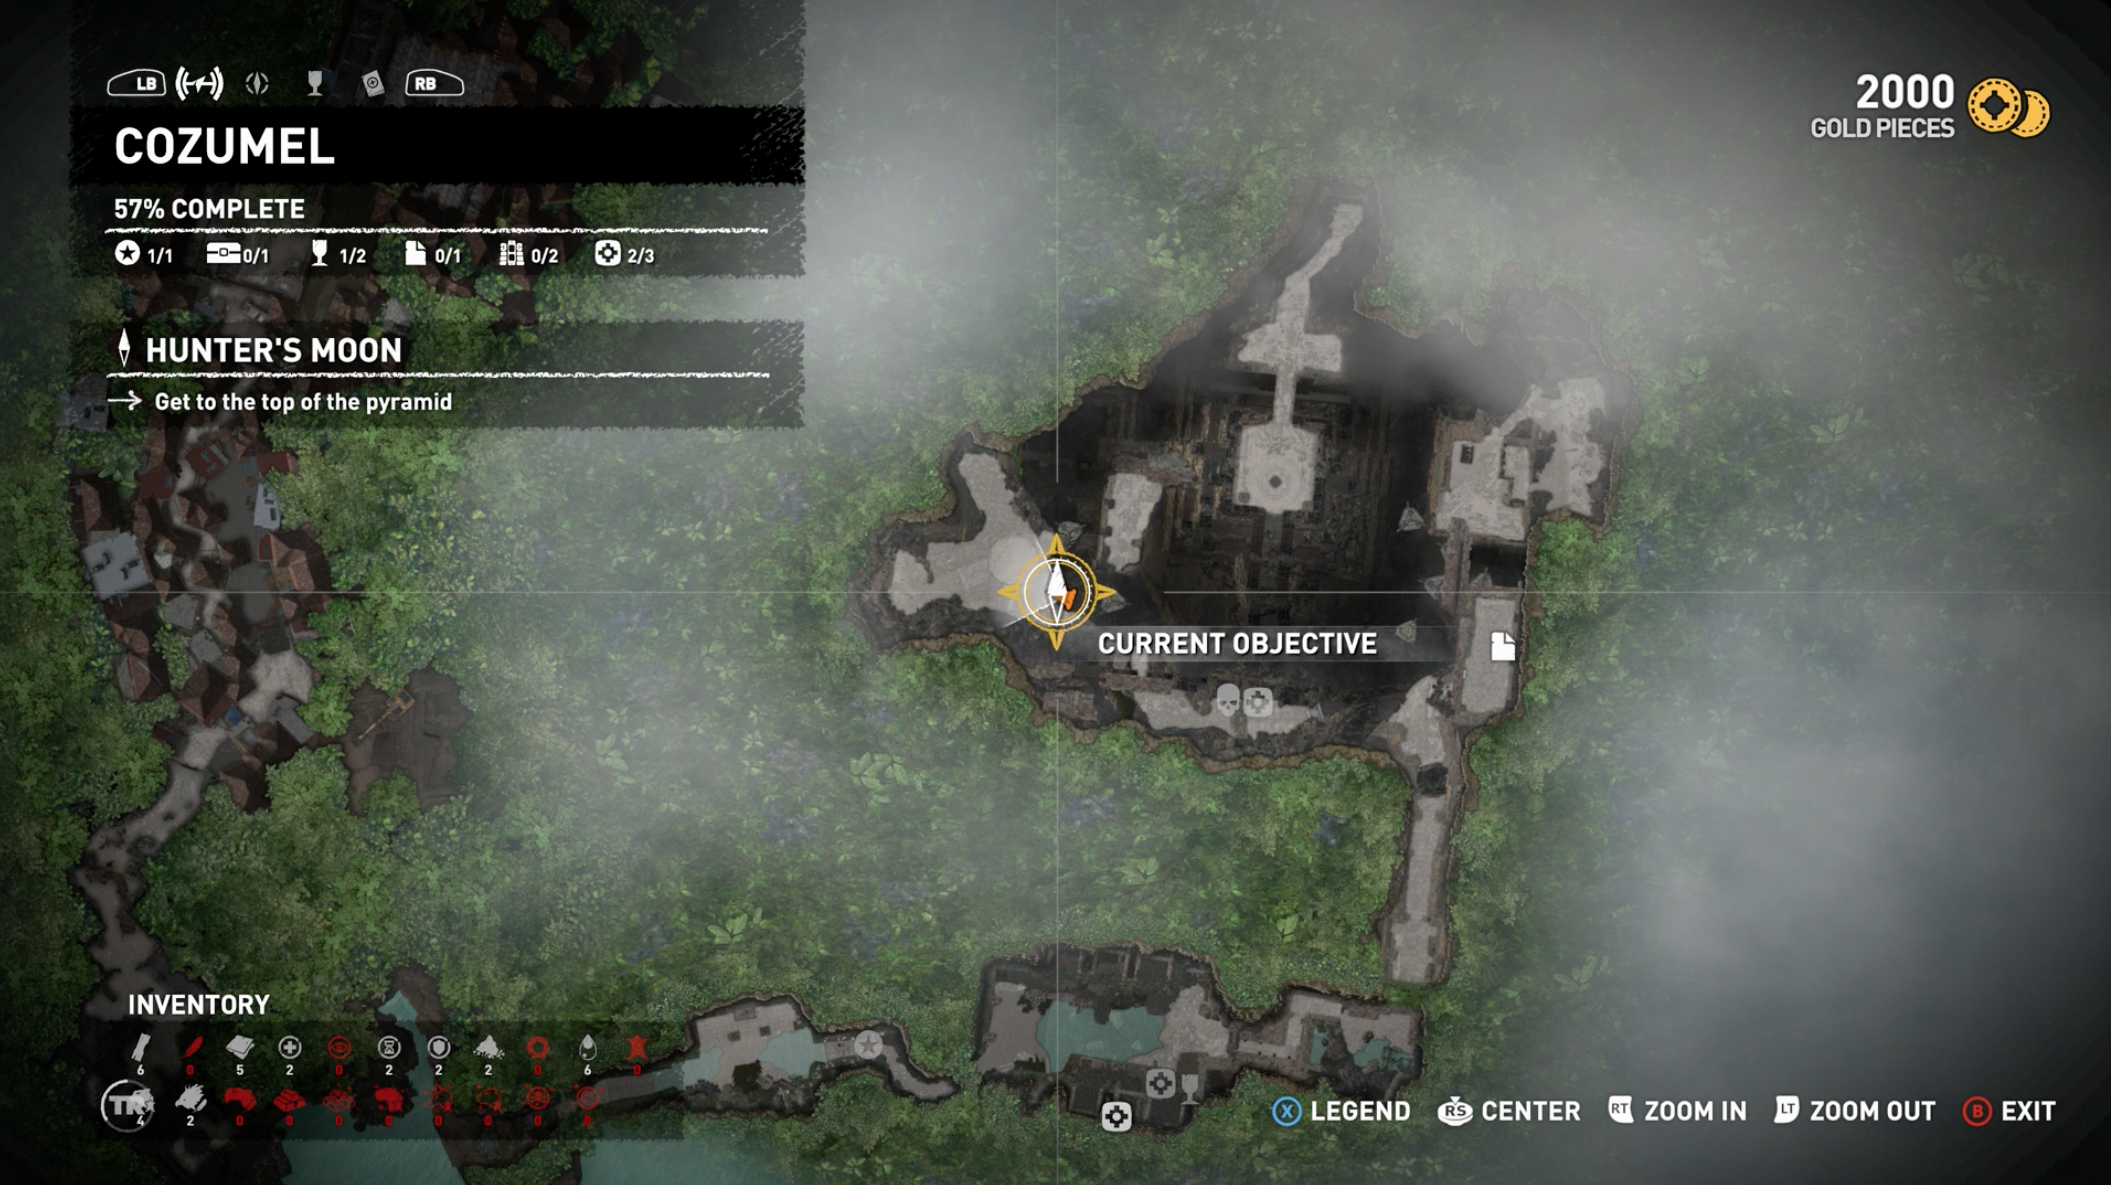
Whistle in the Dark (Cozumel)
We’ve actually got a dedicated Shadow of the Tomb Raider Death Whistle Carvings guide for this one with detail and video, so check it out here:
This challenge involves shooting down five ‘death whistle’ carvings that are hanging around the first area. If you’re starting this area fresh then you’ll find the first carving inside the cave where Lara tells Jonah they may lose contact over the radio. Inside you’ll be taught how to ‘rope pull’ doors down, and told how to scramble under obstructions.
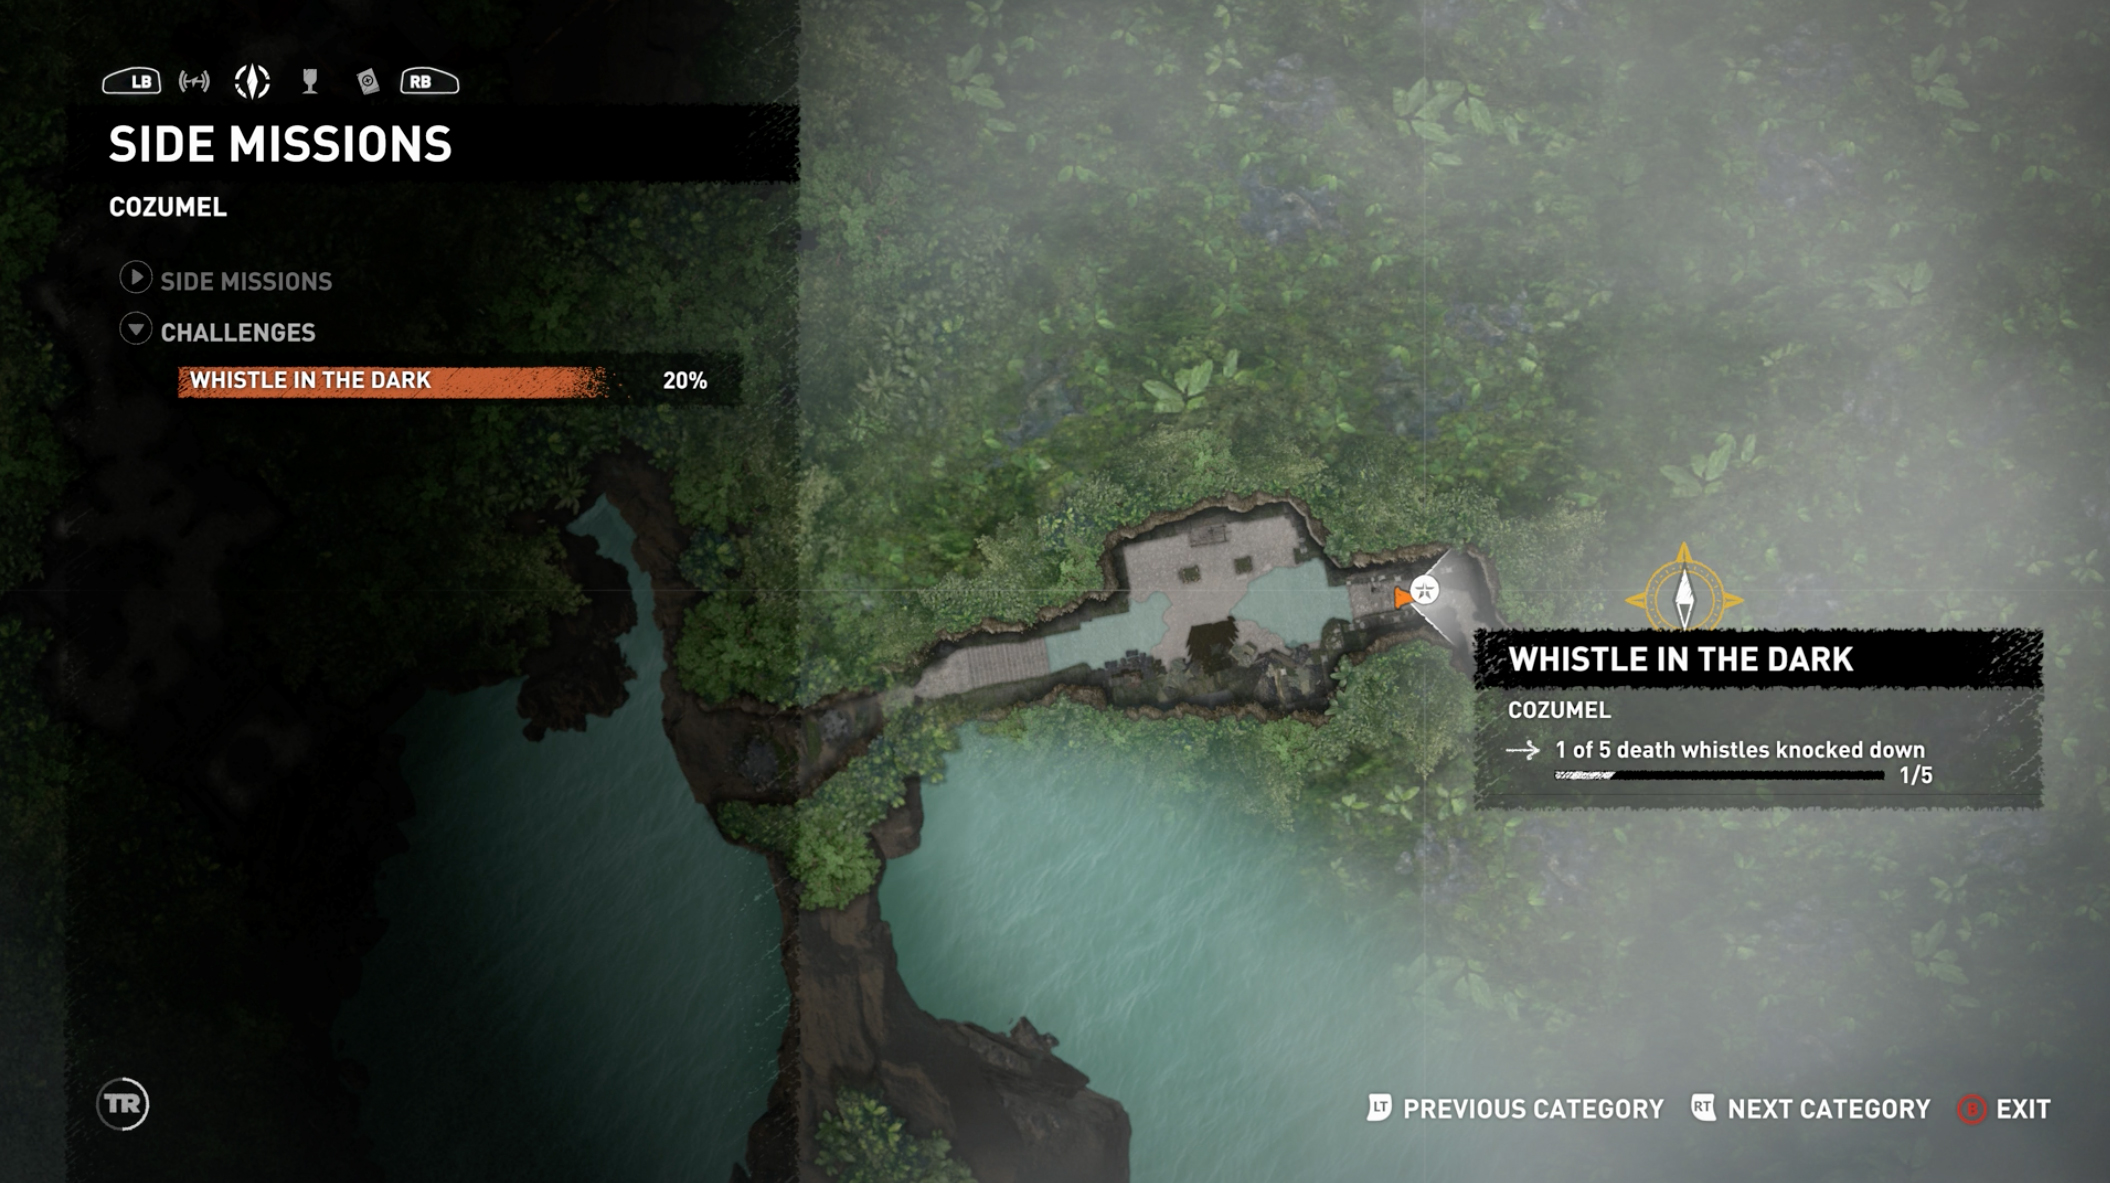
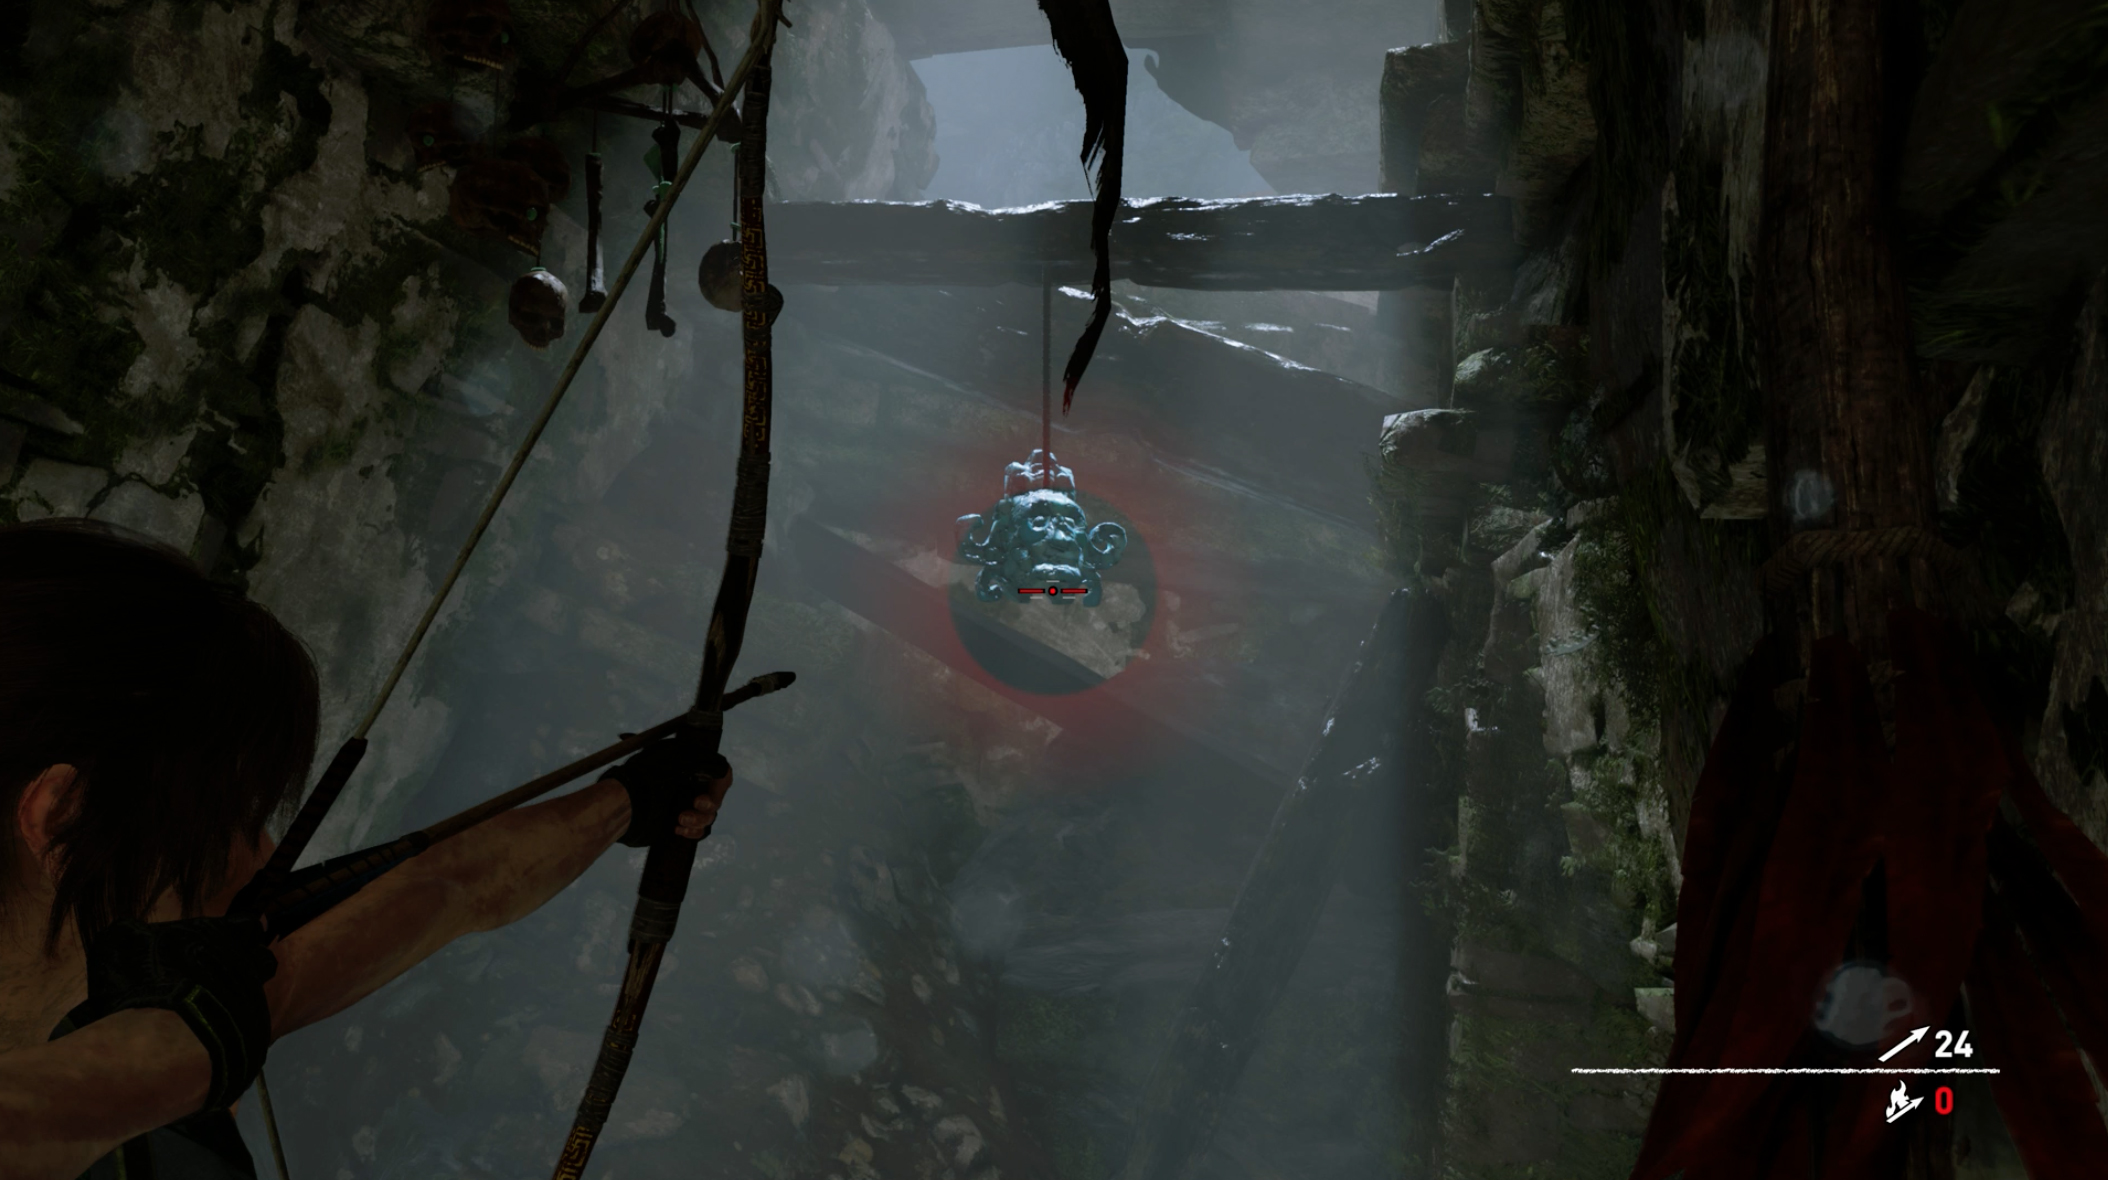
1. The first whistle is above you after you’re scrambled under the spears. Take out your bow, shoot it down and you have your first death whistle.
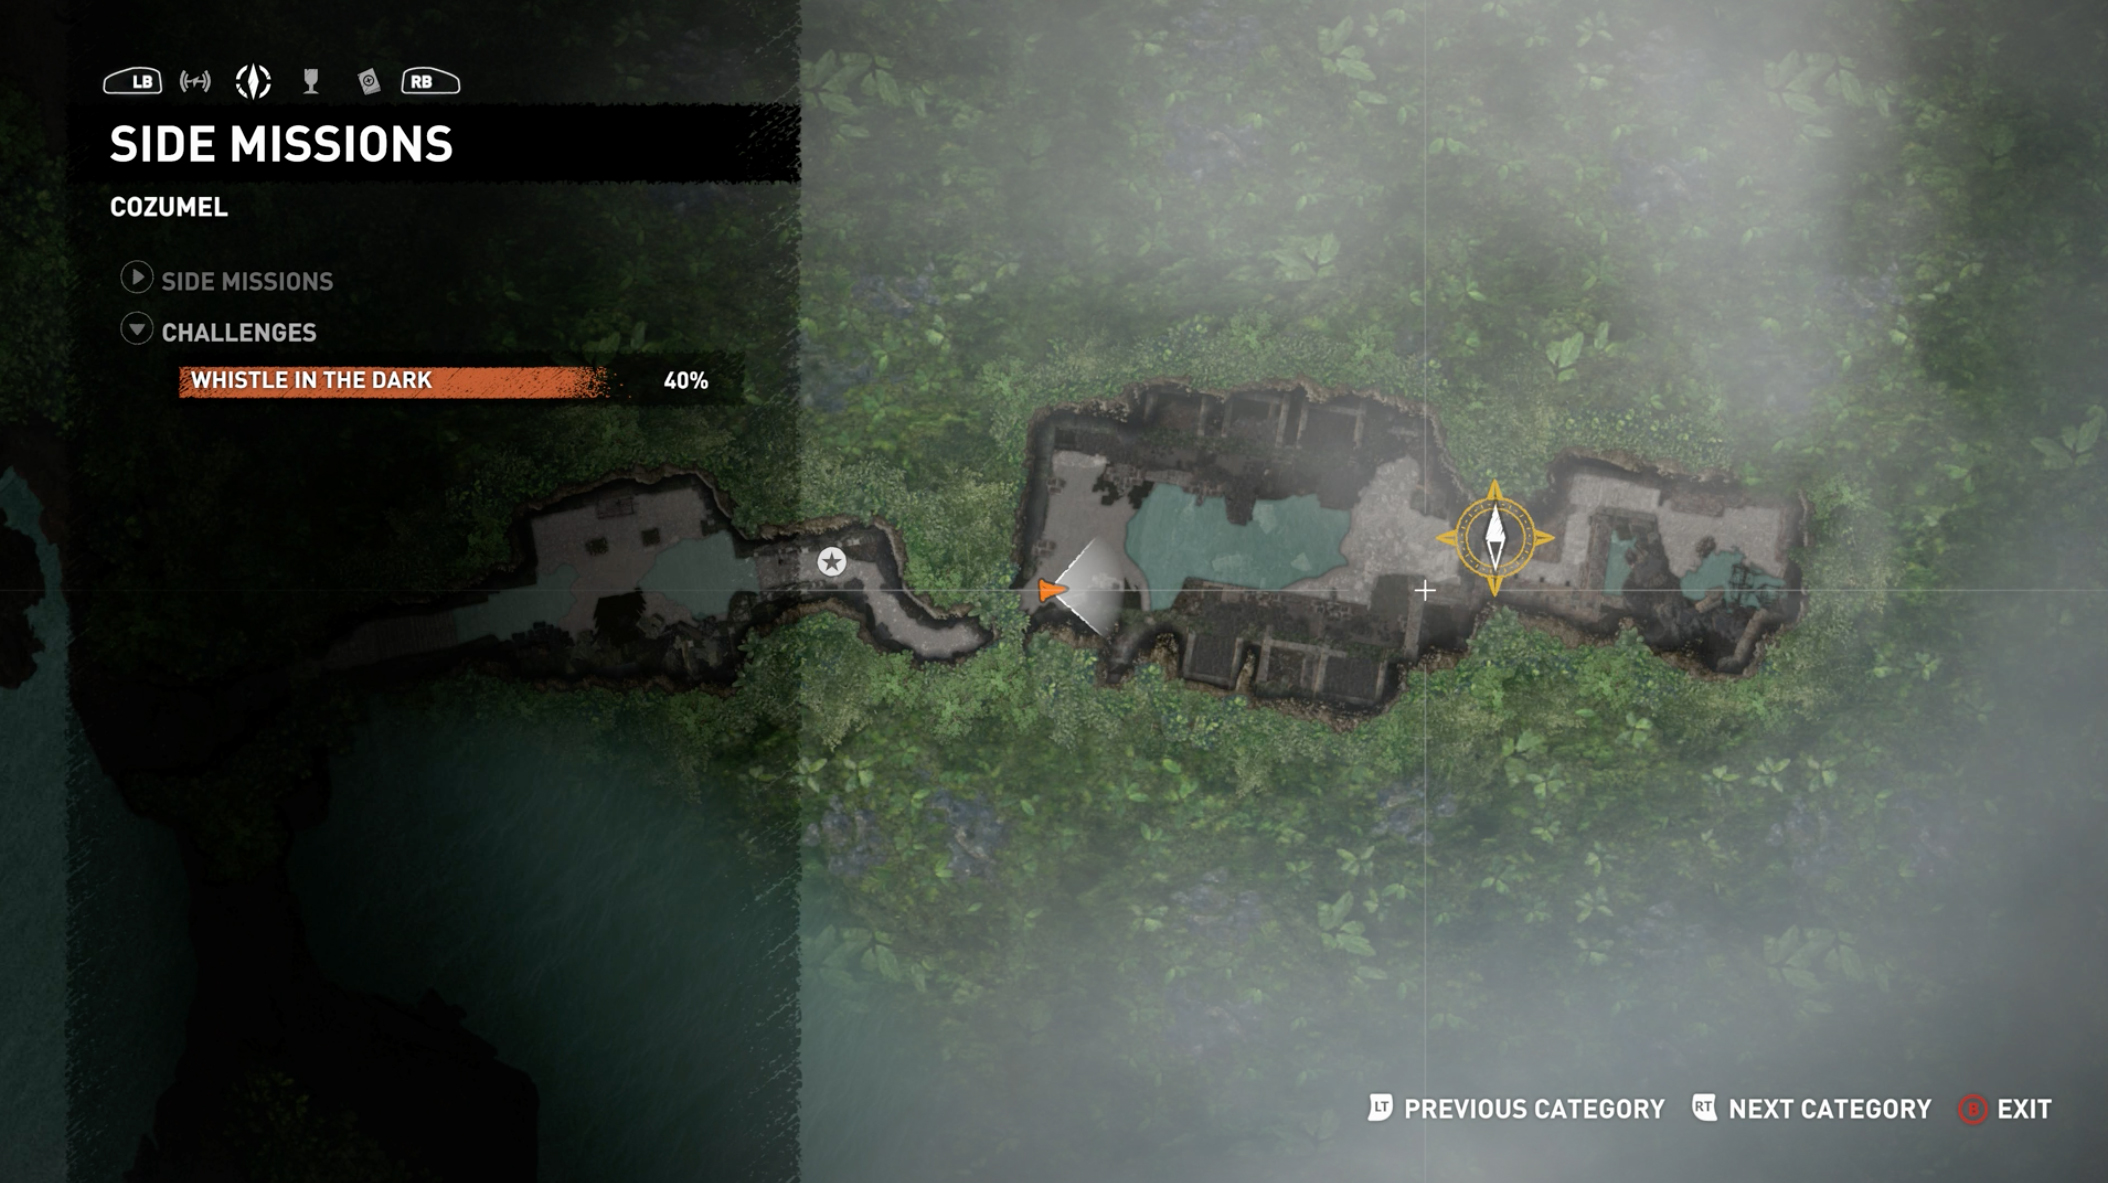
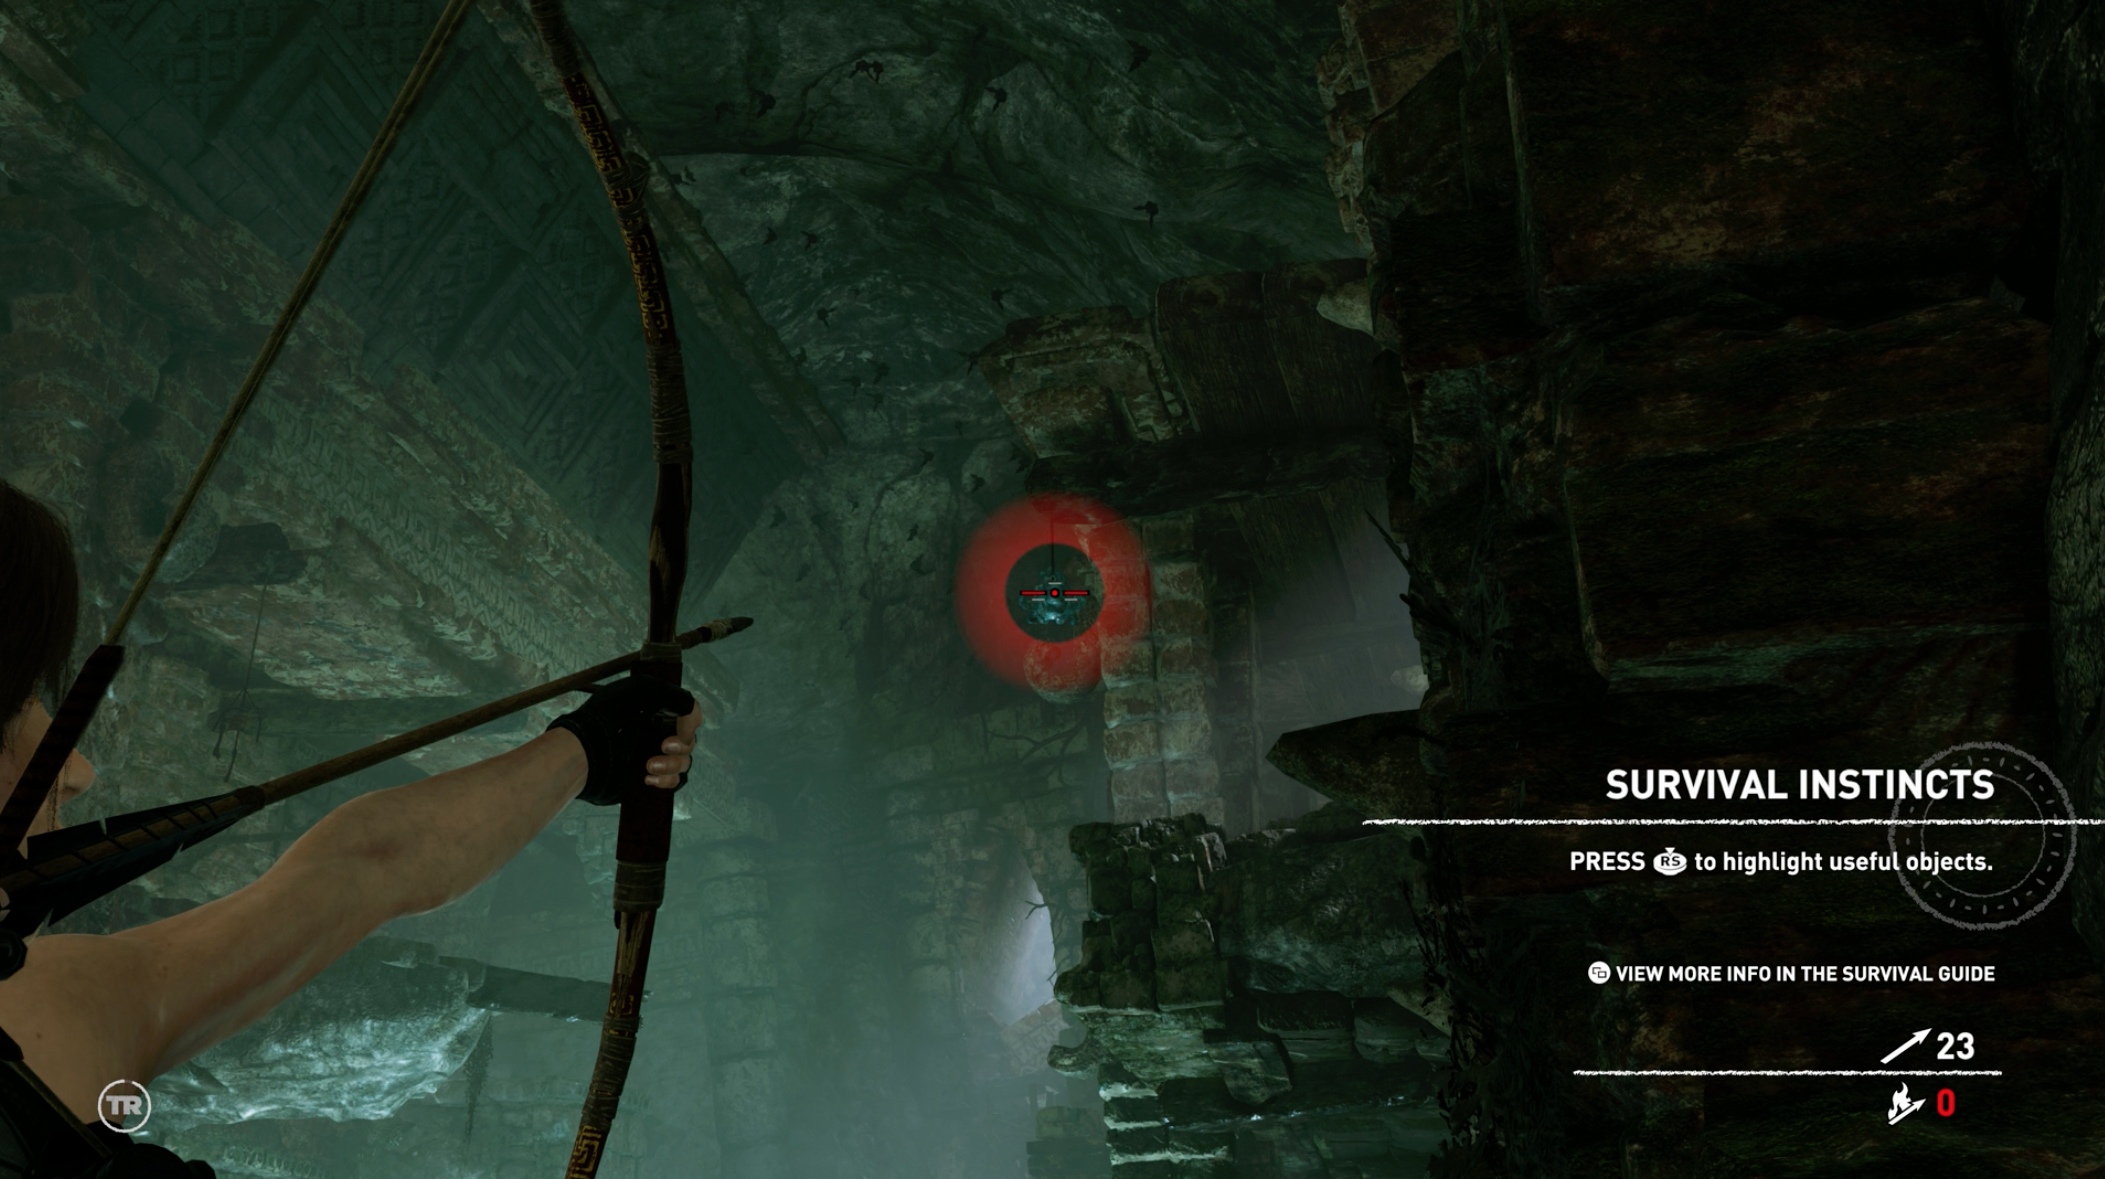
2. The second is visible as soon as you’ve crawled through the curved tunnel with the rats in it, and emerged into the rectangular room with the water in it. The carving is straight in front of you, hanging from the ceiling, surrounded by bats. The bats are harmless and don’t do anything, but it’s still harder to hit this one if you’re new to the controls. If Lara starts to quiver with her aim, release the left trigger (which doesn’t fire an arrow, therefore saving your supply), allowing you to try again.
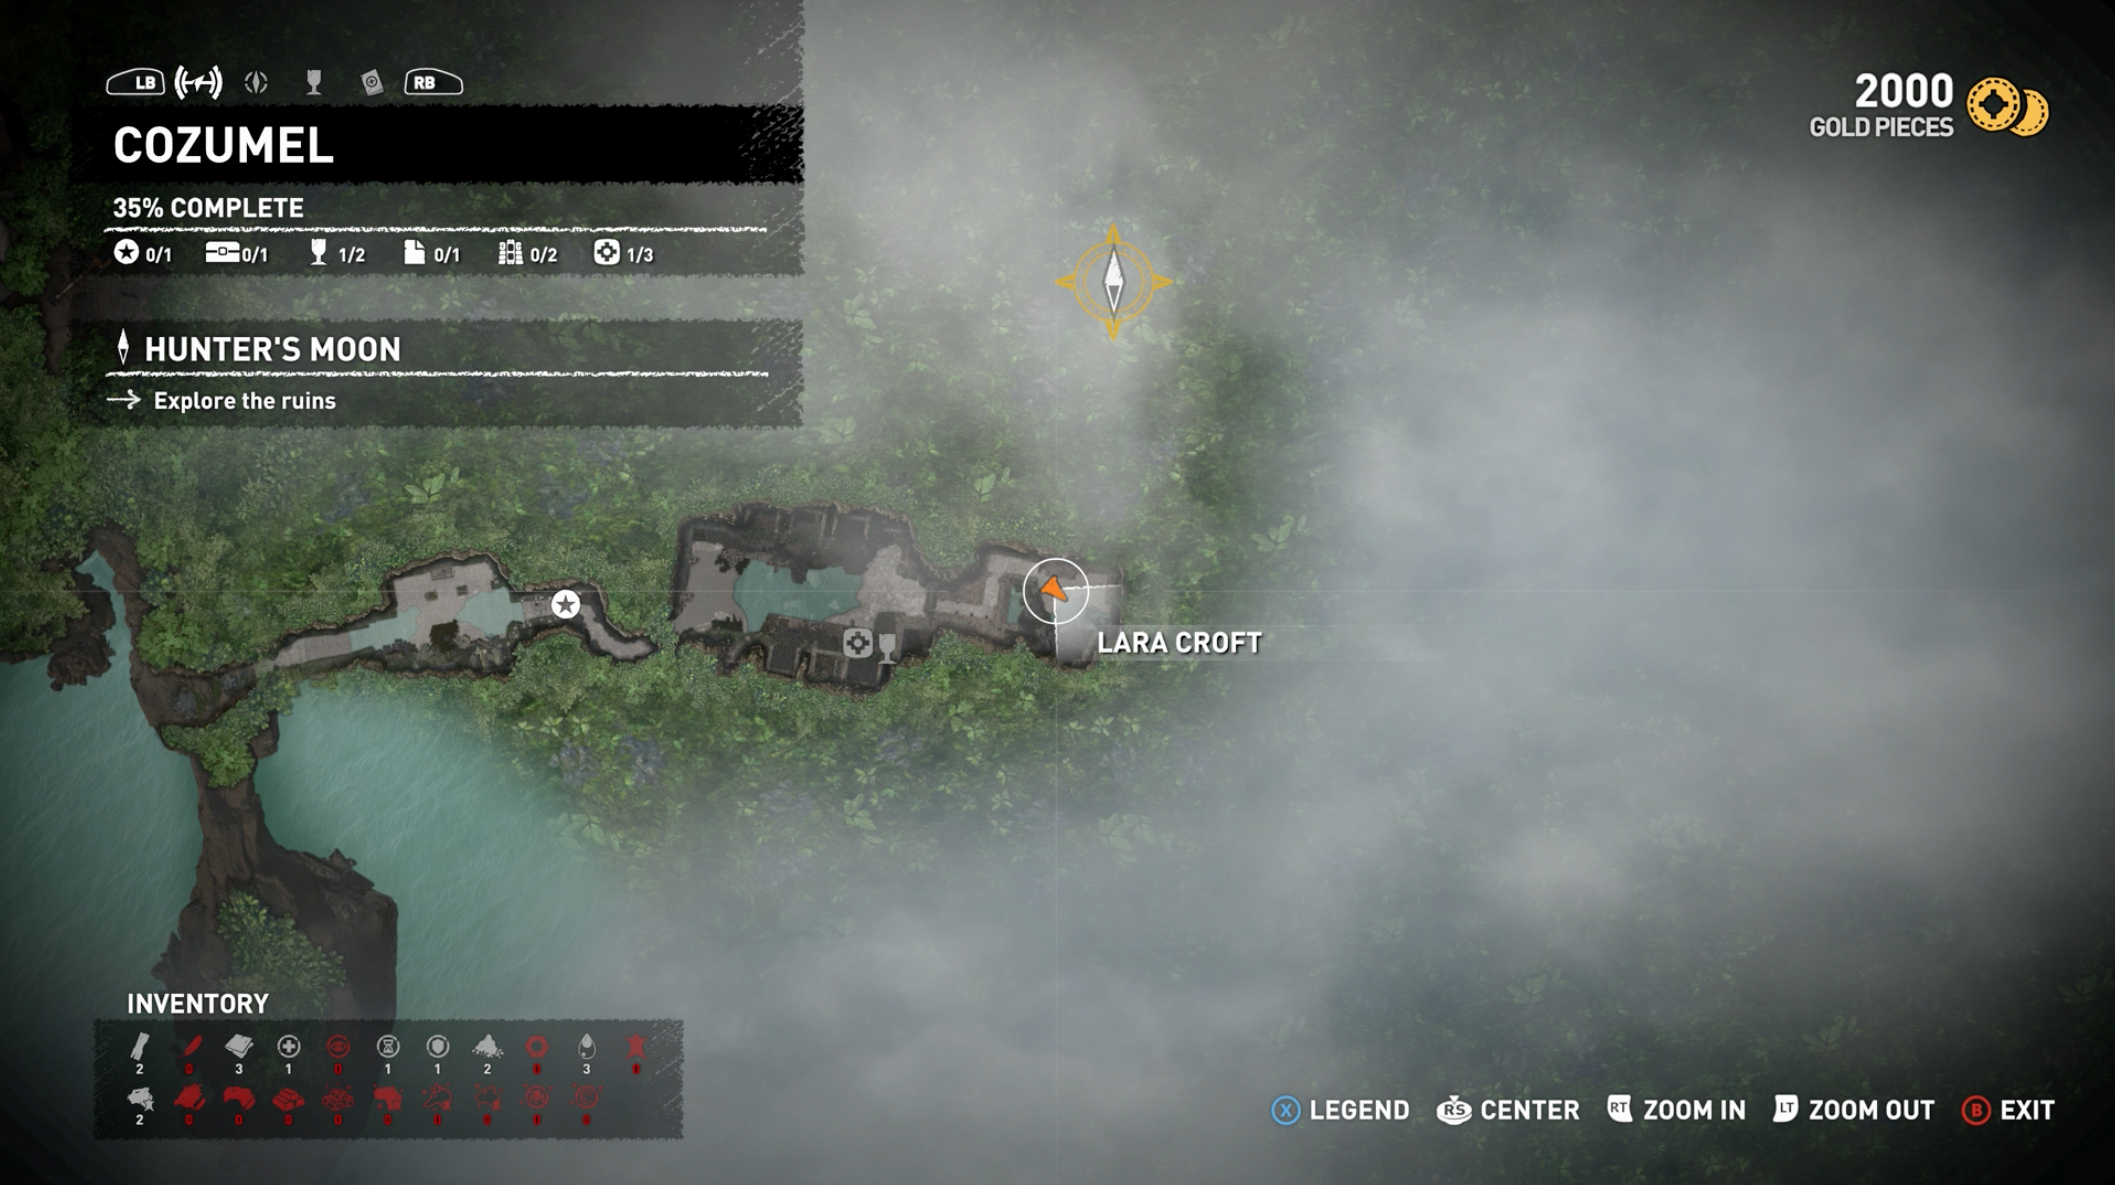
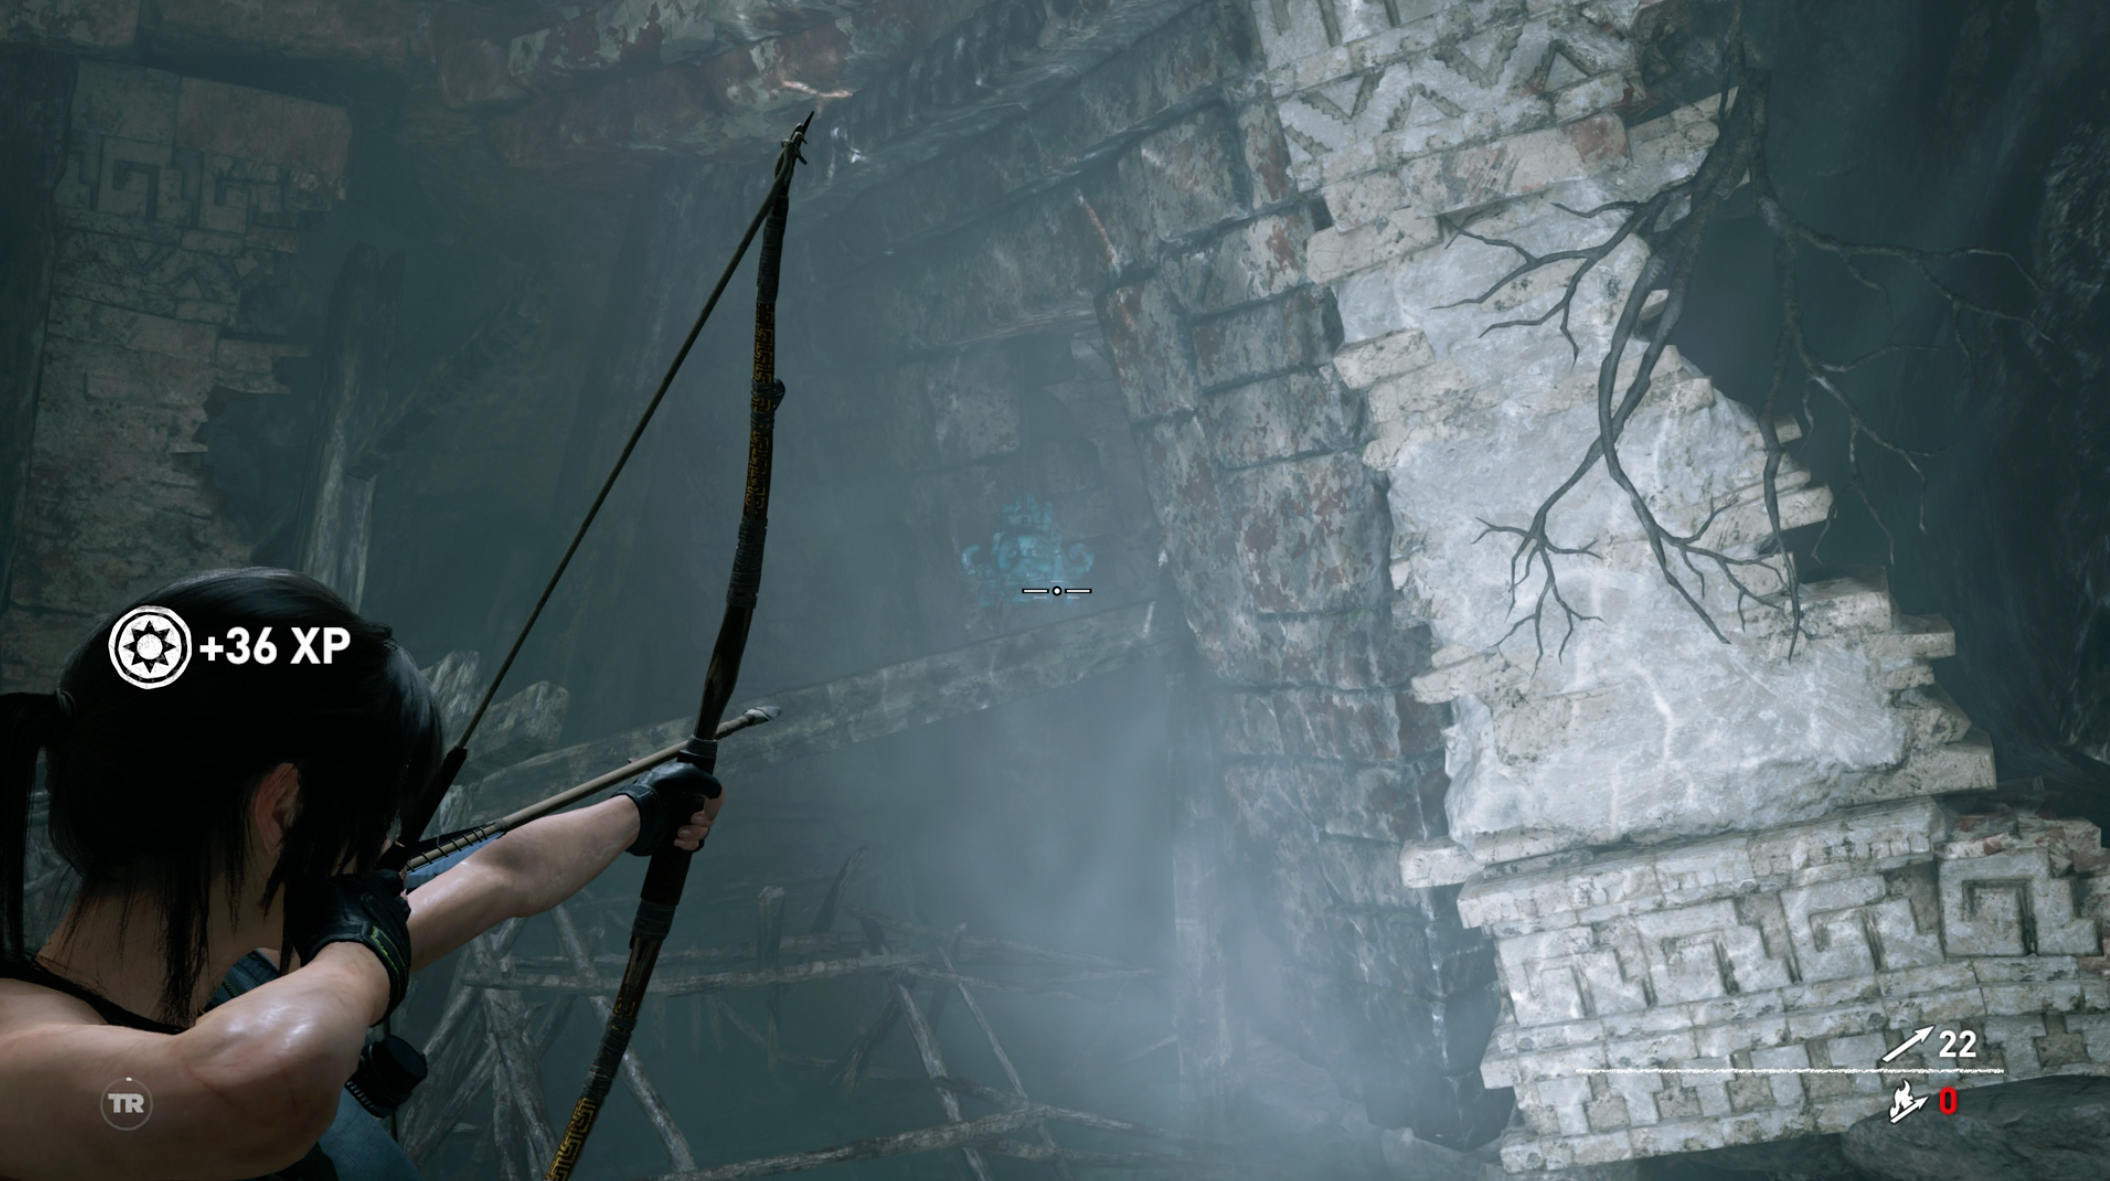
3. For the third whistle carving, you’ll need to head deeper into the cave until you reach the section where Lara almost drowns. After she’s done coughing up centuries old water turn around you’ll see the next whistle carving to the left of the pool you just got out of. There’s another door here which you’ll need the reinforced knife to open which you’ll only need if you’re doing this challenge AFTER you’ve unlocked fast travel, if that’s the case this is the door you’ll need to come back to when you want the rest of the carvings, because you’ll arrive at the Cozumel Base Camp on your return - opening this door lets you discover the Tidal Caverns base camp, which is at the foot of the big room with all the bells… but literally isn’t there when you first play the area.
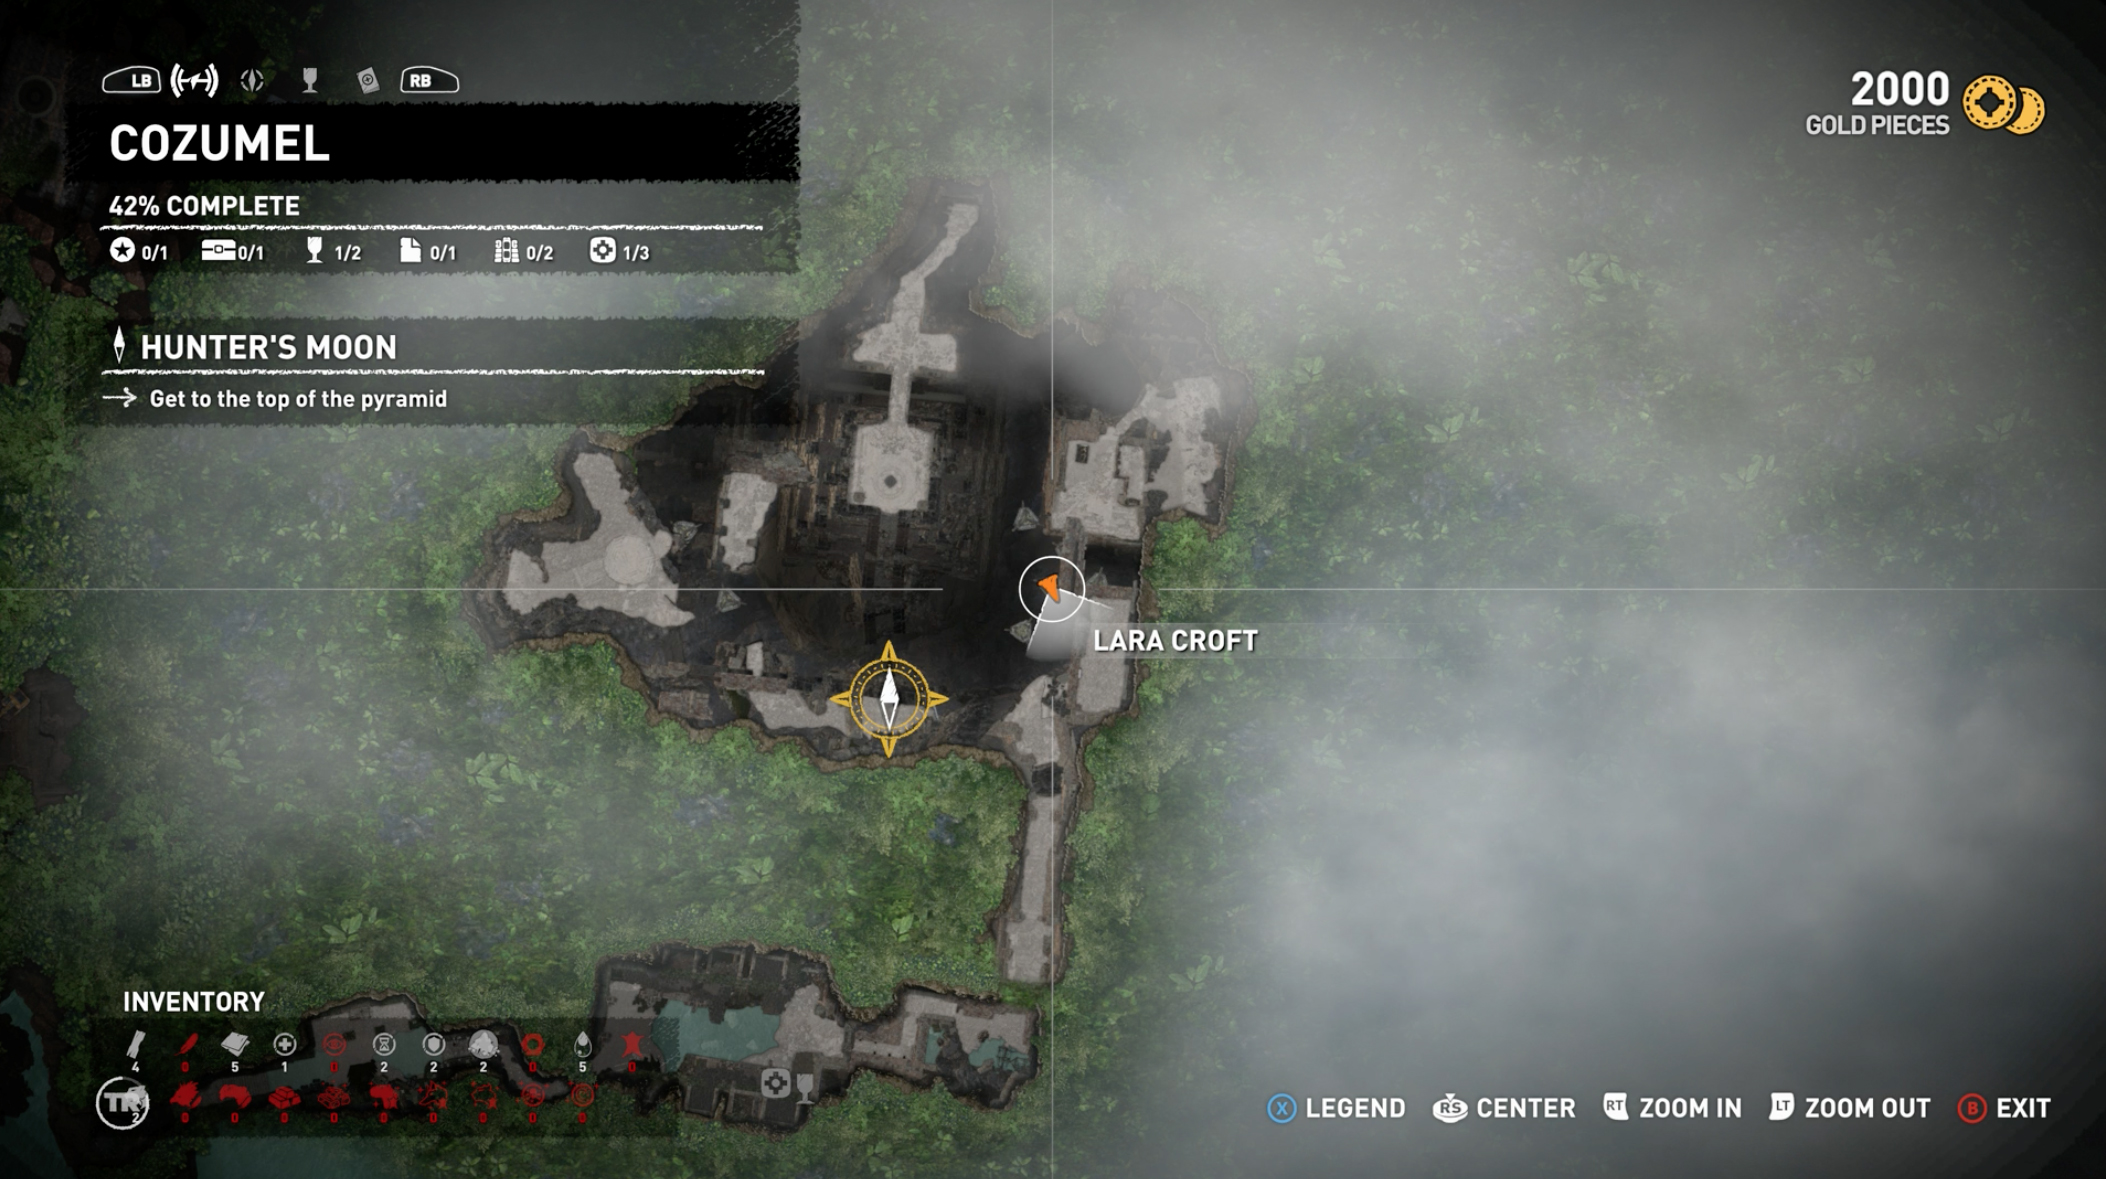
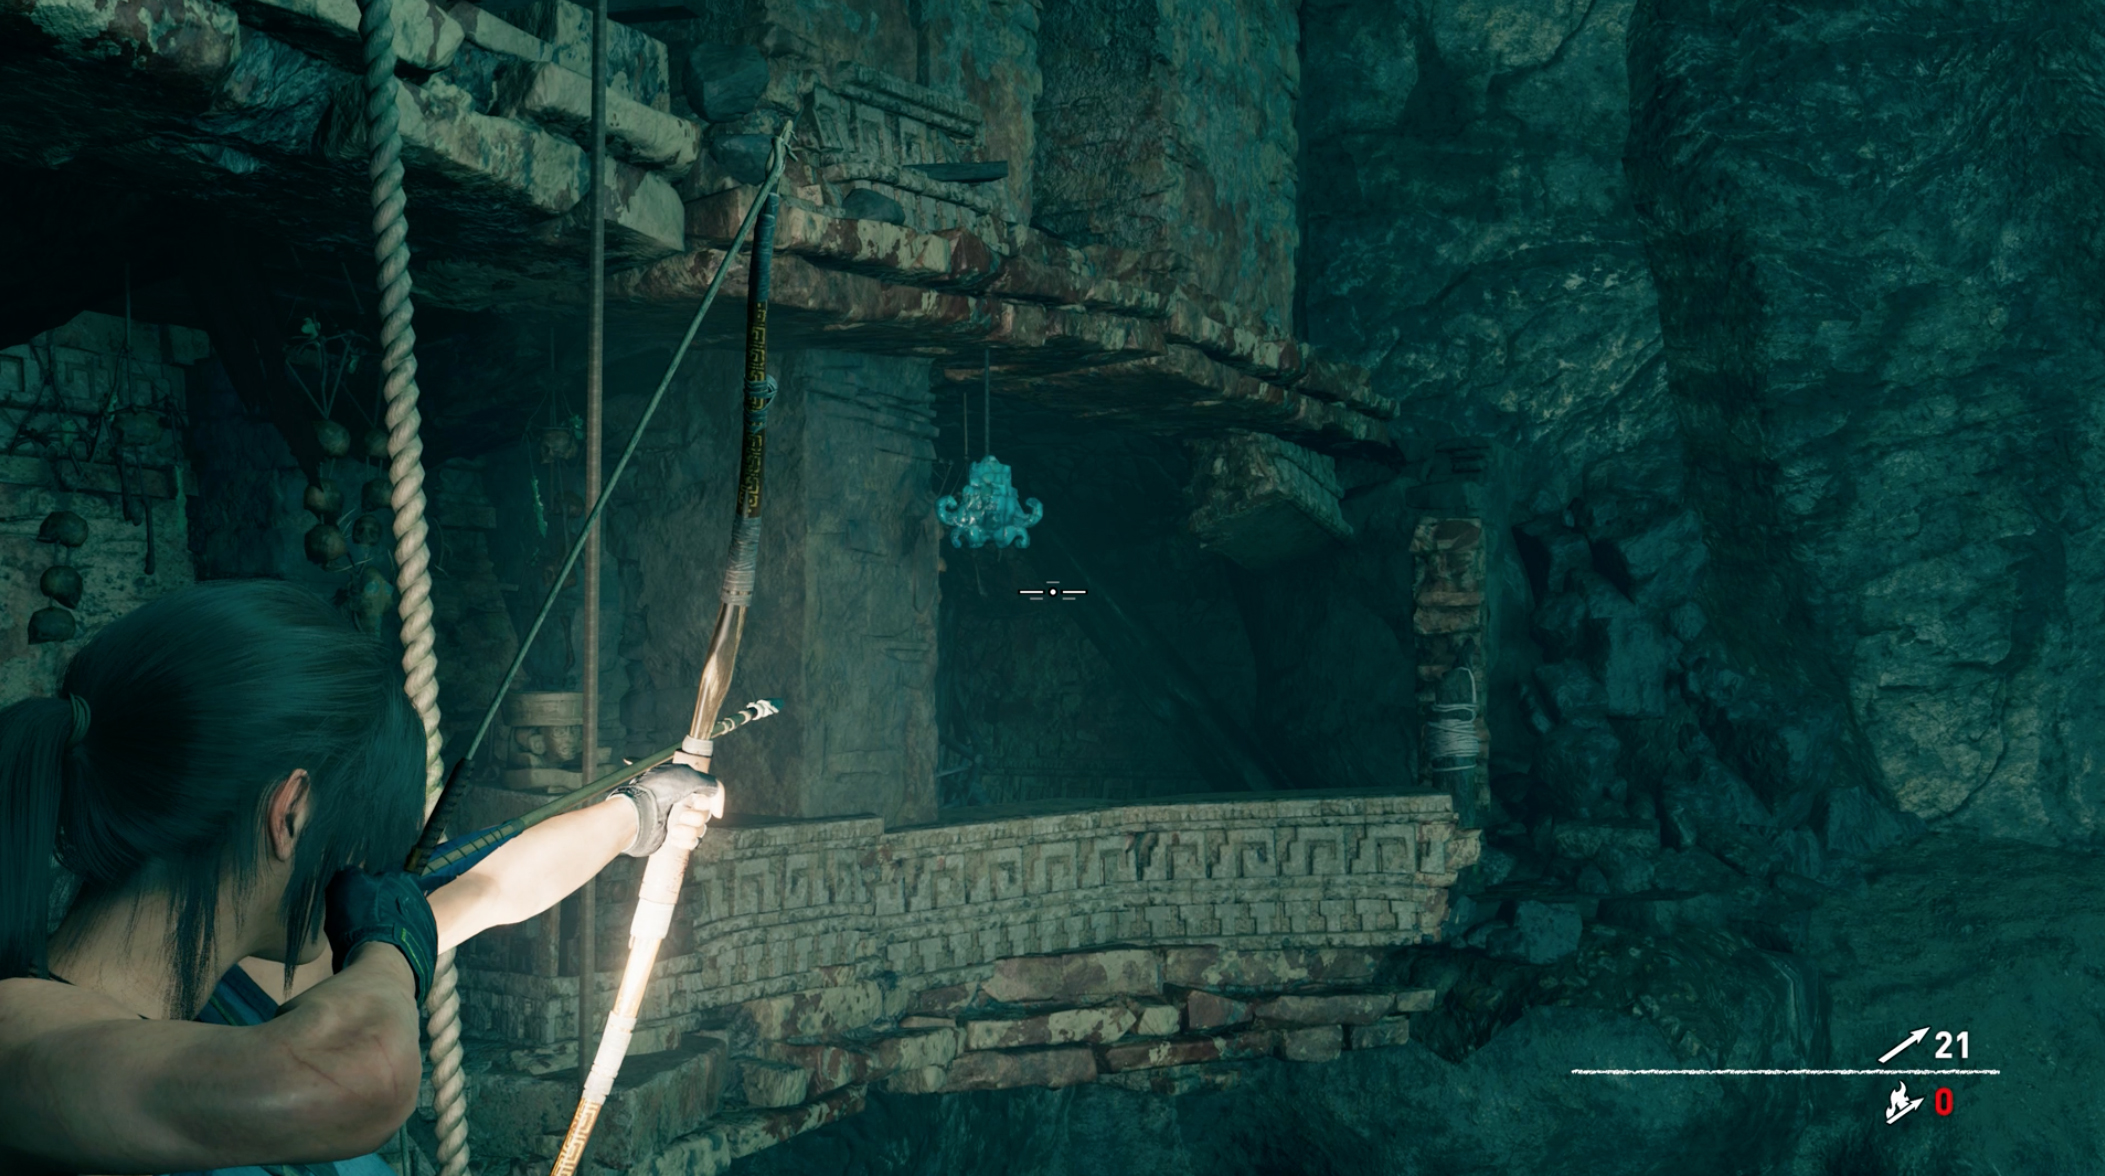
4. The fourth carving is the easiest to miss because of all the drama, and can be found after you’ve pushed the cart around and jumped on top of the first hanging bell in the pyramid / temple area. Get over to the second bell - triggering Lara’s favourite thing to do in ancient tombs, destroy them - and, assuming you’re not distracted by the carnage, you’ll see your target hanging from the ceiling ahead of you. Again, shoot it with your bow.

5. The final one is really close by. Once you’ve made your first rope tether climb up it and at the end of the platform, there’s just a quick duck to be done under some spears. You can hit the carving from these stairs but just to make sure, leap onto the bell, then jump to the wall with your grapple. Reach the top and you’ll see the last whistle carving hanging above you.
And that’s it, the challenge is complete! Well, unless you missed on and have to go back, but still this should help you pick up any you’ve missed. And if you’re wondering how to get the reinforced blade to get you back into the Tidal Caverns through that rope door, you can get that item by either completing the ‘Find Tikiy’s Dice’ sidequest in Paititi, or buying an upgrade to your existing knife in Paititi Market. Either way, it’s a long old wait before you can get back in, so try to do it right first time if you can.
Sunken Treasure (Cenote)
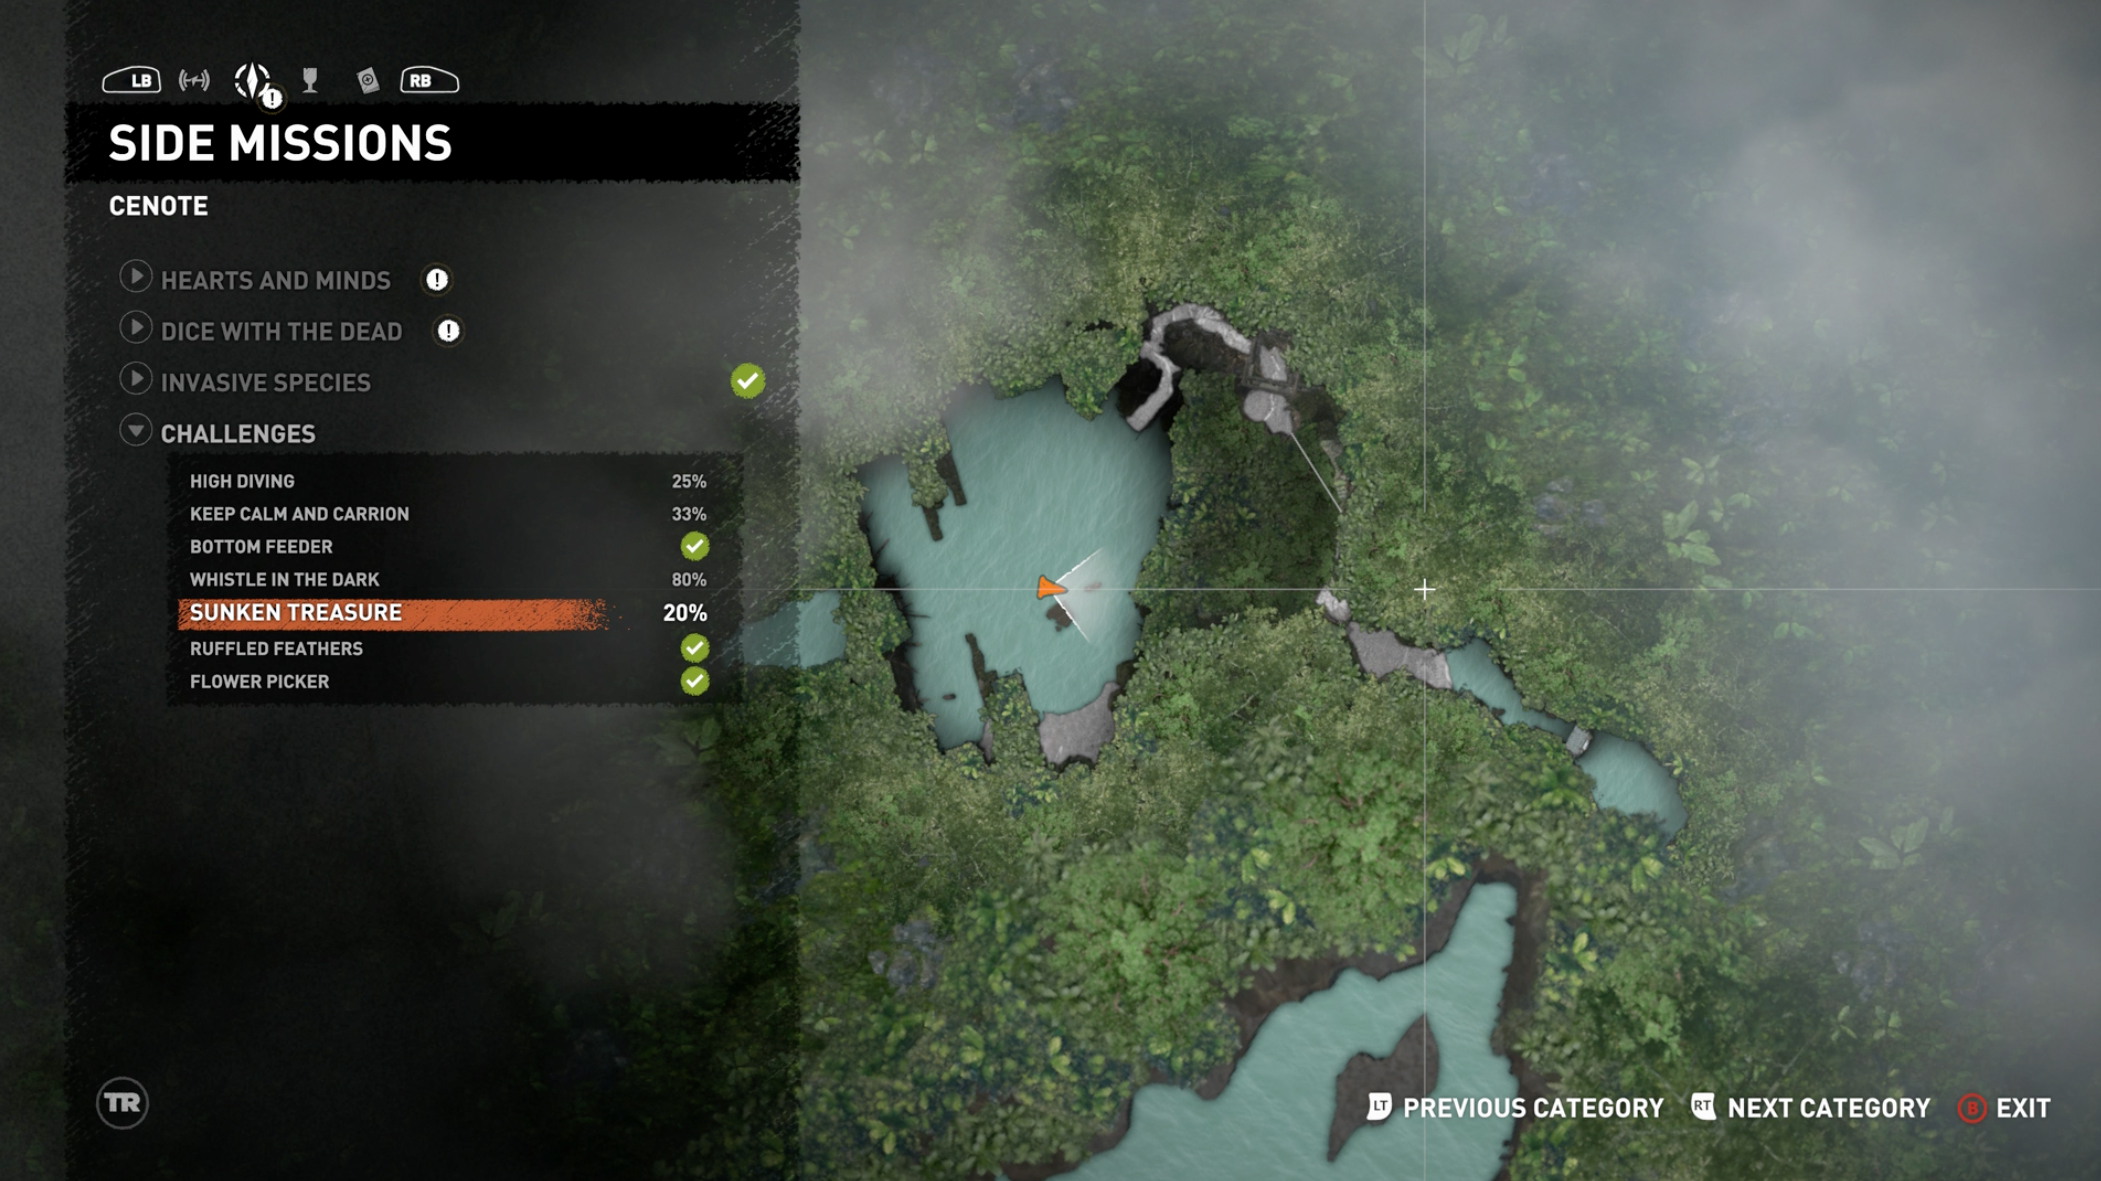
This is one of the easiest challenges in the game. After a particularly nig dive, Lara finds herself in one of the most graphically breathtaking areas of the game. Your task is to dive down and open five submerged treasure chests. They all look the same and none are particularly hidden, so you shouldn’t have much difficulty here, especially if you use your Instinct button to make them glow yellow. But, in case you’re stuck, here are the five locations.
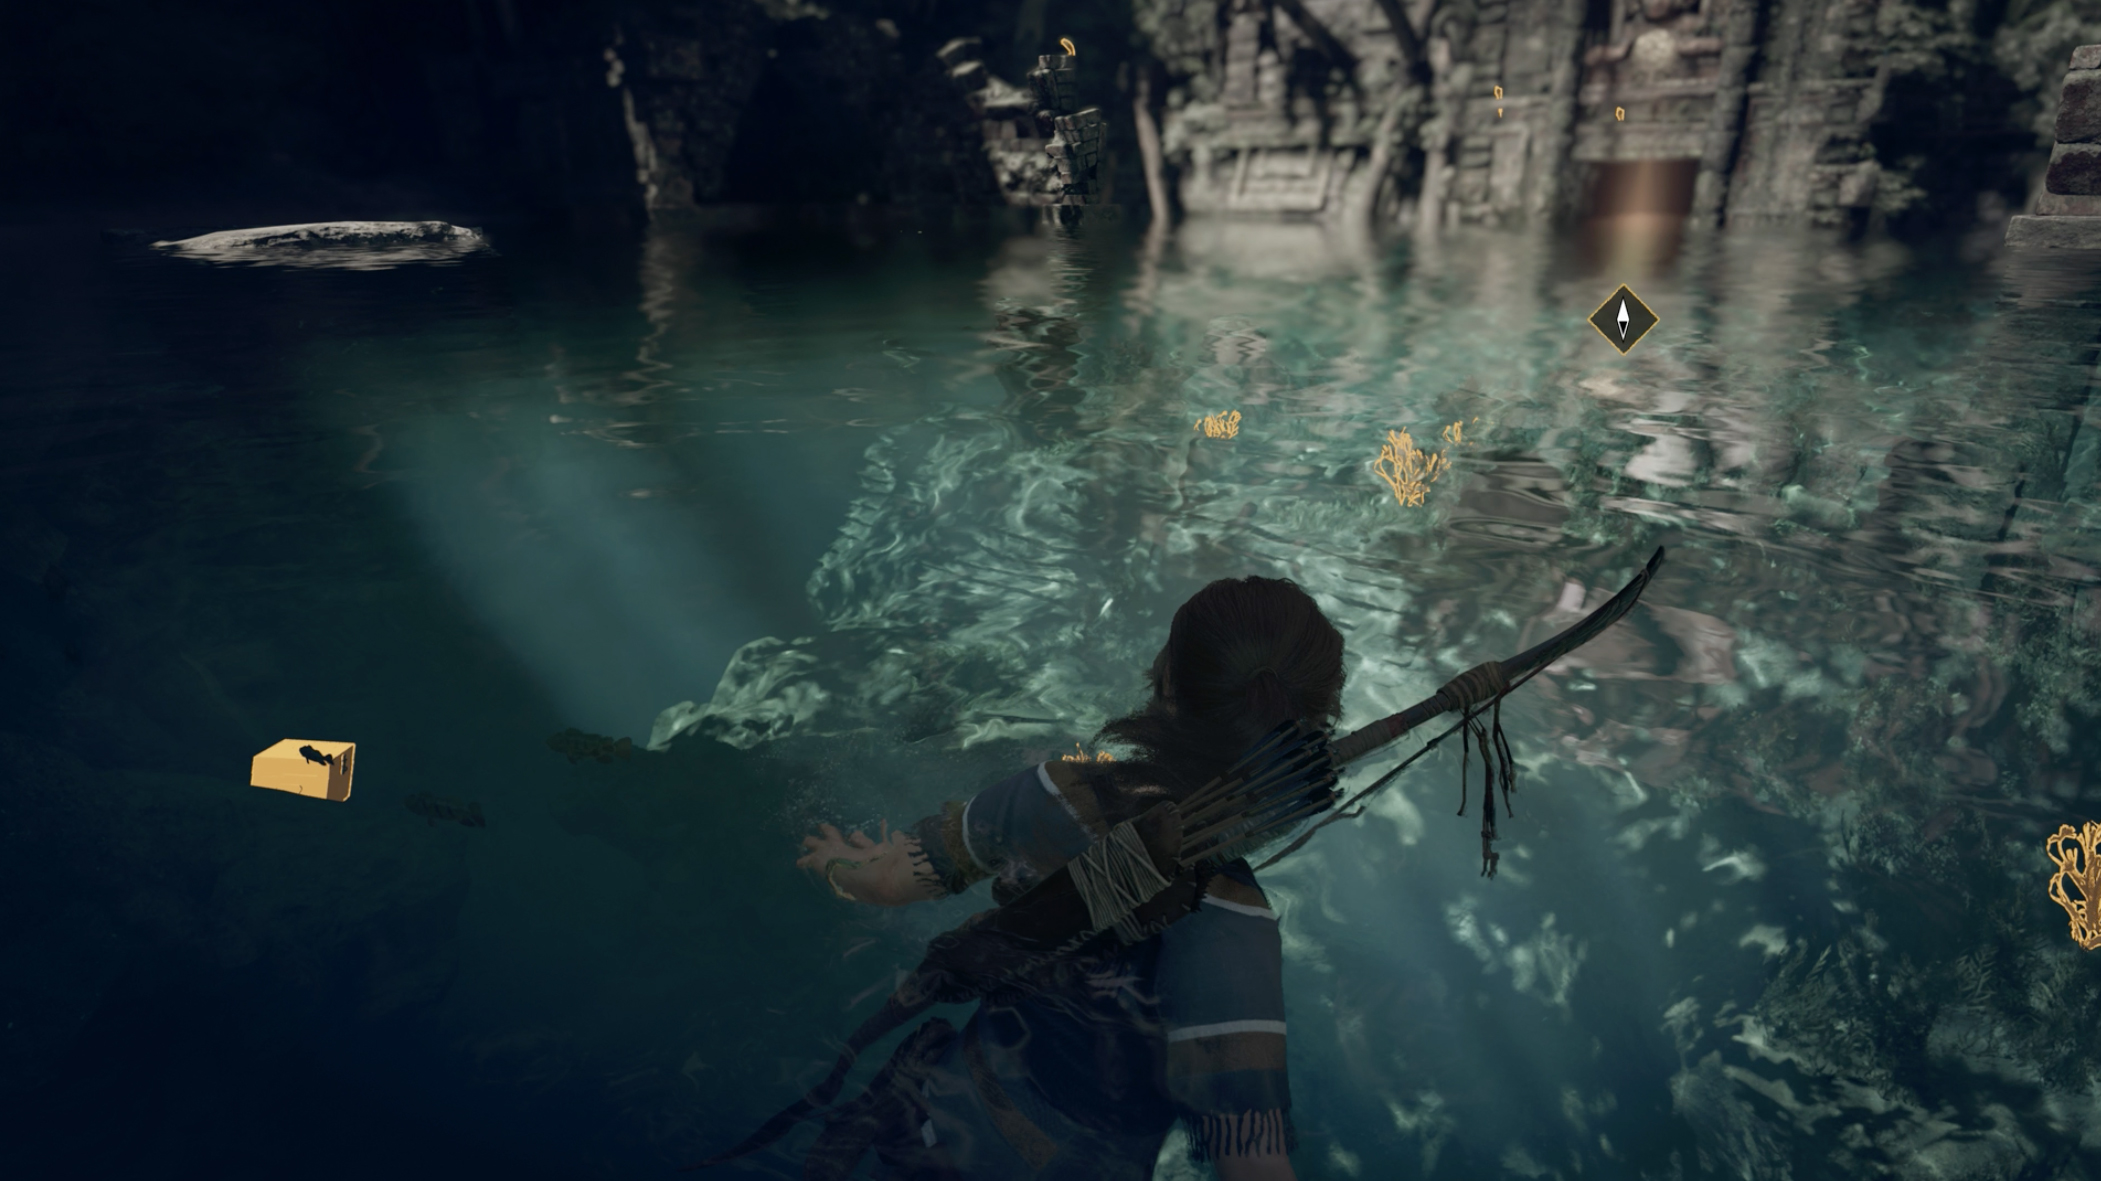
1. Look left immediately after you land from the big dive to enter the area and use your instinct . Can’t miss it.
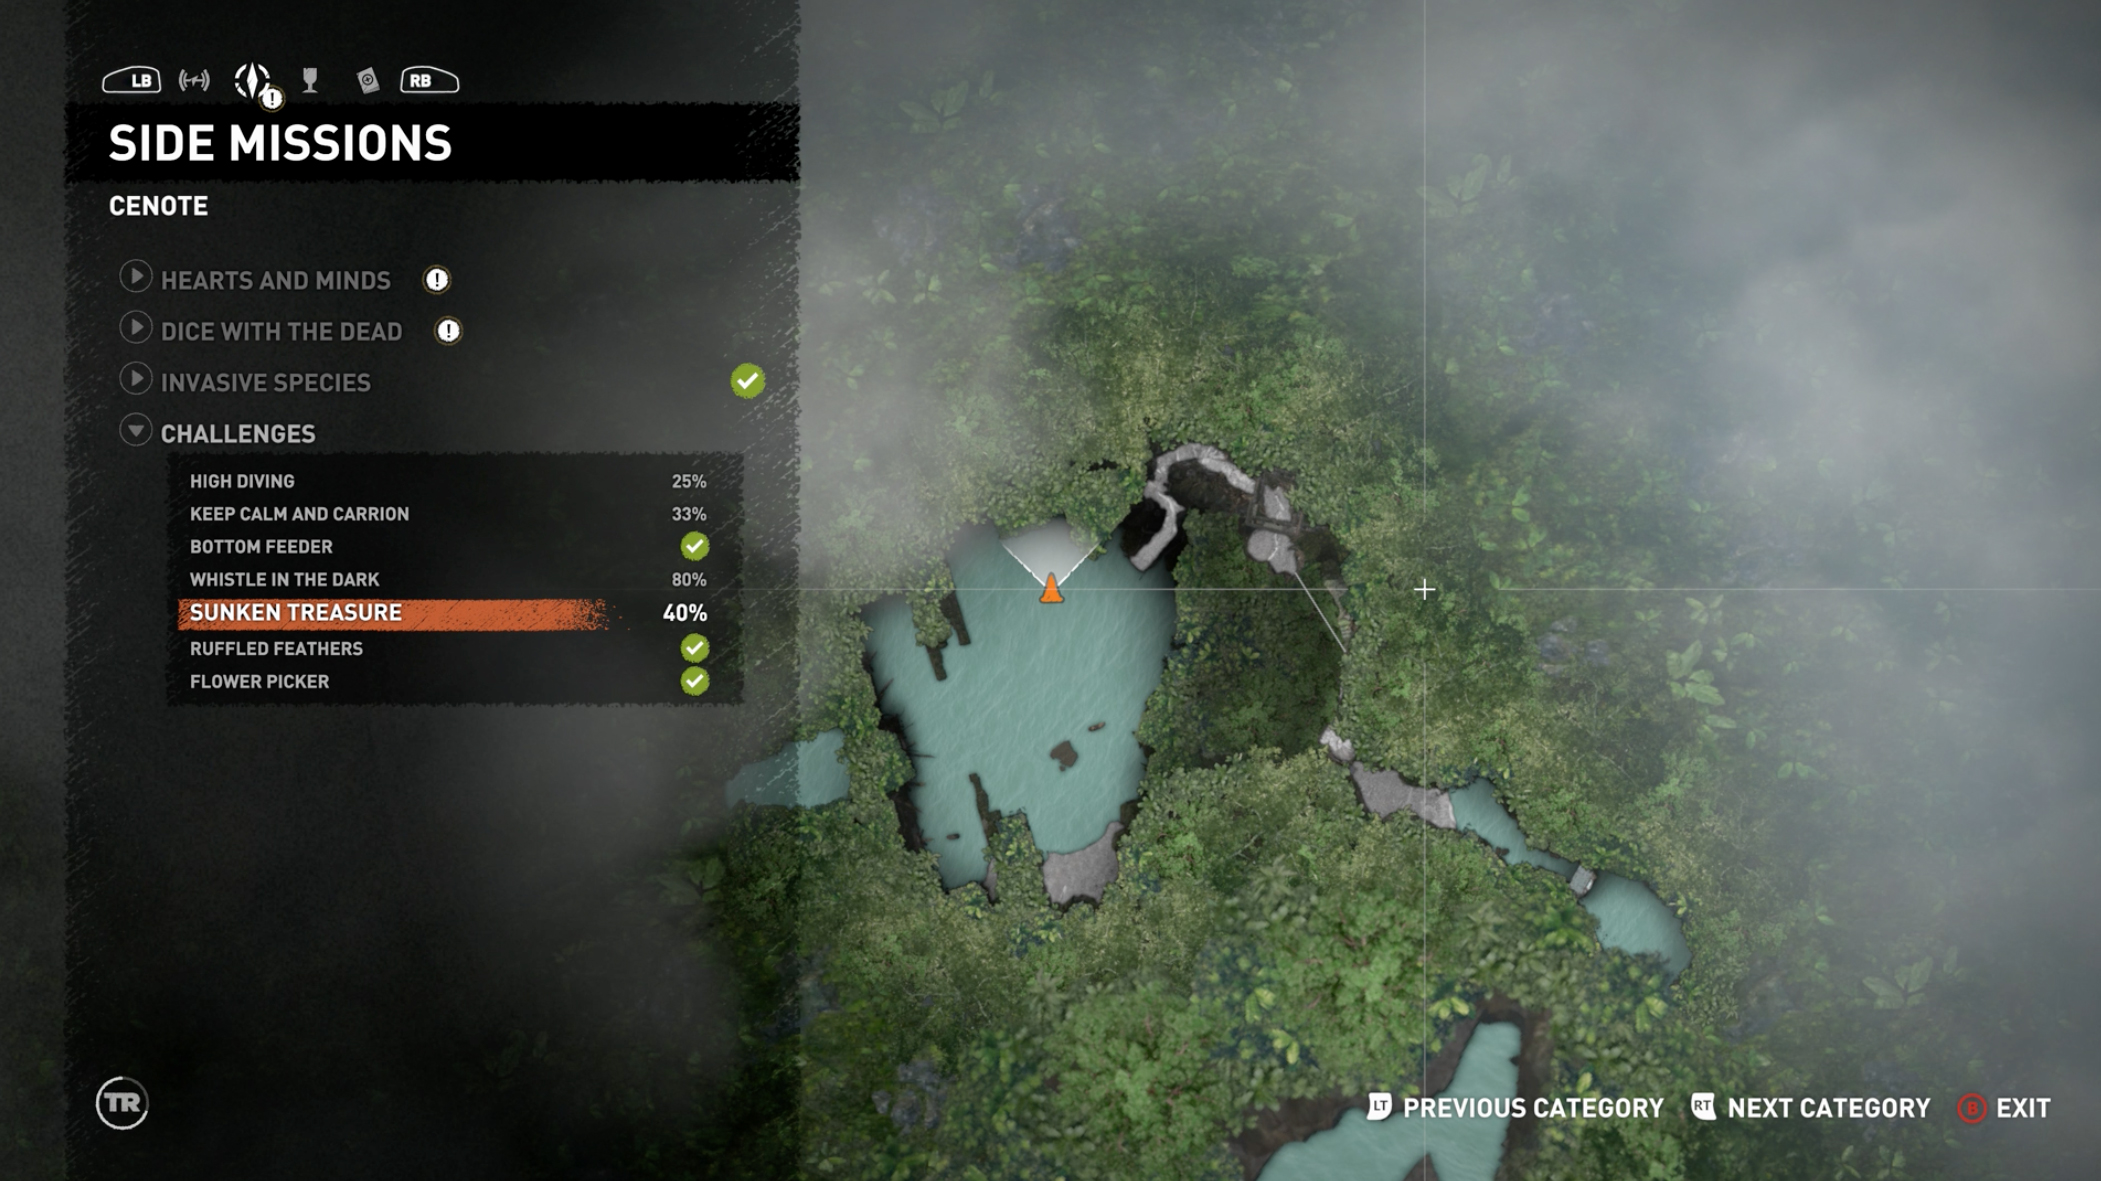
2. The next is middle-north of the lagoon, right here on the map.
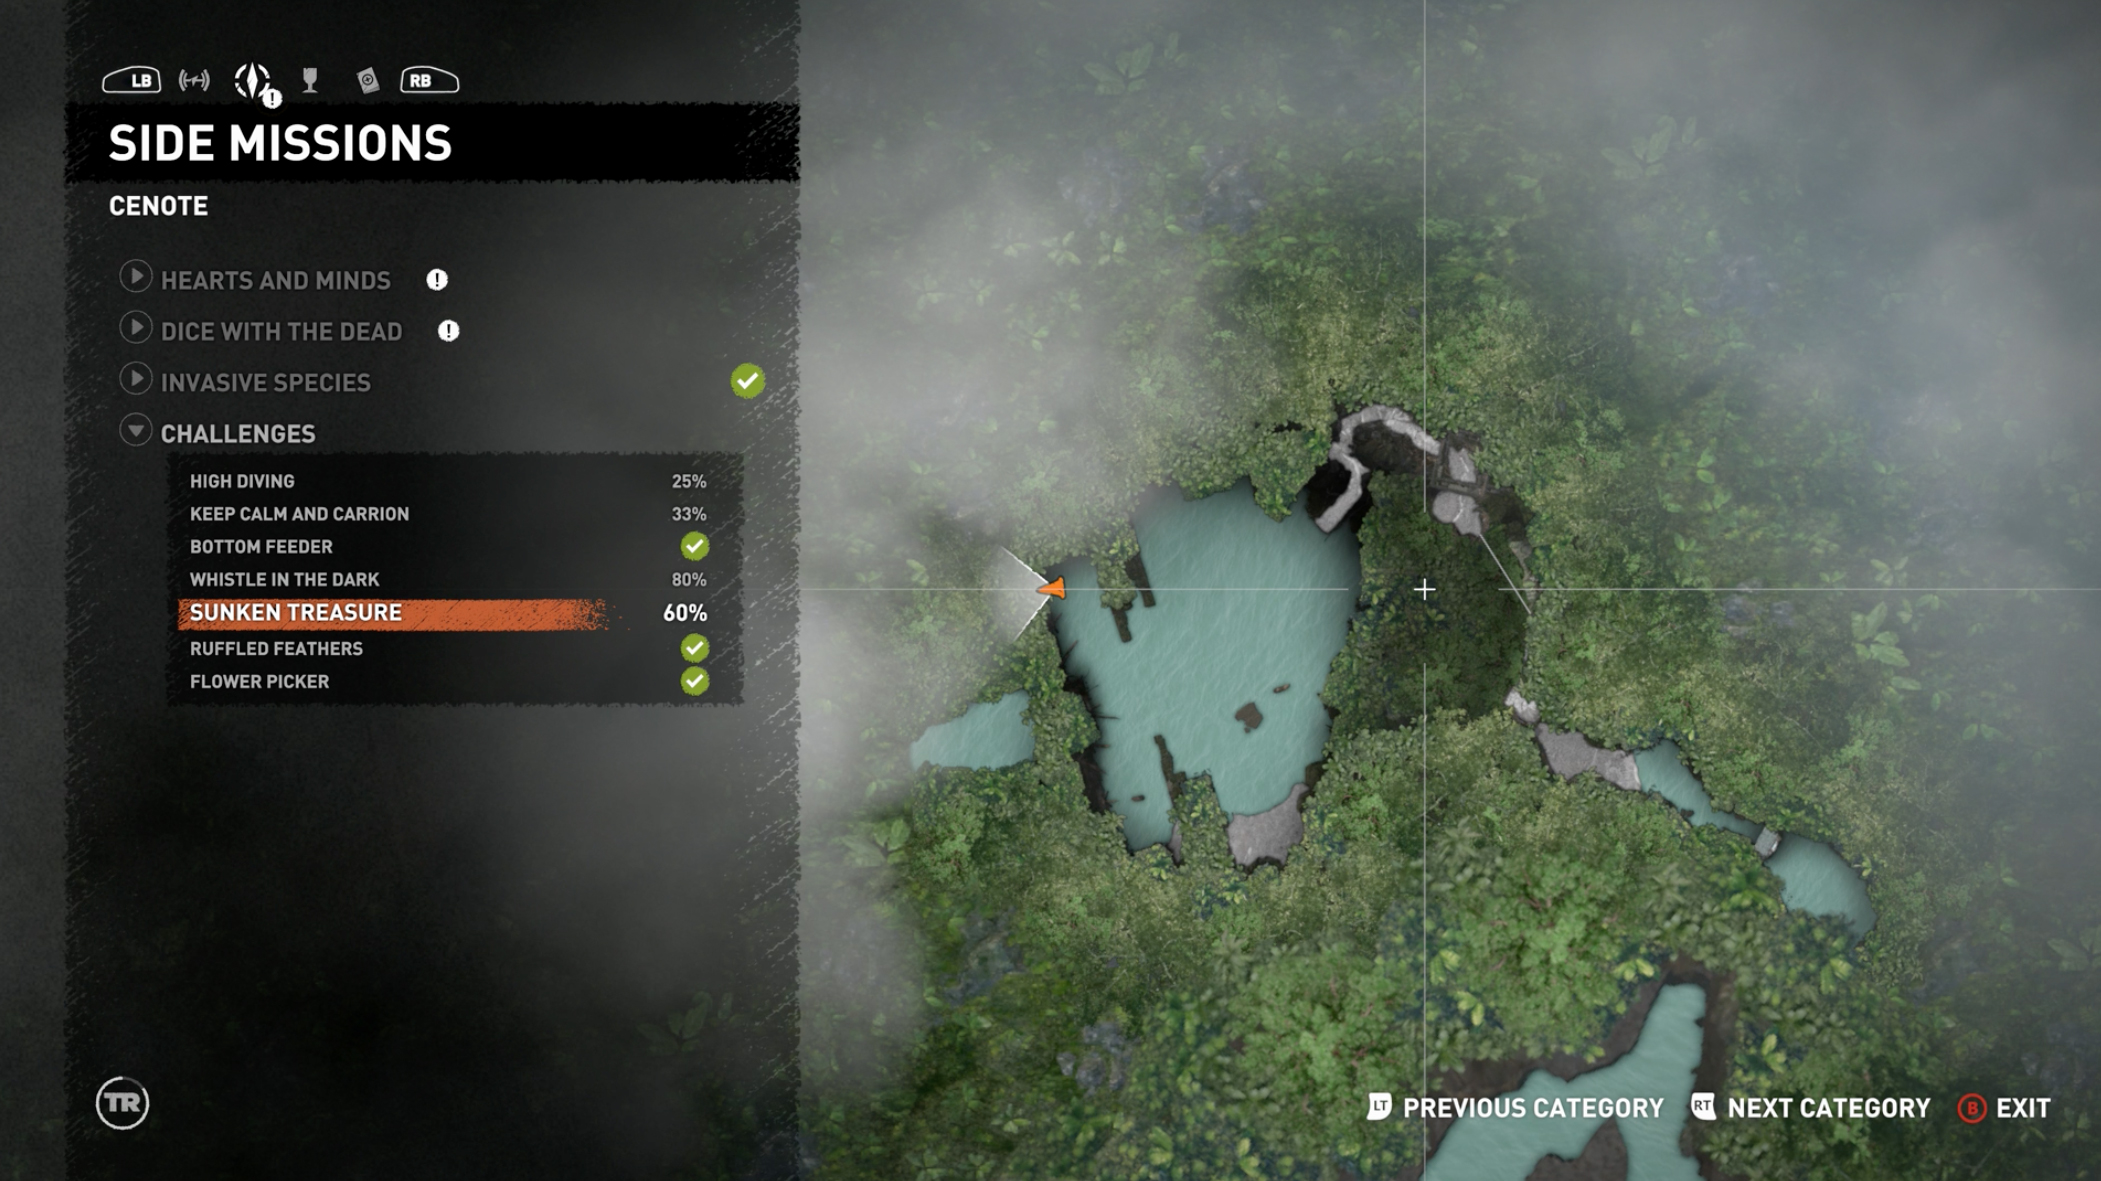
3. This is in the North-West corner of the same Cenote lagoon.
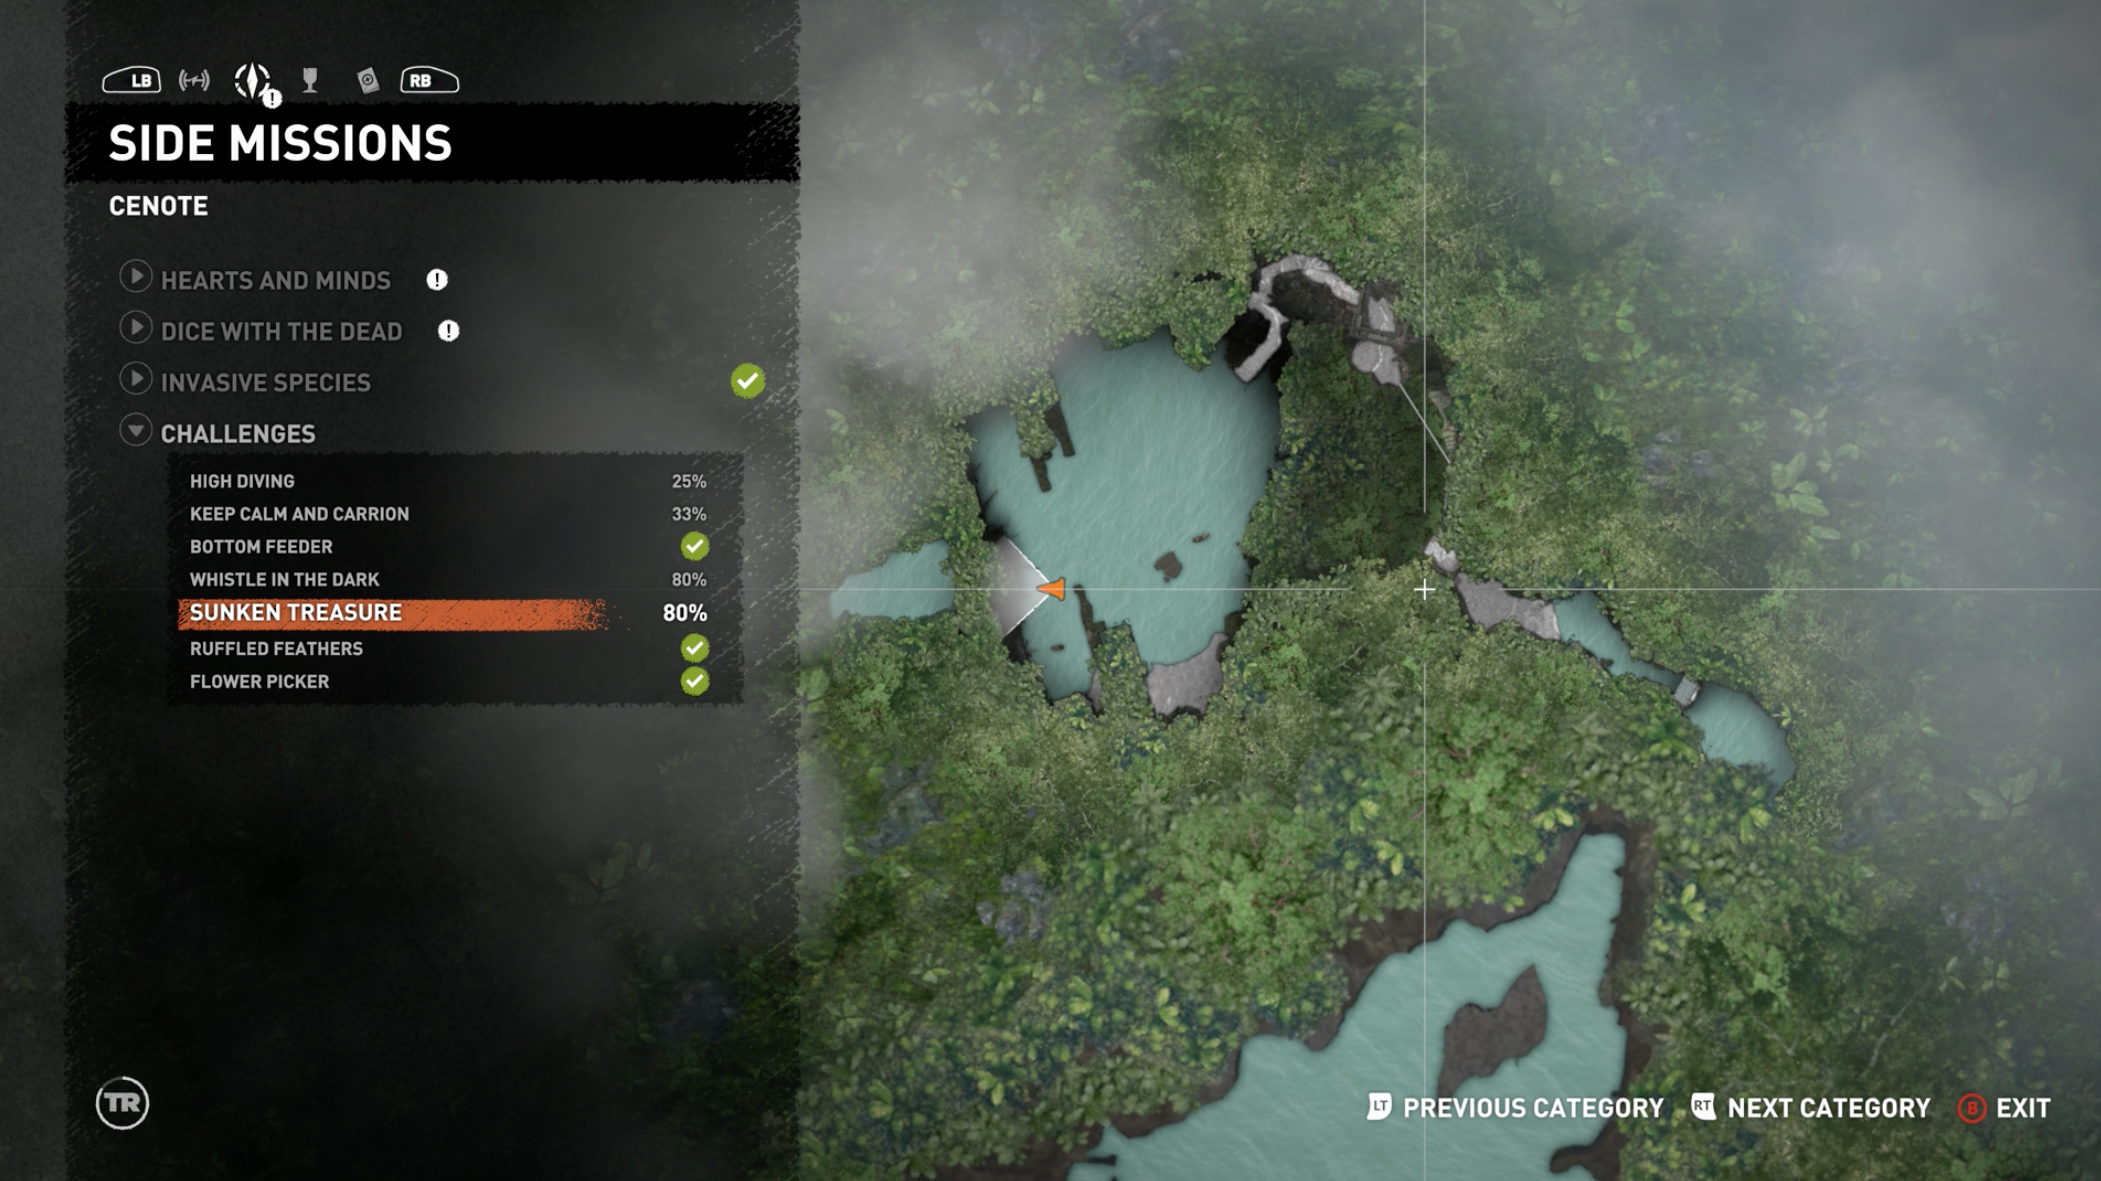
4. On the Eastern side of the lagoon, as shown in the screenshot.

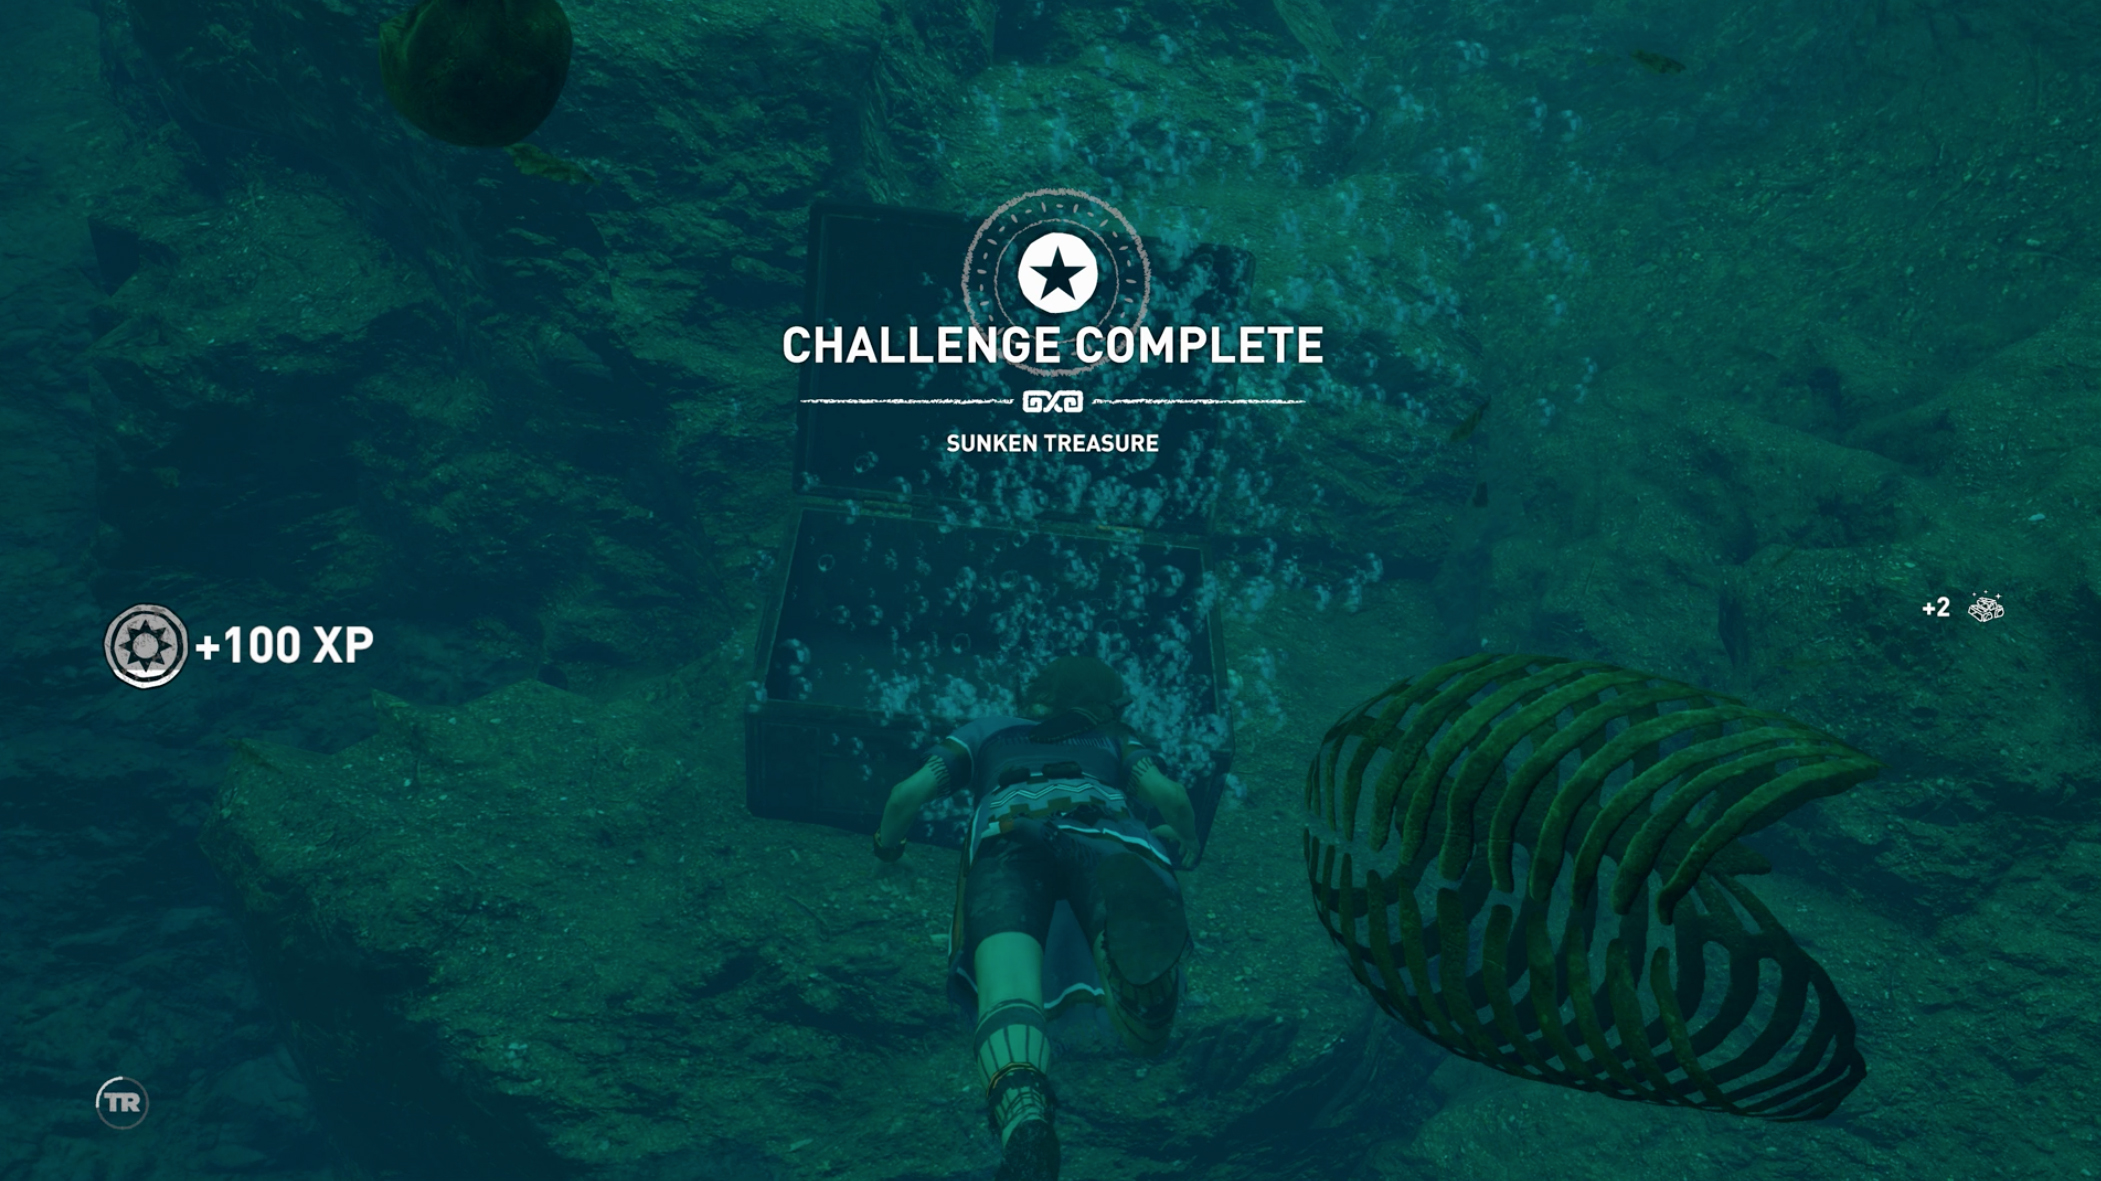
5. This is the only one that’s any trouble at all to find, and even then it’s pretty simple. It’s deep down in the bottom of the lagoon in the North-East area.
Respected (Cenote)
There are five effigies around Cenote’s caverns, and they all require you to fire a rope arrow at them. Of course, that’s mechanically the same as just shooting them with your bow, so squeeze the left trigger, aim for the white rope part like in the first screenshot here, and pull and release the right trigger.
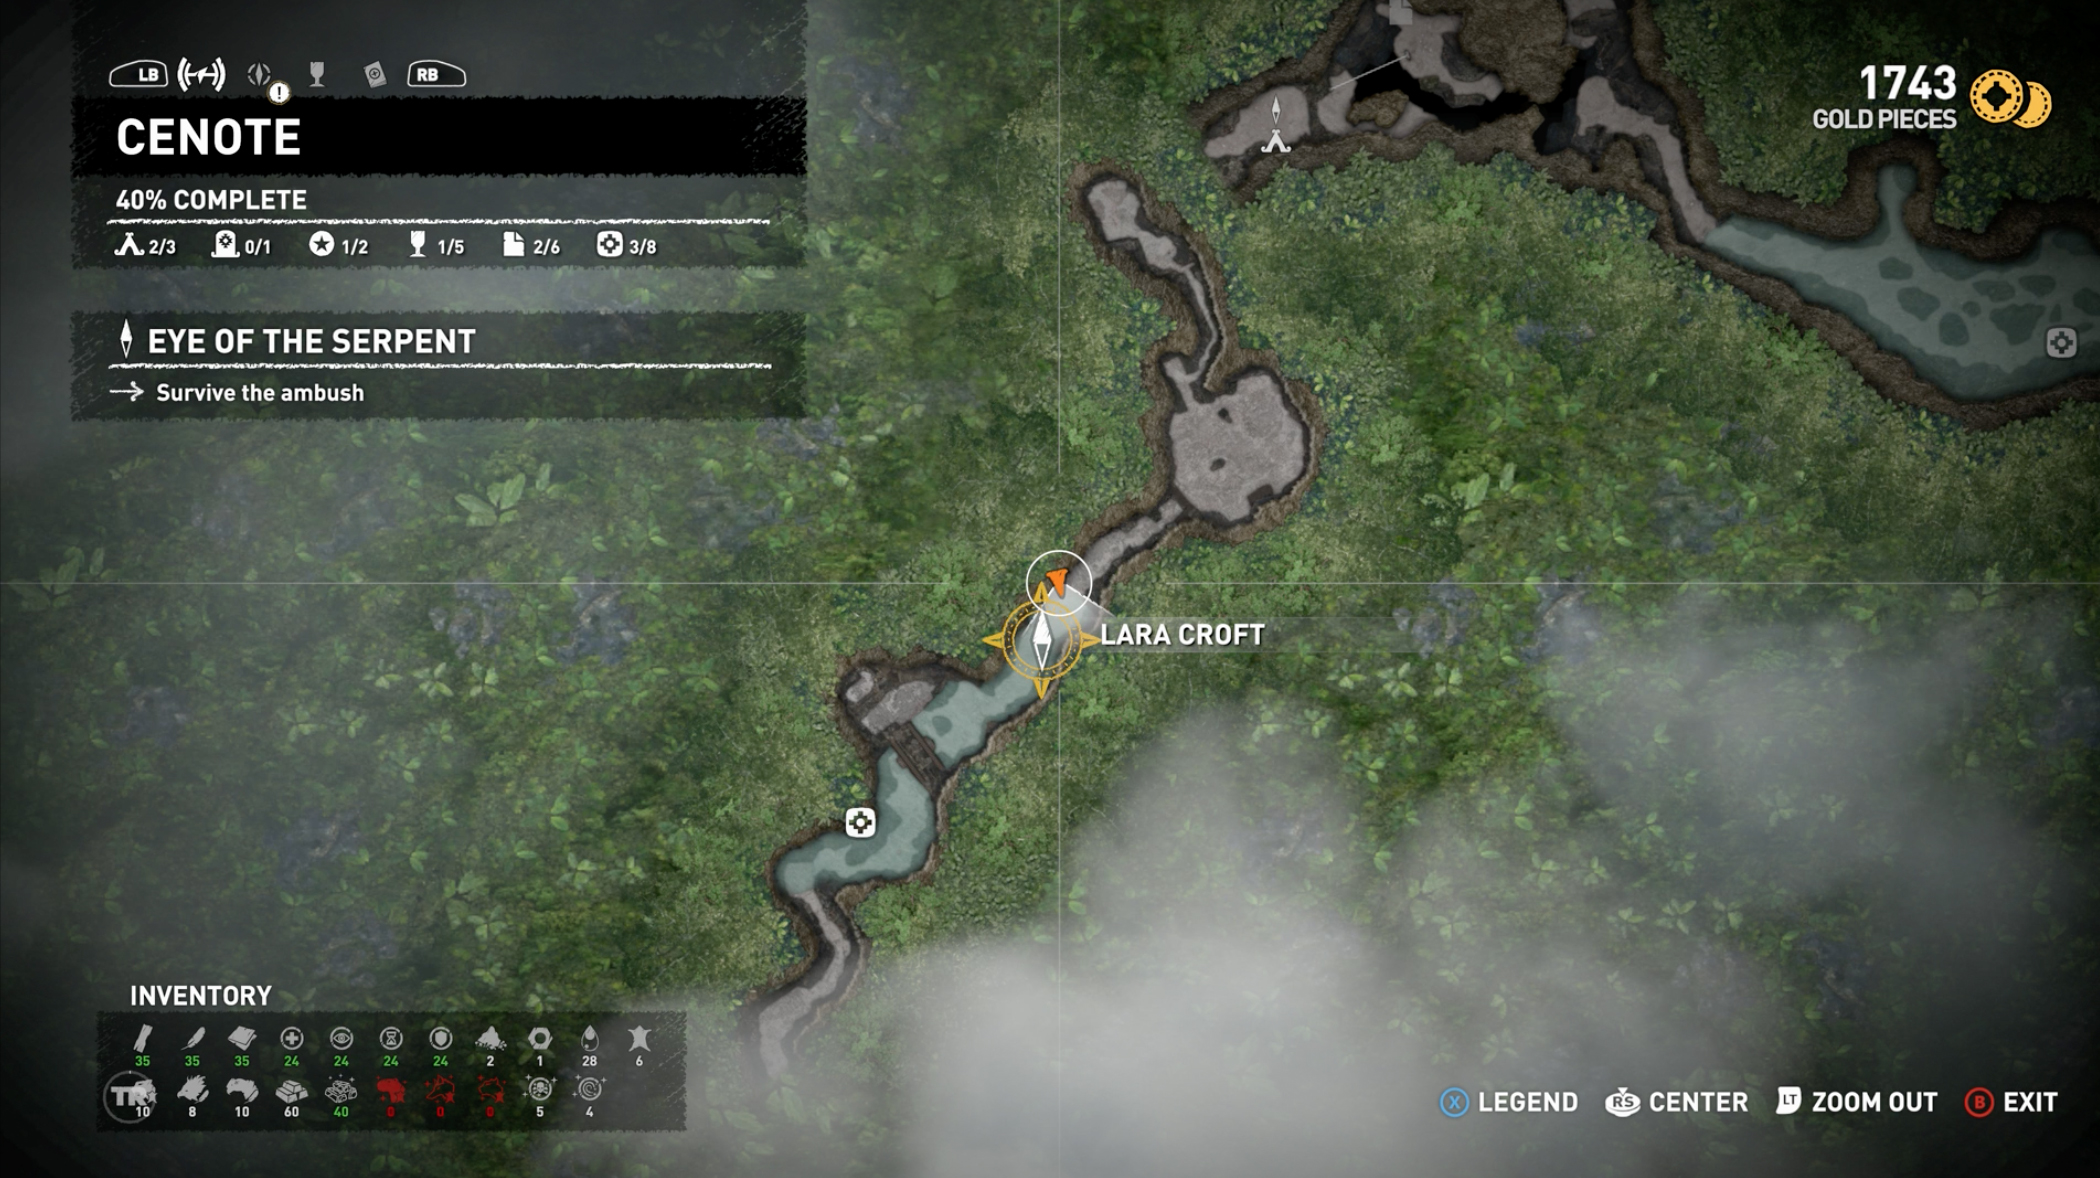
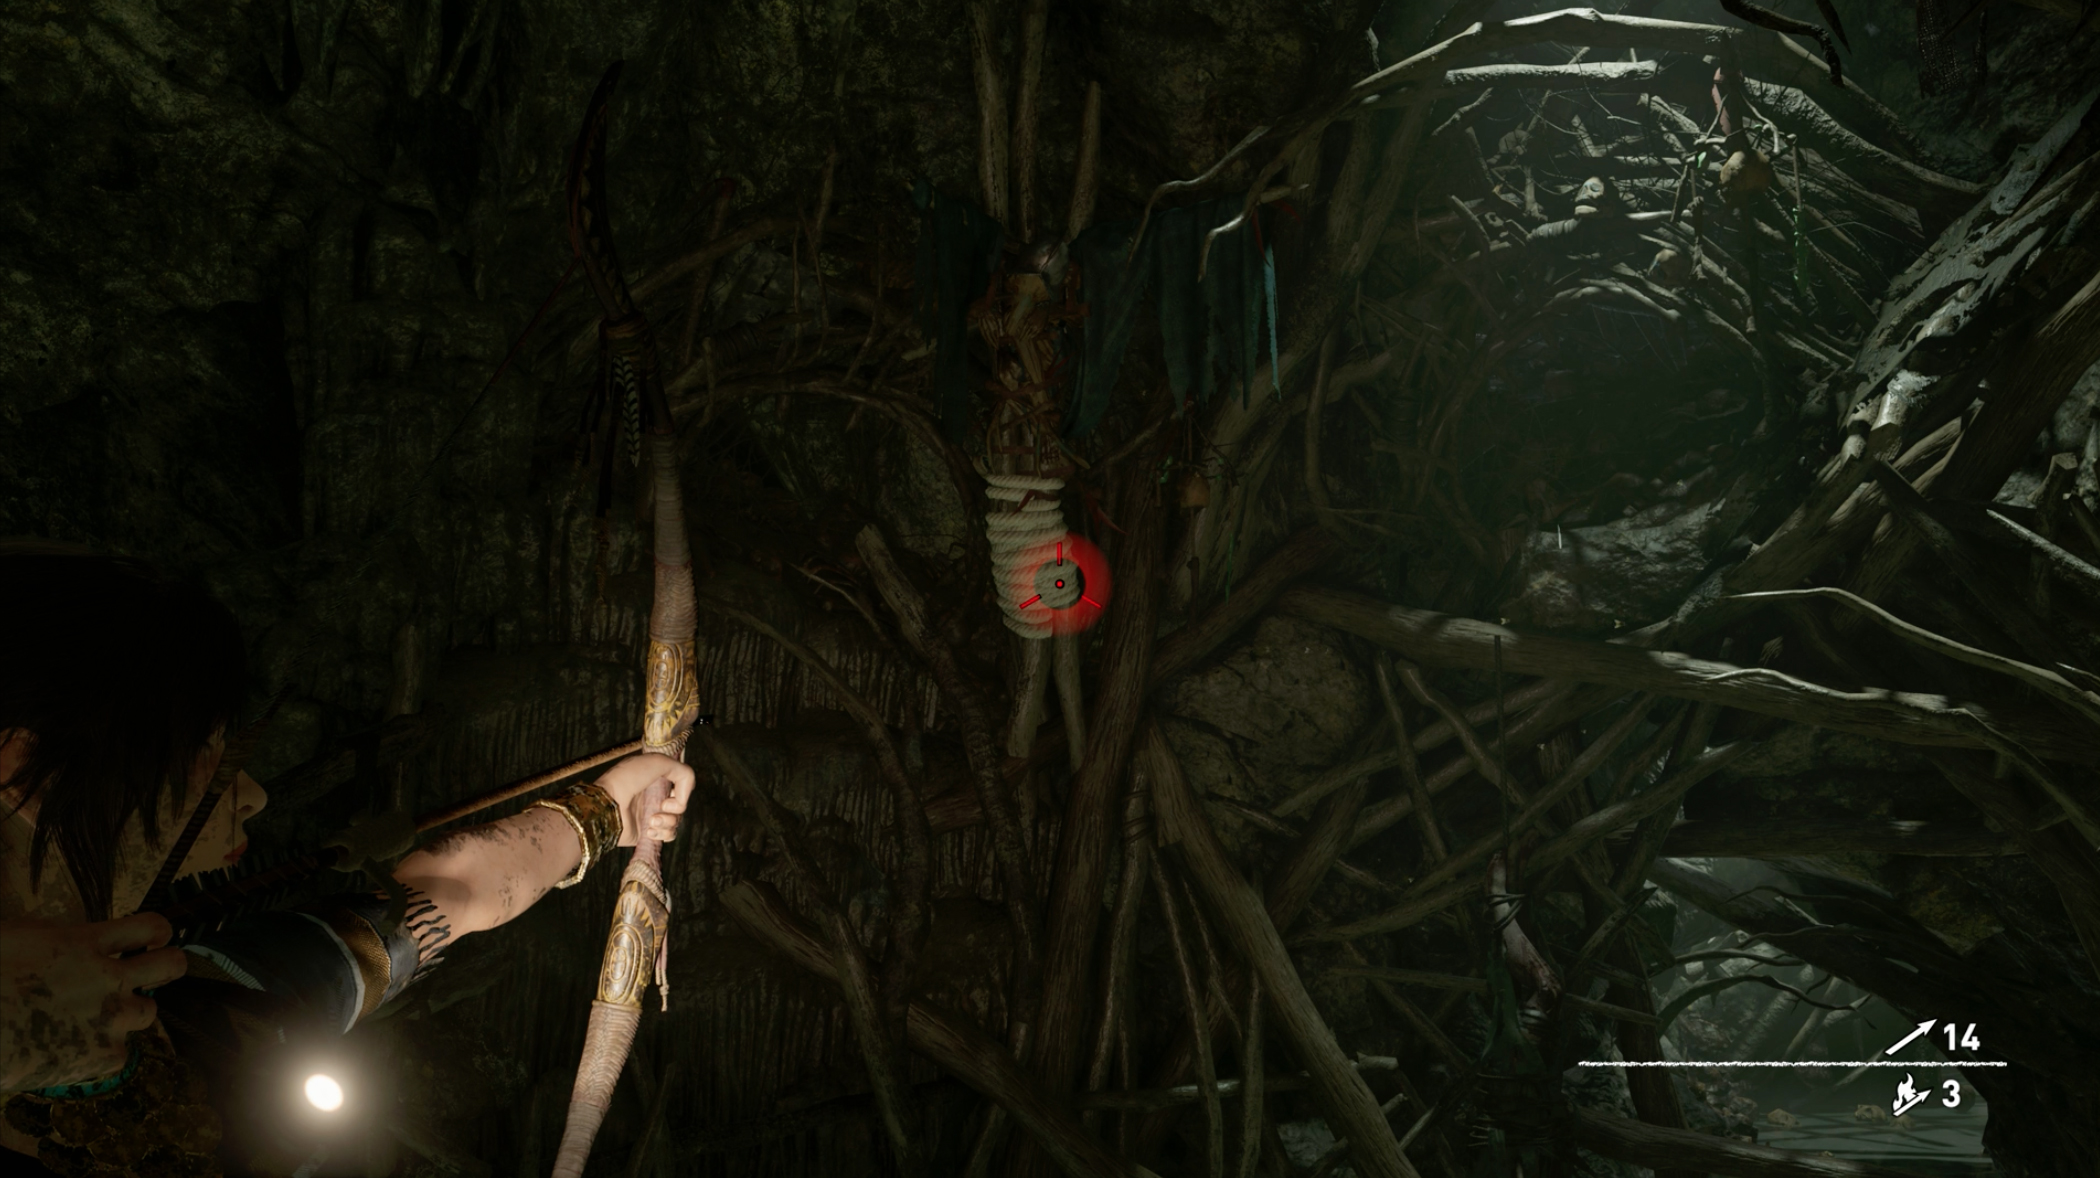
1. Immediately after the battle with the multiple monsters in the caves, you climb up the left-hend ledge and the first effigy is in front of you.
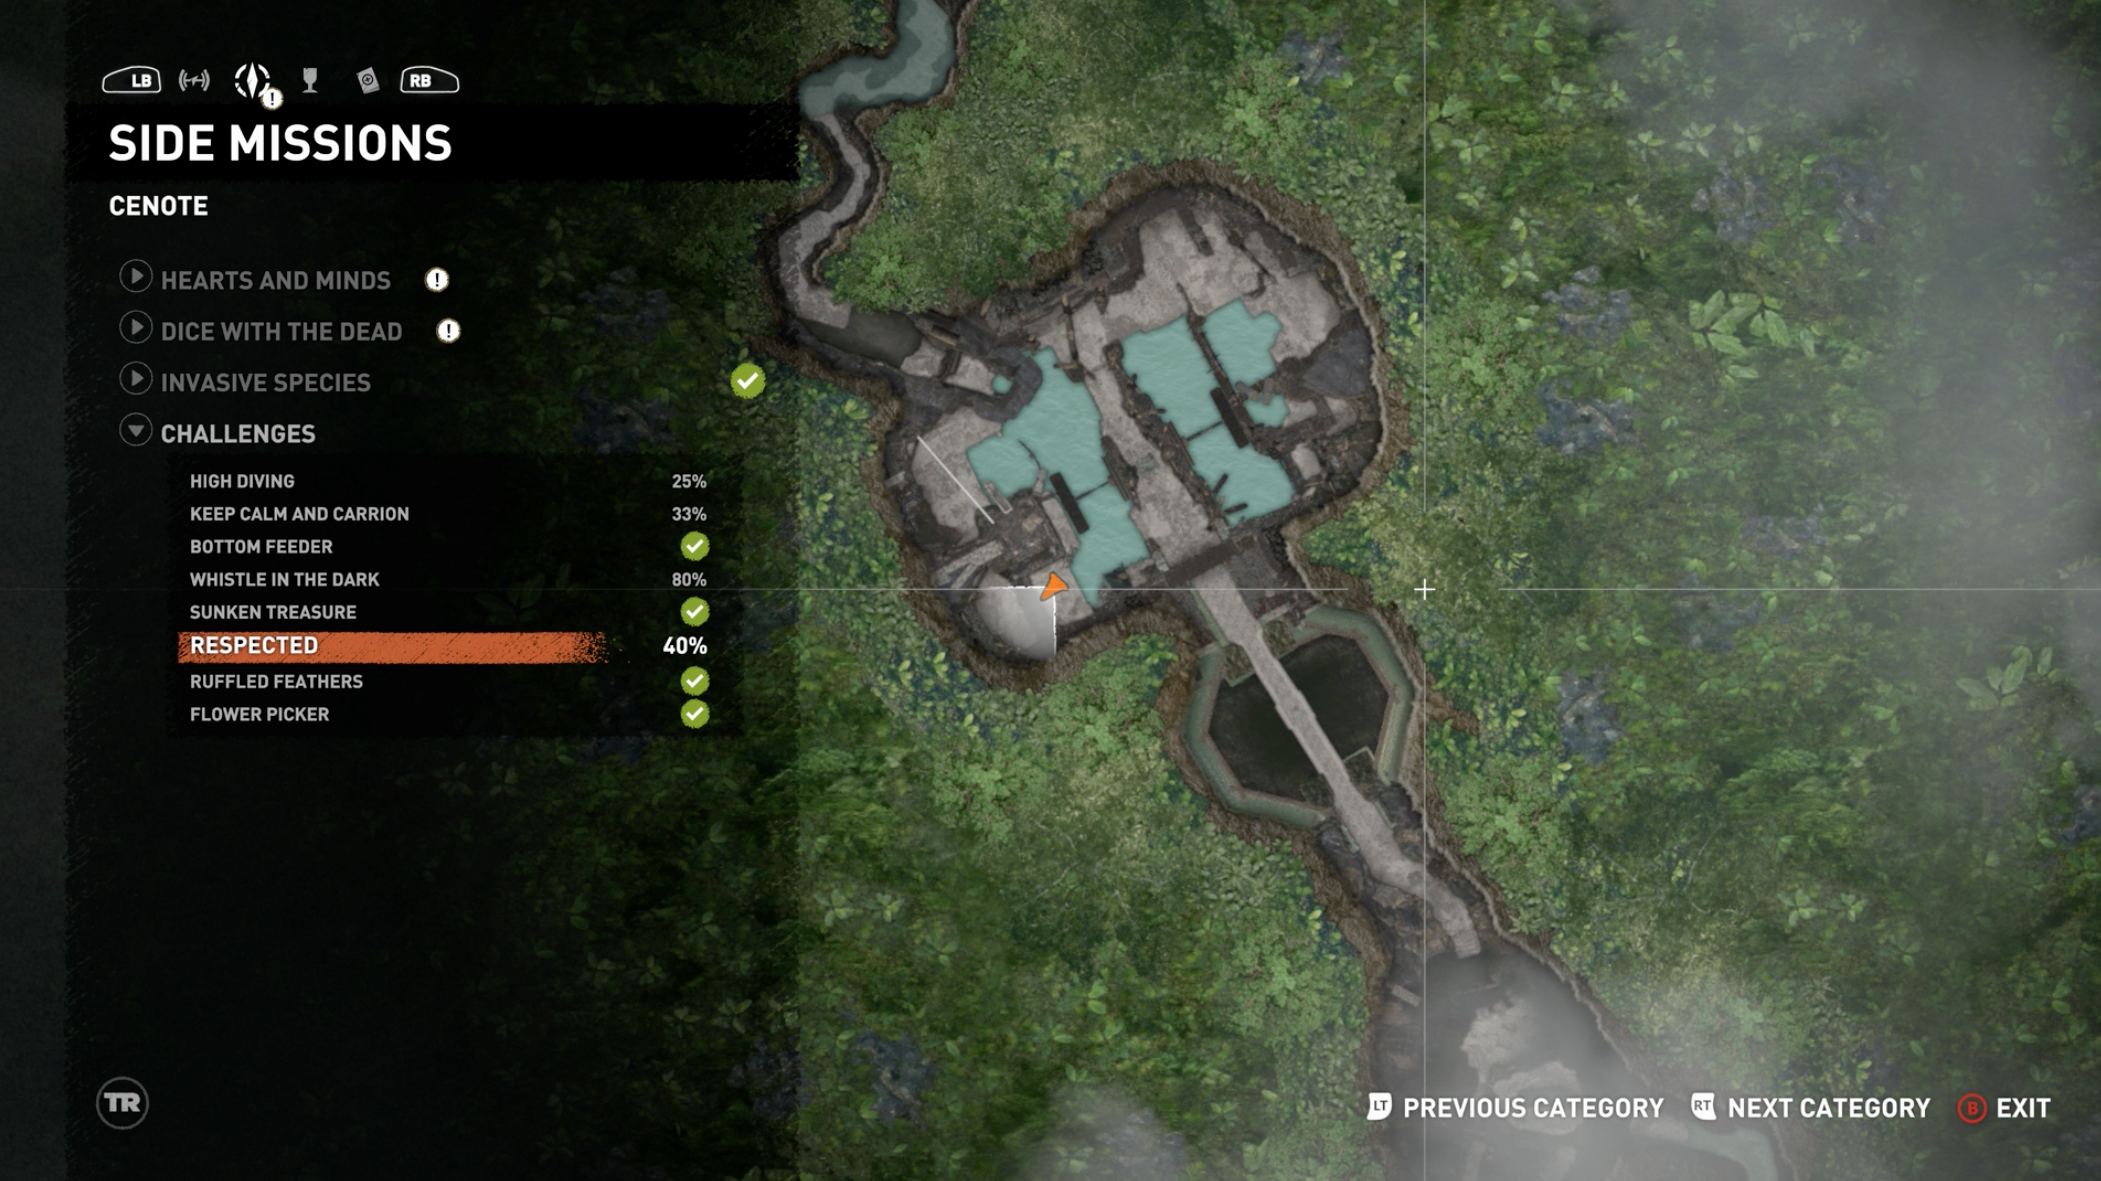
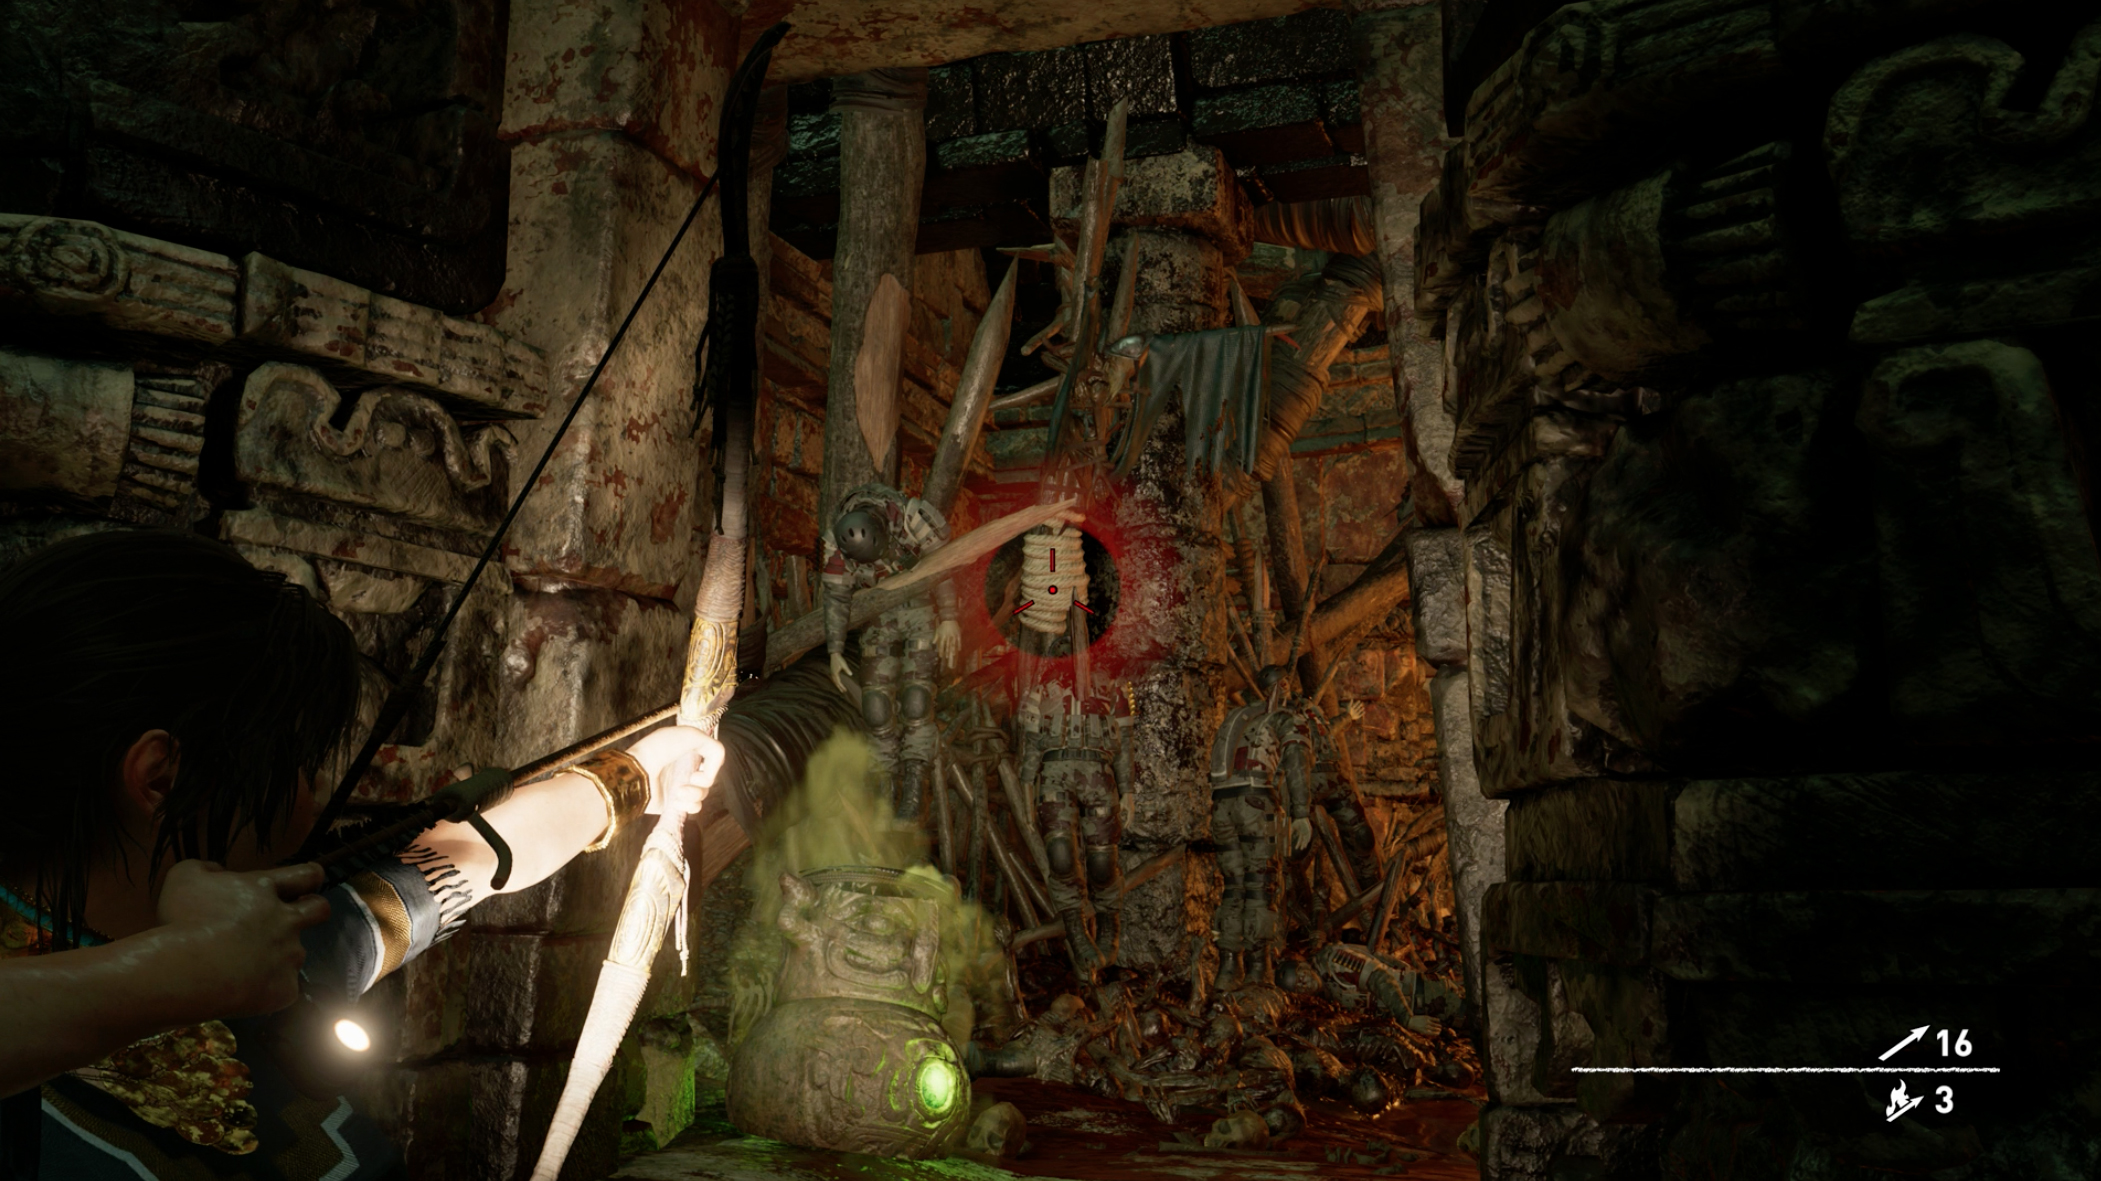
2. In the large room with the huge, dual-seal door, walk down the steps away from the door and round them to the left. Hug the wall and you find a room with one warrior defending it. Kill the warrior and use your bow on the effigy.
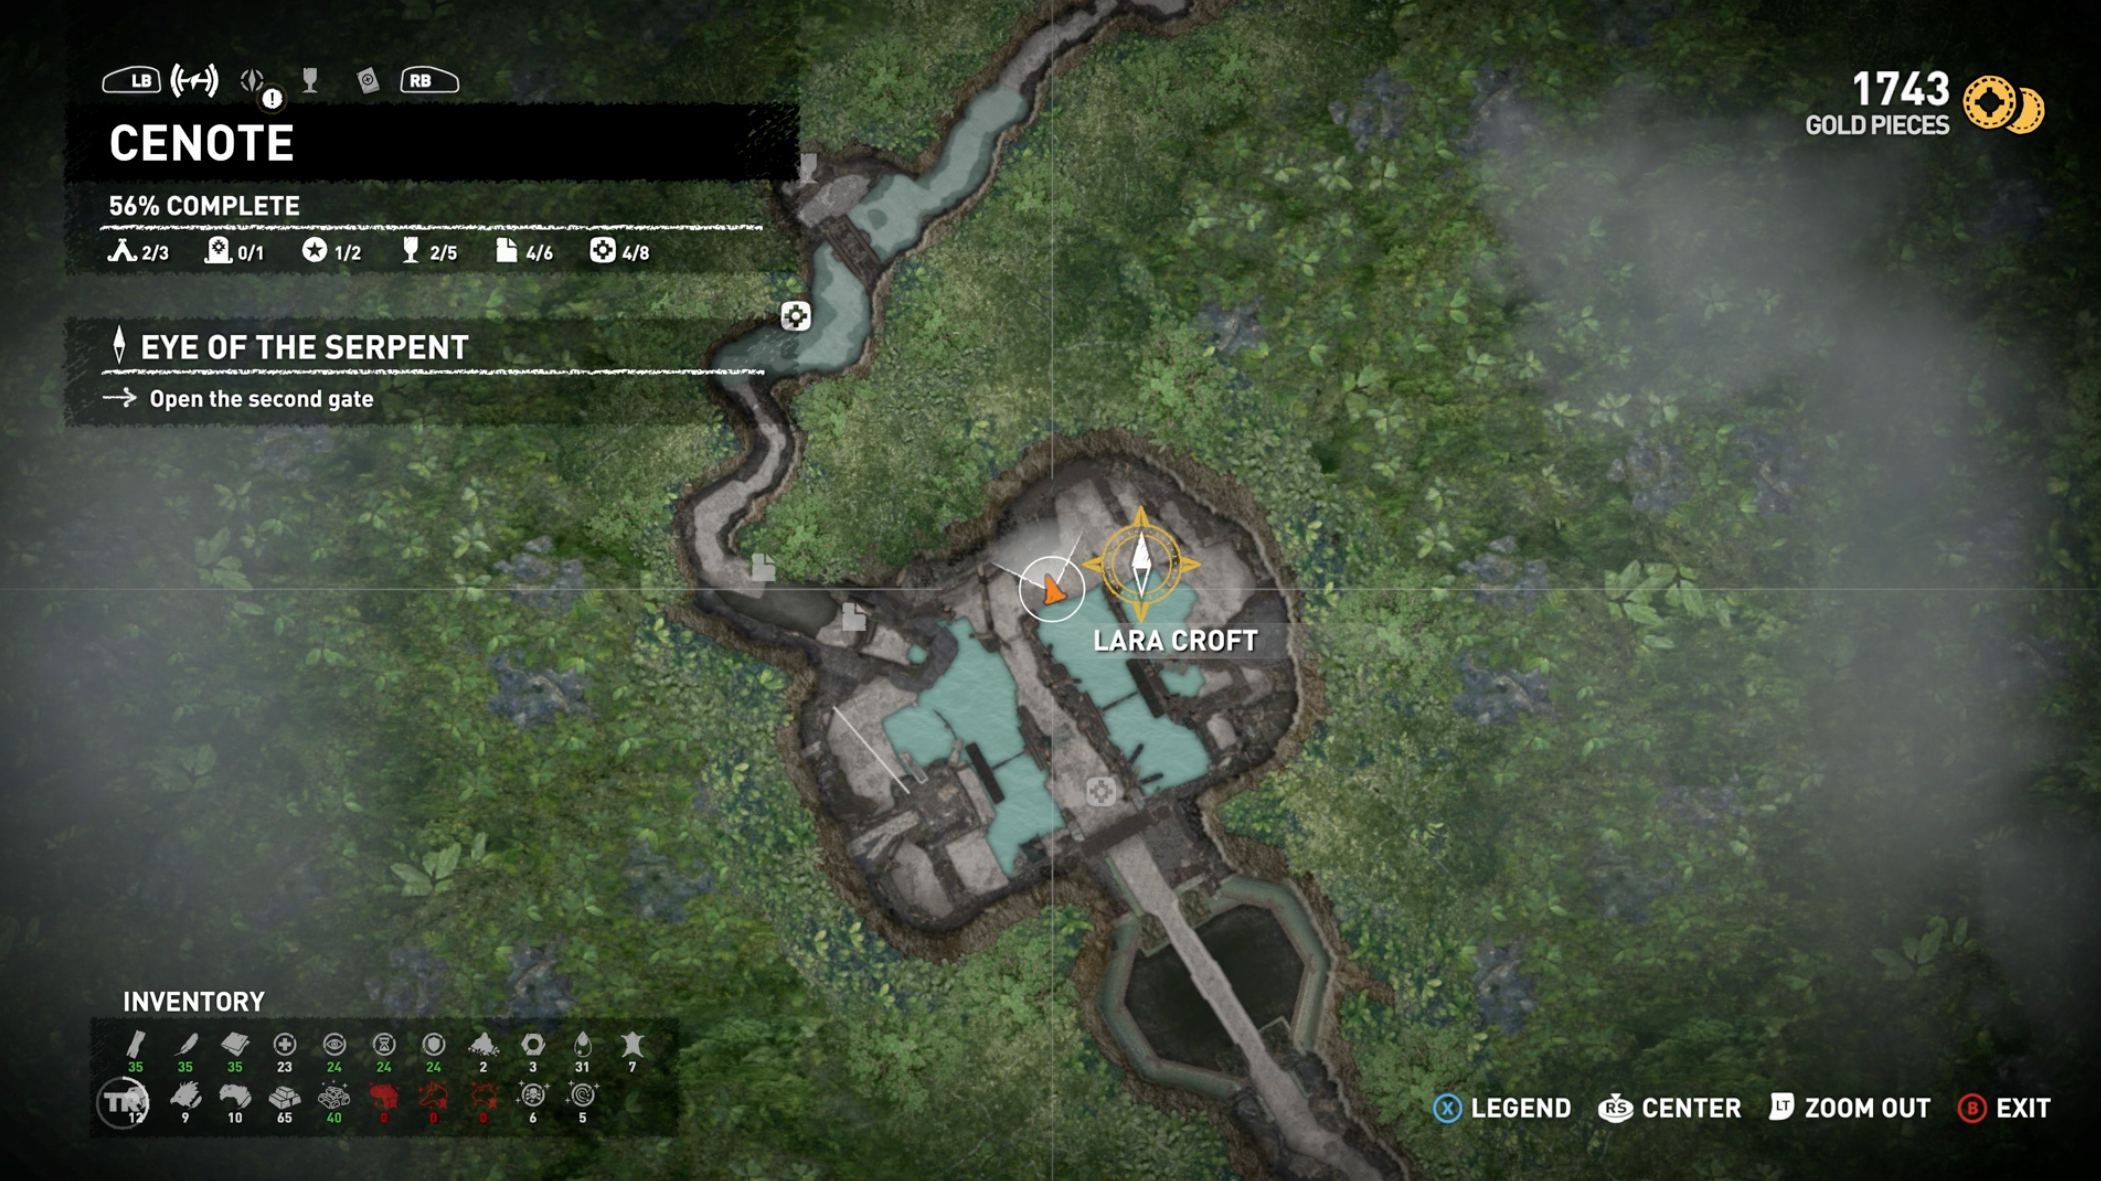
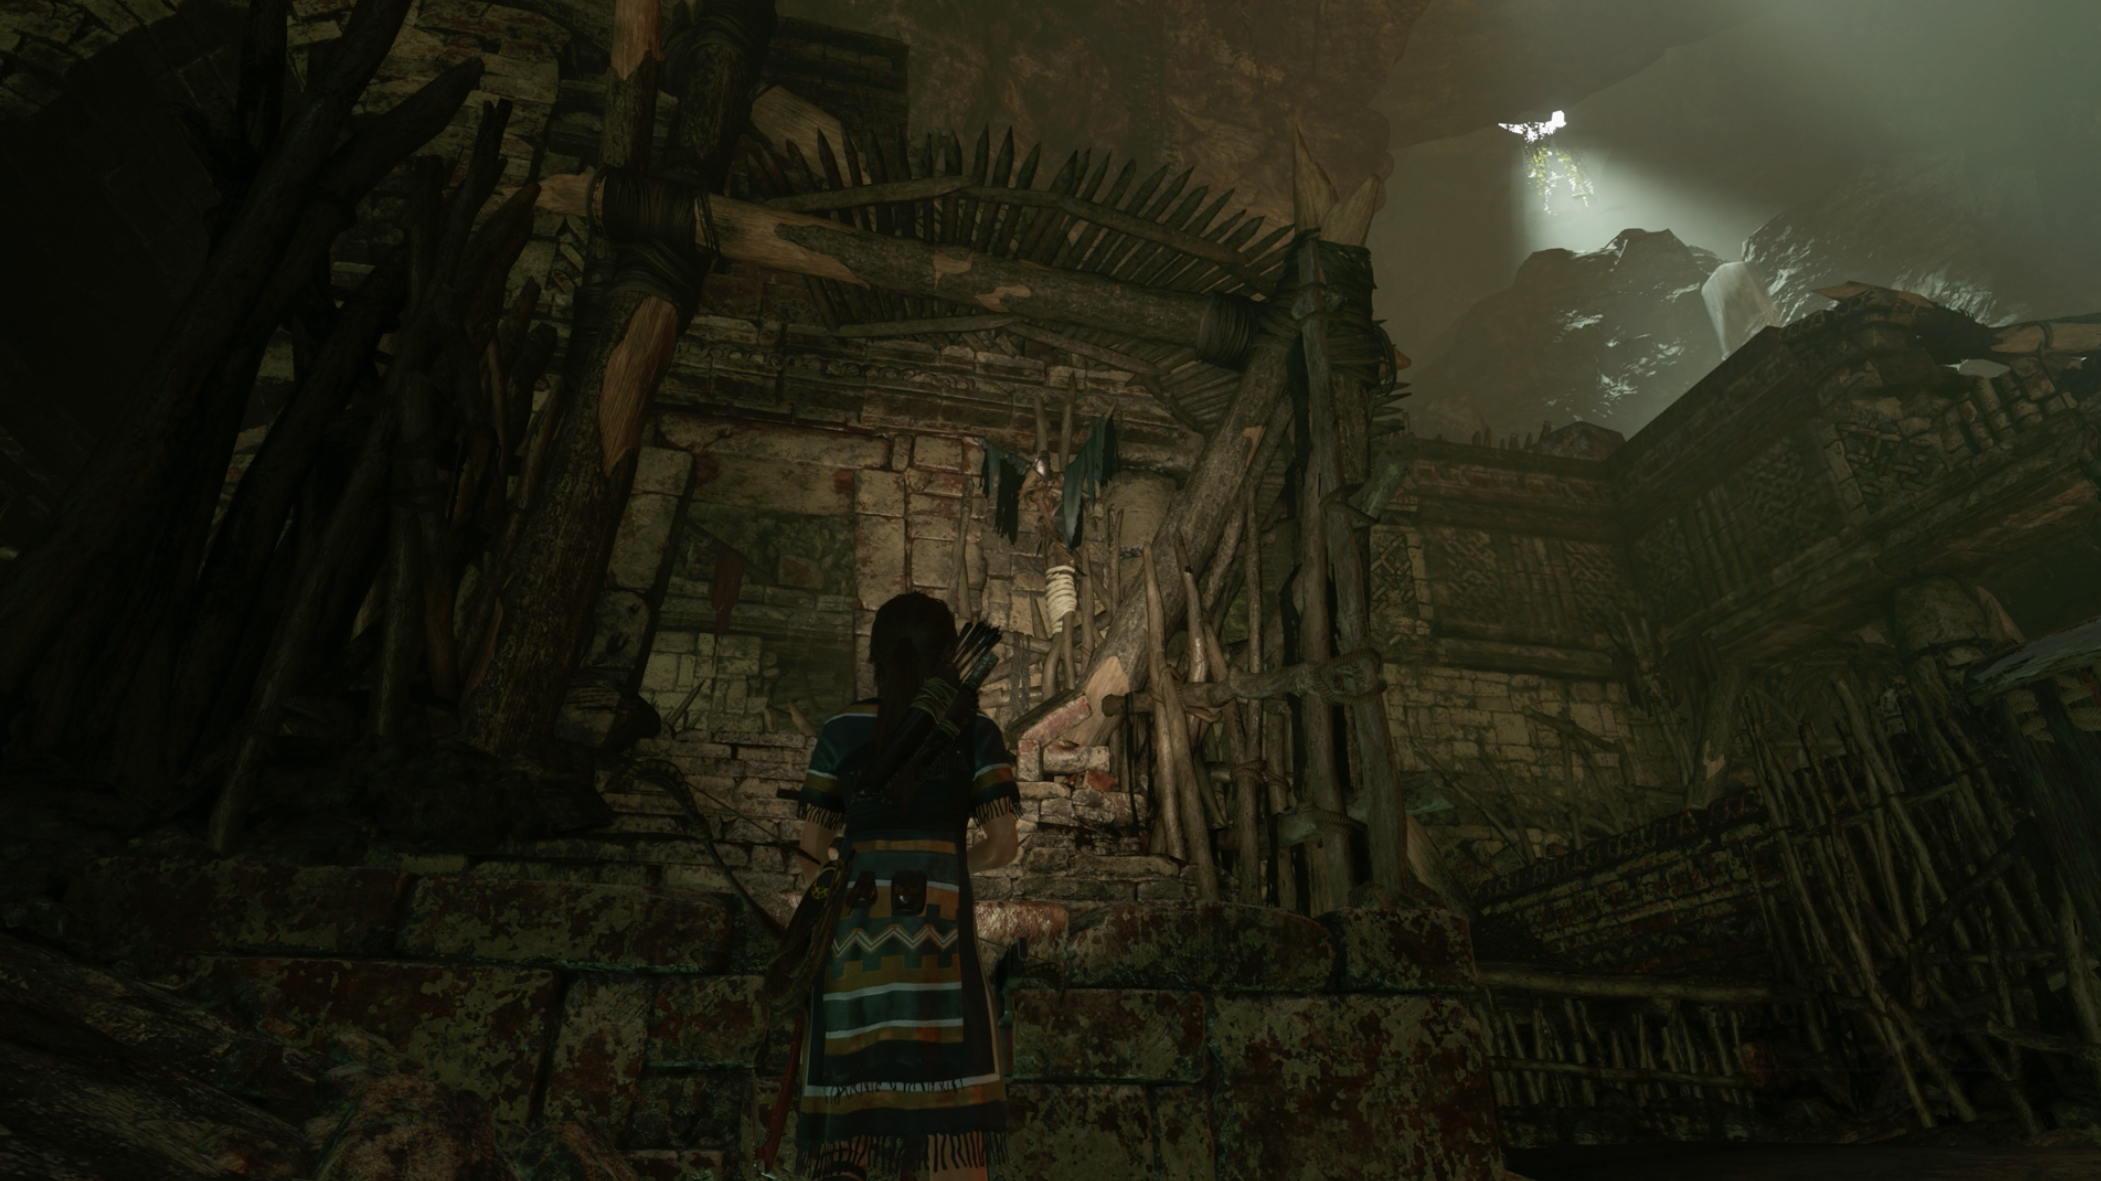
3. After opening the first of the two stages of the door in the caves, swim under the moving waterwheel to access the other side of the room. Here’s number 3.
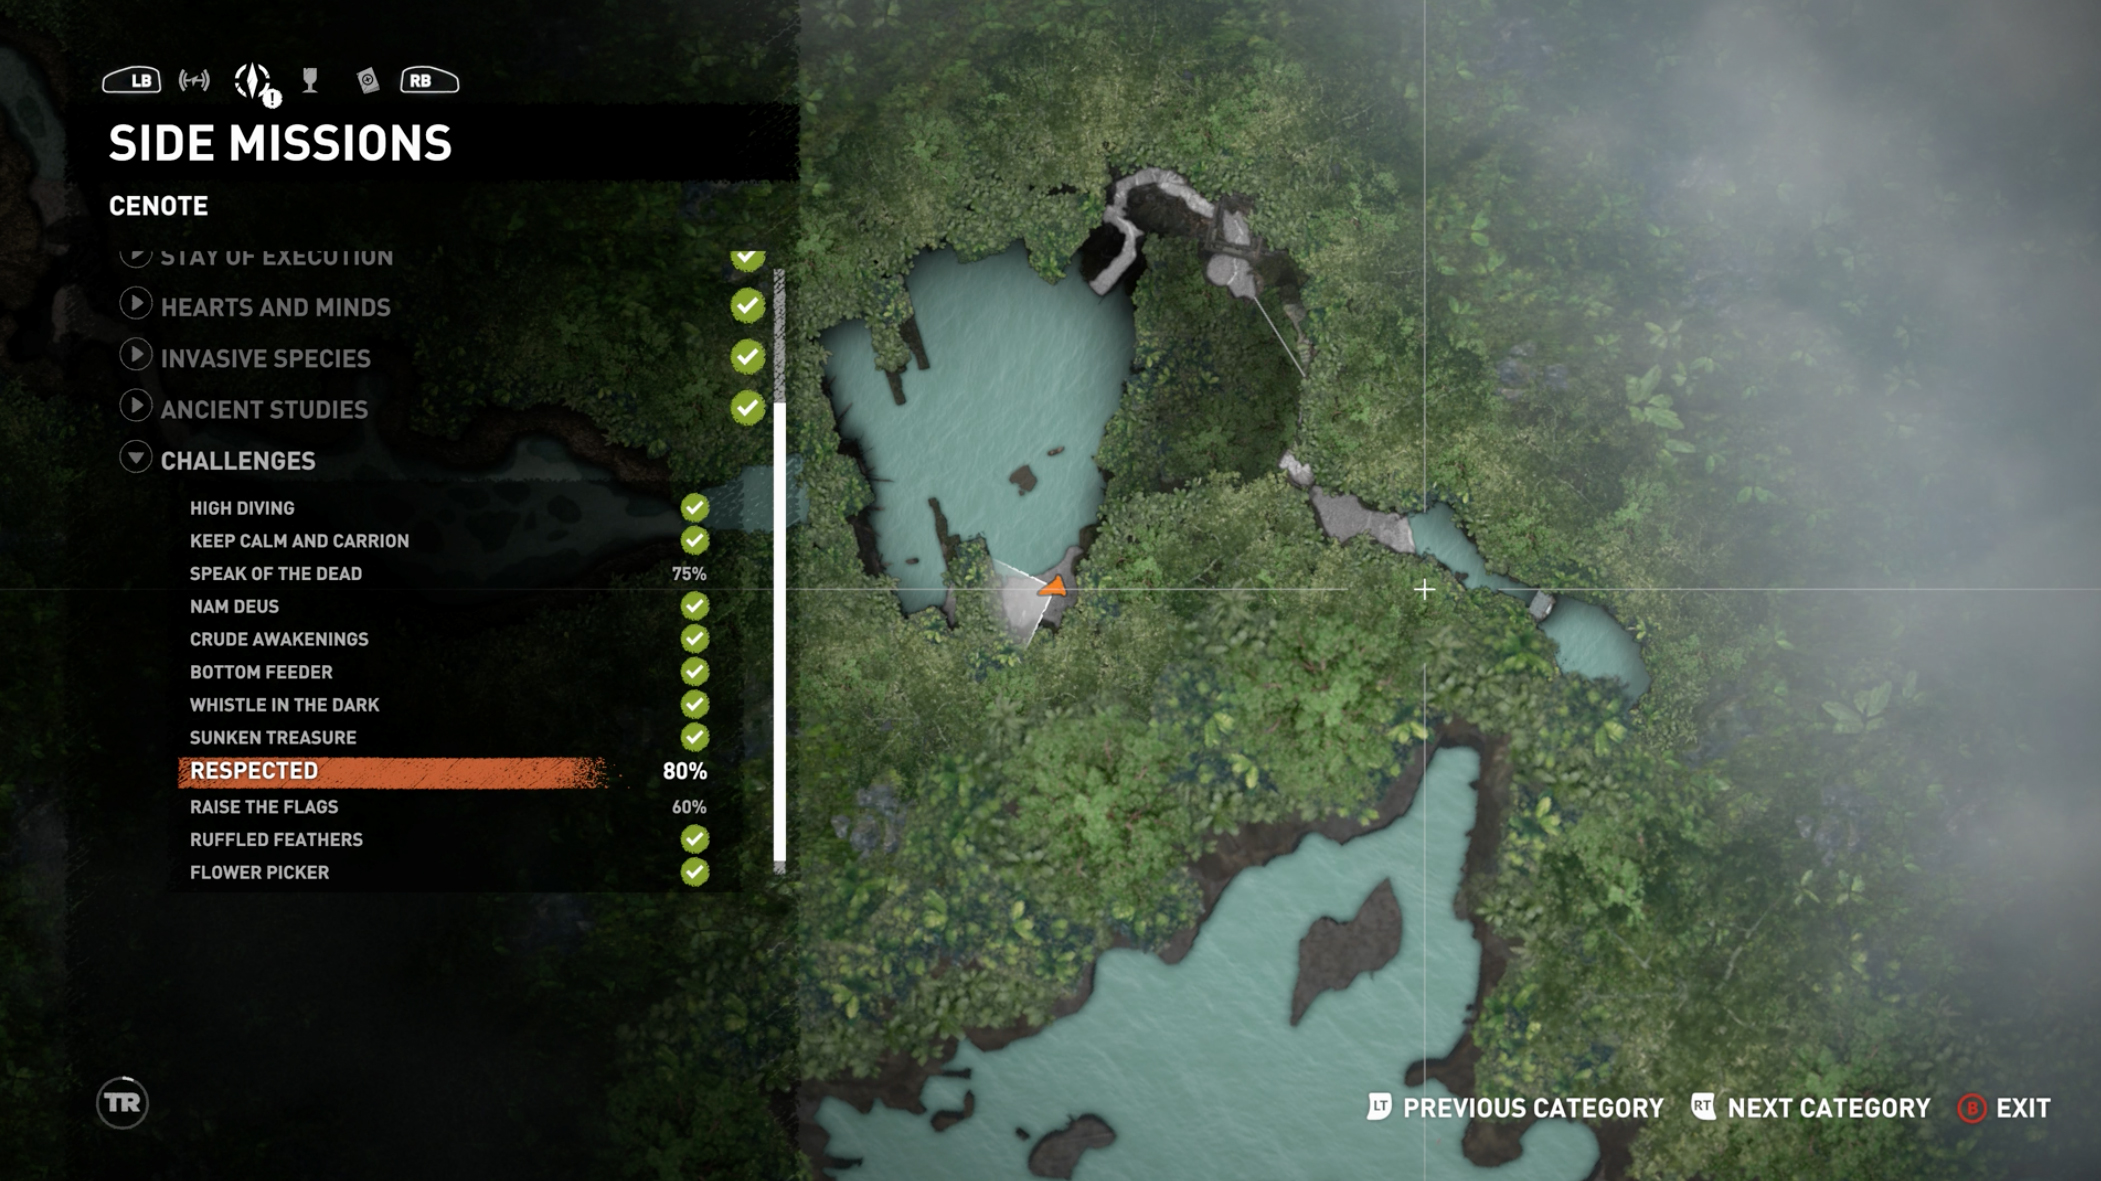
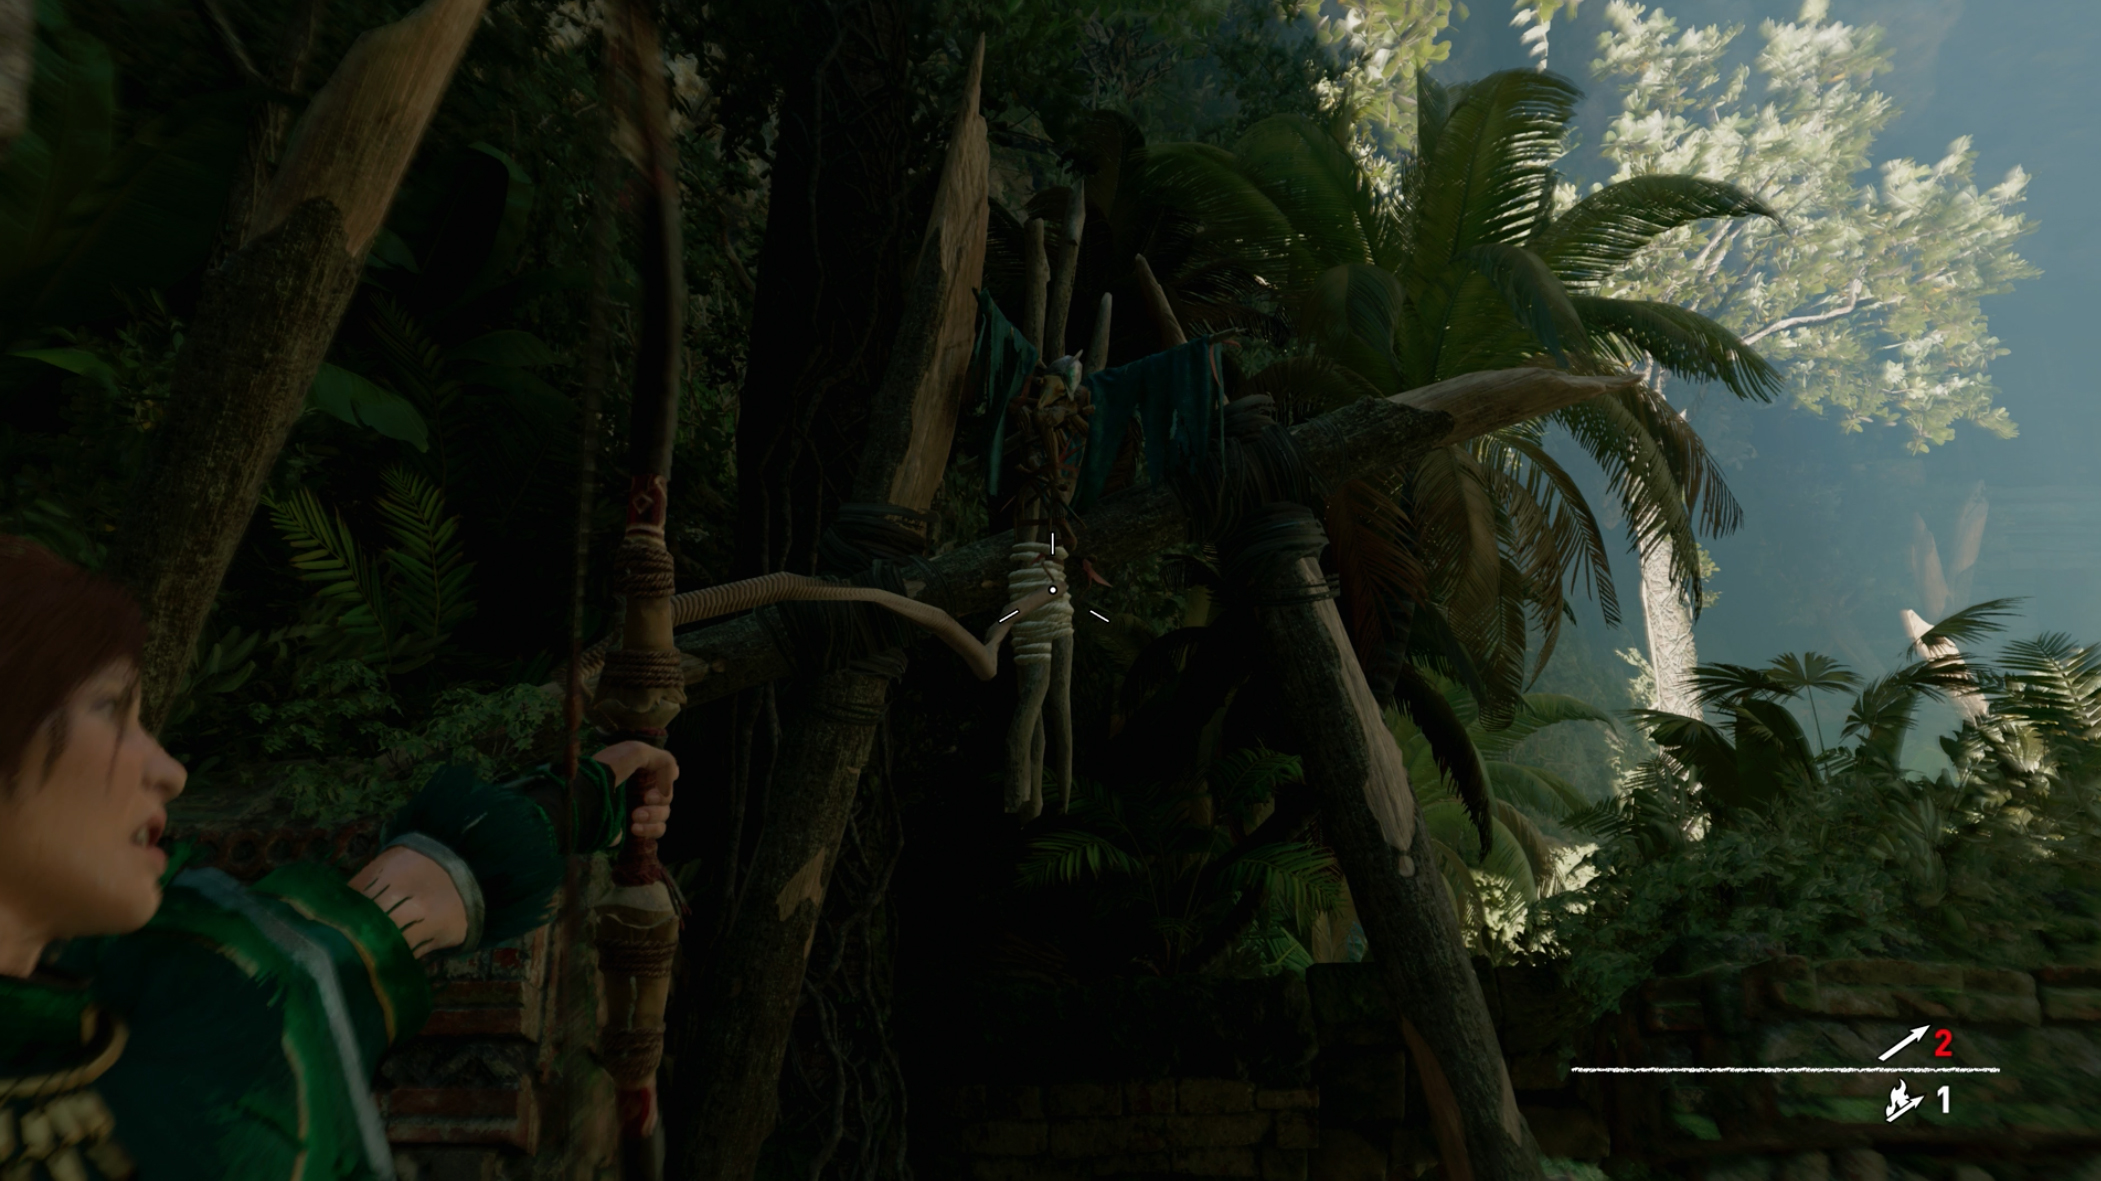
4. In Cenote, after the huge jump into the lagoon, you’ll find the effigy in the south-west corner.
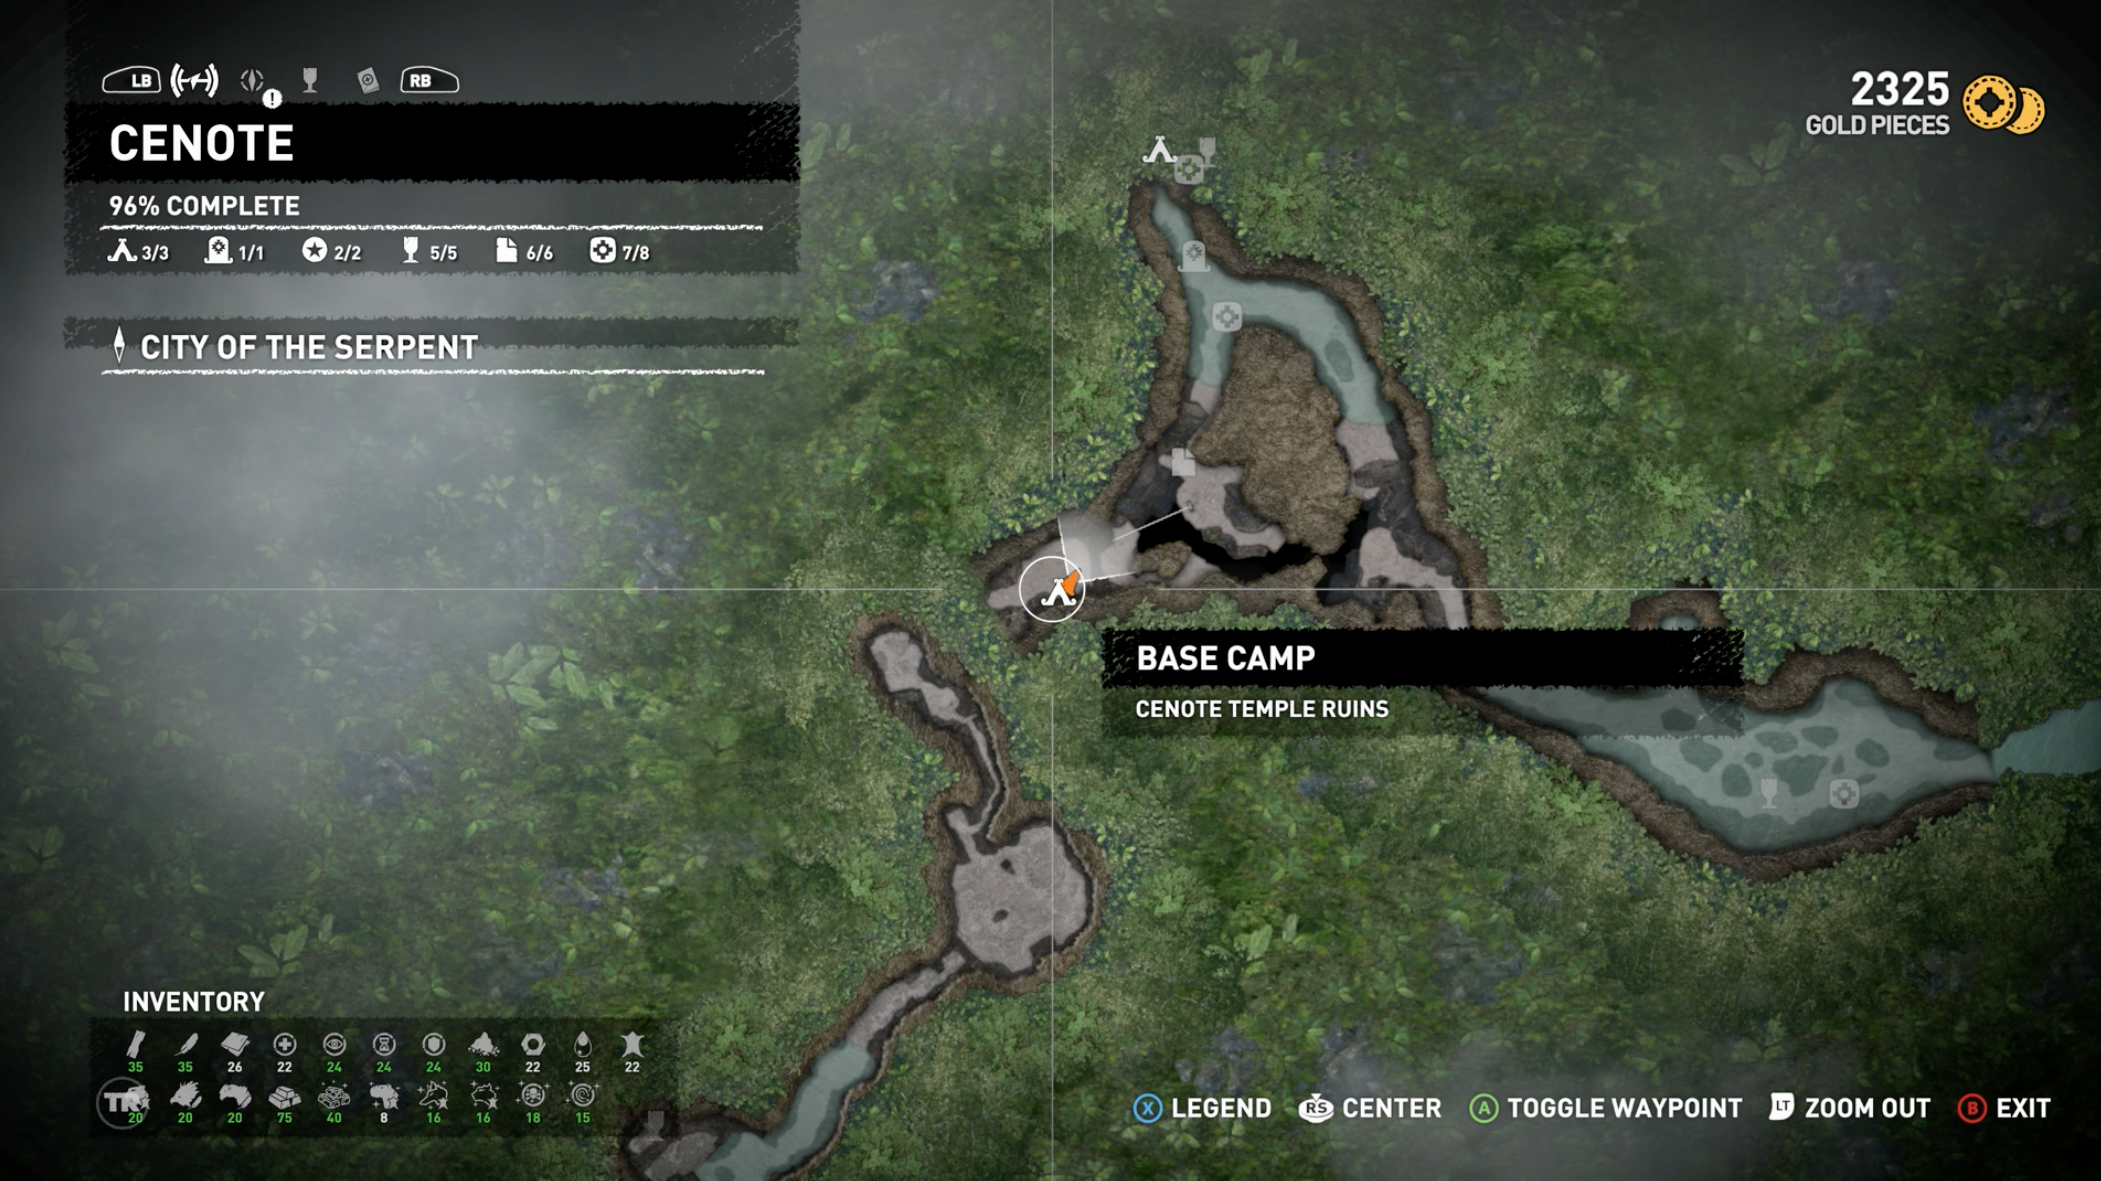
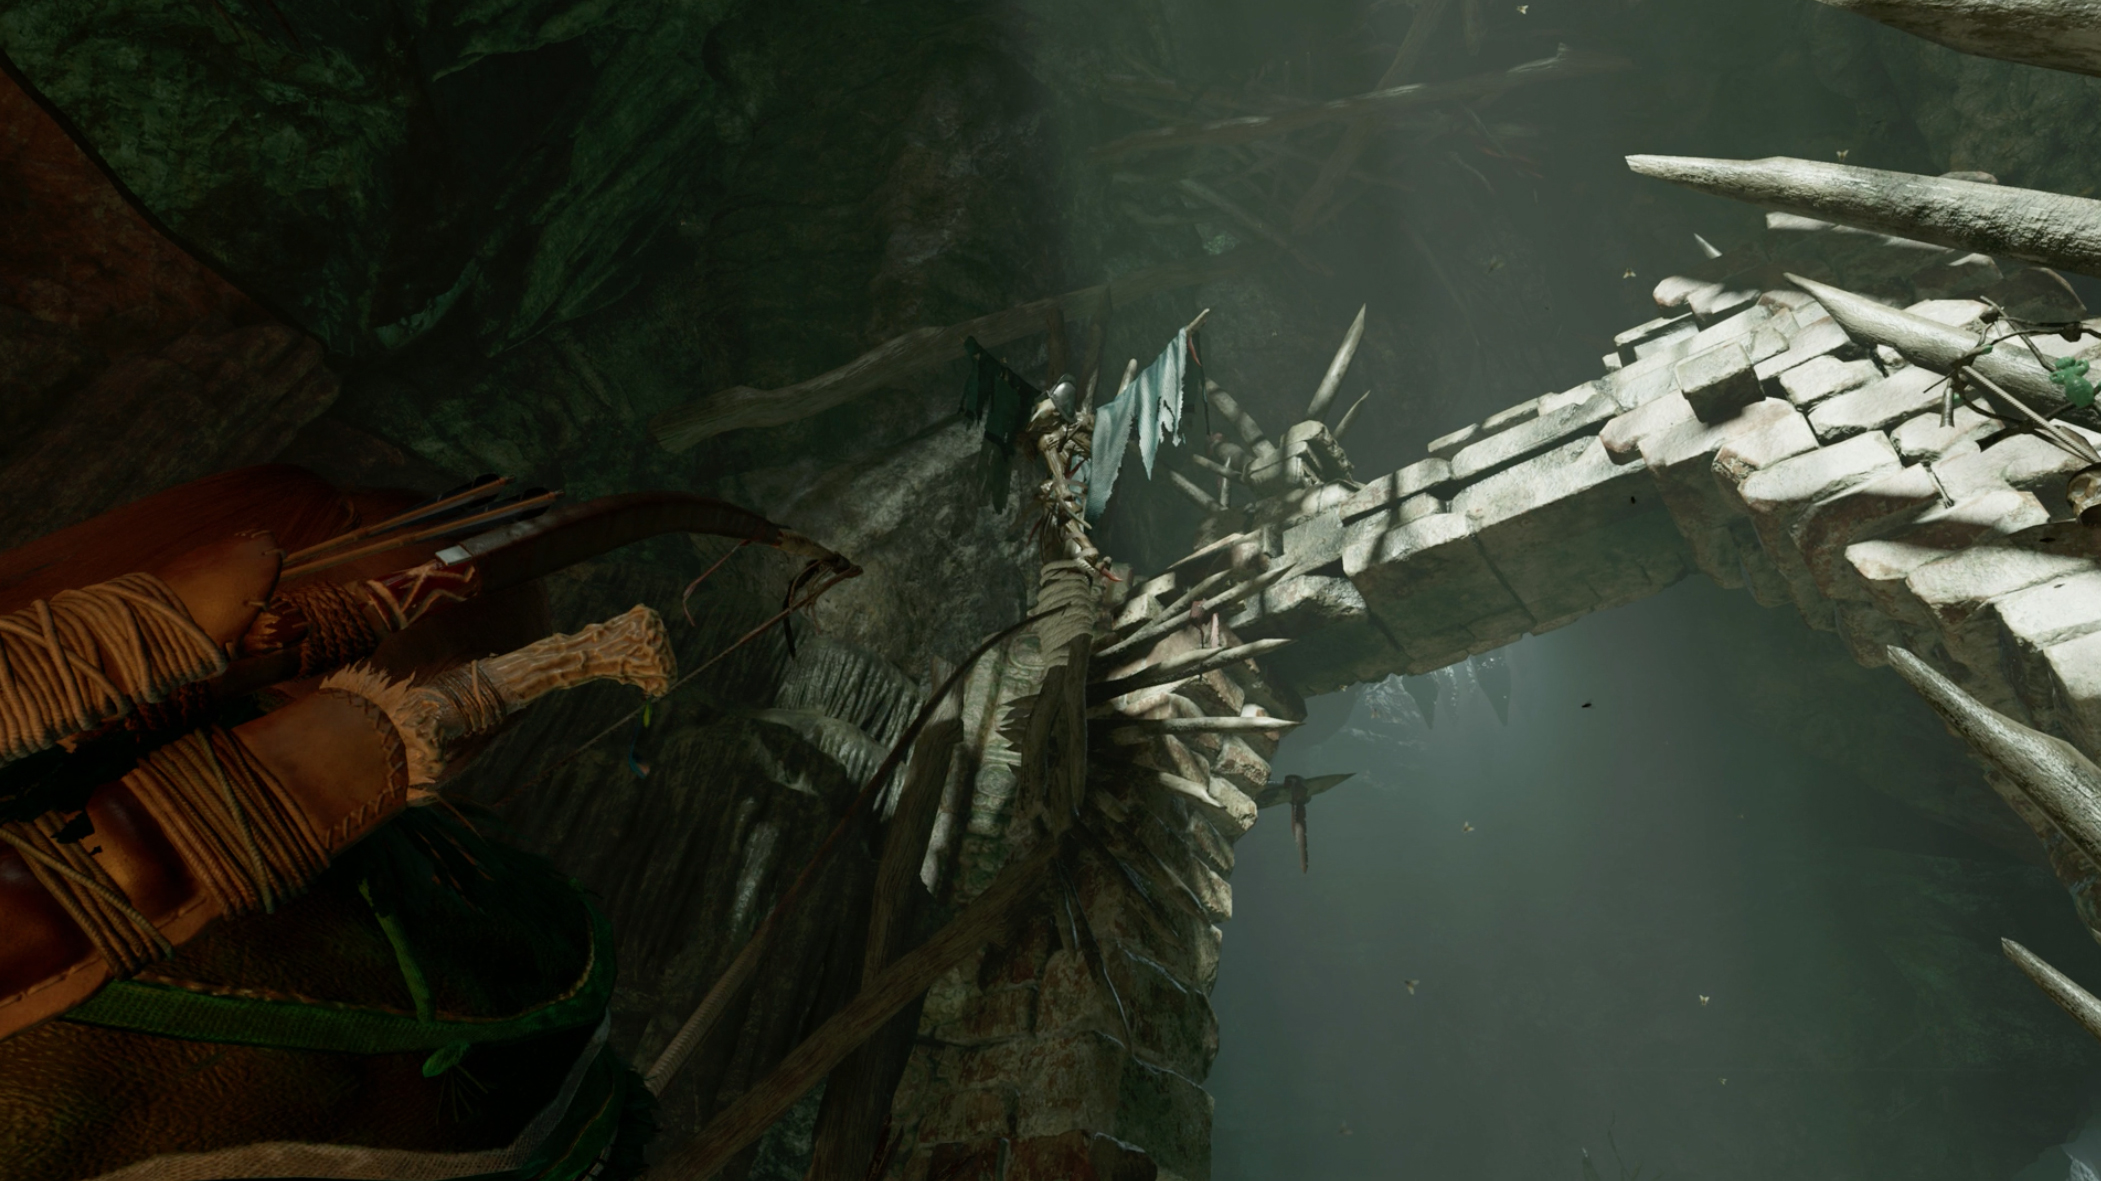
5. Right next to the Cenote Temple Ruins base camp.
Raise the Flags (Mission of San Juan)
This one is a simple hunt for flagpoles. And seeing as flag poles are known for being tall and highly visible, they’re pretty easy to find. Here’s where you can find each one.
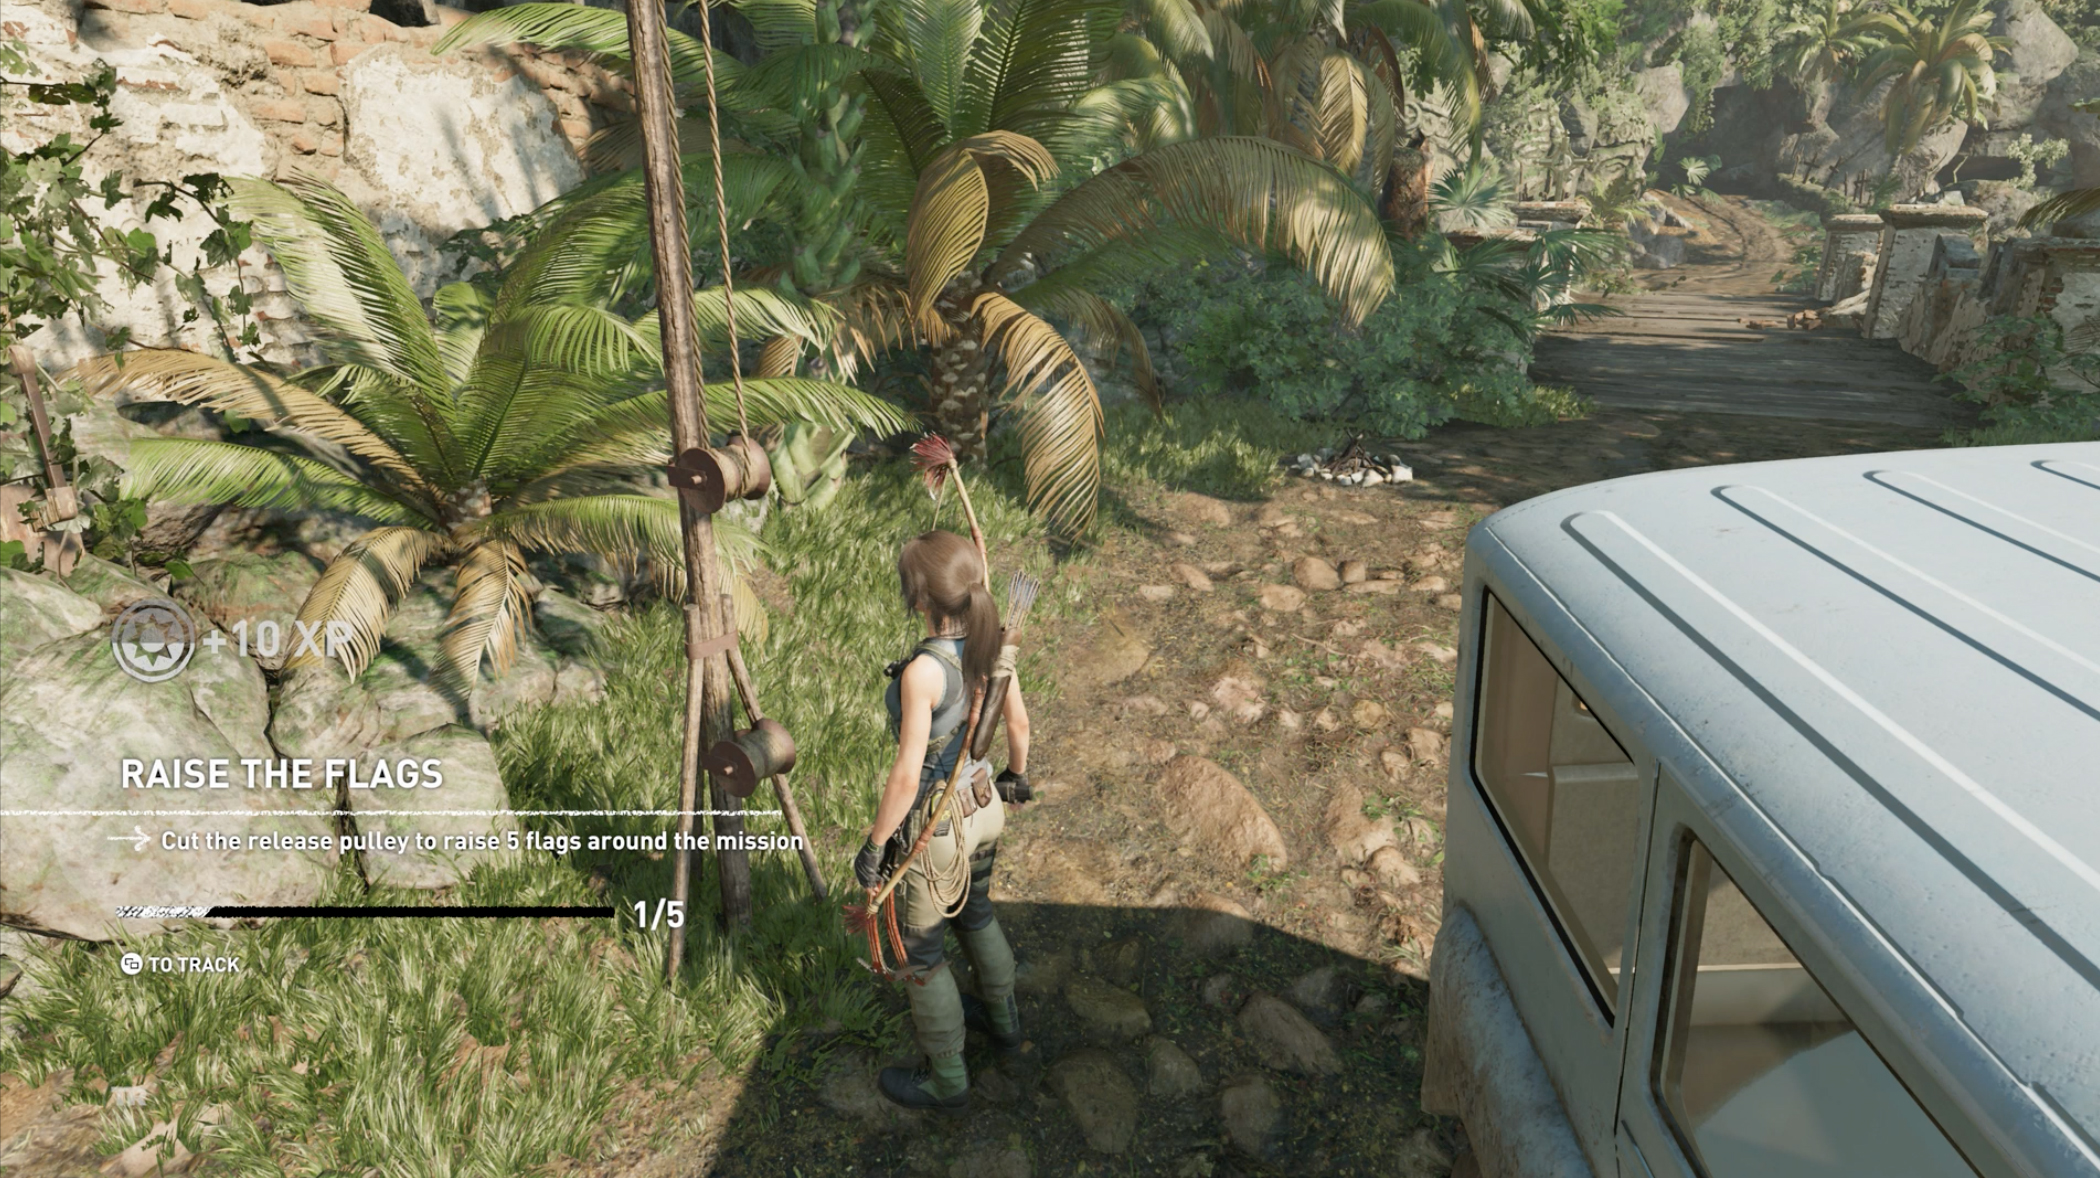
1. The first is Immediately outside the mission gates, funnily enough near the Mission Gate base camp.
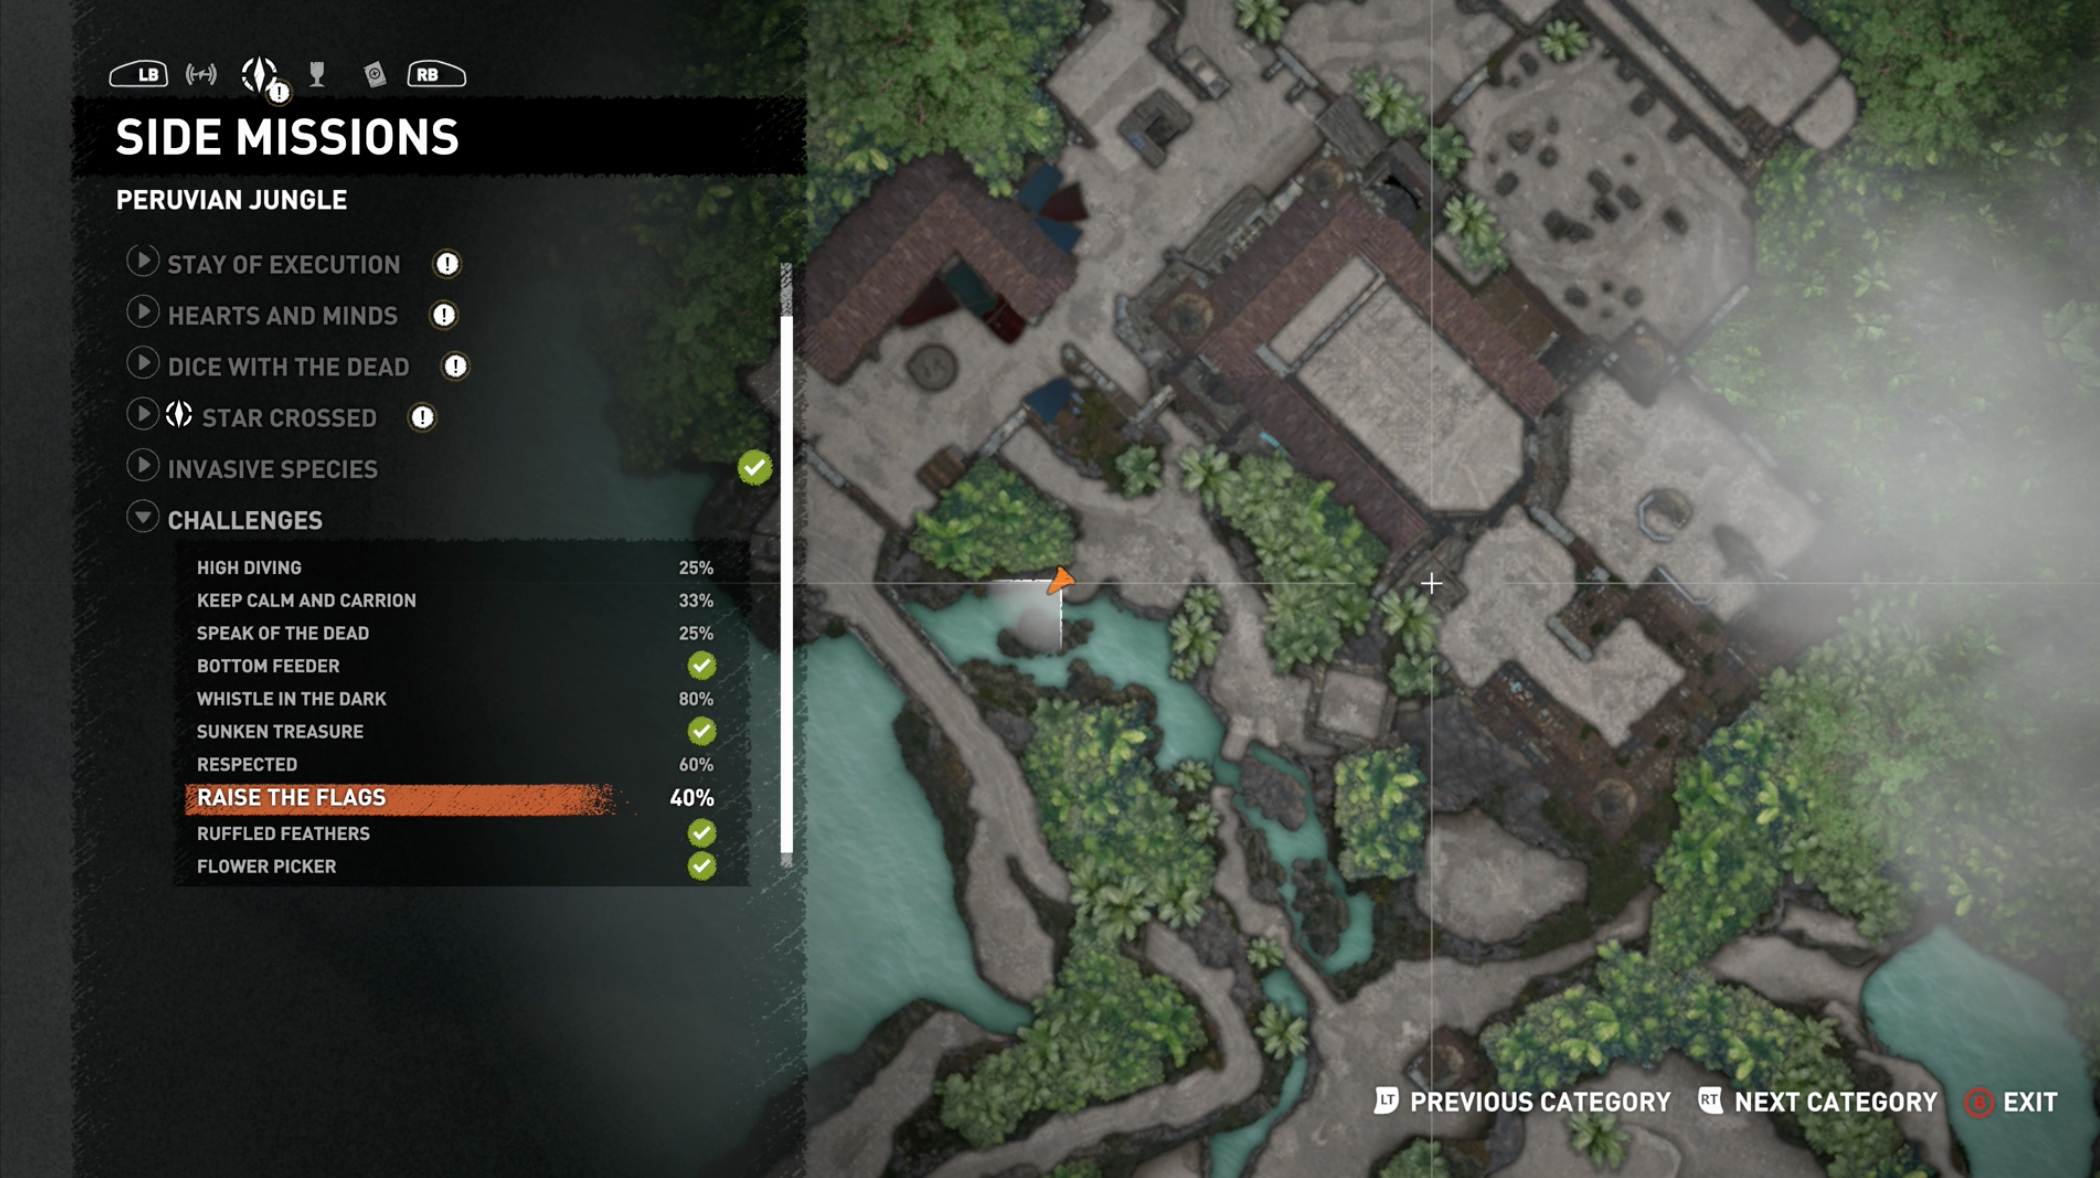
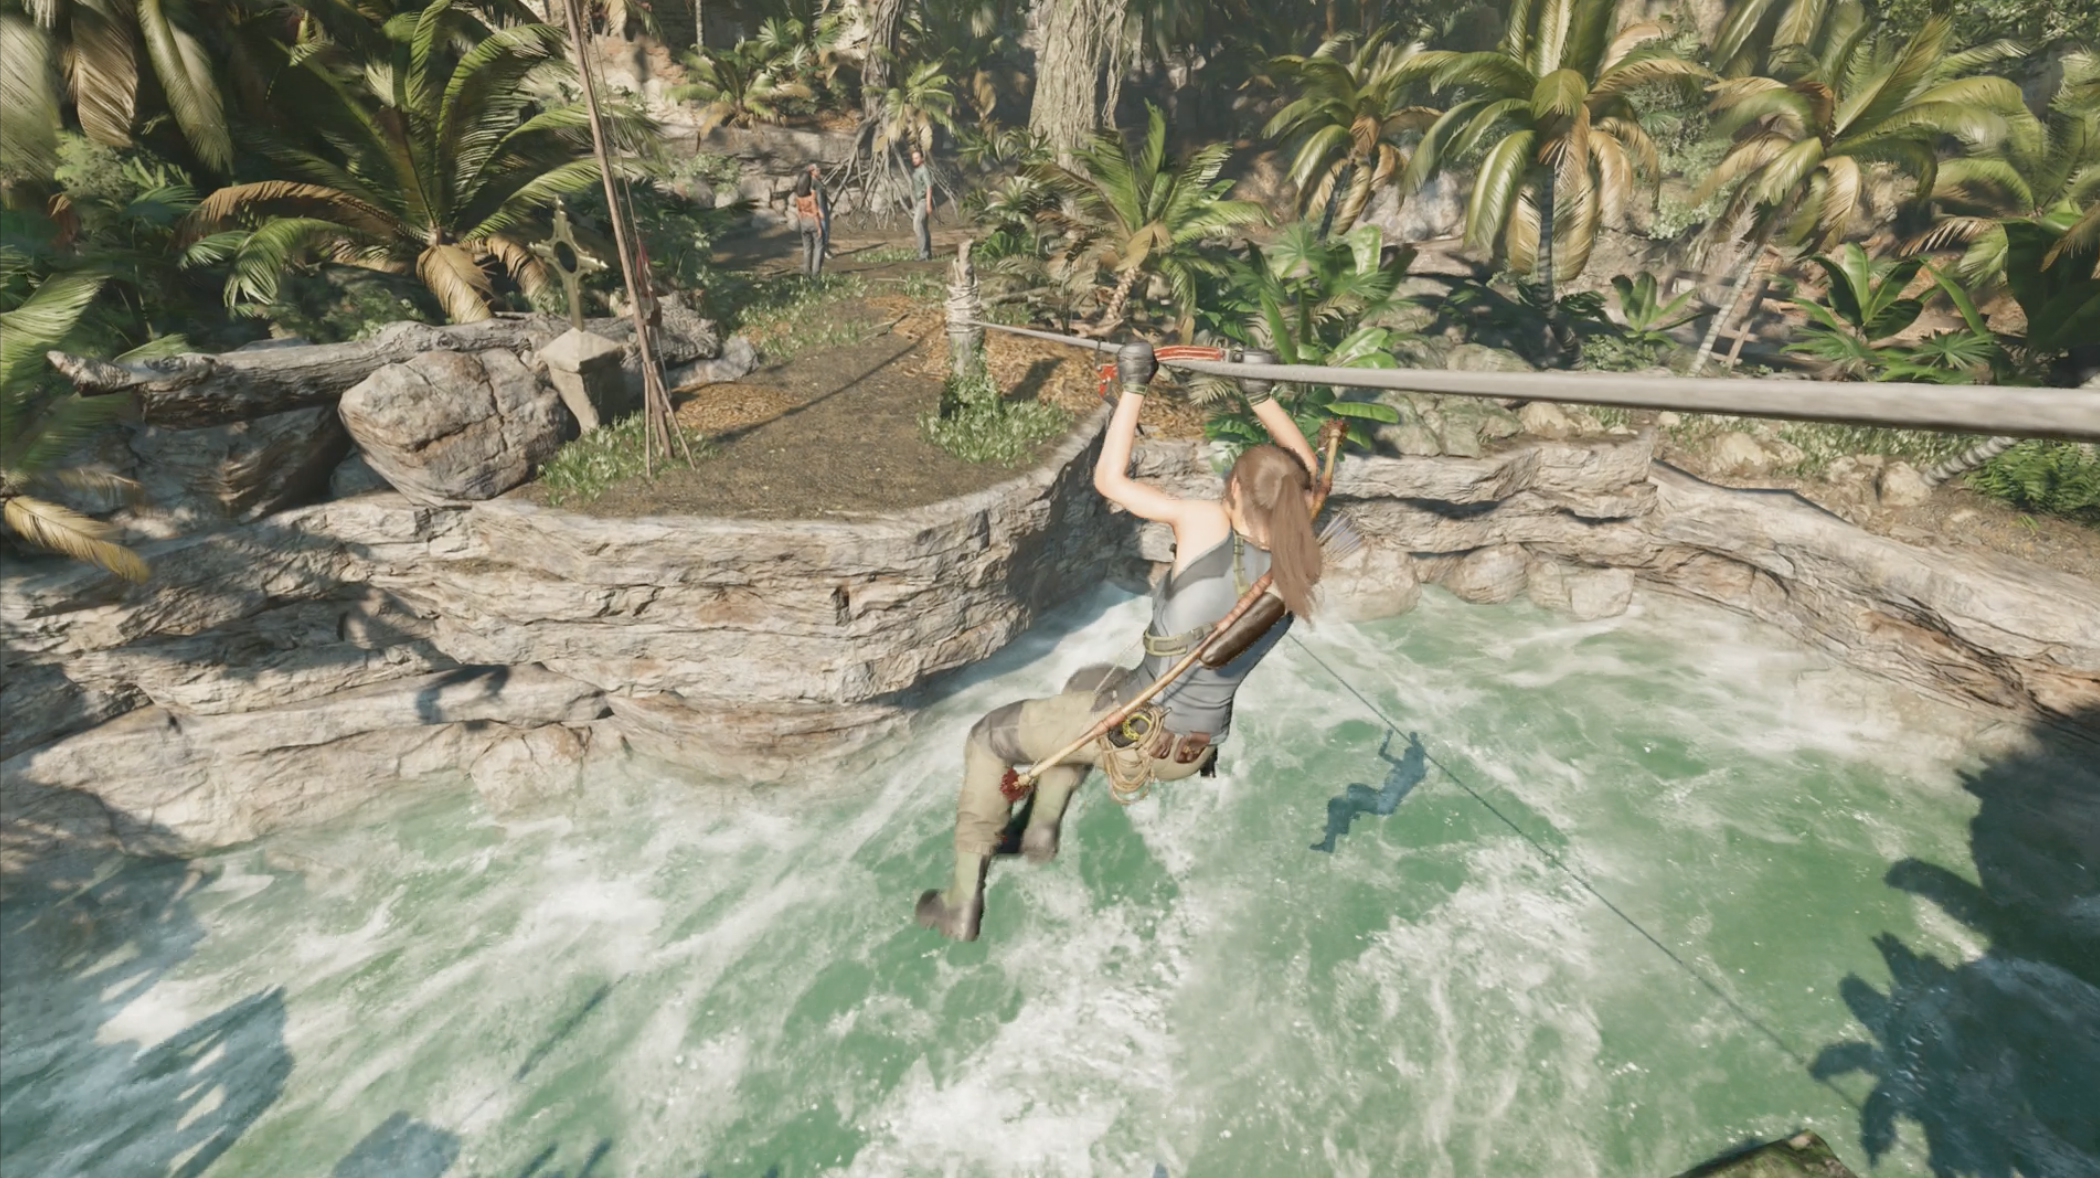
2. Make the zip line from the stone faces out the front of the mission, and it’s right next to you when you land.
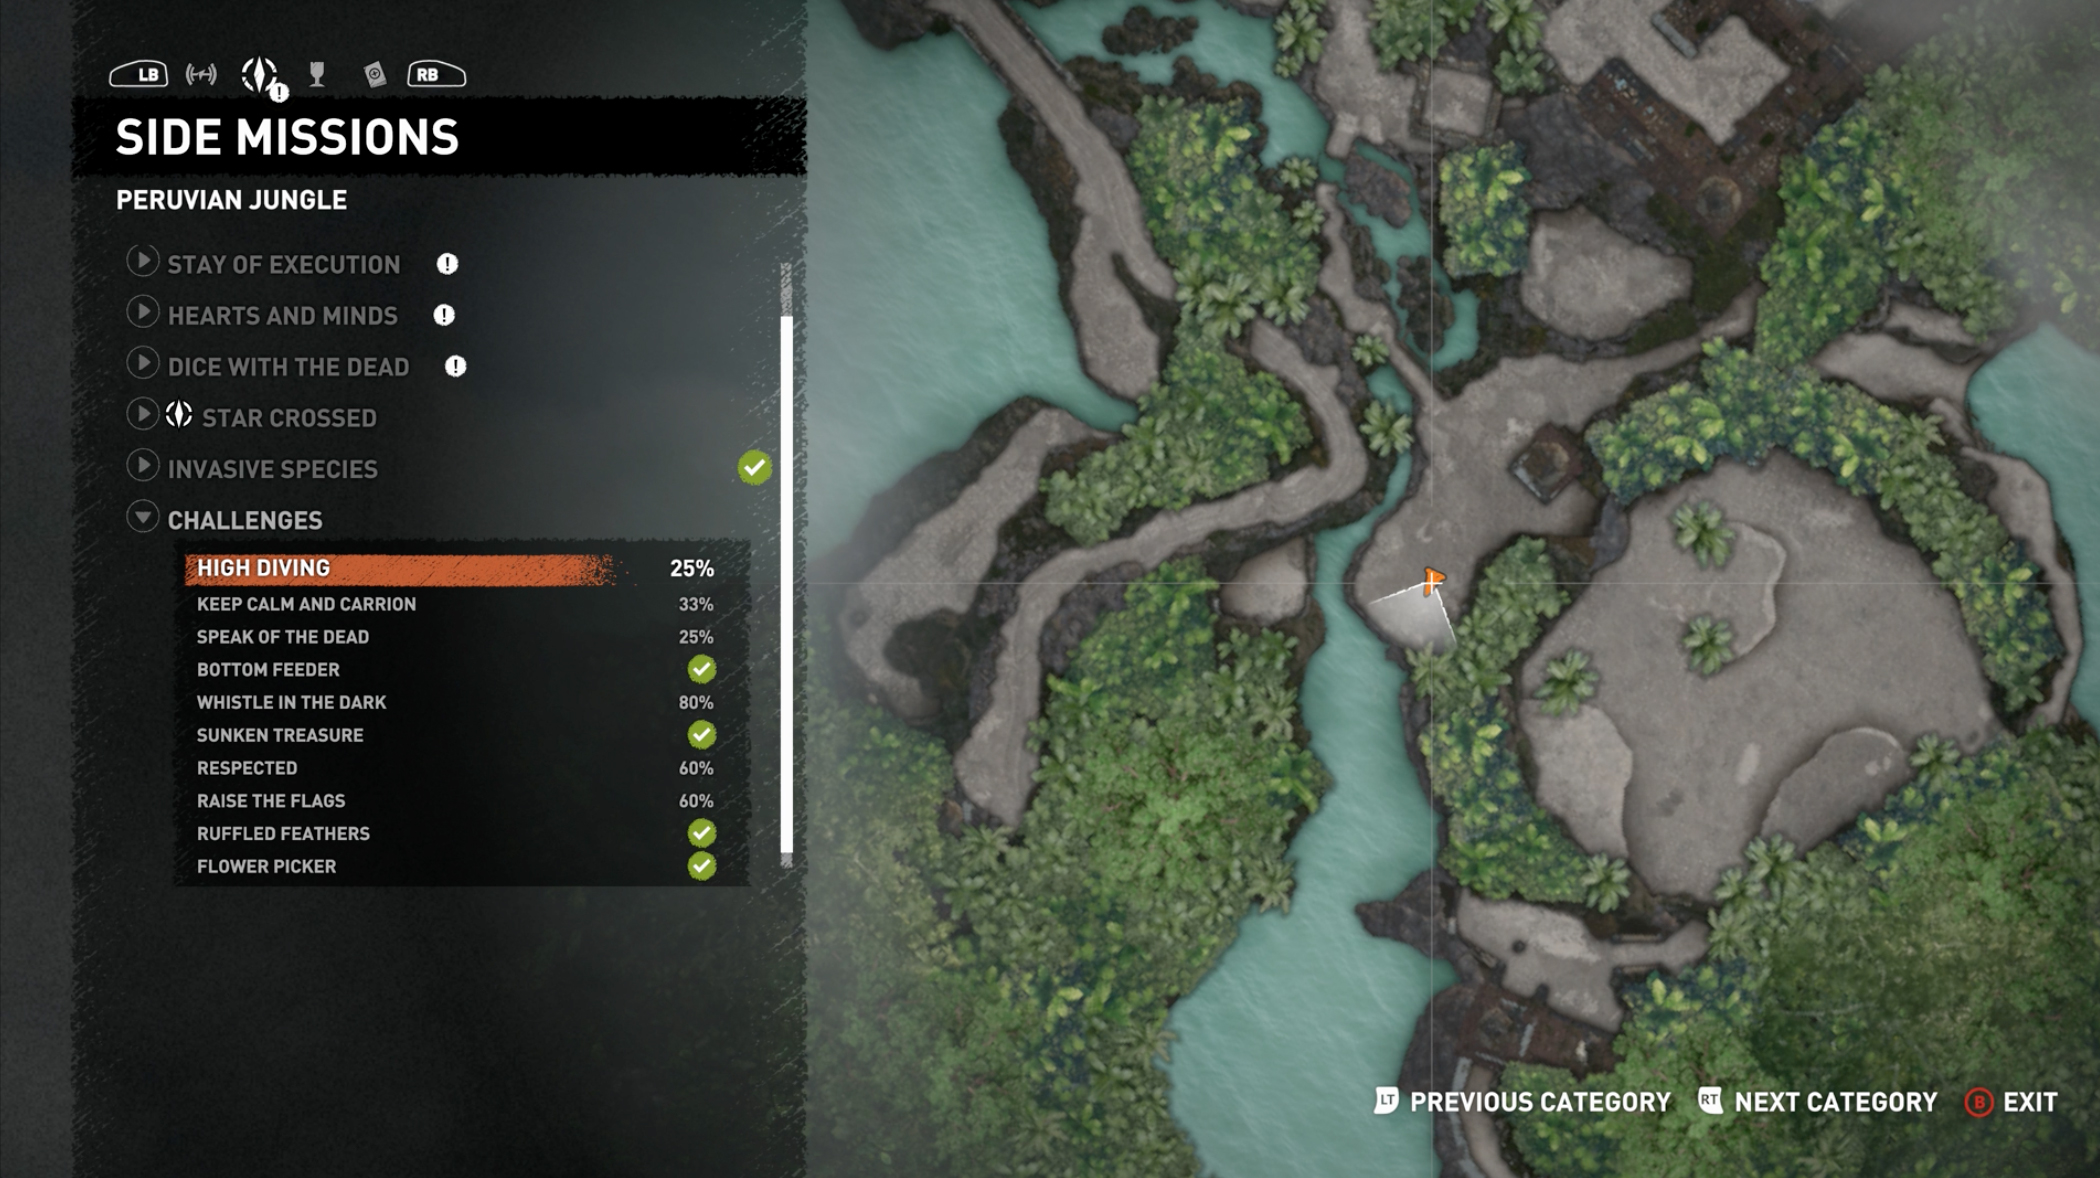
3. Past the sign that tells you not to cross the river, it’s not hard to spot if you use your Instinct.
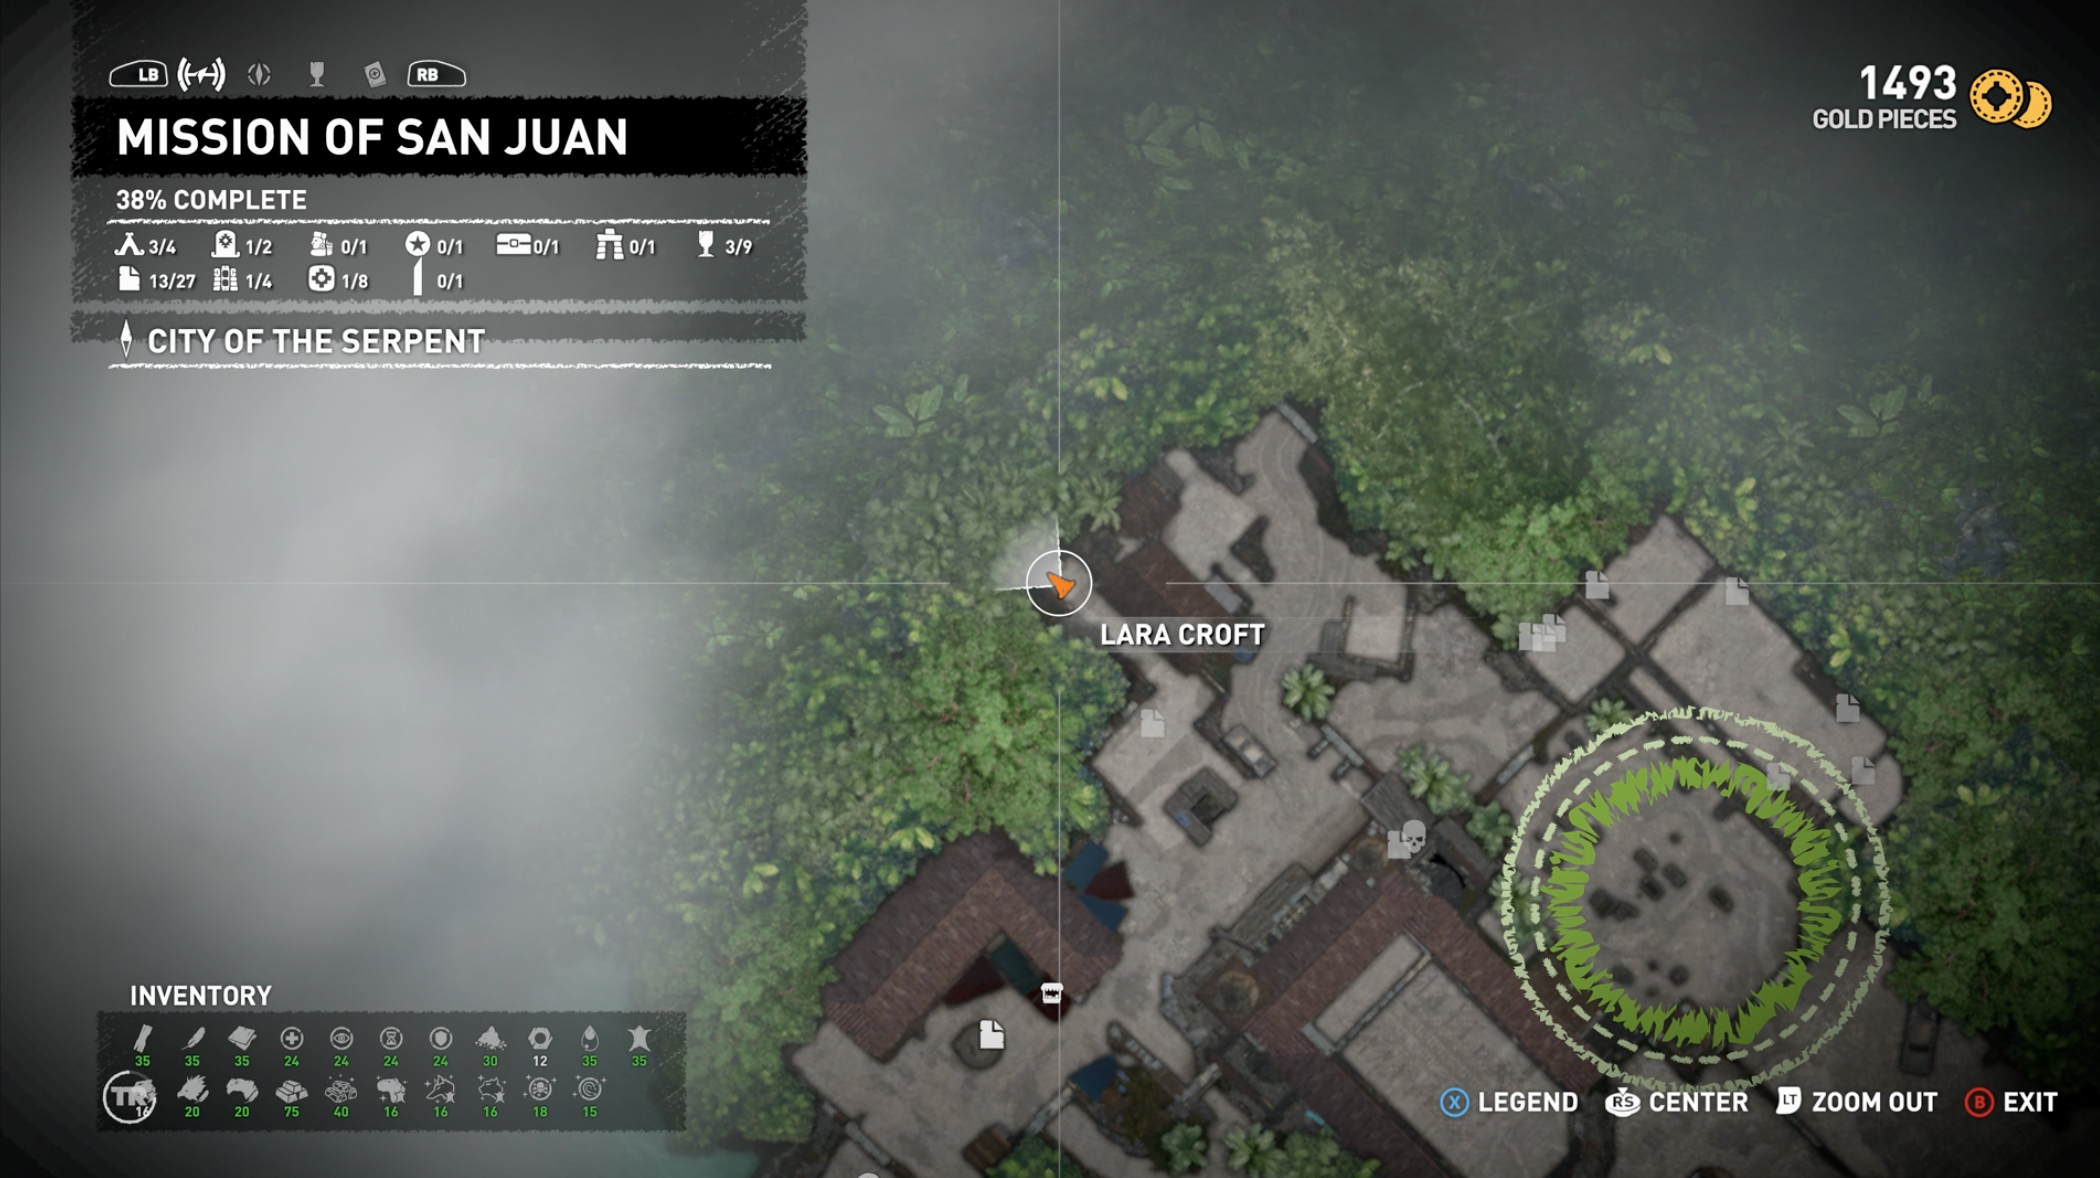
4. To the north of the complex, you’ll see the top over the scenery as you approach.
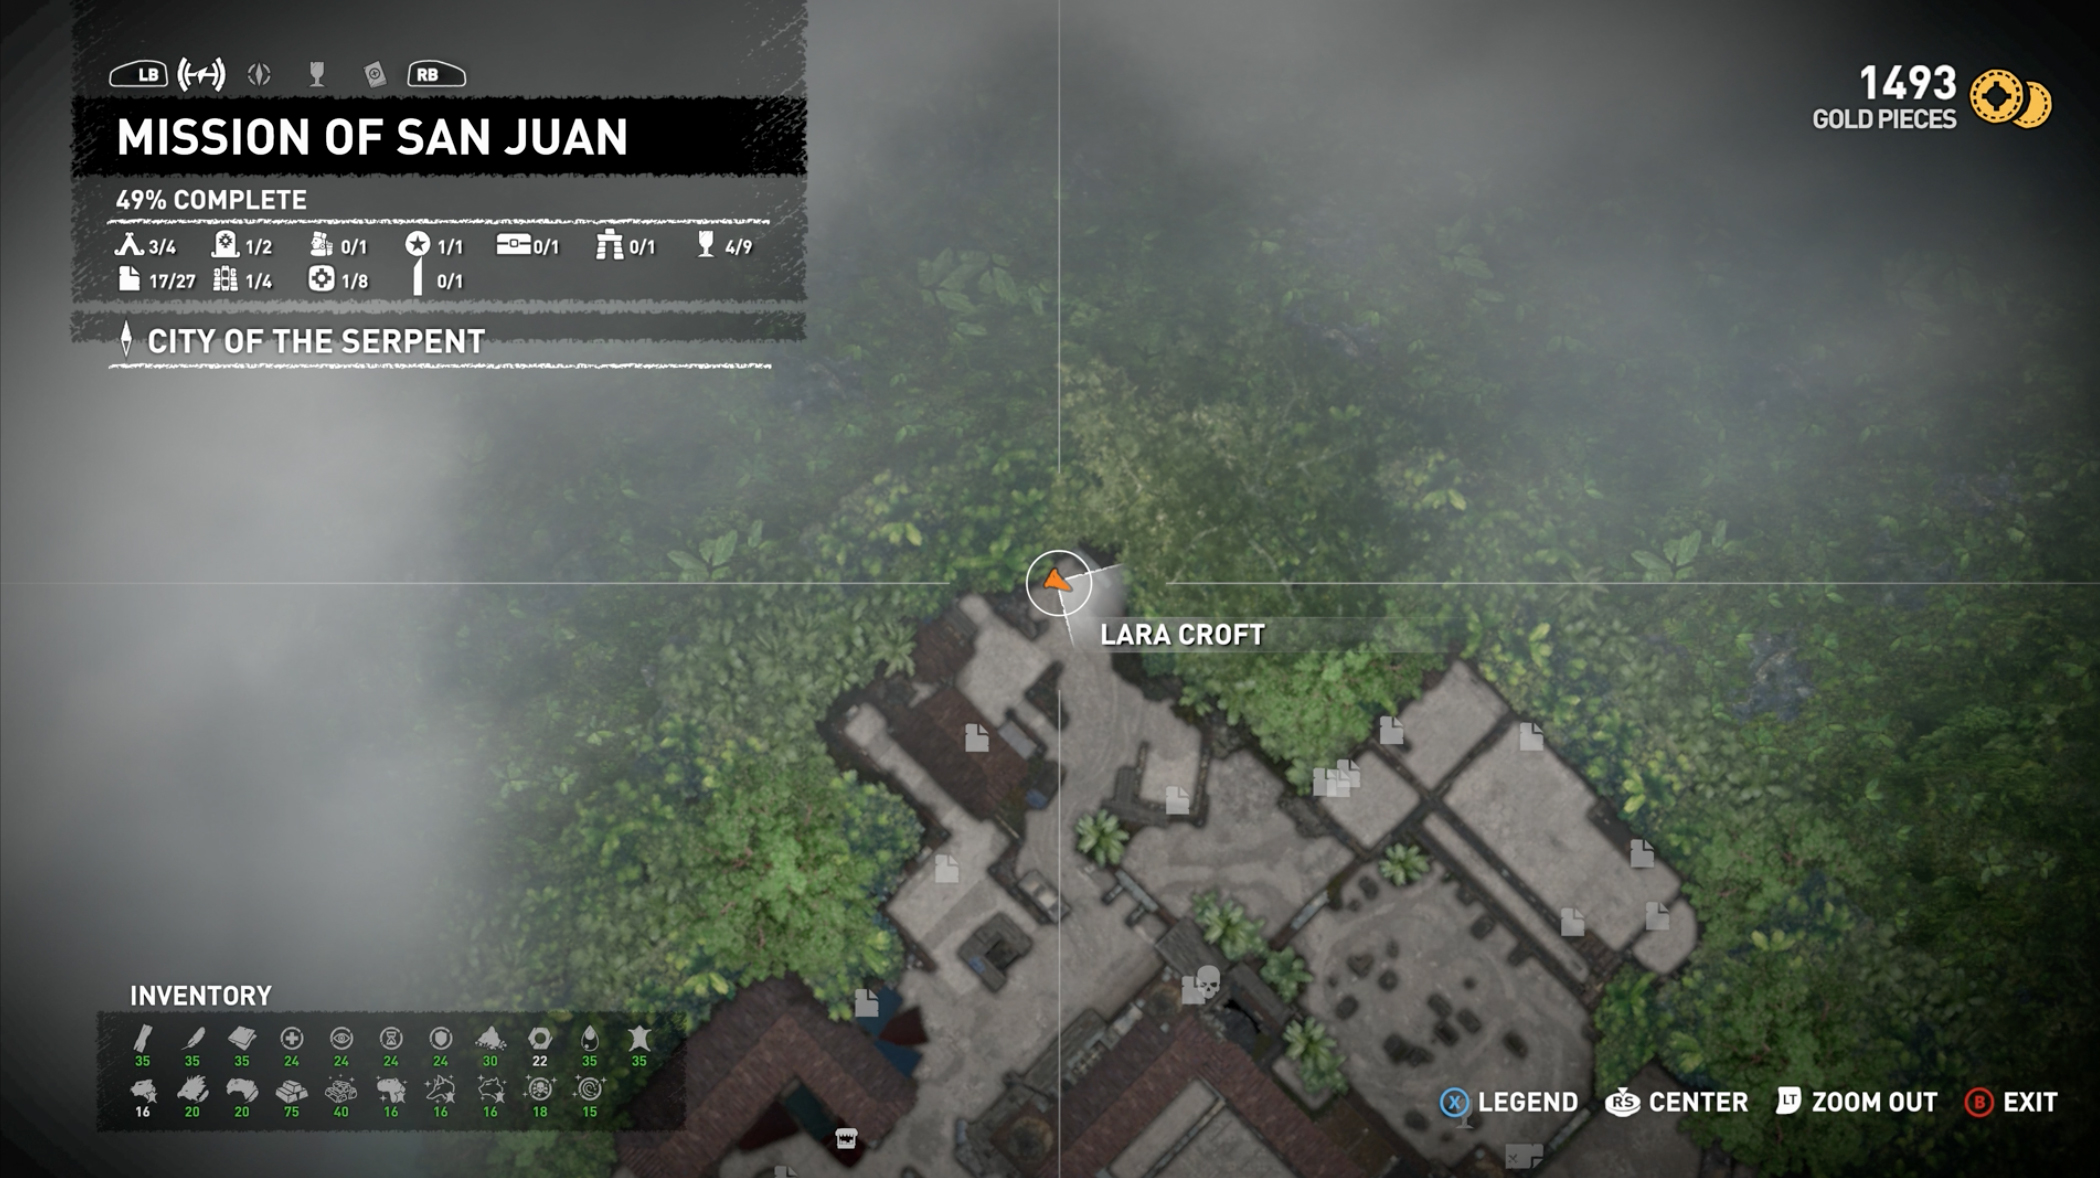
5. At the very northernmost tip of the Mission compound.
Use these links to jump to specific Shadow of the Tomb Raider challenge locations:
- Peruvian Jungle Challenges
- Hidden City Challenges
- Kuwaq Yaku Challenges
- Cozumel, Cenote, and Mission of San Juan Challenges
Current page: Shadow of the Tomb Raider Challenges - Cozumel, Cenote, Mission of San Juan
Prev Page Shadow of the Tomb Raider Challenges - Kuwaq YakuSign up to the GamesRadar+ Newsletter
Weekly digests, tales from the communities you love, and more
Justin was a GamesRadar staffer for 10 years but is now a freelancer, musician and videographer. He's big on retro, Sega and racing games (especially retro Sega racing games) and currently also writes for Play Magazine, Traxion.gg, PC Gamer and TopTenReviews, as well as running his own YouTube channel. Having learned to love all platforms equally after Sega left the hardware industry (sniff), his favourite games include Christmas NiGHTS into Dreams, Zelda BotW, Sea of Thieves, Sega Rally Championship and Treasure Island Dizzy.

