Skyrim Word Wall and Shout locations
Track down every Word Wall in Skyrim access all the Dragon Shouts
Weekly digests, tales from the communities you love, and more
You are now subscribed
Your newsletter sign-up was successful
Want to add more newsletters?
Knowing where to find Skyrim Word Walls and Shouts is important as the Dovahkiin. Your whole thing is the ability to use Thu’um, a shouty form of Dragon magic that lets you effectively cast spells with your voice. However, to really harness this ability you need to find plenty of words to unlock these abilities fully in Skyrim. Throughout the world there are special Word Walls hidden away - read the writings you can find there, by speaking the ancient language of the dragons, and you can unlock and upgrades many powerful effects against your enemies.
Each Shout consists of three words in full, and you'll need to find them all to max out its power - each word you learn adds more effects to overall spell. The game doesn't give these things away for free either, as only a few are uncovered and unlocked through missions and critical paths in the main storyline. Many of them are off the beaten path and can be as easy to stumble on as walk right past. So follow our Skyrim Word Wall and Shout location guide to discover your true Dragonborn calling.
How shouts work in Skyrim
Learning to use your Shouts is the key to excelling in Skyrim. A level one Shout is unlocked by finding the first word of an overall phrase. It will be the weakest form effect wise but will recharges rapidly enough for you to reuse it in the same fight. Each time you find another word in the phrase it'll add power but take longer to charge as a result. Be sure to experiment with the various abilities these Shouts can confer. Finding a few that really resonate with your playing style and using them when the situation calls for it is a large part of the power the Dovahkiin possesses.
Skyrim cheats | Best Skyrim mods | How to install Skyrim mods | Best Skyrim companions | Skyrim armor | Skyrim perks | Skyrim enchanting guide | Skyrim alchemy guide | Skyrim hidden chest locations | Skyrim hidden quest locations | Skyrim Black Books guide | Skyrim Daedric Quest guide
Ancient’s Ascent
Word: Animal Allegiance
Location: In the mountains east of Falkreath and southwest of Helgen
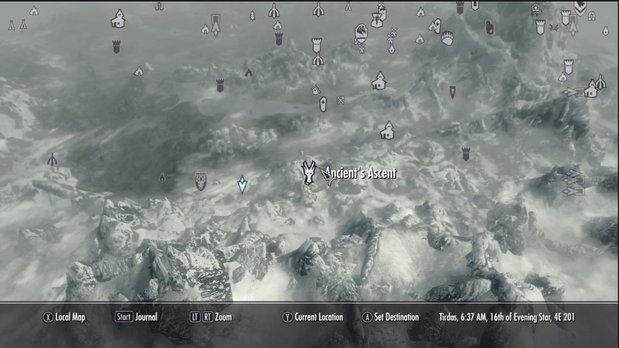
There are only two ways to reach this Dragon roost / Word Wall. The first is to pass through Bonechill Passage, a cave at the foot of the mountain and the second is by climbing up the mountain through running and leaping. If you go through Bonechill Passage it’s a short cave with only a Frost Troll inside. Going over the mountain will often get you attacked by a Dragon which is useful if you want the soul. It also allows you to get the drop on the Dragon at its roost as it will be resting and vulnerable to a spell or arrow attack. Then just slide down the cliff face to reach the battle.
Angarvunde
Word: Animal Allegiance
Location: West of Riften, Southeast of Ivarstead
Weekly digests, tales from the communities you love, and more
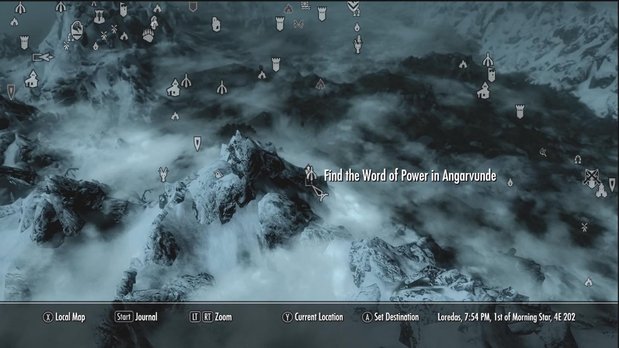
This area isn’t that big but it can be confusing. You’ll need to flip two levers to open up a gate in the main chamber but getting to these requires passing through small side tunnels. It’s a fairly simple dungeon but things may be quite difficult if you come here at a high level like is done in the video. Many of the basic Draugr will be turned into highly upgraded versions that are more than capable of giving you a bad day.
Upon entering the catacombs you will meet a woman, Medresi Dran, who offers to split the loot with you if you clear out the undead. She has a key that is necessary if you want to proceed through this dungeon so you’ll either need to agree to help her, pickpocket the key or just kill her then loot it off of her body. In what is very likely a glitch killing her has led to her not having a key to loot a few times so agreeing to help her is probably the simplest way to proceed.
Realistically speaking this isn’t the most useful of your Shouts. It’s only really helpful if you’re fighting a Dragon and want to pull a Cave Bear, Sabre Cat or (much later) a Mammoth to your side. Even then you’re probably better off with Marked for Death or a damage dealing Shout. But it’s tough coming in here later on so if you’re going for 100% completion it’s probably best to come here before it’s full of Draugr Deathlords and Overlords.
Autumnwatch Tower
Word: Marked for Death
Location: Southeast of Ivarstead, just inside the mountainous area
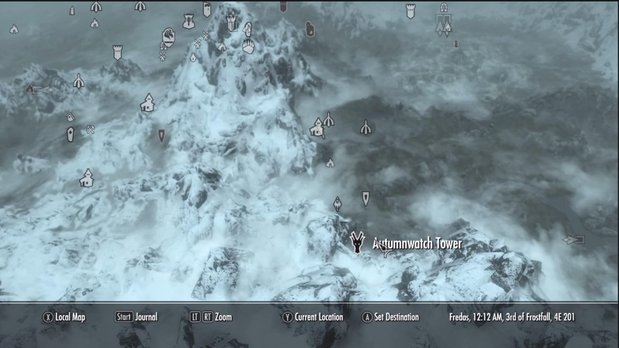
This dragon rests on top of the secondary tower not the one that your quest marker will point out to you although sneaking up on him is nigh impossible. Be wary that it’s easy to miss the small bridge that leads to the word wall, otherwise this is a simple word to acquire.
If you’re a melee oriented character it is advised that you go for this word as soon as possible since it really degrades your target's defensive abilities. Enemies will fall incredibly fast if hit with a level 2 or 3 Marked for Death Shout and then having a powerful, enchanted weapon used on them. Even Dragons will fall rapidly before your power.
Bleak Falls Barrow
Word: Unrelenting Force
Location: Northwest of Riverwood up at the top of the mountain
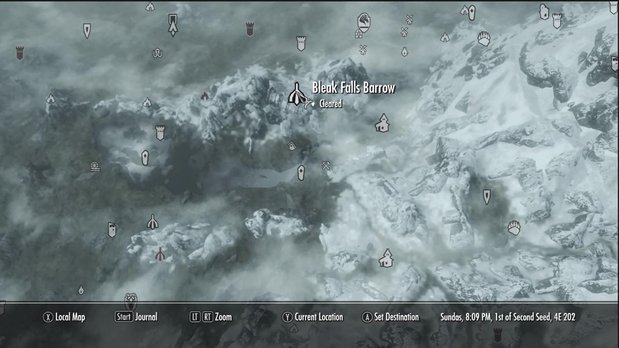
You’re going to end up in Bleak Falls Barrow in one of two ways: following the main storyline or helping the people out in the Riverwood Trader. Either way this is a pretty simple dungeon that will challenge the low level characters who end up seeking out its secrets.
It’s not very hard in the beginning when you’re dealing with the bandits but eventually you will hear someone calling out for help, this leads to trouble. In the next room is a freaking huge Frostbite Spider. Most players will have their first deaths at the hands of this thing since it’s quick, hits hard and can poison you. One strategy involves pulling out of the room repeatedly and then shooting arrows or spells at it but if that’s not for you than just do whatever it takes. Throw potions down like a madman if you must as this is one of the most challenging fights you’re likely going to have for quite some time.
When you reach the door with the hole in it for the odd key and the three spinning wheels go into your inventory and examine the Golden Claw you got from Arvel for the combination. The Word Wall is beyond said door as well as the Dragonstone you needed for the main quest to continue.
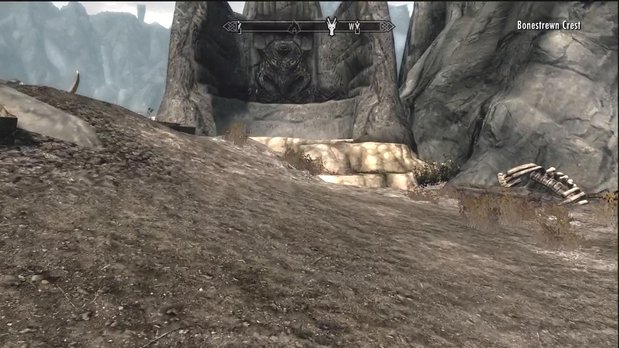
Bonestrewn Crest
Word: Frost Breath
Location: In the mountains south of Windhelm
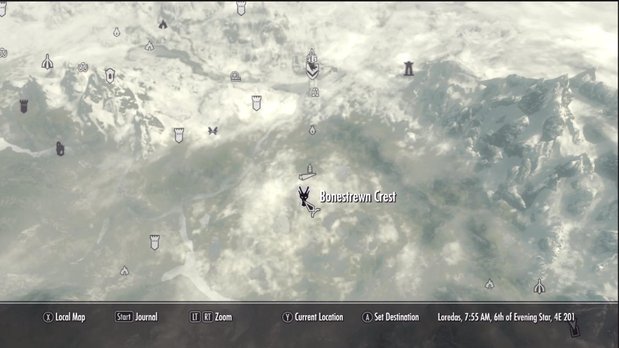
In this case you’re almost certain to fight this dragon long before reaching his roost due to the wide radius he flies around in. The word wall is very easy to reach and it gives you one of the better words so be sure to go for this one early on.
Dark Brotherhood Sanctuary
Word: Marked for Death
Location: West of Falkreath
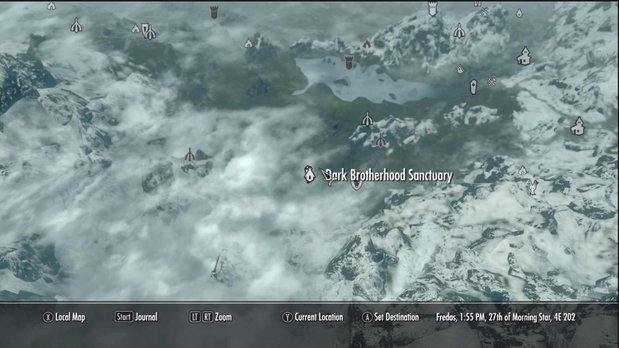
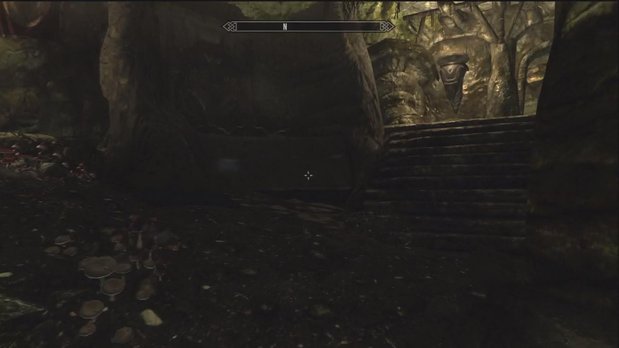
The only way to get inside is to either join or destroy the Dark Brotherhood. This requires you to follow the Aventus Arentino rumor / quest before the offer is given. Once you’ve gotten inside of the Sanctuary the wall is basically right in front of you, up some stairs. It’s pretty hard to miss.
Dead Crone Rock
Word: Dismay
Location: Southwest of Markarth
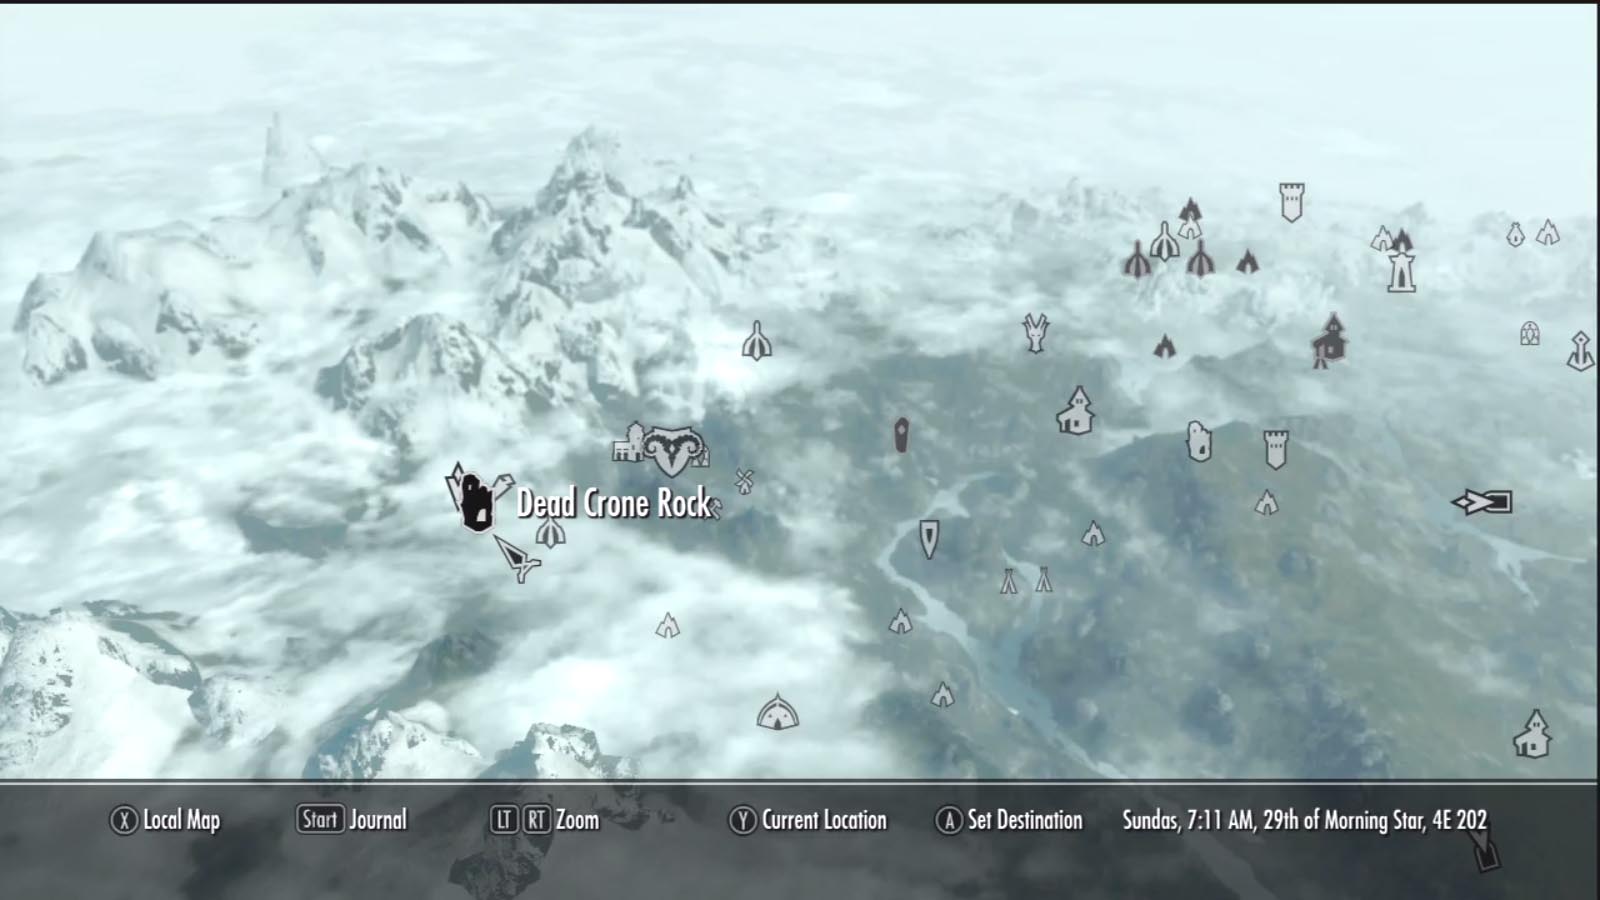
This Forsworn stronghold is guarded by plenty of them as well as a Hagraven. To even get to it you must pass through Hag Rock Redoubt, a small outdoor area and then into Dead Crone Rock. Since this location is part of a quest, namely the Pieces of the Past quest involving Mehrune’s Razor, it’s best to grab that quest from Dawnstar and then come here since it will be on your map at that point. Otherwise you’ll have to search for it through the mountains while fending off Forsworn.
The location is fairly simple in and of itself, consisting of defeating a number of Forsworn before using the exit to the upper area. Here you’re faced with a tough Hagraven named Drascua along with her soul gem traps. Killing her grants you access to the Word Wall.
Dead Men’s Respite
Word: Whirlwind Sprint
Location: Southwest of Morthal, directly south of Solitude
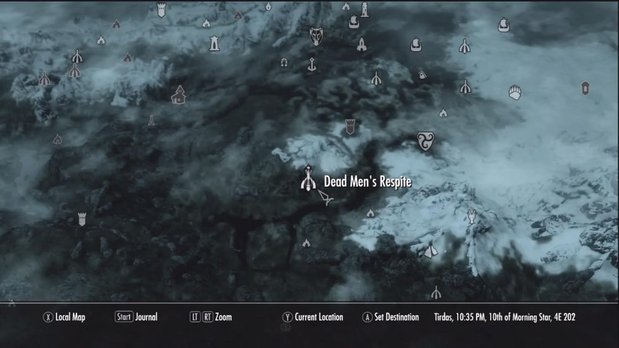
Do not enter this location until you have accepted the “Tending the Flames” quest from the Bards College. One of the doors in this dungeon must be opened by an NPC but he will sometimes not do so unless you have that quest in your journal. It’s not worth taking the risk of being stuck there so simply start that quest up then come back to this location. Even if you don’t plan on joining the bards it’s still safer to pick up the quest and then simply never turn in the quest item.
This dungeon can be a bit difficult since you need to hit a bunch of switches, find a treasure to open a door and then navigate past plenty of tough Draugr.
Dragontooth Crater
Word: Elemental Fury
Location: North and just a bit east of Sky Haven Temple, northeast of Markarth.
This is another Word Wall that is easy to reach early on. There are two ways to get there:
* If you’ve reached Sky Haven Temple in the main storyline then simply head north from the Karthspire entrance area to reach the roost in a rather direct route.
* Should you choose to go there before Sky Haven Temple use the carriage outside of Whiterun to fast travel to Markarth. From there go towards the standing stone on your map then make your way further to the northeast to reach the roost.
Once there it’s a simple matter of killing the dragon guarding the word wall and looting the chest nearby.
Dustman’s Cairn
Word: Fire Breath
Location: Northwest of Winterhold
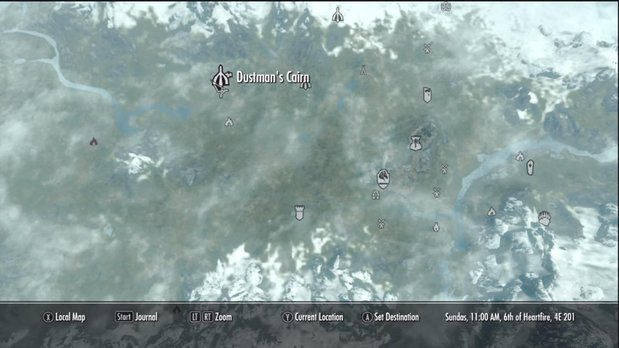
To get into this location you’re going to need to join up with the Companions. One of the first quests they send you on, “Proving Honor”, tasks you with exploring this location with one of their senior members, Farkas. This brute makes exploring the dungeon incredibly easy so grab the quest there before heading on down. On one playthrough this location did show up as unlocked before joining the Companions but on the other two it was locked with no way to get inside with the only option being to join the Companions and do this quest.
While joining the Companions just to get this Shout can be annoying if you weren’t already planning to do so Fire Breath is one of the best Shouts in the game. A level three use of it will tear through the health of all enemies caught in a rough cone in front of you, knocking the victims back in addition. Even better it will burn them, continuing to deal damage after the initial impact. Plus you can choose to meditate on the word Fire with Paarthurnax later on, increasing the damage that this Thu’um deals. That makes this a powerful weapon against ice based enemies (including Dragons) and non-elemental enemies both.
For the sake of spoilering something big the section dealing with it has been removed from the video entirely. It also ends before the big brawl at the end of this but that section is rather simple thanks to having Farkas along for the ride. It’s more of an endurance test than a difficult fight really.
Eldersblood Peak
Word: Disarm
Location: In the mountain range directly south of Morthal
While this word wall is really easy to get to the Disarm word is all but useless so it’s not worth going out of your way to get here. If you do decide to go after this wall head to Morthal and then travel south, following the mountains until you find a narrow mountain path. This will lead you to the word wall guarded by both a Frost Troll and the usual dragon.
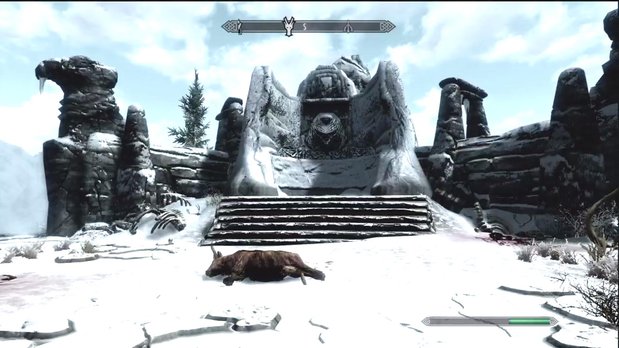
Folgunthur
Word: Frost Breath
Location: More or less dead center between southeast of Solitude and northwest of Morthal
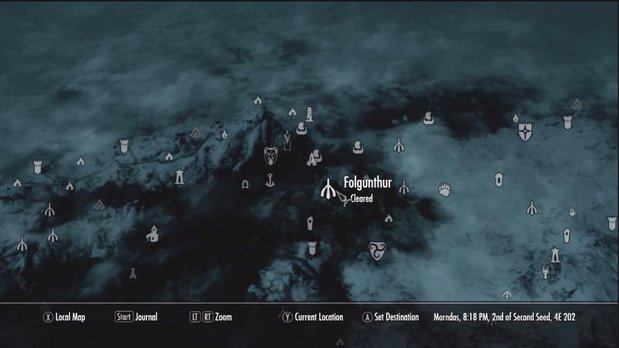
While not an especially hard dungeon Folgunthur is just long enough to be a strain on your resources. This dungeon is jam packed with enemies leveled for you and individually they aren’t too much of a threat. But for the non-mages out there it’s quite easy to find yourself whittled down by the various attacks and traps, using up most of your health potions. Move through the dungeon slowly and watch the floor so that you avoid stepping on pressure plates and conserve those health potions. If you start to run low and get hurt stop and wait to regenerate your health before moving on instead of using health potions.
The reason you need to be concerned about running low on health potions is because of the final fight of this dungeon. Mikrul Gaulderson, a boss level Draugr, can tear through your health with ease and he has several Draugr acting as reinforcements. For stealthy types hiding in a corner and firing arrows helps with thinning the herd and mages do well simply by using their strongest spells, notably fire spells, to shred through the undead. Straight up fighters should hopefully be able to tank Mikrul or this is going to be a tough battle. When in doubt use a shield to reduce incoming damage and counterattack.
Forelhost
Word: Storm Call
Location: Southeast of Riften on the other side of a small mountain range
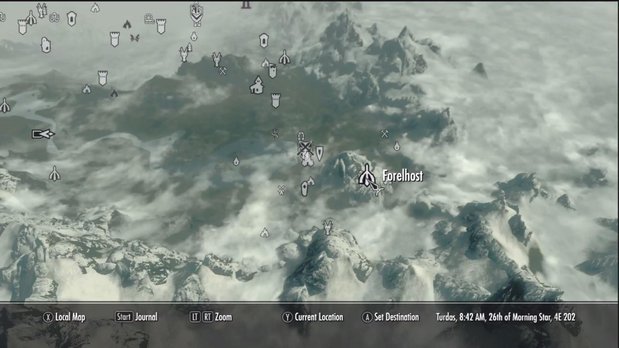
Forelhost is possibly one of the most difficult side dungeons in the entire game. Every step of the way you are confronted by some of the toughest Draugr that your level allows. They come in such numbers that even the most dedicated melee warriors will find themselves having a hard time battling the large groups these guys can come in. As such caution is really called for when plundering this dungeon since any corner can lead into an ambush.
But for those of you who only care about getting the word and have no interest in doing the side quest here, nor the Dragon Priest mask held inside, there is a way to climb the building itself to get to the Word Wall. It involves a whole lot of jumping, grunting and building humping but it’s actually pretty easy once you get the hang of it.
Forsaken Cave
Word: Marked for Death
Location: A ways west of Windhelm along the river
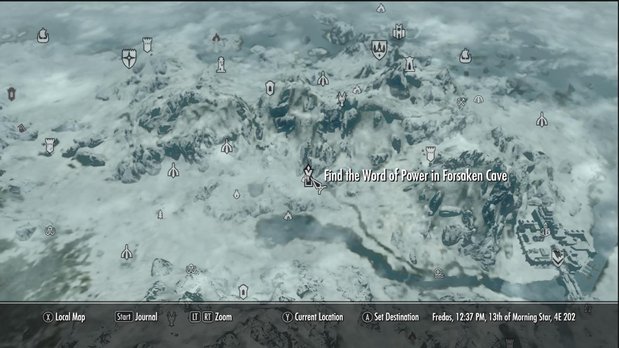
Another easy location to clear, there are only two tough spots in the Forsaken Cave. The first occurs just after entering and involves a fight against a Frost Troll. The second is the boss, Curalmil, a rather tough Draugr. So long as you can defeat the Frost Troll at the entrance, a fire weapon helps obviously, the boss shouldn’t be much harder to defeat.
If you’re a melee oriented character then you’ll want the Marked for Death word so make coming to this place a priority.
Frostmere Crypt
Word: Ice Form
Location: Southwest of Dawnstar
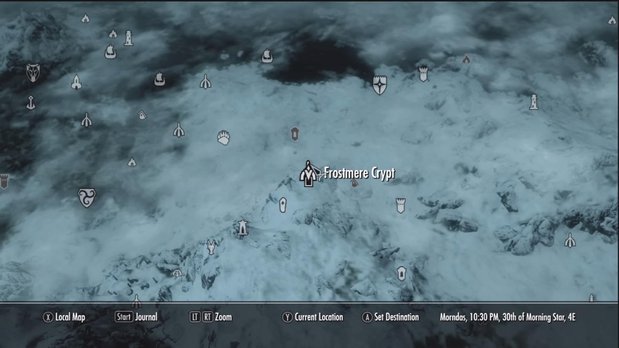
As you near the entrance to the Frostmere Crypt you will see a woman named Eisa Blackthorn fighting some bandits outside. Chat with her or kill her as you choose it really doesn’t matter, either way it will start up the quest The Pale Lady. With that quest set you can simply follow the quest marker down through the Crypt to the quests conclusion where the wall is also located. There are a bunch of enemies
Greywater Gorge
Word: Fire Breath
Location: Southeast of Rorikstead, located inside Sunderstone Gorge
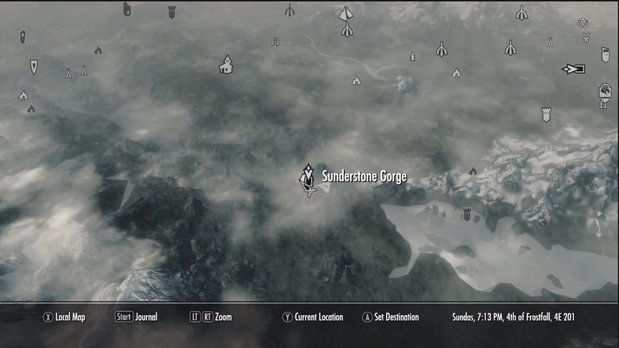
Honestly I’m not quite sure why this location is called Greywater Gorge when you’re given the quest to go in but yet the location itself is called Sunderstone Gorge. Glitch perhaps? In either case this is a very short, very simple dungeon that only has one major threat: traps. There are a few traps that can level you in one good shot especially if you’re low level. Since this is one of the words you should get early on due to how powerful Fire Breath is it’s possible for one misstep to drop your health low enough that a paltry skeleton does you in. Although if you watch your step this really shouldn’t be an issue so in you go.
Hag’s End
Word: Slow Time
Location: In the mountains west and slightly south of Solitude
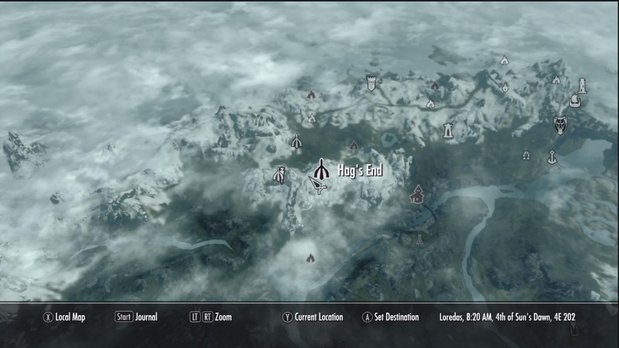
Hag’s End is fairly tricky to get to since it requires that you pass through Deepwood Redoubt to even reach the second location. This is because the entrance to Hag’s End is actually inside of a mountain valley called Deepwood Vale that is only accessible via the Deepwood Redoubt exit. The first area is fairly short although it has a large number of Forsworn in it but Deepwood Vale is where the big throw down is. There are a whole lot of enemies here attacking from all sides making this area a huge pain in the rear for anyone who doesn’t have a particular end game shout. That is used in the below video as a word of warning to any who are allergic to minor spoilers.
Hags End itself consists of a few rooms where you will fight a single Hag and her witch allies. The Hag will flee every time you take off 1/4th of her health. You only need to defeat her three times to get to the word wall as the last fight occurs on a balcony just past the word wall. The witches are weak and since she retreats before taking too much damage this whole area is a huge relief after the brawl that ensued in Deepwood Vale previously.
High Gate Ruins
Word: Storm Call
Location: East of Solitude in the frozen north
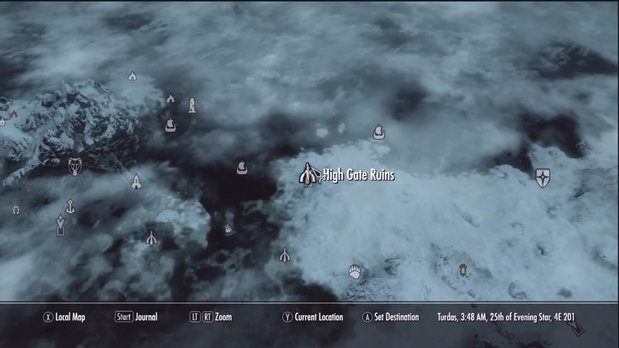
This one is fairly easy to get to but it can be dangerous for a low level character to explore. The frozen north of Skyrim is largely uninhabited but the bears and sabre cats can tear weak characters apart if you happen to run into them. Once you’re actually inside of the ruin things get considerably easier as the enemies are leveled for you but to make things easier there’s a woman named Anska inside needing your help. If you agree to help her retrieve a scroll she will follow you around casting spells to aid you. Her aid, alongside a companion, makes this area almost trivially easy regardless of your level.
The one thing to keep in mind is that the boss of this area is genuinely difficult unless you have a very high fire resistance. Vokun, the Dragon Priest boss of these ruins, uses very powerful fire spells that can tear through your health rapidly. If you don’t have a high fire resistance nor a lot of hit points these fireballs will murder you in short order. The solution to this is to stay away from your follower and Anska so that they draw his fire attacks and then either snipe at him or run in and attack him, retreating only when your health gets critical.
Ironbind Barrow
Word: Become Ethereal
Location: Northwest of Whiterun in the mountains southeast of Dawnstar
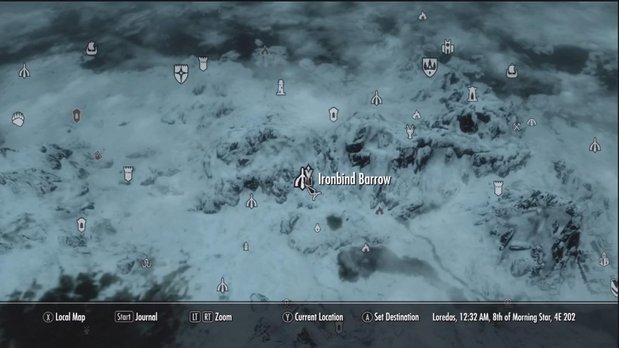
Just outside of Ironbind Barrow you will find two adventurers, Salma and Beem-Ja. Salma, the strong warrior in heavy armor, can more than handle herself against the various enemies in this dungeon. Beem-Ja will stay at a distance from those enemies while firing lightning blasts at them so he helps deal damage from a range. If you have a follower of your own it’s possible to just steamroll right through this dungeon as a veritable army of death to the vermin and Draugr that populate this place.
This isn’t really one of the greatest Shouts in the game but it definitely has its uses. With it you can dodge dungeon traps by simply not taking damage from them or totally avoid all damage from a high fall. But other than that it’s nothing all that special especially in comparison to some of the other Shouts out there.
Killkreath Ruins
Word: Elemental Fury
Location: In the mountains to the west of Solitude
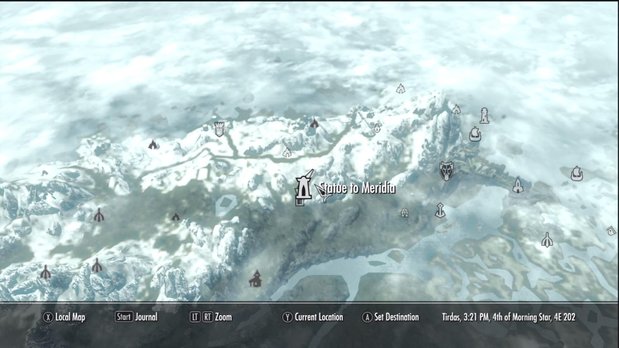
Dragon Roost. This one is kind of difficult to find as it’s tucked away within the mountains west of Solitude. The easiest way to get there is after you have Meridia’s Beacon, starting up her daedric quest. The Beacon is found inside of a random chest in the world after you pass level 10 and as soon as you have it you’re pointed straight to this location.
Korvanjund Halls
Word: Slow Time
Location: Mountains southeast of Dawnstar
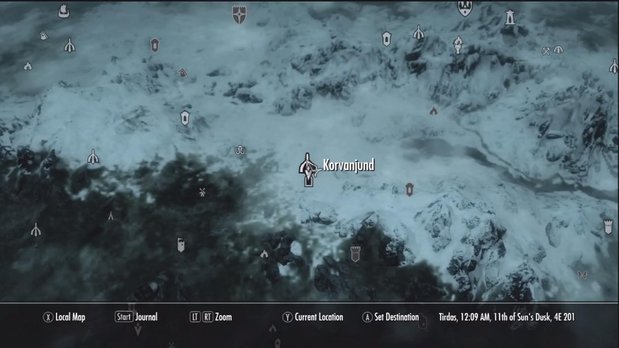
Korvanjund is a central location to the civil war sub-plot and regardless of who you side with this location must be visited. When you do come here it will be with a high ranking member of your faction as well as a large number of soldiers so combat in this place won’t really be an issue. For the most part you’re just going to be following these dopes around, letting them die in your stead and occasionally finding the way further into the dungeon for them. It’s an easy but long trip.
And while the video doesn’t show it yes that Draugr Death Overlord will rise up from its seat and attempt to tear your collective behinds apart. With the support of your allies it shouldn’t be too hard to defeat him and his backup but you might want to be careful anyways.
Labyrinthian
Word: Slow Time
Location: In the mountain range southeast of Morthal
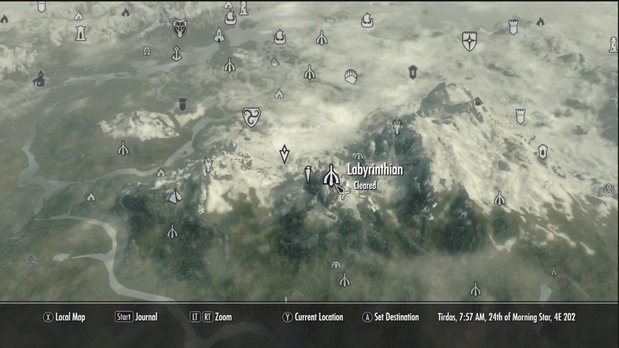
Out of all the dungeons in the game Labyrinthian is one of the most painful. To even get inside you’re going to have to join the Mages College in Winterhold and advance the quest line until you unlock the “Staff of Magnus” quest. At this point the quest marker will be placed on your map and, more importantly, you’re given the key to actually get inside of Labyrinthian as opposed to just wandering the surface or going into Shalidor’s Maze.
With the key in hand we can now enter the dungeon but the reward for getting inside is one of the tougher dungeons in the game. Starting off with a fight against a large group of skeletons and a Skeletal Dragon, an undead beast that uses both fire and ice breath and has all the resistances of a dragon and undead, it only goes downhill from there. The various Draugr encountered through this place tend to be tougher than what you might encounter in other dungeons at your level so expect a lot of Shouts to be coming your way. Topping all of that off are the spectral Draugr who use unique weapons that drain either health, magicka or stamina in addition to being tougher than regular Draugr of their type. Good luck!
Be careful while adventuring in this dungeon as there are a number of traps, both magical and physical. The worst are the spell runes that wait to surprise you although you can sometimes draw enemies into them killing two problems with one boom.
Labyrinthian – Shalidor’s Maze
Word: Dismay
Location: In the mountain range southeast of Morthal
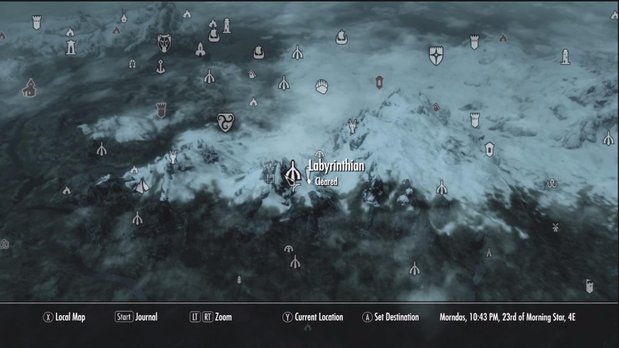
Shalidor’s Maze is a sub-dungeon that can be found in the Labyrinthian area. The surface connects three dungeons, one of which is Shalidor’s Maze. Clearing the maze can be an absolute headache but luckily you don’t have to. Simply follow the outside wall of the maze around to the rear where this wall is found.
Lost Tongue Overlook
Word: Dismay
Location: Mostly south and a bit east of Riften
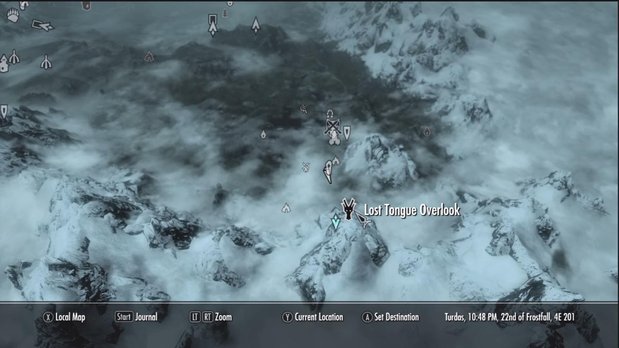
In two of our playthroughs this location has borne Meridia’s Beacon in the chest found near the wall so be sure to search that.
Lost Valley Redoubt
Word: Become Ethereal
Location: South-southwest from Rorikstead or far to the southeast from Markarth
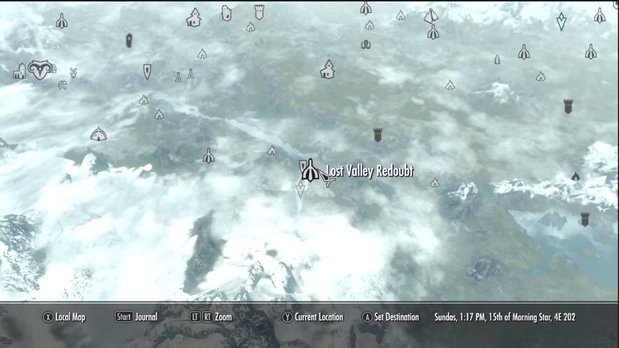
This wall isn’t too tough to get to location wise but you’re going to have a hell of a fight to reach it. In between you and the wall are a large amount of Forsworn of all stripes that can make your life very short. Even better is the scene that awaits you upon reaching the wall itself. Have fun with the two Hagravens.
Mount Anthor
Word: Ice Form
Location: In the mountains southwest of Winterhold
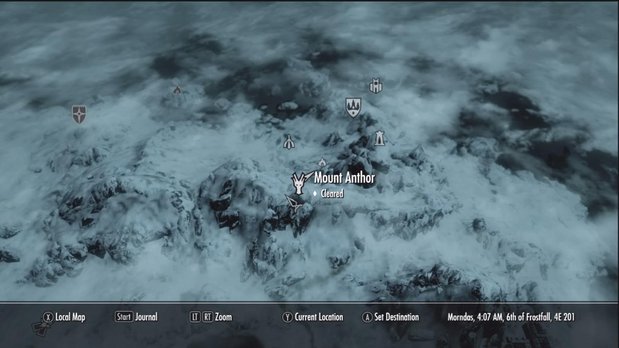
Nothing special about this particular location in the slightest beyond the fact that it is located fairly close to the Shrine of Azura and thus the dragon may be killed while going to that site.
Northwind Summit
Word: Aura Whisper
Location: Northwest of Riften nearby Shor’s Stone
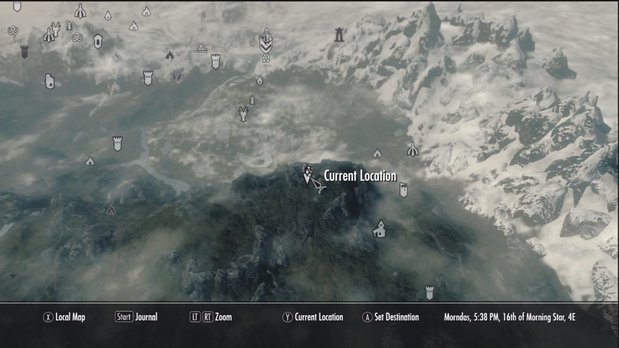
While this is technically just a Dragon Roost the only way to reach the summit is by passing through Northwind Mine. Unless you are willing to take some serious risks with gravity defying horse riding that is. The route most people will take is simply through the mine. One you emerge onto the summit the dragon will attack, kill him and get your word.
Ragnvald
Word: Kyne’s Peace
Location: North and a bit east of Markarth
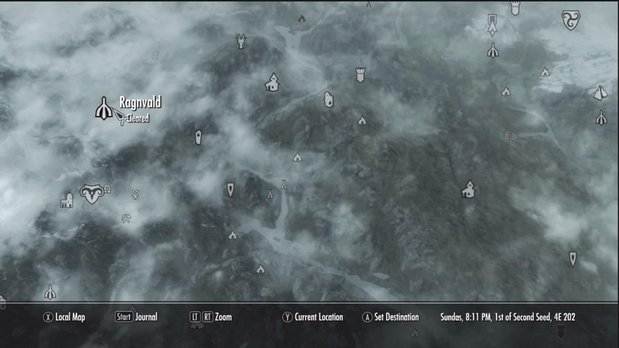
In theory Ragnvald is a fairly simplistic dungeon – it’s comprised of three large chambers and you must explore the two outer chambers to find the keys to open the way to the Word Wall. Unfortunately these two chambers are incredibly large so it’s very easy to get lost. Even when you finally return the two keys, actually black skulls, to the sarcophagus to open the path you’ll have to contend with a powerful Dragon Priest, Otar the Mad. He’s been stuck in that thing for the better part of a few thousand years and he’s eager to take that anger out on you. Lightning resistance will help greatly since that’s his only attack and he’s the only difficult fight between you and that wall.
Rannveig’s Fast
Word: Kyne’s Peace
Location: Southwest of Morthal on the far side of the mountains
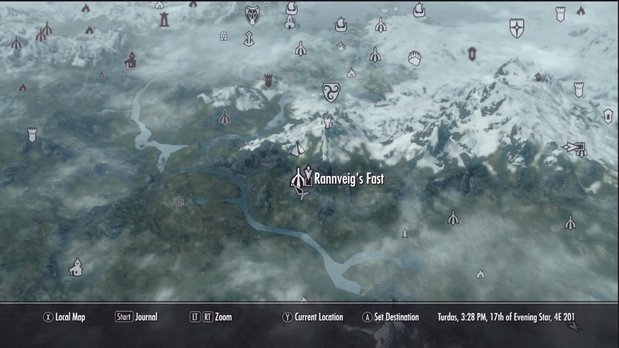
First and foremost know that this place is a trap. Those ghosts that are attacking you are under the control of a necromancer hiding out in this place. When you try to approach the Word Wall by walking over the grate in your path it will give away dropping you into a cage in a sub-area of the dungeon. Luckily if you don’t feel like going through all that nonsense just to get the Word then you can just walk around the grate, grab the word and then leave.
Saarthal
Word: Ice Form
Location: Directly southwest of Winterhold
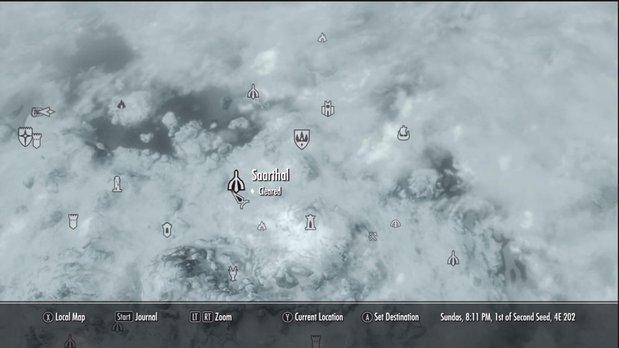
While the doors to this dungeon are open from the beginning of the game to reach the area that contains the Word Wall you’ll have to join the Mages College. One of the first quests sends you down into this dungeon to explore for magic items. What starts out with you just walking around, picking up stuff, turns into a pretty dangerous dungeon crawl rather quickly. You will have Tolfdir’s help in some of the hardest areas so exploring this place shouldn’t be too hard even for a low level character although the boss fight can provide some issues. Keep plenty of health potions on hand in either case as there is a Draugr Overlord or Draugr Deathlord looking to bash your face in when you’re still on your own.
We never really figured out a good way to do the puzzle with the spinning pillars. You have to match up the side of the pillar facing you with the symbols on the walls above them to open the door. The problem is that when you spin one pillar another one, or two, will spin with it. There is very likely a good, simple order to do this but we haven’t worked one out at the time of this publication.
Shearpoint
Word: All three Throw Voice Words
Location: On the mountains in the center of The Pale region of Skyrim, between Whiterun and Winterhold, south of Dawnstar and Morthal
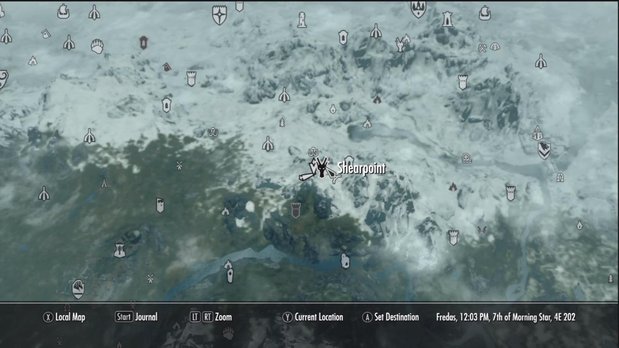
Do not, I repeat, do not treat this like just another Word Wall. The dragon will fly away from the wall to attack you like normal but it is of the utmost importance that you do not walk towards the wall itself until the dragon is dead. In a sarcophagus near the Word Wall is one of the Dragon Priests, Krosis, and you don’t want to be caught between a dragon and this guy because they will kill you in no time flat. Kill the dragon and then deal with Krosis for a much easier time.
On the bright side Krosis’ mask is awesome for stealthy, light armor users. That makes up for this Shout being fairly useless even for a stealthy character so it evens out.
Shriekwind Bastion
Word: Elemental Fury
Location: North of Falkreath – note that this dungeon has two entrances
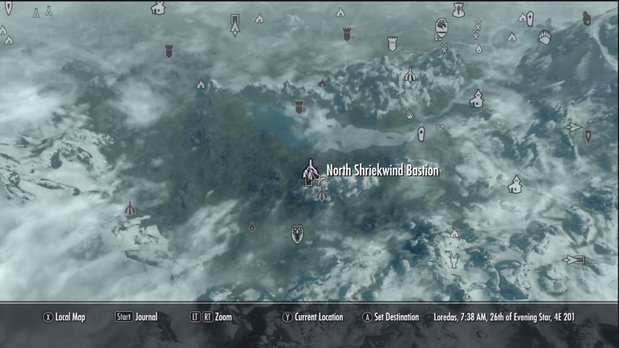
Technically speaking this is just one dungeon with two entrances but getting in from the southern entrance is kind of tricky and it produces a fairly different experience. The video below operates as if you entered from North Shriekwind Bastion and this is basically the simplest way to get through the dungeon. Luckily this is another pretty easy dungeon with only the fact that there are some vampires inside making it tough at all. Bring along fire weapons for all the various undead and you will be in great shape for clearing this place out in a jiffy.
Shroud Hearth Barrow
Word: Kyne’s Peace
Location: Just north of Ivarstead
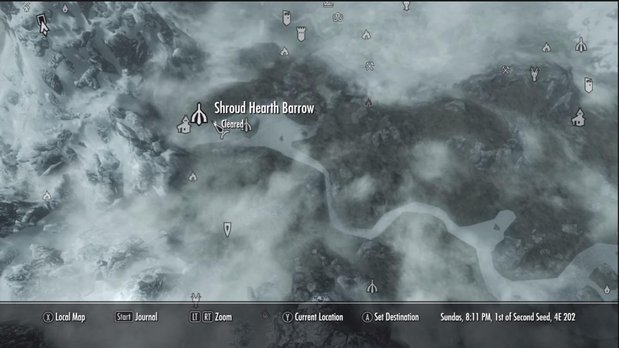
Located just north of the small town of Ivarstead this dungeon is encountered rather early on if you’re following the main storyline. Luckily it’s also a rather easy dungeon with only one boss level encounter near the end of it. Honestly a beginner character with your housecarl should be able to clear this even if they’re a mostly non-combat spec thanks to most of the enemies being easily defeated skeletons.
Silverdrift Lair
Word: Disarm
Location: Southeast of Dawnstar on the other side of the mountains.
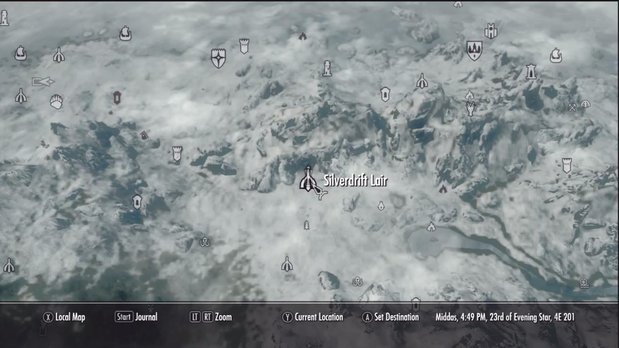
For the most part this dungeon is fairly easy to get through with only a few enemies to fight who shouldn’t be too difficult if you have good equipment. Honestly the traps are more likely to wipe you out if you’re not careful. But there are two tough enemies in this place, an elite and a boss Draugr. The first is slightly higher level than the average enemy you’re fighting but the second is going to be a very tough fight. Should you possess the capability to summon allies, whether by Shout, spell or artifact, this is a great place to use it. This is a nice place to use any Daedric Artifacts you might have as they’ll make dealing with this boss much easier.
Skuldafn
Word: Storm Call
Location: Not on the map, this location is accessed during the quest “The World Eater’s Eyrie”
This is the next to final location in the game and can only be accessed by following the main storyline to its conclusion. It’s pretty hard to miss this wall what with it being right in your path in a hallway you have to pass through and there are no enemies in said room to distract you. However do not miss this wall! Without reloading or using glitches / cheats there is no way back into Skuldafn after you’ve cleared it. Get it during your first visit or not at all.
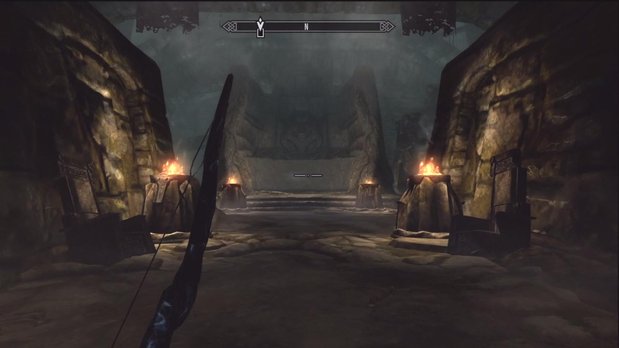
Skyborn Altar
Word: Frost Breath
Location: Southwest of Dawnstar and southeast of Morthal on the north side of the mountain range
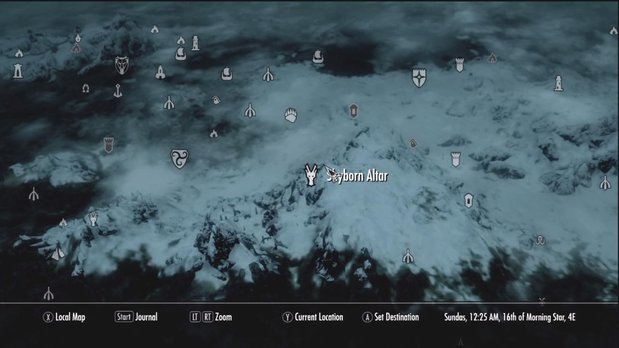
There’s nothing special about this location. Kill the dragon and get the wall, easy as can be. If you’re having a hard time finding your way up the mountain to this place then go into Morthal or Dawnstar and use your Shout. Simply fire a short, one word Shout up into the air repeatedly until a courier brings you a message from “a friend” that will give you this location.
Snow Veil Sanctum
Word: Disarm
Location: Southeast of Winterhold city
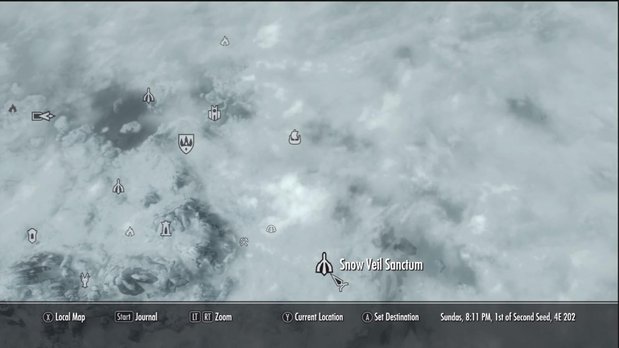
This location can only be entered during the Thieve’s Guild quest “Speaking with Silence” as only during this quest is the door opened. You’re partnered with the Guildmaster Mercer Frey and he can basically clear this place out entirely on his own, no help needed from you. This makes getting through the dungeon absolutely a breeze even for a character with almost no combat skills.
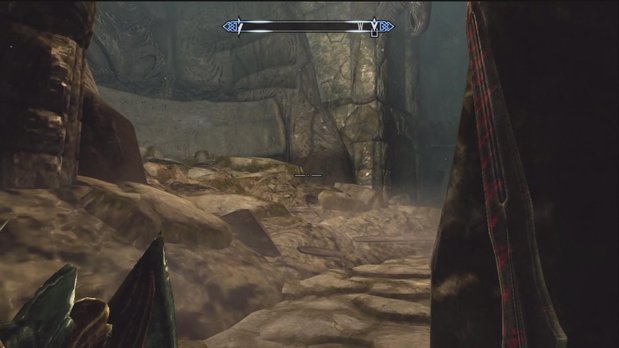
This wall is found in a large chamber with a second floor accessed by a wooden staircase. Simply walk around the staircase to the far side of the room for this wall.
Ustengrav
Word: Become Ethereal
Location: Directly east of Folgunthur, and northeast of Morthal
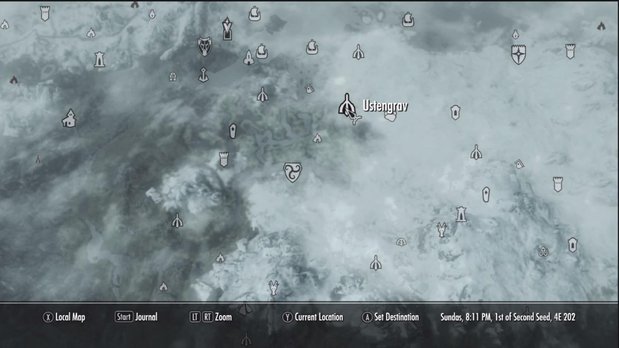
Upon arrival at this place you’ll find some bandits and necromancers not getting along very well. It’s rare but there is the chance that they’ll attack you as a team instead of each other but even then they’re not that hard. In the depths beyond the fights are even easier since it’s basically filled with weak skeletons. That’s all that’s between you and your objective as well as the Word Wall.
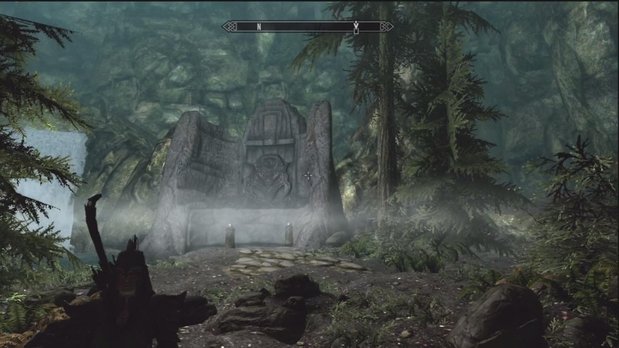
Valthume
Word: Aura Whisper
Location: Far to the southeast of Markarth, near the river
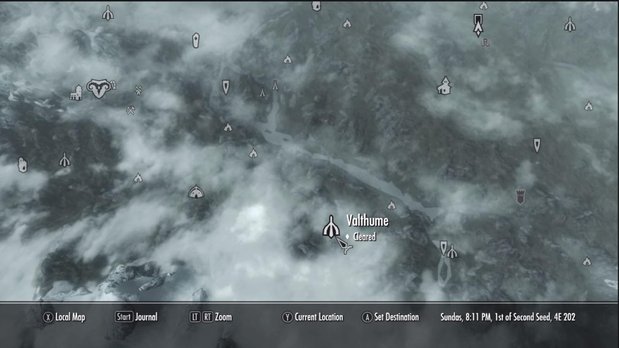
Valthume is home to the Dragon Priest Hevnorak having been imprisoned here by a brave warrior named Valdar. He remains as only a spirit but Hevnorak is rapidly waking up so it’s up to you to finish this dark creature off to protect the world from him and free Valdar. This requires that you find three different “vessels” that will call up Hevnorak so that he can be slain by you.
The first vessel is the Opaque Vessel and this is found in Valthume proper. This part is rather simple and isn’t covered in the video below. However to get the next vessels as well to reach the Word Wall you’ll need to head down into Valthume Catacombs and this is where the problems begin. Regardless of your level there are going to be numerous higher level Draugr here. In most playthroughs people will encounter several Draugr Deathlords in this area, notably just before and after you pick up the Iron Claw. This is a challenge for even higher level characters due to how much damage these guys can do even with a bow so be immensely careful with this part of the dungeon. Compared to dealing with these guys the fight with Hevnorak is a breeze.
Volskygge
Word: Whirlwind Sprint
Location: In the mountains far to the west of Solitude
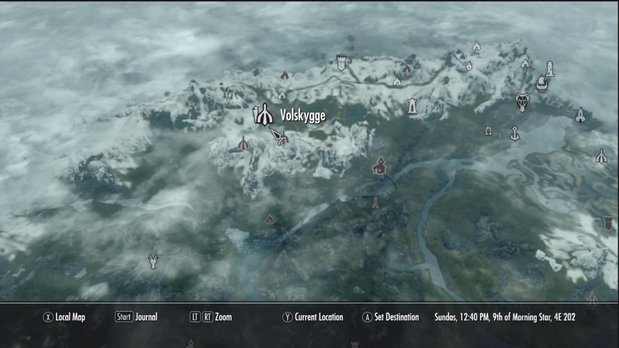
Volskygge is a Nord ruin full of bandits for the first half and then Draugr in the second. As the bandits are leveled along with you they should be pretty easy for you to handle if you survived the trip to this dungeon. The Draugr are a bit tougher so a fire weapon might be called for if you want to ease the trip. One thing that may trip you up is the large room in the first half of the dungeon where you must solve a riddle to advance. To proceed you must pull the levers on the four pedestals around the room in a particular order, opening the way forward. There is a book that gives you a hint but you’re here for answers so the solution to the riddle is: Snake, Bear, Fox, Wolf
As can be seen in the video after you absorb the Word from the wall Dragon Priest Volsung will emerge from his sarcophagus to attack. He casts cold spells at you so any Nords out there will have a bit of an easier time as will any who have invested in cold resistant equipment (or potions). His mask is actually one of the better ones in the game so it’s well worth holding onto.
It is possible to climb the outside of the ruins by going up the mountain on a horse. This lets you bypass the dungeon entirely and simply get the Shout and deal with the Dragon Priest if you so choose.
Volunruud
Word: Aura Whisper
Location: On the other side of the mountains southwest of Dawnstar
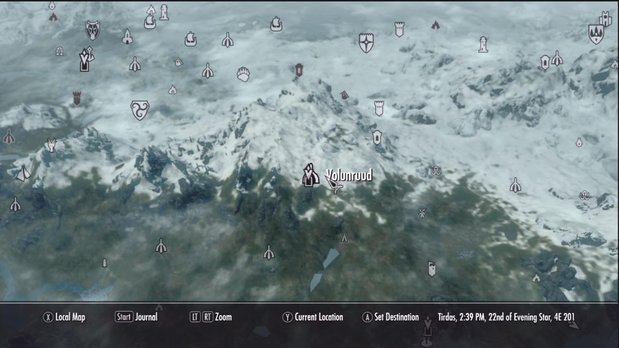
This location is a part of the Dark Brotherhood questline but it can be entered, and cleared, long before joining the Brotherhood. You’re just sparing yourself making multiple trips to this area. To get inside of the catacombs you’ll need to find two weapons that go into place on the door, opening the way to the Elder’s Cairn where the wall is. The weapons are gotten from the adjoining rooms in Volunruud.
However this area is actually quite tough. The main chamber, with the sealed door, is fairly easy to get through but the areas with the weapons are quite tough. There are many Draugr that will get in your way here and each weapon is quite well guarded. Numerous regular Draugr guard the sword, providing difficulty in numbers while the axe is guarded by a powerful boss level Draugr Scourge capable of using powerful Frost magics and summoning up a Frost Atronach. You’ll need to be very careful dealing with the Scourge in particular so any Frost resistance you can muster is well advised.
Once the way is opened to Elders Cairn it’s a mostly straight shot to the boss room where you’ll have to fight a few Draugr alongside Kvenel the Tongue’s spirit. Kvenel is quite tough for even melee characters as he is basically a more powerful version of the Draugr Scourge except he can use the Unrelenting Force Shout and dual-wields weapons. At low levels Kvenel will pose a huge threat but luckily if you prepared for that Draugr Scourge you can prepare to blunt at least his spells and Atronach so you only have to deal with his melee attacks. At higher levels he’s easier as he doesn’t really scale with you but, unfortunately, his Draugr do. If a Draugr Scourge emerges to help him then there’s the possibility of fighting him, regular Draugr, Kvenel’s summoned Atronach and the Scourge’s Summoned Atronach. It gets messy.
Ysgramor’s Tomb
Word: Animal Allegiance
Location: On a small island northwest of Winterhold near the frozen plains
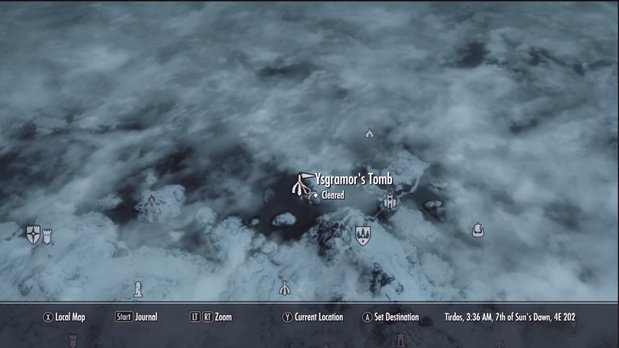
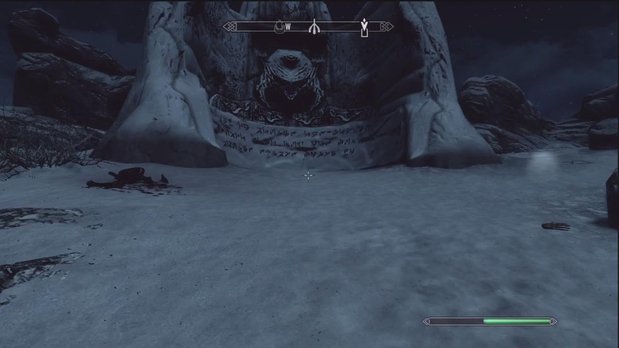
To get into the tomb you must complete all of the quests available from the Companions. This will lead to investigating Ysgramor’s Tomb by placing Wuuthrad in the hands of the statue. After completing the entire dungeon a door will leave you back by the main entrance. Facing the statue again a new door will have opened to your left as a piece of the wall has moved. Go through this door to end up outside on a ledge that cannot be reached any other way. Follow the staircase to reach the wall.
Daniel is a freelance games journalist, but is also the Editor-in-Chief at Gaming Excellence.
