Splinter Cell Conviction Deniable Ops Guide
Sneak and shoot your way to victory with these surefire tips
First Stage
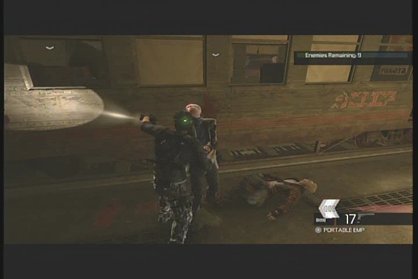
Above: A melee kill starts you off right.
This stage is actually really, really easy. You can kill off a number of enemies from your starting position and most of the others can be reached from the top of the subway car. Don’t even worry about getting a melee kill, one is handed to you at the beginning of the next stage so just snipe everybody to finish this off rapidly. If the enemies randomize in a different way than mentioned above they will often congregate in front of the subway car and on the far side of it. When they split up you can easily melee and then M&E them. It’s not very difficult either way. Quick note: Reinforcements in this stage seems to only be five guards for some reason.
Second Stage
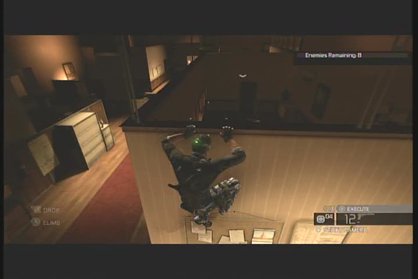
Above: Climb here to get in the office.
As promised, open the door leading into the next stage to find a guy standing right there. Move in and melee kill him to get your Mark and Execute charge. After killing him do not walk through the metal detector, jump over the table to the right to avoid setting off an alarm. Then you can continue forward into the next room to find another guard who you can easily sneak up on with a bit of patience.
You will go into a doorway to your left; one of the guards here is easily sniped but the other not so much. It is possible to climb the wall straight across from the doorway to get into an office where you can snipe him off. Once you clear the offices you will find an enemy hanging out on the other side of the door. This is tough to do but if you’re quick enough you can bash him with the door. Otherwise you’re going to have to open the door he’s closest to and try to melee him as quickly as possible.
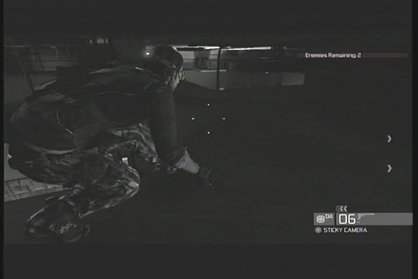
Above: From up here enemies die easily.
With that done, all that’s left is to carefully get up into the fake ceiling and take out the last few guards from up there. There are very few spots you can use to get back up when you drop out though so don’t use “Death From Above” on anyone until you know he’s the last one.
Third Stage
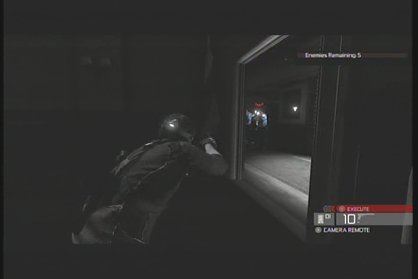
Above: If you’re caught, hide here and shoot.
From the start here you can bash open the door and quickly retreat back around the doorframe to draw a guard to you. Melee kill him for a quick recharge if needed.
This next area is very tricky. There are two guards on the upper level, one that patrols past the door you’re likely using for cover and there are at least four guys in the immediate area down below, with two more within earshot. Basically this room contains most of the enemies for this stage. If you have an M&E you can easily snipe three of them from the upper level here which removes a large chunk of your concerns. Also the patrolling guard can easily be killed as he walks past. That’s half of the enemies gone already, the rest is pretty easy.
Fourth Stage
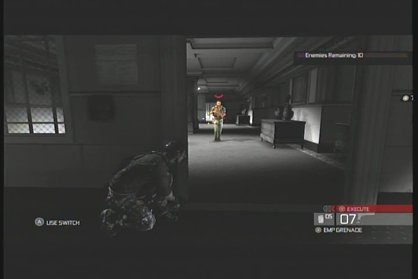
Above: Or lure someone over.
Once again you’re going to want to avoid that metal detector by hopping over the desk to the left but don’t do that immediately. There are two enemies and if you headshot one of them from your spot as he stands in the doorway the other will come over, eager to be popped as well. From here take the stairs up to the second level. There are three enemies up top, one who walks by the door and two others who patrol further away. These two are easily sniped off so melee kill one and shoot the other two. From here it’s simply a matter of picking off the last enemies. One of them guards the door to the exit so he can easily be sniped from the walkway above him at any time.
Fifth Stage
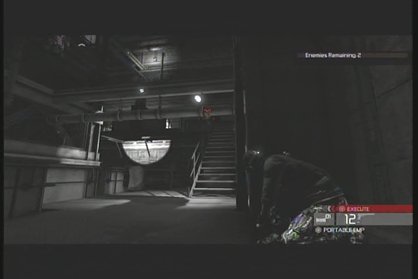
Above: Pick enemies off as you move.
The beginning parts of this stage are incredibly easy, the end not so much. To get a good start, melee the guard in front of you and then proceed slowly across the ground floor killing off the enemies as quietly as possible.
Now comes the hard point. You have to climb up this silo type area to get to the last four guards while dodging a couple of very observant turrets. The easiest way to do this is to keep a solid object between you and the spotlight it shines and move when it’s not aiming at you. When you can use M&E to take out at least two of the men. Often this will cause one of them to come to you, take him out and then drop the last man to finish this level.
Sixth Stage
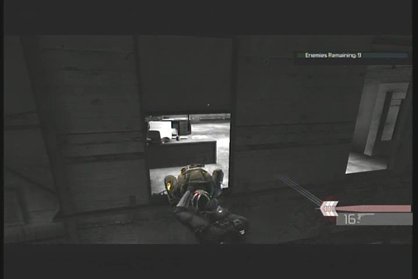
Above: Time to sleep sweet prince.
An easy stage, you should have no problems getting past the enemies so long as they don’t end up calling in for reinforcements. Even then just stick to the shadows, use the ledges you can climb along to hide from groups and use your devices in an emergency. It should take you no time to clear this.
Sign up to the GamesRadar+ Newsletter
Weekly digests, tales from the communities you love, and more
Daniel is a freelance games journalist, but is also the Editor-in-Chief at Gaming Excellence.
