Full Star Wars Jedi Fallen Order walkthrough and guide
Star Wars Jedi Fallen Order is big, so let our walkthrough steer you through the system
Star Wars Jedi Fallen Order walkthrough - Tomb of Miktrull
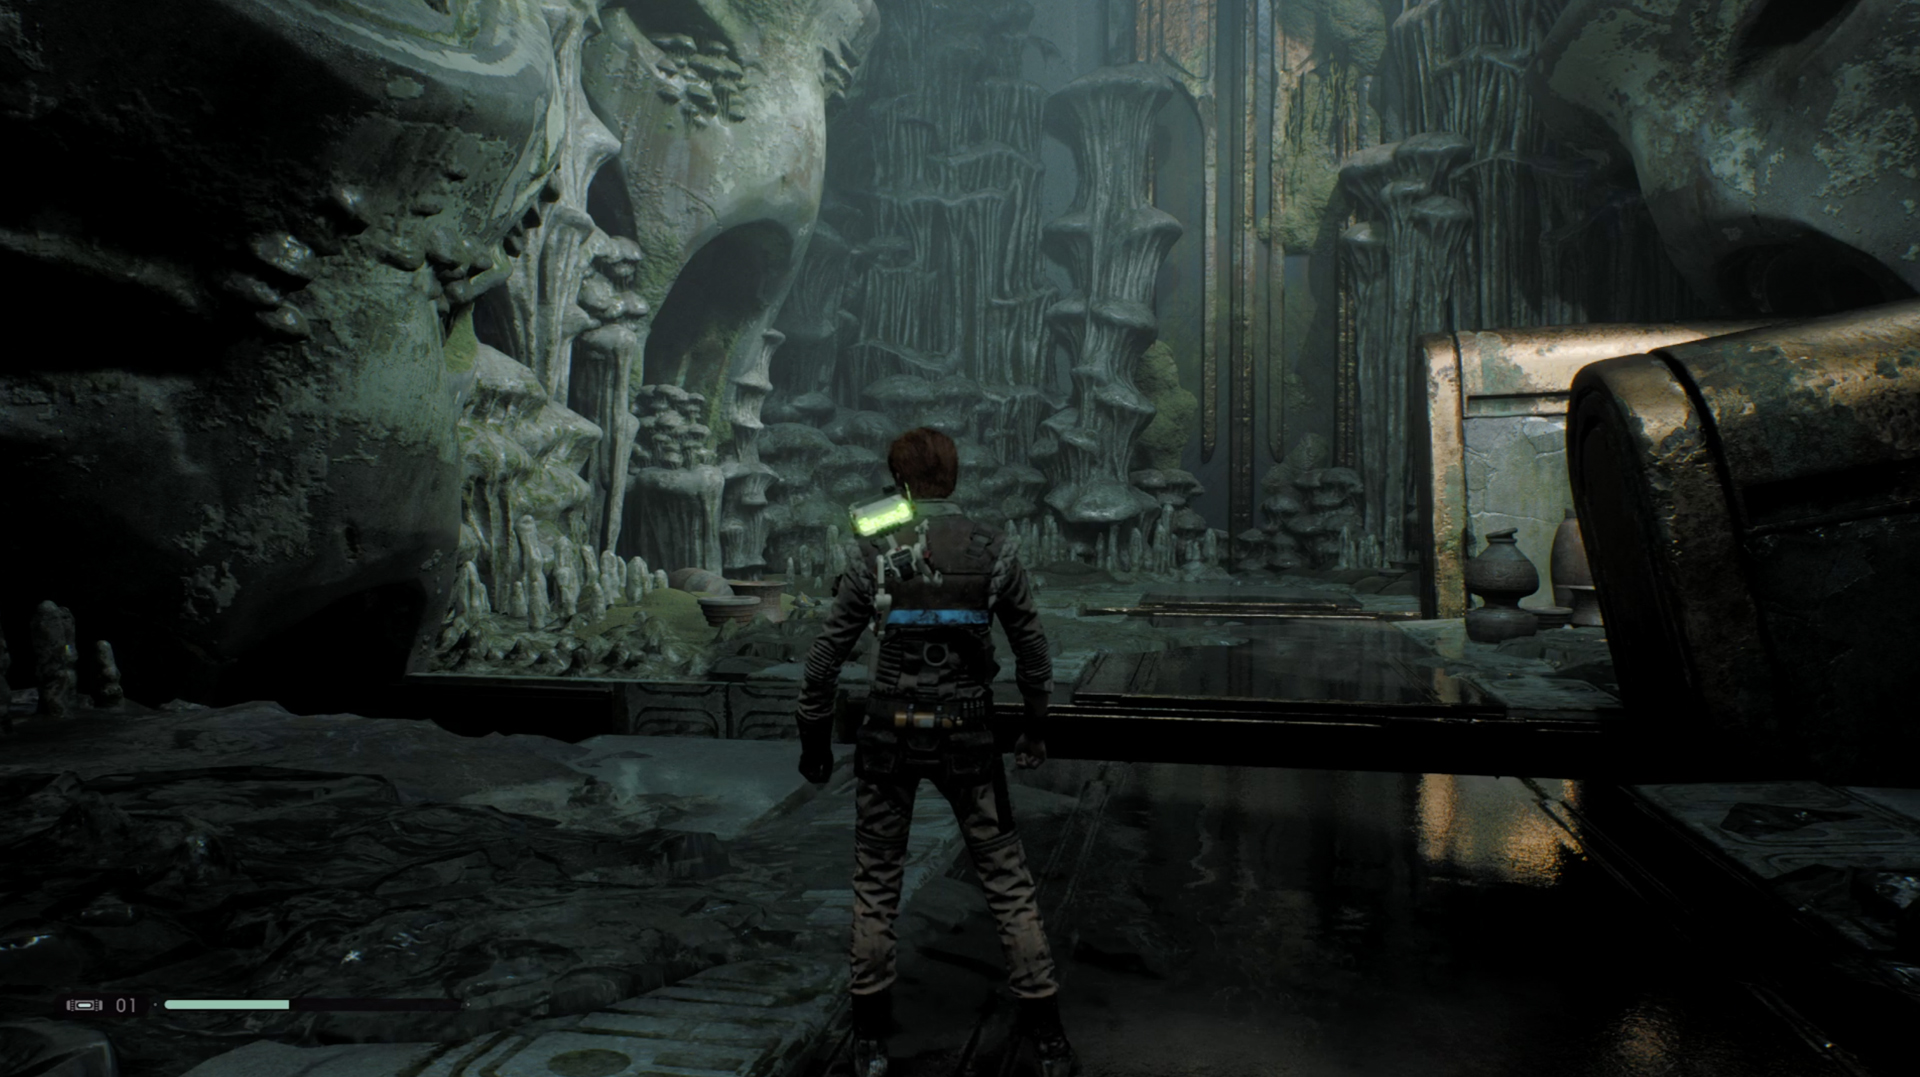
Once the Second Sister boss fight is over head down the passage to a slide into a triple Wall Run. In the area this takes you to, drop into the second trench and go through the opening on the left. Force Push the wall to find a Meditation Point and a tiny gap to squeeze through that will take you to the Tomb of Miktrull where a lantern puzzle awaits.
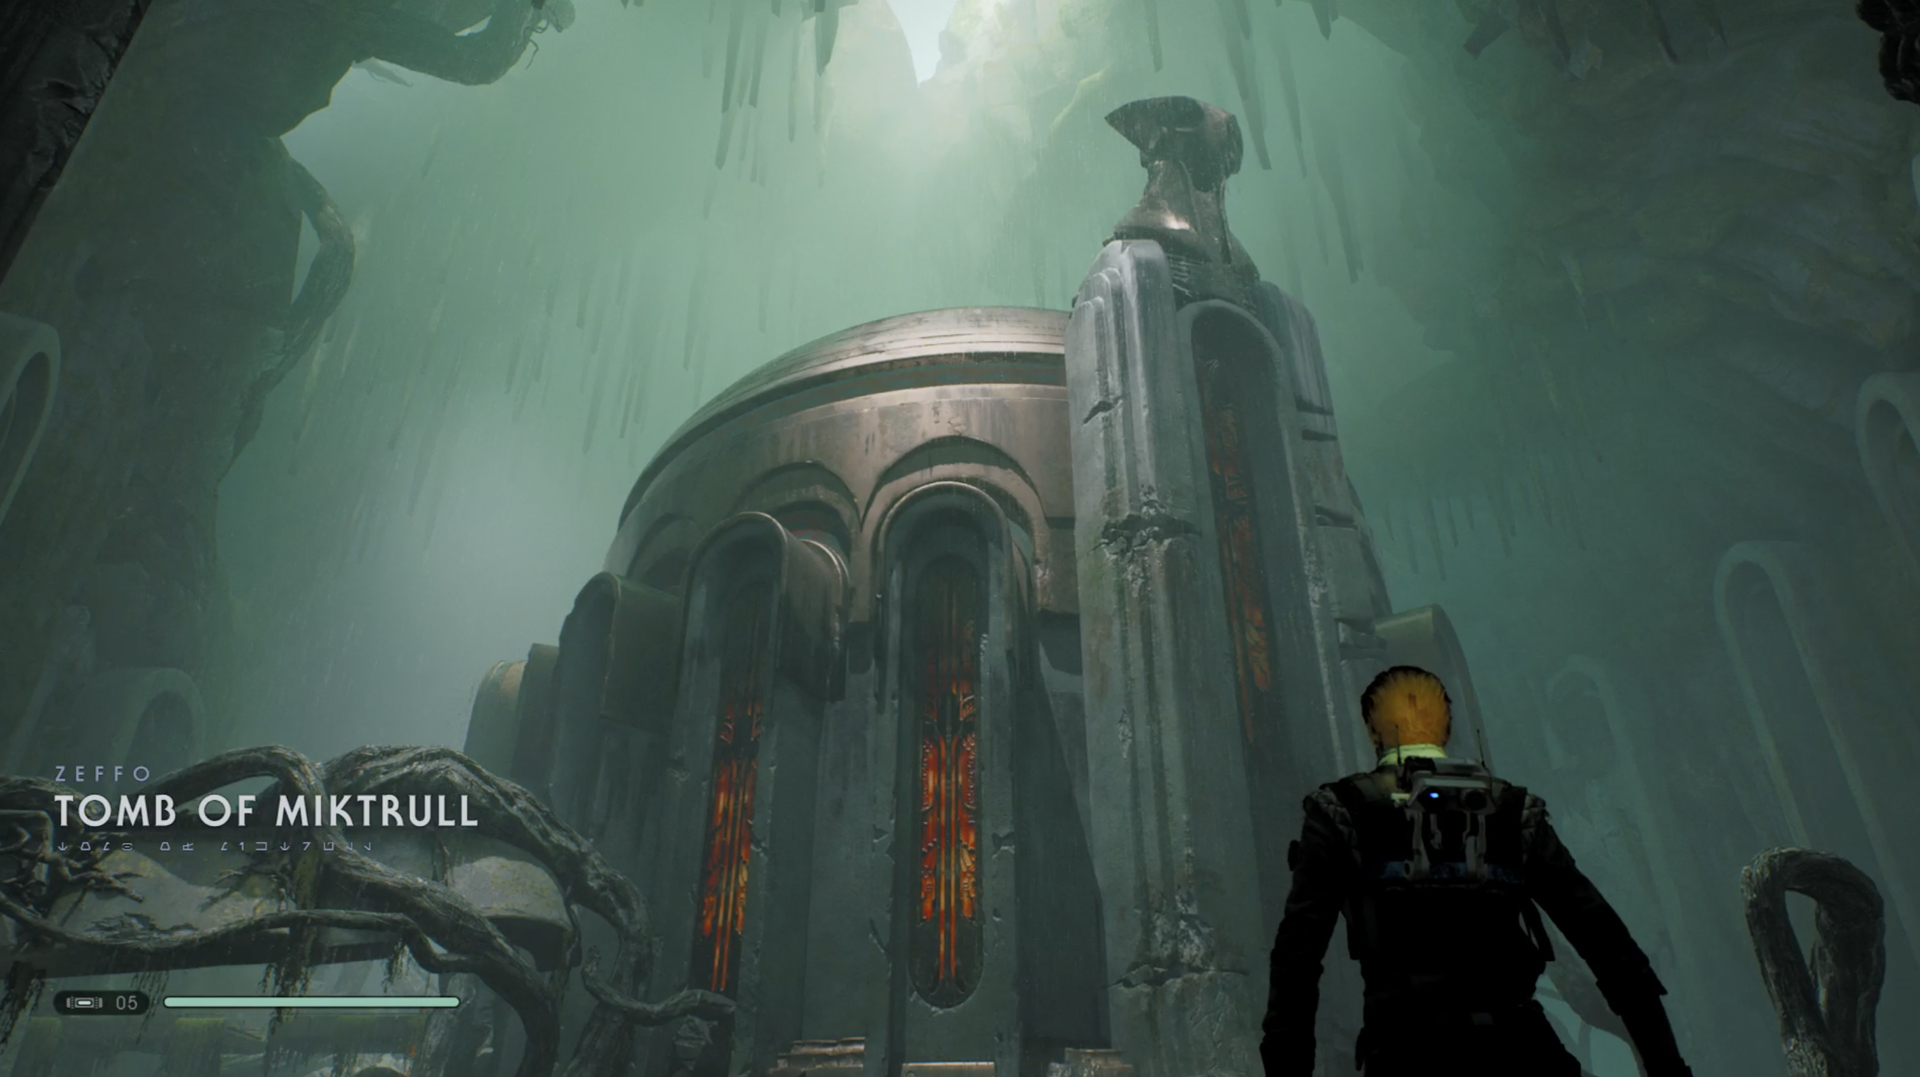
Go right and follow the ledges down to a double rope swing straight into a slide down to a Climbable Wall. That will lead you up to a narrow gap you can squeeze through where you’ll find a Temple Guardian killing some Stormtroopers. Defeat him and Force Push the door out, to enter a watery chamber, find another red-detailed door to Force Push and leave.
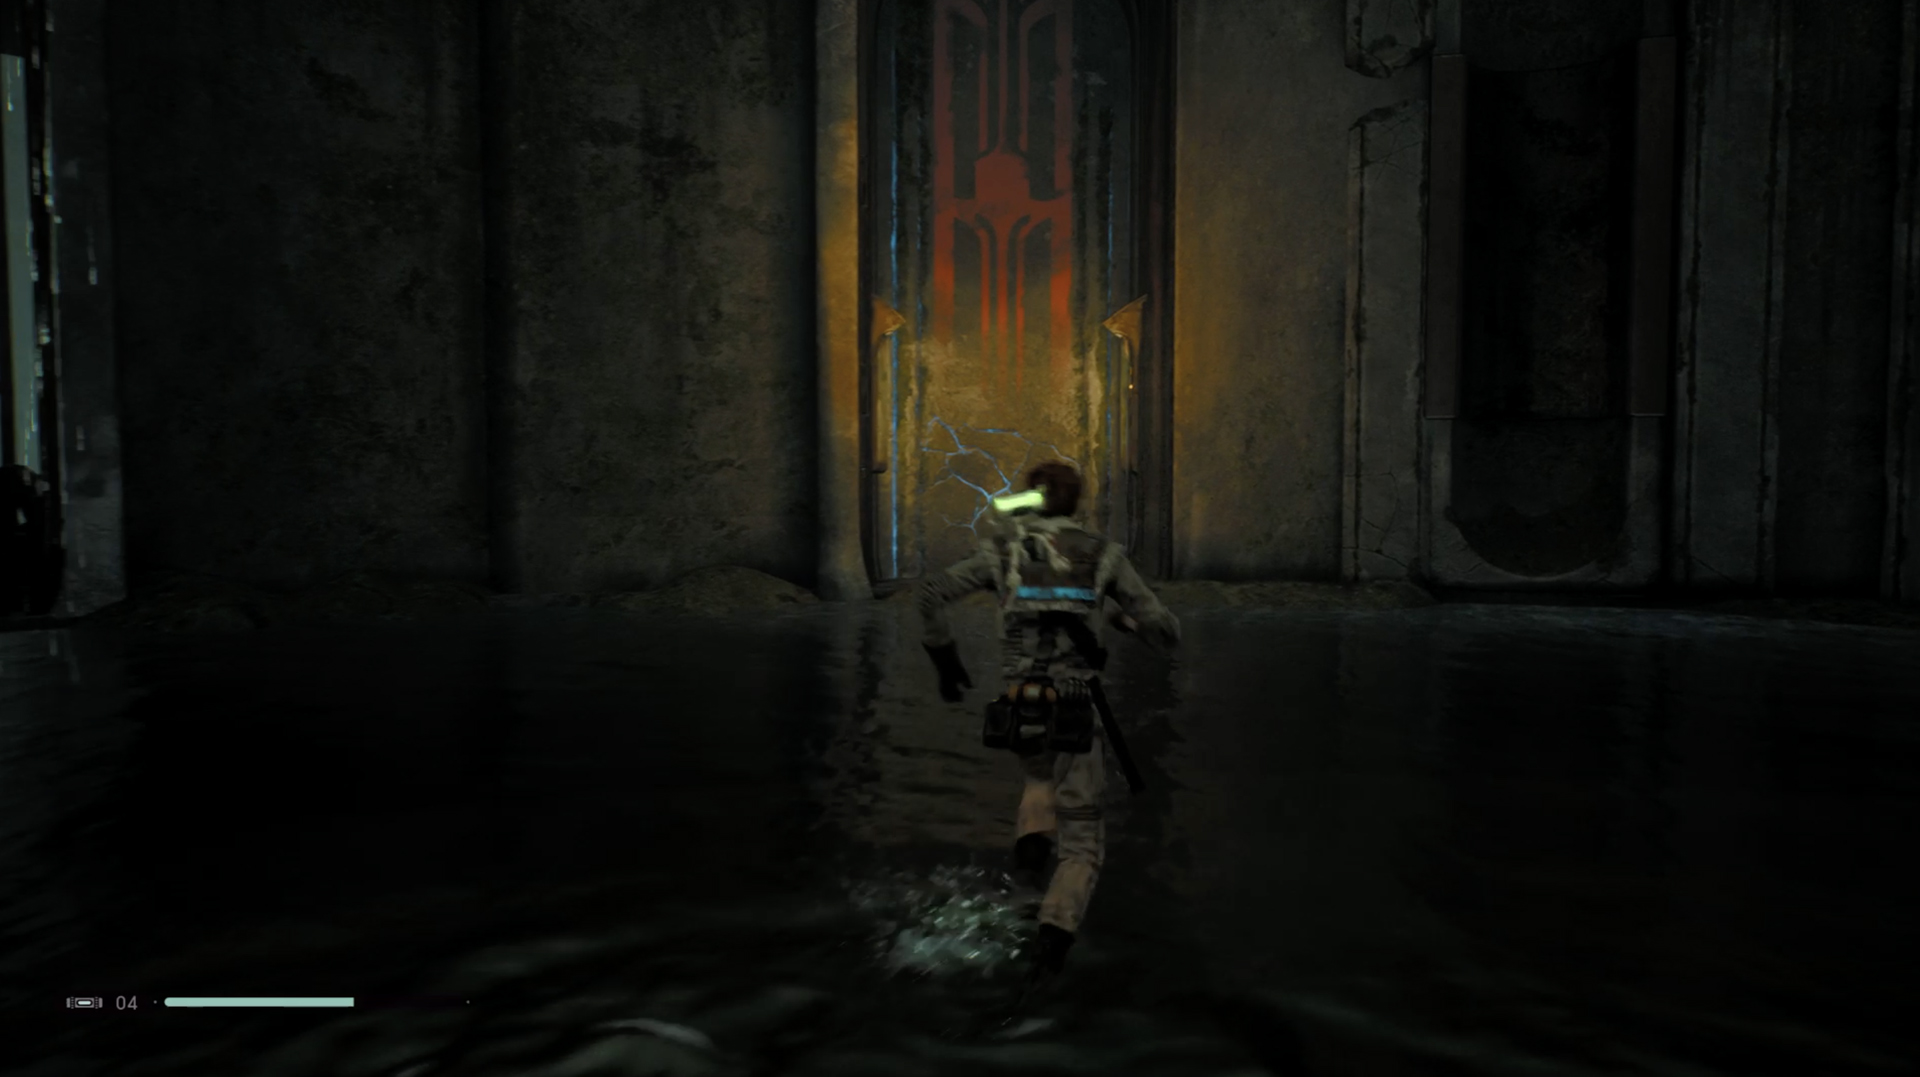
Scan the plants then activate the pedestal to turn on the magnets and pull a lantern into the red roots and burn them away. Head up the stairs and use the Meditation Spot. Down the slope you’ll reach a long bridge with a Force Echo and Scomp Crate at the end containing the Mantis Paint Job Greezy Money. Go back and Force Push the wall to enter the upper chamber where you’ll find some a bunch of troopers to kill. When they're dead head over on the right side and use the Climbable Wall reach the upper ledge and Force Push the wall to find a crate with the Lightsaber Material Haysian Smelt.
Ignore the other door you can Force Push up here for now as you won’t be able to do anything until you unlock the Force Pull ability. Instead go back down to the lower ledge and use the pedestal to activate the magnets and pull a block out of the wall. Then use the pedestal again to turn the magnets off, and Force Push the block against the wall so you can climb up it.
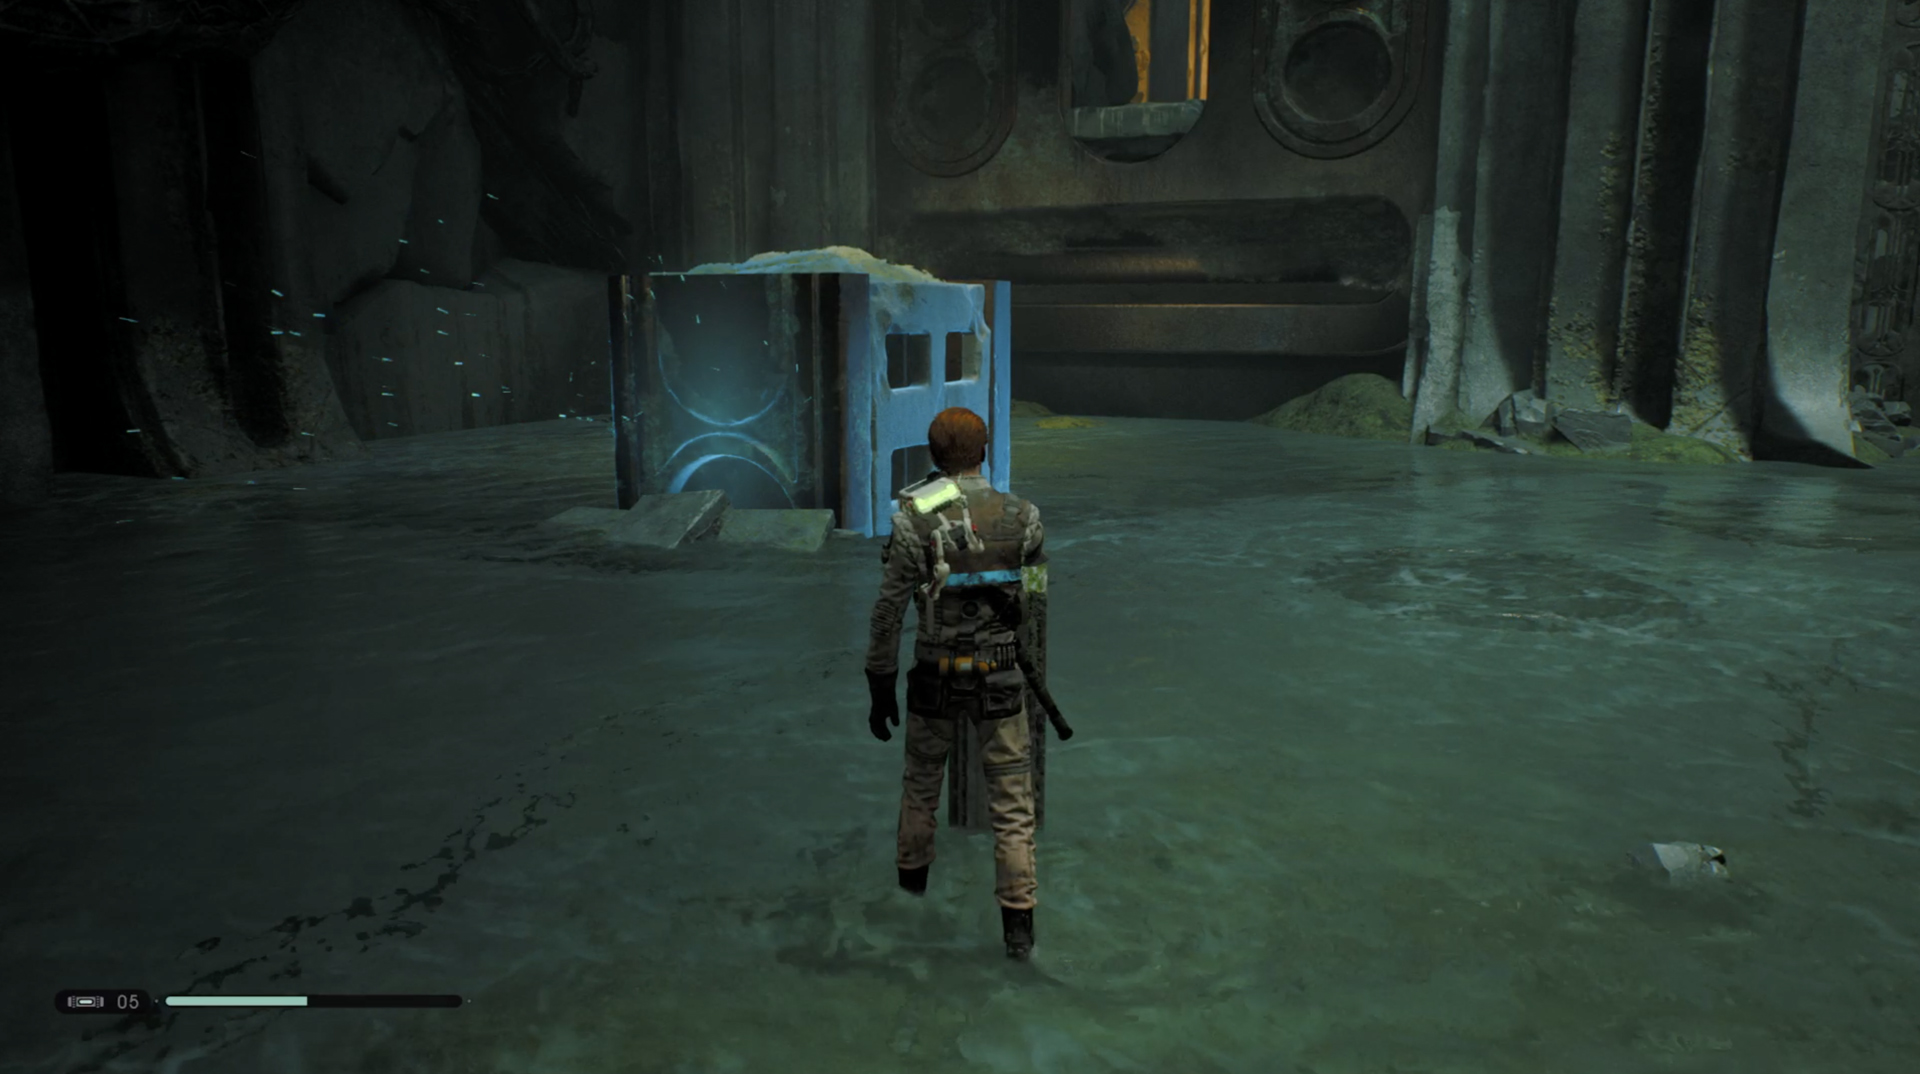
You’ll end up in a circular corridor with an inert Temple Guardian you can attack or leave be. Follow the corridor around and you’ll reach a Meditation Spot, a Climbable Wall wrapped in roots you can’t access yet, and a corner with a crate also wrapped in roots you can’t reach yet.
When you have Force Pull you’ll be able to clear the Climbable Wall to reach and fetch a Flame Pot from the main chamber or from over a bridge you’ll cross later and then throw it at the roots from the bridge to burn them away and open the crate which contains the BD-1 Skin Sumi.
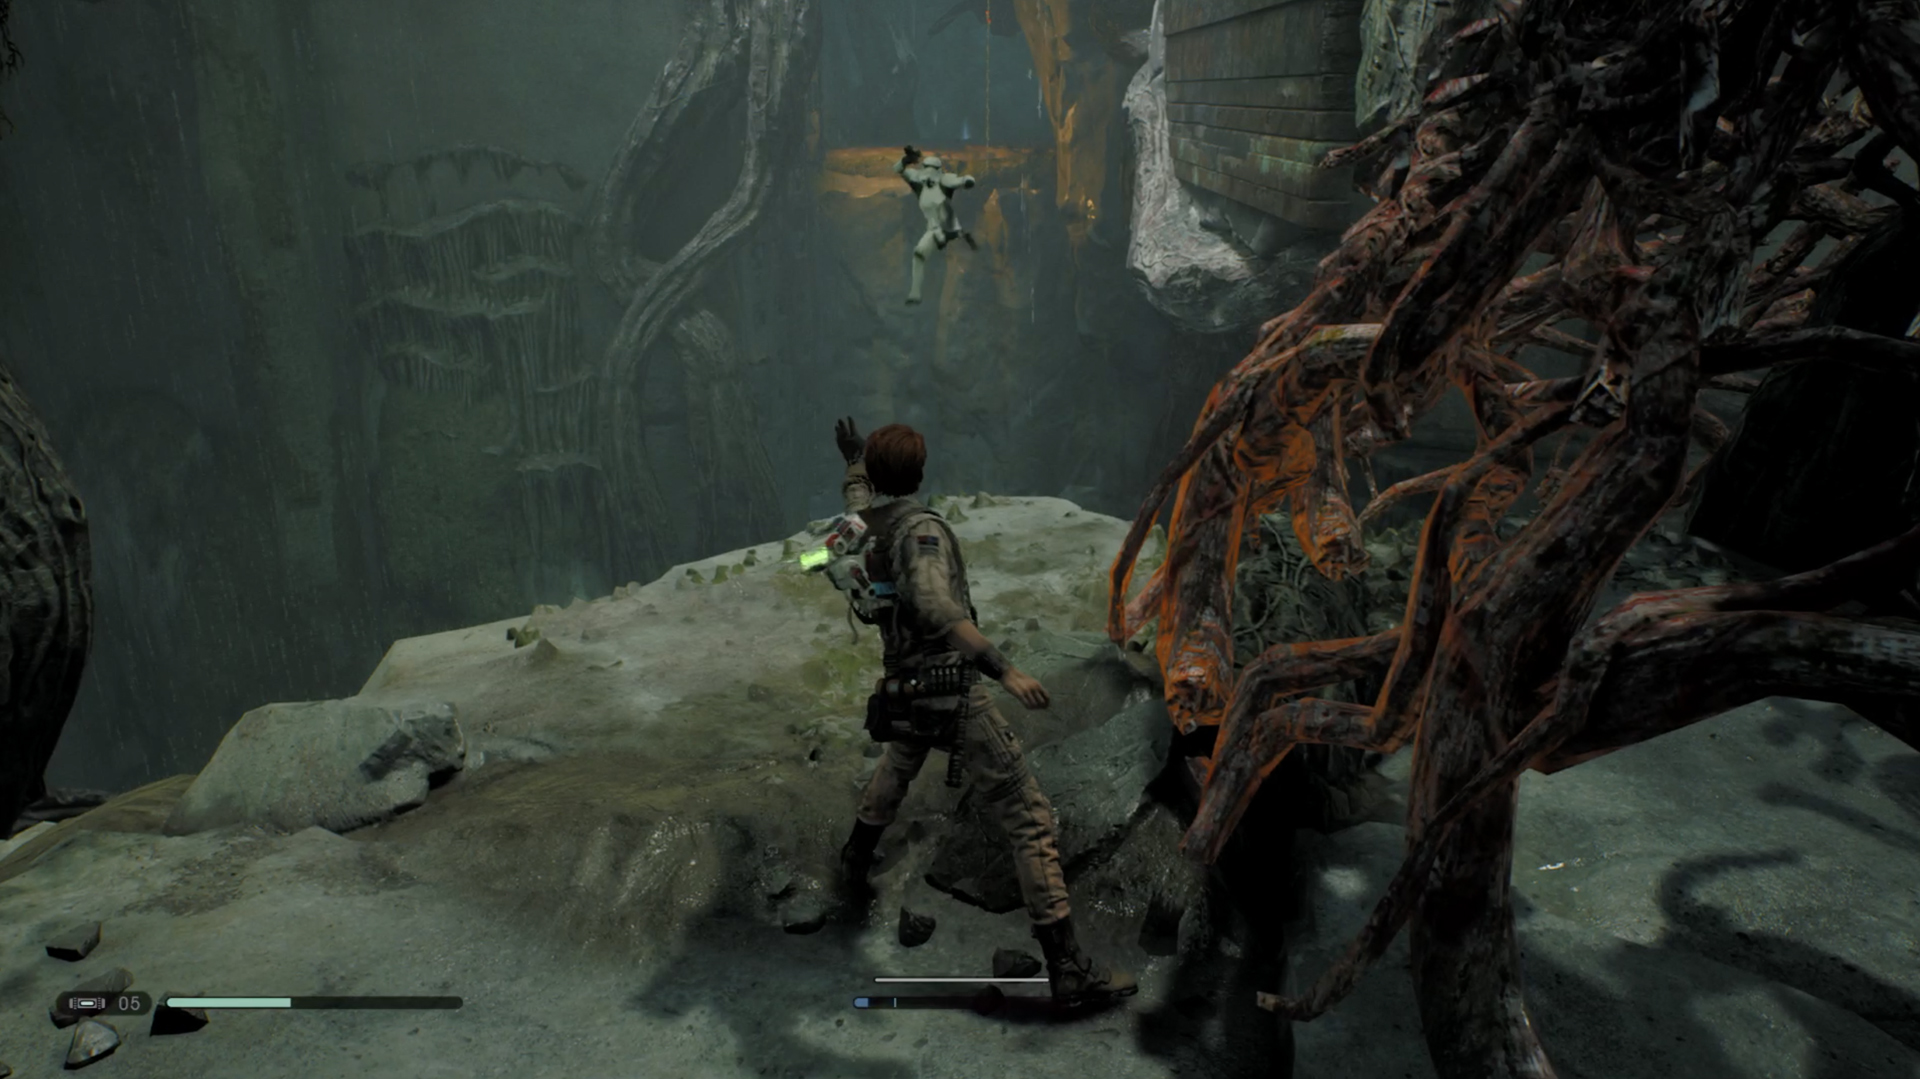
Continue down the stairs blasting stormtrooper into the abyss as you go. There’ll be a Wall Run that leads to a double rope swing to a Climbable Wall that will let you jump to a ledge with some spiky plants. Follow the path to another Climbable Wall that will take you to a large semi-puzzle area where you’ll have to rearrange large vanes around a central pillar to get to the other side. There’ll also be some creatures and troopers to deal with.
Weekly digests, tales from the communities you love, and more
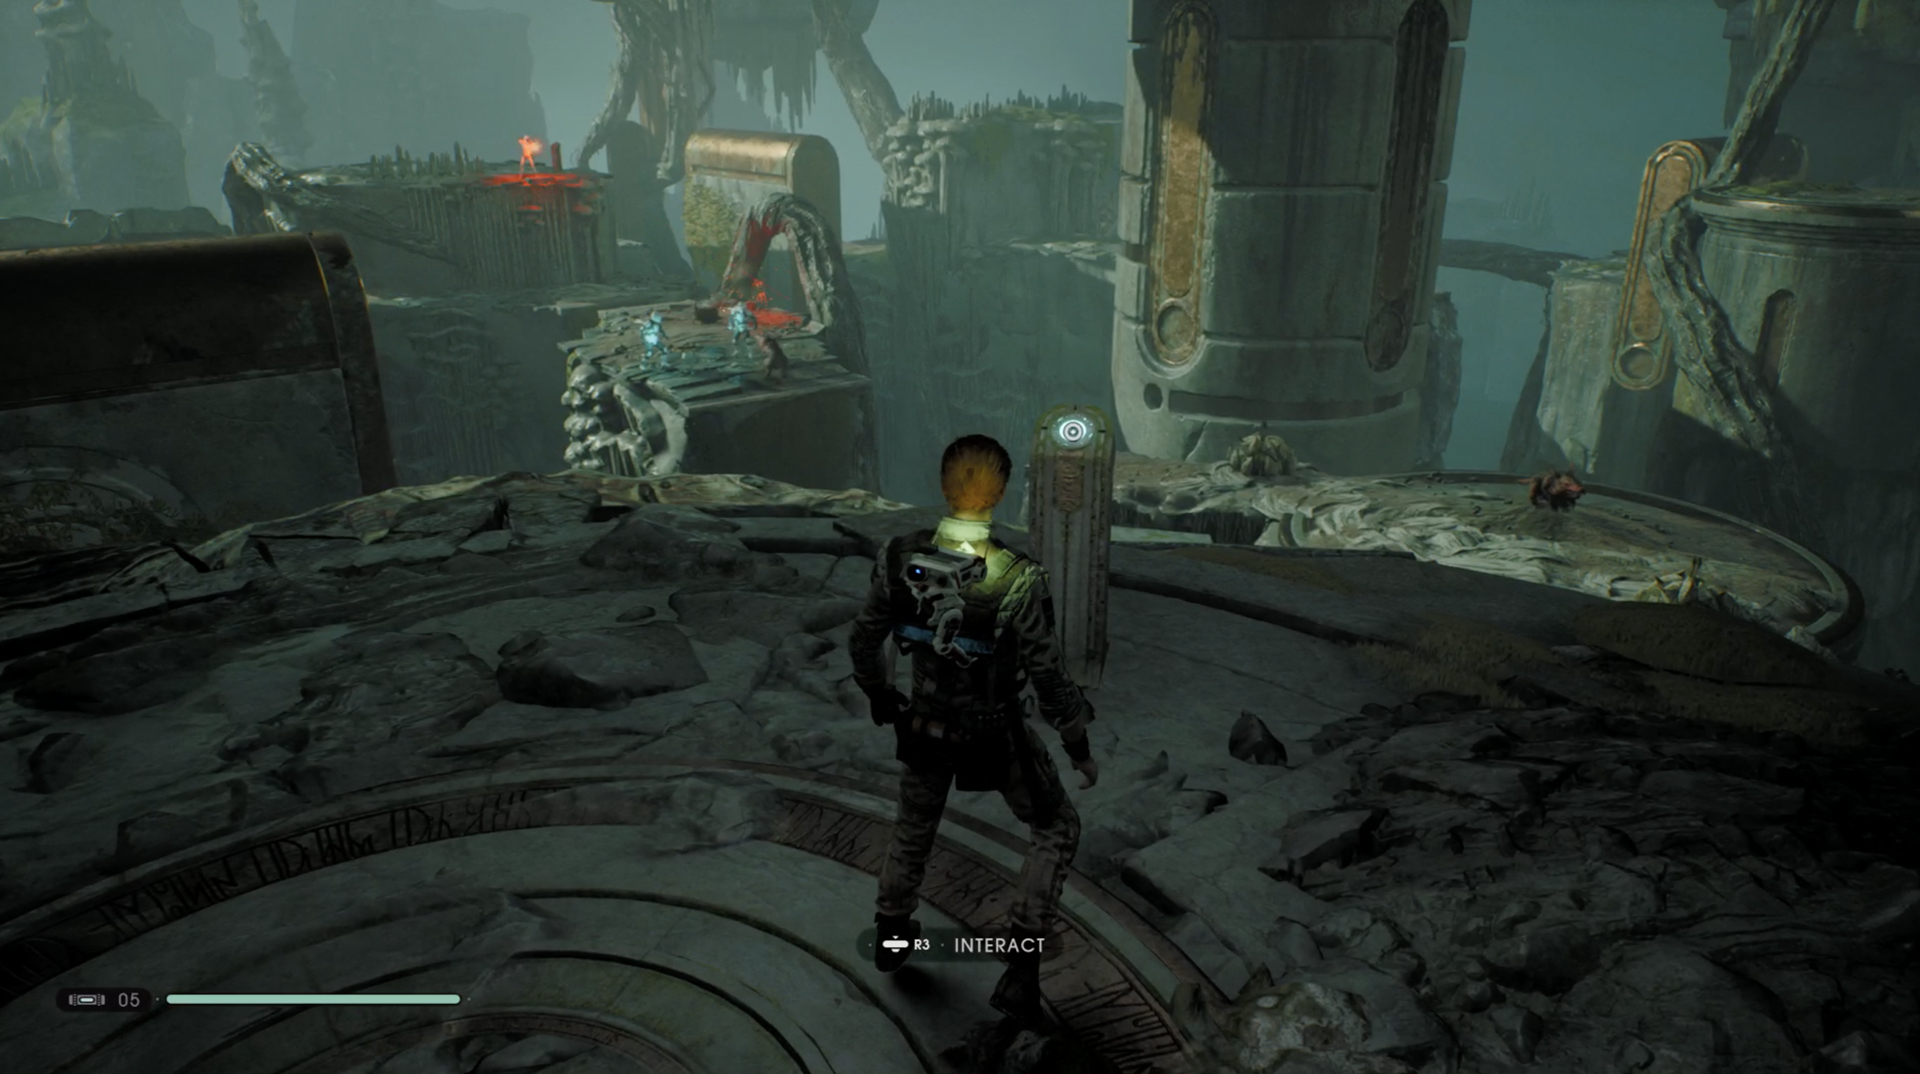
Activate the switch to bring the vanes in, and head down to the first one that acts as a Climbable Wall. Use it to reach the next platform and deal with the Scout Troopers you find there. Jump to the next platform and go left to find a beam and some more platforms that will take you around to another Climbable Wall, via a Wall Run. As you go a ship will arrive and drop off a Purge Trooper you’ll have climb up to fight.
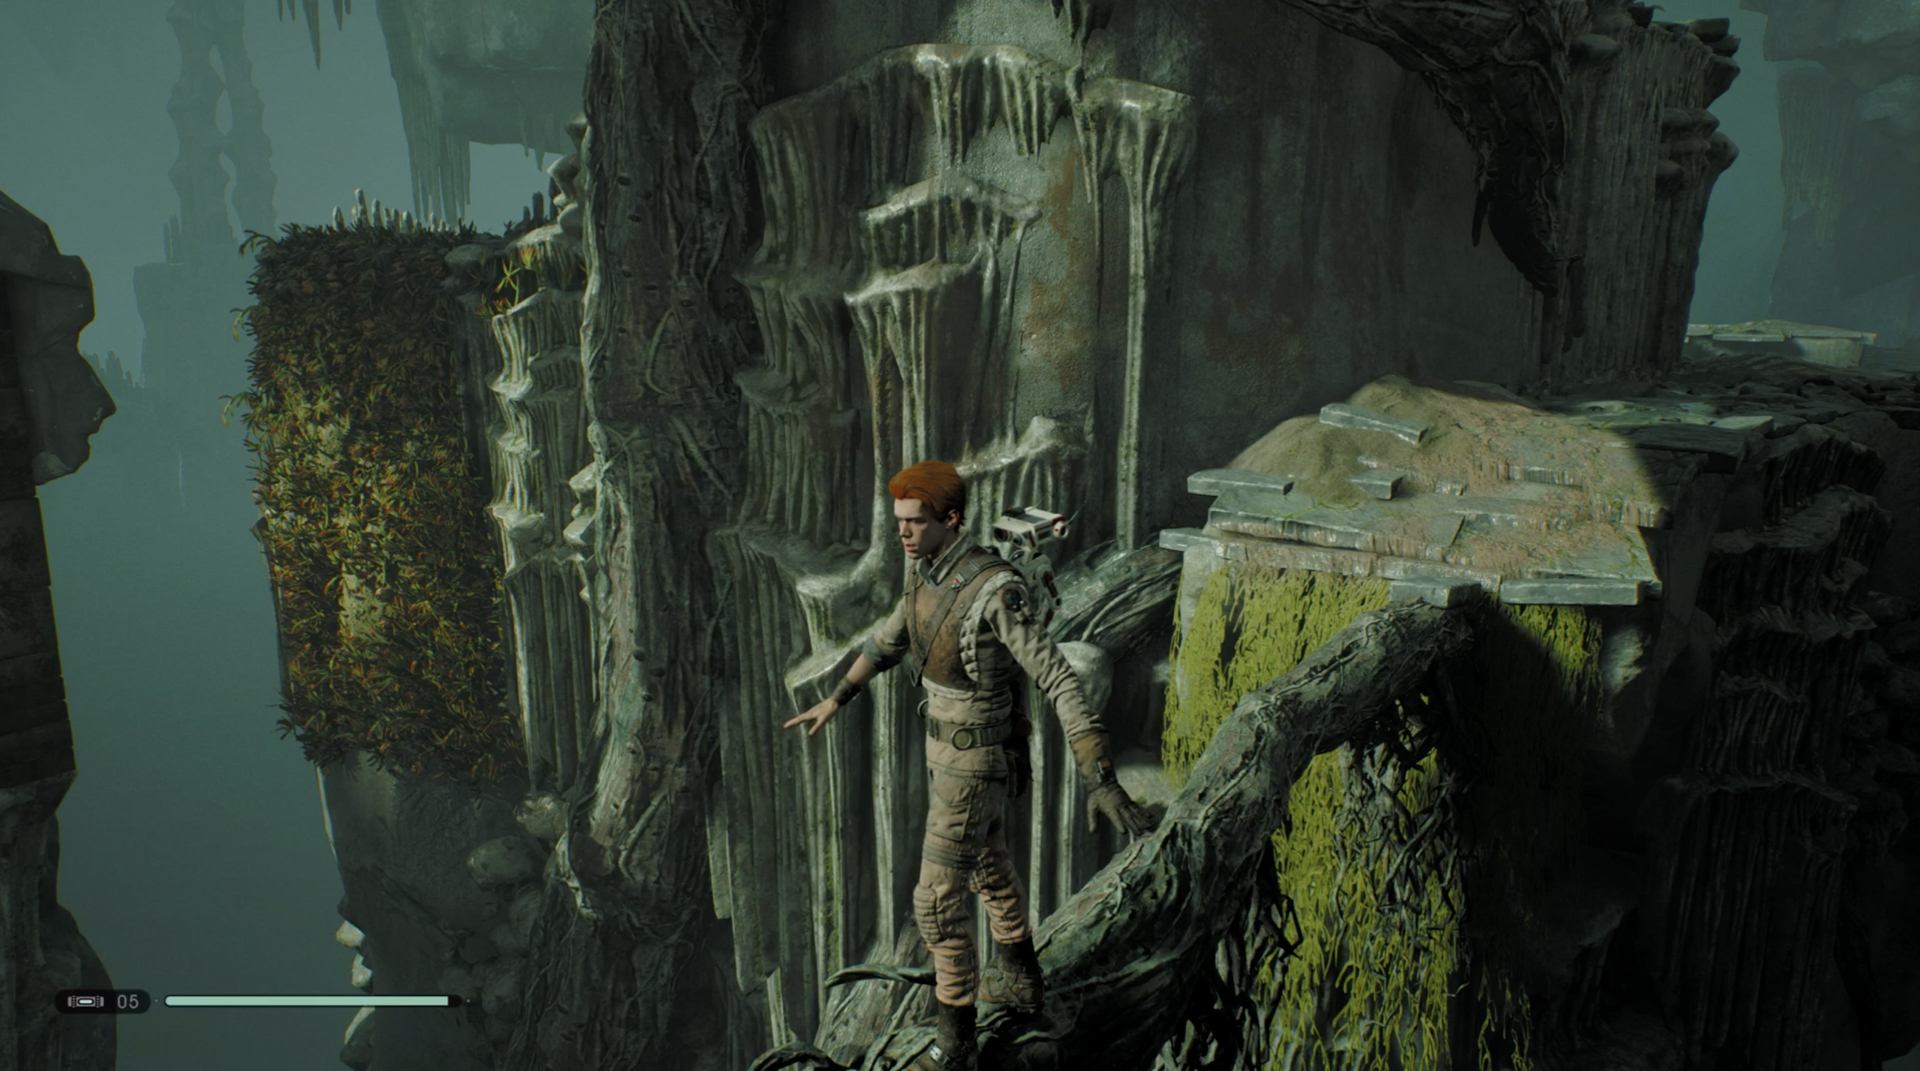
When the Purge Trooper is dead activate the switch to rearrange the vanes and turn left from the switch to drop down and reach a newly positioned Climbable Wall. Use that to reach the next platform and follow it around, watching for a Scout Trooper ambush, and then jump to the next platform. Turn back and use Force Push to send the spike plant into the door you passed to access the Life Essence inside.
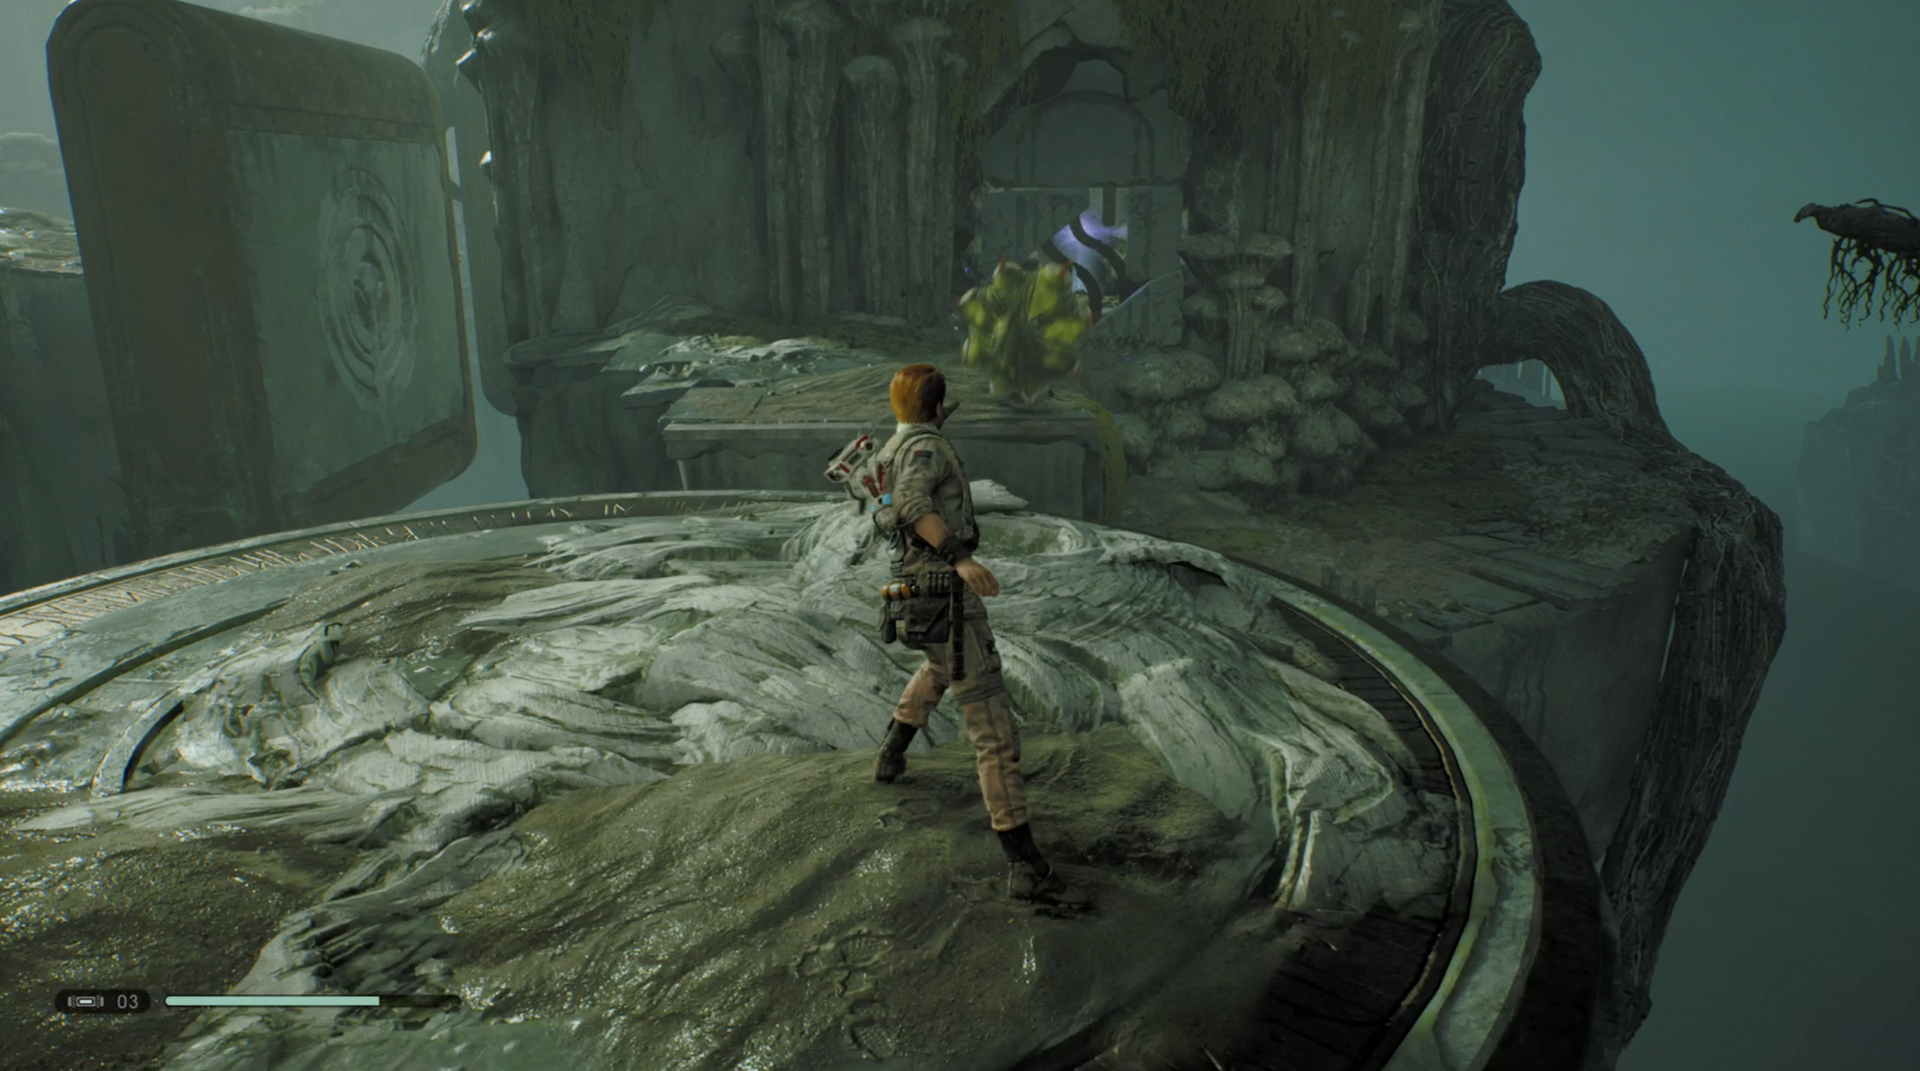
Go back to the platform with the switch and use Force Slow on the vane before you activate the switch. That should hold it in place so you can climb on and ride it over to a new platform. Force Push the spike plant into the creature and jump over, going right to reach the Climbable wall up. At the top you should see a Flametrooper fighting. When it’s over Wall Run and drop attack whoever’s left, then take the double Wall Run to the Climbable Wall and head to find another Climbable Wall that leads to a bridge.
There’s a creature on the bridge you’ll need to kill and when it’s dead, head over to the red roots blocking the way and activate the switch. Magnets will push a lantern against the wall you can then Force Push to burn away the roots and get through.
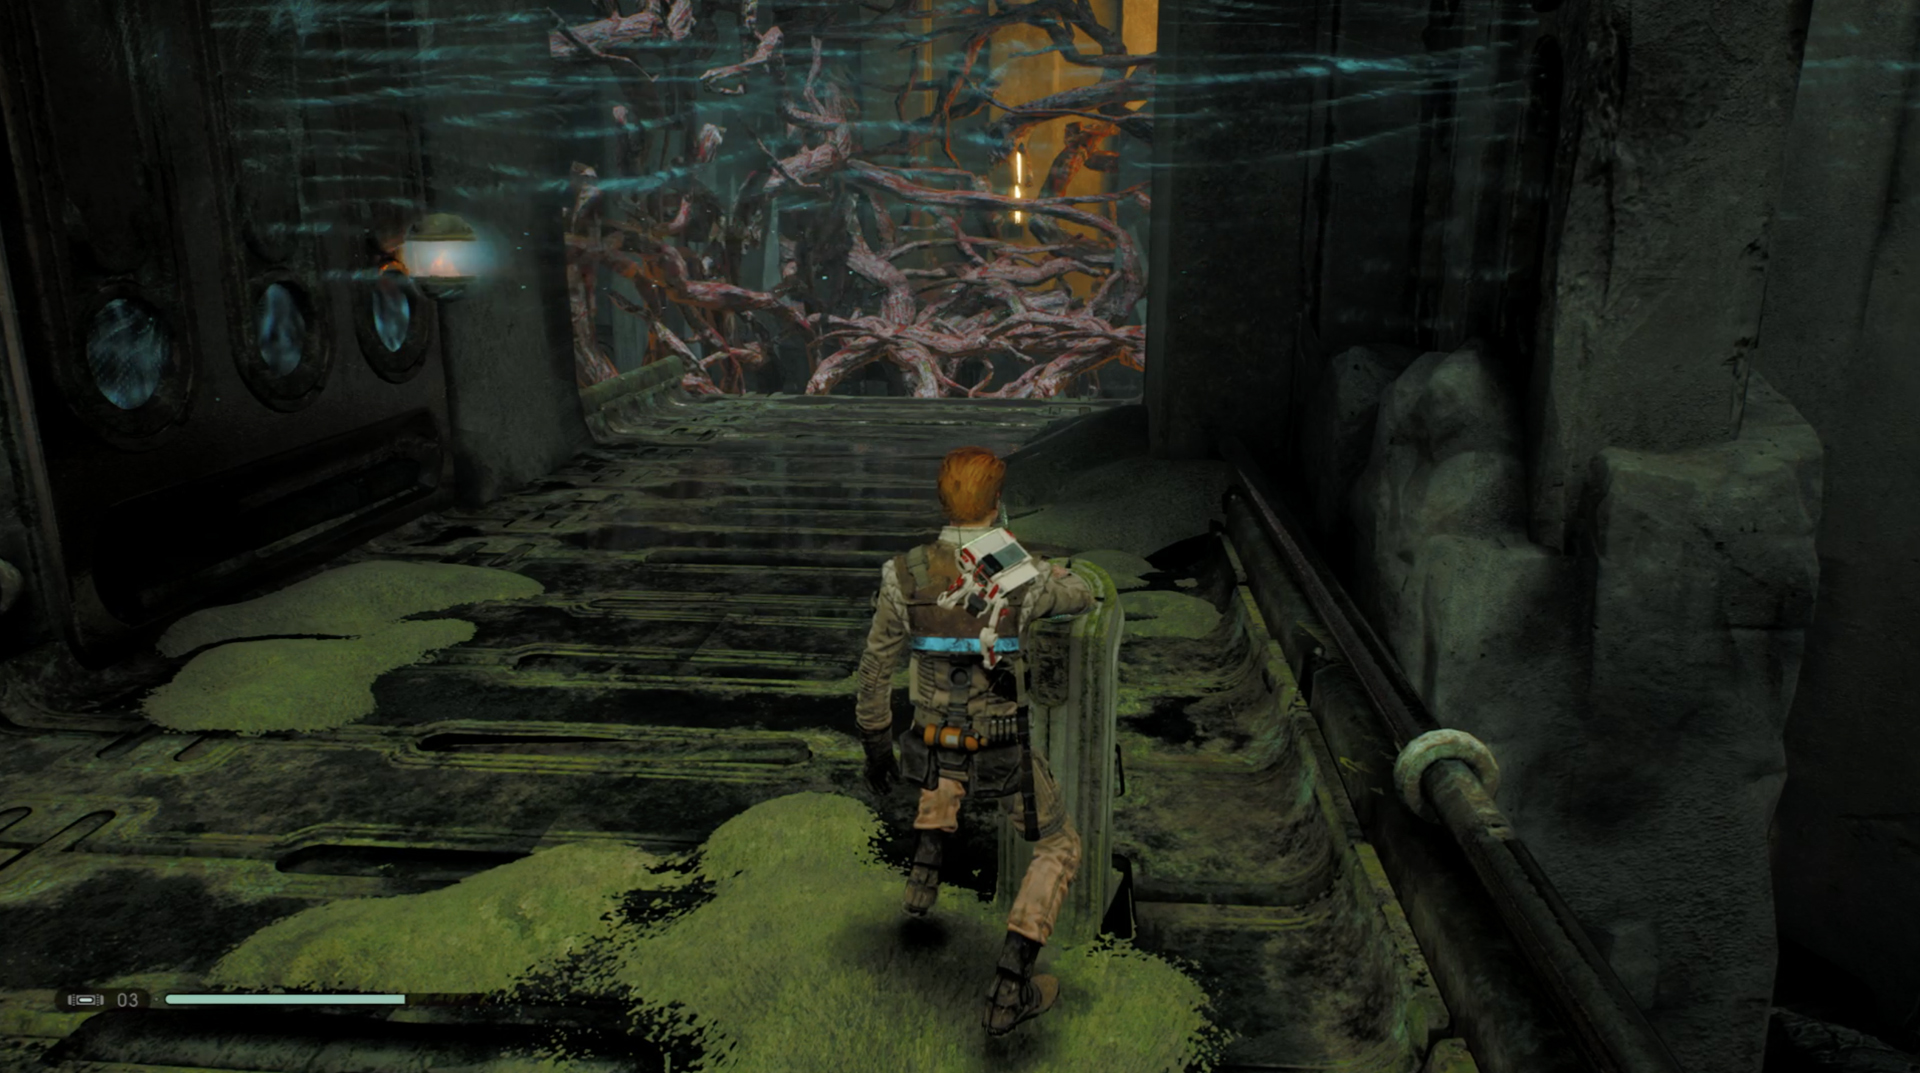
You can now access the Climbable Wall you passed earlier and the level it goes up to, which will lead to a door you can Force Push out the way to enter the upper layer of the Tomb of Miktrull. Head over the central pendulum and Force Push the door on the other side to reveal a Purge Trooper on the other side. Kill him and the monsters that come after.
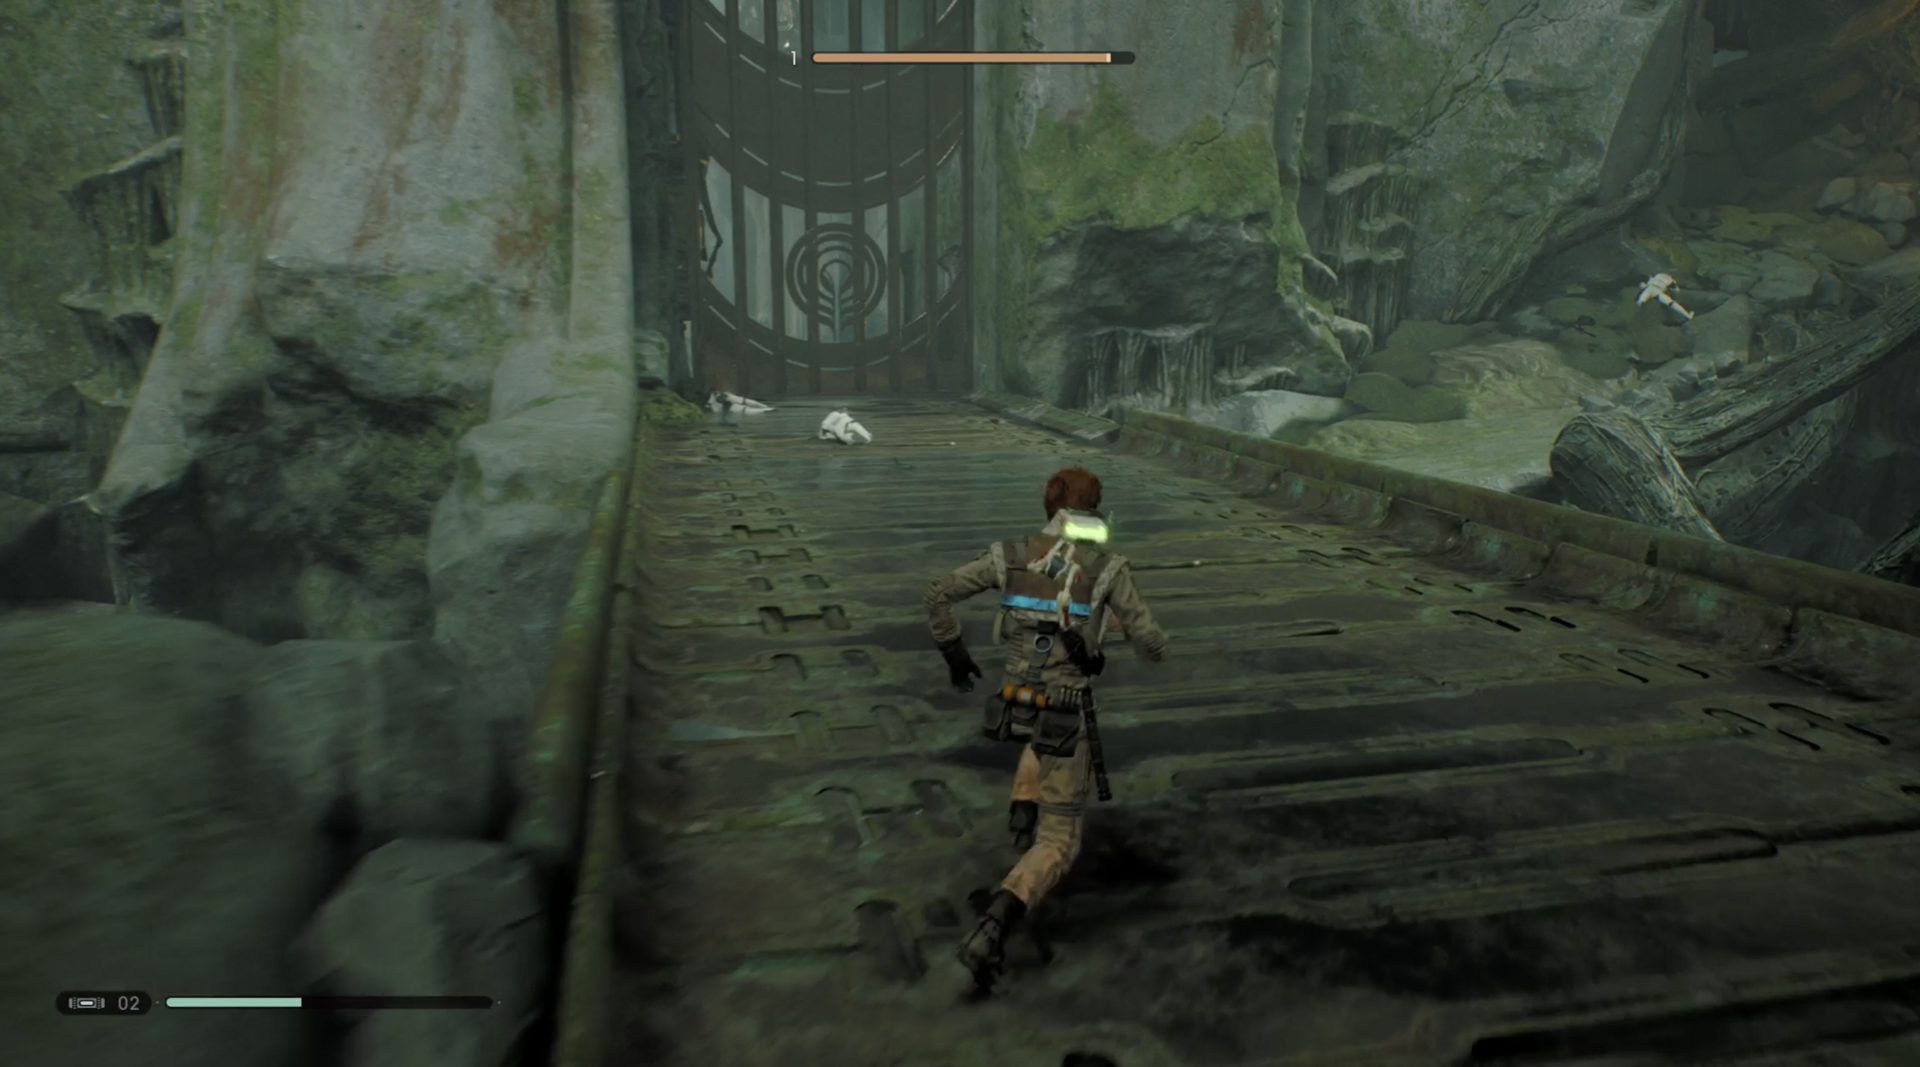
Head left and take the slide down. You’ll reach a bridge full of Stormtroopers you’ll need to kill. When everyone’s dead, head to the gate and take the path right going up to a door you can Force Push out the way.
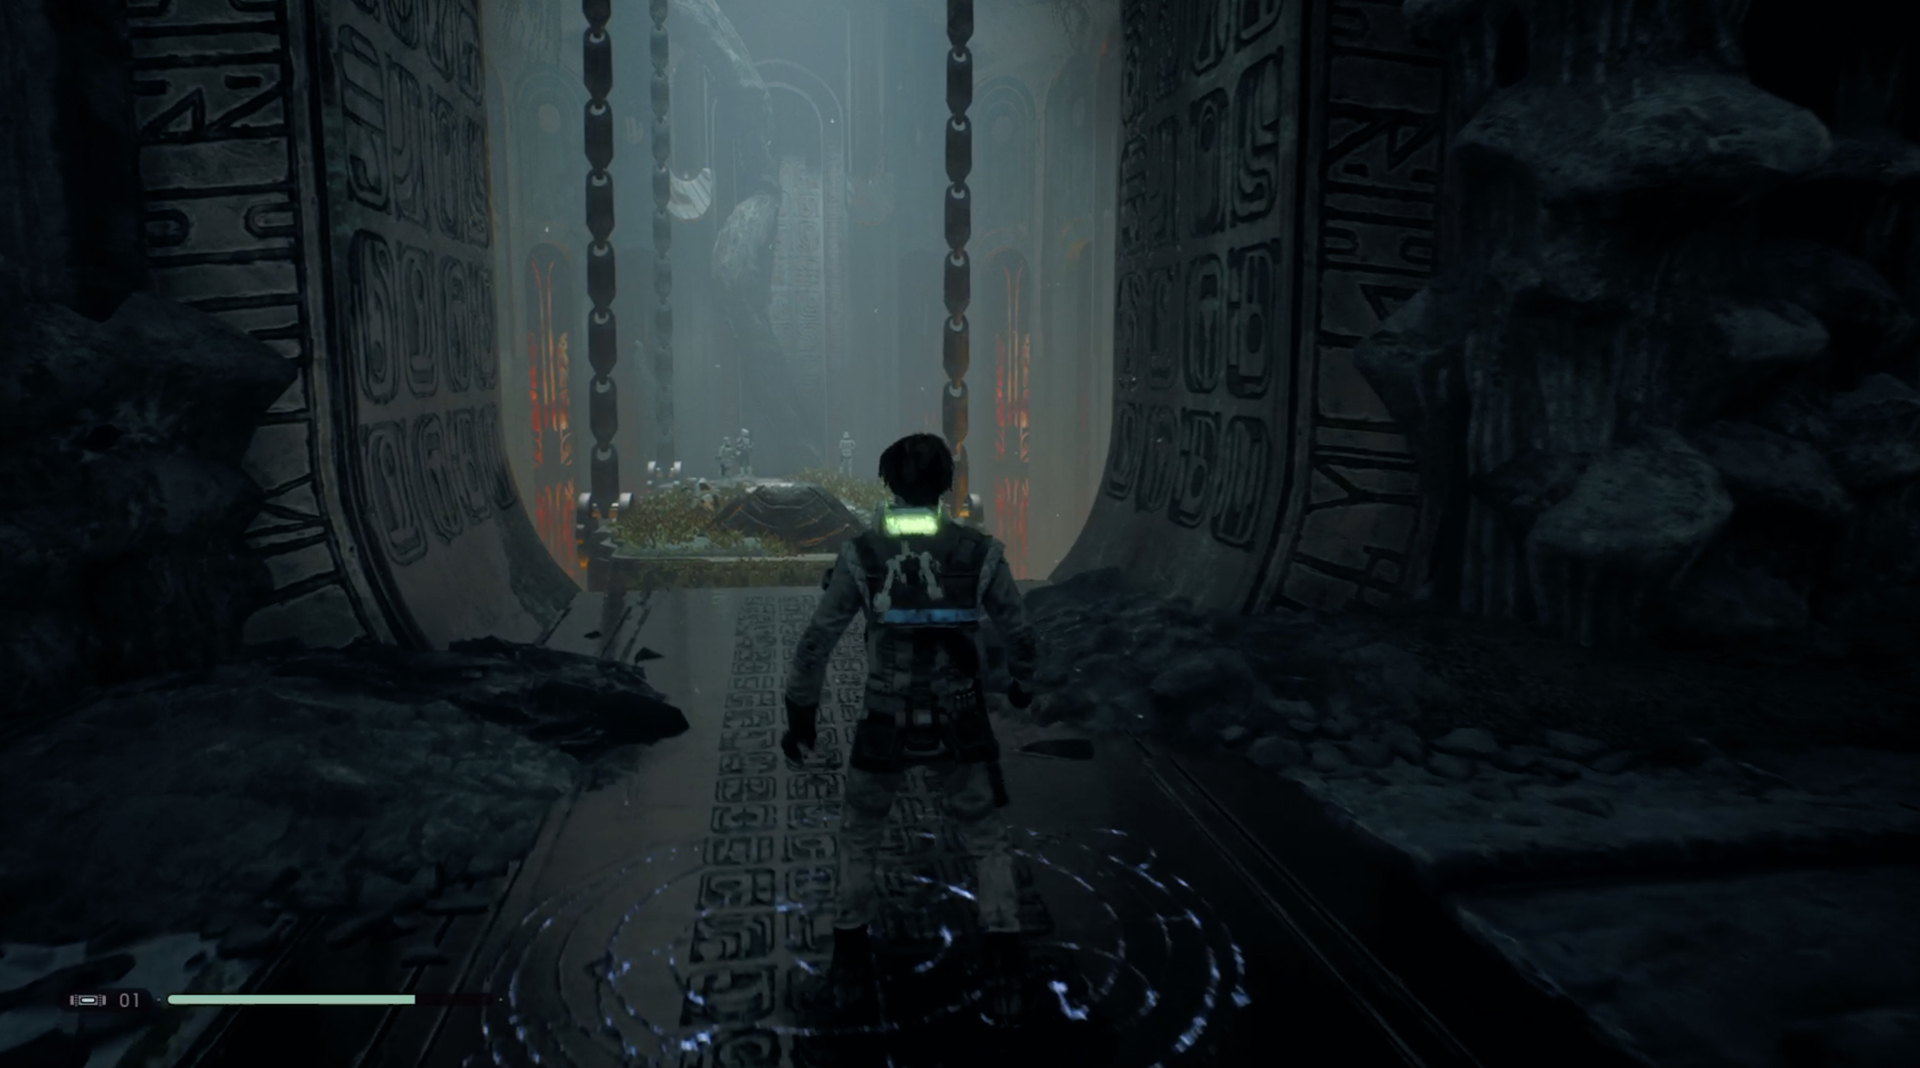
Head down to the vine covered pillars and use the Climbable Walls to to get over to the other side where you can see the barriers opening and closing. Get past the moving barriers, using Force Slow if you need to, and you’ll find a switch that turns them off, although you won’t need it just yet. At the back of the chamber is a long narrow gap you can squeeze through to reach a Meditation Spot overlooking a platform suspended on chains with Stormtroopers waiting on it.
Star Wars Jedi Fallen Order walkthrough - Force Pull
Head around to the right and you’ll be able to jump on to a rail on the bottom of the hanging platform. Shimmy around to the Climbable Wall section you can use to get up on top to fight the Stormtroopers, at which point a Purge Trooper will also get dropped off. Once he’s defeated the ship that brought him will open fire and break one of the chains. You’ll fall and trigger a memory that will teach you the Force Pull ability.
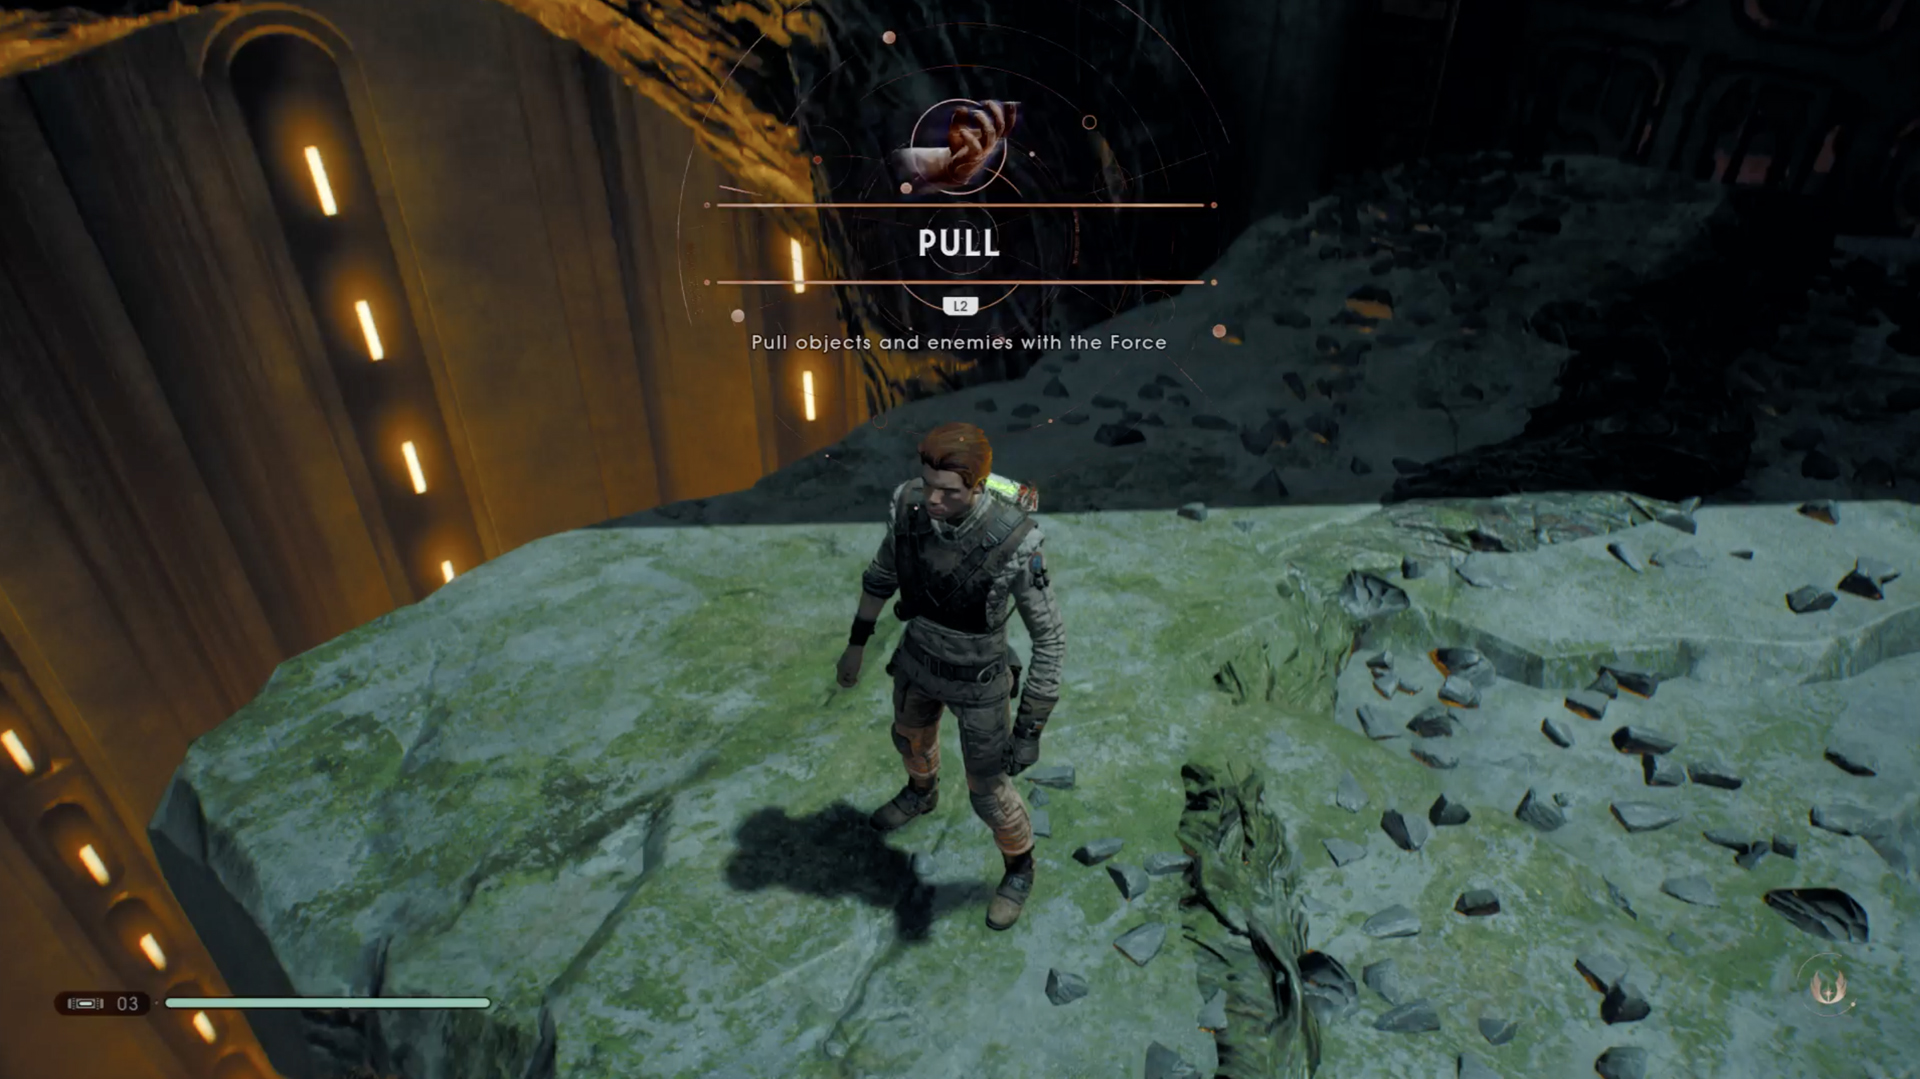
You'll land on a platform where you can now Force Pull a rope to reach the hanging platform which now on its side.
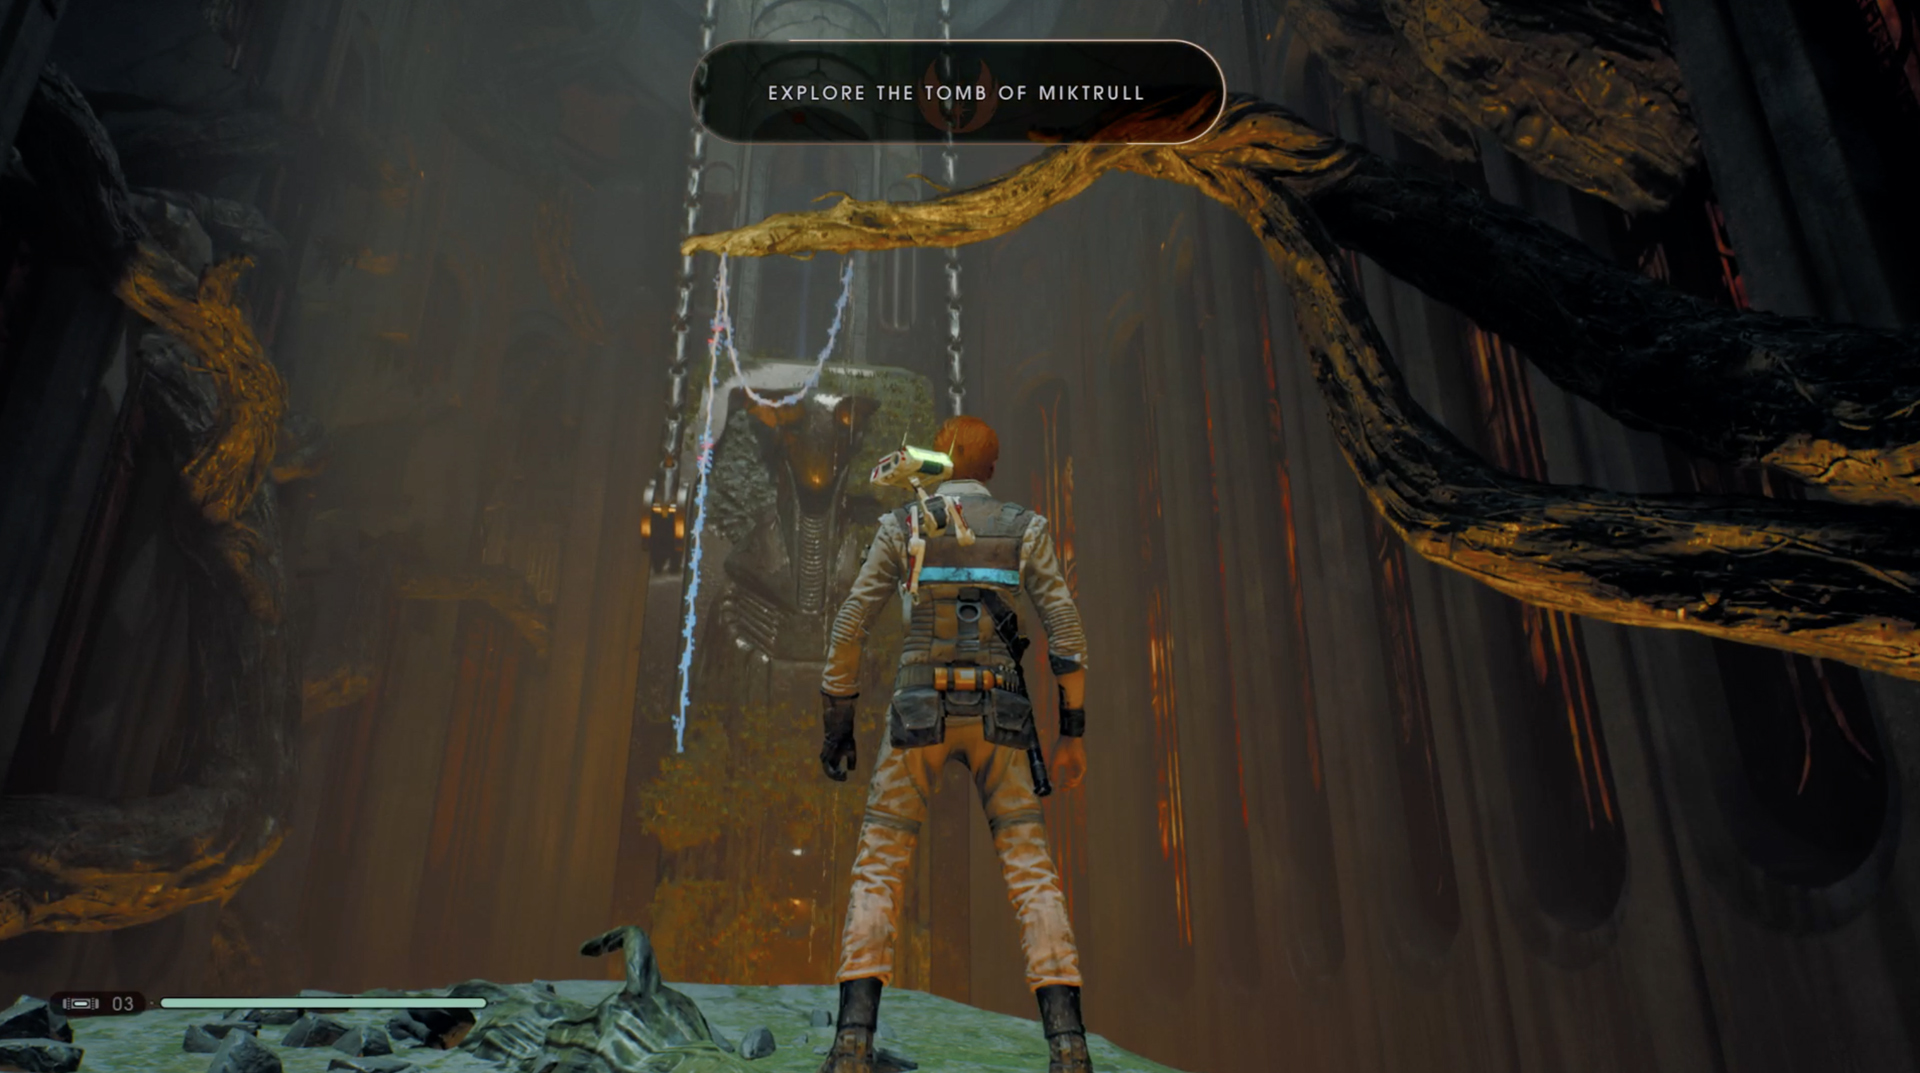
Climb up the platform and when you reach the top use Force Pull to take a lantern and Force Push to fire it at the roots and clear the Climbable Wall. Go up and you’ll find an area with a Meditation Spot and a narrow gap to the right you can use to reach the area with the moving barriers from before. It’ll be full of trooper and a Probe Droid you can Force Push and Force Pull into the barriers.
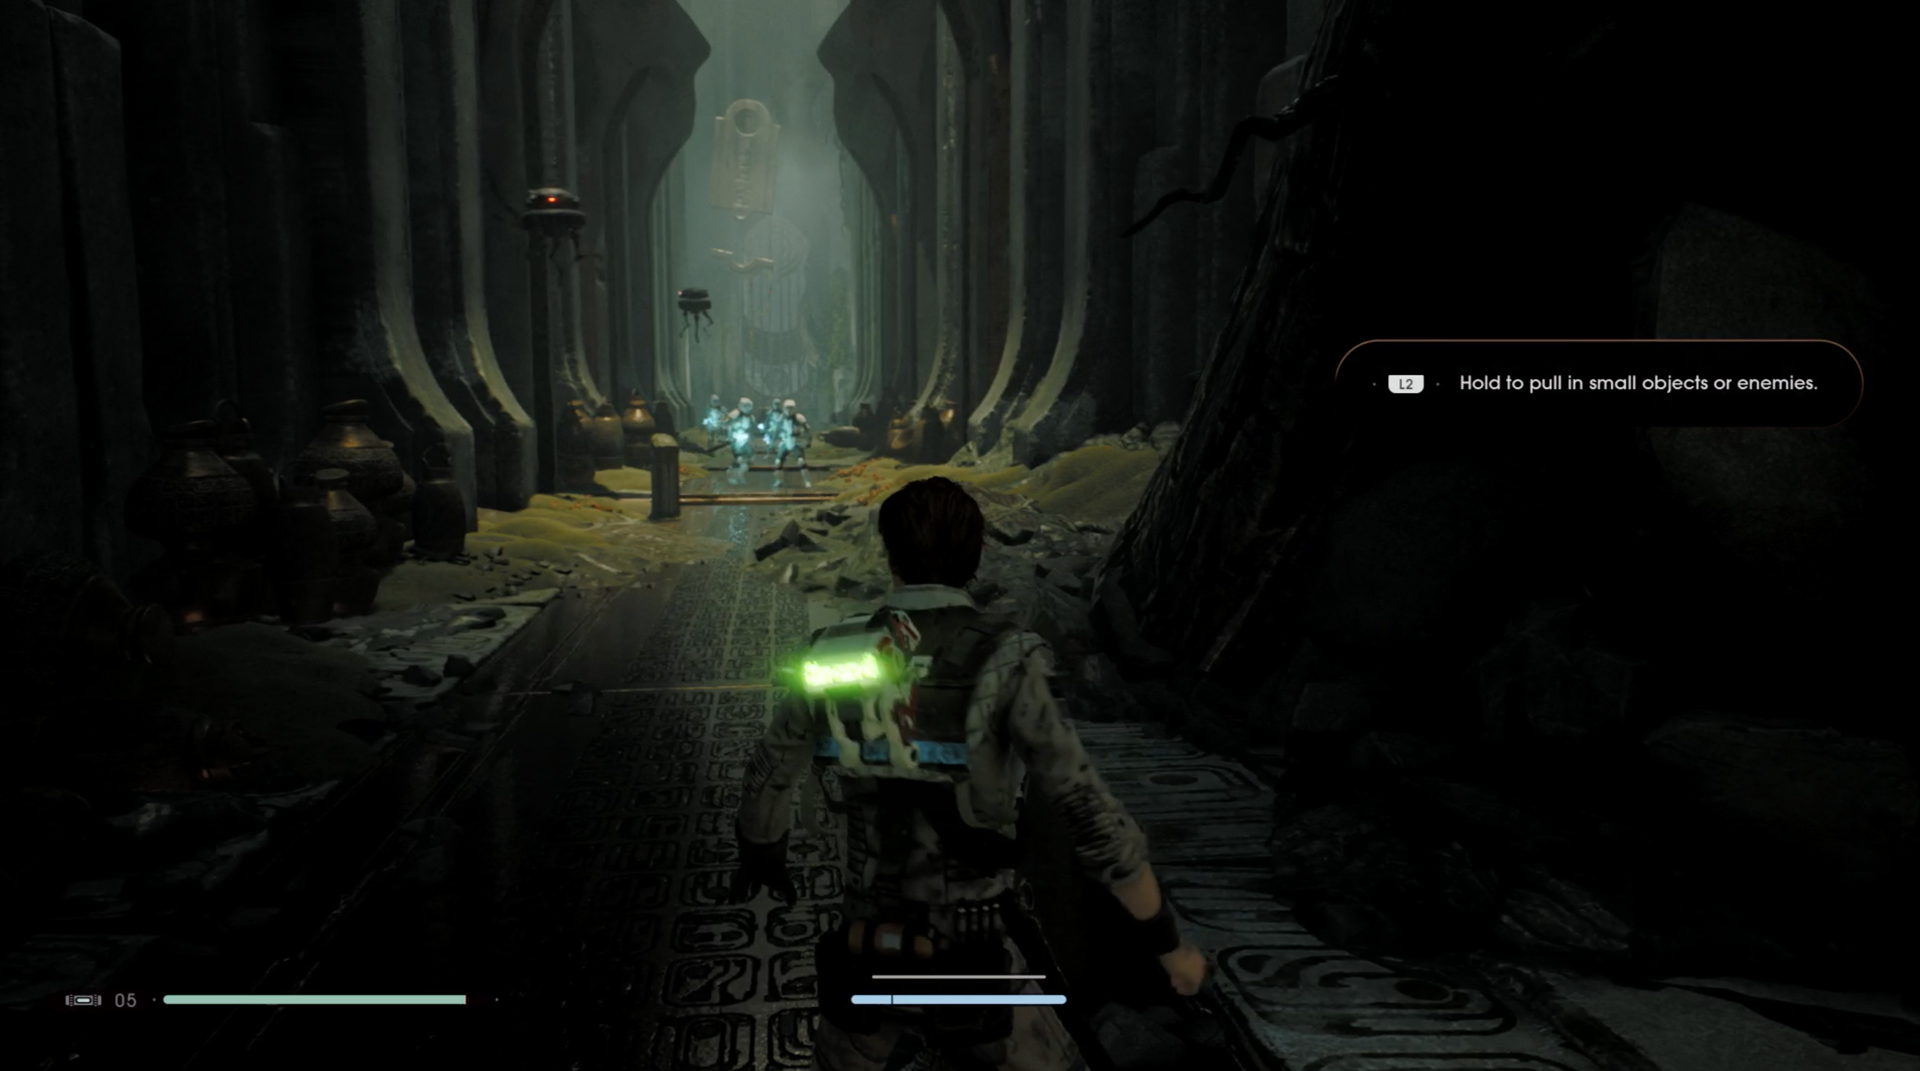
You’ll have to take out the Tomb Guardian at the end as well, and when he’s down Force Pull the rope to get over the other side. You’ll now be able to use Force Pull to draw the rope out of the spindle by the door, which will open it as you pull. Take the connector in your hands to the post to the right and lock it in place to keep the door open.
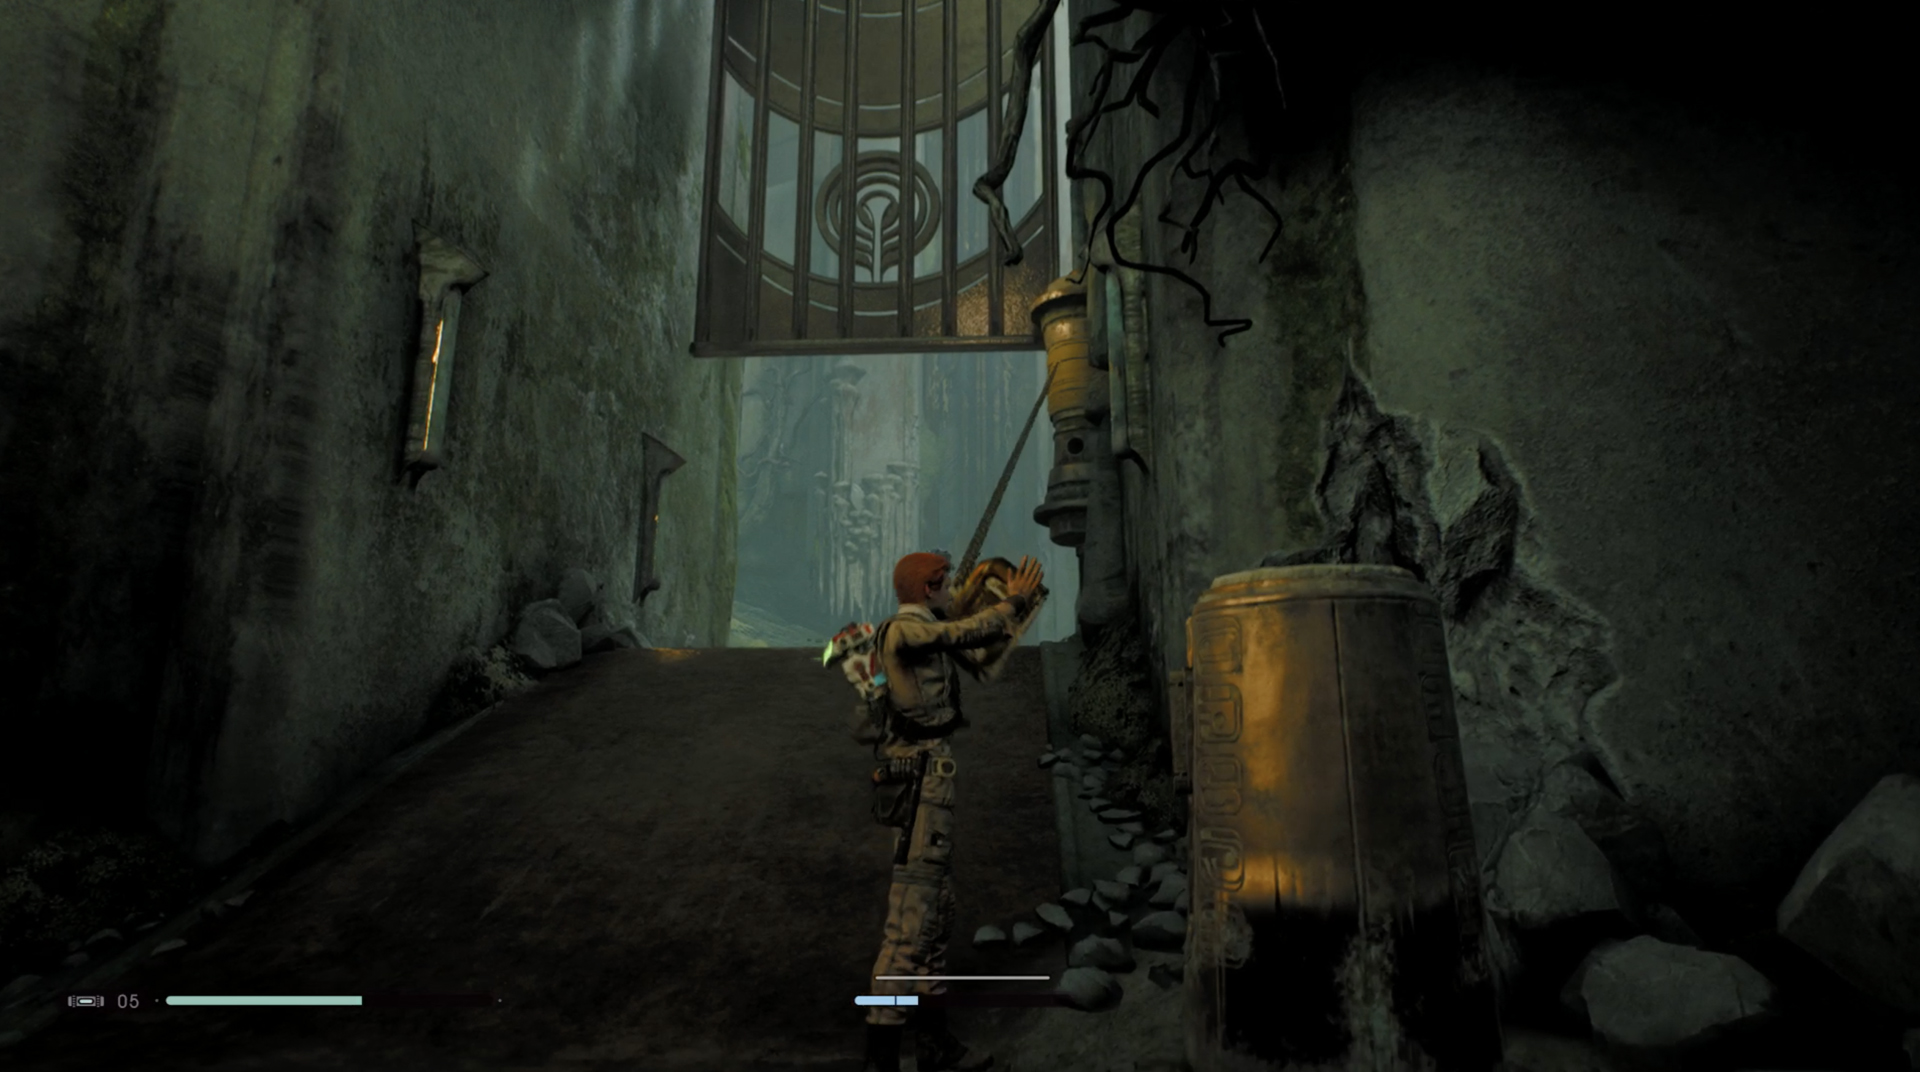
You’ll be rushed by Scout Troopers, Probe Droids and a Purge Trooper once the doors are open so get ready for a fight. When they’re all despatched head to the light on the left which leads to a path around to a rope you can Force Pull to real a Wall Run. You’ll end up at another door you can open by using Force Pull on the spindle and then locking the rope in place to get back into the Tomb of Miktrull. There’ll be a giant beast to kill when you do, but hopefully the Stormtroopers will have softened him up a bit beforehand.
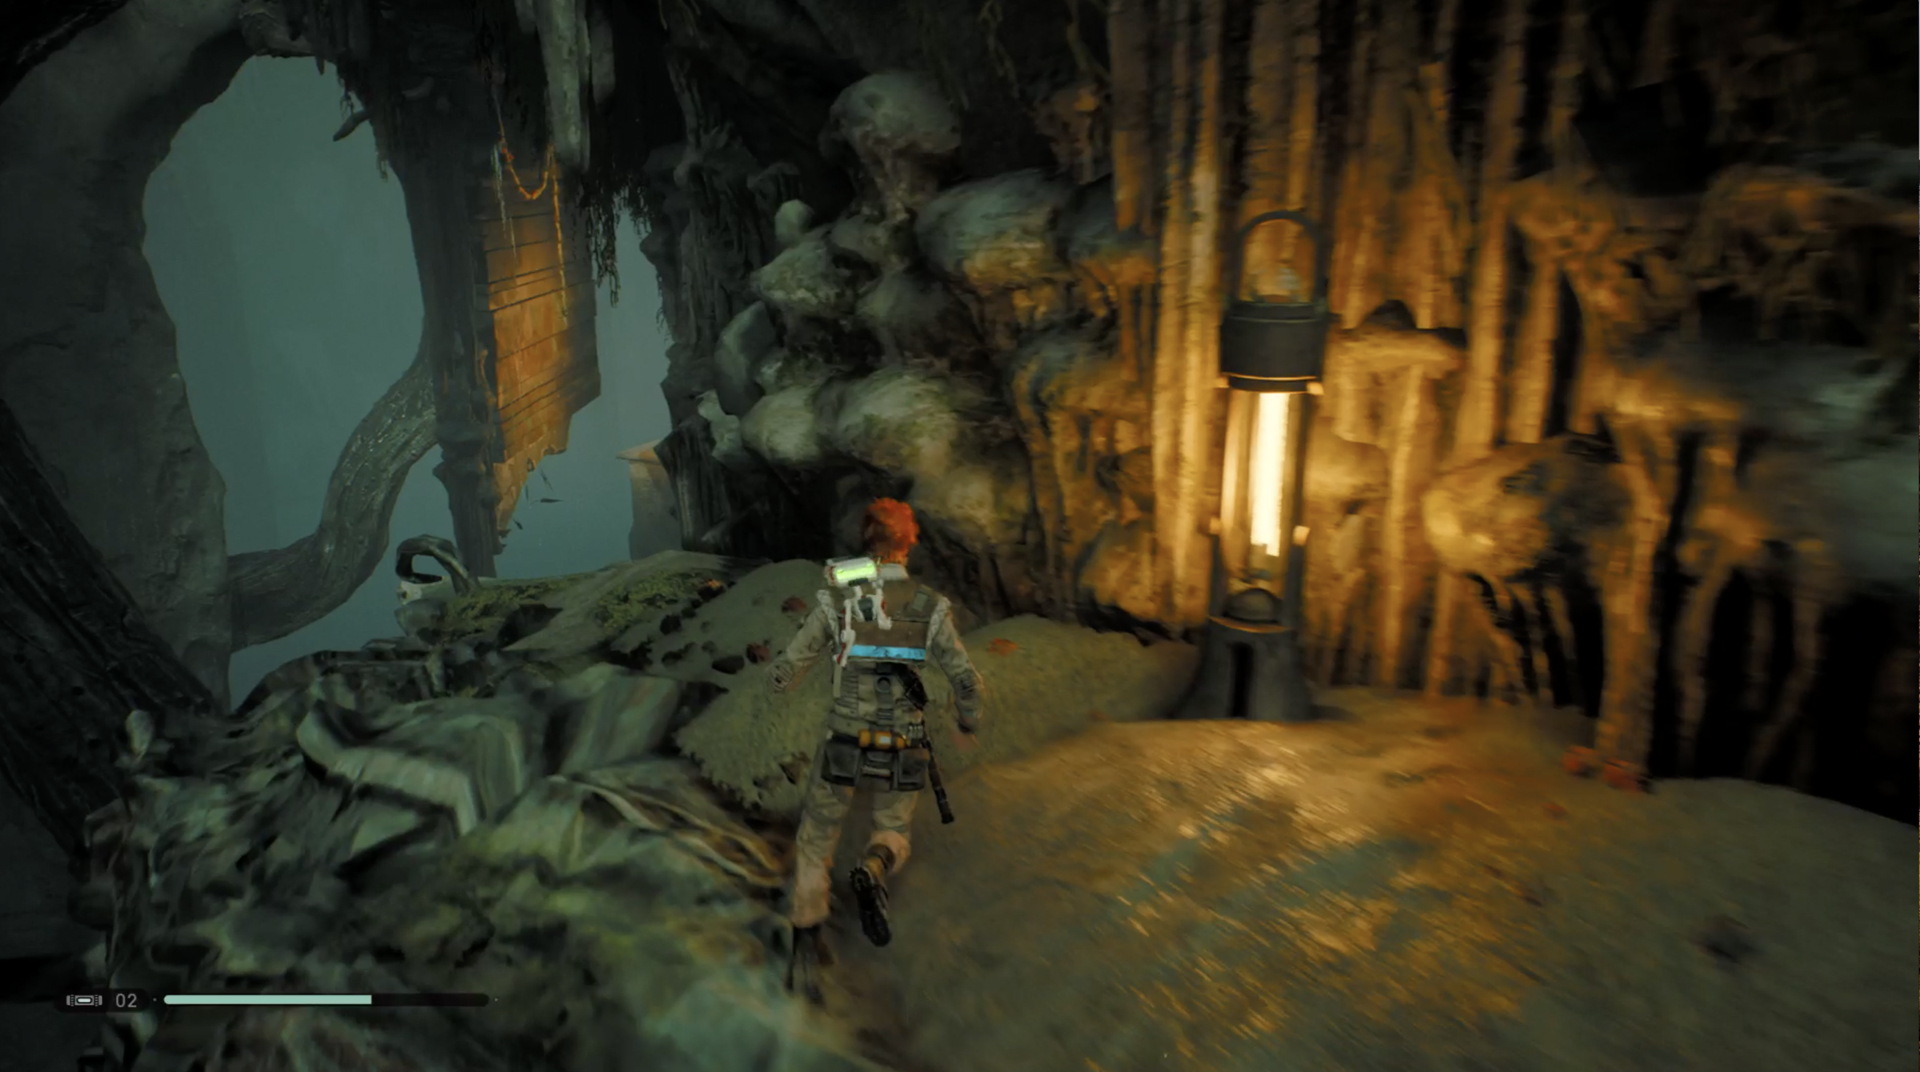
Once everything’s dead head through the red detailed door leading to some stairs, watching out for the troopers inside. Follow the path around to the Meditation Spot and Climbable Wall to reach the second level Where you’ll find the Empire, monsters and Tomb Guardians having a small war.
Mop up the survivors and head to the right, up the Climbable Wall to the door you can Force Push open that we ignored earlier. Head in and you see some water falling from the roof, some roots on the right, and a door on the left you can open by Force Pulling another spindle. That will release some creatures you’ll have to kill. When that’s done check the roots: if you use Force Pull you’ll pull a lantern into the roots and burn them away, giving you access to a Force Echo and the other lanterns.
Go through the door you opened and you’ll find a Climbable Wall covered in roots leading to a Force Essence, but if you try and take a lantern through to burn them the water will extinguish it. Instead bring a lantern out into the middle of the other room and leave it on the floor. Go through the door and look for a Climbable Wall next to the door that will get you into the alcove above.
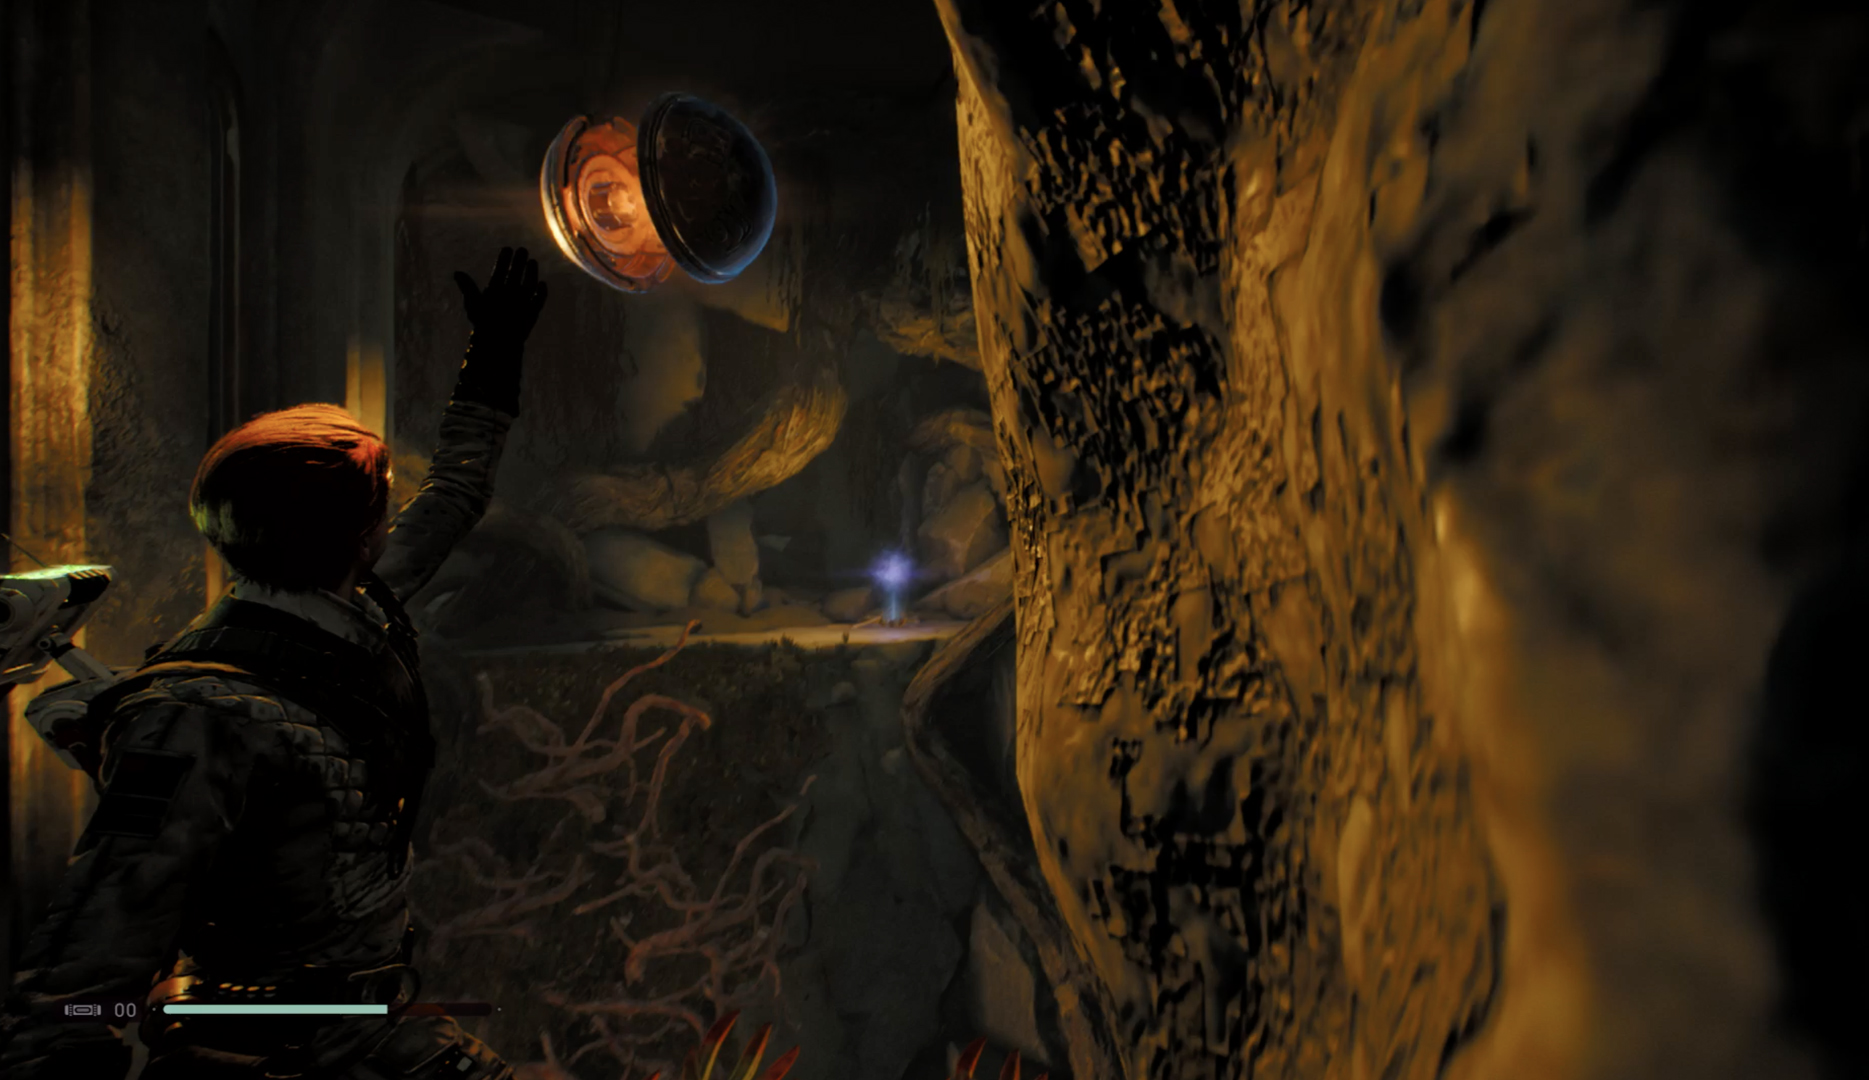
If you aim a Force Pull towards where you locked the spindle rope in place you should yank it free, closing the door and opening the alcove you’re in. Then you can Force Pull the lantern up to you, and Force Push it at the roots to burn them away and reach the Force Essence.
Get out of the side room and back in the main chamber. To raise the Spire of Miktrall you’ll need to burn some roots on the chain holding the central pendulum up. To do that head down to the left to find a spindle by the chain you can Force Pull and lock in place to raise the pendulum, bringing the roots to the level you’re on.
Star Wars Jedi fallen Order lantern puzzle
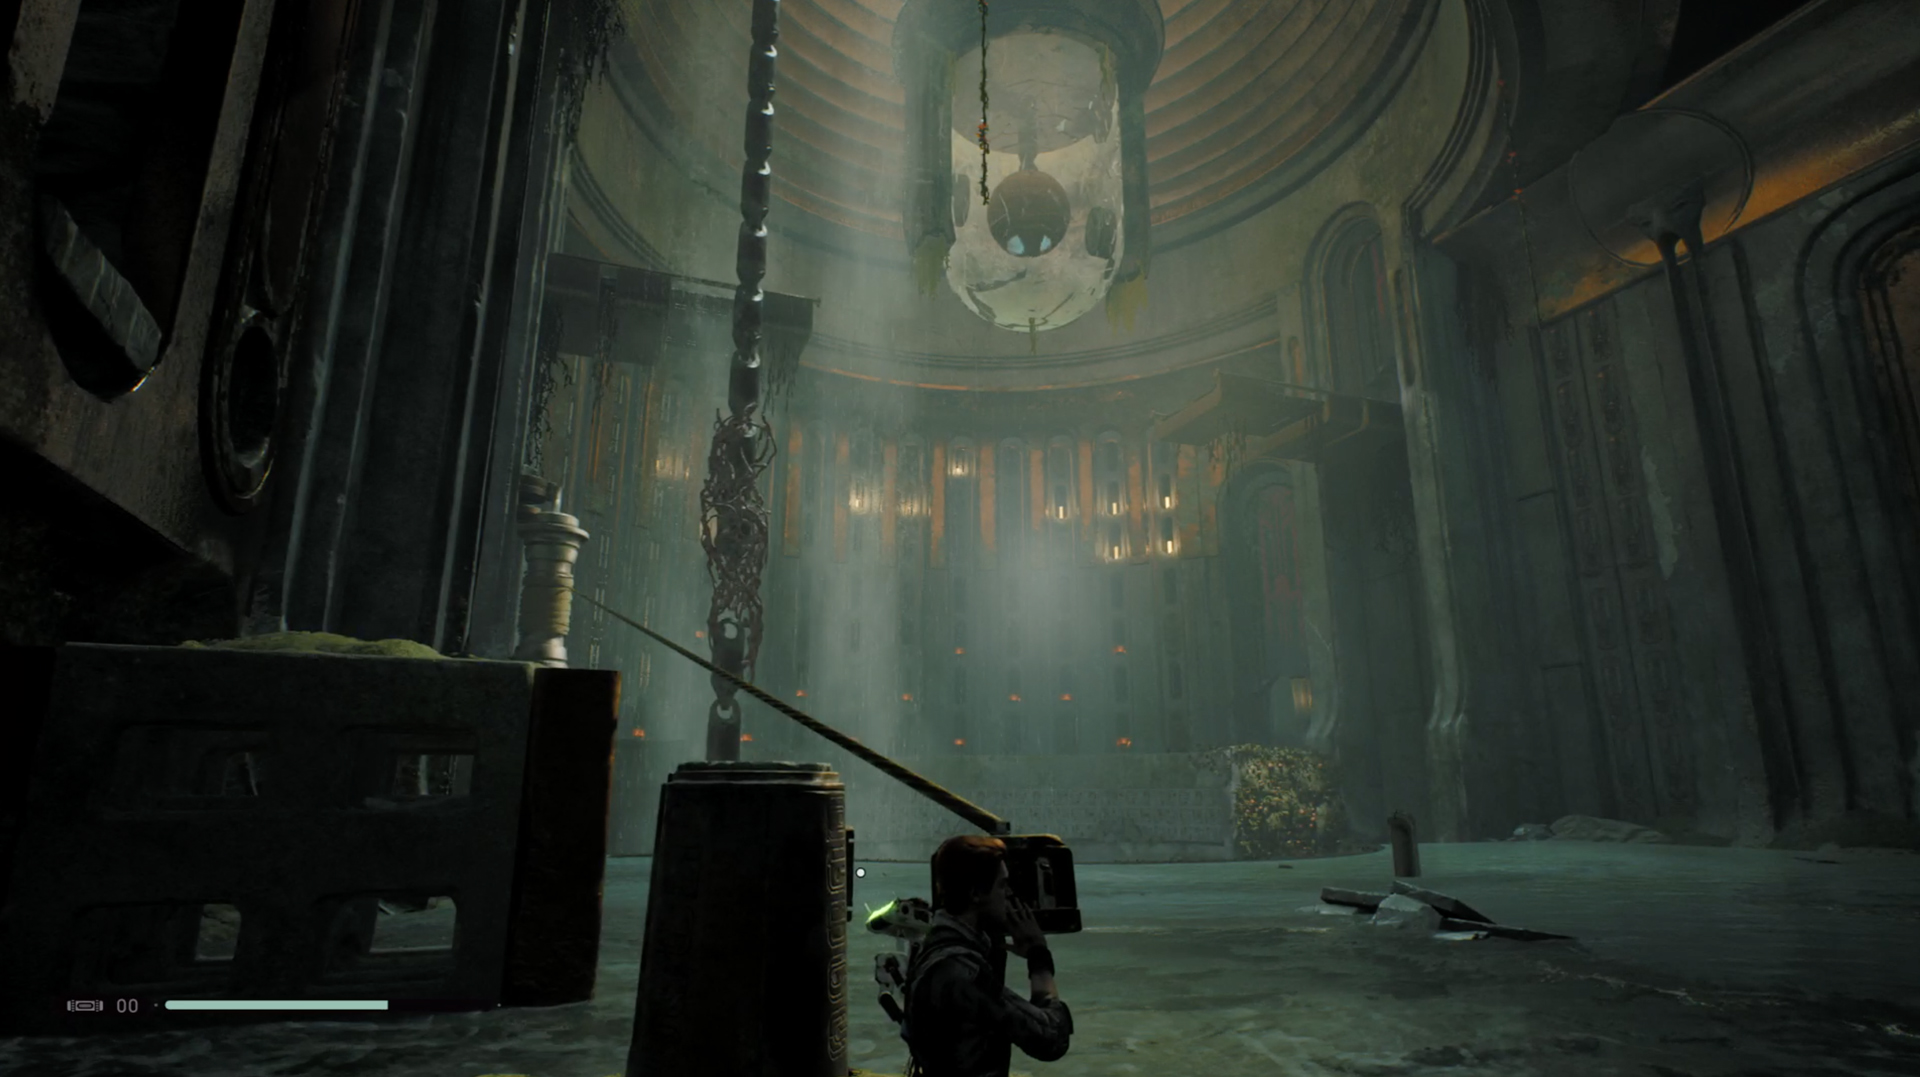
Next turn on the magnetic field that moved the block and head back up to the higher level to grab a lantern. Force Push it into the magnetic field, keeping it up in the air and out of the water.
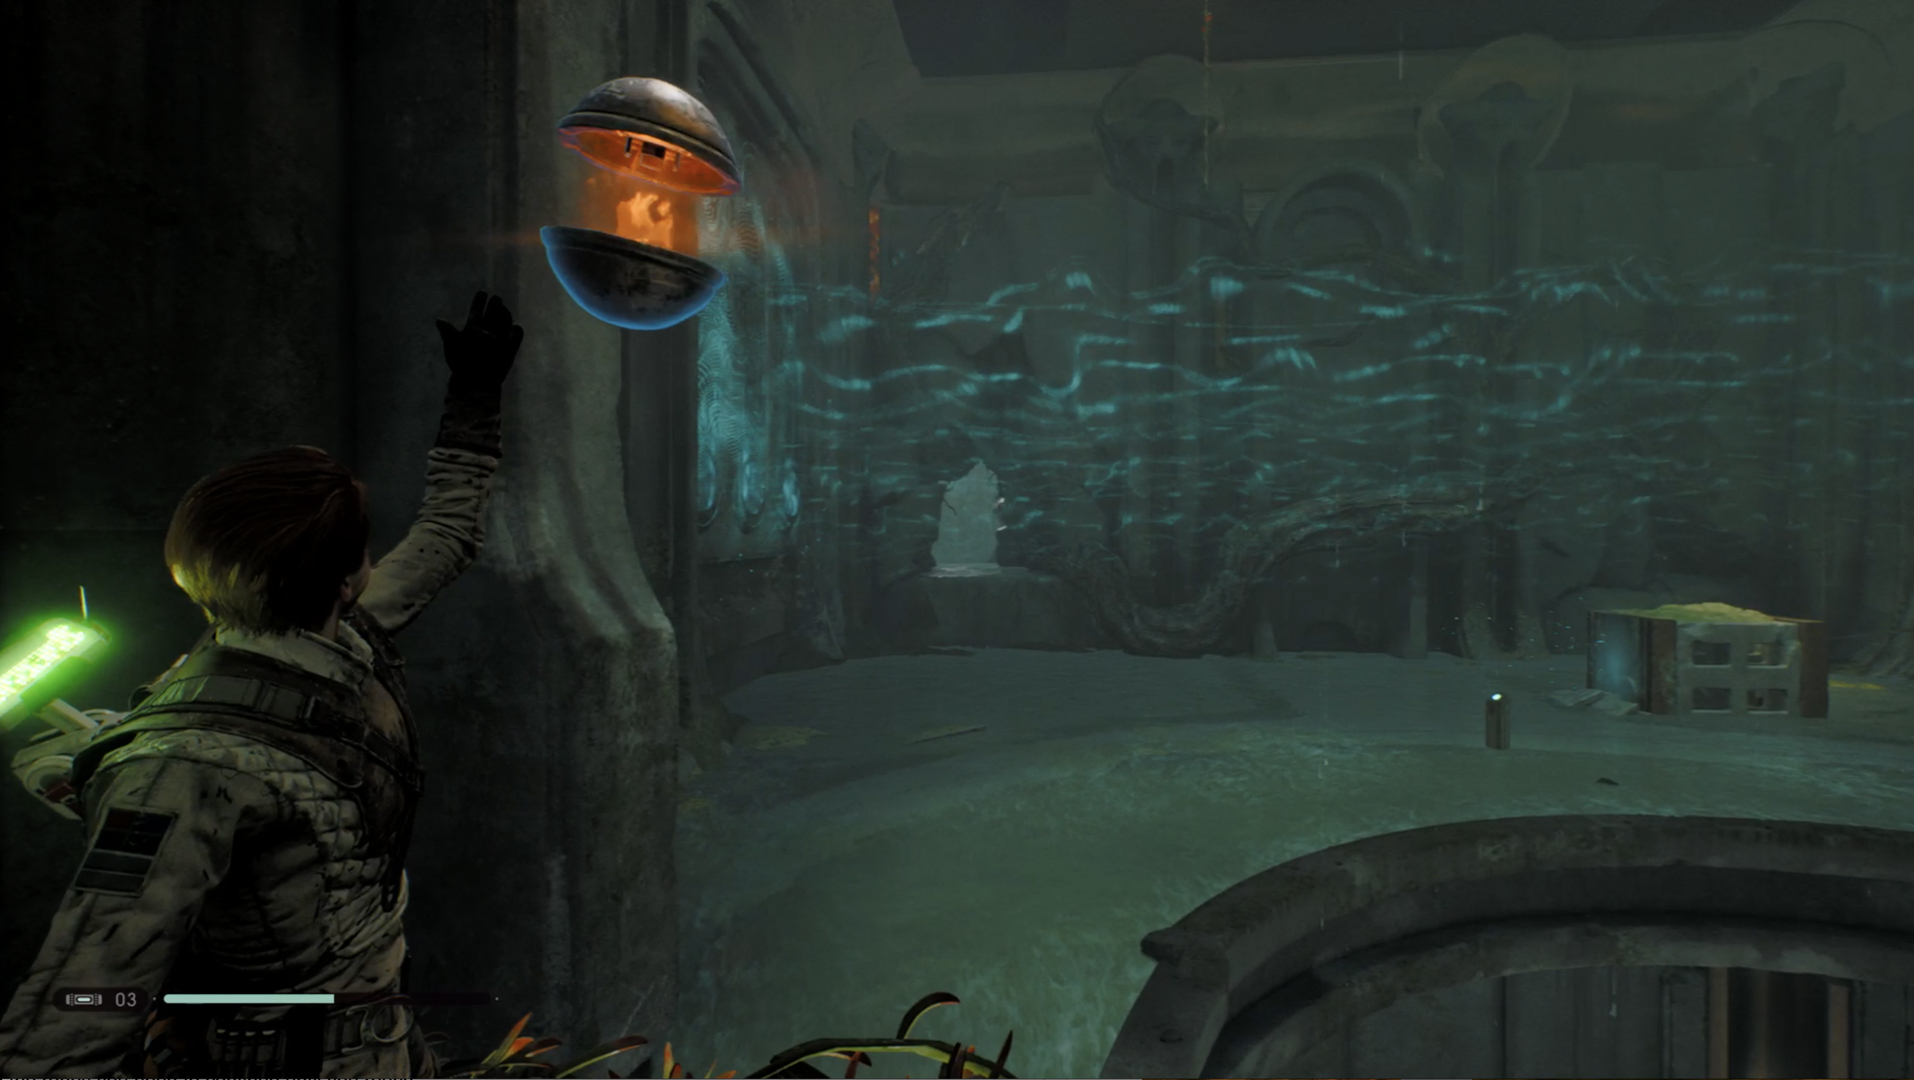
Then drop down to get the lantern and Force Push it at the chain to burn away the roots and drop the pendulum, releasing the ball inside. Drop down Force Push or Force Pull the ball into the podium to raise the spire. A recording from Eno Cordovo will play as you rise to the surface back to Zeffo.
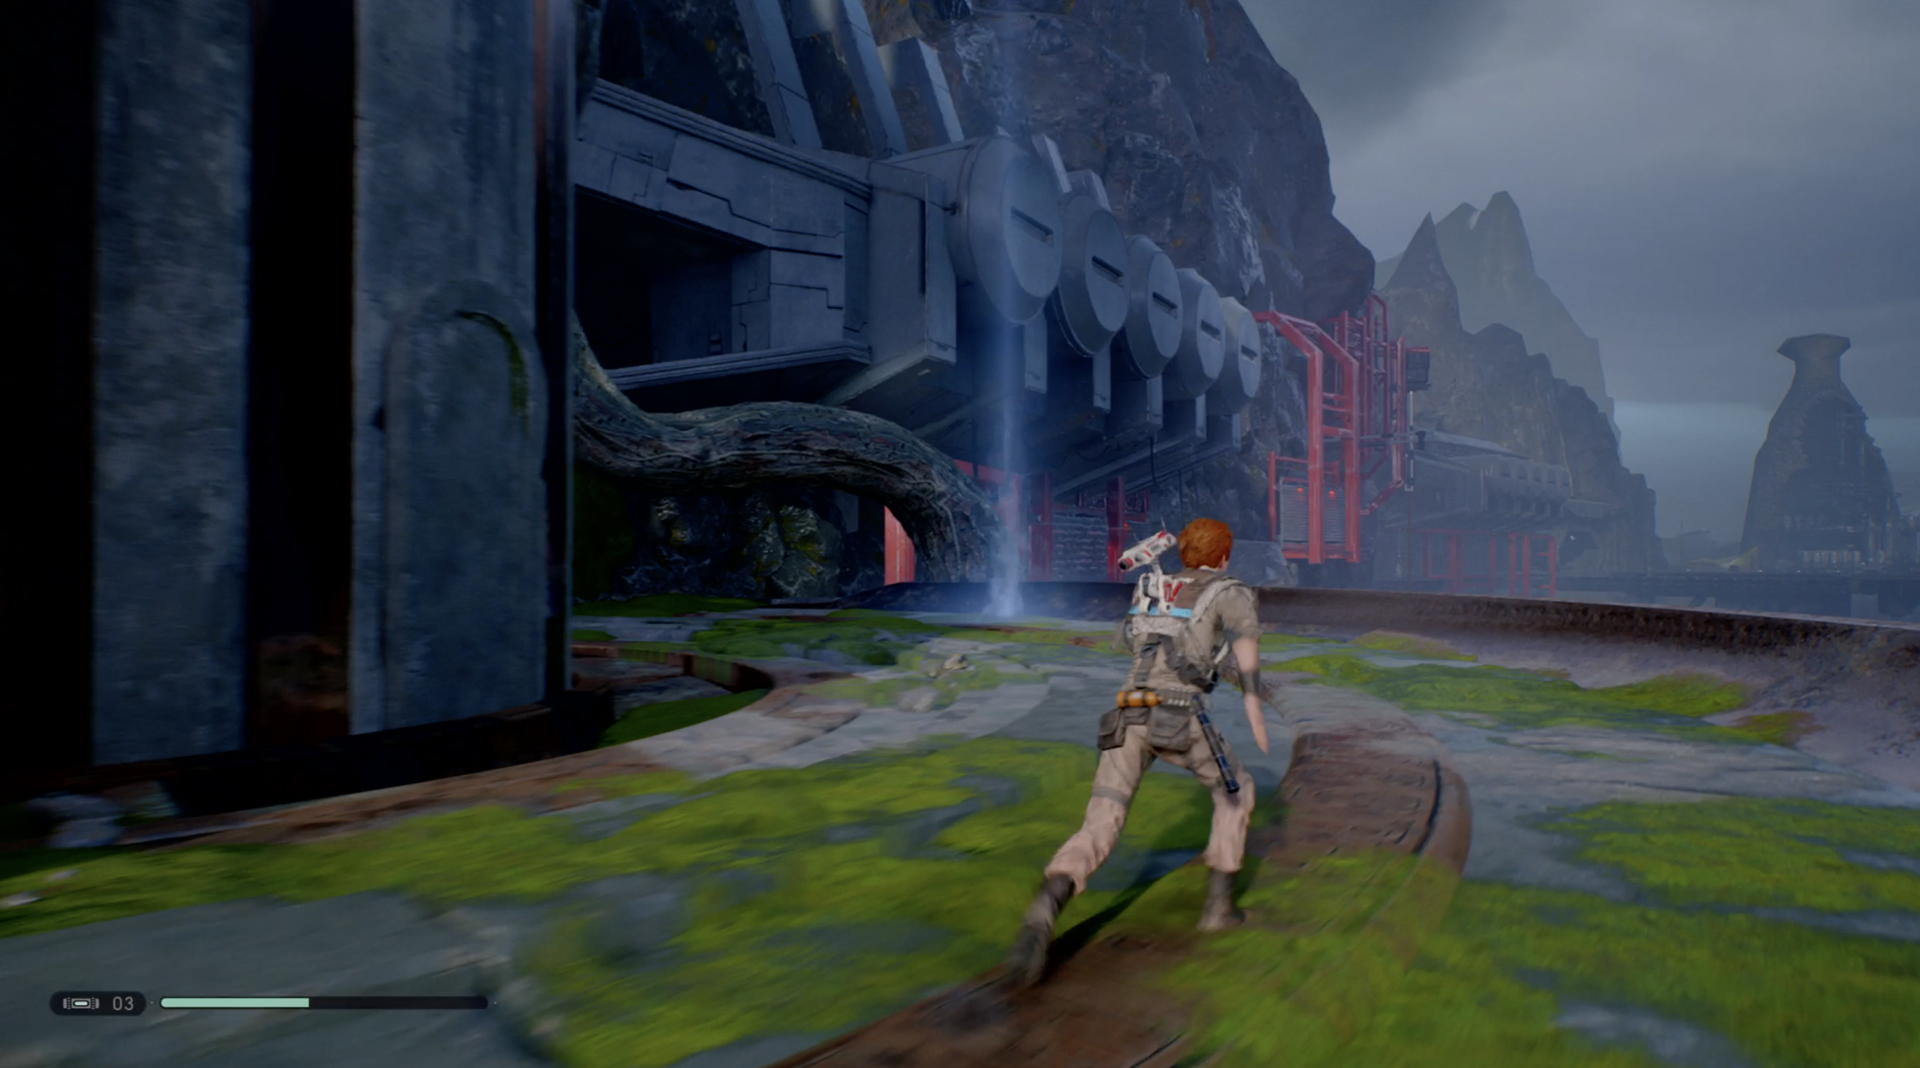
When you leave the spire you’ll be outside with the ultimate objective to return to the Mantis. Head left and the Meditation Spot then head along a series of Wall Runs using Force Pull to bring in the ropes you need to continue until you reach and drop kill a stormtrooper. Check inside the door and you’ll find a Bench with the upgrade Slice Probe Droid that will allow you to make any Security Droids you stun friendly.
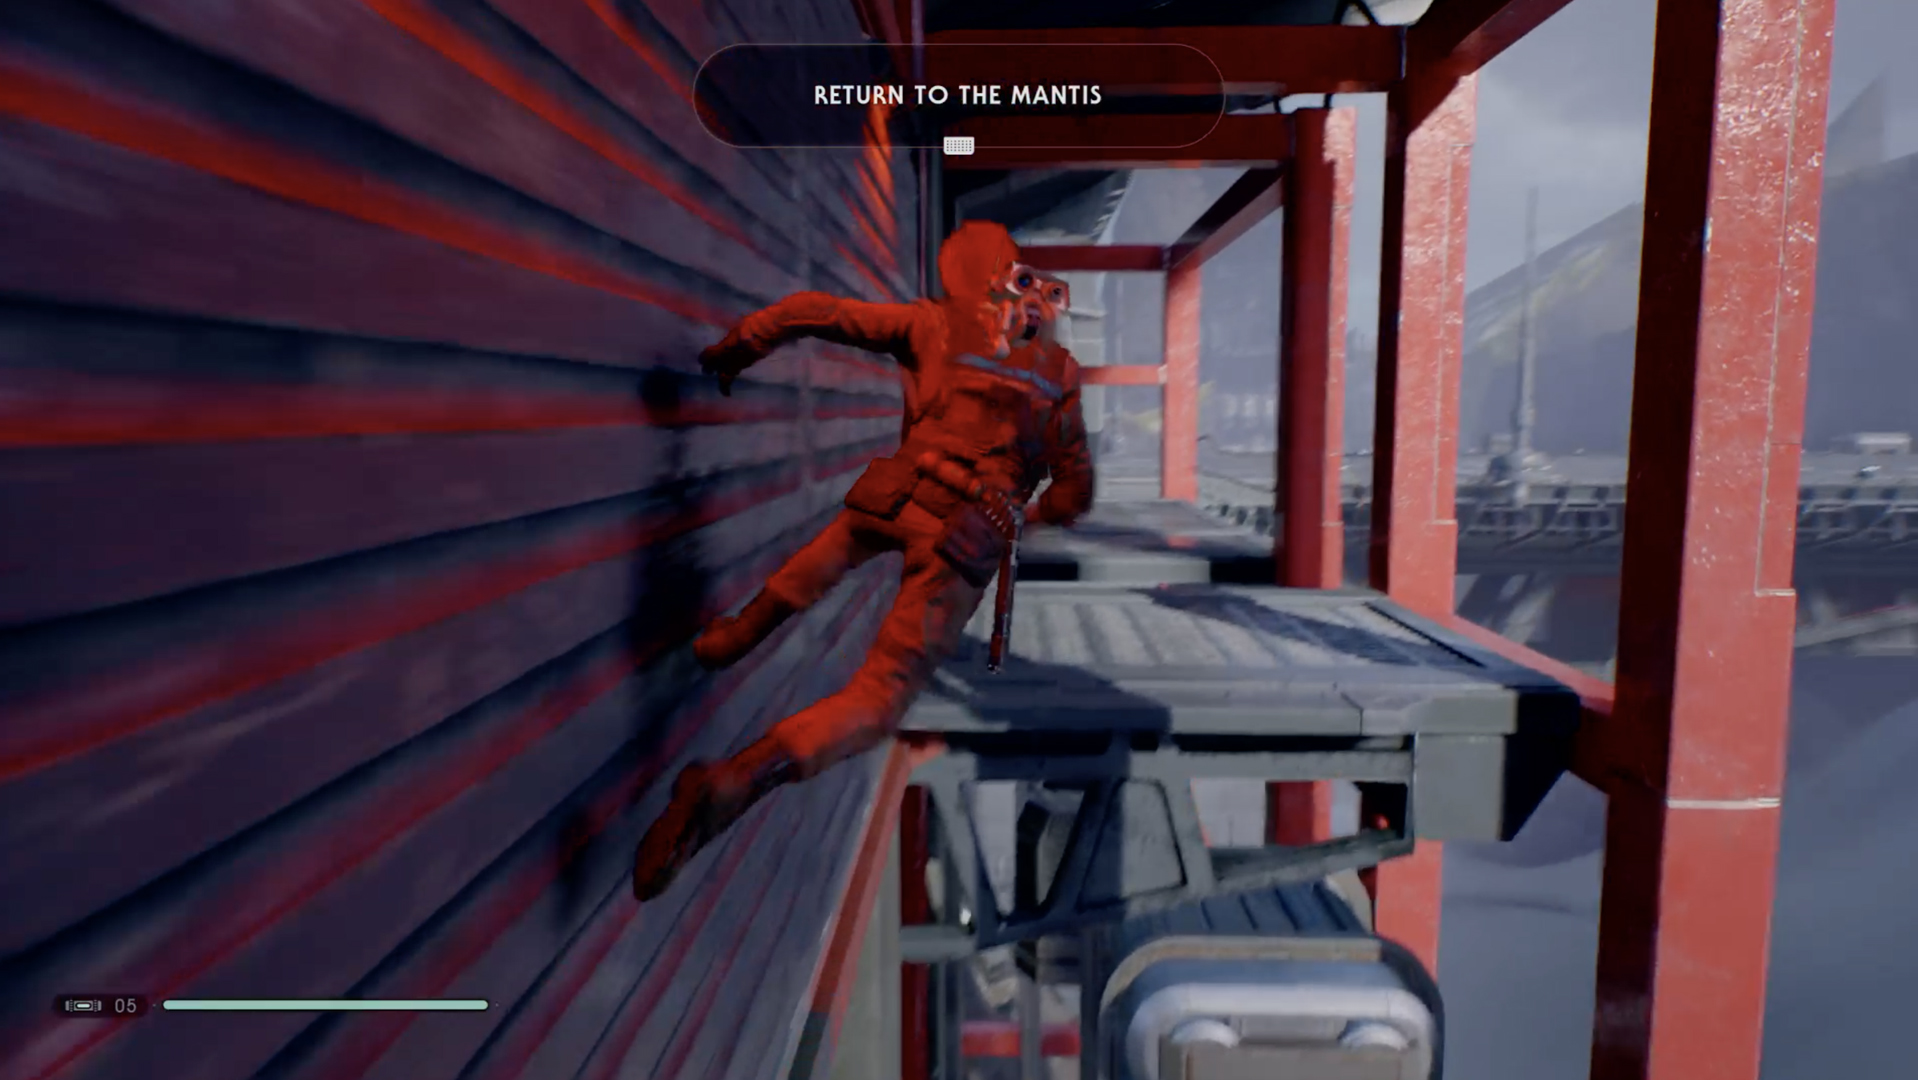
Continue on by Force Pushing one bridge, then Force Pulling the next, and following the gantry until you find a small door on the left that leads into a room with a lift on the right back down to the Imperial Dig Site, and a forcefield on the left you can Overcharge to move on. Continue straight ahead and up the stairs.
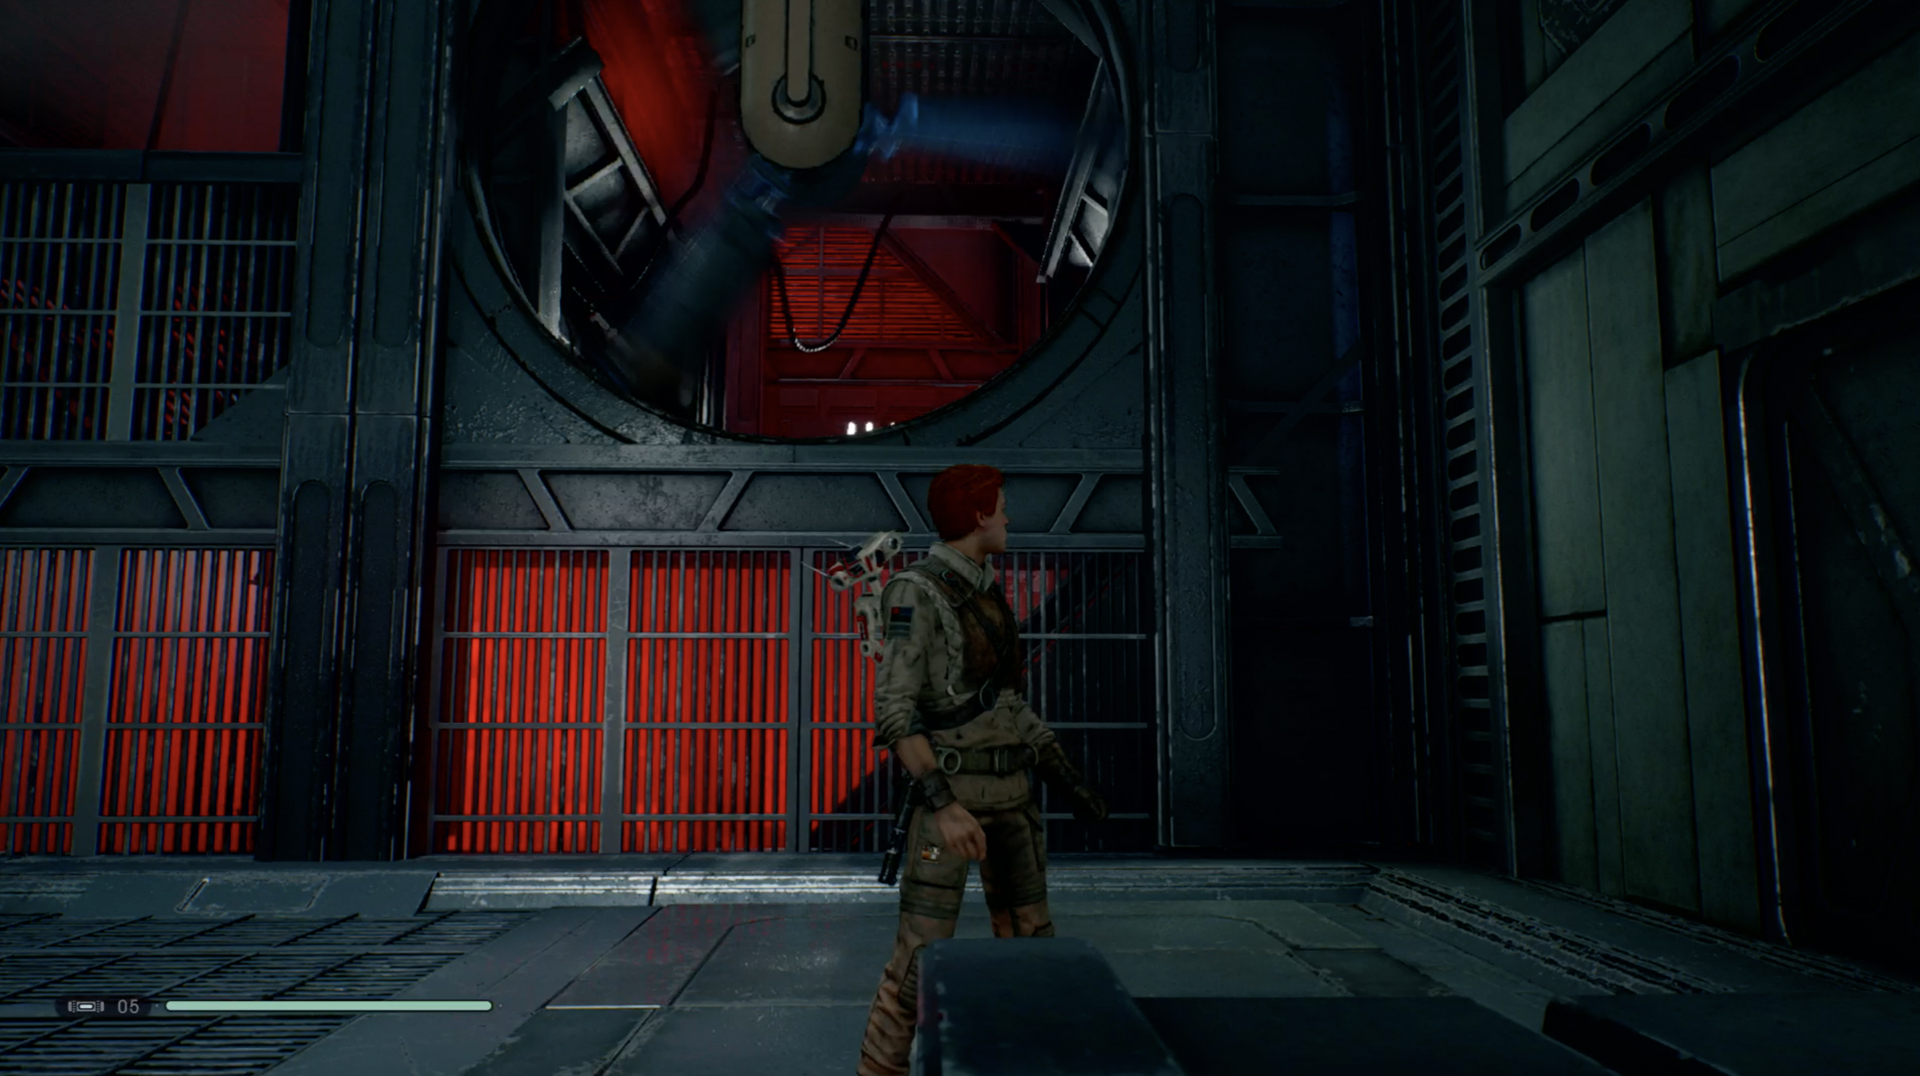
You’ll reach a door that doesn’t open with with fan on the left you can Force Slow to get past. Ignore the door you can Force Push open for a second, and head left, up the stairs and Force Pull the bridge to reach the Climbable Wall. Go up to reach another fan you can Force Slow to reach a crate with the Lightsaber Material Aurodium inside.
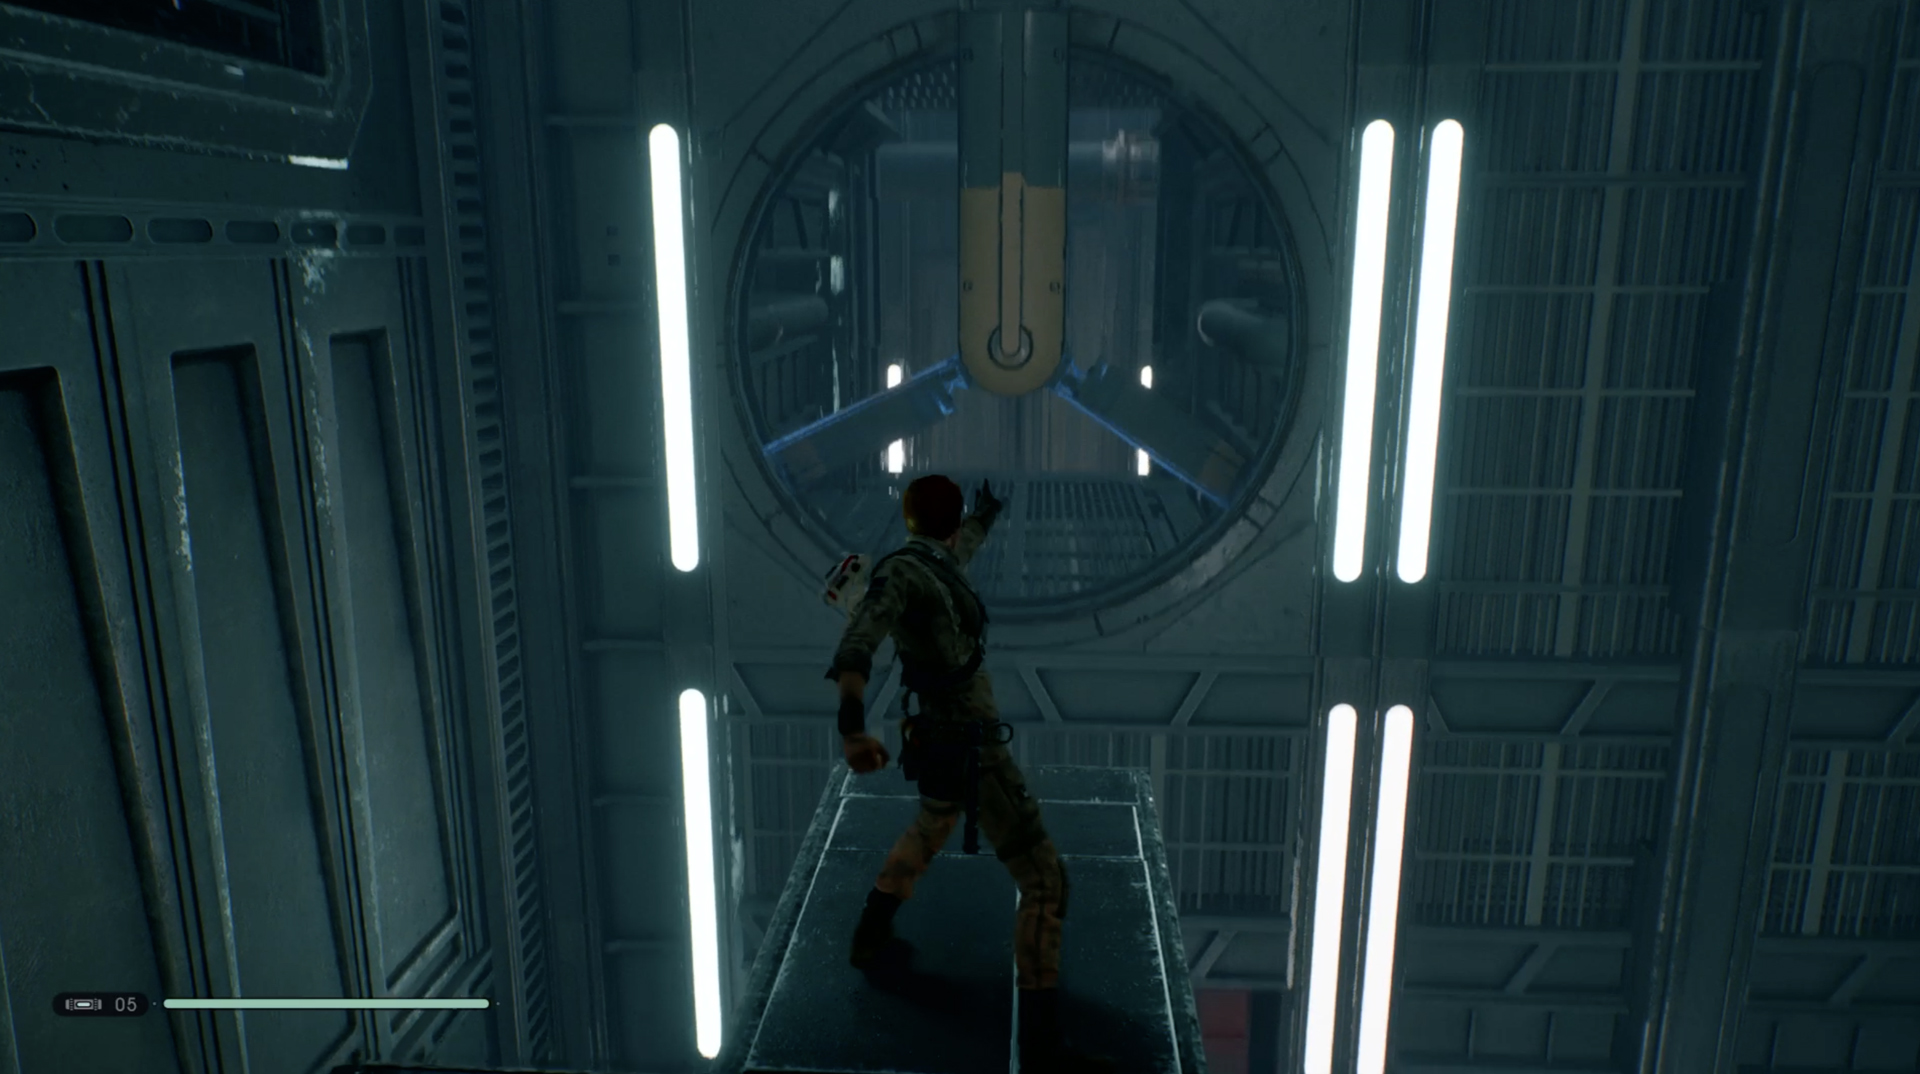
Turn away from the crate and you’ll see the door you could Force Push earlier so head down and go through where there are a few options. There’s a Scomp Door on the left you can slice to reach a Purge Trooper and a forcefield. Take him out and Wall Run right to a door you can Force Push, then left to an opening where you can Force Pull a rope to reach a Force Echo and Overcharge the forcefield to turn it off. On the other side is an ice slide that will take you to Crash Site.
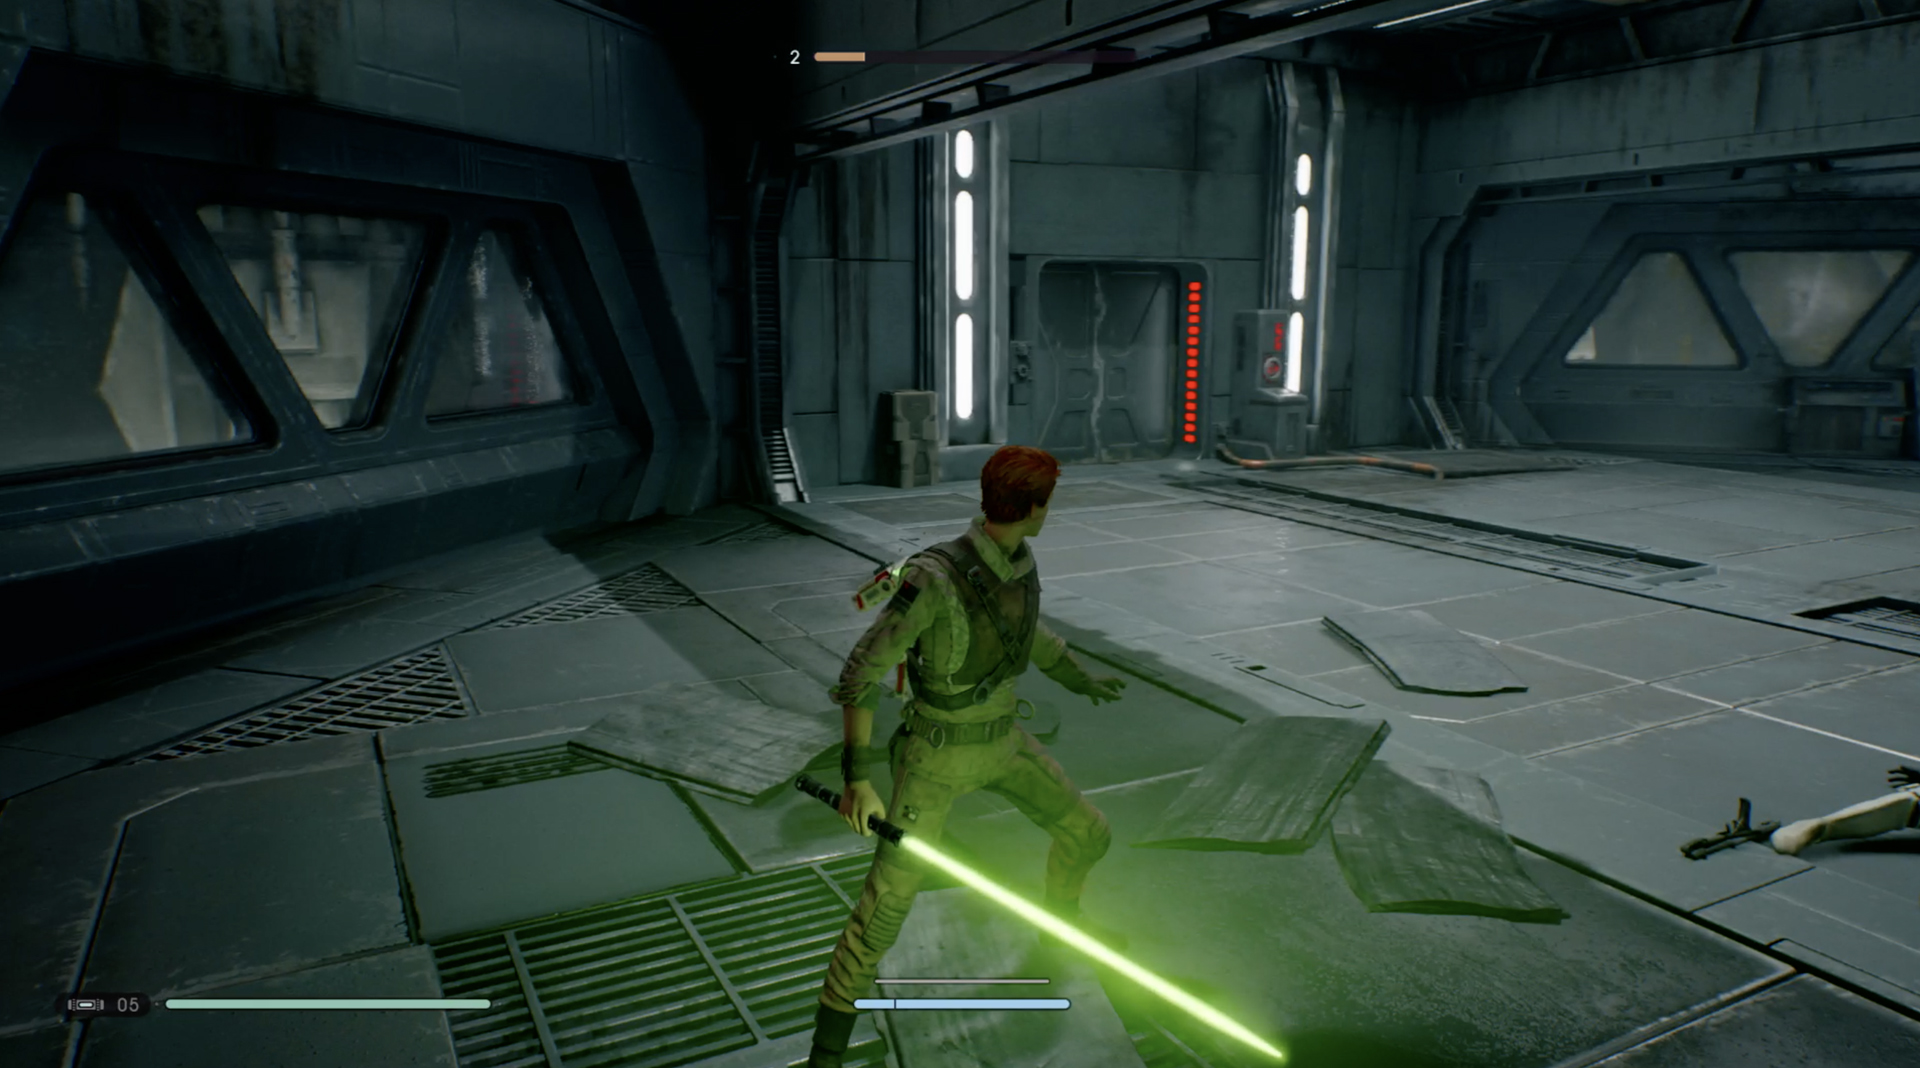
The lift on the right will take you back down to access a new shortcut to Imperial Headquarters. On the right you’ll see some big stairs that will lead out to a platform with an alternate route to the landing platform you passed when you came out of the temple (which you don’t need to worry about). On the right is a small Scomp Link door you can slice, leading to a Force Echo and a Meditation Spot, while straight ahead is a big Scomp Door you can slice that will lead to the area where you saw an Imperial Transport leaving earlier, with the cave path that will take you back to the Weathered Monument area where you originally entered the statue to unlock the Scomp Link.
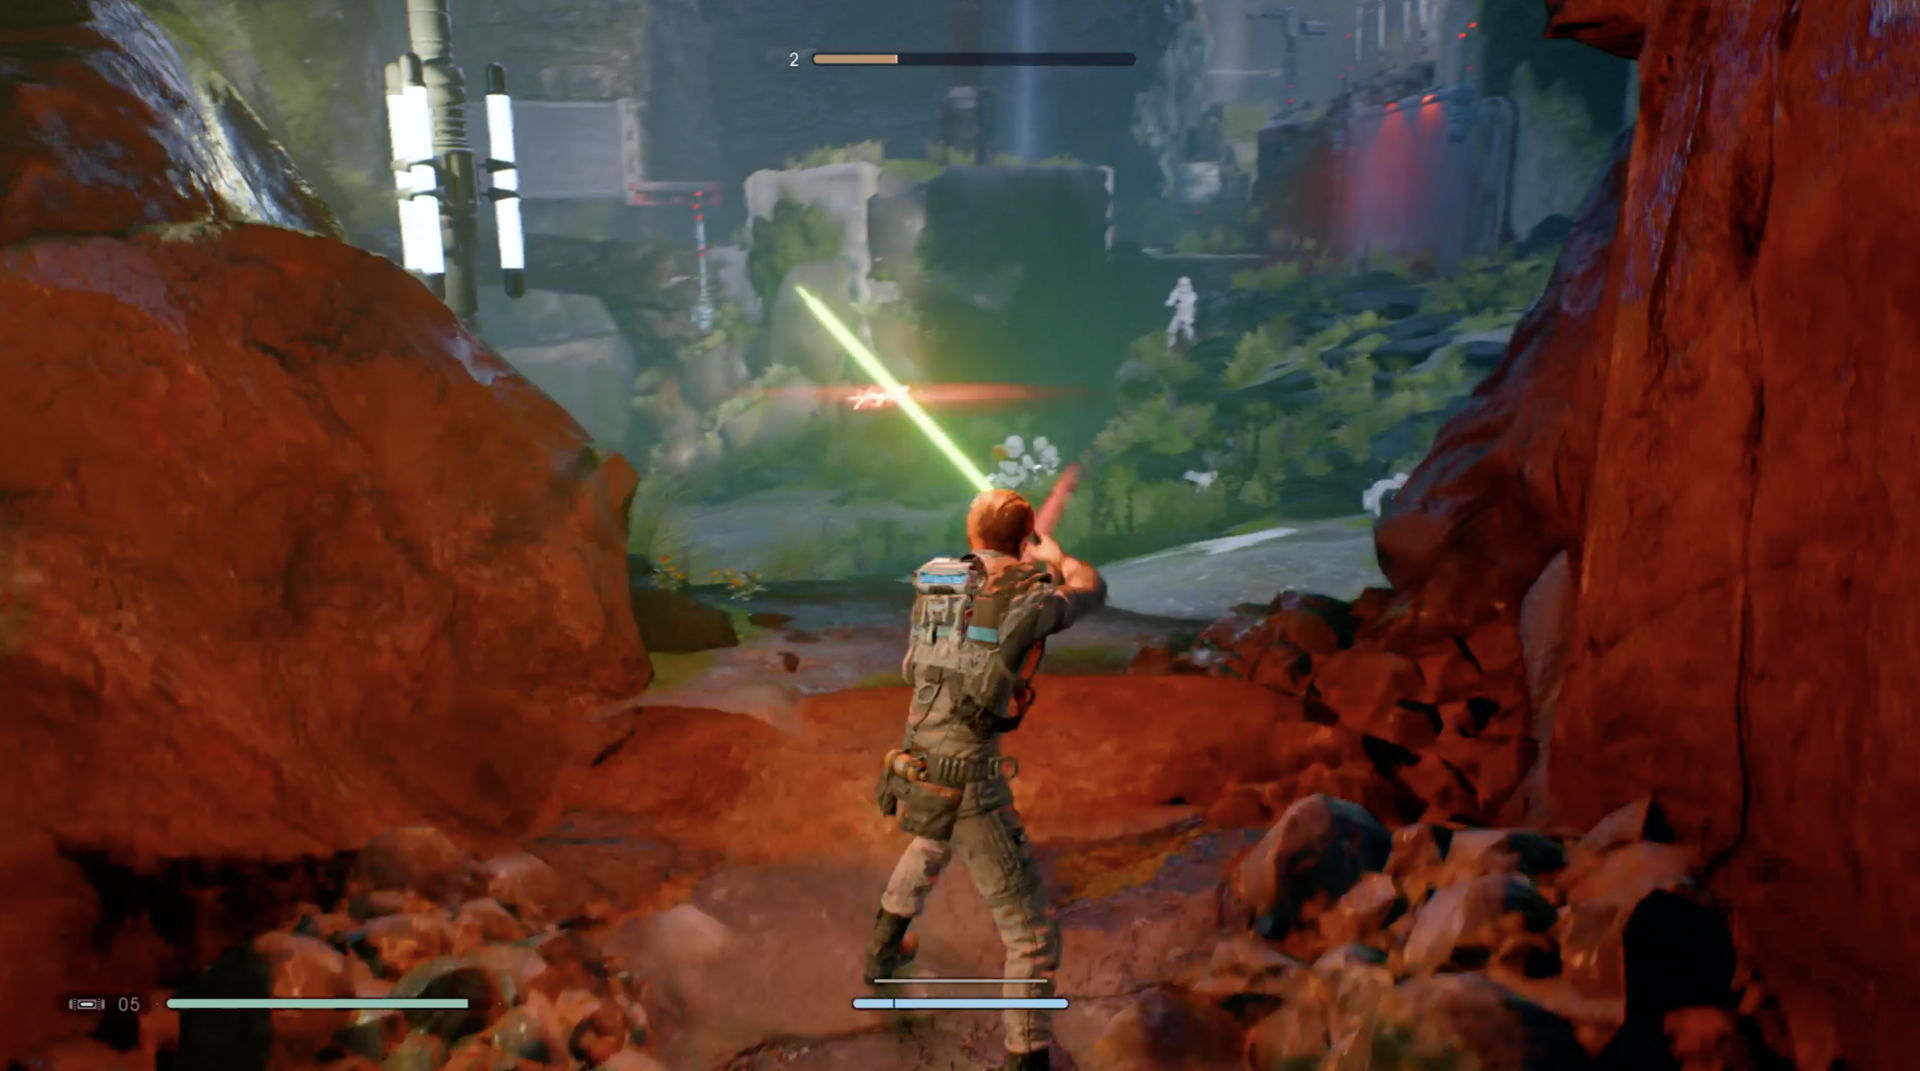
Basically you can take any of these routes to try and get to the Mantis. Whatever route you take, however, you’ll be intercepted by the bounty hunter Mad Midge, for a boss fight you can’t win that will end with you being captured.
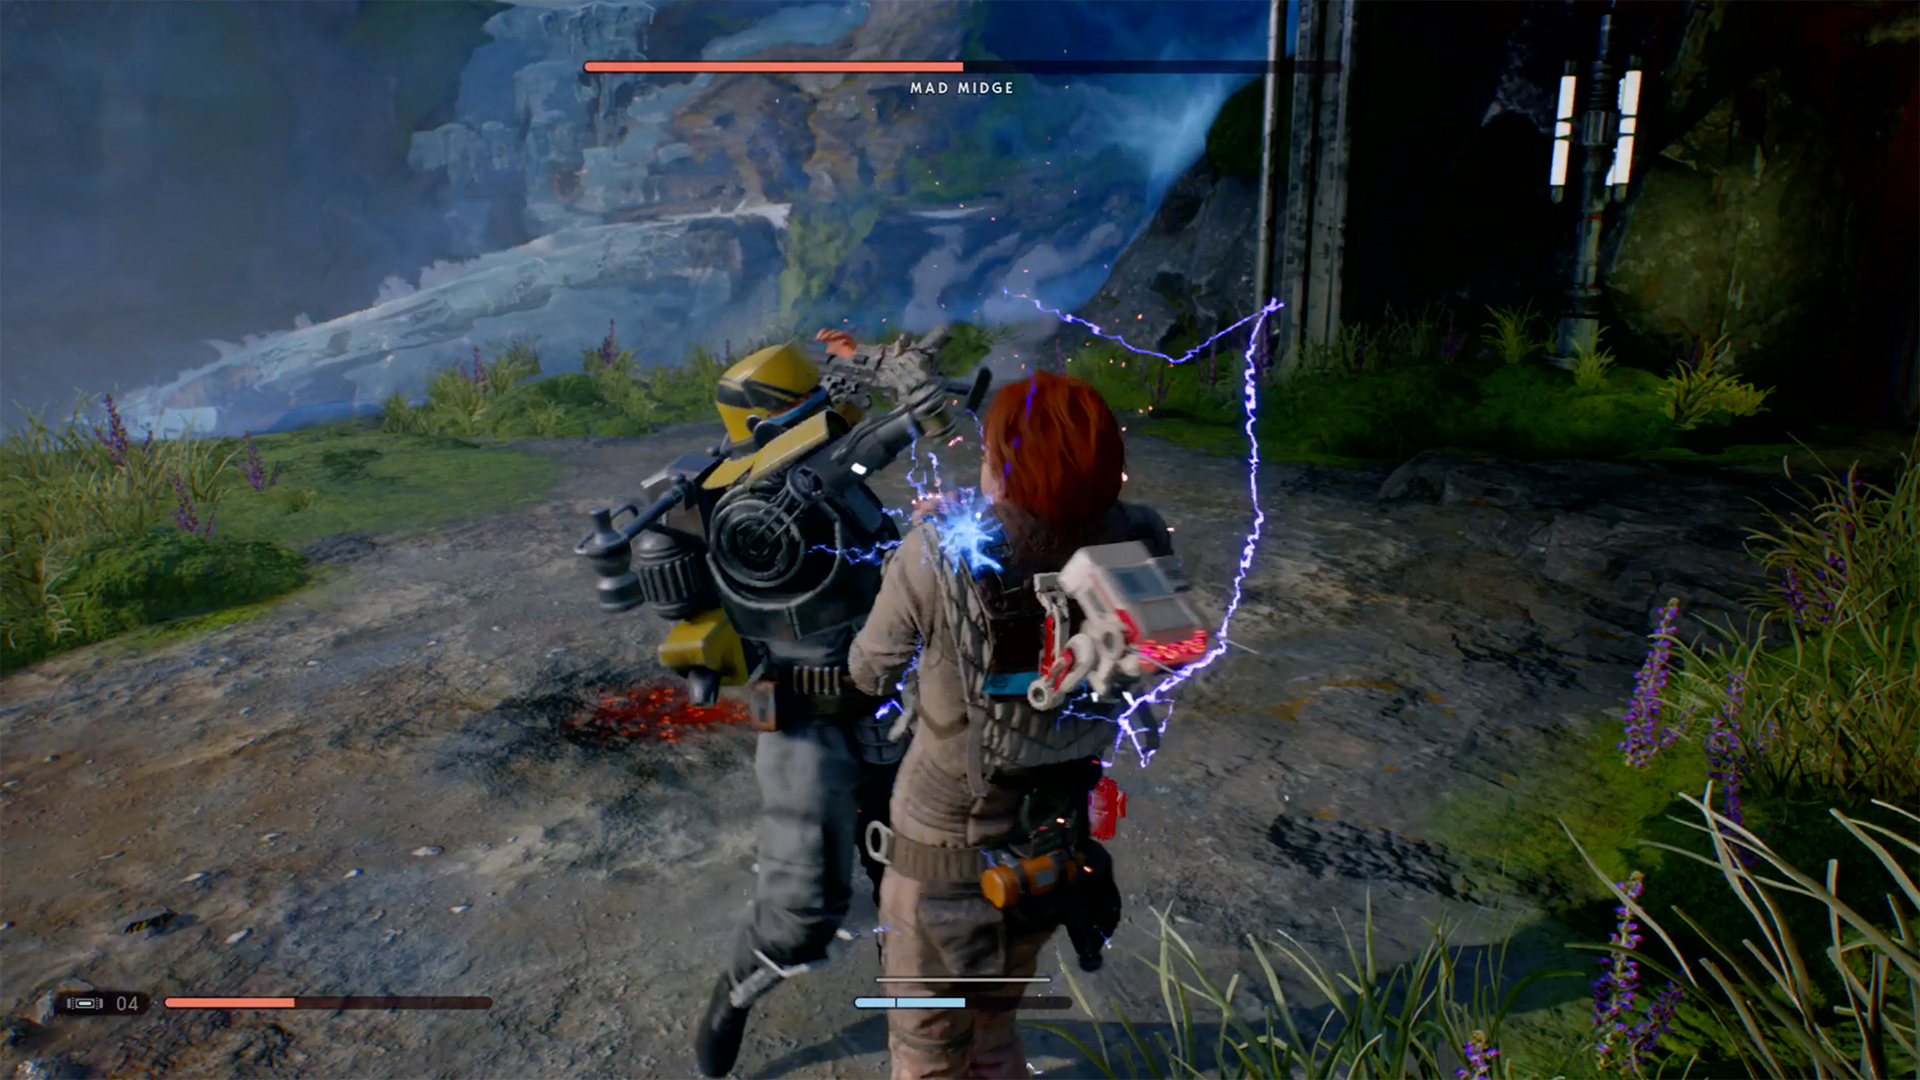
After Mad Mitch captures you you’ll wake up in a cell. Force Pull all the panels off the wall to find a power cable and a socket you can bring together to open the door. Head down the corridor and to the end where you’ll find a machine and a range of cables and sockets. Take the powered cable out of the machine and plug it into the nearest socket which will power the wire connected to that. Then take the cable hanging from the panel you've just powered up and take it across the corridor to the socket by the door. Plug it in to open the door.
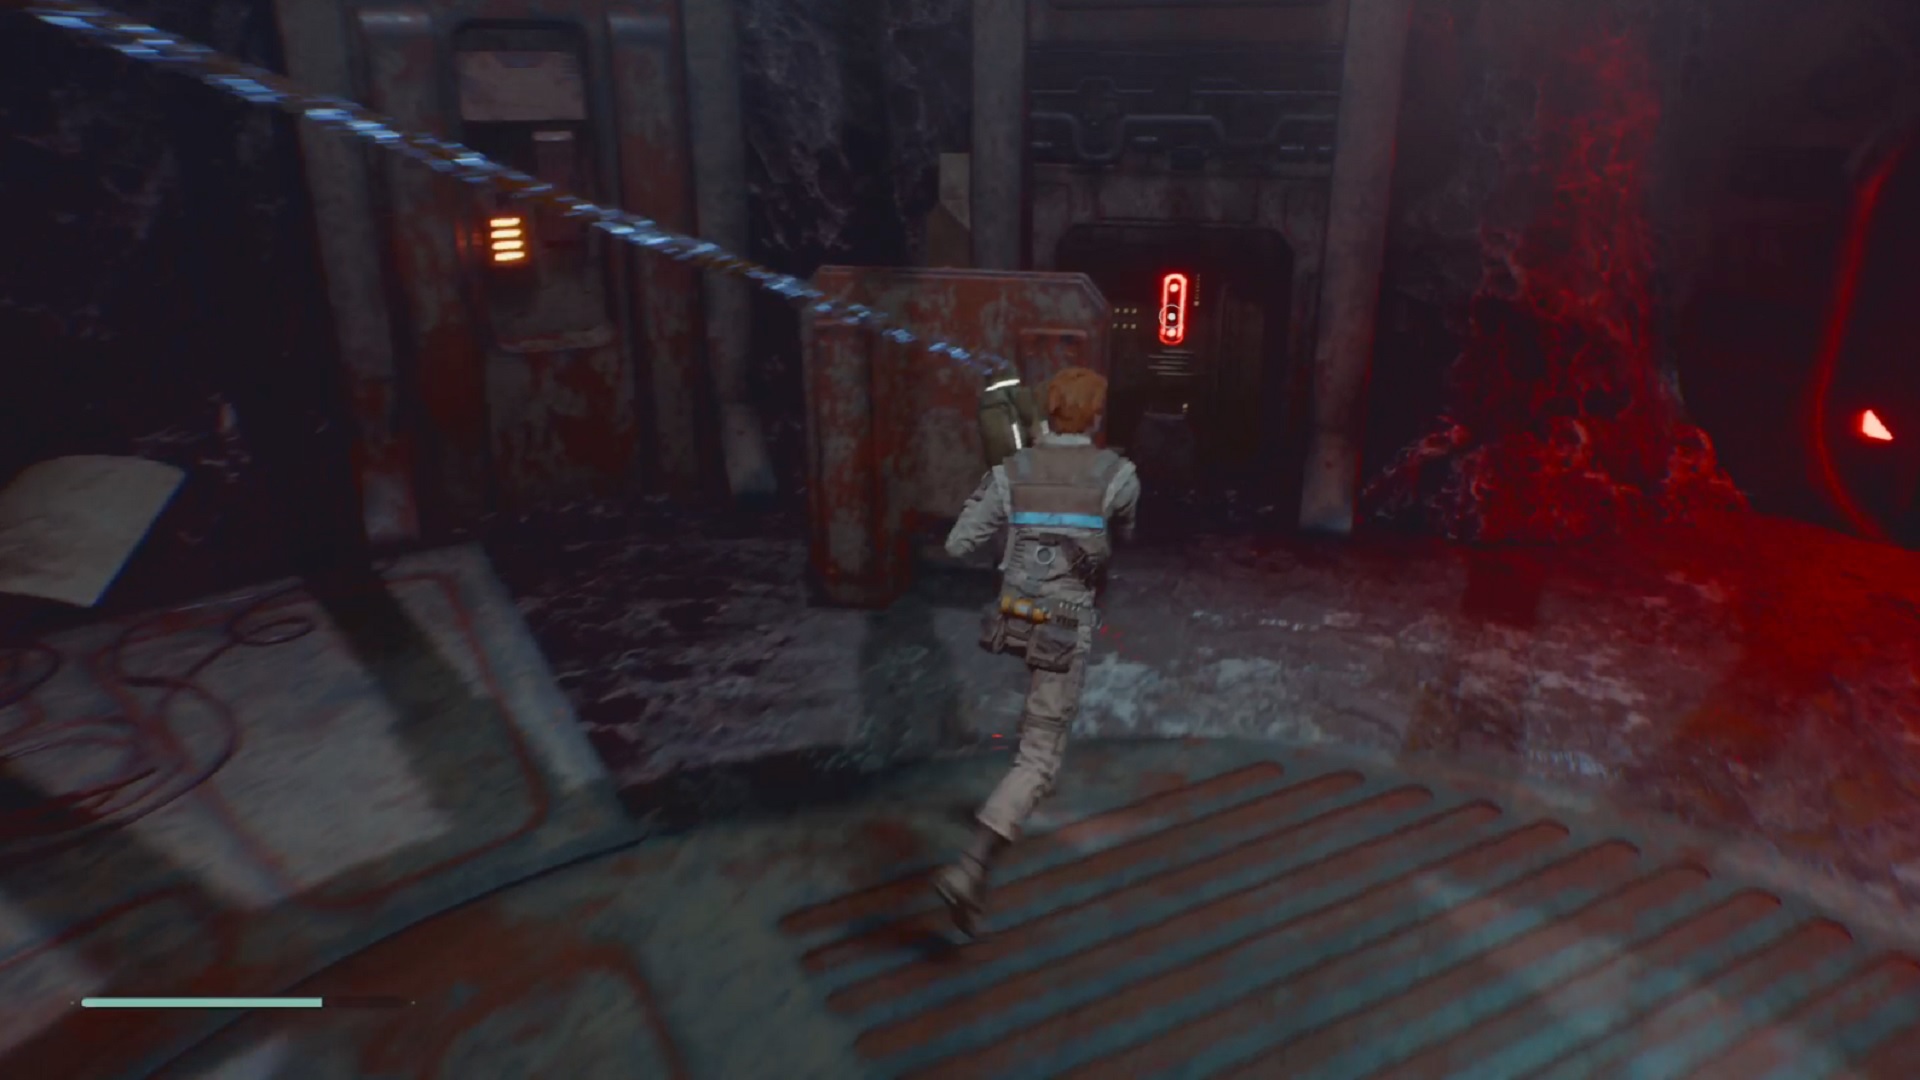
Inside the cell you’ve just opened you’ll find a door you can force push leading to a gap to squeeze through. Head left and you’ll see another prisoner you can interact with although He’s not much help. Head towards the big hole (ignore the corridor to the right for now) and Wall Run over
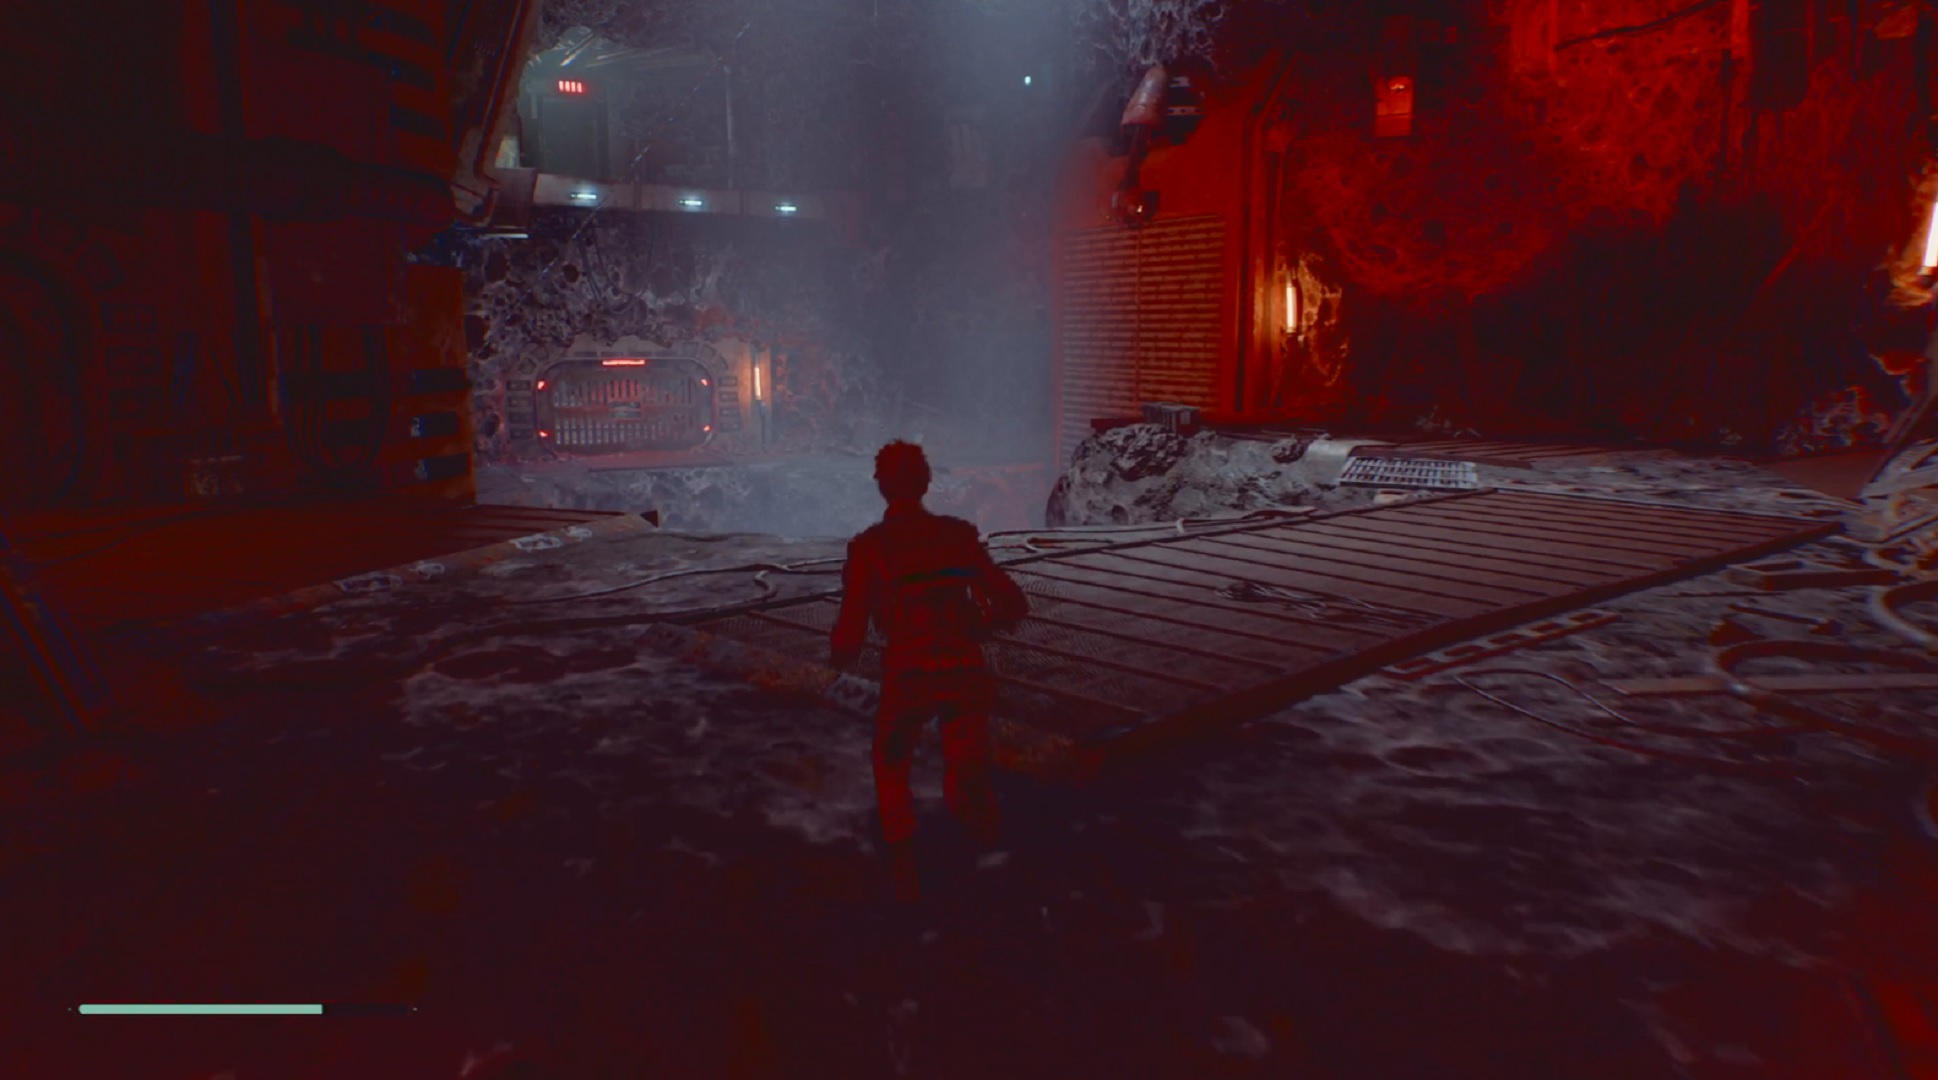
Examine the big door then Force Pull the power cable out and use it to swing to a ledge above the door. Plug in the cable to the socket you find there then drop through the door that opens at the back to find BD-1. Use Force Pull to remove the wall panel to the right of the door so BD-1 can slice the door open and let you out
Now head down the corridor you ignored before and have BD-1 slice it open and you’ll get back to the end of the prison corridor. Return the first wire you moved to the central machine where you got it from and then get BD-1 to Overcharge the panel on the other side to power the lift. Walk on the floor panel to activate and then use the Meditation Point before you go outside.
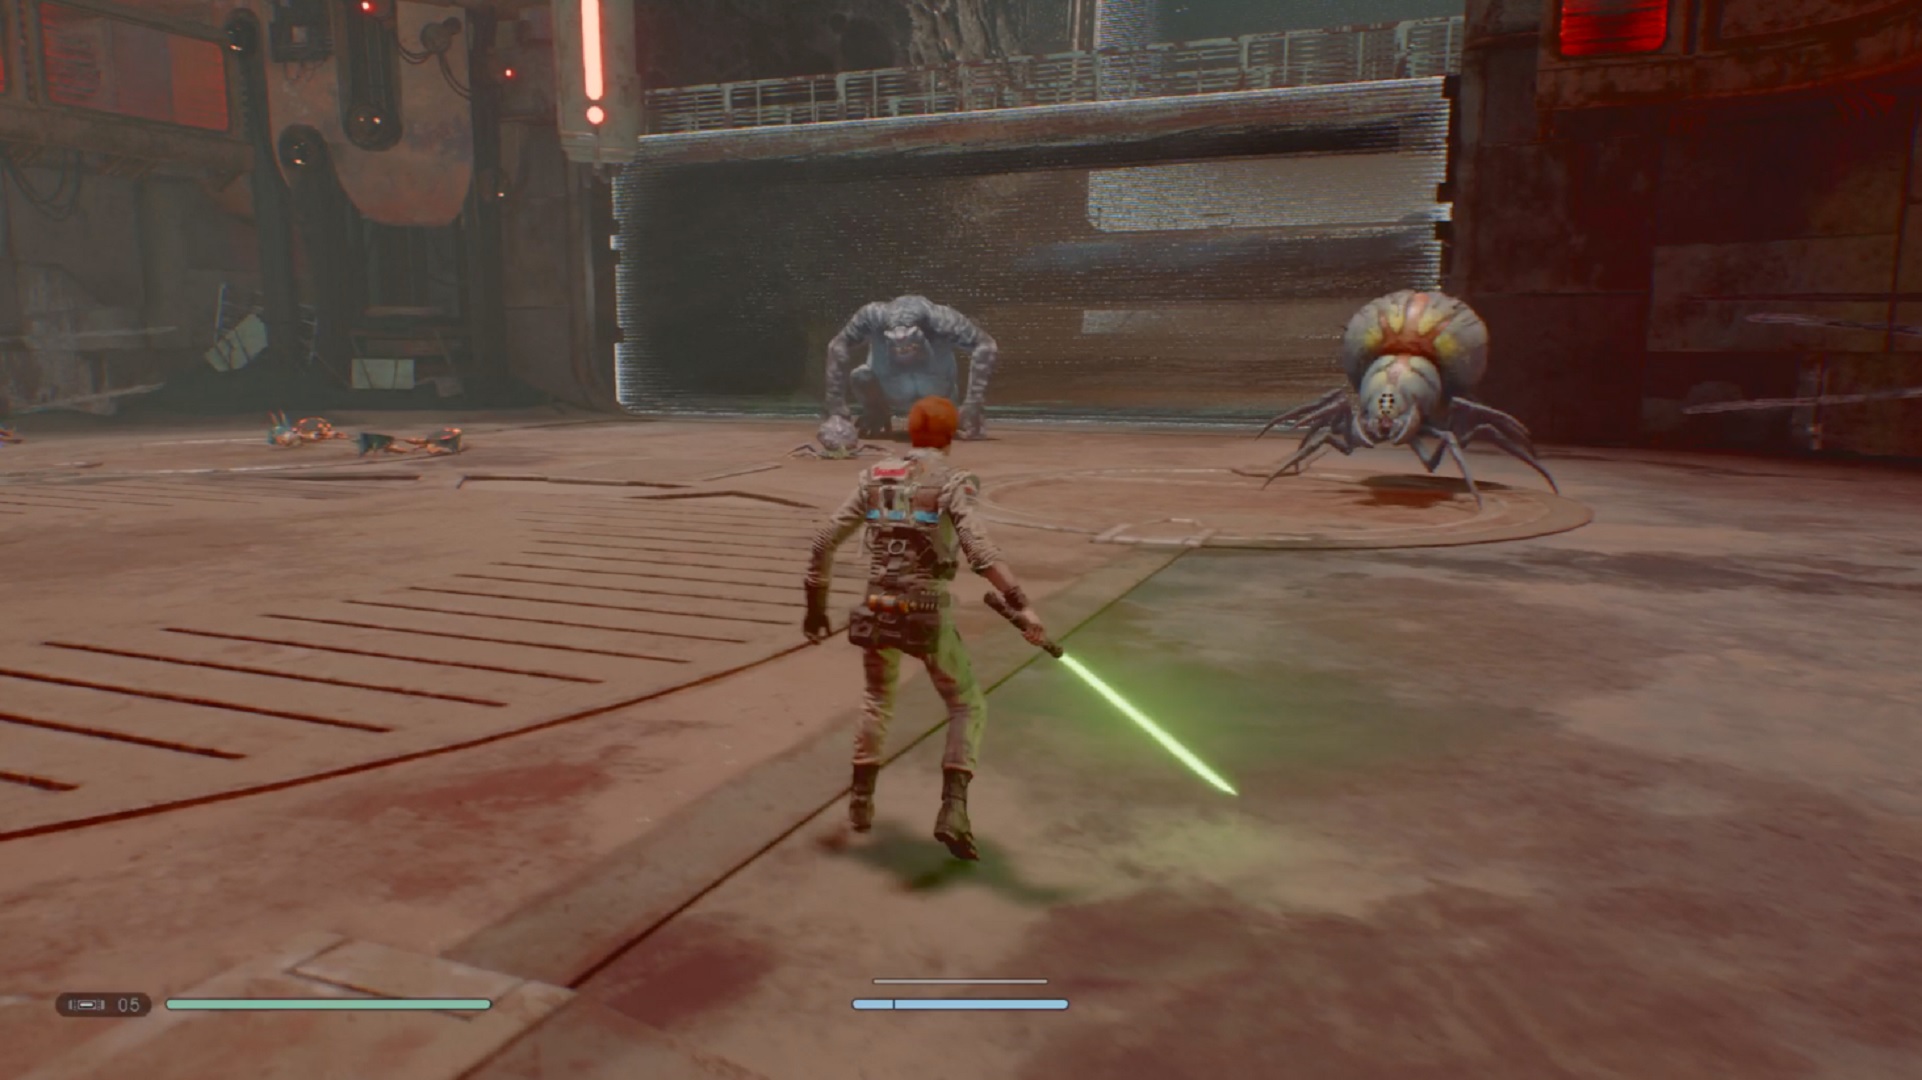
When you go outside you’ll find yourself in an arena. There’ll be a range of monsters to fight in waves, before Mad Midge makes a reappearance. Keep on fighting and eventually the Mantis will show up and rescue you, letting you got back on the main mission to Kashyyyk.
Completing the bounty hunter arena part of the story now means you’ll be liable to random attacks from bounty hunters at any point in the game. Be prepared for surprise attacks as you explore.
Current page: Star Wars Jedi Fallen Order walkthrough - Tomb of Miktrull lantern puzzle,
Prev Page Star Wars Jedi Fallen Order walkthrough: Zeffo pt 4, Imperial Dig Site Next Page Star Wars Jedi Fallen Order walkthrough - Kashyyyk pt2
I'm GamesRadar's Managing Editor for guides. I also write reviews, previews and features, largely about horror, action adventure, FPS and open world games. I previously worked on Kotaku, and the Official PlayStation Magazine and website.
