The full Star Wars Jedi Survivor walkthrough
Rayvis might be dead, but Dagan Gera is close to getting an Abyss Compass from the High Republic observatory on Koboh. Reach the floating observatory and stop Dagan from getting to Tanalorr.
Confront Dagan at Koboh Observatory
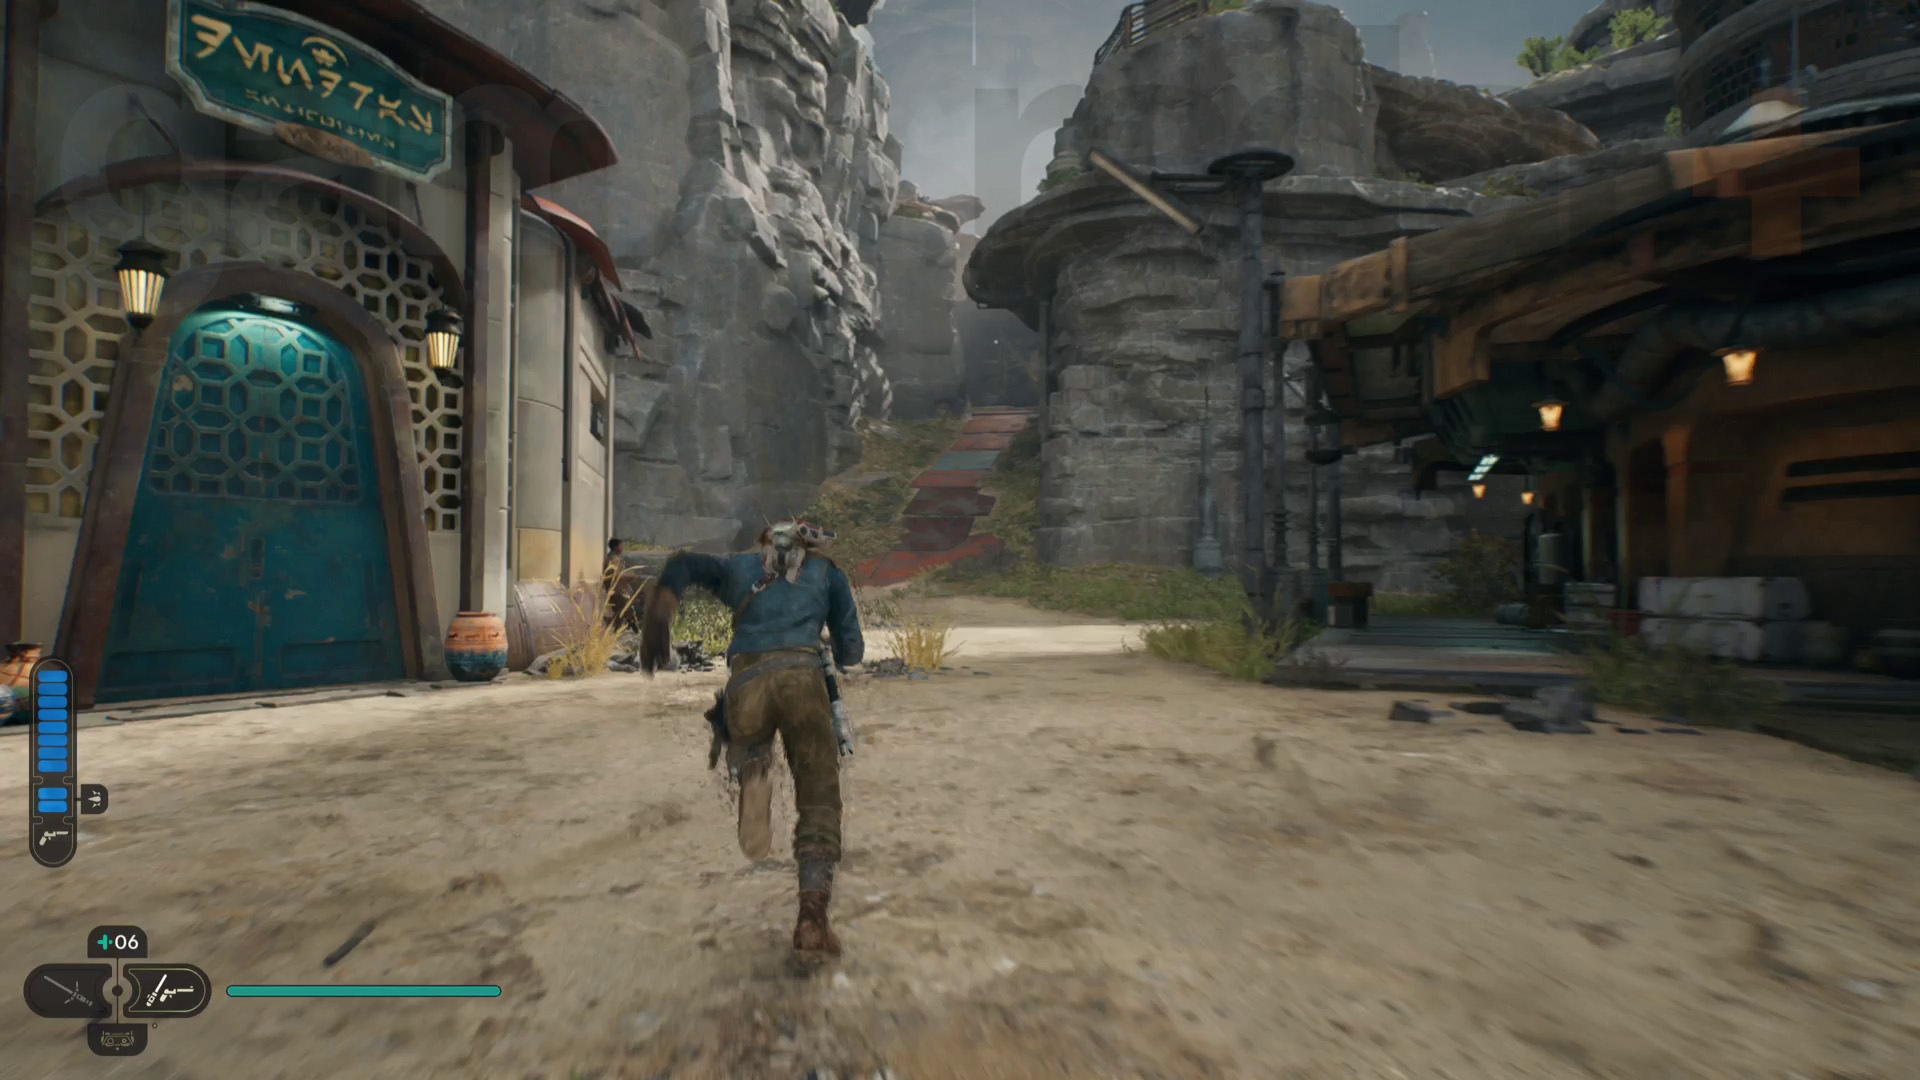
Once you’ve landed back on Koboh, go to the area between Pyloon’s Saloon and Doma’s shop – you’ll notice a path going up the hill that’s paved with mostly red sheets of metal. Follow the path, bearing right, then take the zipline up to Foothill Falls.
This is the area where you can find the Star Wars Jedi Survivor Abandoned Shack, which leads into a challenging subterranean area with some useful items inside. However, that’s not necessary for the critical path, so head over to the waterfall and grapple to the upper path. Press on through the cave to the right and you’ll reach the Mountain Ascent Meditation Point.
Climb mountain to observatory
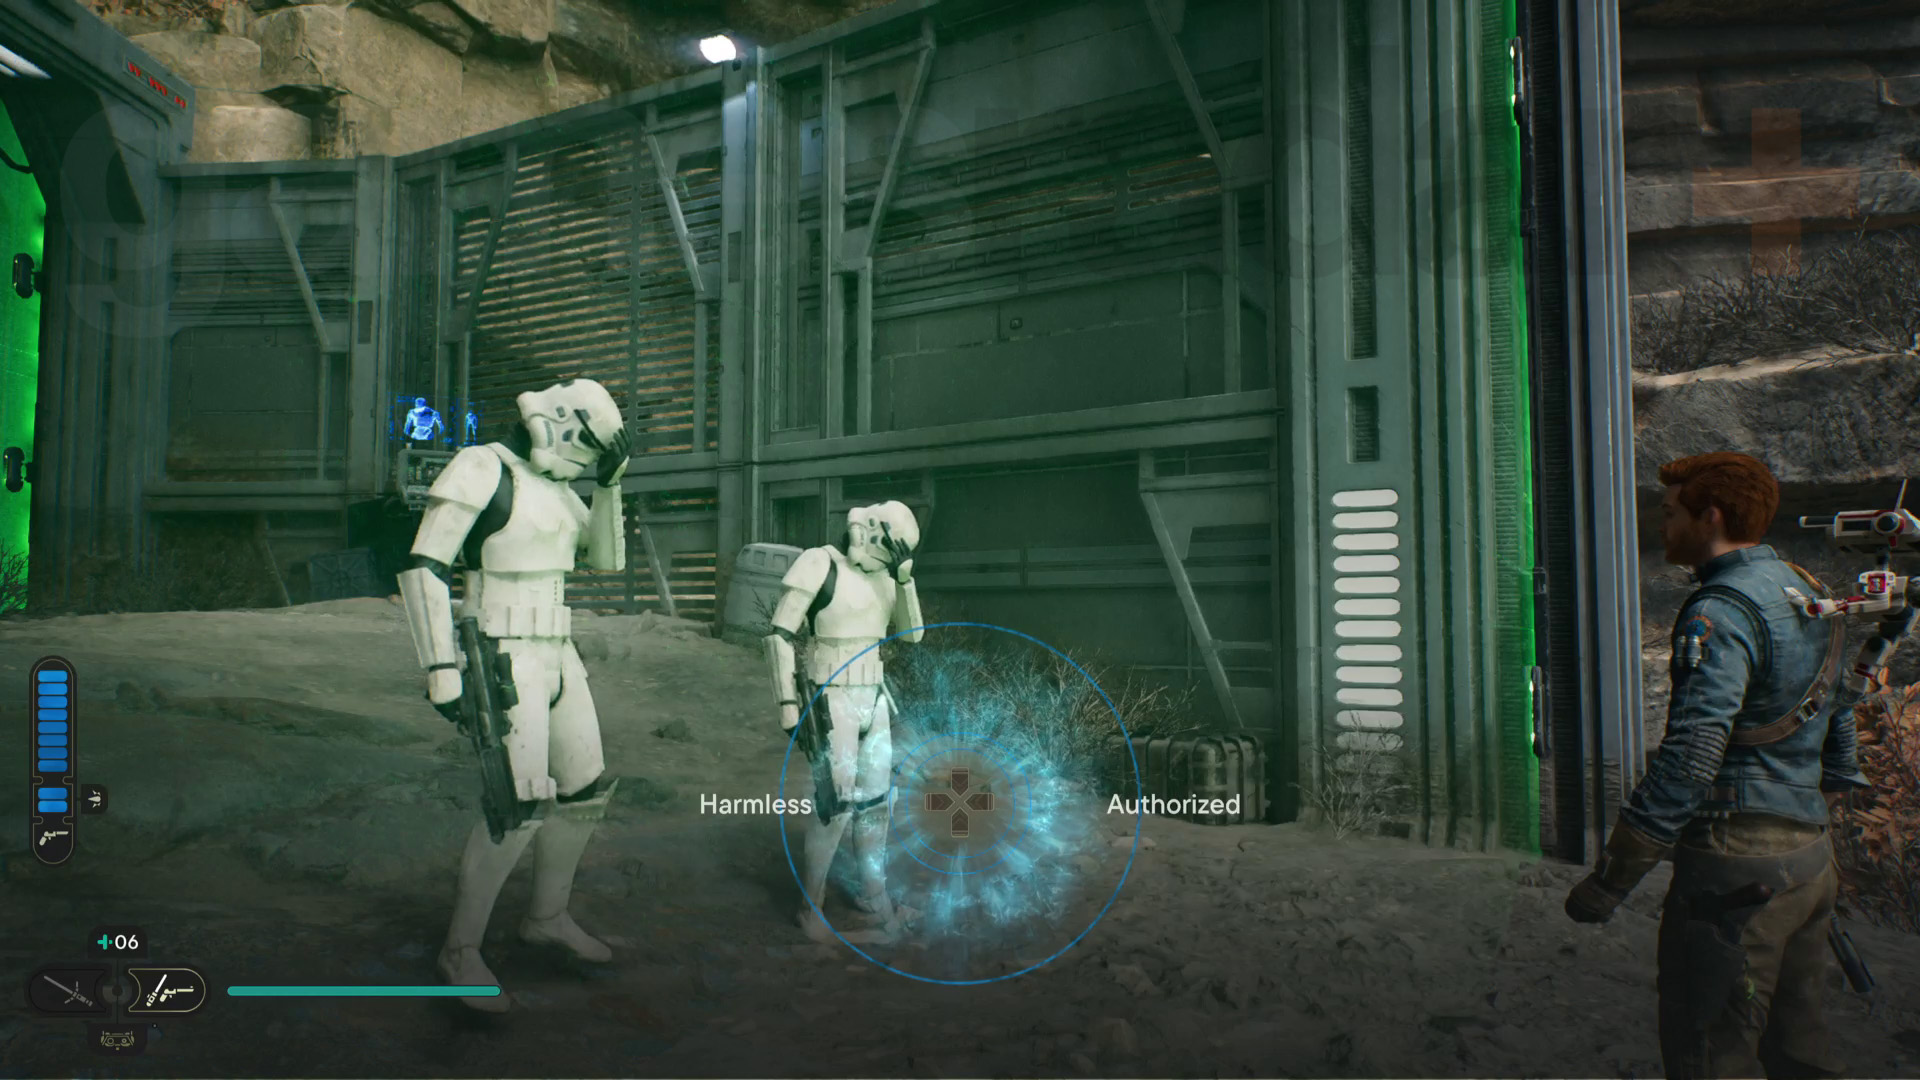
Next, go up to the green laser barrier ahead. You can dash through it like normal, but you can also stand in front of it and mind trick one of the two Stormtroopers into deactivating it for you. Before dashing through the next green barrier, make sure you get BD-1 to slice the nearby terminal to unlock the Slice: Security Droid ability.
Go through the next barrier and follow the path around to the left to fight more Imperial units. Bear right and wall run across the gap, then jump the gap at the top of the hill. Carry on through the rocky area then jump up to the next area. You can cut a cable for a shortcut here.
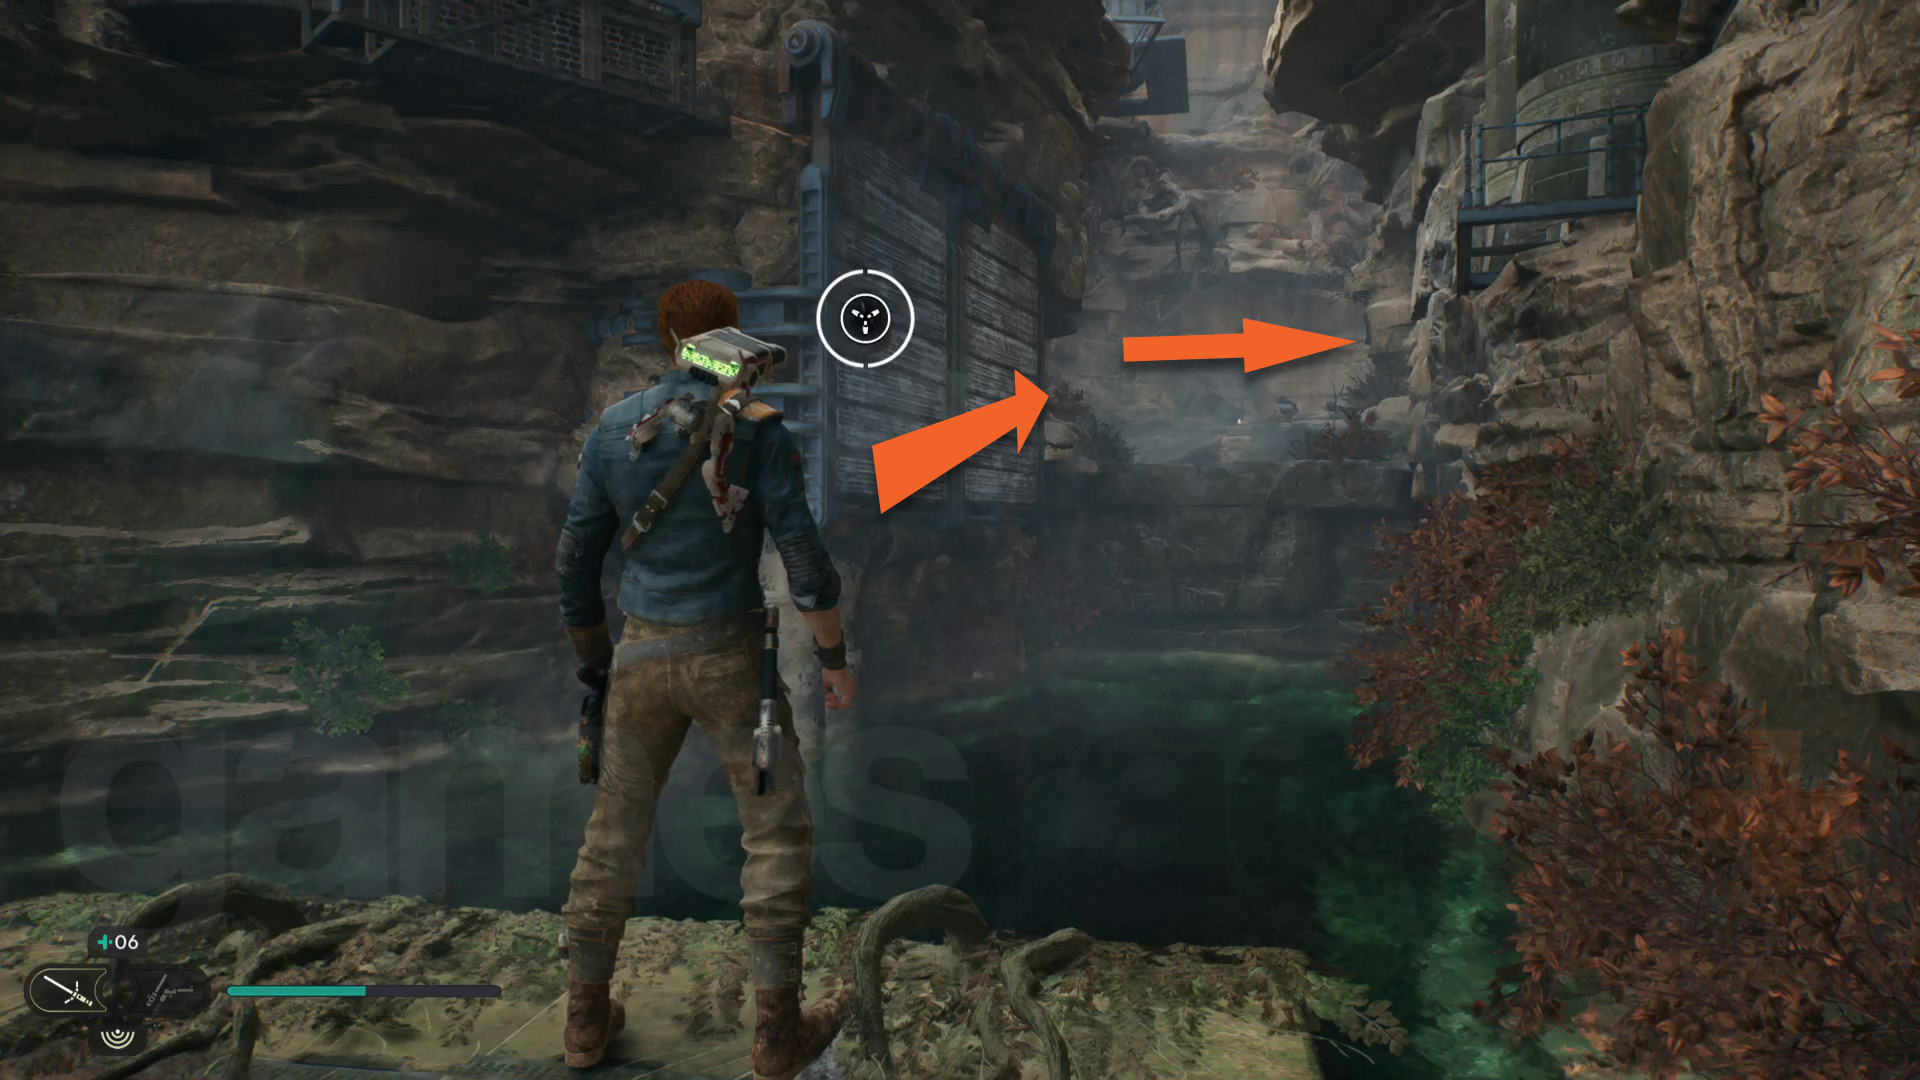
Follow the path around then jump over to the troopers guarding a large gate. Once they’re dead, you need to open the gate by repeatedly Force Pushing the chain winch – it’ll eventually lock in place. Watch out for the two Bilemaws in the next area!
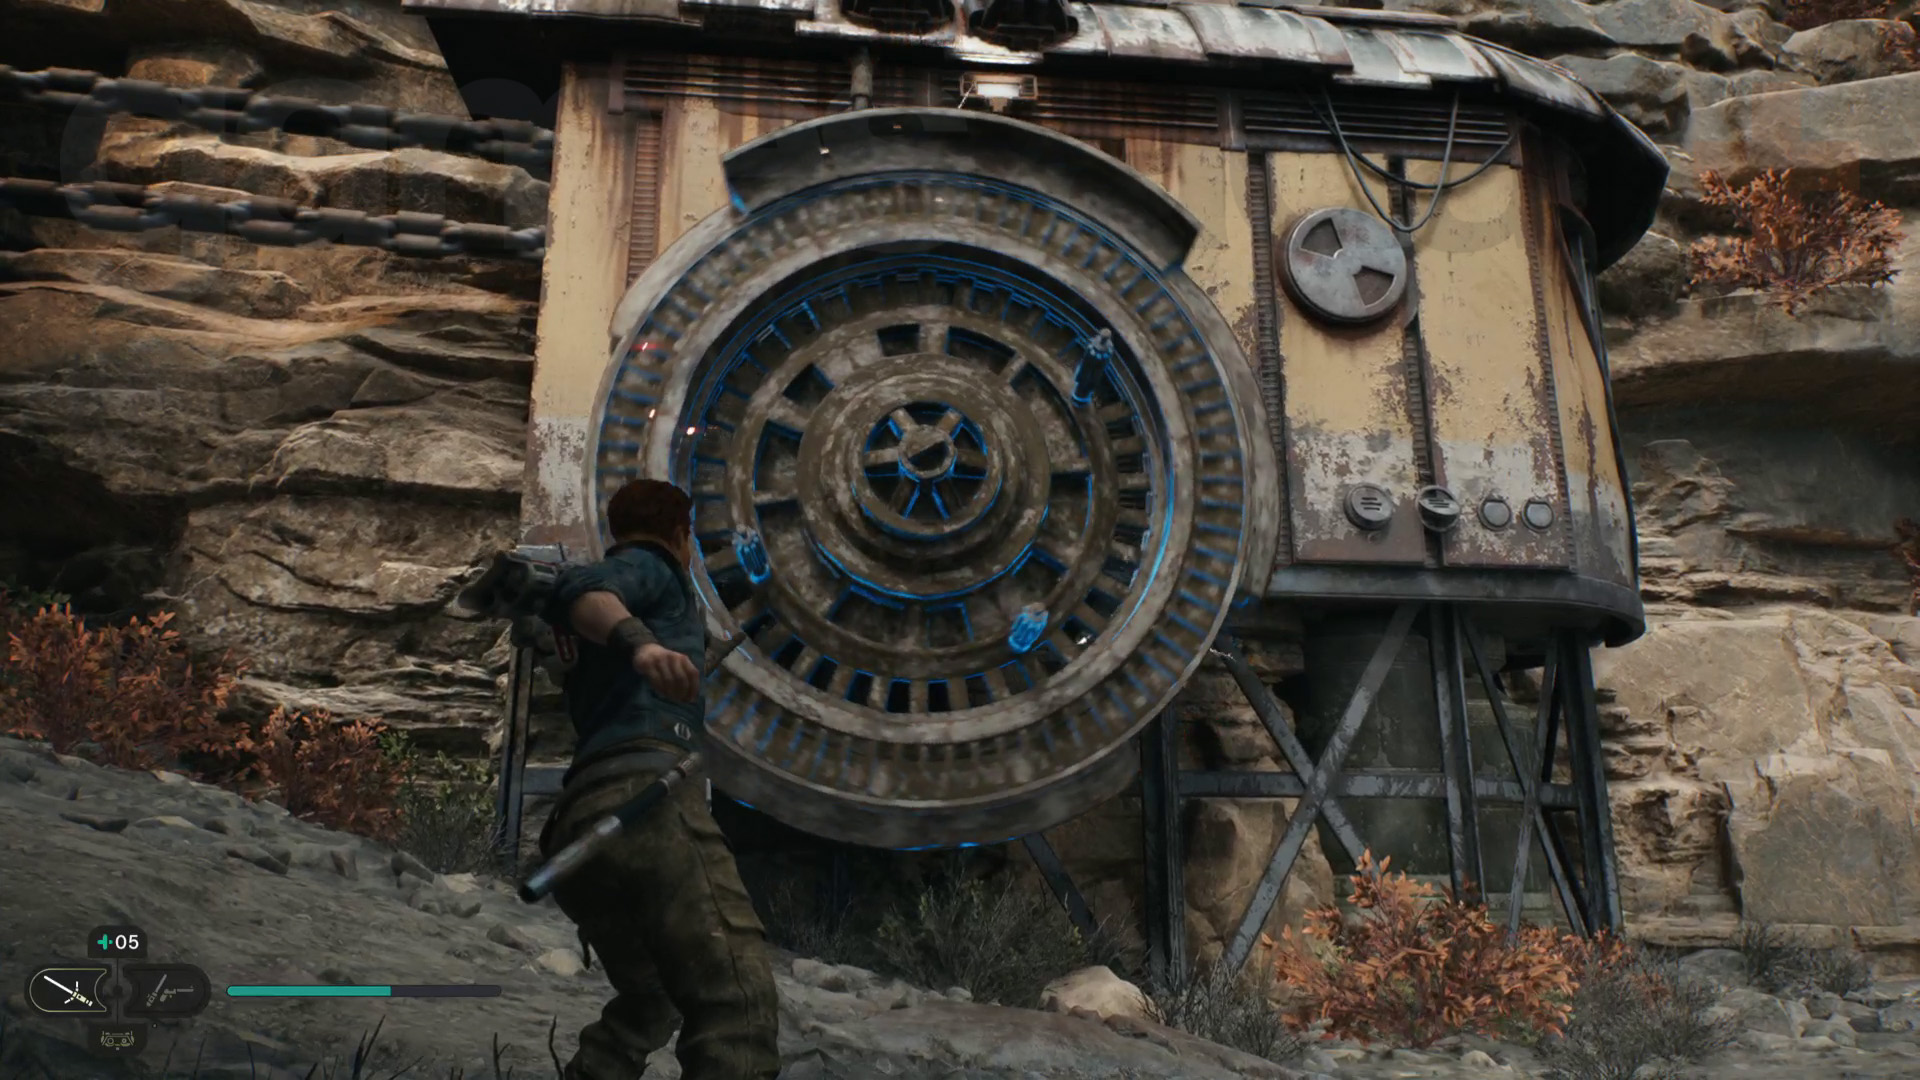
Grapple up to the ledge, wall run your way through the chasm, then go through the gap into the Fogged Expanse. Go right and jump down to reach the Fogged Expanse Meditation Point. From the Meditation Point, head down the path ahead, bearing left.
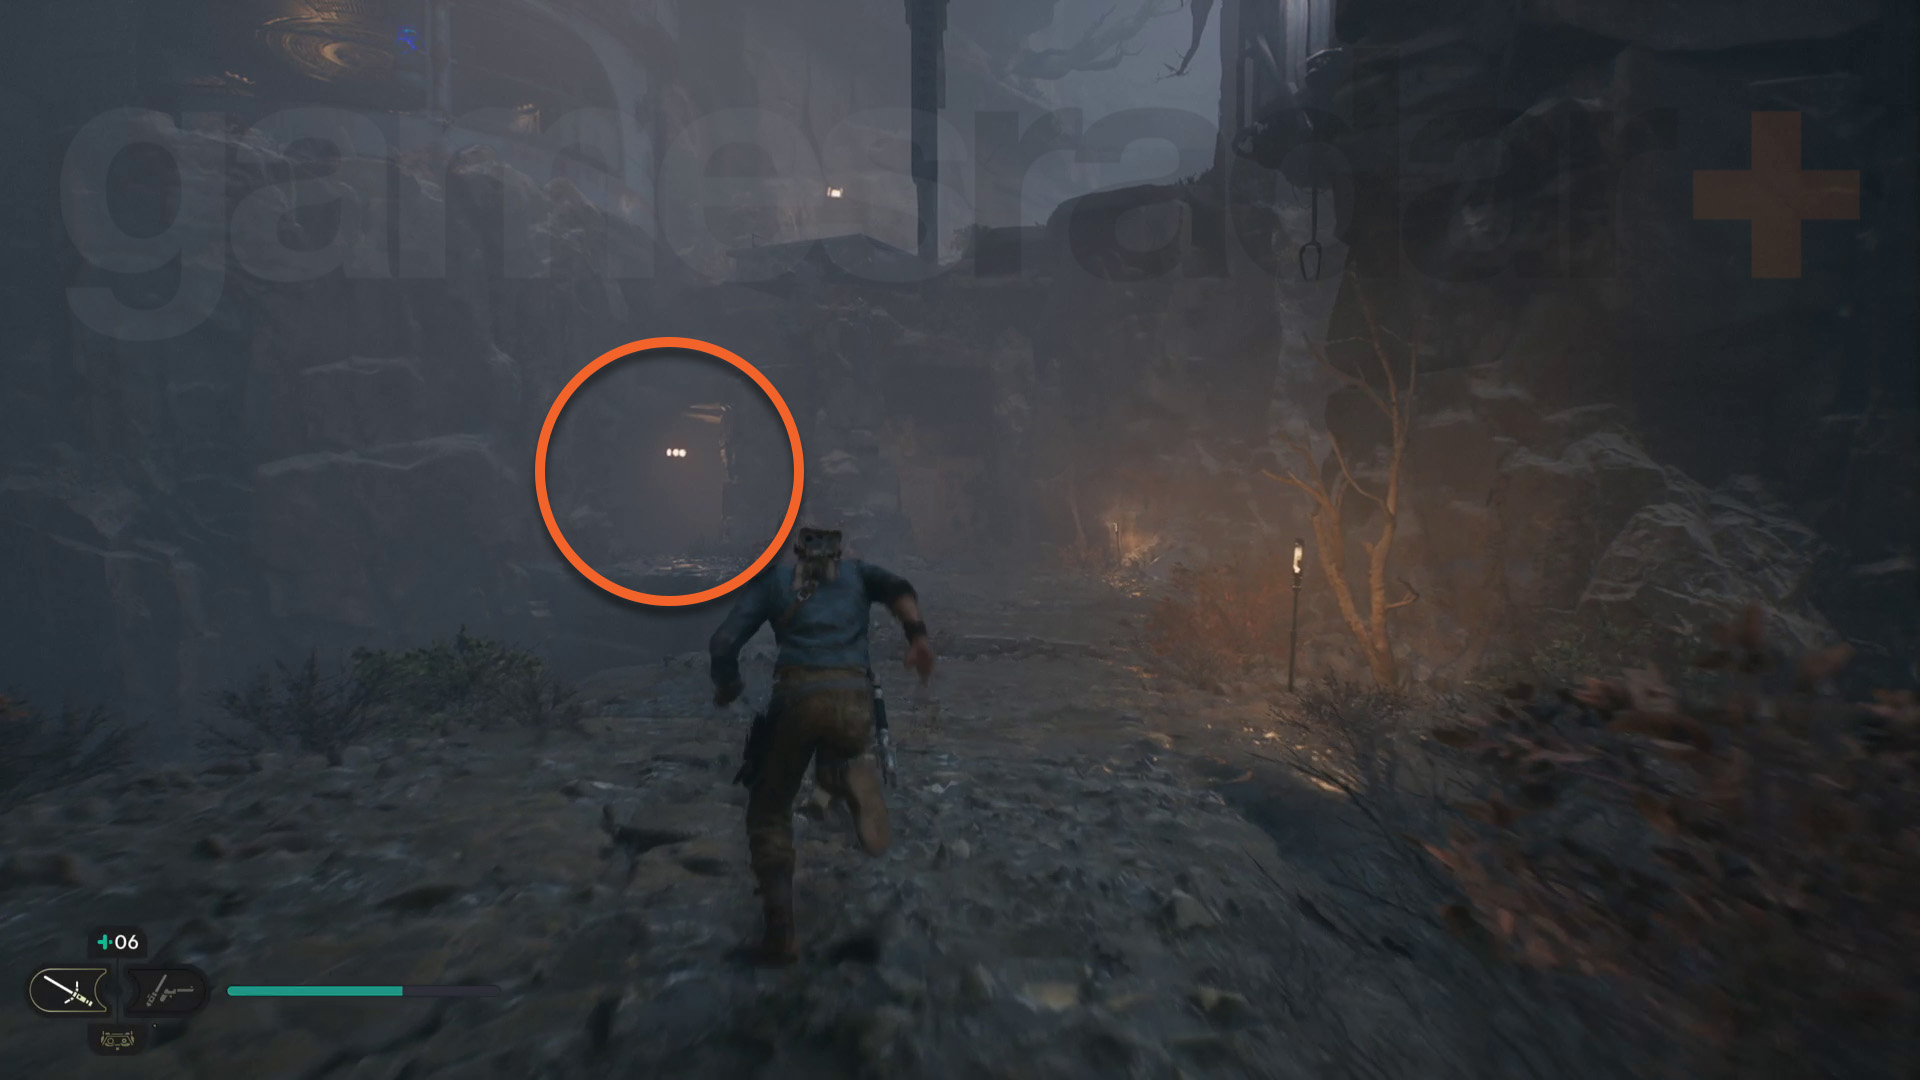
Take the next right and wall run to the next area to reach a large set of doors with red lights on them. Force Pull the doors open to release a massive Mogu that will immediately try to fight you.
Weekly digests, tales from the communities you love, and more
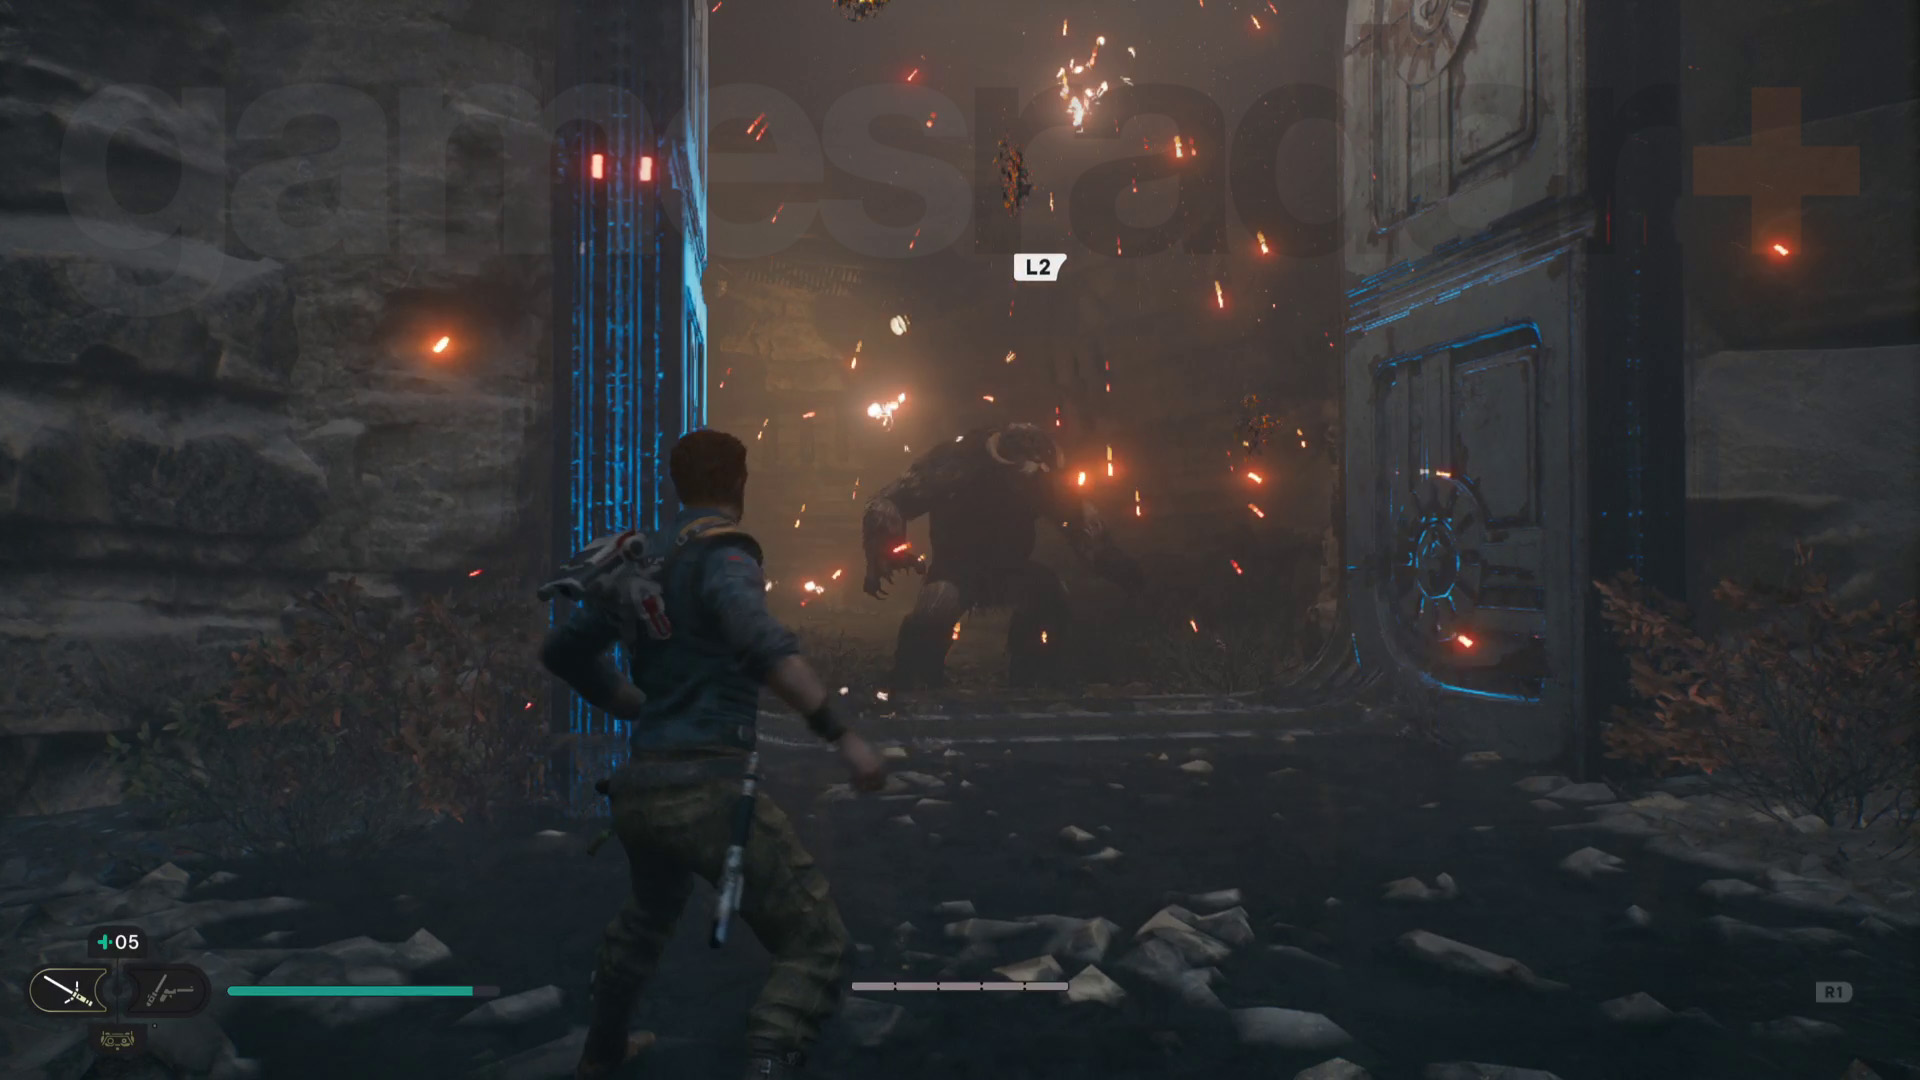
Once you’ve dealt with the Mogu, head through the doors and out the other side. You need to jump to the vines above, climb along, then drop off at the end. Make sure you set up the zipline shortcut up here, then Force Push the wall running panel ahead into place and cross over. Zipline to the next area, then fight the Imperial forces guarding the crashed shuttle.
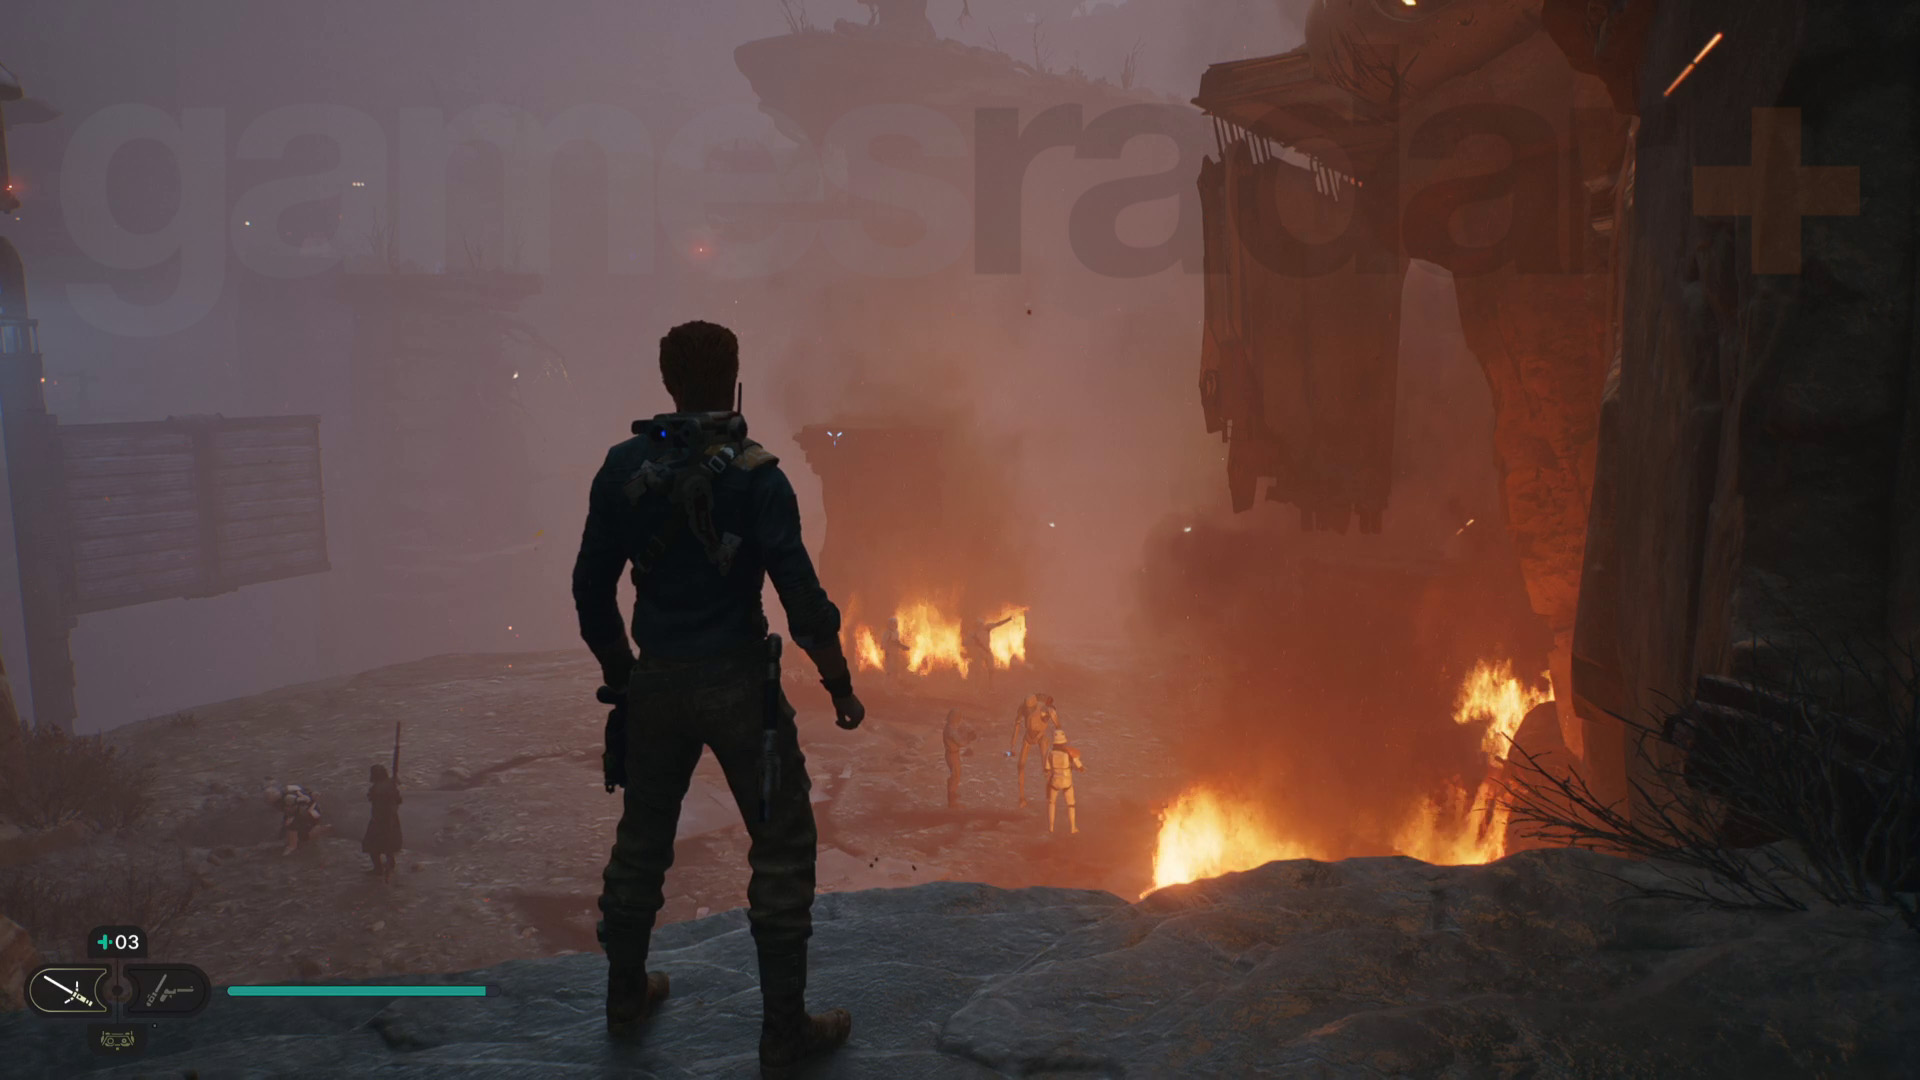
Once the enemies have been defeated, grapple to the shuttle and crawl through to reach the cockpit. Cal will grab the Electro Dart upgrade for BD-1, which you’ll now need to use a lot to activate certain electronics from a distance.
After the shuttle wreckage has fallen off the cliff, go over to the wall running panels and fire an Electro Dart at the power source on the opposite cliff – this will move one of the panels into position, so now wall run across. Repeat for the next power source and wall running panel, then cross over to the Fogged Expanse Meditation Point.
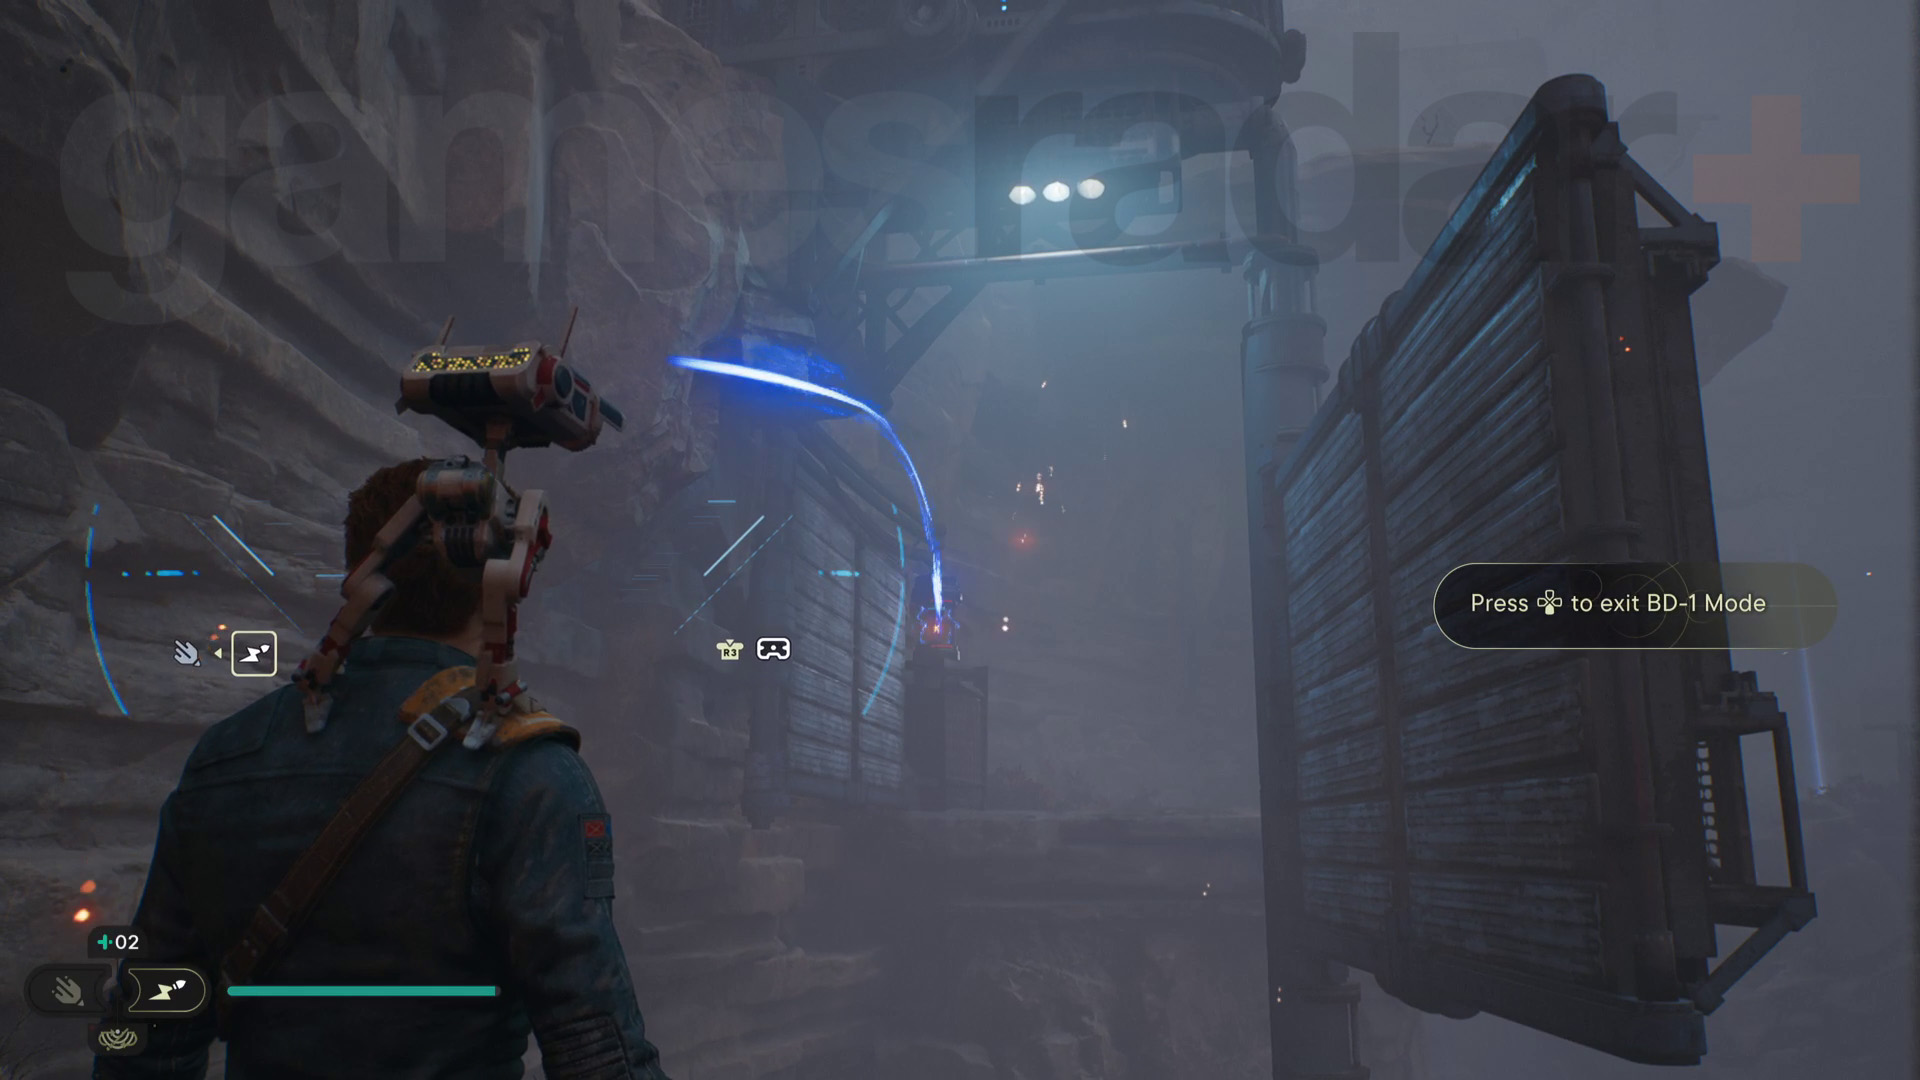
Now from the Meditation Point, head up to the building on the left, likely the one you saw first when you entered this area. Climb up and jump out the window to the next building. There’s a power source in here that moves a wall running panel, but it’s timed.
Start by Force Pushing the window open, then wall run along it to land on the metal bridge section. From here, you can fire an Electro Dart at the power source in the building, moving the wall running panel into position over the chasm. Then, quickly wall run and dash across to the other side.
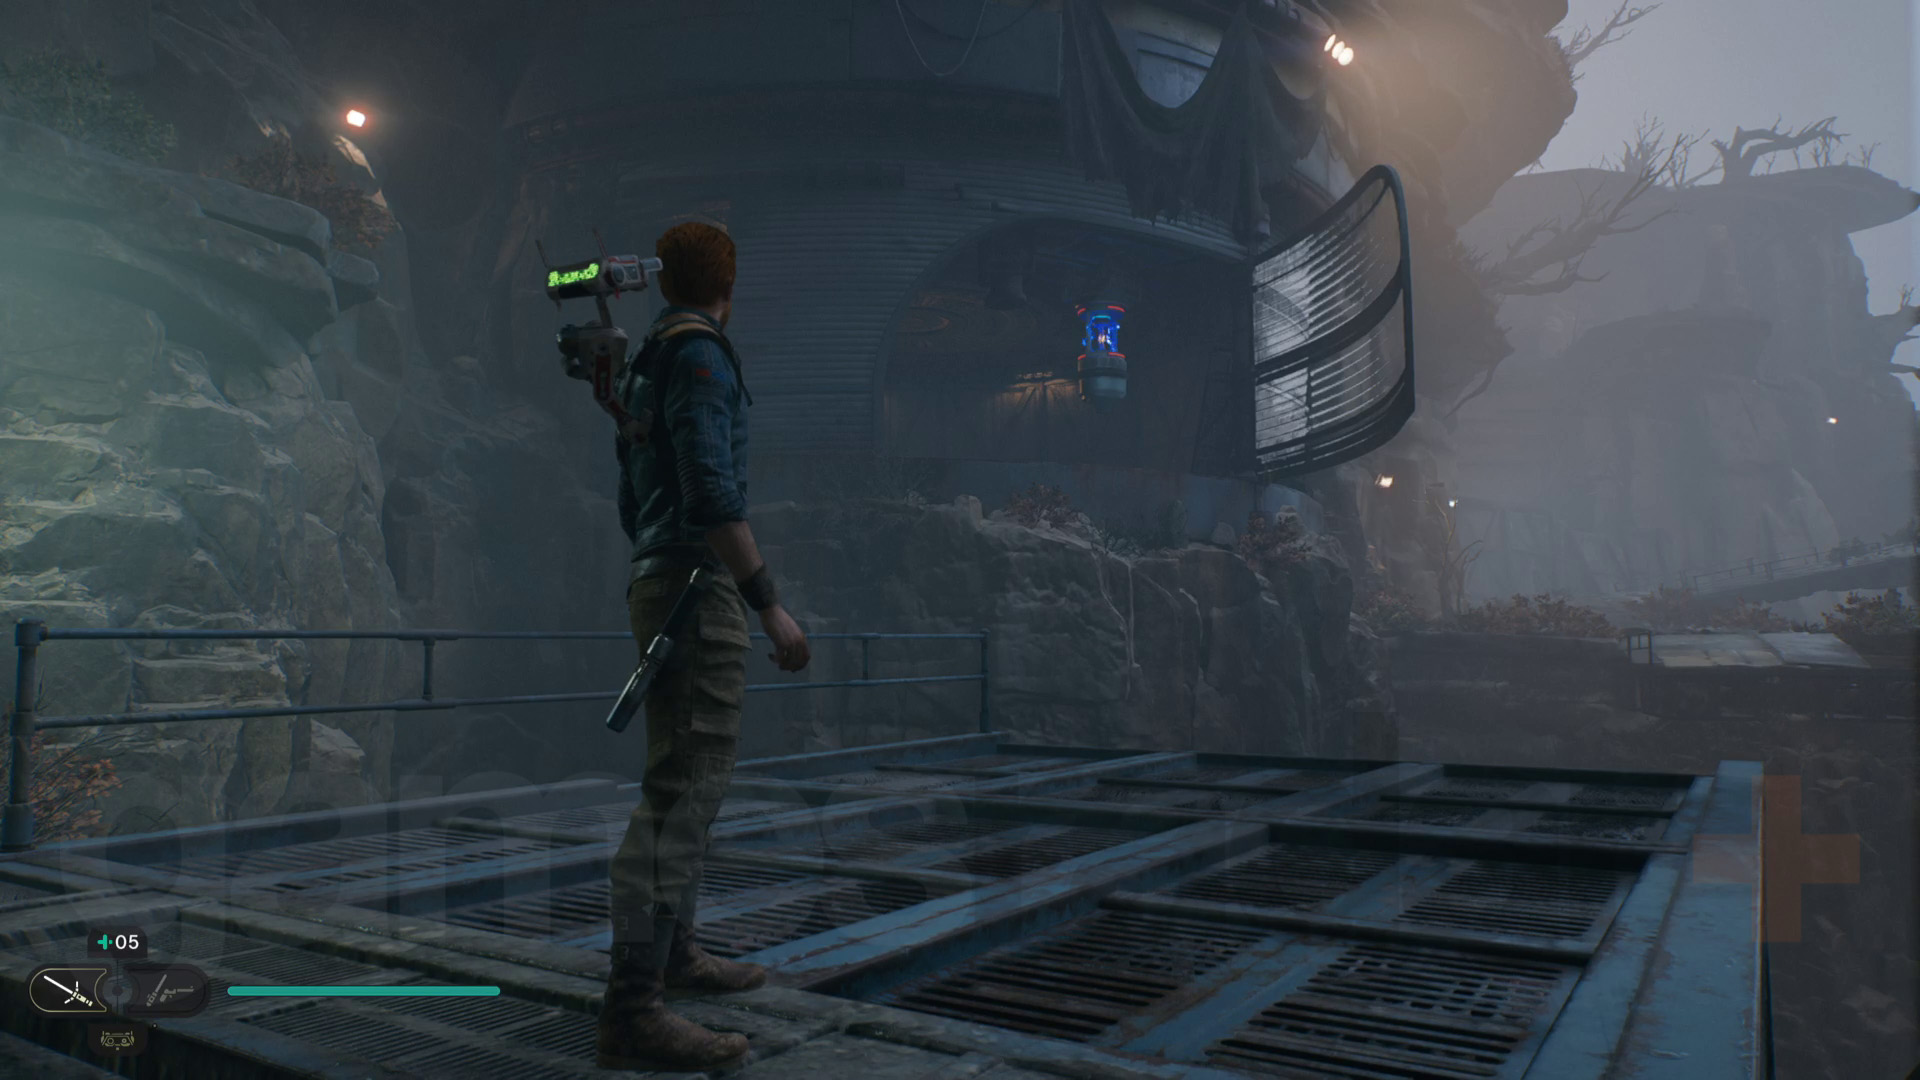
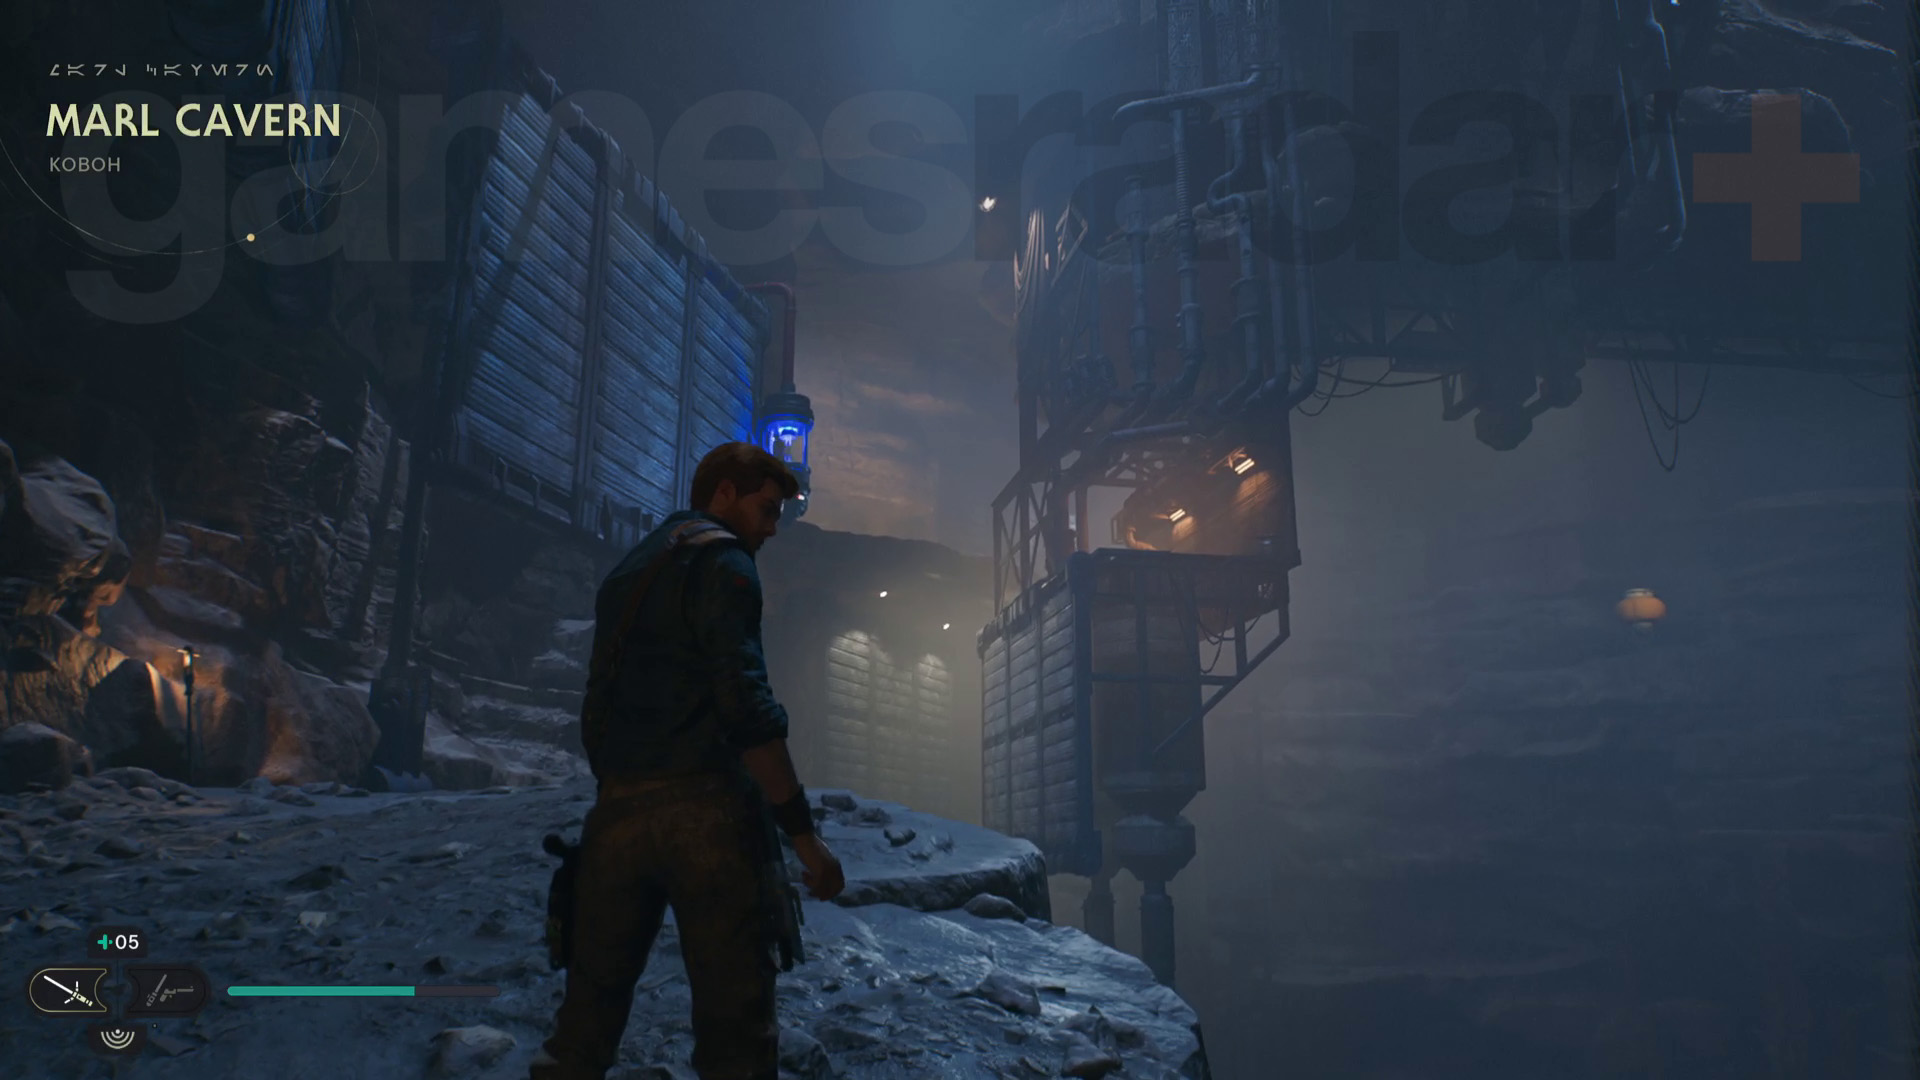
Follow the path upwards, grapple over the gap to the next cliff, then grapple up and to the left to reach upper level. Run forward to the metal doors and head inside Marl Cavern.
Fire an Electro Dart at the power source ahead, then wall run your way across and up the cavern. Head along the path to reach the cavern exit, then use the zipline to head towards the Imperial base.
Next, grapple, climb, and wall run across the gaps ahead to reach the Imperial Post 8L-055 Meditation Point. Now, head towards the Imperial hangar and activate the power source on the wall using an Electro Dart. This will set up a zipline, allowing you to get into the interior of the Imperial base. Use the walkways to drop down to the hangar floor and then battle the waves of Imperial troopers until they stop coming.
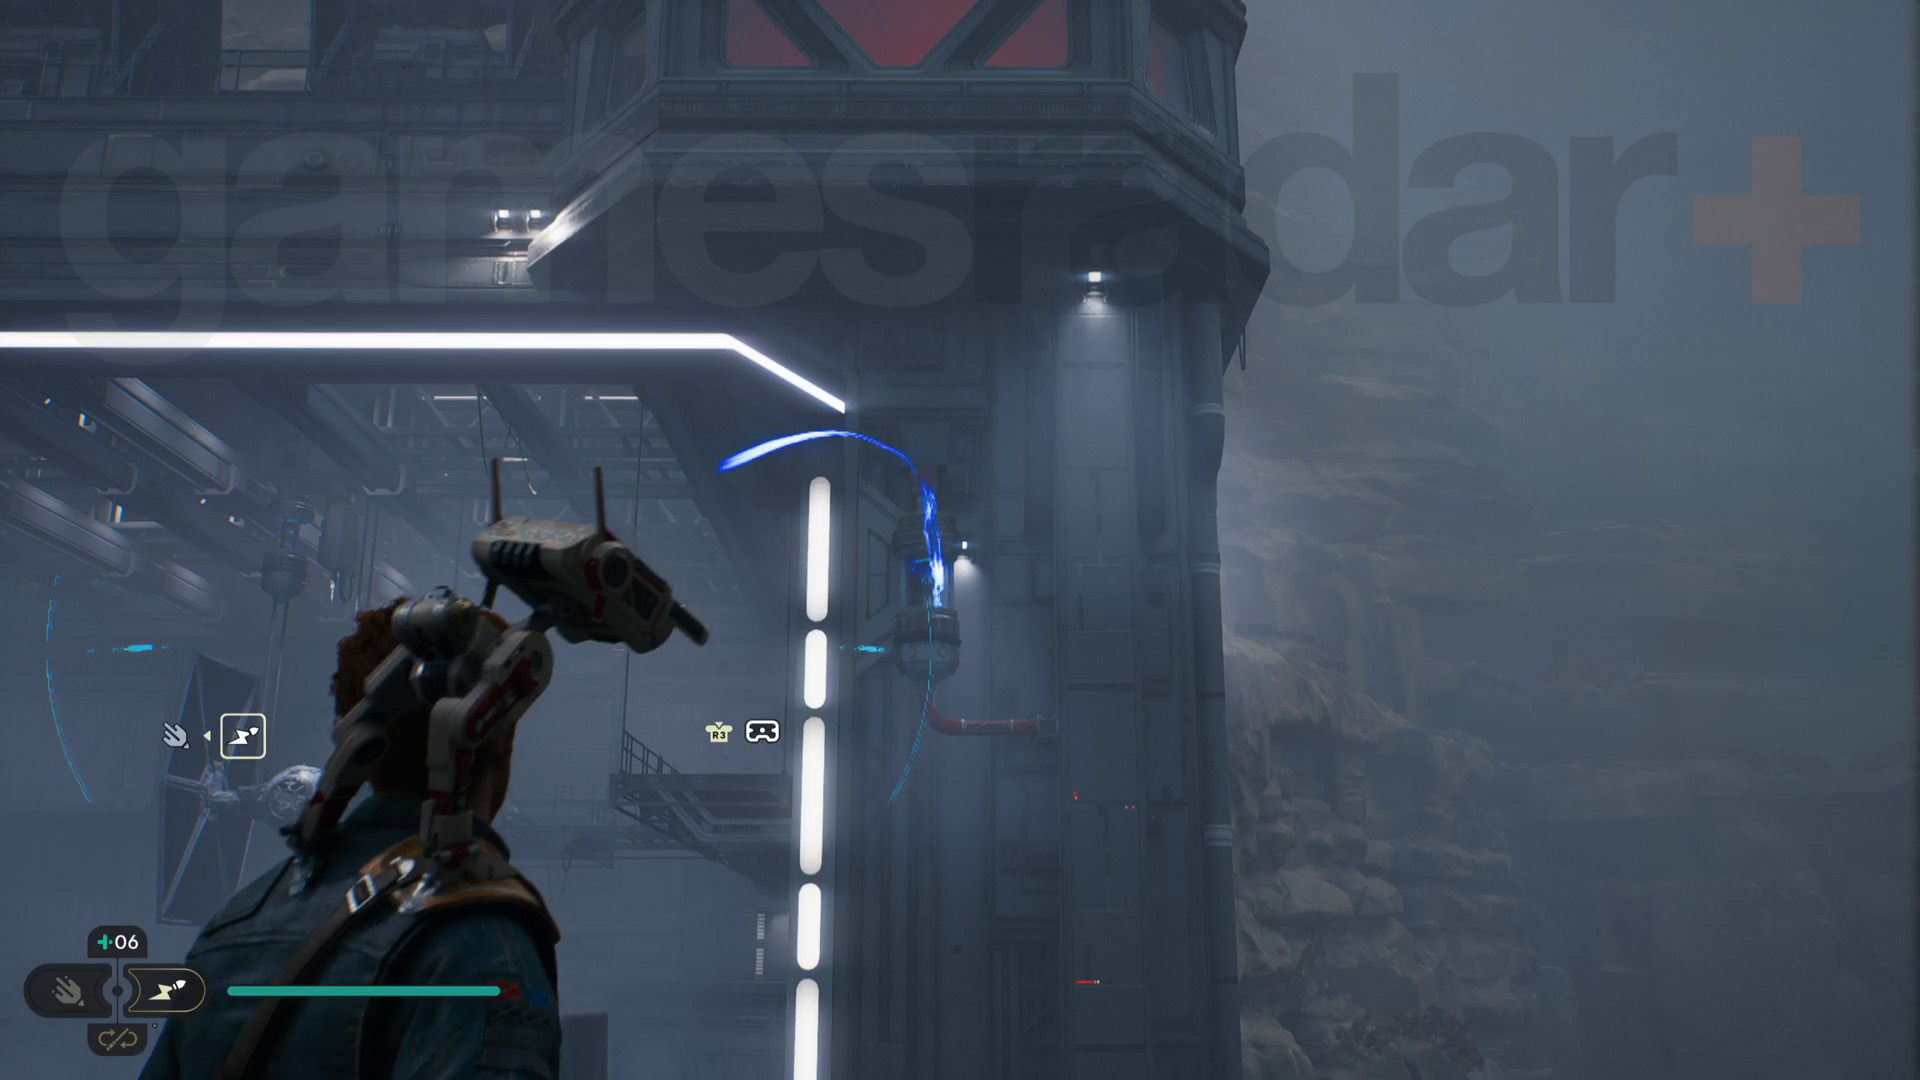
Go through the central door and take the lift with red lights up, heading further into the base. Head left over to the Stormtrooper and Security Droid behind the window and mind trick the trooper into letting you through. Either of the mind trick options – “Nothing to See” or “Inspection” – work here, so pick whatever you prefer and then head down the corridor on the left.
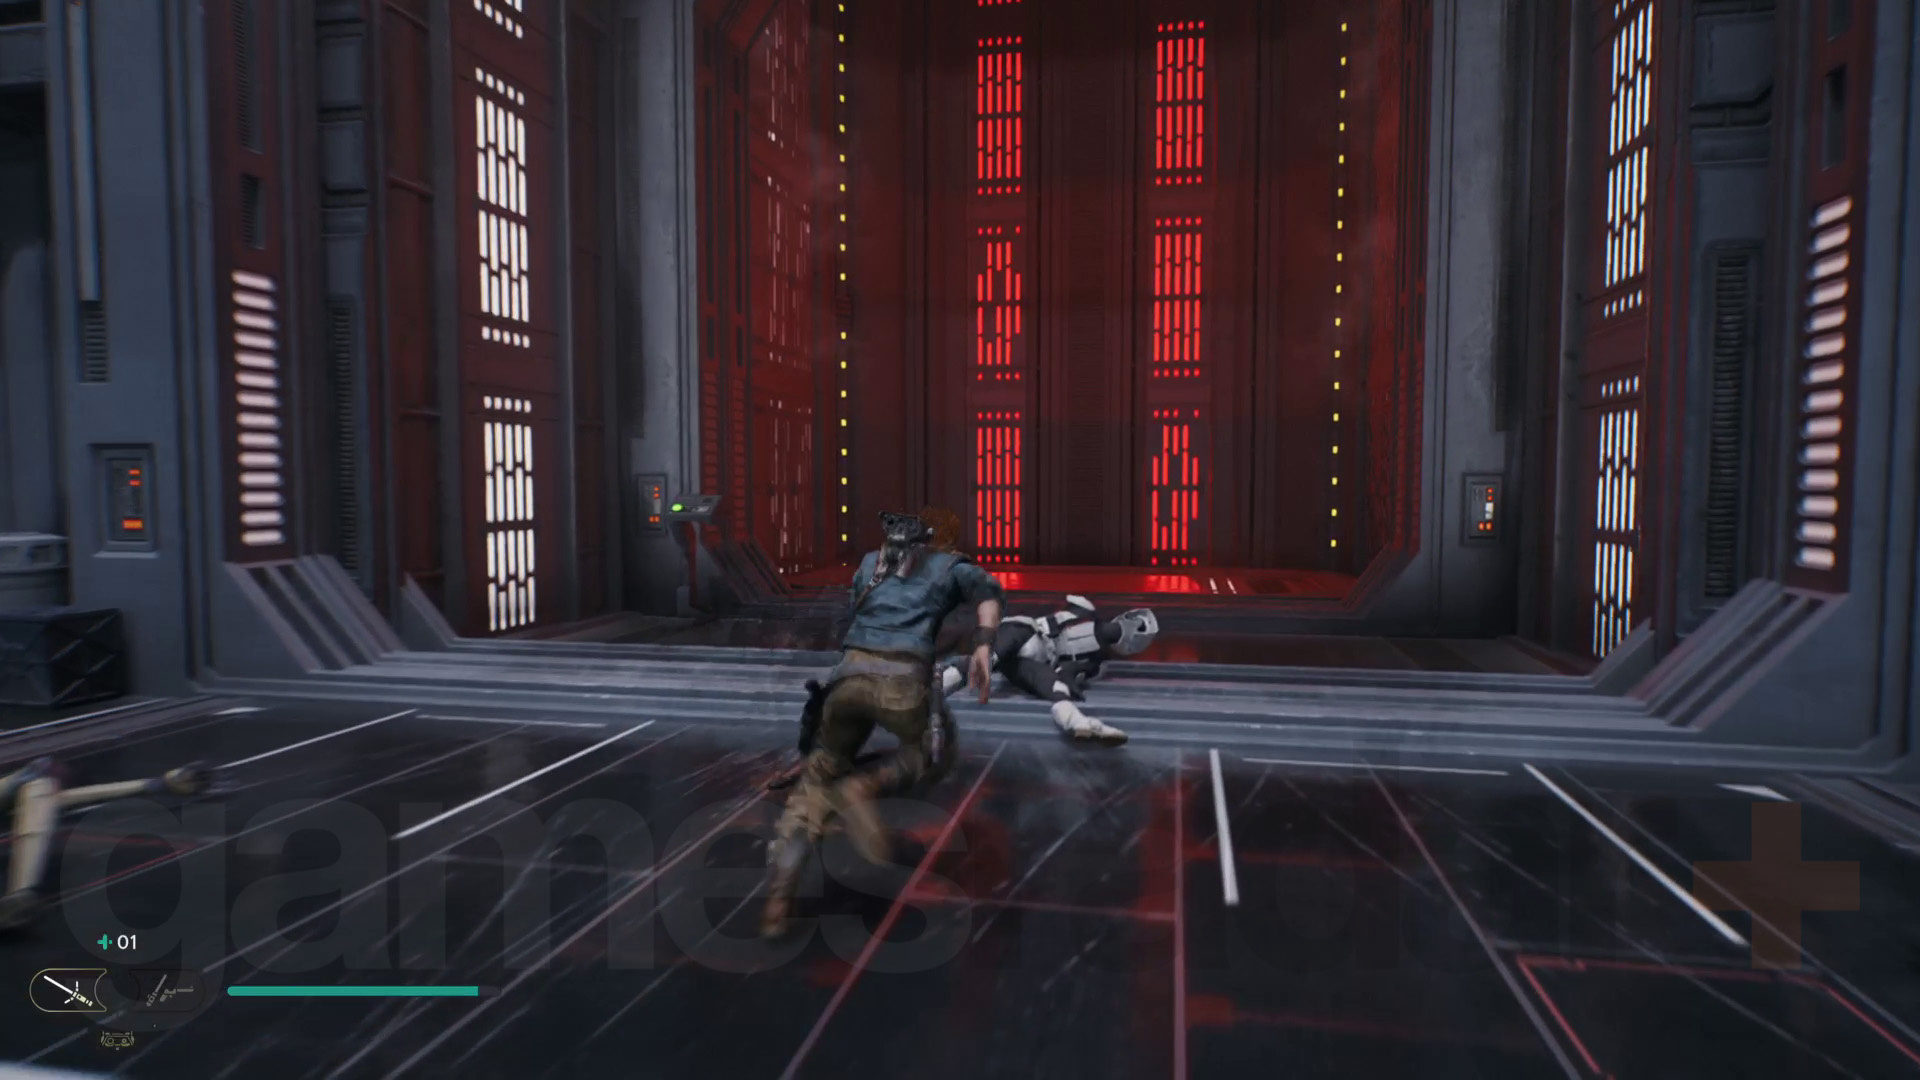
When you get to the next area, shoot the distant power source behind a slow-moving fan using an Electro Dart. This will close some doors that you can grapple and wall run across to reach the walkway on the opposite side of this area.
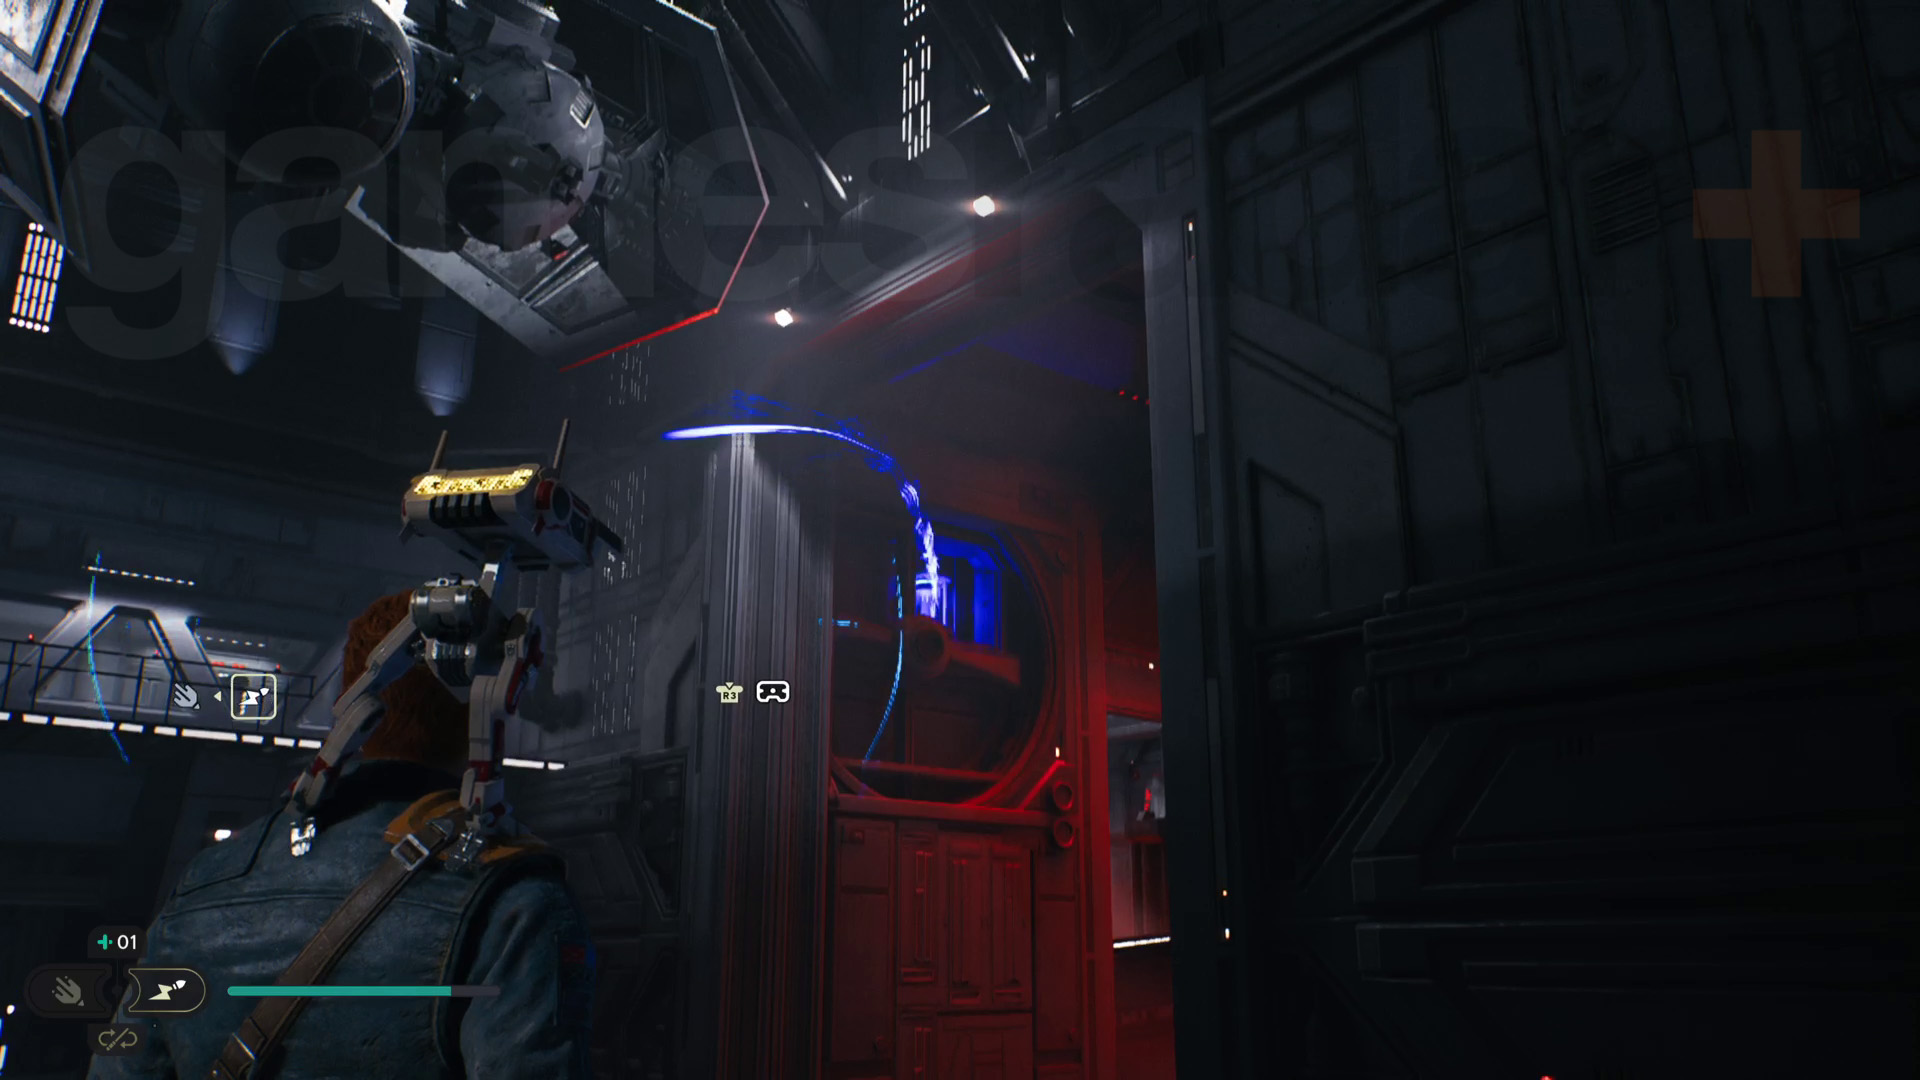
Get BD-1 to open the door, then jump across to the next corridor to face the hardest boss in Star Wars Jedi Survivor. Seriously. You are not prepared for how tough this boss fight is. It’s a true test of your own skill and real match for Cal when it comes to fighting prowess...
Maybe.
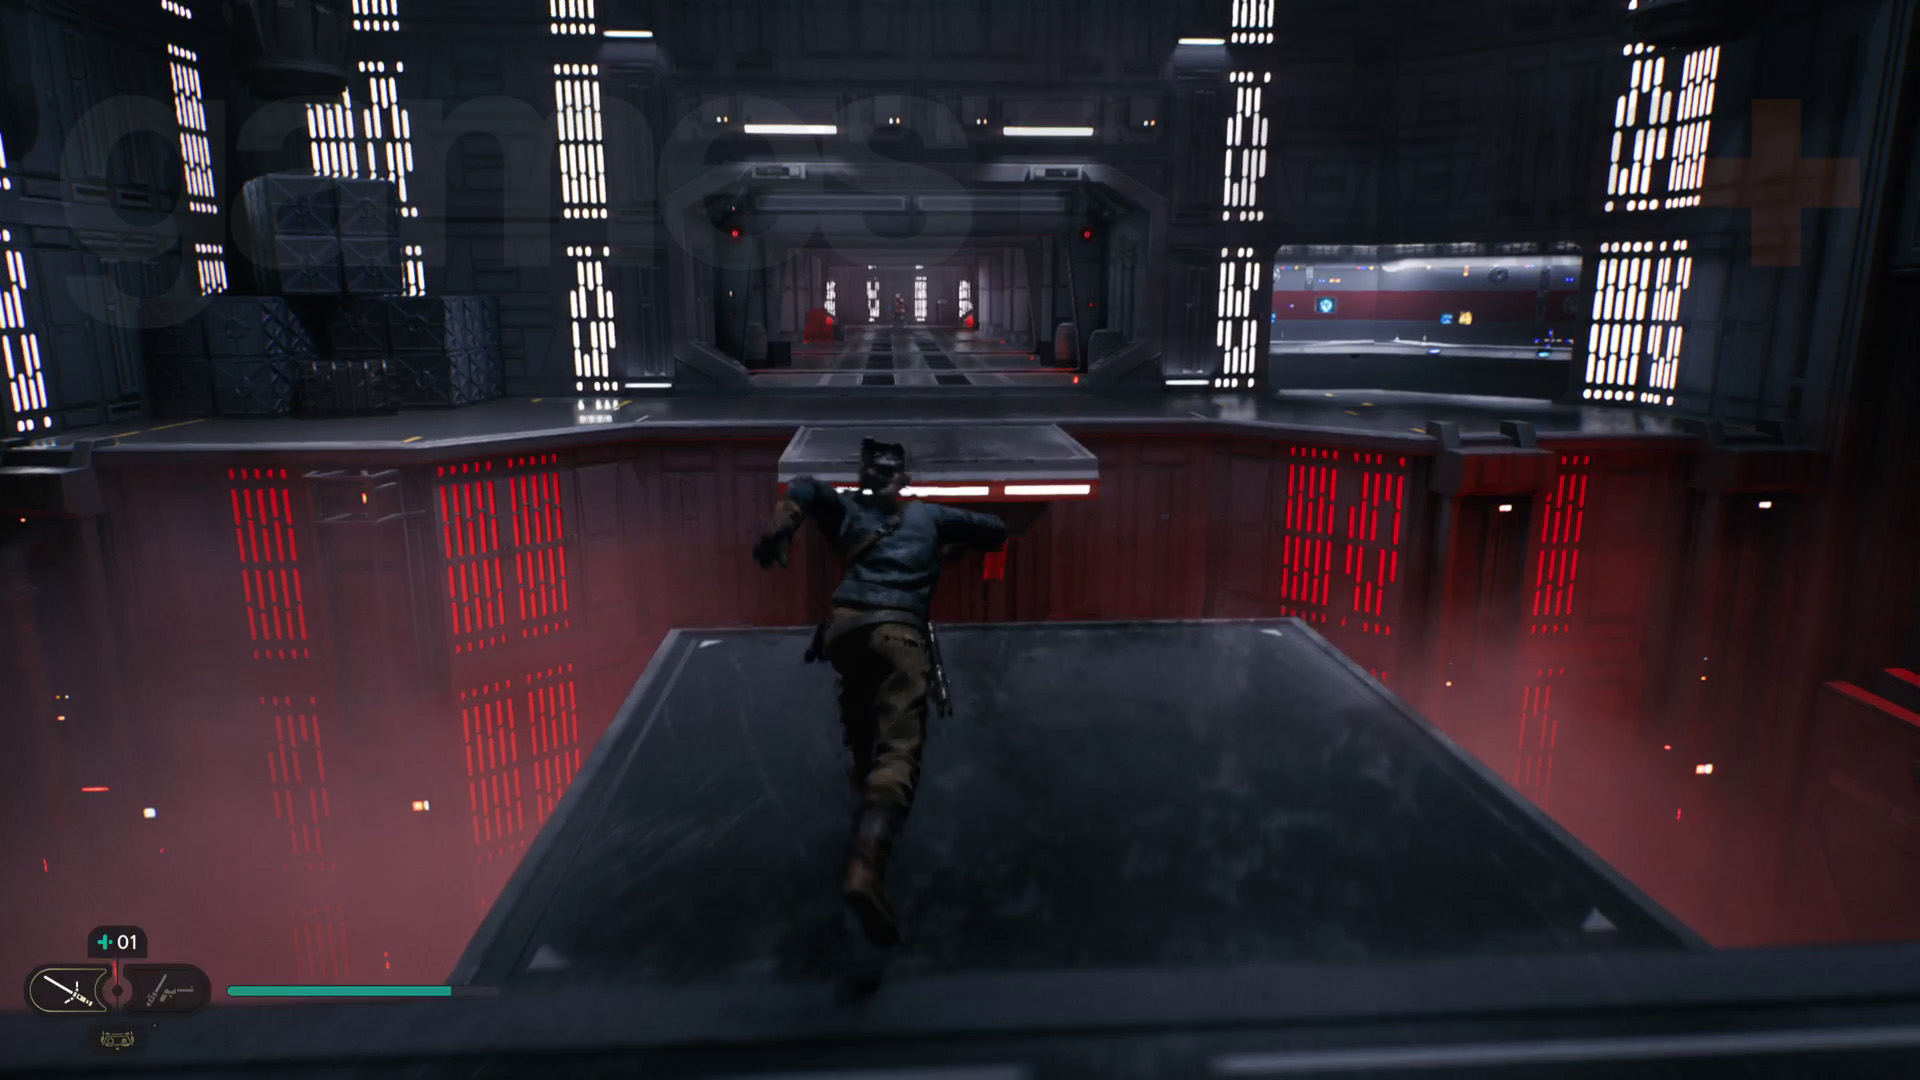
If you do manage to get past the boss, proceed by going up the lift to reach the top of the Imperial base, then use the zipline to reach the Summit Ridge of the mountain. Follow the path, Electro Dart the power source ahead to activate a zipline, and cross over to reach the Summit Ridge Meditation Point.
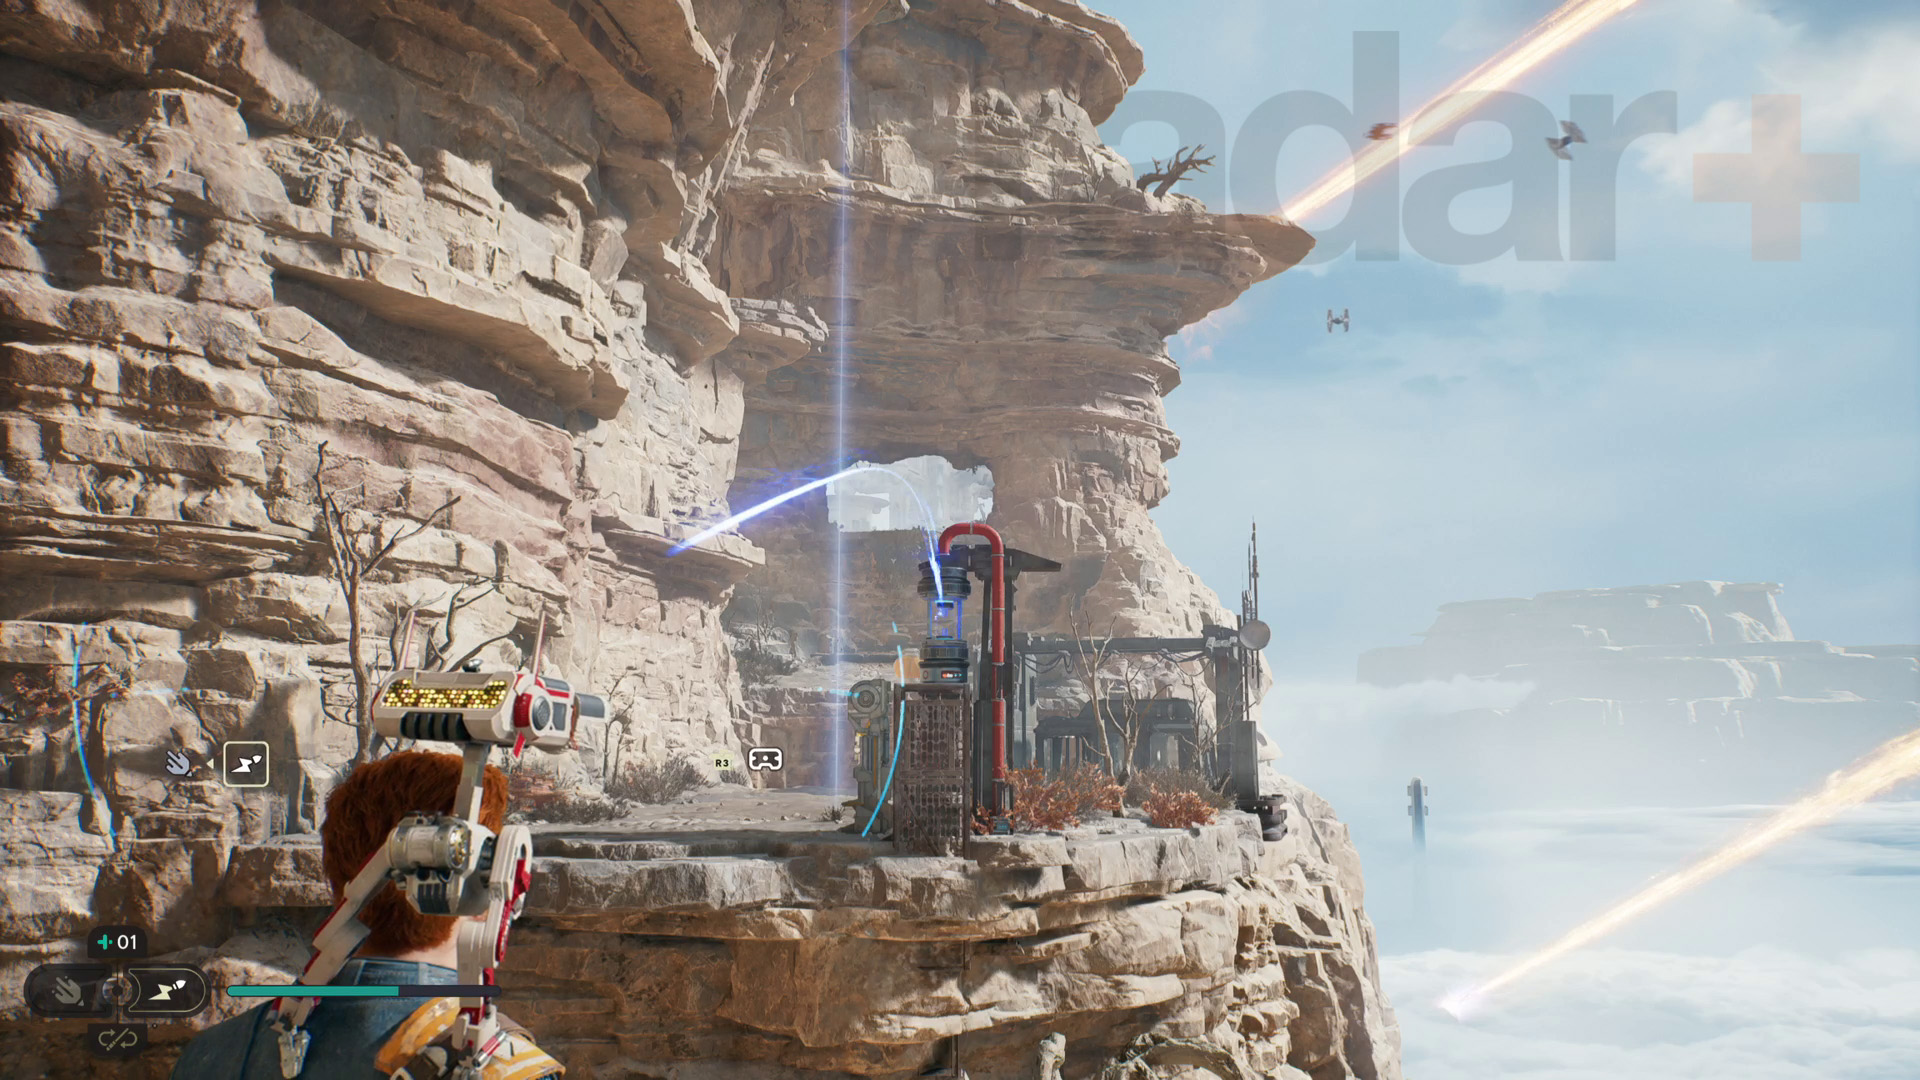
Confront Dagan at Koboh Observatory
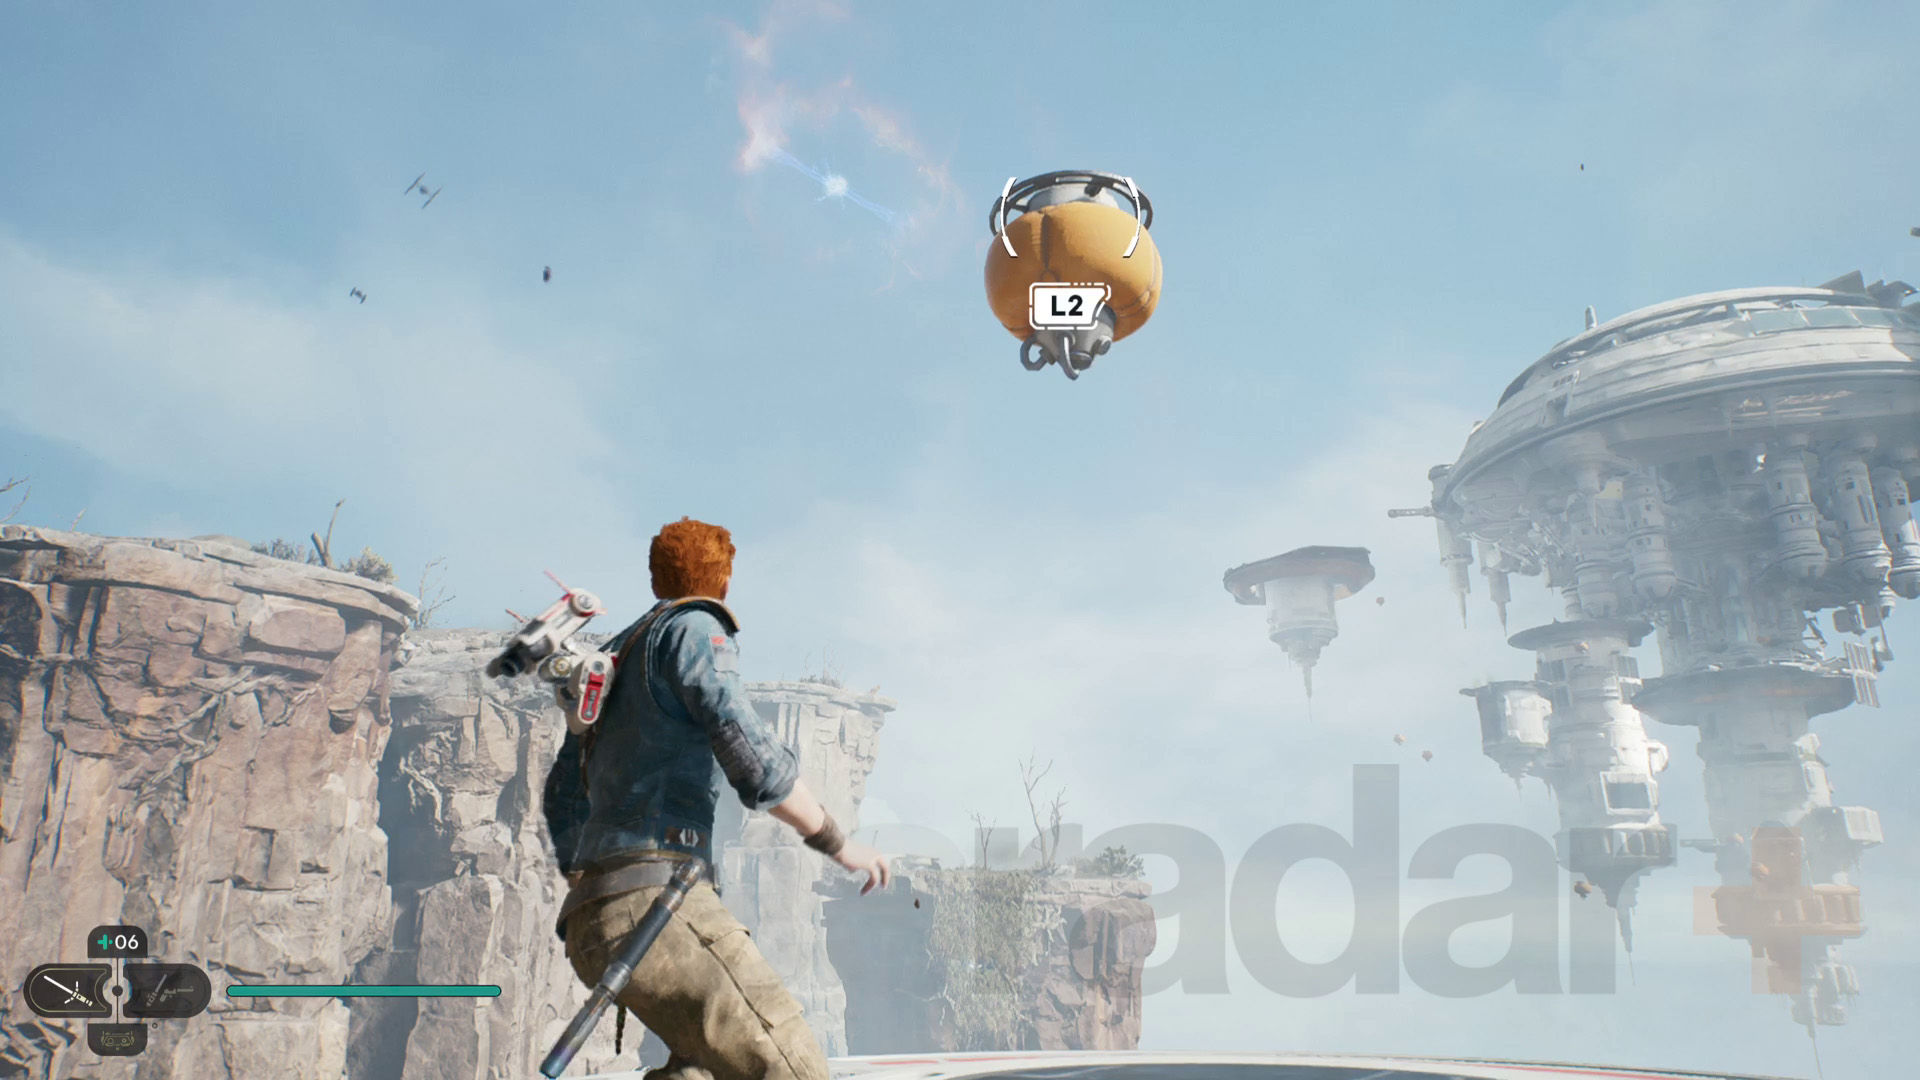
Now that you’re at the summit, it’s time to reach the observatory. Grapple up the ledges ahead then jump down to a lower level where you’ll see the observatory directly ahead. On this level, there’s a balloon dispenser that you can use to toss out balloons and grapple to them – you can only have one balloon active at a time.
Grab a balloon with Force Pull and then Force Push it directly ahead. Grapple to the balloon then launch yourself to the rock spire ahead. This spire has some vines on it that you can grapple to then climb up.
Now, grab another balloon from the dispenser on this spire and throw it to the left. Grapple to the balloon and then launch yourself to the next rock spire.
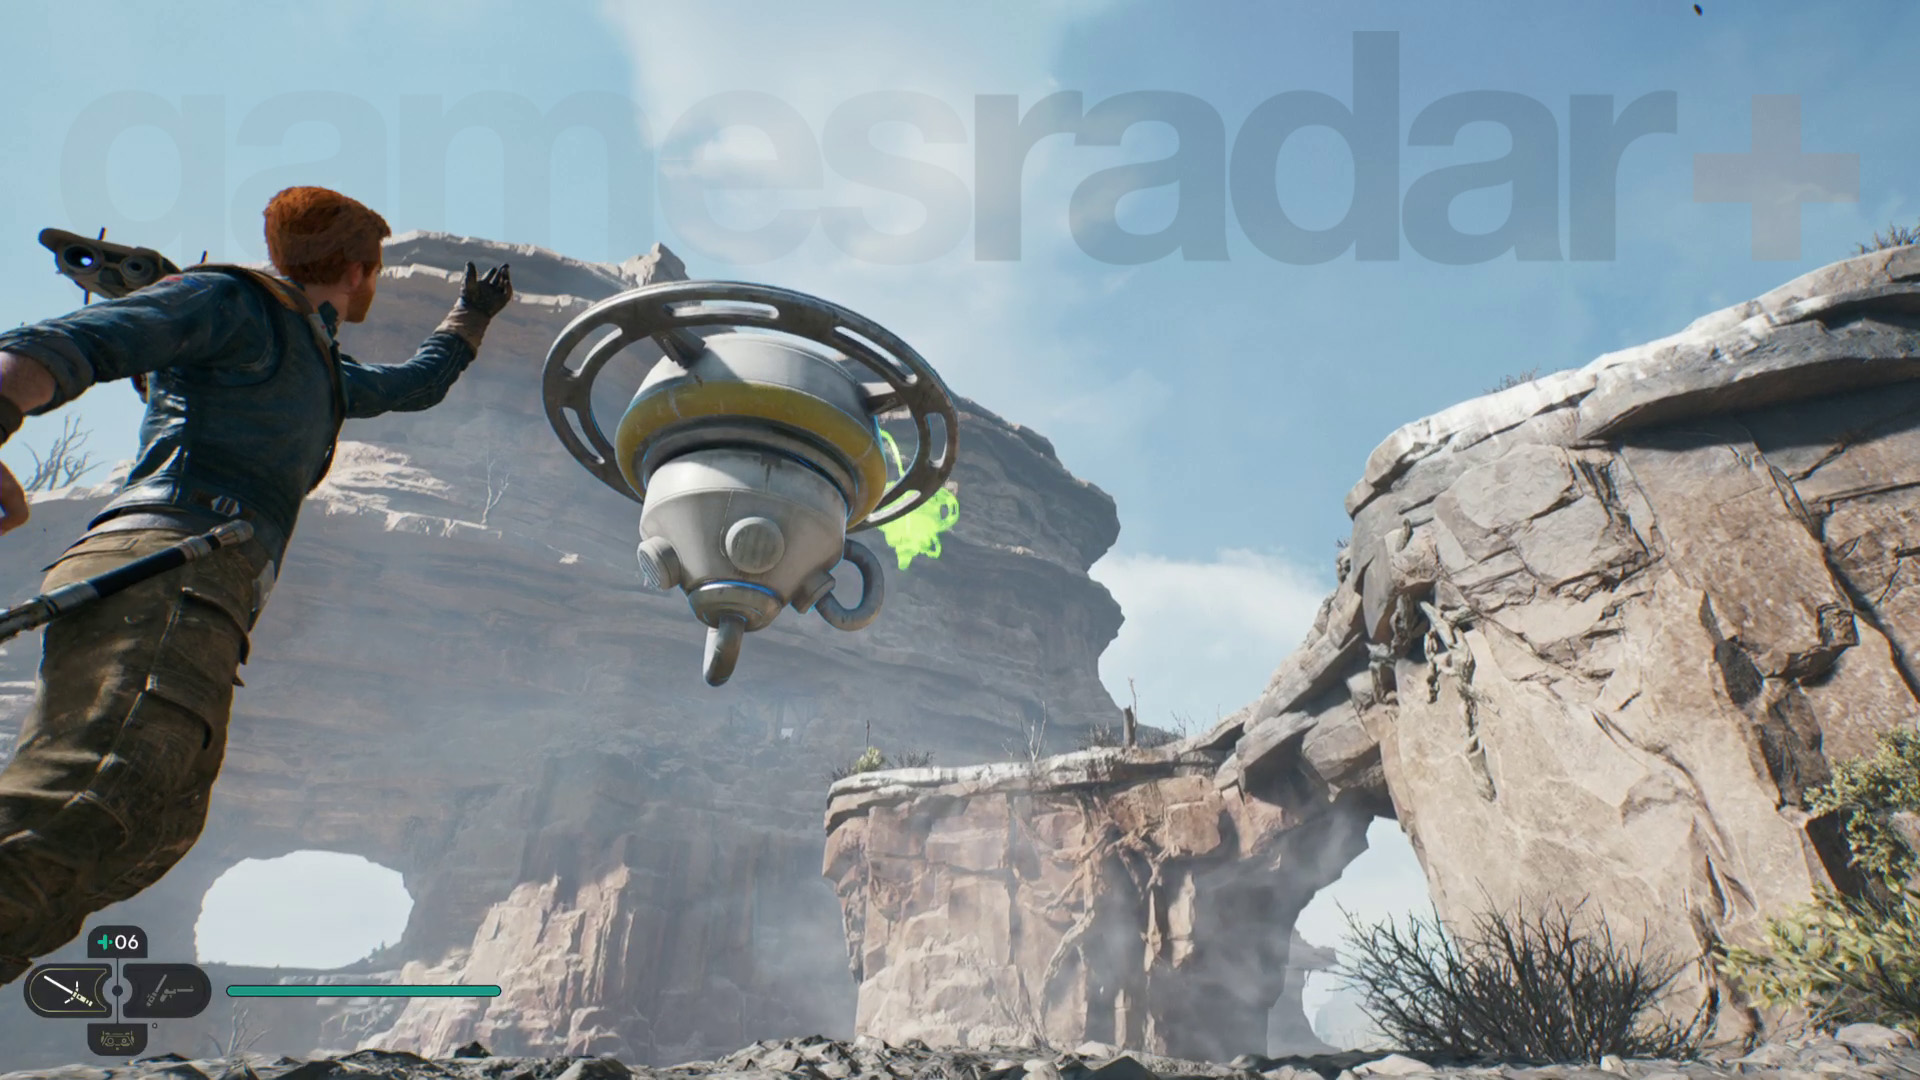
Standing on the edge of the spire, pull in a balloon from the dispenser below, then throw it to the left where there are other balloons. Grapple to the balloon you threw and then launch yourself to the next two balloons to reach the rock spire ahead.
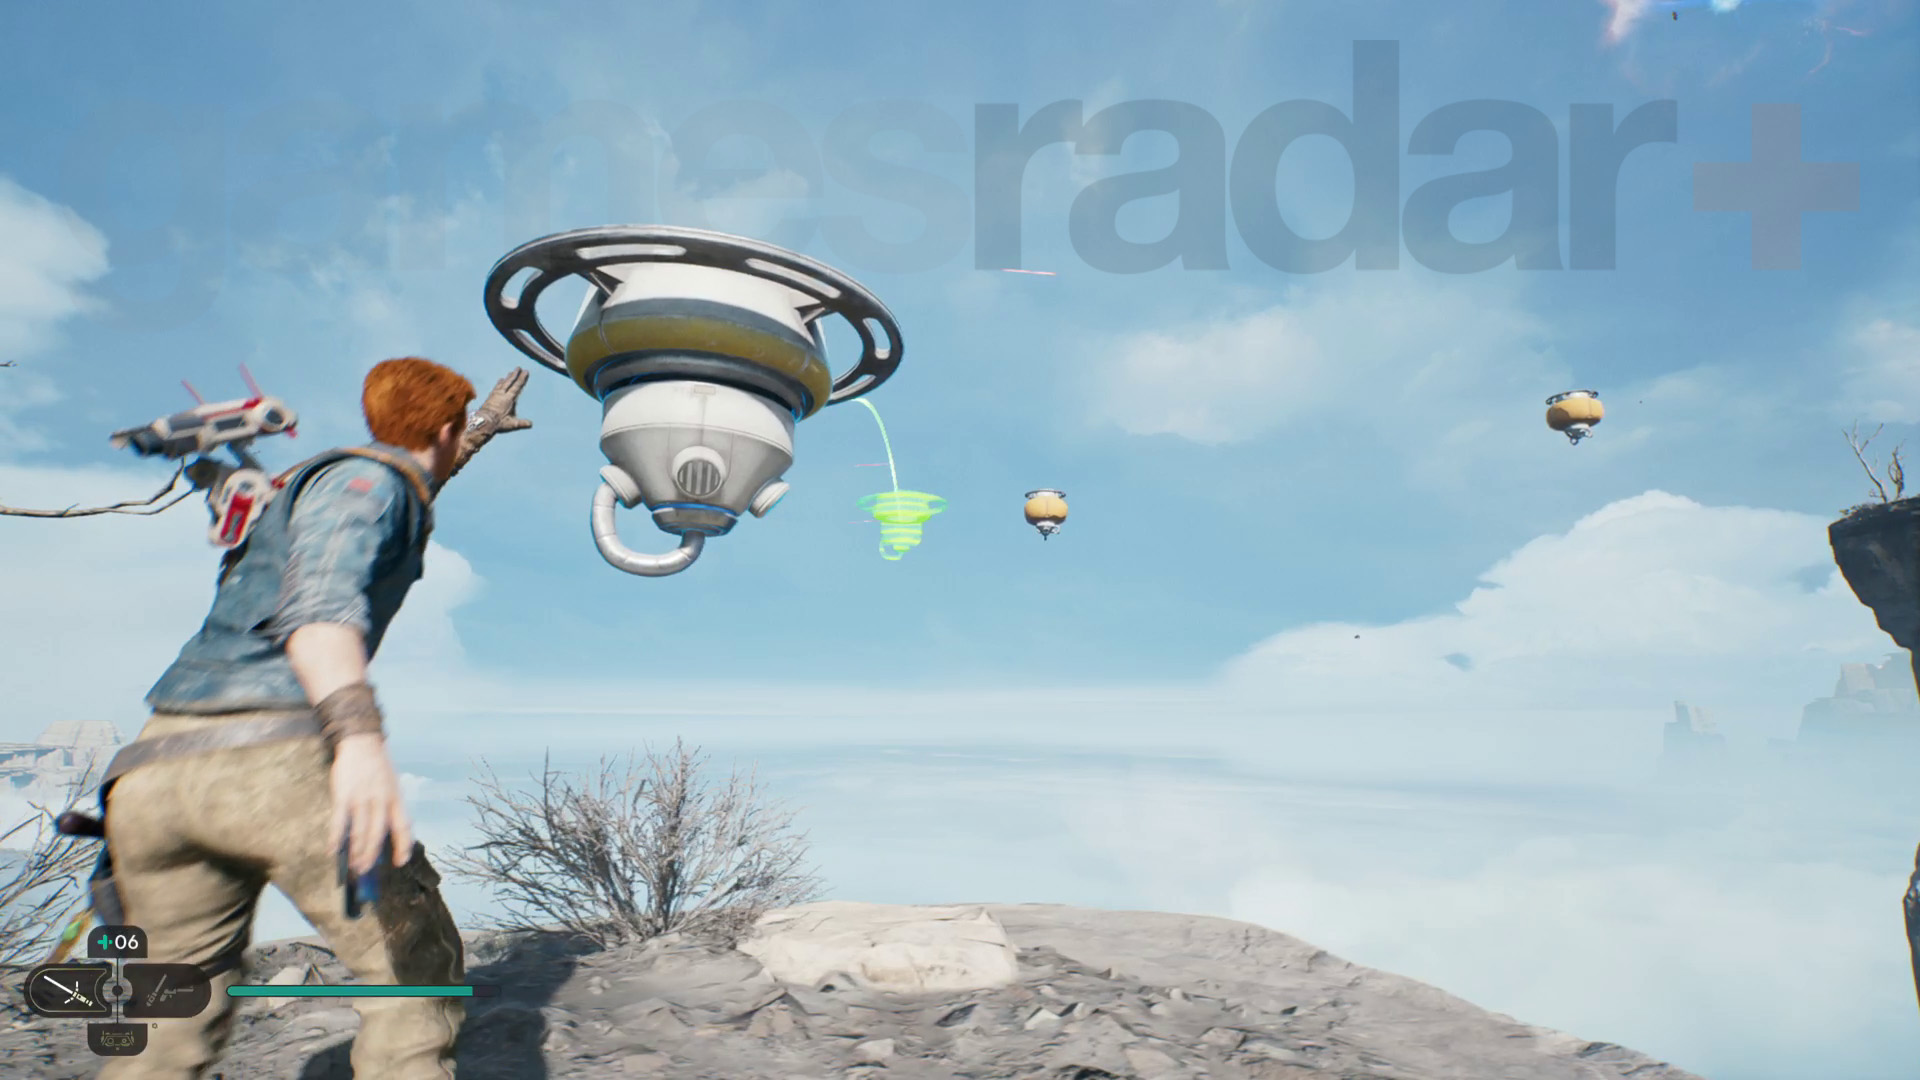
Glide towards the observatory using the Relter on this spire, then grapple the balloons to make it all the way across to the Observatory Understructure.
Head around the structure and go in the gap on the right. As soon as you get in the room, Force Push the panel in the window out then fire an Electro Dart through the gap and at the power source. This will open a hatch in the ceiling nearby.
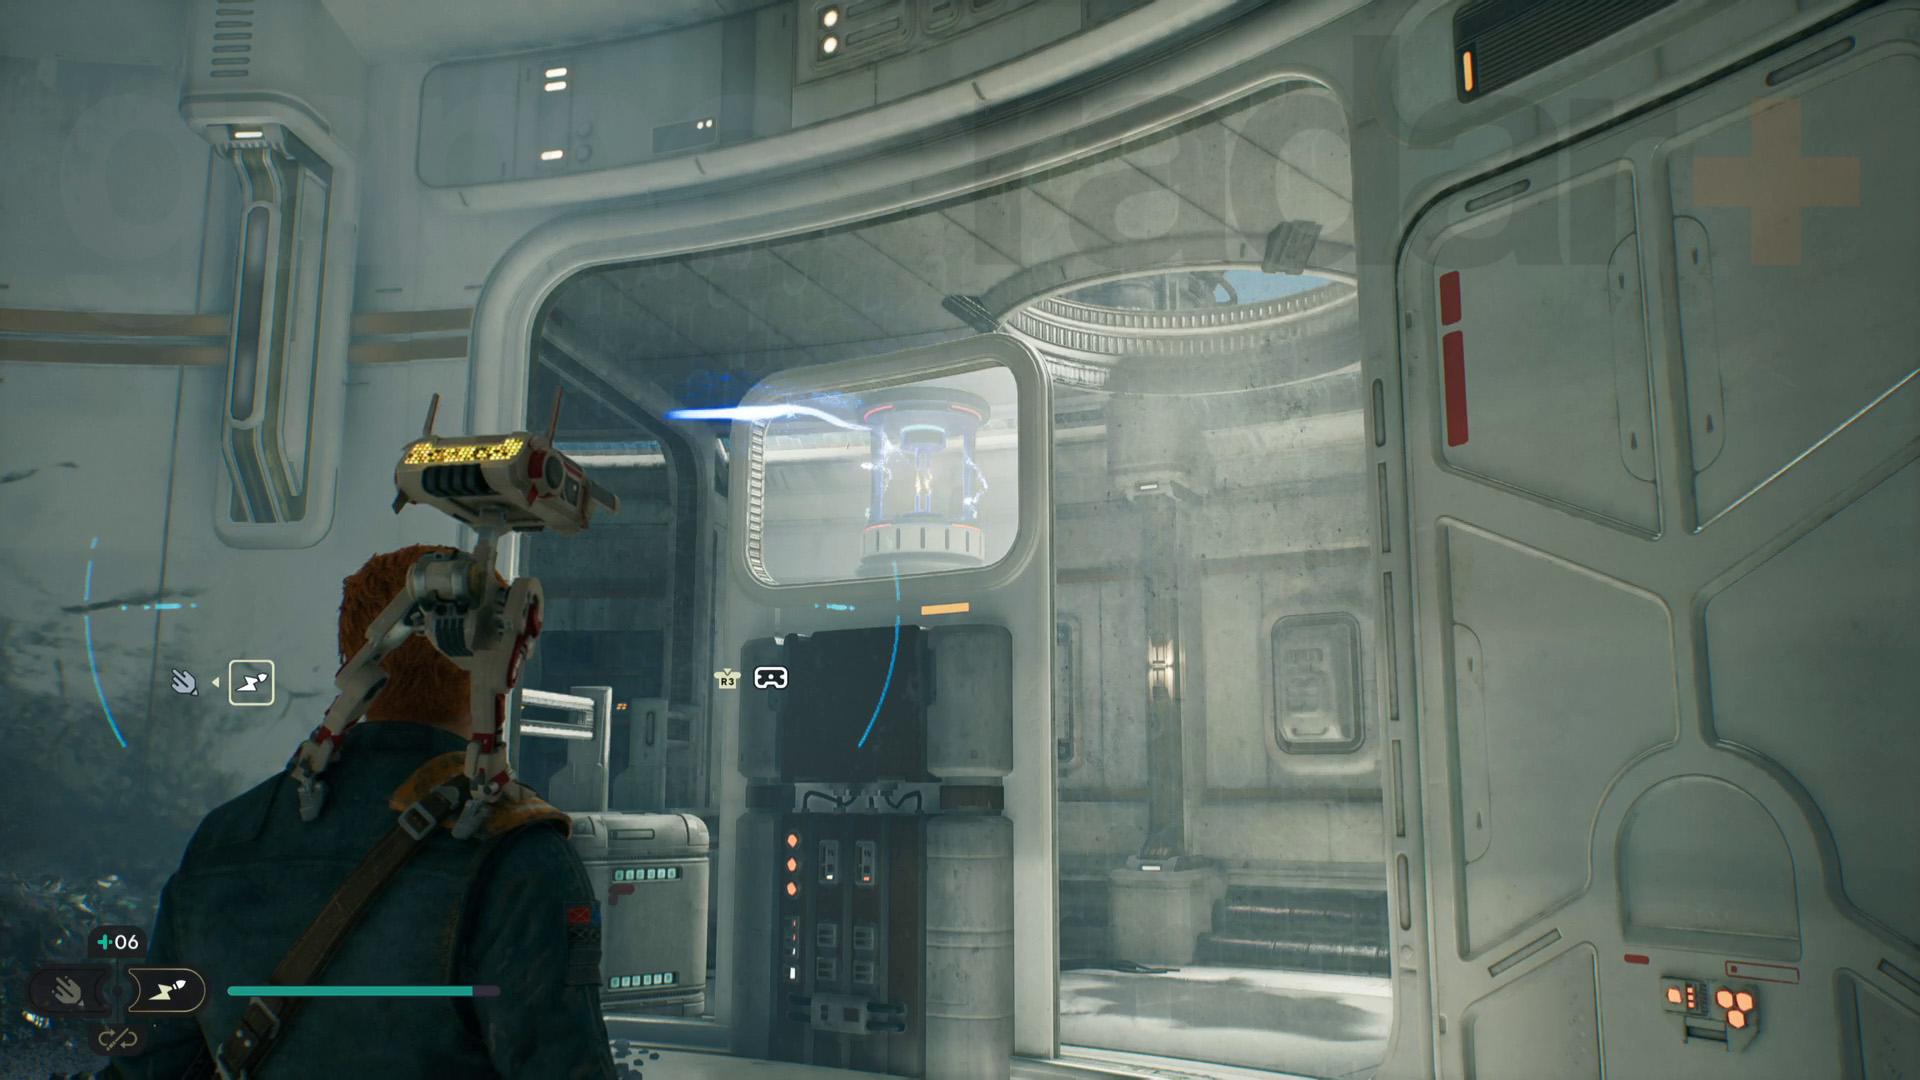
Go back through the squeeze gap, jump around to the hatch, and drop in. Open the door to let the beam out, then use the Koboh Grinder to link the beam and the Koboh matter blocking the doorway out of this room.
Now that the doorway is clear, you can grab a balloon from the dispenser in this room and take it outside. Head up the stairs to where the squeeze gap is but throw the balloon across to the next structure. Use the balloon to reach the next area then head up the stairs to reach the Observatory Understructure Meditation Point.

Climb outside and grapple across the balloons to reach the next area. Here you’ll need to fight lots of Imperial troopers, Bedlam Raiders, and droids. Once that's done grapple over the destroyed walkway to reach the main observatory building – you can also grapple up to the left to cut a cable for a shortcut.
Head right along the main building, wall run to the ledge ahead, then shoot an Electro Dart at the power source behind you on the wall running panel. This raises the panel, allowing you to wall run back across and reach the climbing grate.
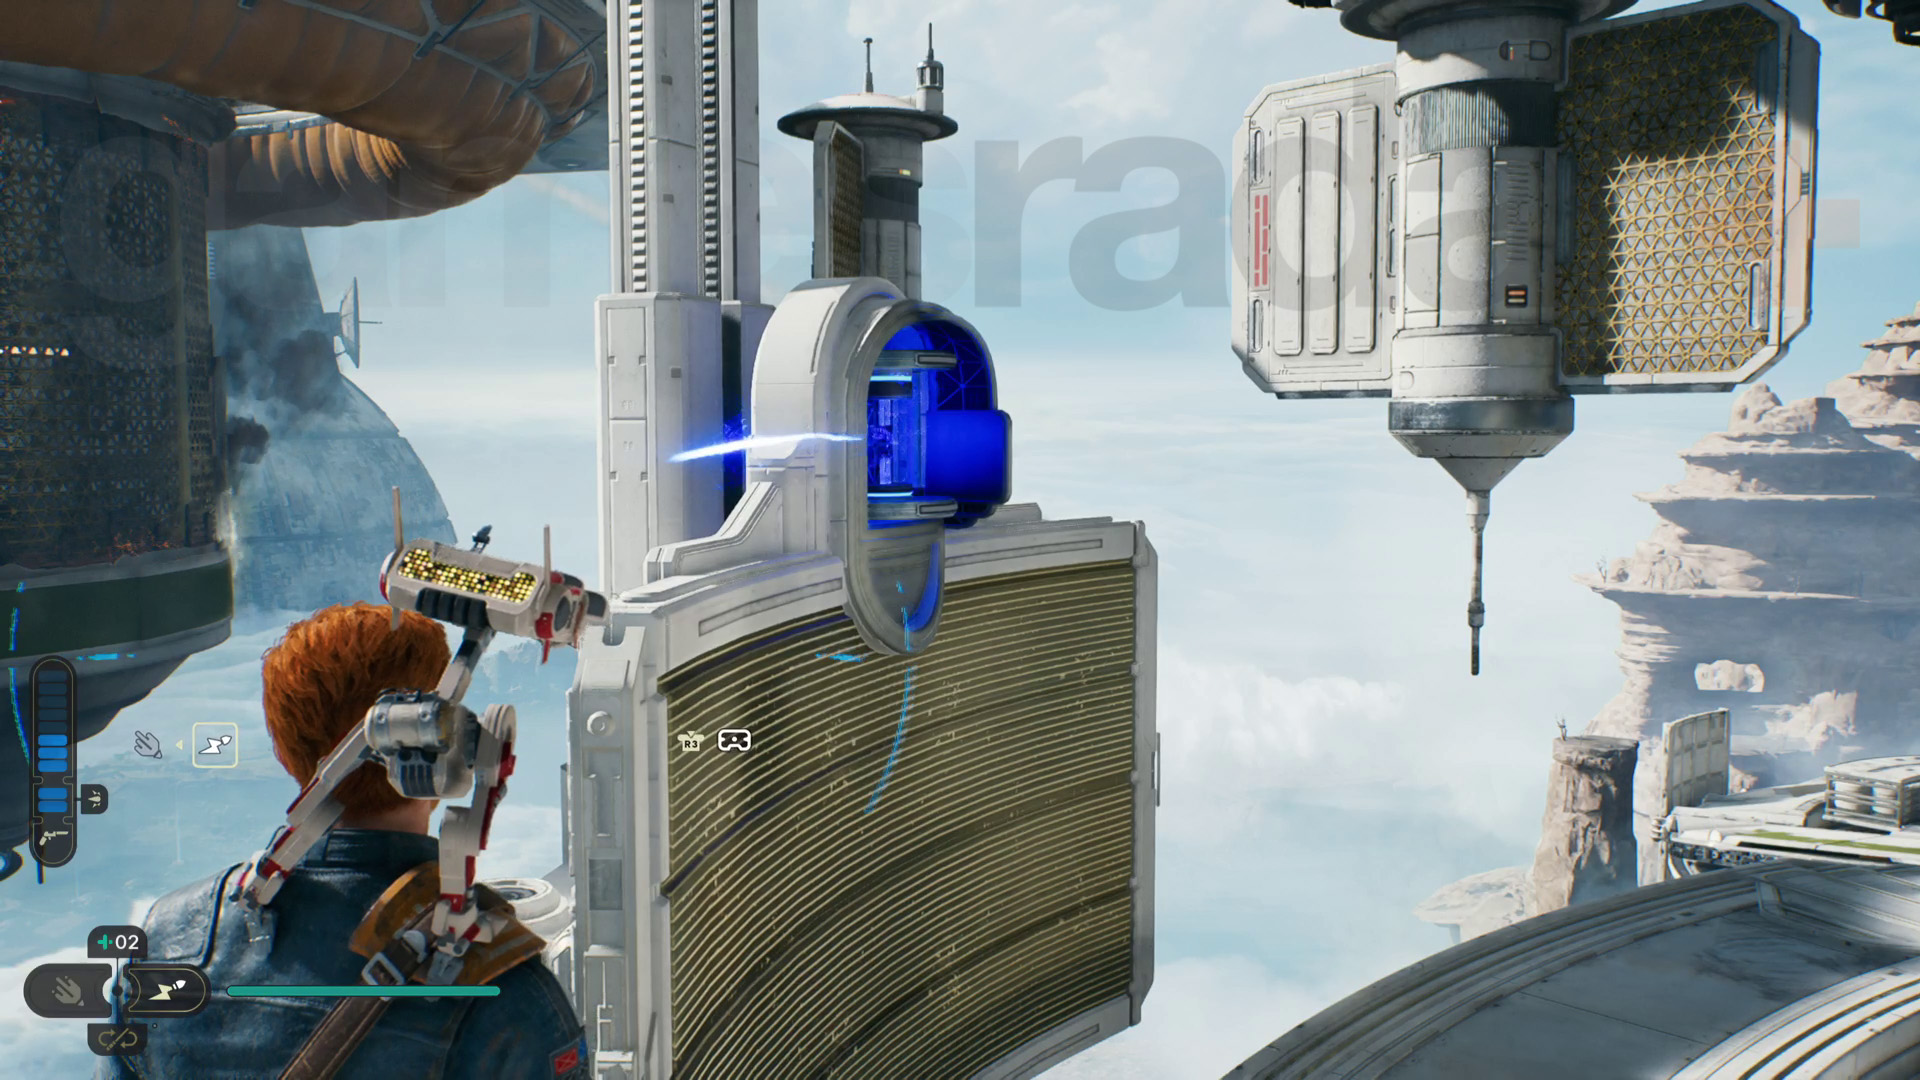
Leap across the climbing grates to reach the large structure with the rotating grate on it. Grab on, climb down and to the right, then back up to reach the top of the structure. Next, jump over to the main building again.
Run to the right again – you’ll spot an electricity fence above a set of slowly rotating struts. The ends of these struts have the same grapple point as the balloons, so grapple and leap around to avoid the electricity fence, then grapple to the climbing grate.
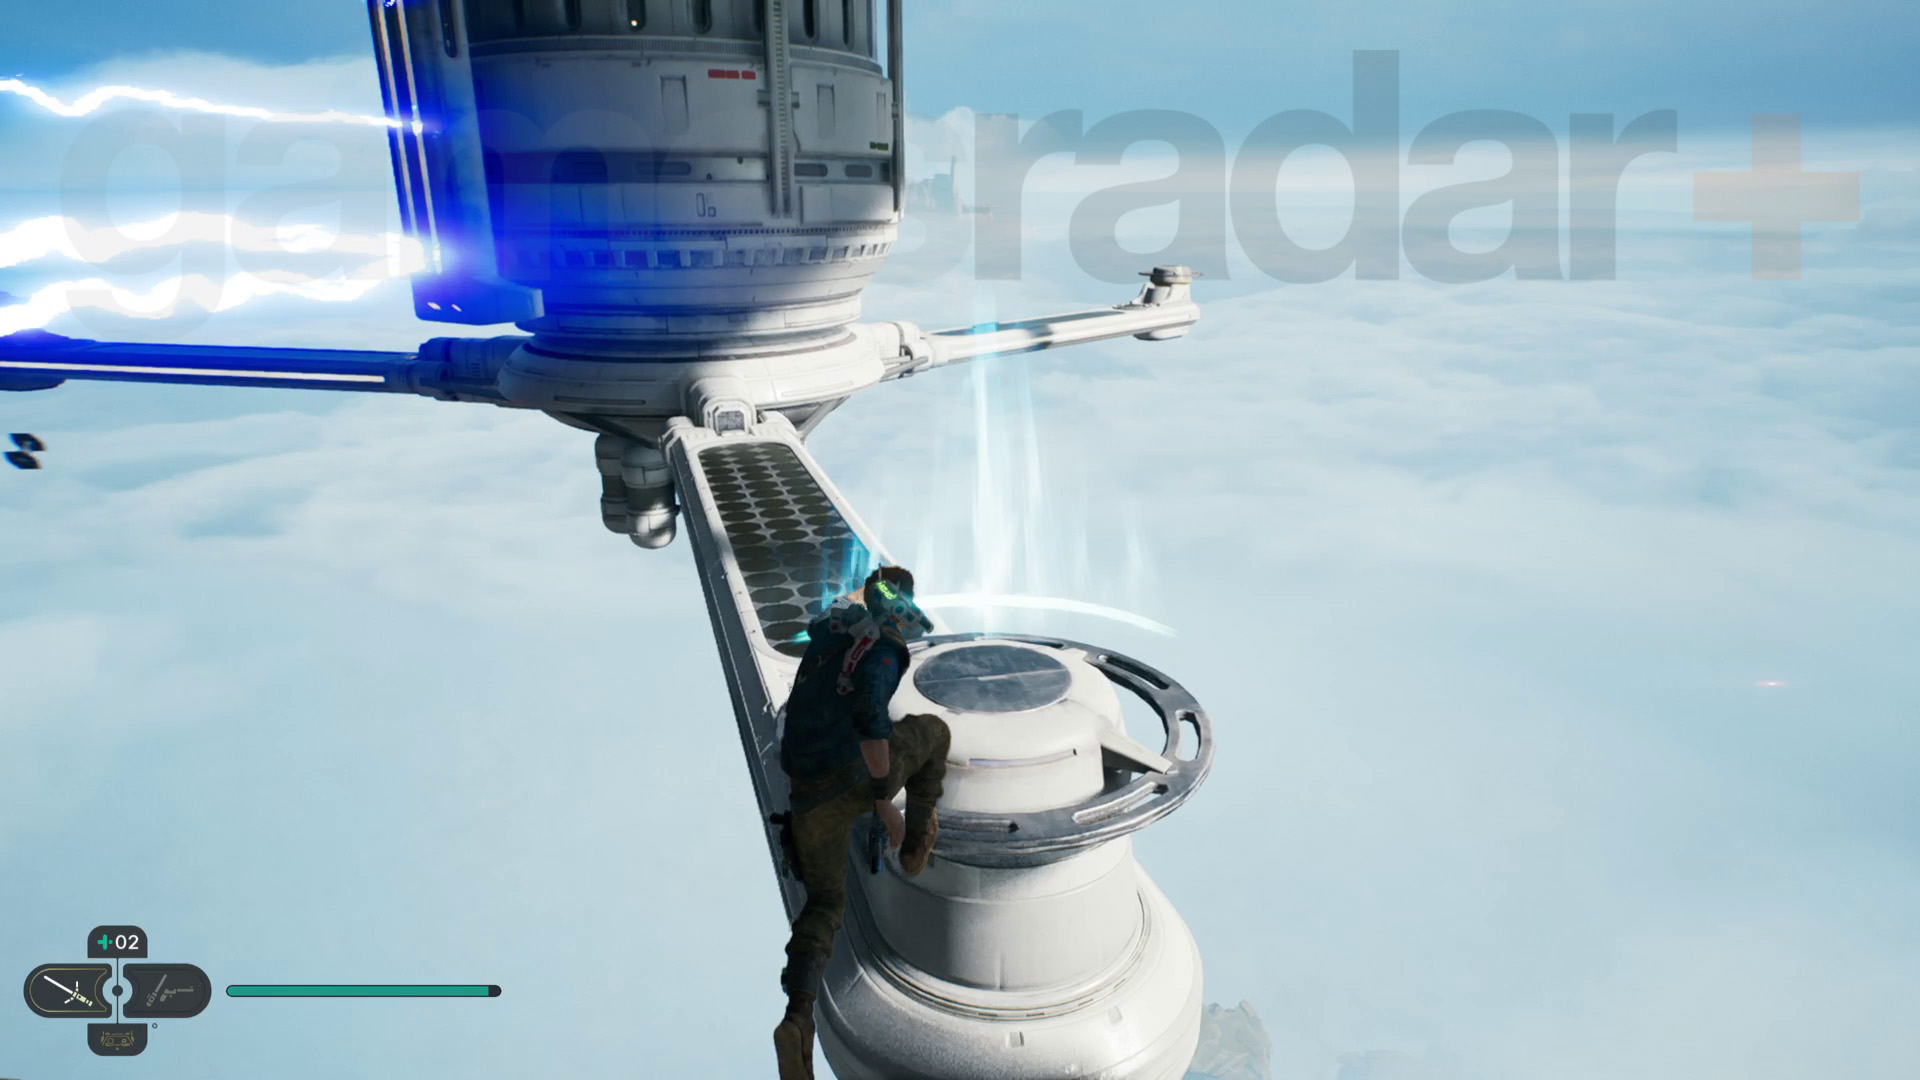
Jump over to the walkway and head inside the main building. There’s a lift you can use to open a shortcut to the Observatory Understructure, but otherwise, Force Lift the door ahead to reach the next section of the building and a boss fight.
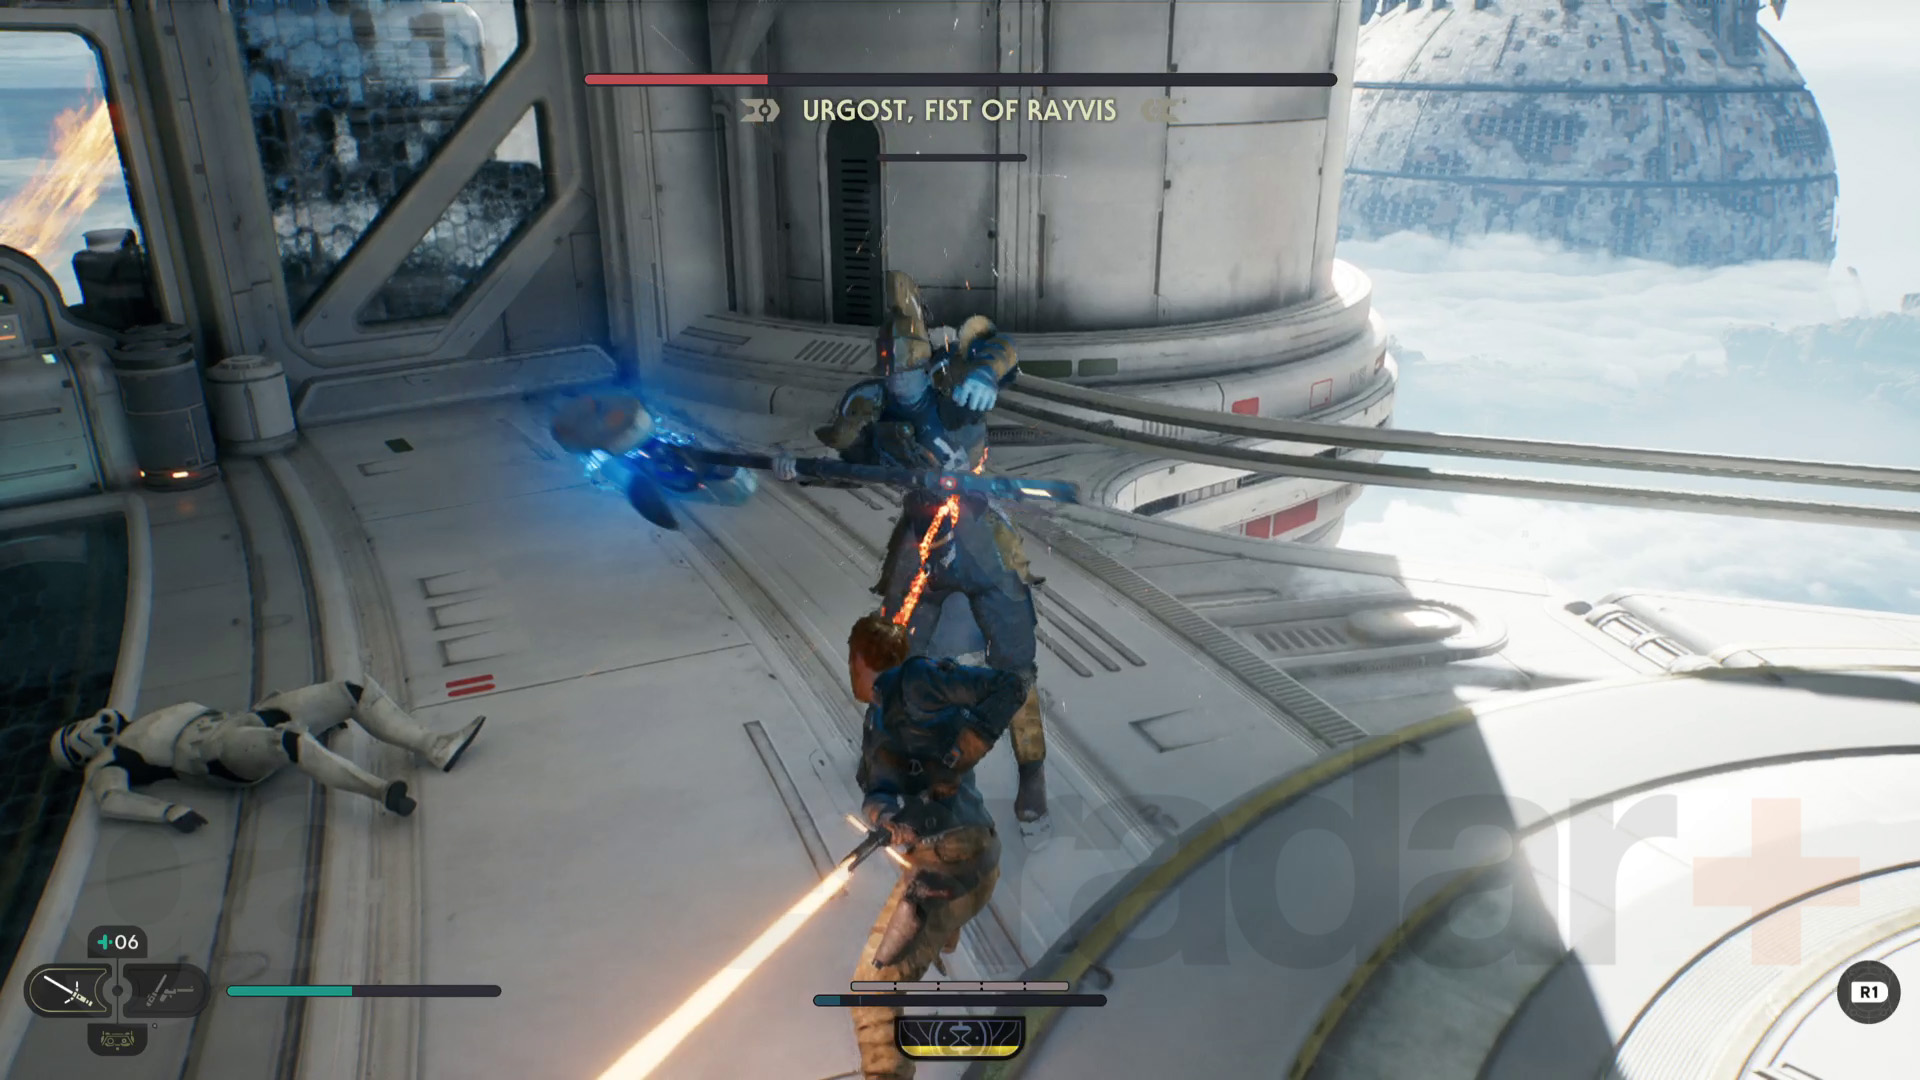
Here you’ll face Urgost, Fist of Rayvis, who, despite being a fully-fledged boss, is just a regular Bedlam Smasher enemy. Urgost has the same suite of hammer attacks for his type, so you can use the same tactics here to beat them as you did when you first fought Bedlam Smashers earlier in the Lucrehulk.
With Urgost defeated, shoot an Electro Dart at the power source to open door to the right. Head through, then jump to the large block held up by two arms. You’ll see Bode lad on the pad ahead and, to reach him, fire an Electro Dart at the power source above to move the balloon dispensing arm towards you. Grab a balloon and throw it just below the landing pad ahead. Grapple to the balloon, then leap to the landing pad structure which is made up of another rotating climbing grate.
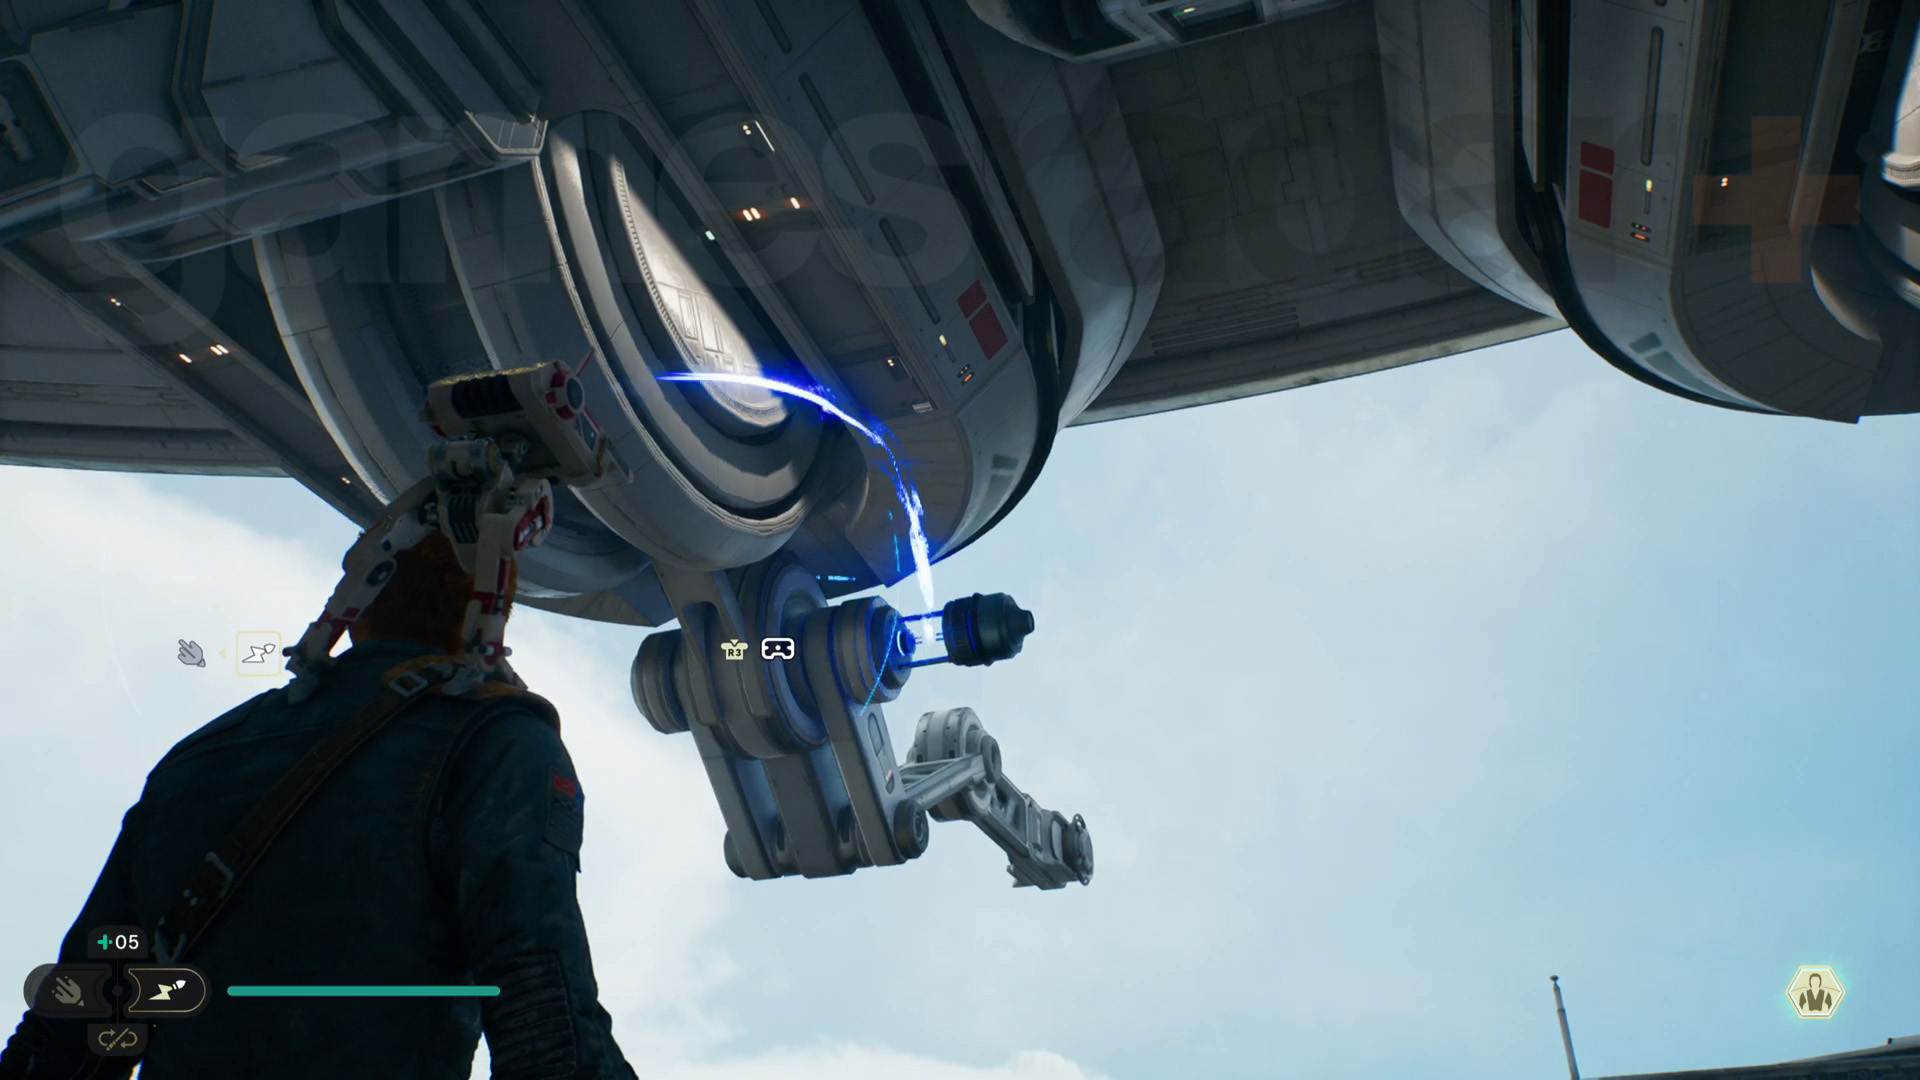
To get around, you need to move to the right against the rotation of the climbing grate. Head down then back up, avoiding the electricity trap as you go, then you can reach the landing pad and meet Bode.
Now you need to fire an Electro Dart at the balloon dispenser arm to move it again. Grab a balloon and throw it up towards the climbing grate on the upper level where Bode is, then grapple to it to get up. Force Lift the grill on the wall and head inside to reach the Diagnostics Corridor area.
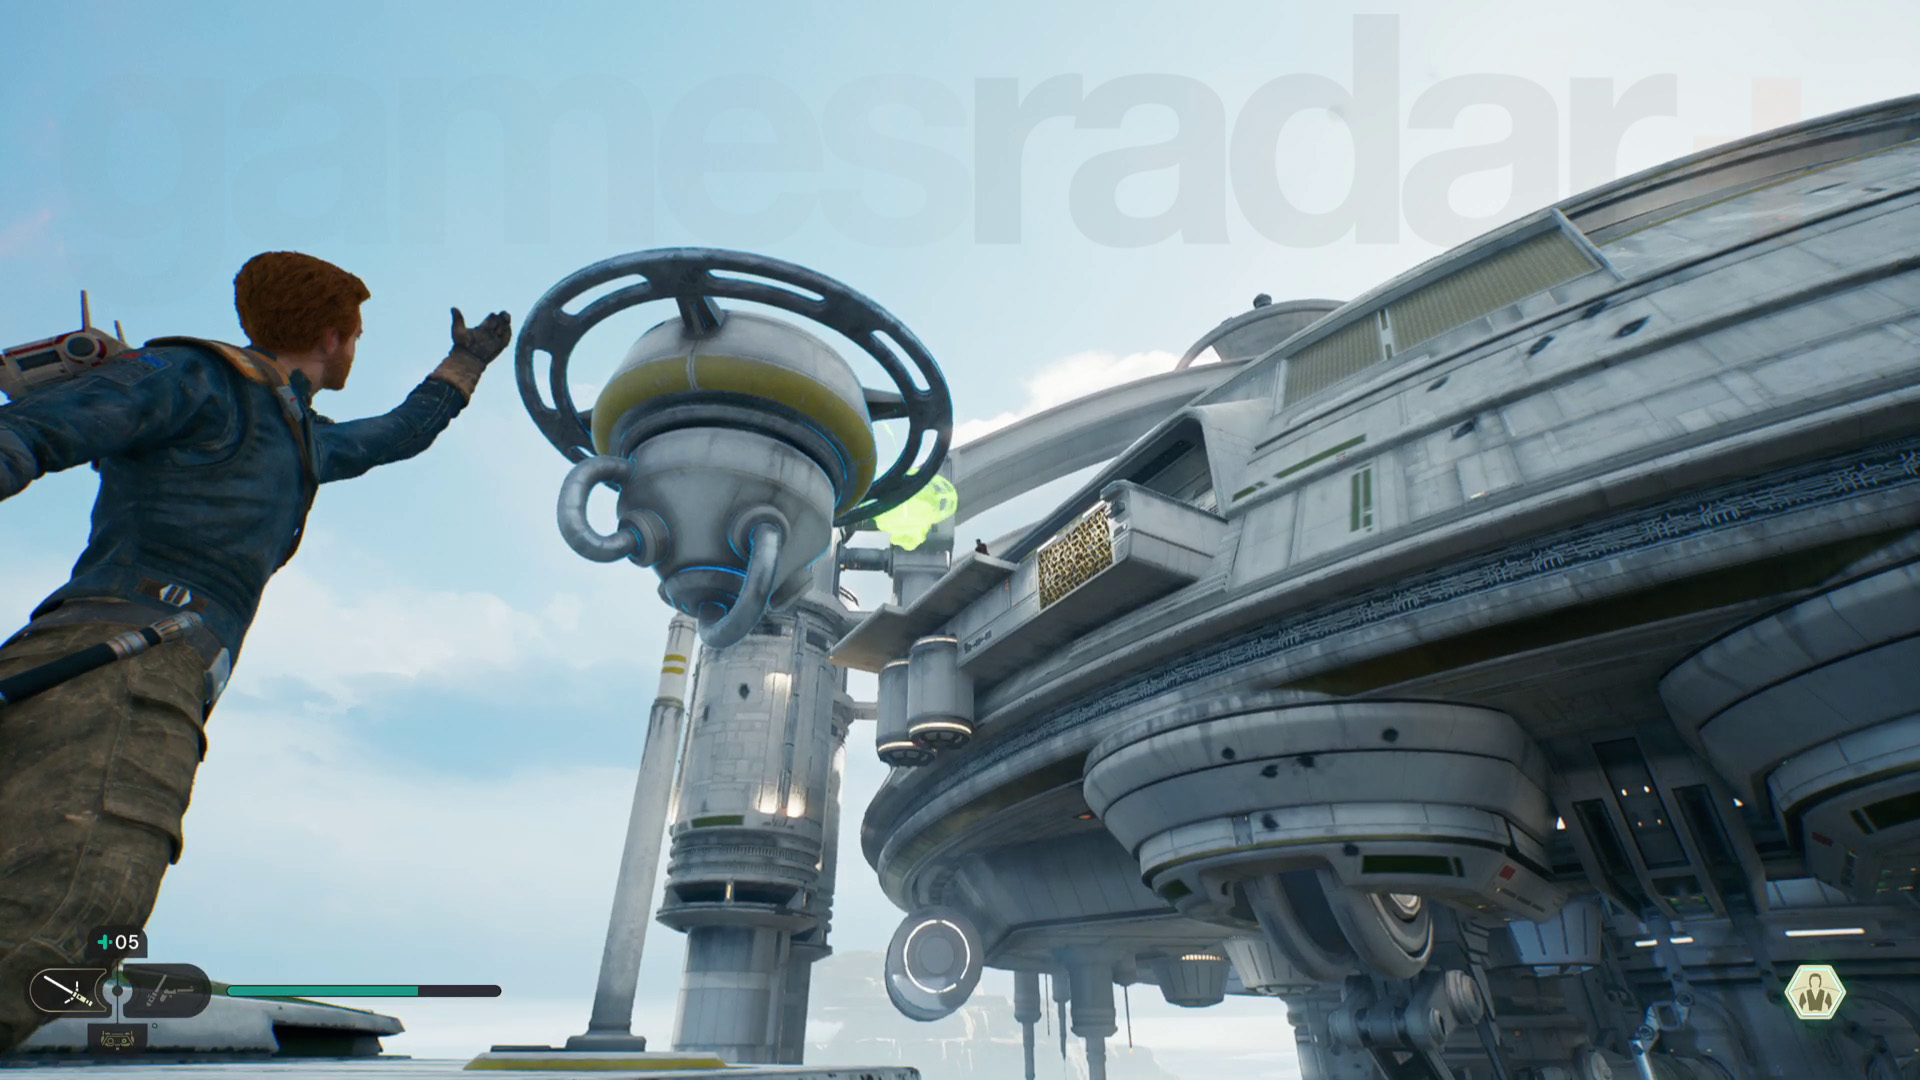
Keep going to reach a section with some rotating wall running panels. Grapple and wall run around until you reach a green laser barrier that you can dash through. This leads to the Diagnostics Corridor Meditation Point.
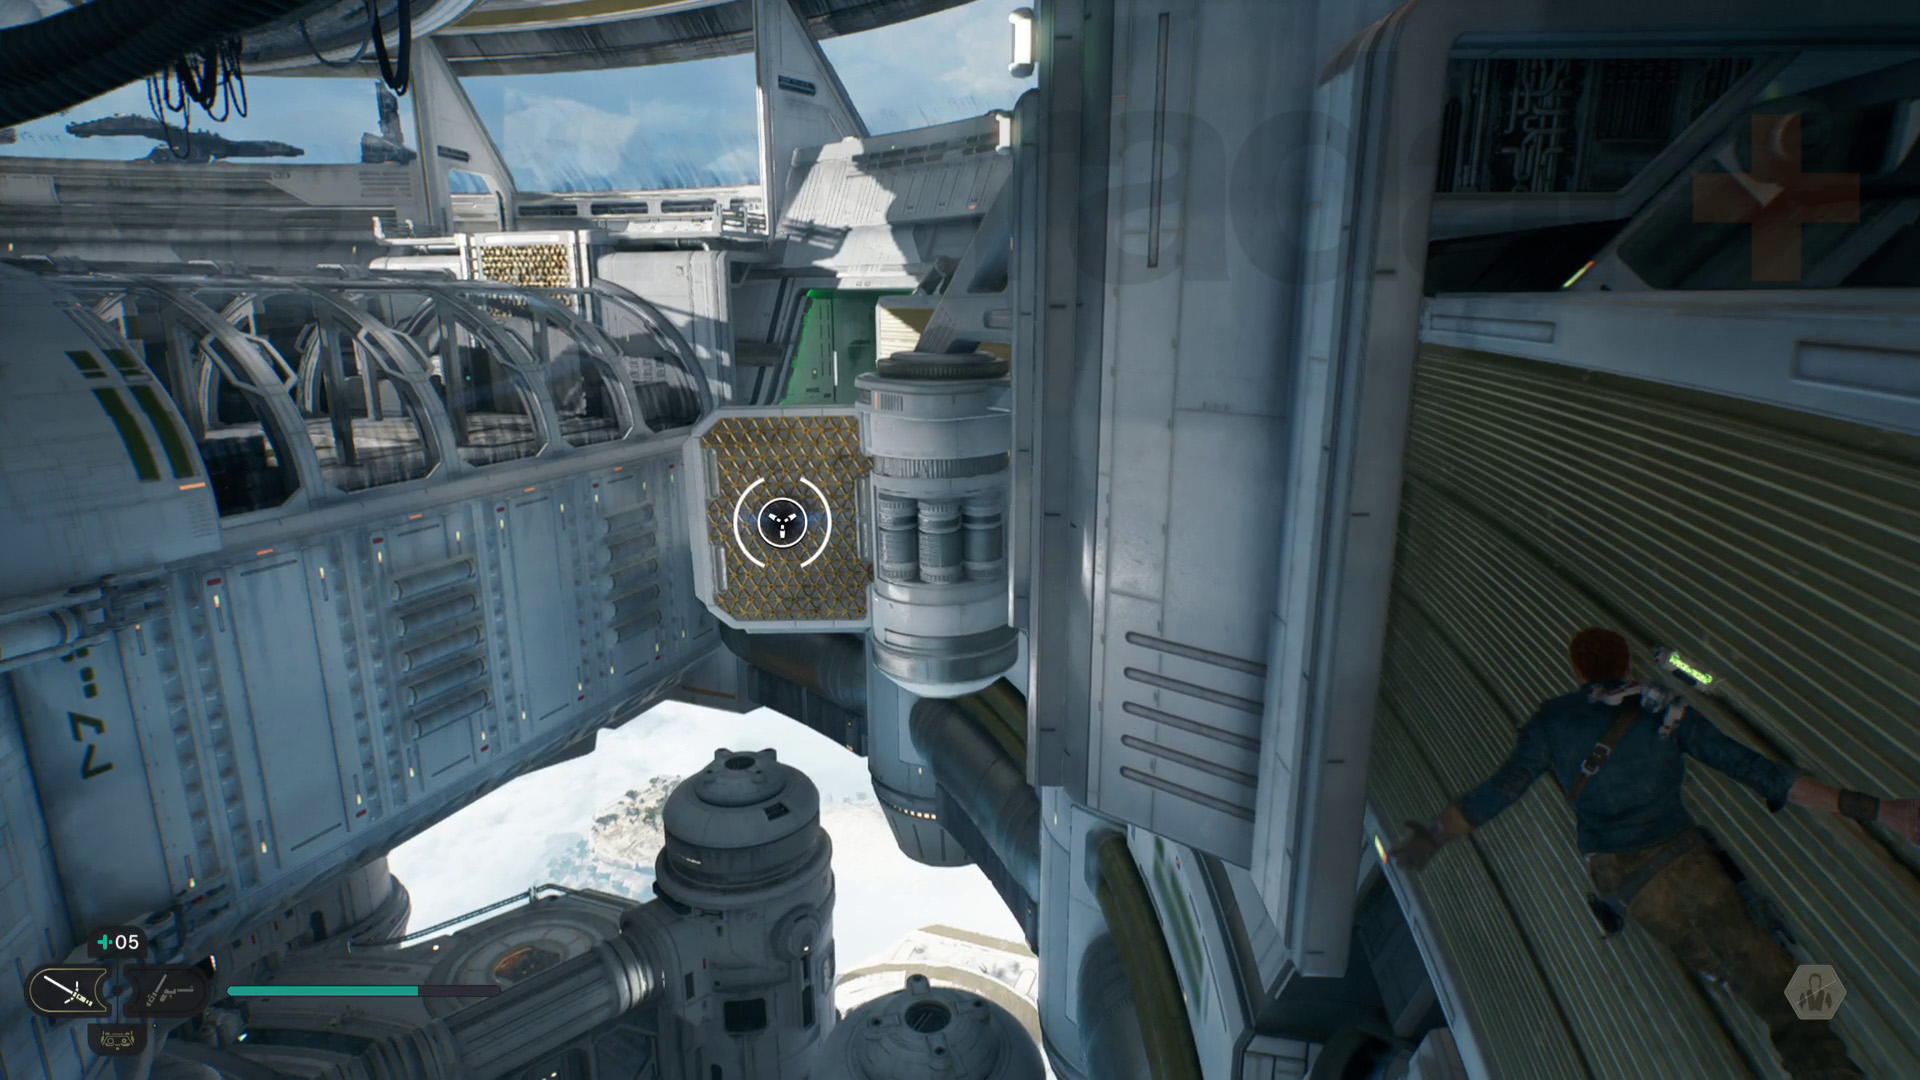
Press on from the Meditation Point and activate the button to rotate the central area, revealing two MagnaGuard Droids. Once you’ve fought them, fire an Electro Dart at the power source in the central column. You need to do this three times to get the central area rotated into the right position and more droids and raiders will attack each time time you do it.
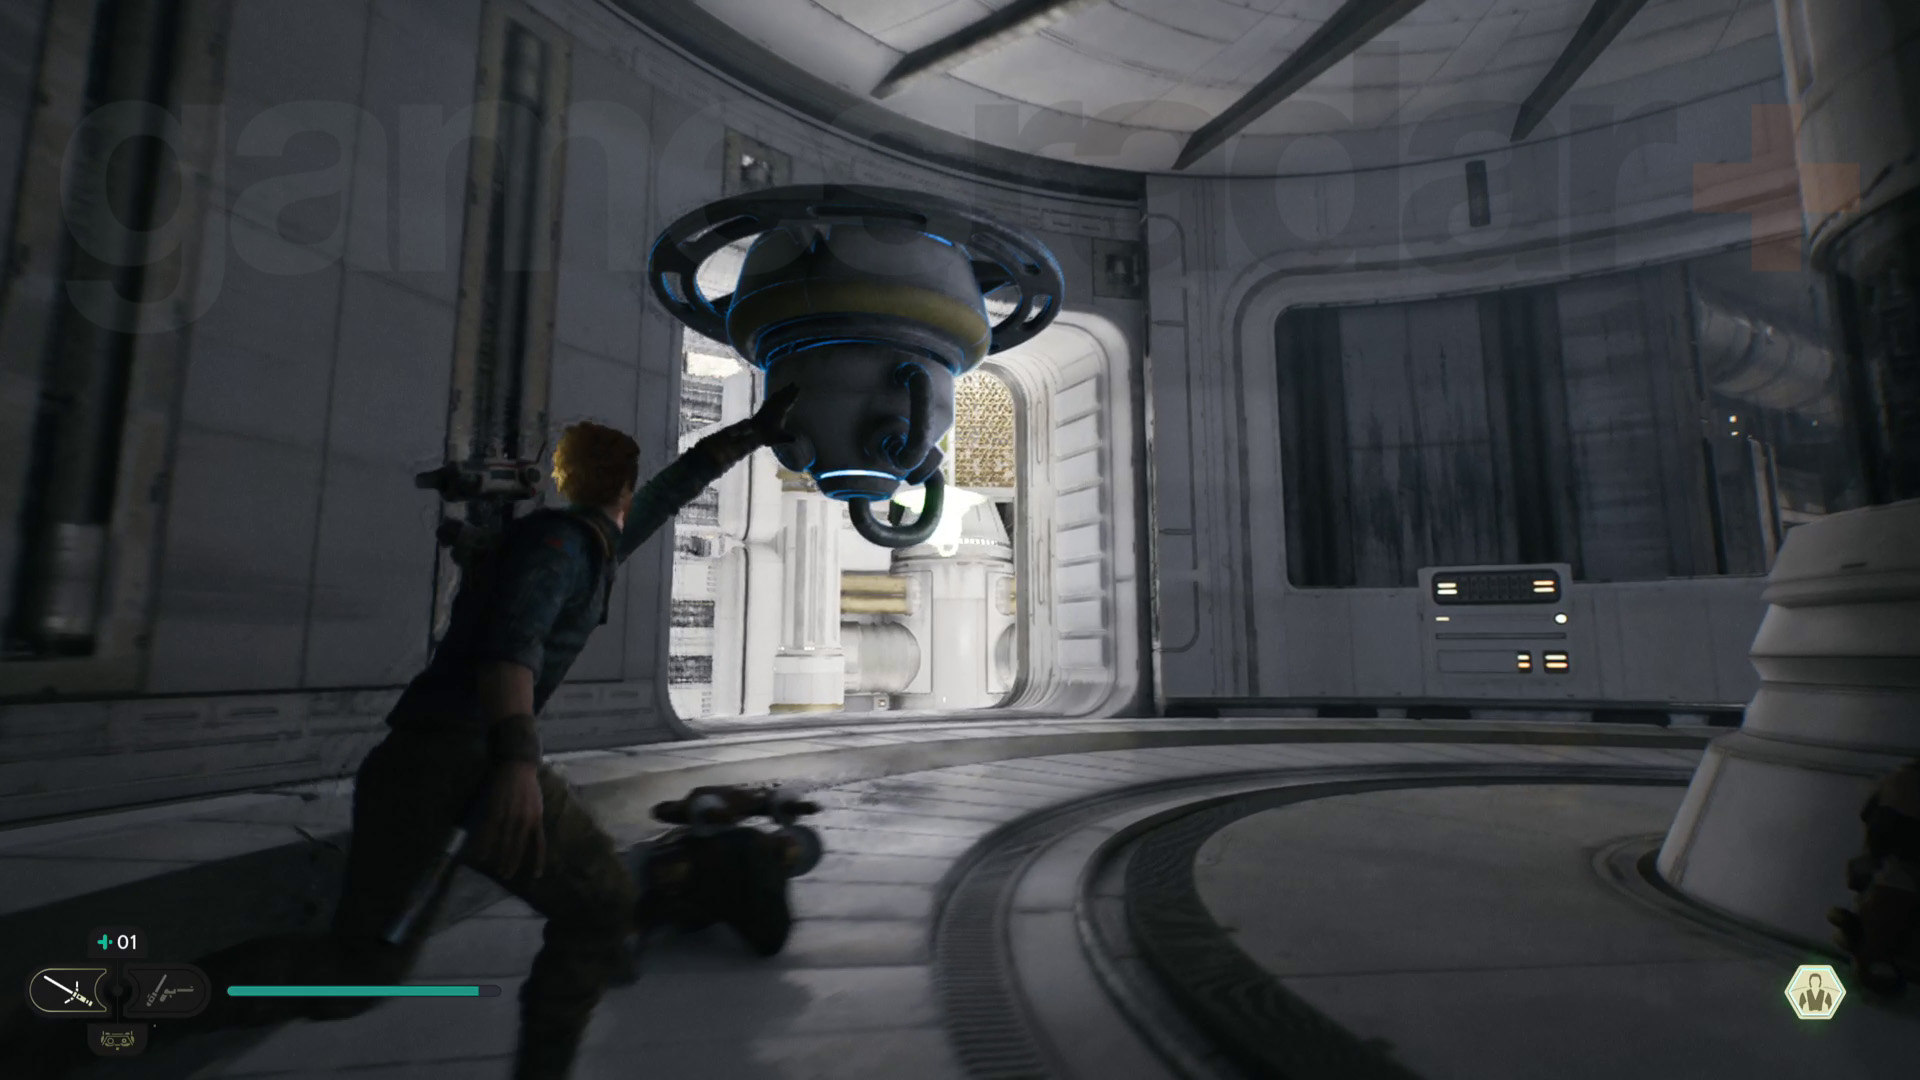
Grab a balloon from the dispenser in the final room and throw it out the doorway. Grapple to it and you’ll be able to reach some climbing grates ahead. Climb along, then switch to wall running and grappling on moving panels just like earlier. You’ll eventually reach a central bridge area near the top of the observatory.
You should head left and Force Slam a hatch to open a shortcut back to the Meditation Point, but to progress, you need to go right and climb the grate. This leads up to the Observation Deck area, where you’ll have to fight through lots of raider droids with Bode.
Next, grapple up to a platform to reach the Grand Occulus area, then immediately rest at the Observation Deck Meditation Point. Head inside the door ahead and you’ll meet Dagan Gera for a final confrontation.
Dagan Gera boss fight
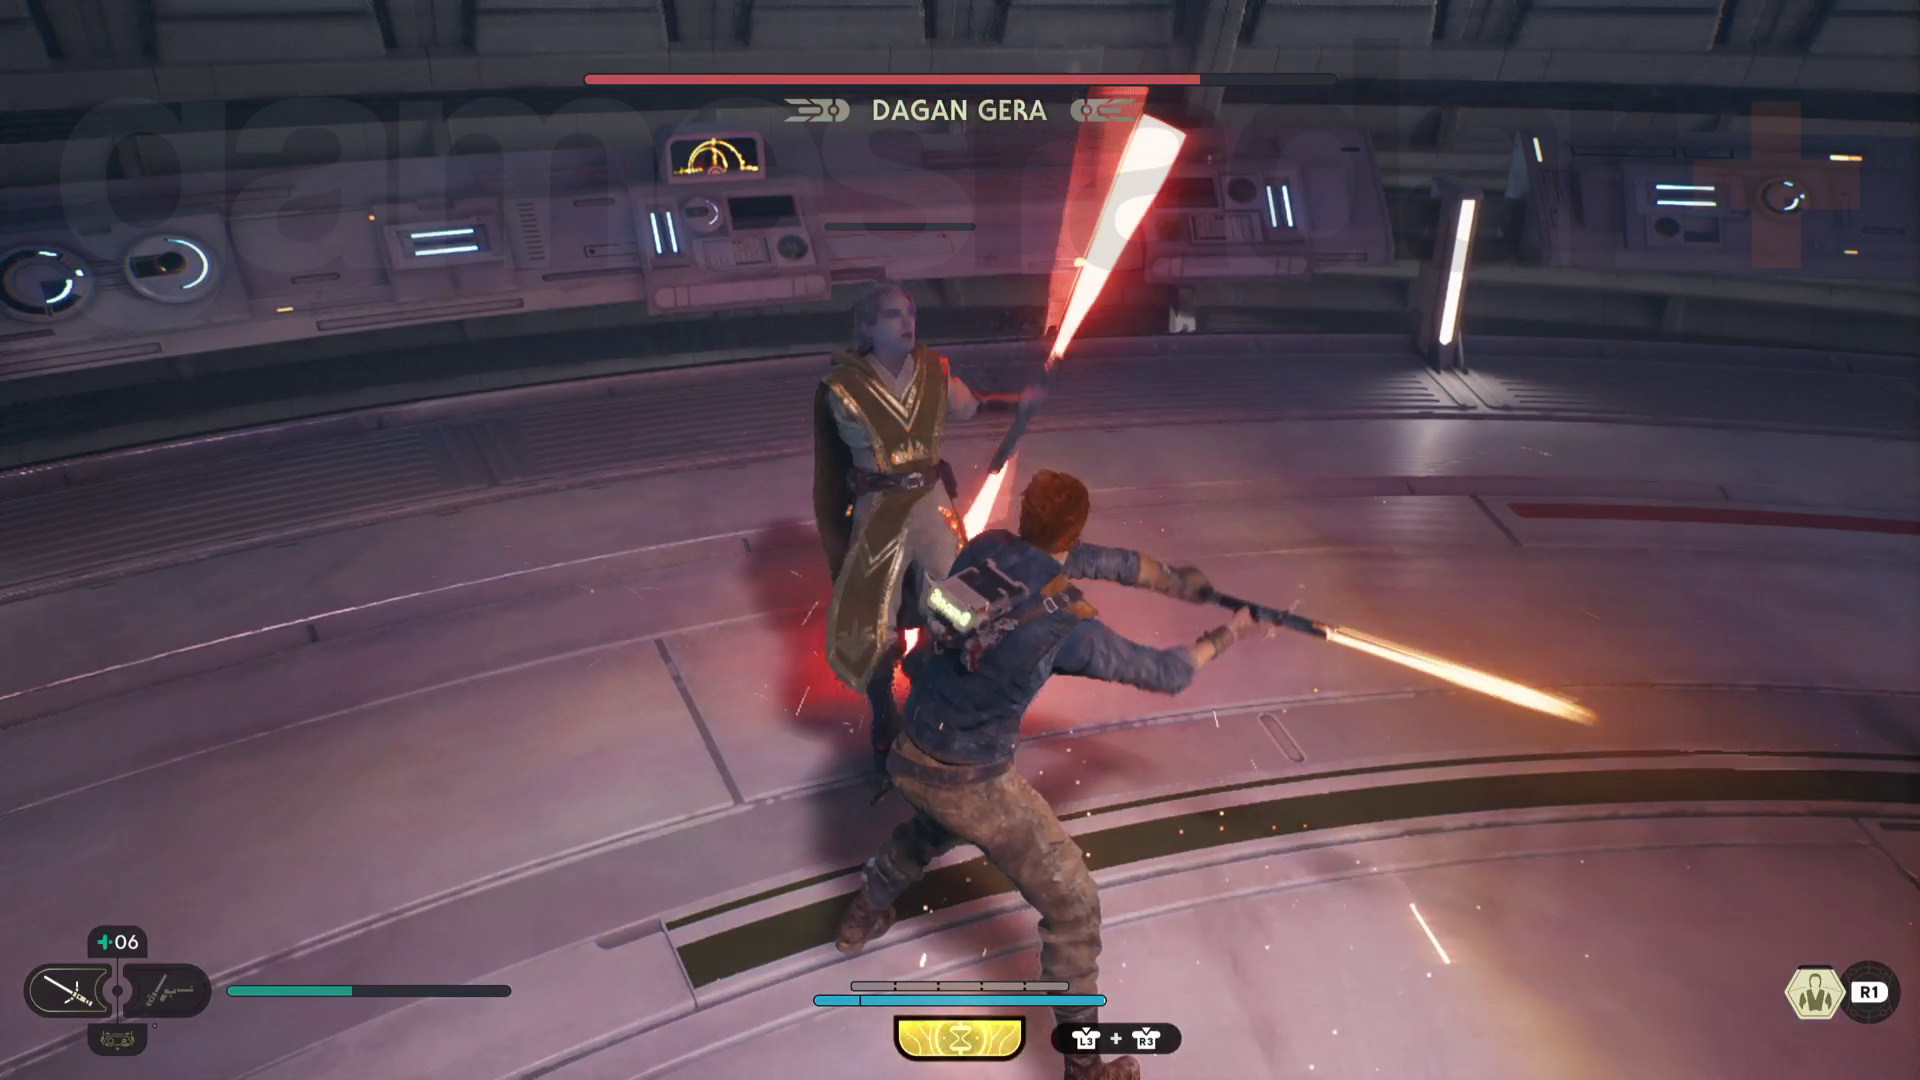
With Dagan Gera back to full strength, he’s a formidable foe in this extended boss fight. Just like before he wields a double-bladed Lightsaber but switches to a dual wield stance very suddenly for aggressive combos. Again, parrying his rapid attacks is the best approach here, and you can still use Bode’s combat ability in this phase for help.
However, this boss fight is interrupted several times by cutscenes, with each one introducing changes to the rest of the fight. After the first cutscene, Dagan creates a new arm for himself, which makes him better at wielding his double-bladed Lightsaber. He can also use a few new area-of-effect Force powers, so make sure you get away from Dagan to avoid those. You also can’t use Bode’s help in this phase.
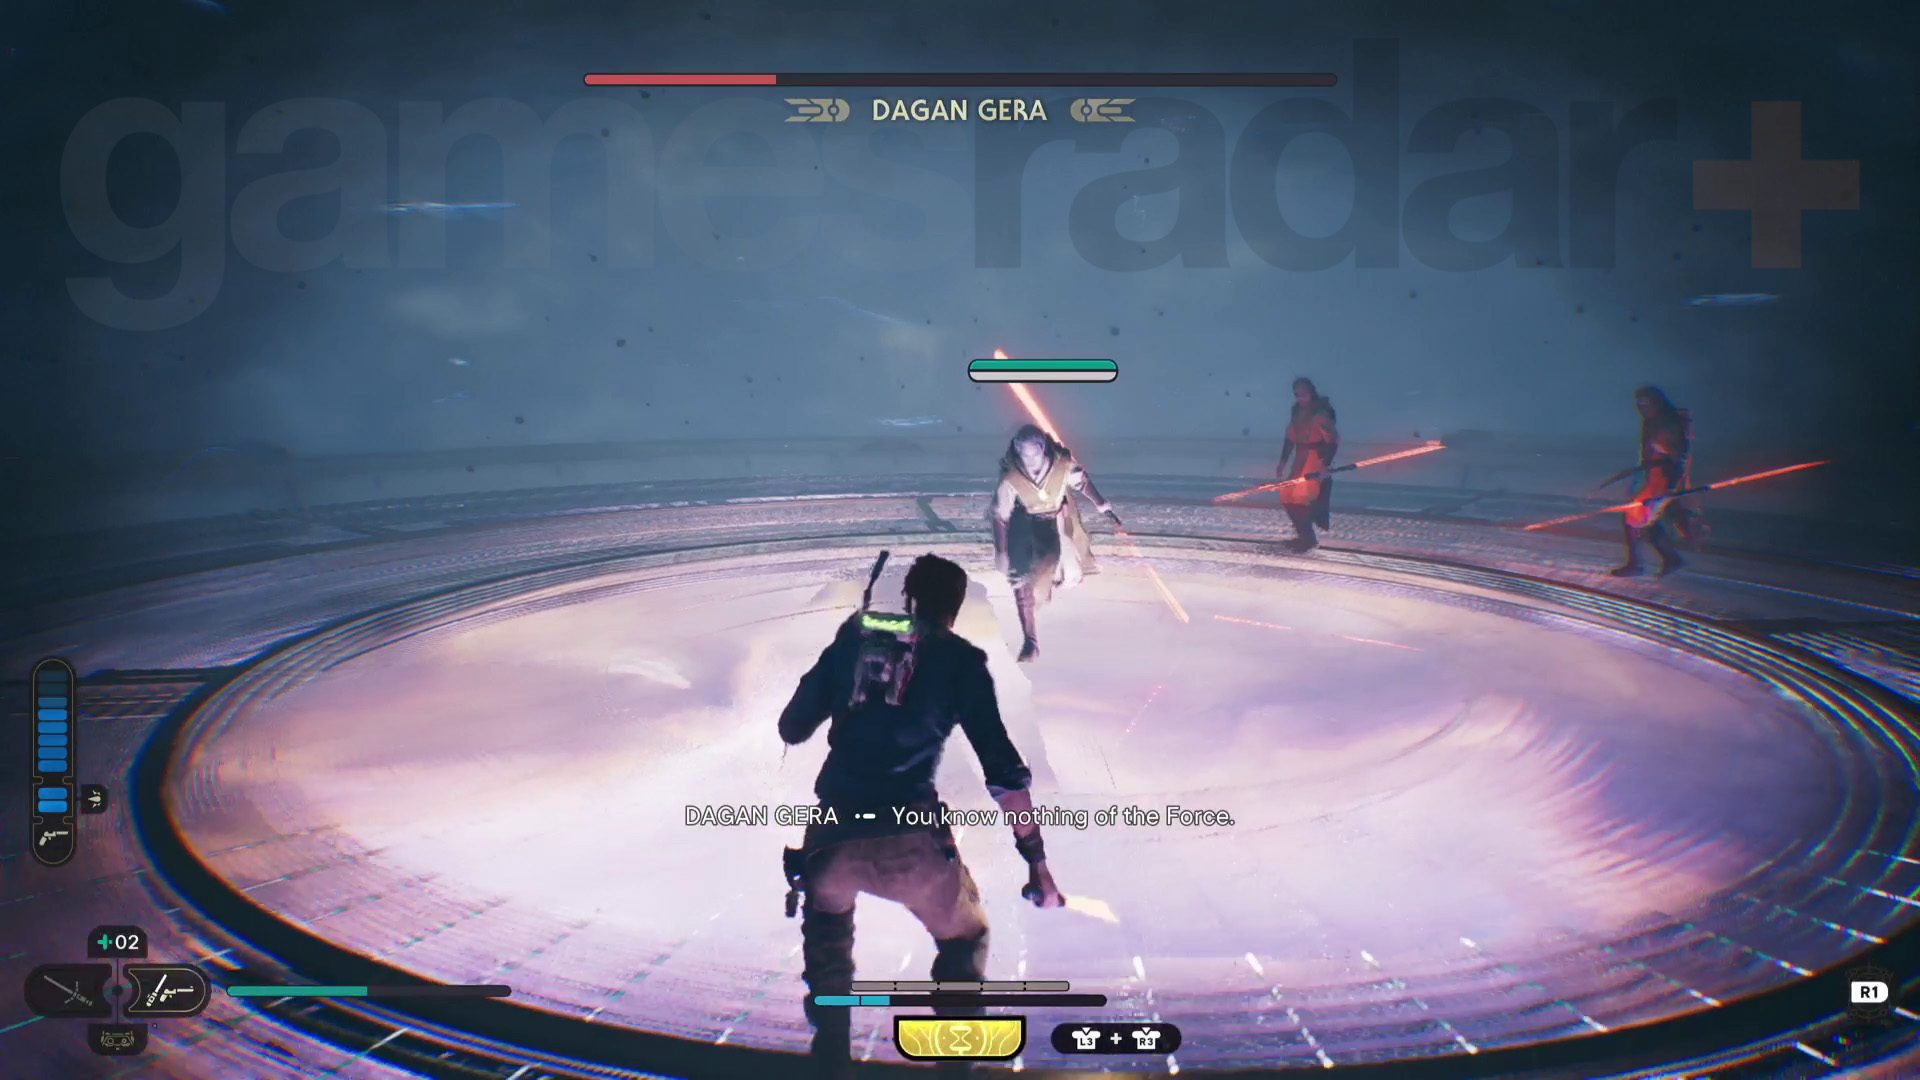
The next cutscene sees Dagan Gera change the arena and incapacitate Bode, keeping him out of the fight. Dagan can also create Force decoys of himself that attack and deal damage but can be destroyed in one hit. His area-of-effect Force attack now has a shockwave that you need to dodge too. Parrying remains important in all phases, but you should also be ready to dodge and jump a fair amount in this final section, especially since you won’t have Bode’s help.
Keep wearing down Dagan Gera and you’ll eventually beat him for real this time. Cal will retrieve the Abyss Compass, ready to take it Cordova.
Bring compass to Cordova on Jedha
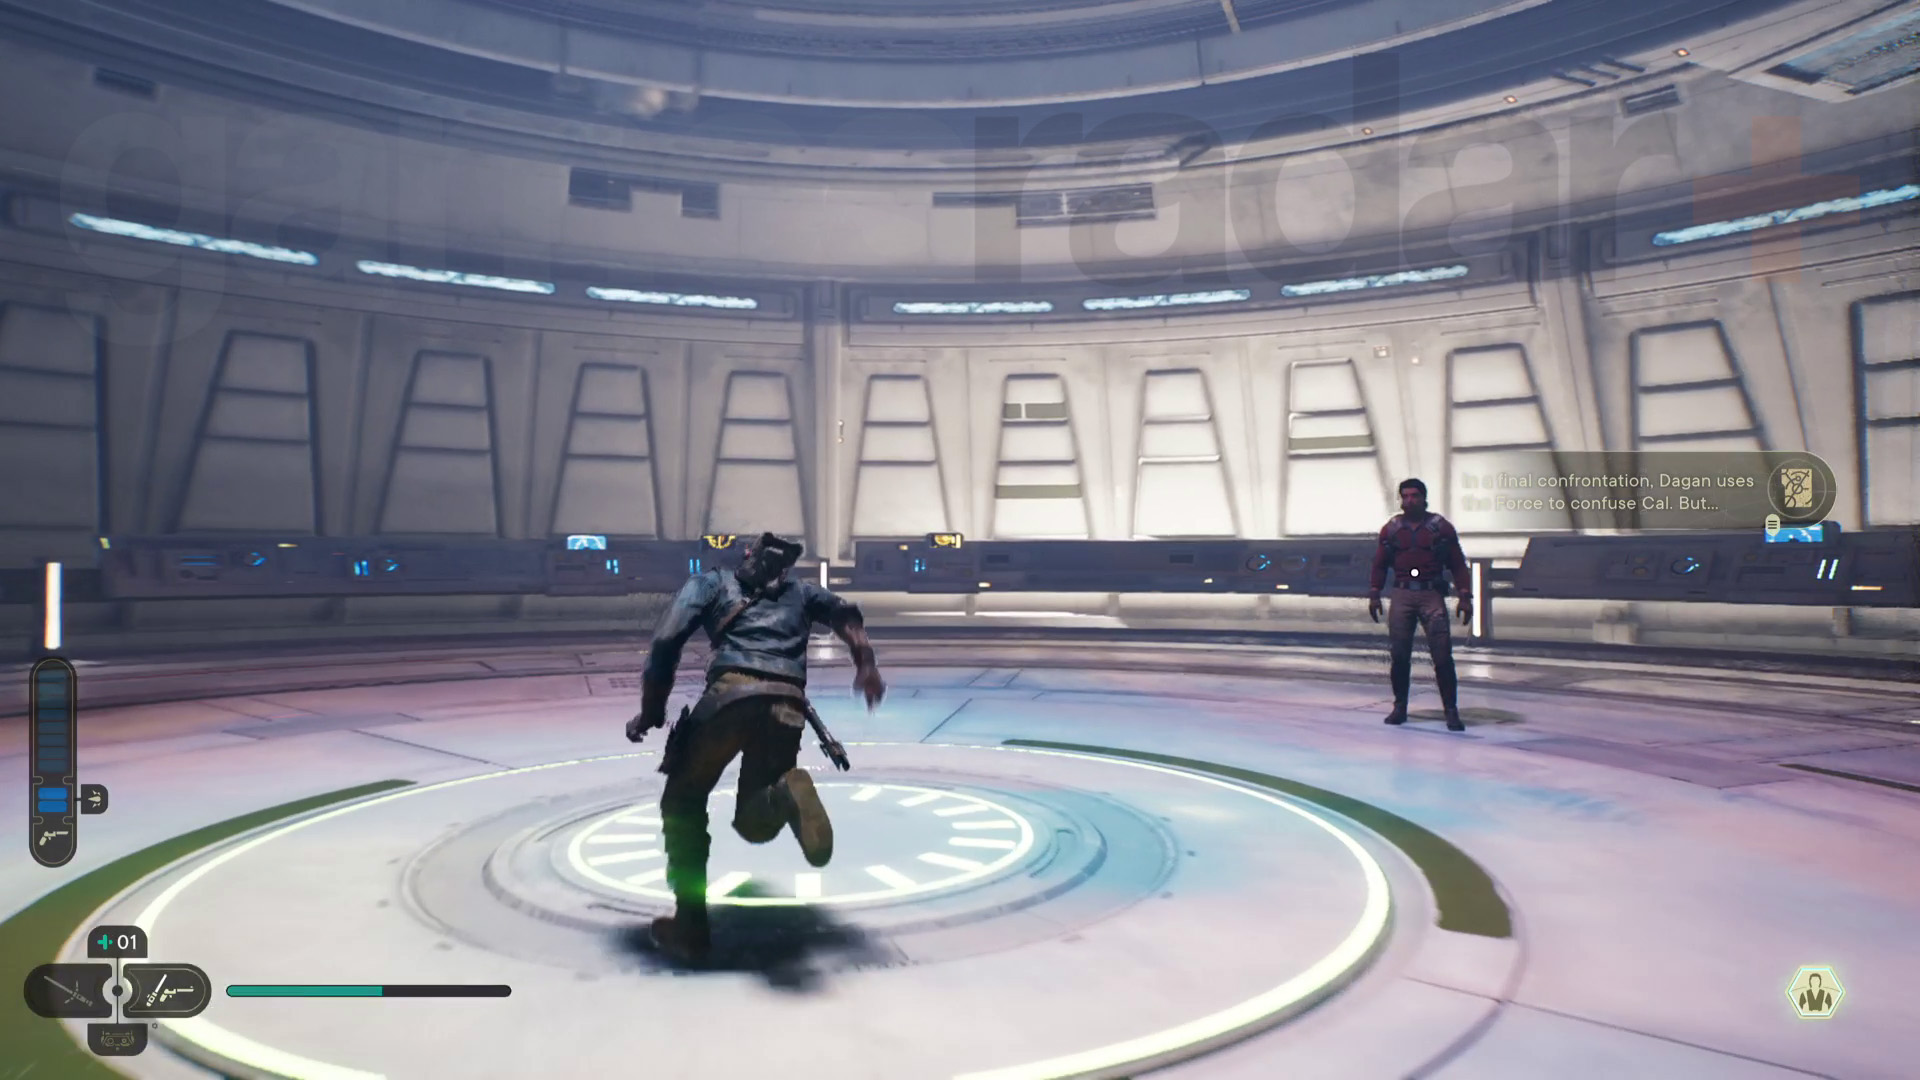
To get out of the observatory, step on the plate in the middle of the arena and it’ll take you down to a lower level. Get on the next lift and turn right once you reach the bottom to get to a third lift. You can also open a door to the left to unlock a shortcut back to the Observatory Understructure area here.
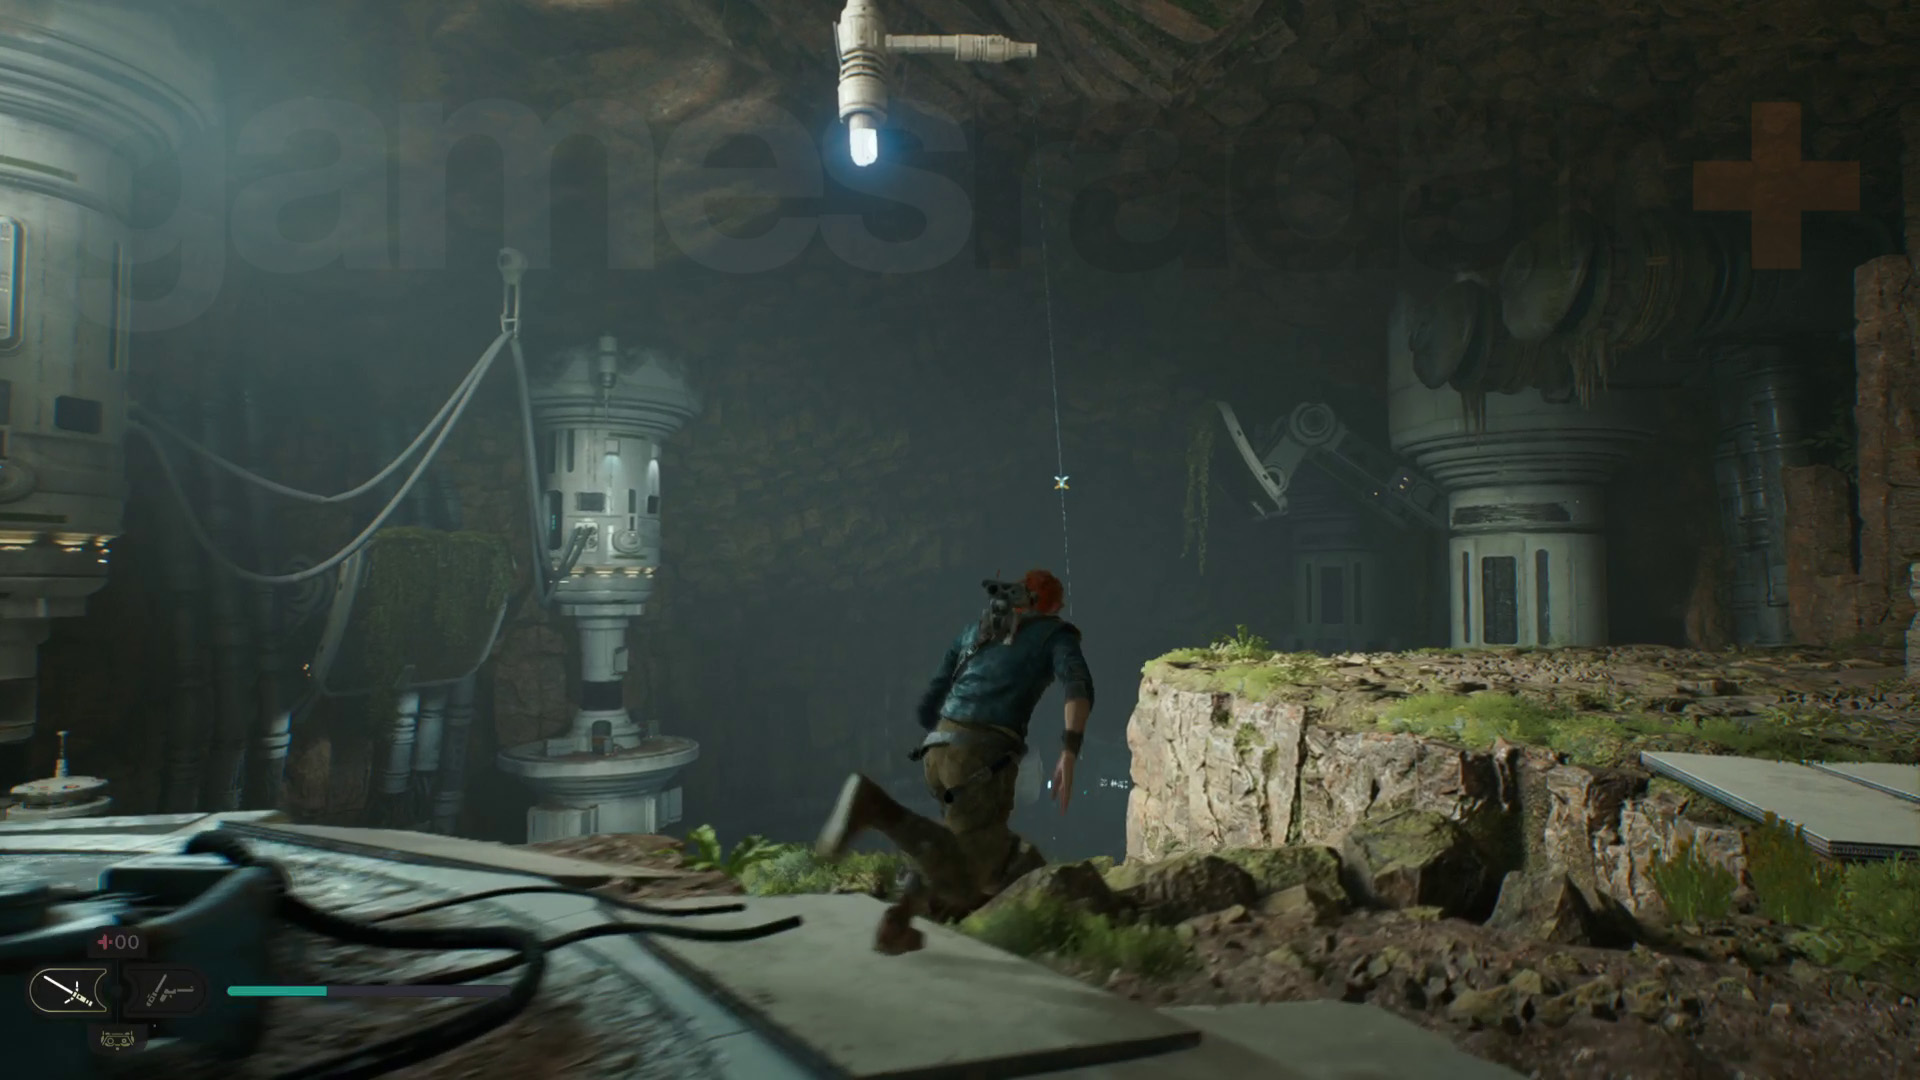
The third lift takes you all the way down to the Rift Passage area in the Basalt Forest of Koboh. Take the long zipline through the passage, then get to the Rift Passage Meditation Point. From there, fast travel to the Landing Pad and fly to Jedha in the Mantis.
© GamesRadar+. Not to be reproduced without permission.
Current page: Jedi Survivor Koboh walkthrough 6, Koboh Observatory
Prev Page Jedi Survivor Shattered Moon walkthrough 2, Pursue Rayvis Next Page Jedi Survivor Jedha walkthrough 3, Bring compass to Cordova
Will Sawyer is a guides writer at GamesRadar+ who works with the rest of the guides team to give readers great information and advice on the best items, how to complete a particular challenge, or where to go in some of the biggest video games. Will joined the GameRadar+ team in August 2021 and has written about service titles, including Fortnite, Destiny 2, and Warzone, as well as some of the biggest releases like Halo Infinite, Elden Ring, and God of War Ragnarok.
- Leon HurleyManaging editor for guides
