The full Star Wars Jedi Survivor walkthrough
The complete guide on what to do and where to go in Star Wars Jedi Survivor
Now that Cal has the Abyss Compass, it’s time to take it to Cordova to make the final preparations for the journey to Tanalorr and a fresh start.
Bring compass to Cordova on Jedha
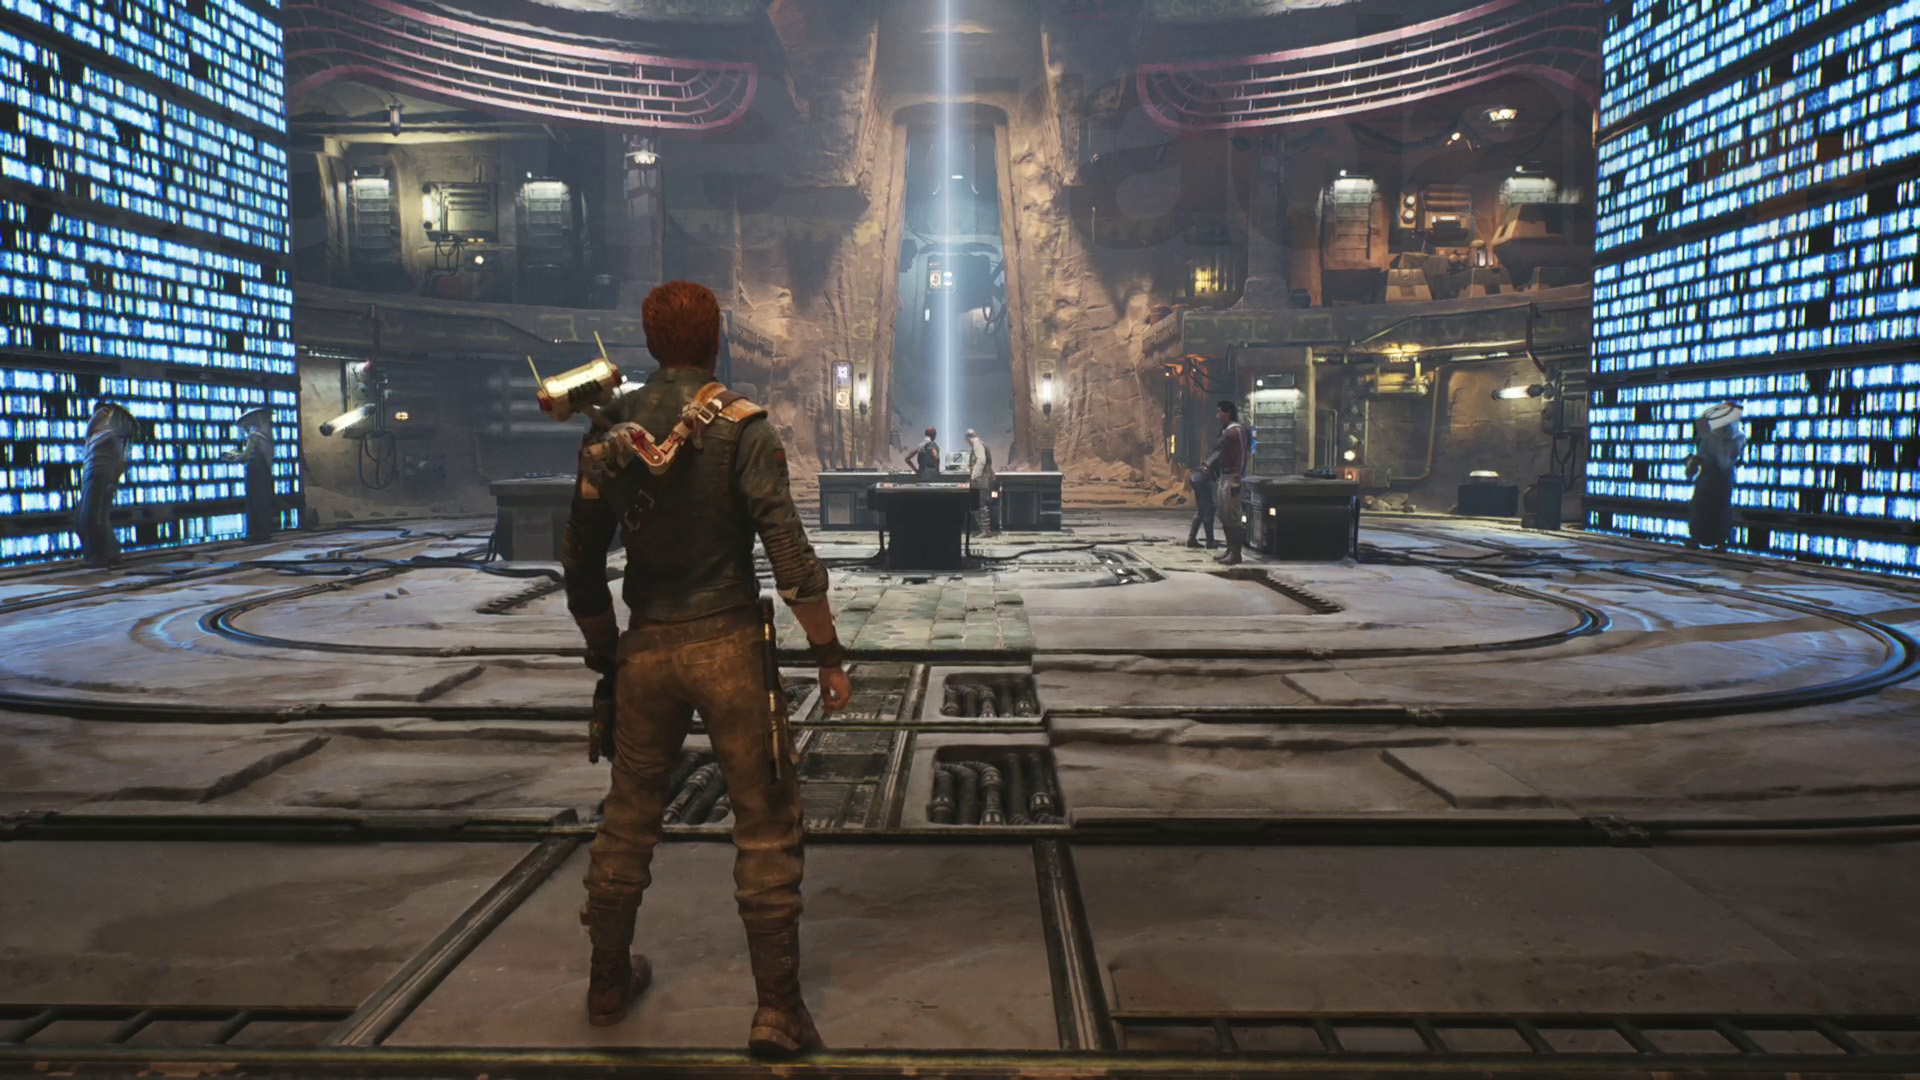
Head to the Archive and speak to Cordova. Cal will hand over the compass to Cordova so that he and BD-1 can repair it.
Check on Cordova’s progress
After a cutscene, Cal will wake up just outside Cere’s base. Head inside and take the lift down to the Archive and speak to Cordova. Cordova reveals the fixed compass, but sirens start blaring as the Empire attacks the base. Then some stuff happens...
Pursue Bode
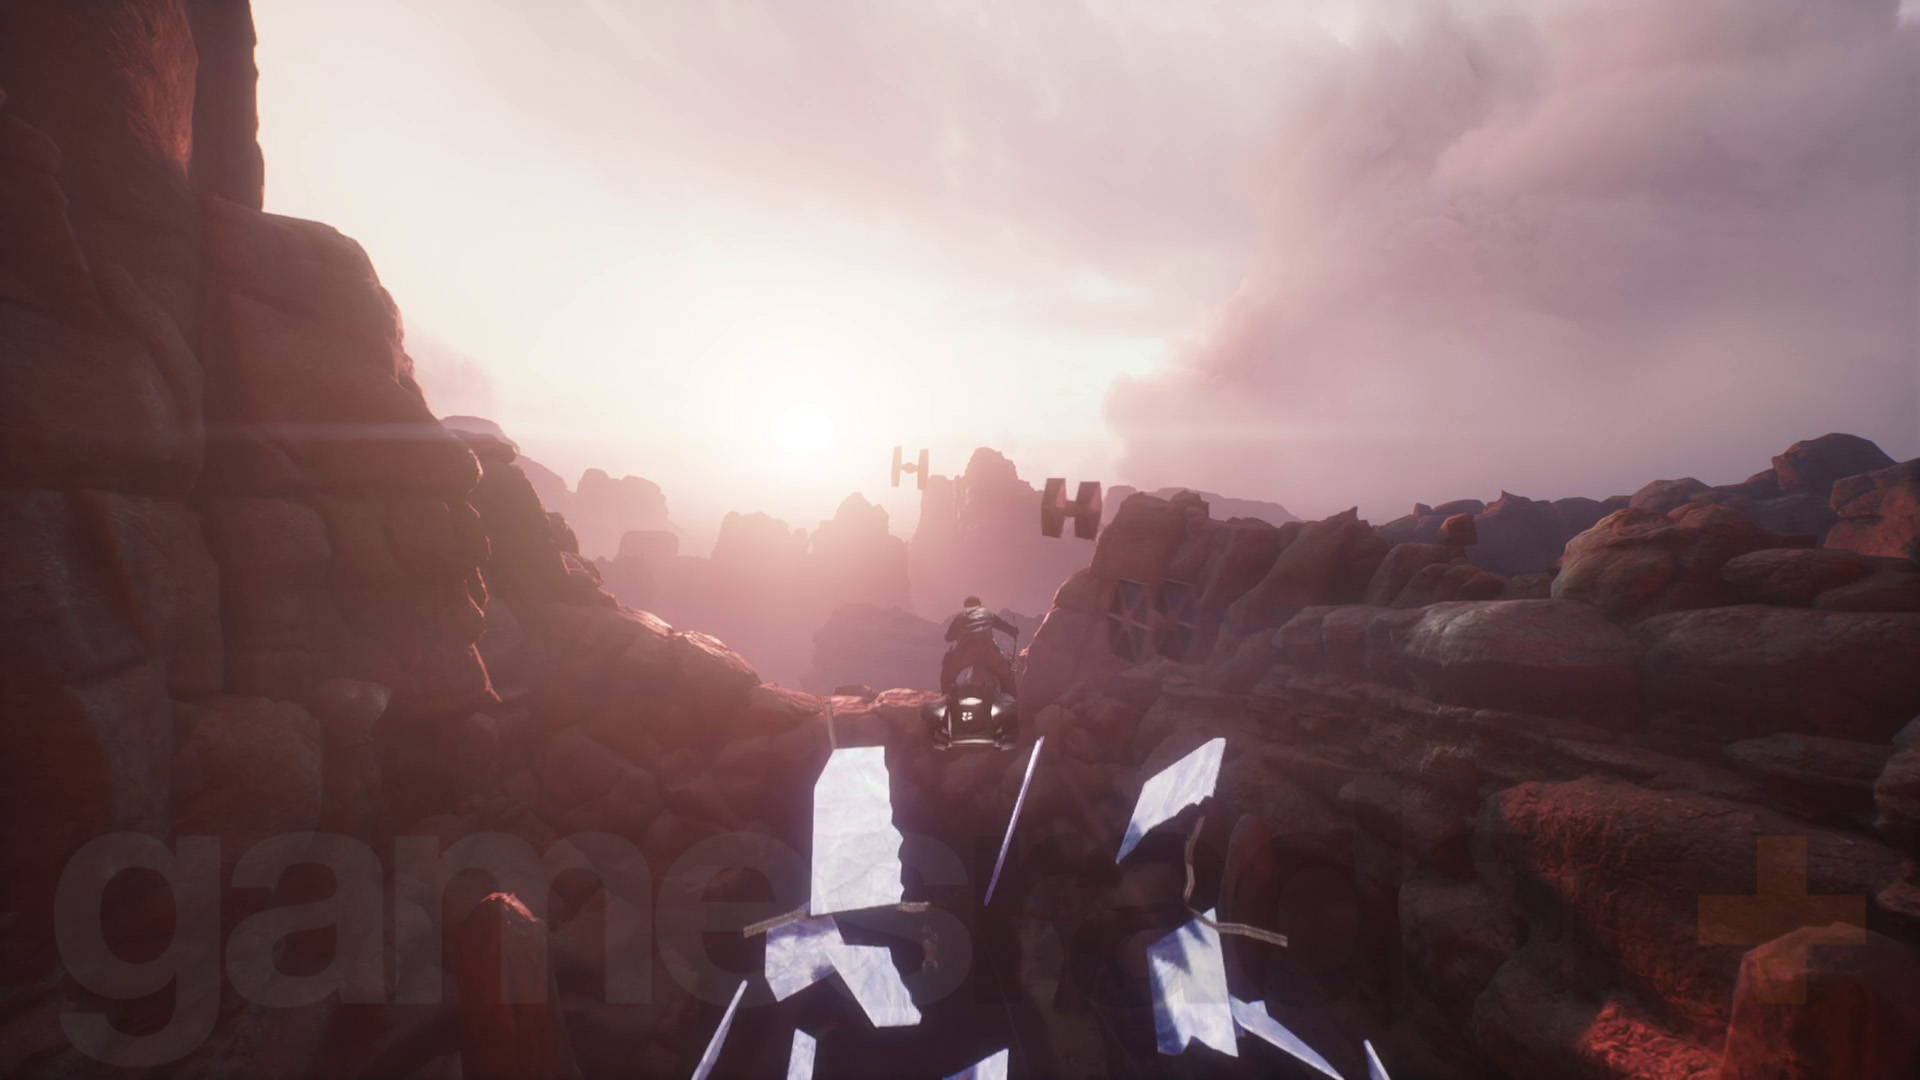
After what just happened, chase Bode back the way you came up the lift. Go down and head through the red door to reach a tunnel with two speeders in it. Bode will drive off on one so get on the other one and chase him.
For this driving section you just need to make sure you don’t crash too much and keep on Bode’s tail. There aren’t any other mechanics aside from quick time events in this section, so just keep driving until a cutscene starts.
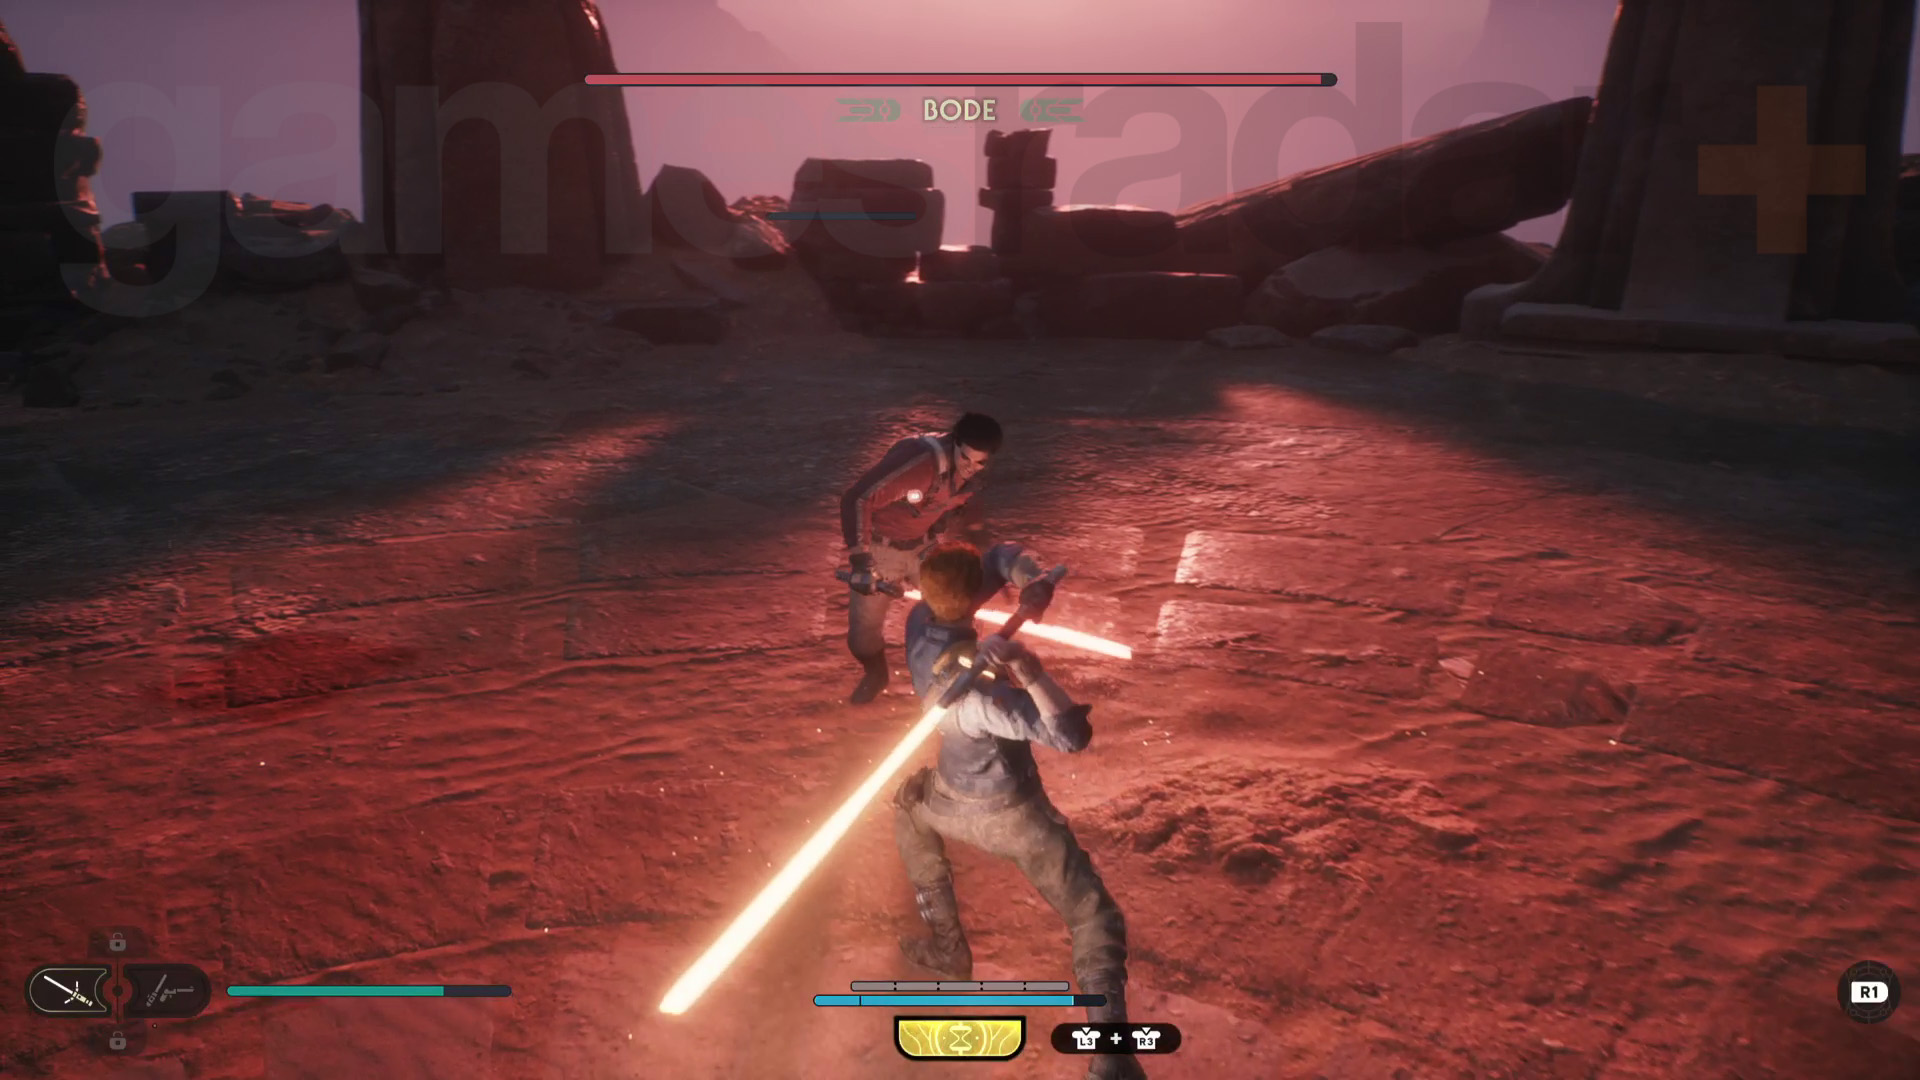
After the cutscene, you must fight Bode, but you’ll be without BD-1 so you can’t heal with Stims. You are meant to lose this fight, so don’t worry too much about trying to beat him. Even if you do overcome Bode, the outcome is the same and Cal gets knocked off the ruins and incapacitated anyway. The game then gets you to respawn like you would if you died normally but puts you in control of Cere instead.
Stop the assault
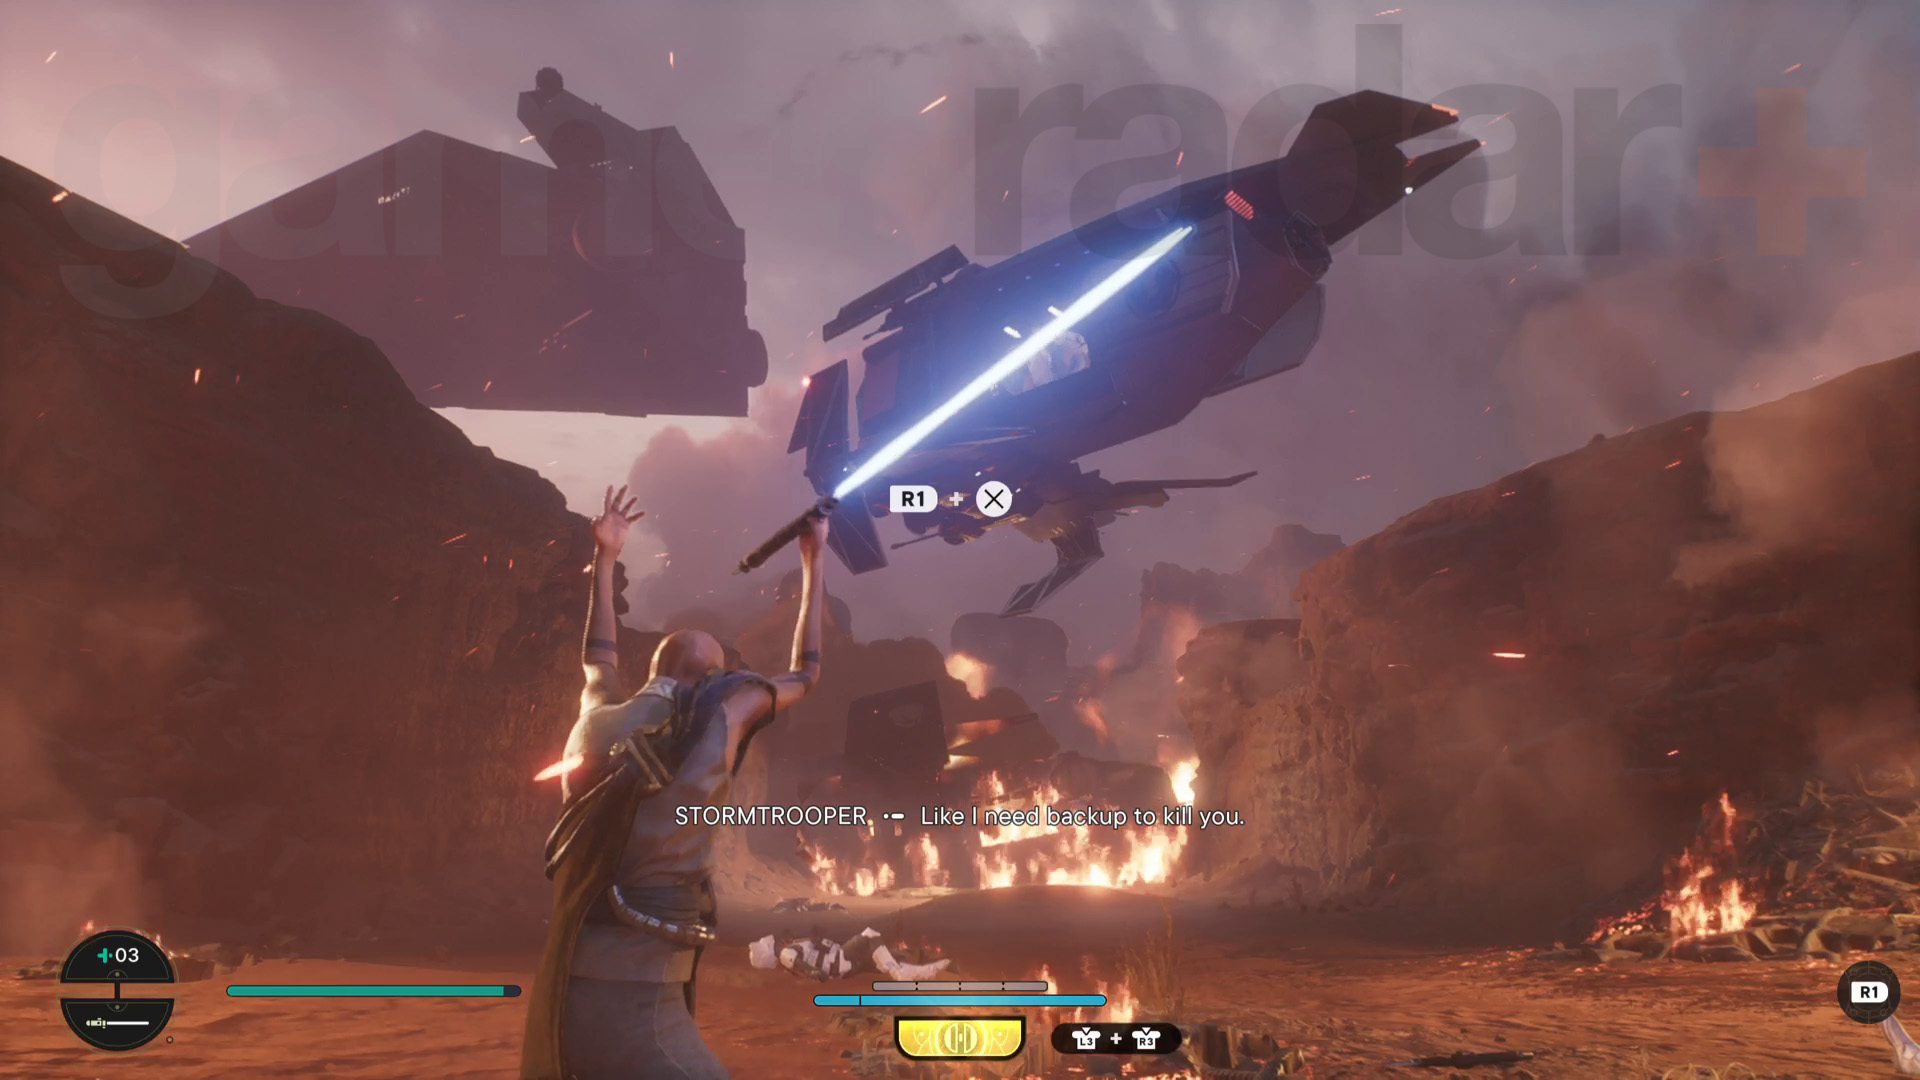
Now playing as Cere, you need to fend off the Imperial forces to give those in the base time to evacuate. Cere has pretty much the same moveset as Cal’s standard Single Blade Lightsaber Stance, and has all the same Force powers. However, instead of Cal’s Slow ability, Cere has a protective barrier that can absorb damage.
Keep fighting the waves of troopers until you get the opportunity to Force Slam a dropship into the ground. After this, Merrin will join Cere and tell her to come to the main gate.
Defend the main gate
Follow Merrin inside and rest at the Desert Passages Meditation Point.
Weekly digests, tales from the communities you love, and more
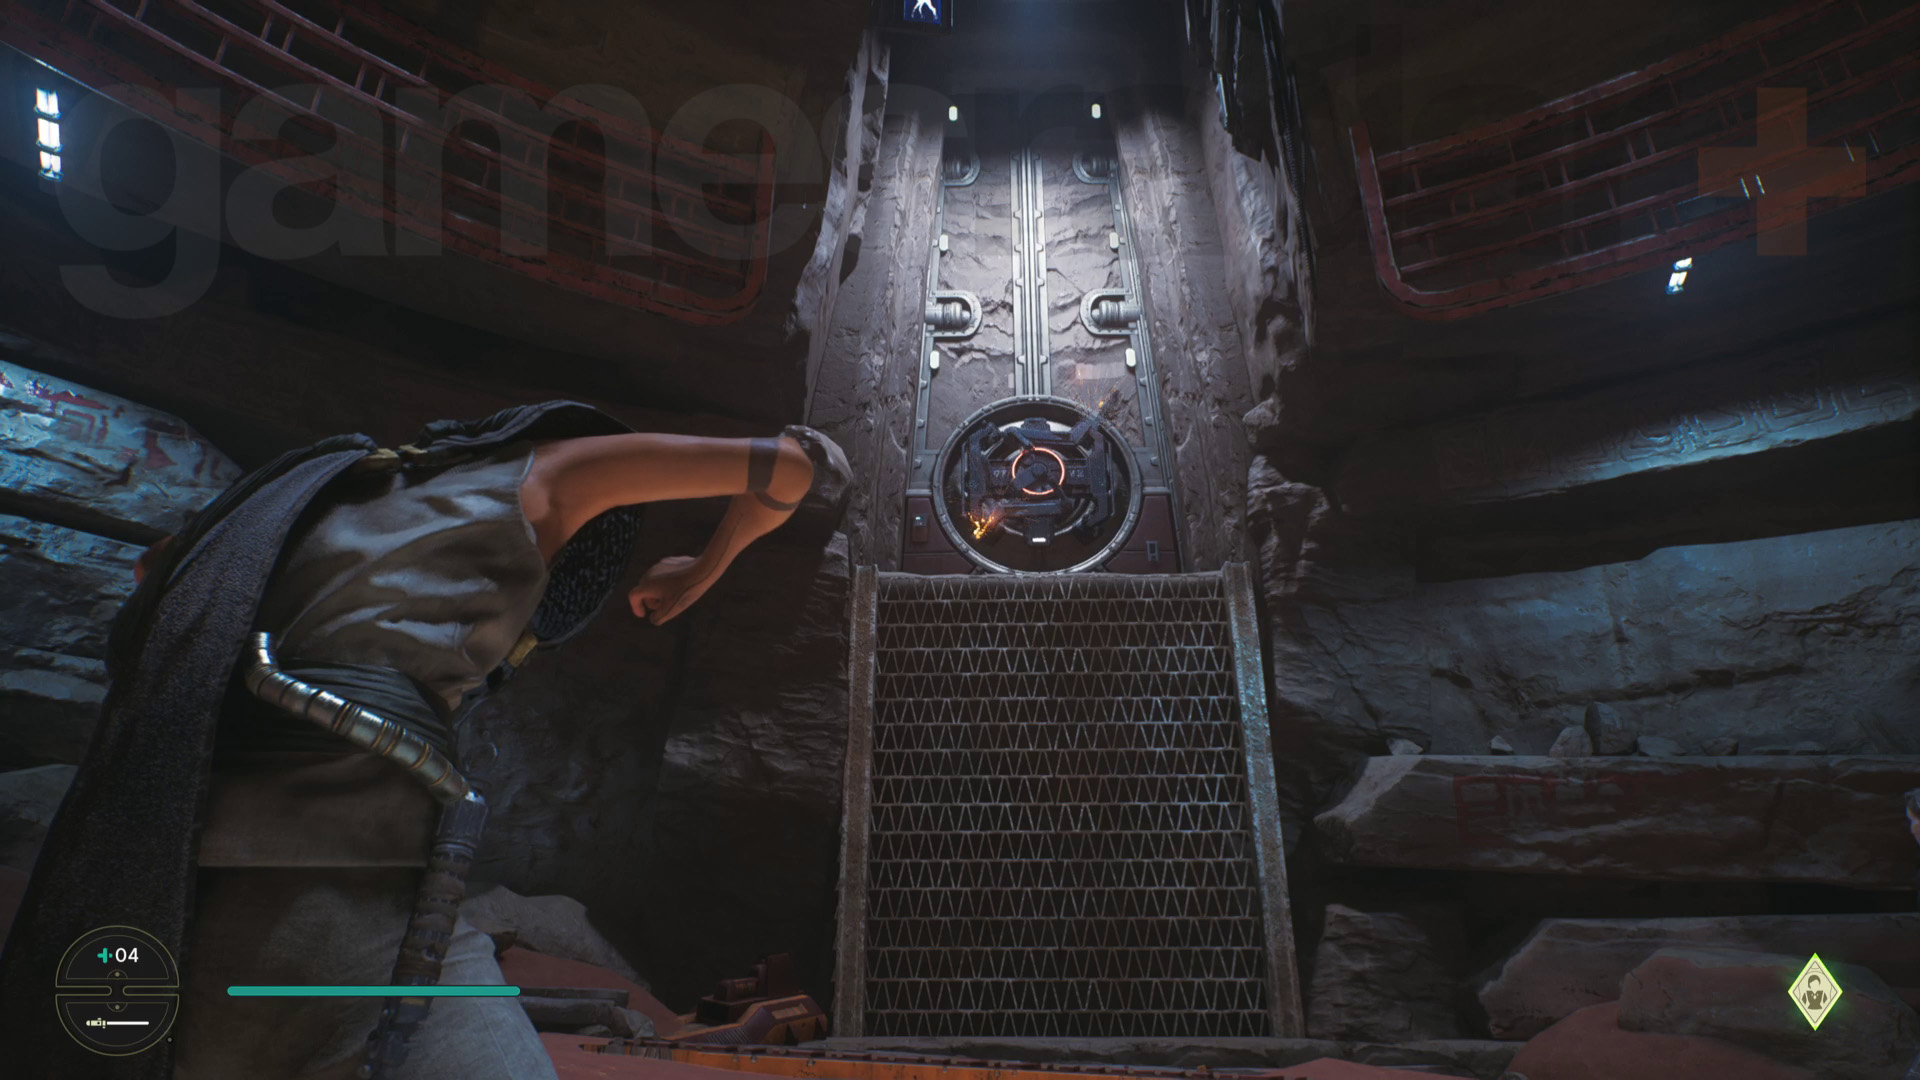
Next, stand back from the climbing grate and follow the ‘open’ prompt to rip apart a door lock with the Force – this is actually a shortcut that you can continue to use later. Climb up and follow Merrin through the base. Ride the lift up to the next area.
Stall the Empire's attack
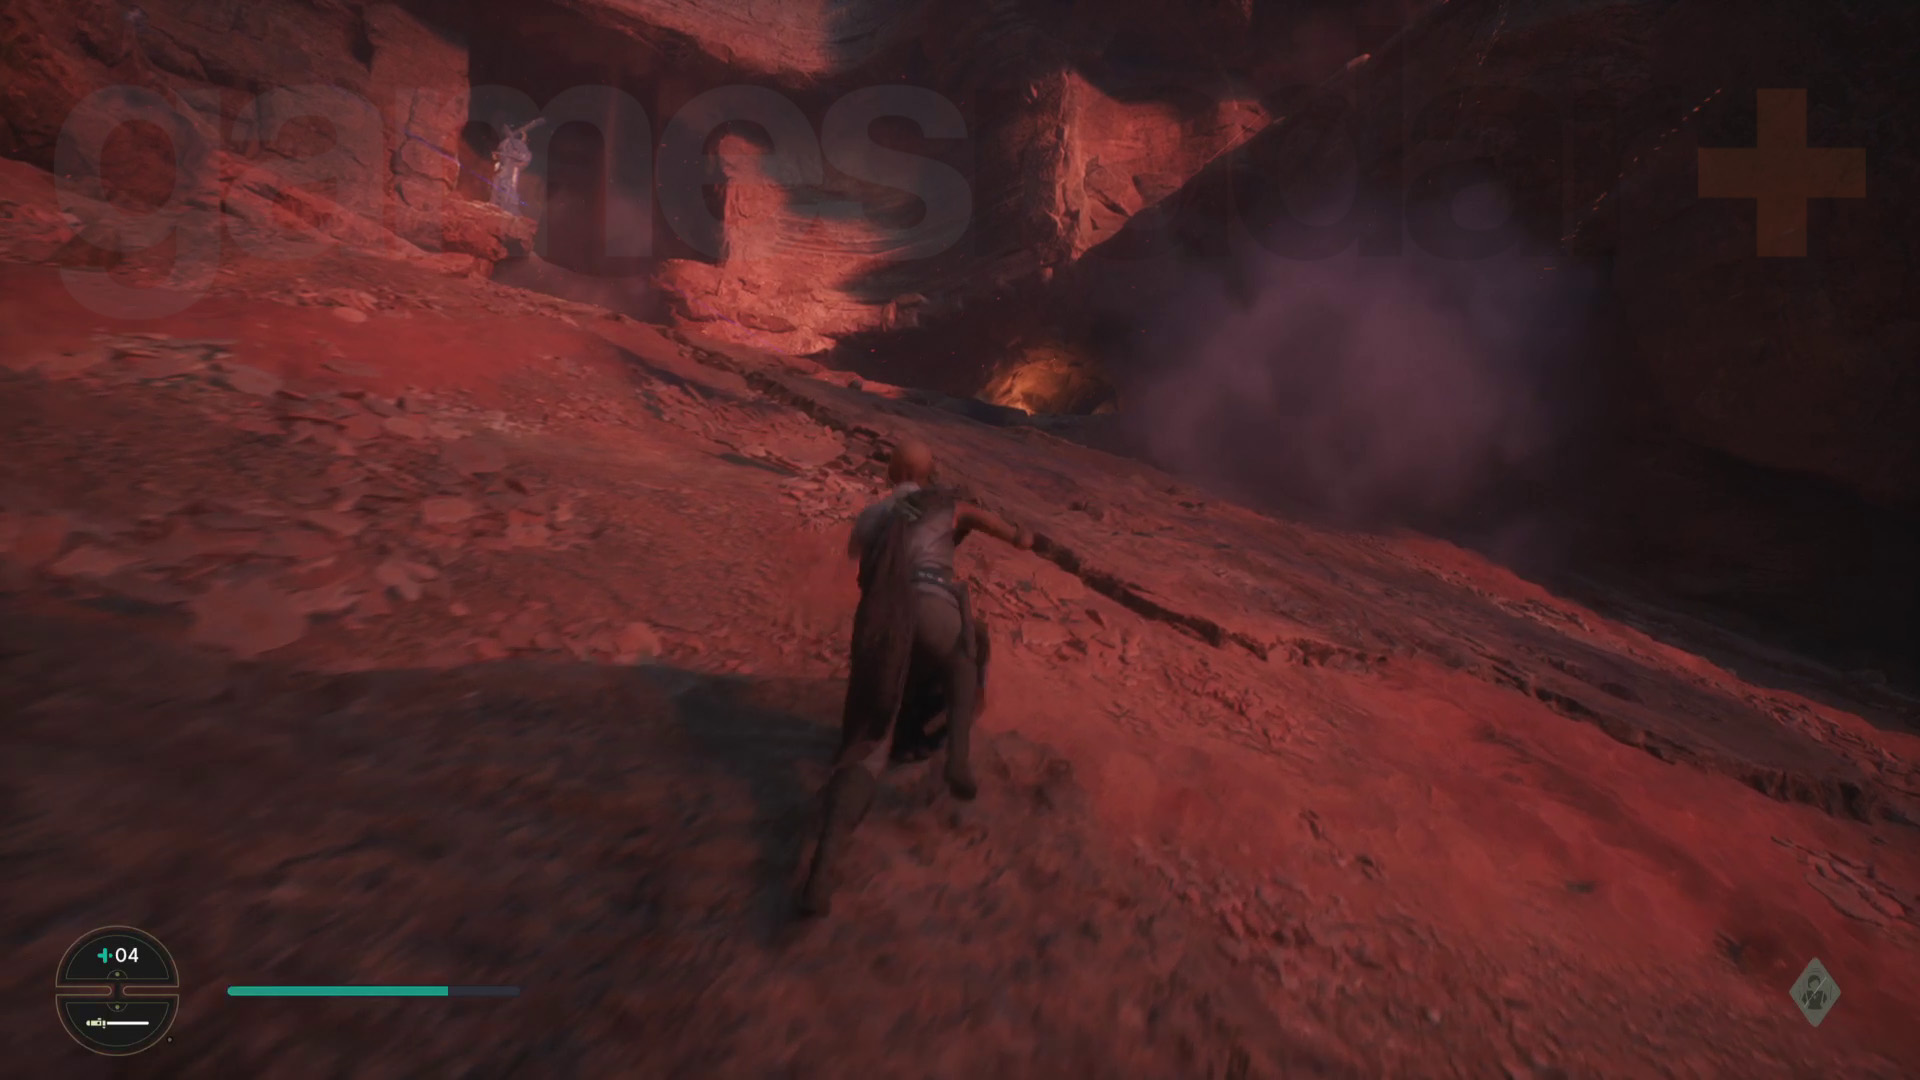
Head left and slide down the rock wall to fight more troopers. Continue running left to reach the Desert Ridge, then jump up the sandy hill using only the flat rocks.
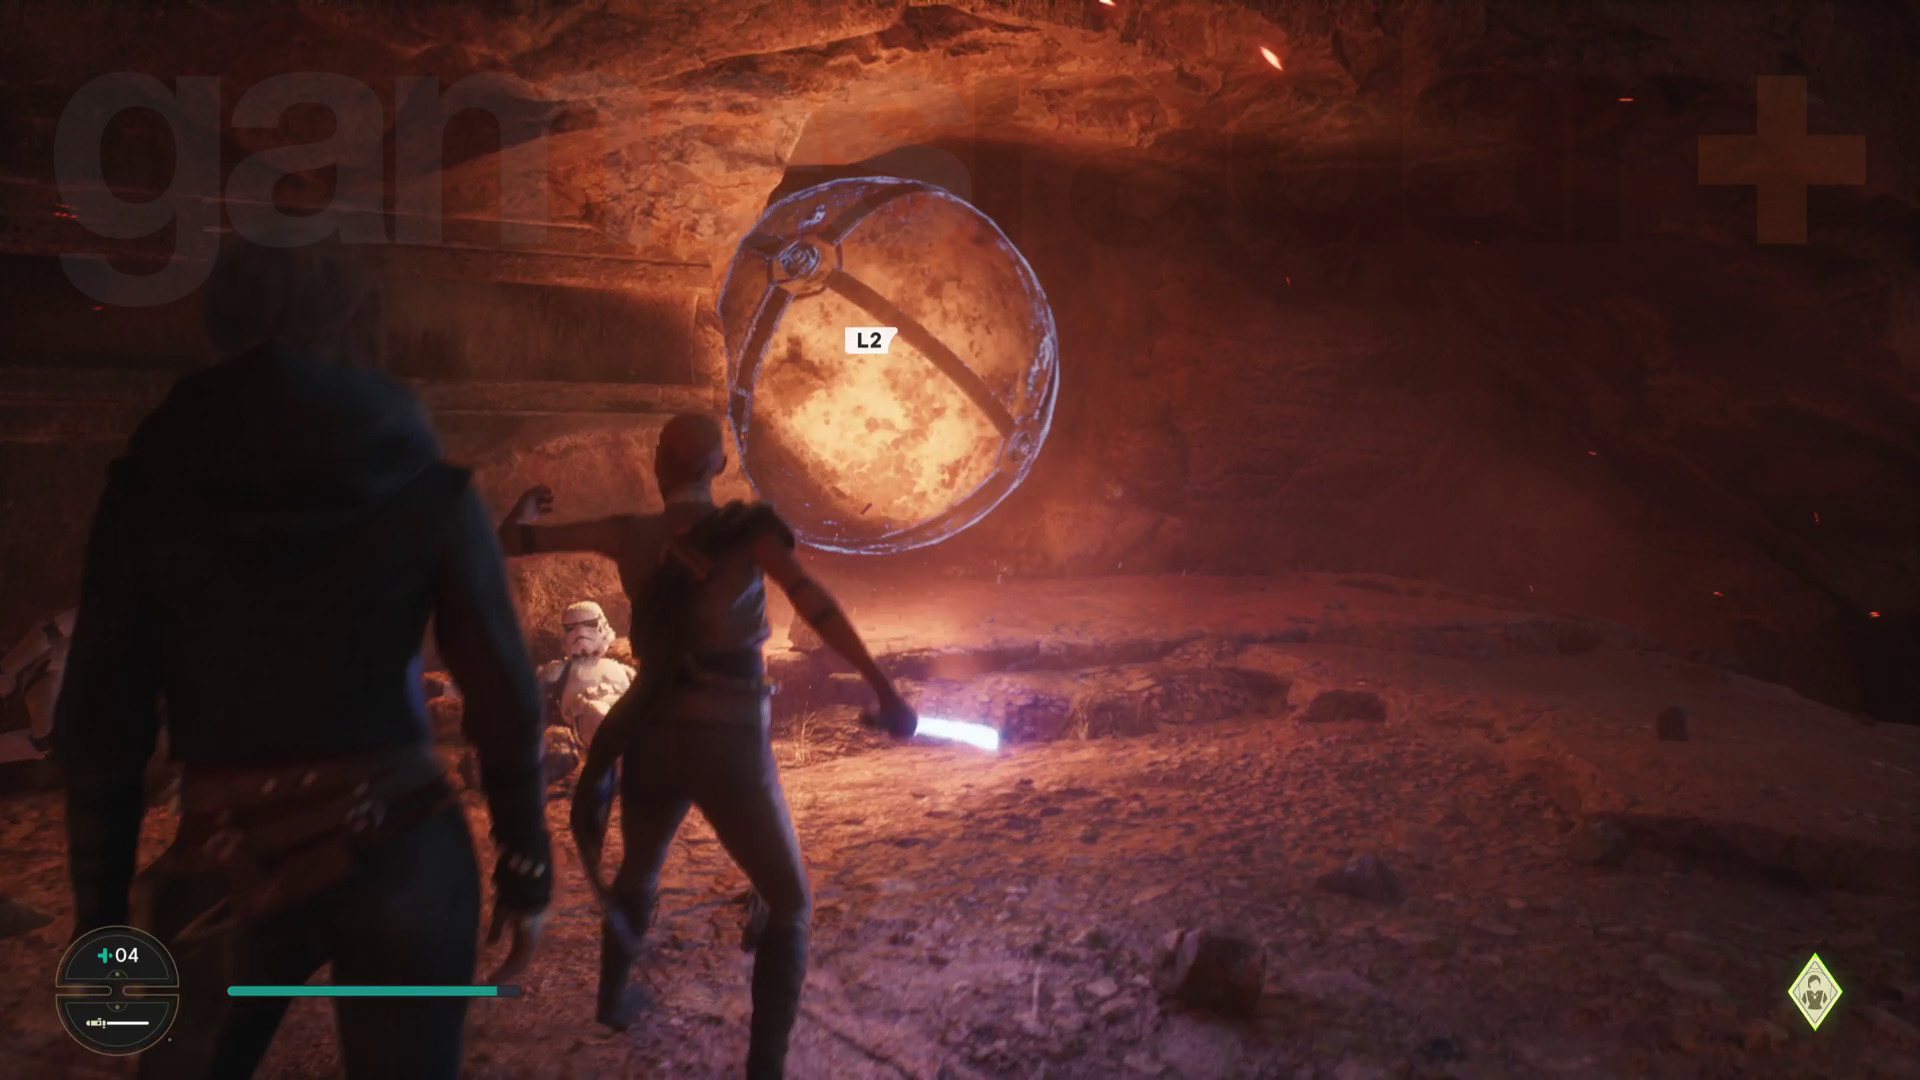
Fight the Imperial force at the top of the hill, then Force Push the marble around the track so that it hits the much bigger ball. This will send it flying into an AT-AT walker, destroying it. Moving the large ball also reveals a tunnel. Head through it to get to the Highland Vista Meditation Point and the next area.
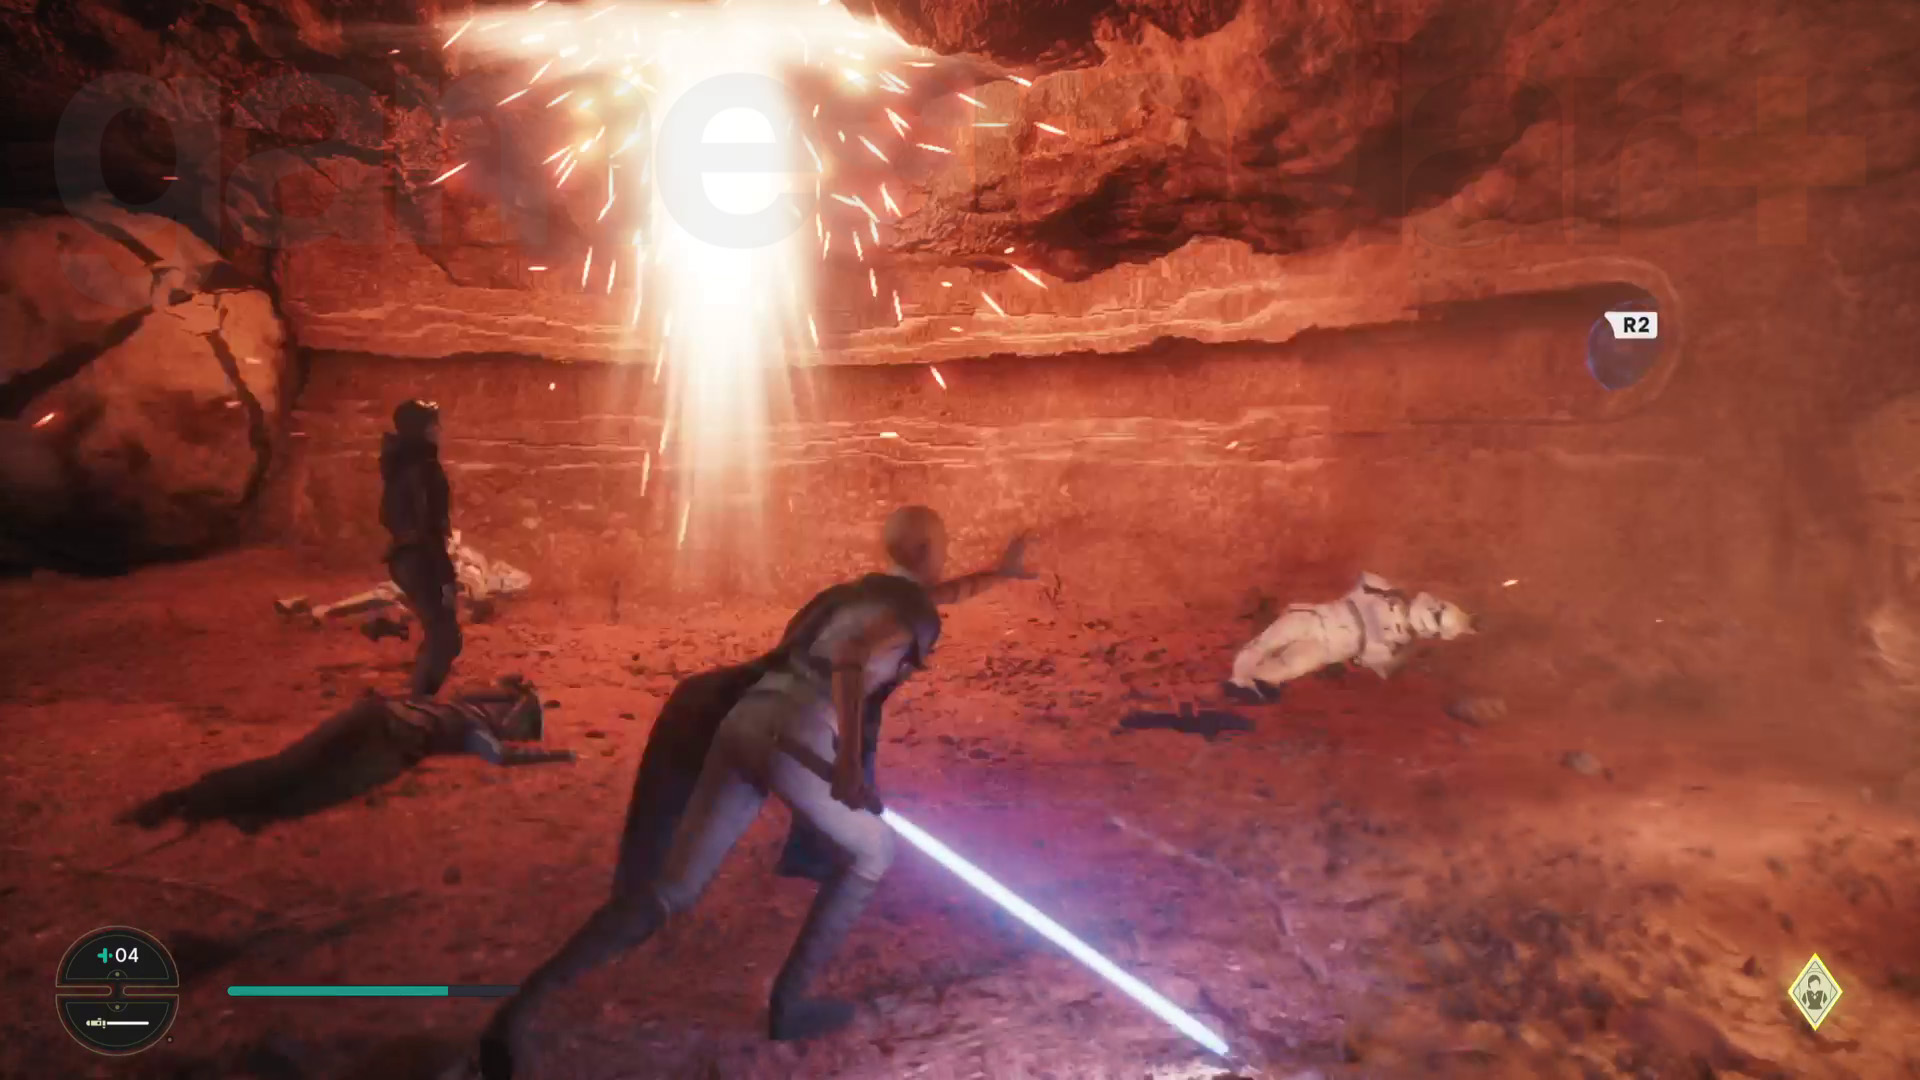
Fight more troopers, then Force Pull the big ball out of the wall first. Force Push the marble like before to launch the ball and destroy the second walker.
Reach the Hangar
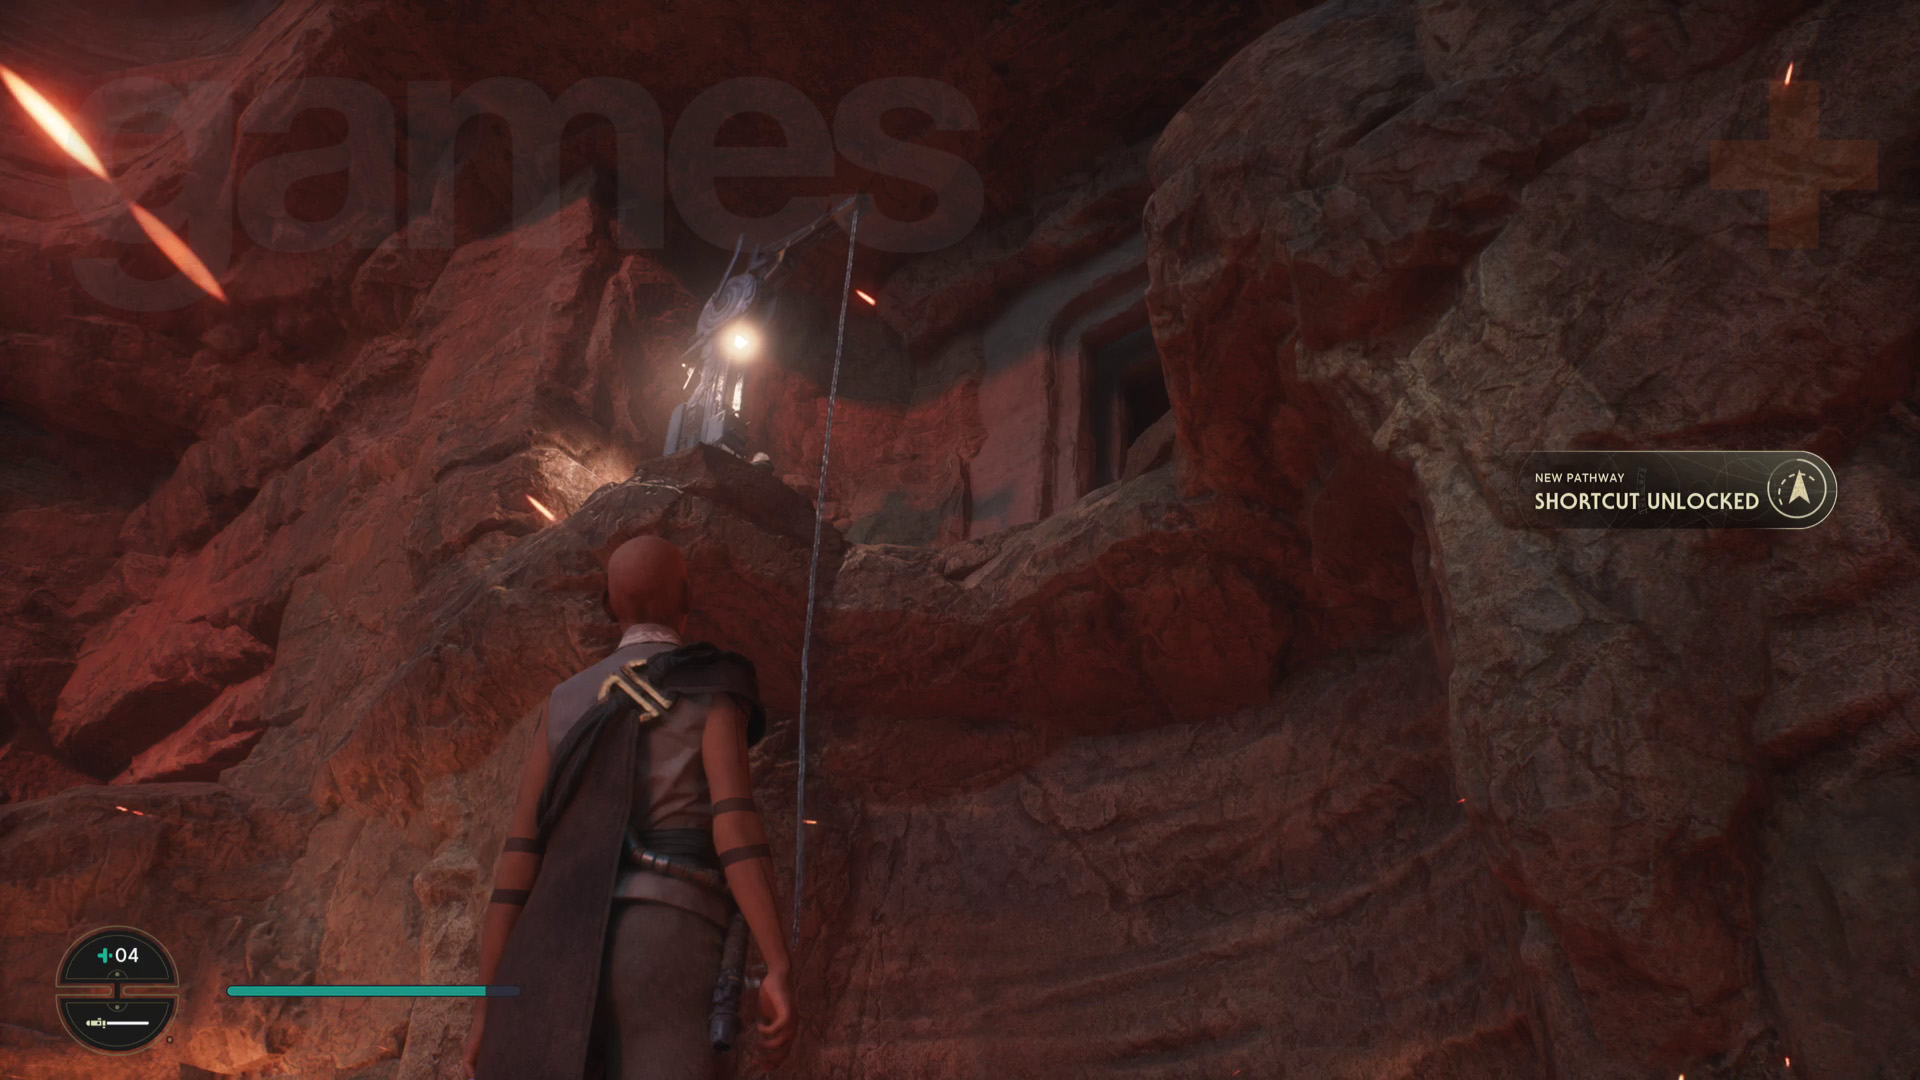
To get out of this area and back to the hangar, get Merrin to activate the cable shortcut up on the ledge. Next, slide down the lift shaft to reach the Base Antechamber Meditation Point.
Carry on into the Base Antechamber, then stand on the central plate to activate the door. Proceed into the Veiled Hangar.
Defend the Hangar
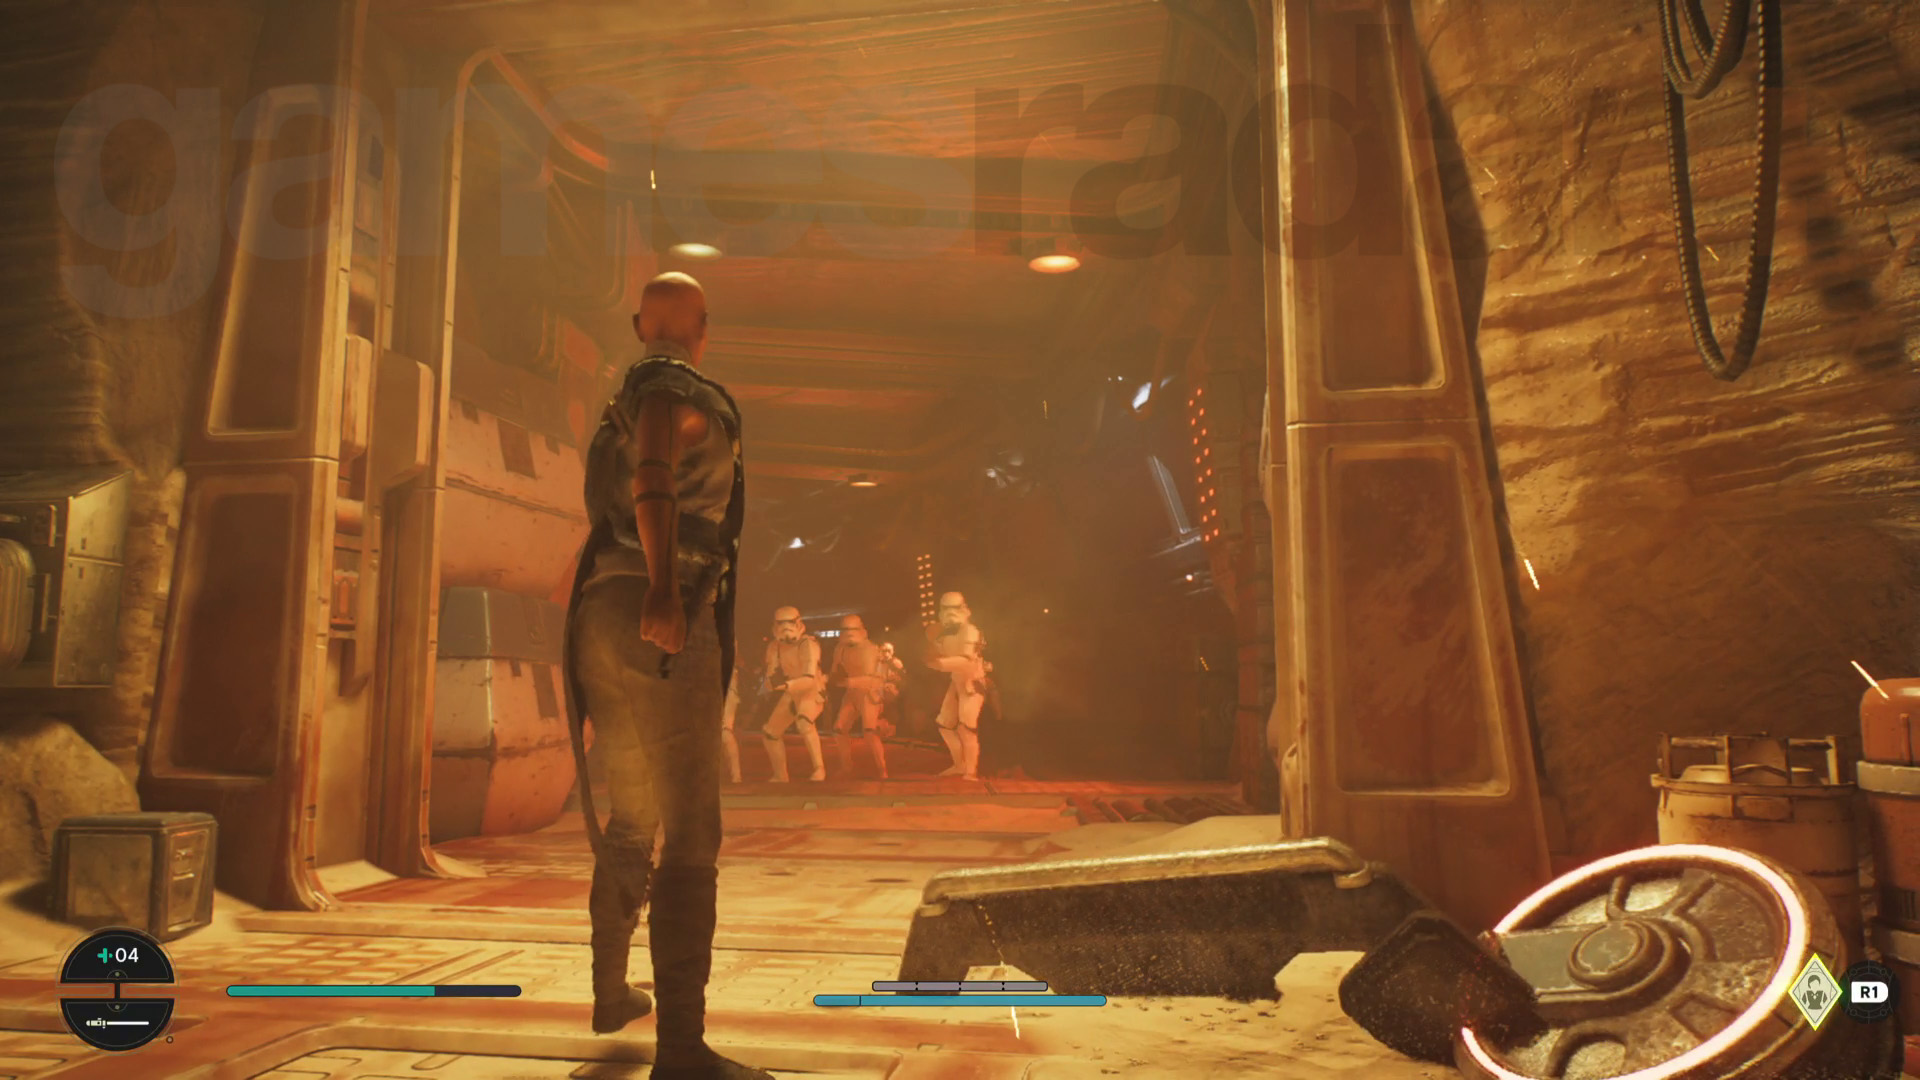
Head right around the hangar’s upper level, fighting troopers and opening locked doors along the way – the first door can be opened just by interacting with it but the second requires a nearby terminal instead.
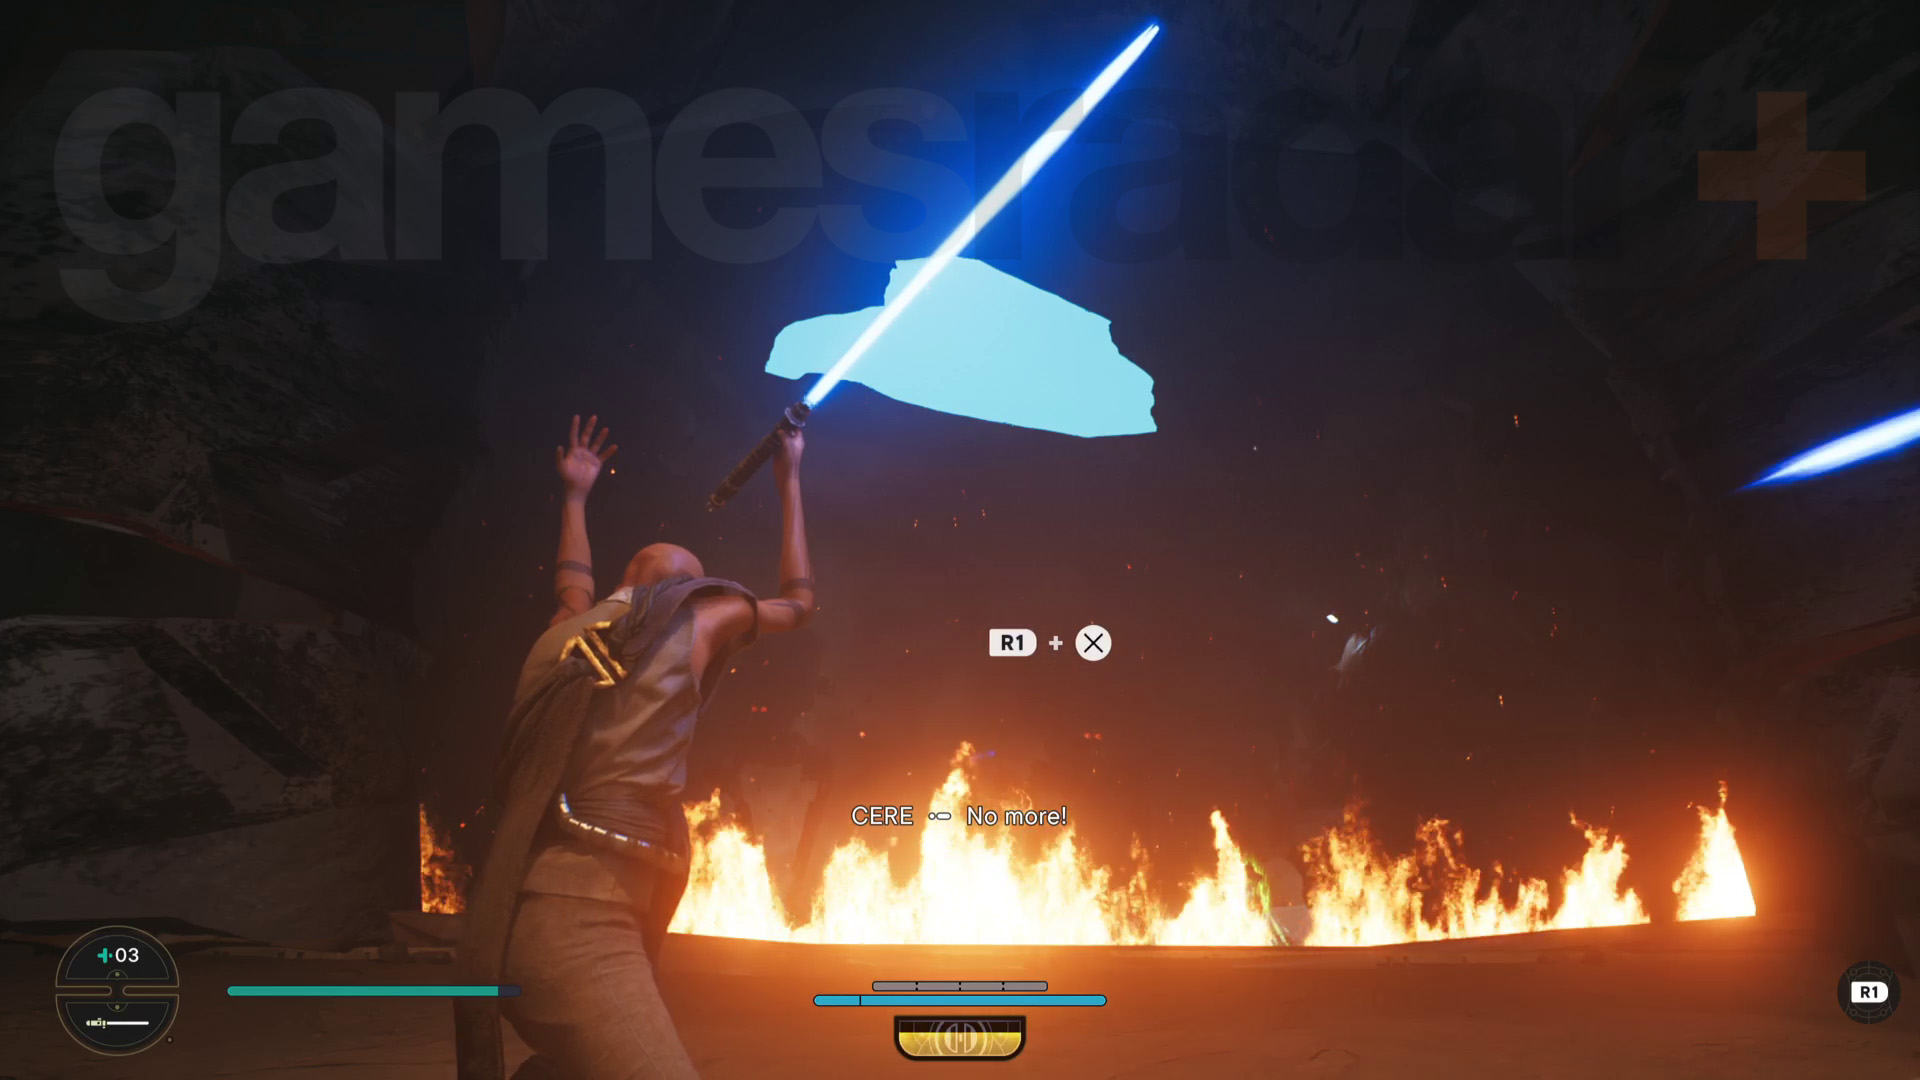
Once you’re through the second door, rest at the Veiled Hangar Meditation Point, then take the lift down to the hangar floor. The main gate will get blasted open, letting in lots of Imperial troops. Now you just need to keep fighting them until you get the chance to Force Slam part of the ceiling to block off the gateway. This leads into a cutscene that sees Cere head back to the Archive while everyone else prepares to escape on the Mantis.
Retrieve the contact codes from archives
Head towards the Archive and rest at the Archive Vestibule Meditation Point. Once you’re inside the Archive, head to the table on the right and interact with it. This will start a cutscene where Cere gives BD-1 the contact codes. However, Darth Vader arrives to face Cere.
Star Wars Jedi Survivor Darth Vader boss fight
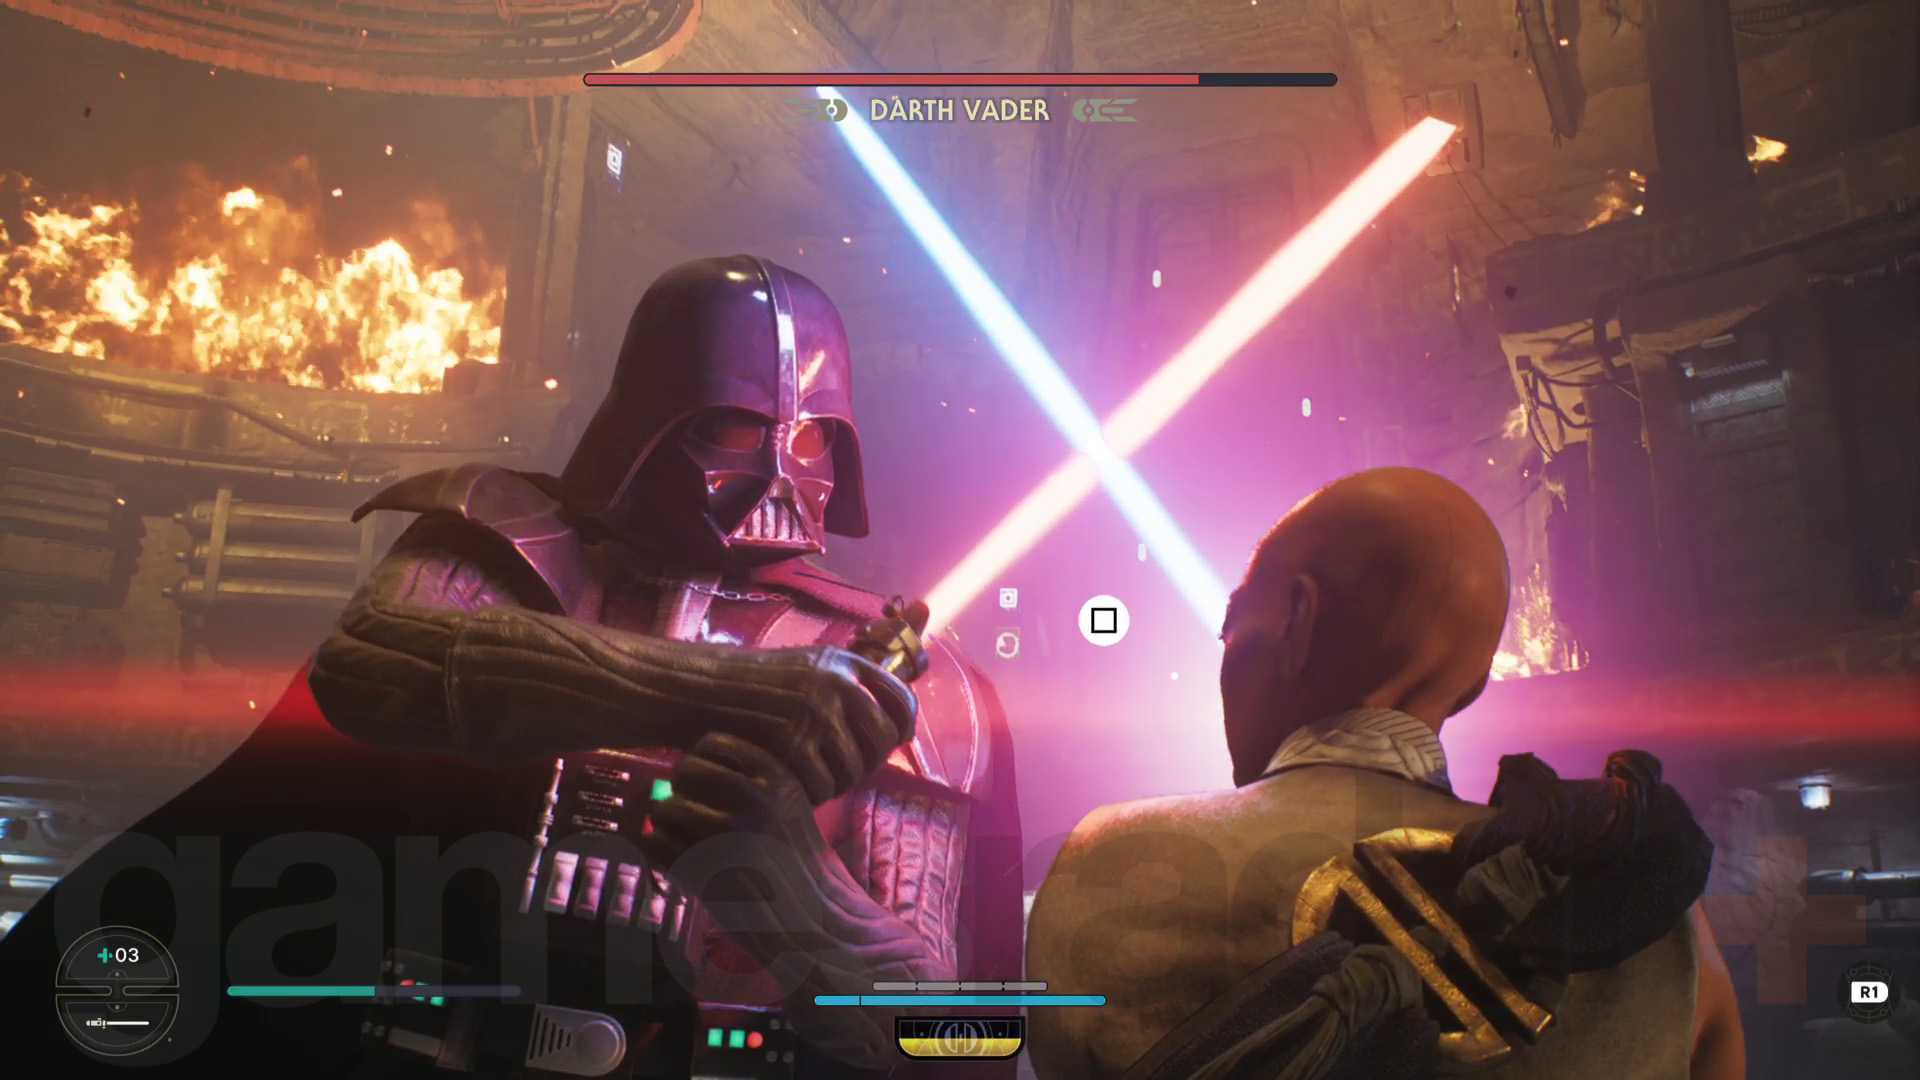
This boss fight against Darth Vader is definitely one of the toughest in Star Wars Jedi Survivor. It starts off as less of a challenge but quickly becomes quite difficult, as Vader has several brutal attacks that hit incredibly hard. Cere also only gets four healing items, so you’ll need to manage that effectively to make it all the way through. Like the previous Dagan Gera fight, a few cutscenes interrupt your battle too.
Vader’s attacks are generally slow but hard-hitting. This does make them quite easy to parry, and you can get occasional Lightsaber jabs in to wear him down. The main things to look out for are his unblockable attacks, particularly the grab – they have long windups, meaning they’re easy to anticipate, but they deal a lot of damage if they connect. He also has two Force powers that cannot be countered in any way but also deal no damage -a grab where he picks you up and pulls you in close, and a push that forces you back.
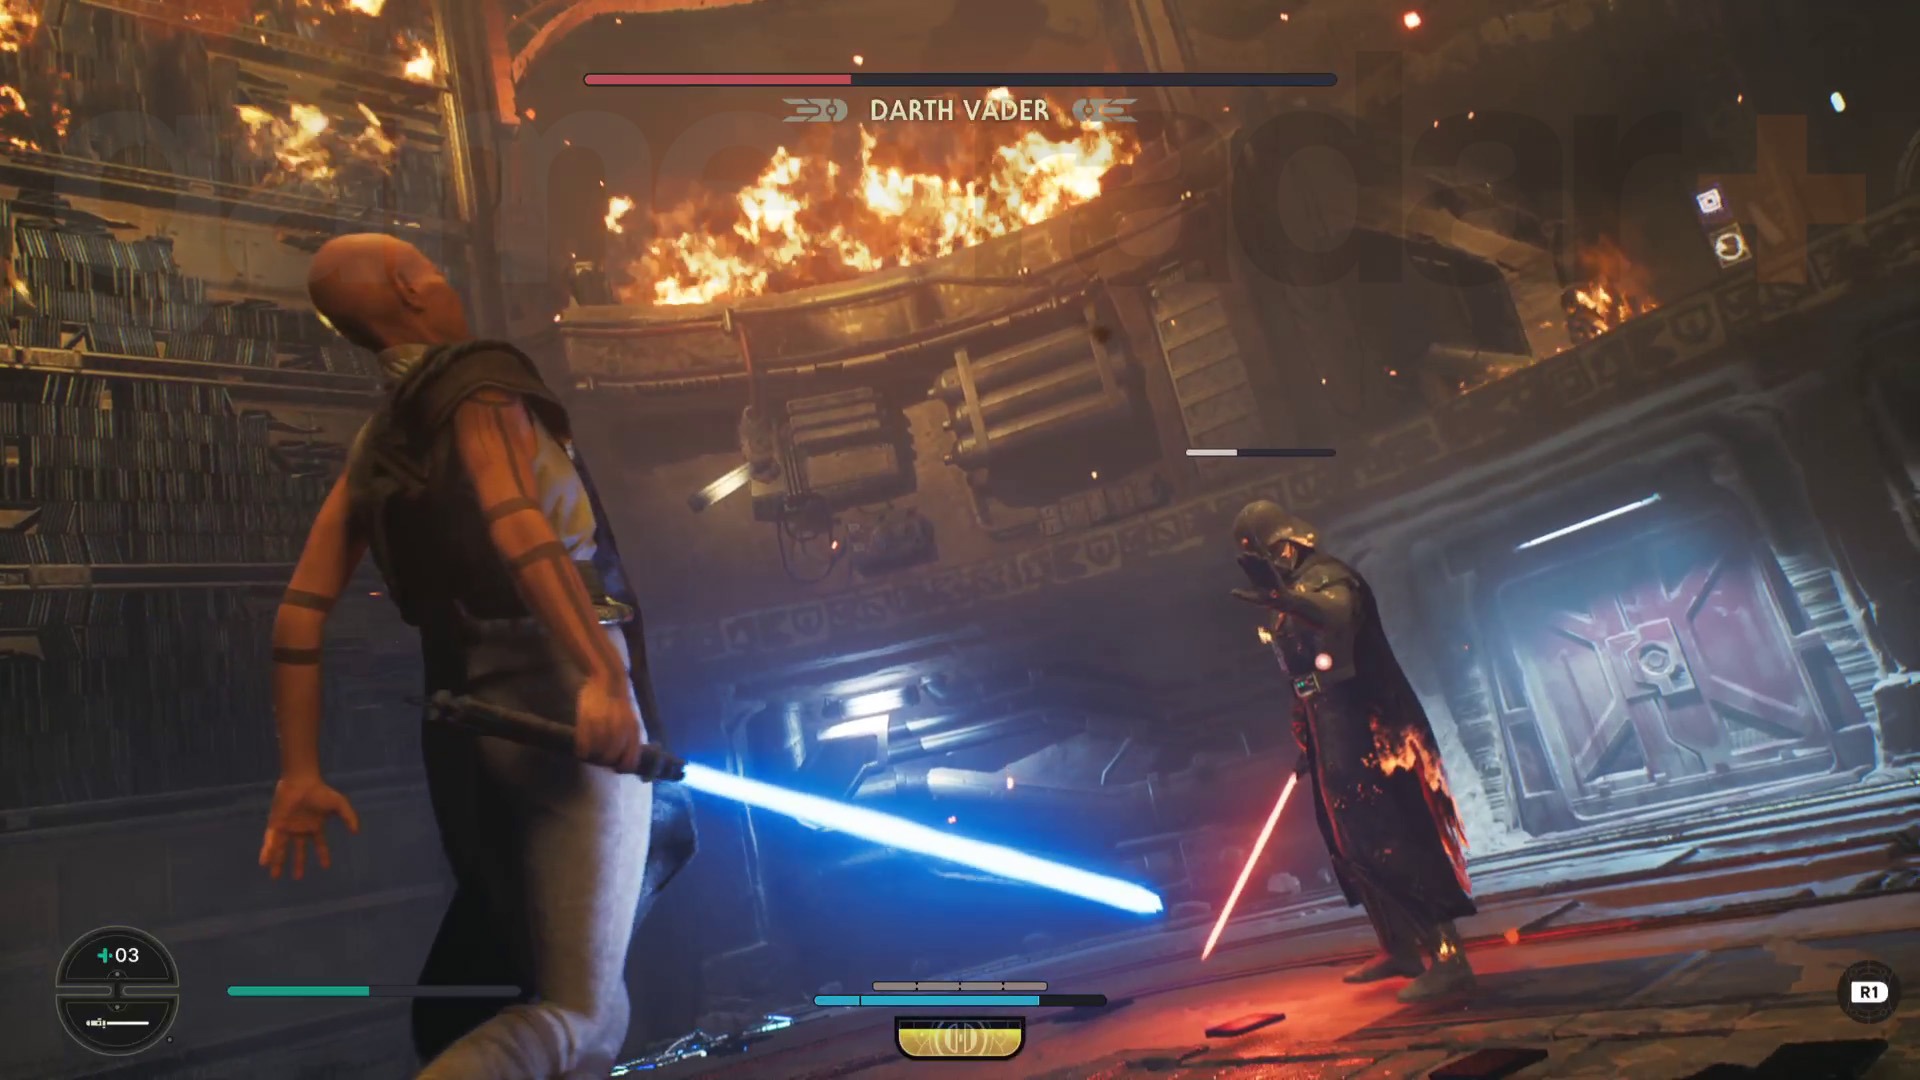
Once you get Darth Vader to about half health, the second cutscene will play, then fight will resume with Vader fighting significantly more aggressively here. His regular attacks hit extra hard and he mixes them with unblockables, so you’ll need to react quickly with appropriate parries and dodges.
Keep fighting and you’ll reach the third and final cutscene showing the end of the fight. Afterwards, Cal, Merrin, Greez, and BD-1 assemble back on the Mantis and Cal uses a locator beacon to track Bode to the Nova Garon system. With Nova Garon unlocked, travel there using the holotable to locate Bode.
© GamesRadar+. Not to be reproduced without permission.
Current page: Jedi Survivor Jedha walkthrough 3, Bring compass to Cordova
Prev Page Jedi Survivor Koboh walkthrough 6, Koboh Observatory Next Page Jedi Survivor Nova Garon walkthrogh
Will Sawyer is a guides writer at GamesRadar+ who works with the rest of the guides team to give readers great information and advice on the best items, how to complete a particular challenge, or where to go in some of the biggest video games. Will joined the GameRadar+ team in August 2021 and has written about service titles, including Fortnite, Destiny 2, and Warzone, as well as some of the biggest releases like Halo Infinite, Elden Ring, and God of War Ragnarok.
- Leon HurleyManaging editor for guides
