The full Star Wars Jedi Survivor walkthrough
The complete guide on what to do and where to go in Star Wars Jedi Survivor
The second Tanalorr mission is back on Koboh, in an area full of stone spires that you likely won’t have explored yet. Get back in the Mantis and head over to Koboh to begin your research.
Research Tanalorr on Koboh via the Stone Spires
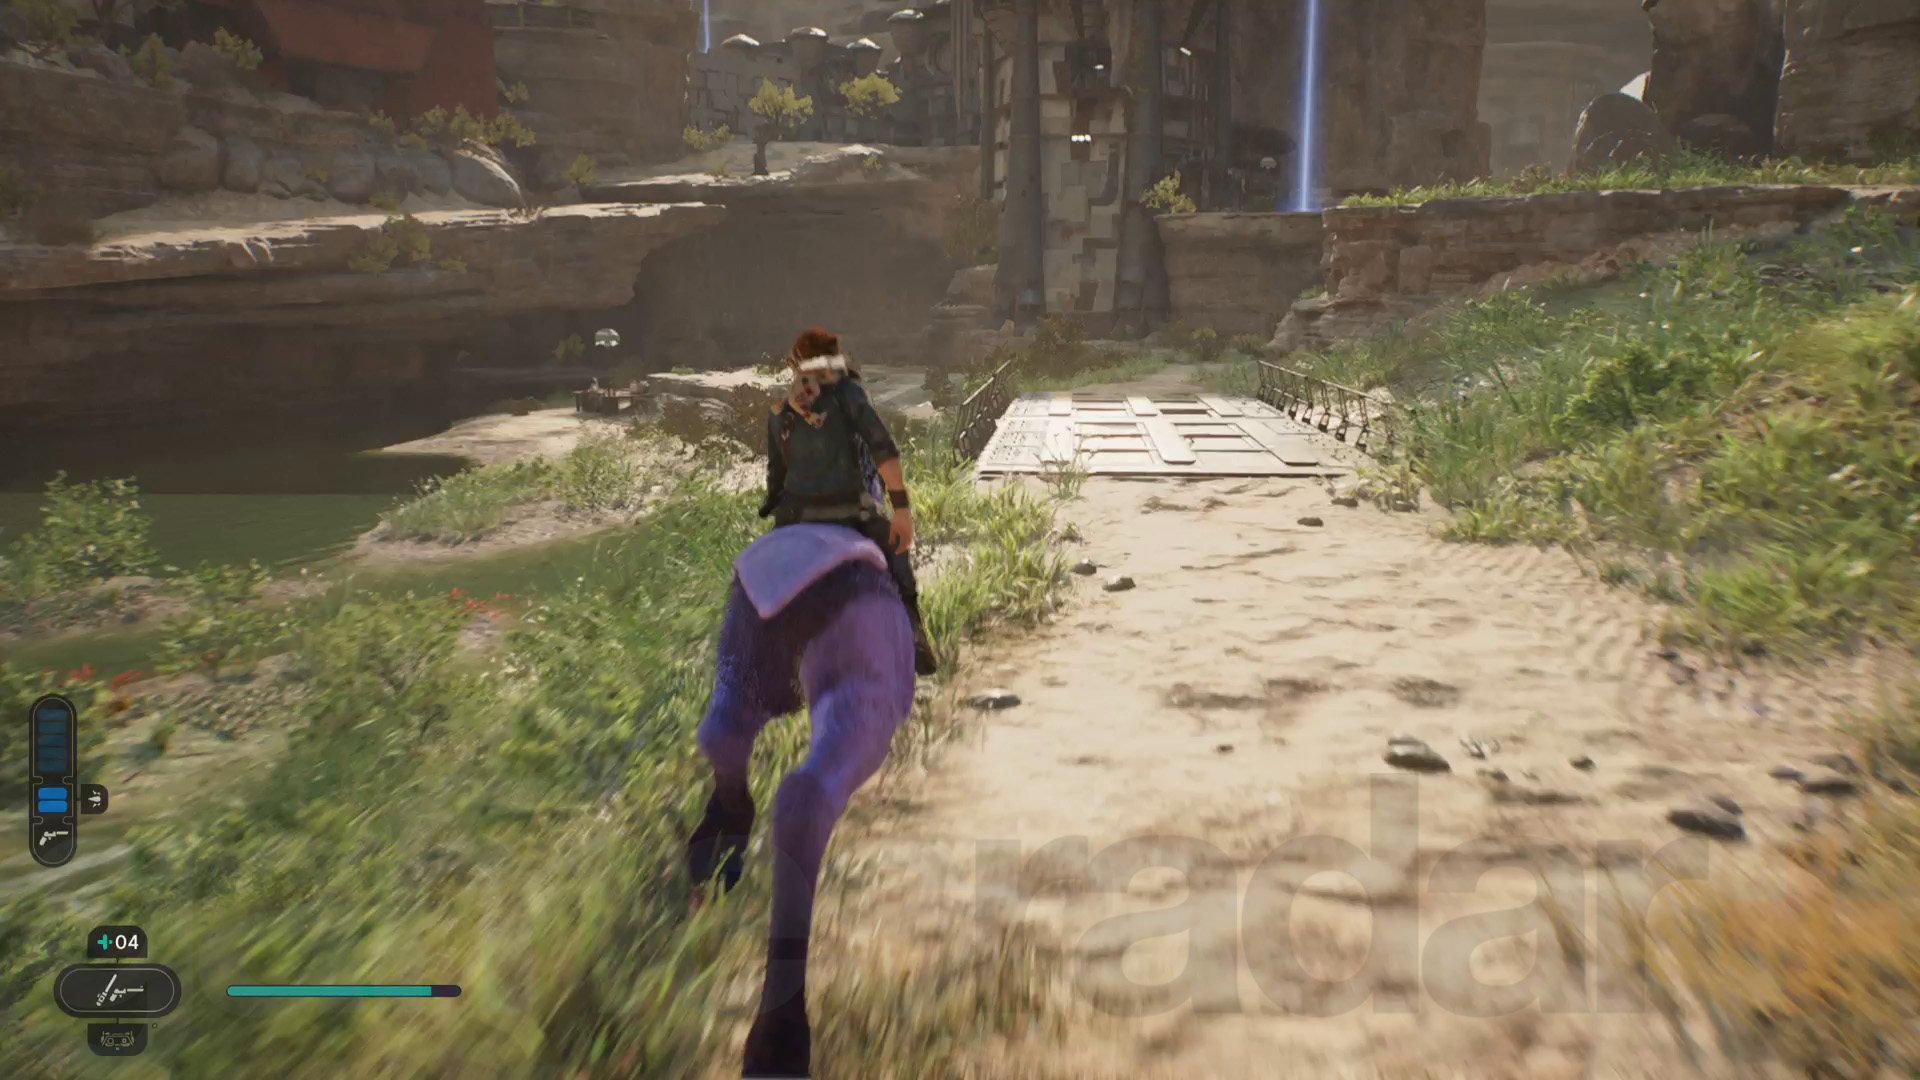
To start the journey to the Stone Spires, leave the landing pad and head to the Rambler’s Reach Outpost Meditation Point. Once there, go left to reach Riverbed Watch. You’ll see a tall, locked gate occupied by Bedlam Raiders to the right and a river that flows downhill to the left. You need to follow the river down to the left, but I’d recommend quickly using a Nekko to super jump up to the Riverbed Watch Meditation Point.
Follow the river down and you’ll reach the edge of a waterfall. Use the nearby Relter to glide across the pit ahead to reach the lower ledge – this gets you to an area called the Igneous Fissure. Get up the rock wall ahead by bearing left, wall running and then climbing. This will get you to the Igneous Fissure Meditation Point.
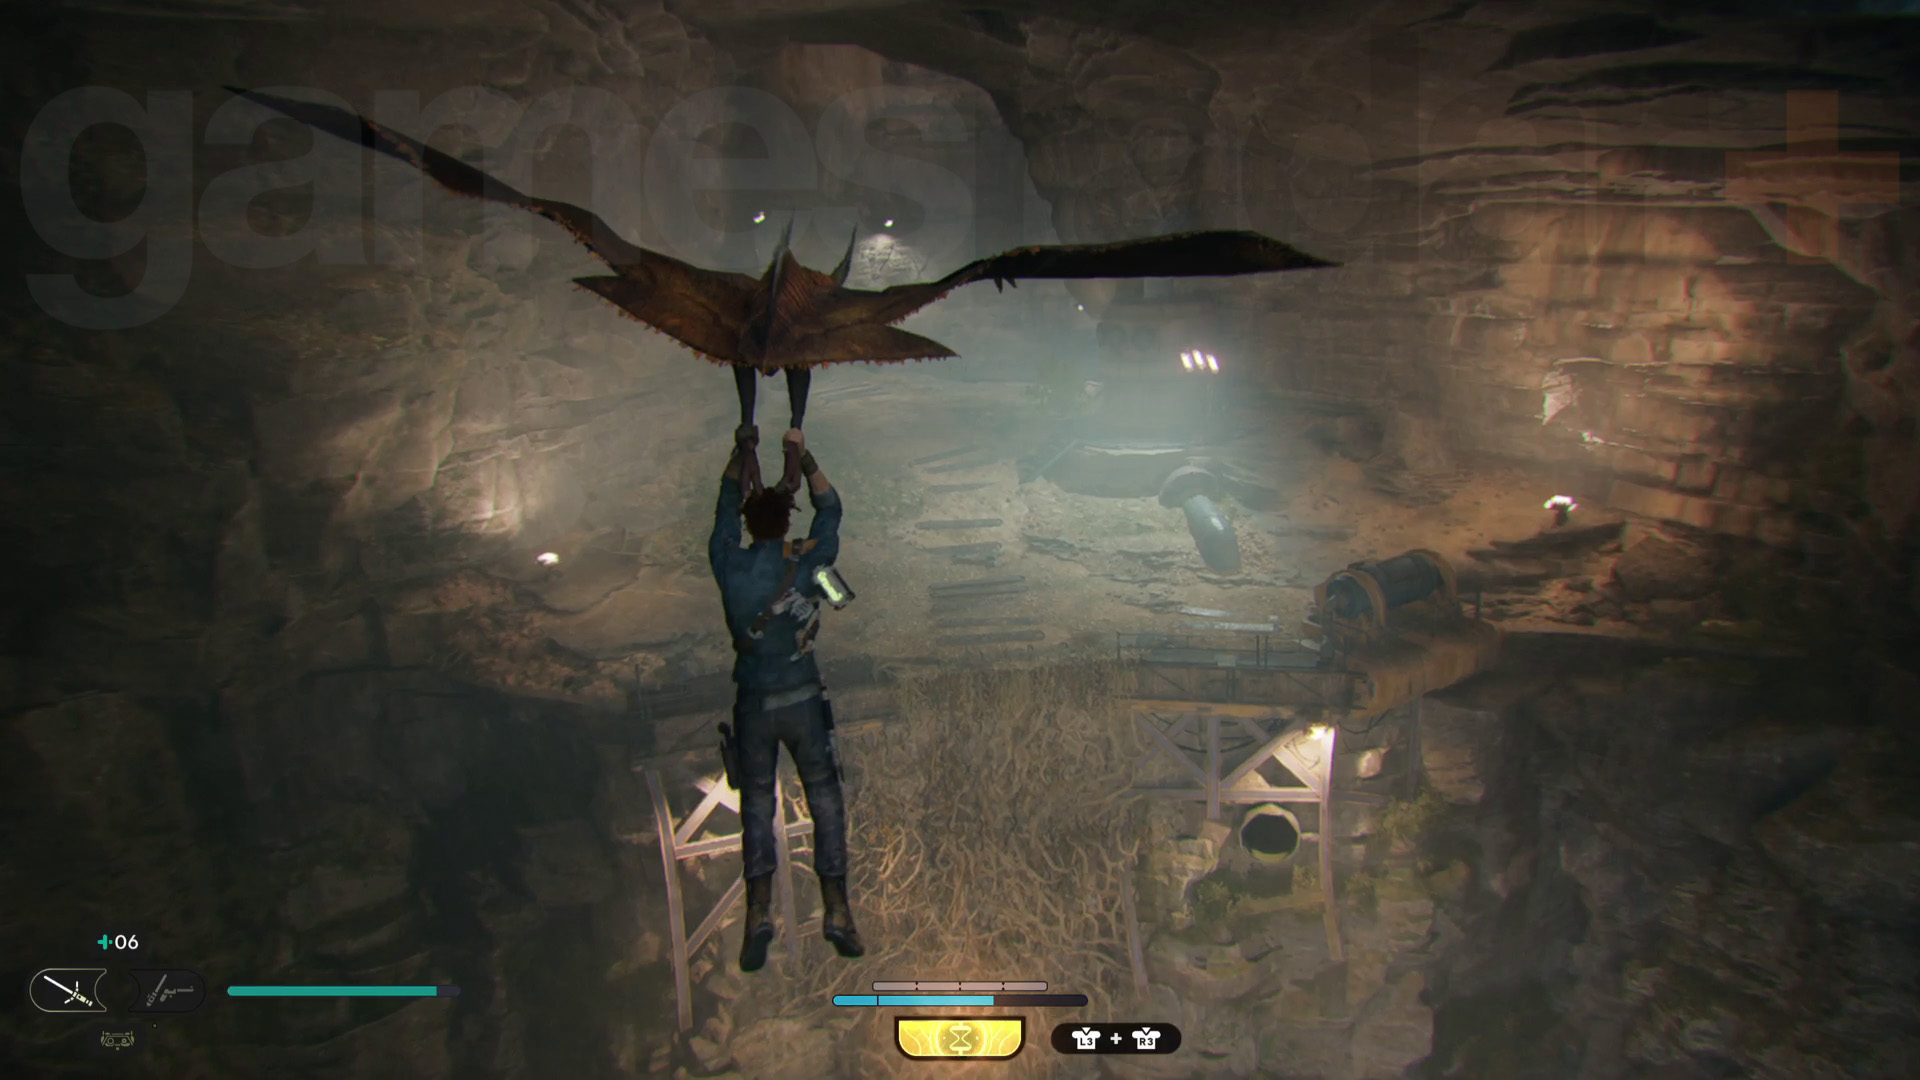
Next, grapple across the waterfall to reach another Relter, which you need to glide through the lava fissure cavern. You’ll emerge into an open area with lots of stone spires known as the Devastated Settlement, but to reach the nearest landing area, make sure you glide over the thermal vent to get an altitude boost.
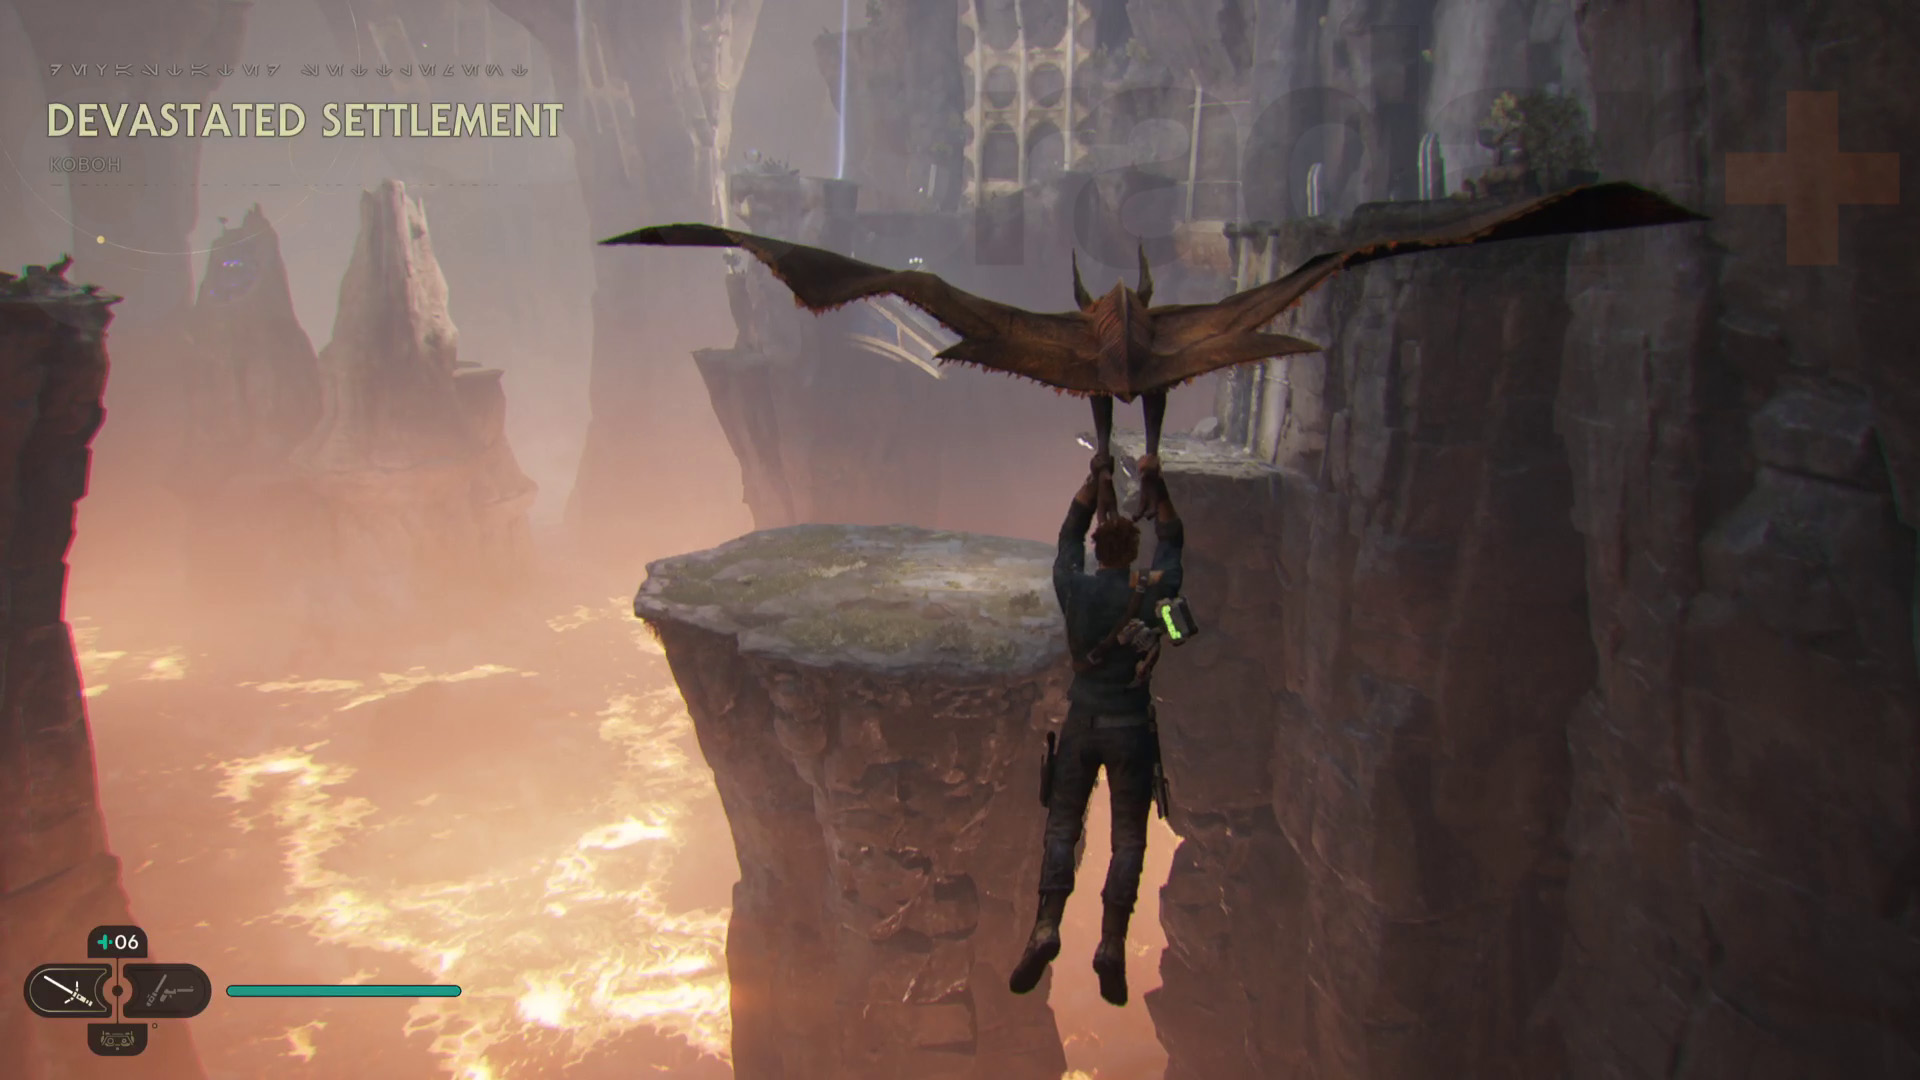
As you glide to the nearest spire, Cal will get grabbed by a jetpack bounty hunter called Korej Lim, leading into a boss fight. Korej’s jetpack means they’re agile and can get out of Cal’s melee range, so use Force Pull to limit their manoeuvrability. Send any blaster shots back their way with Lightsaber deflections and use Force Push on any grenades too.
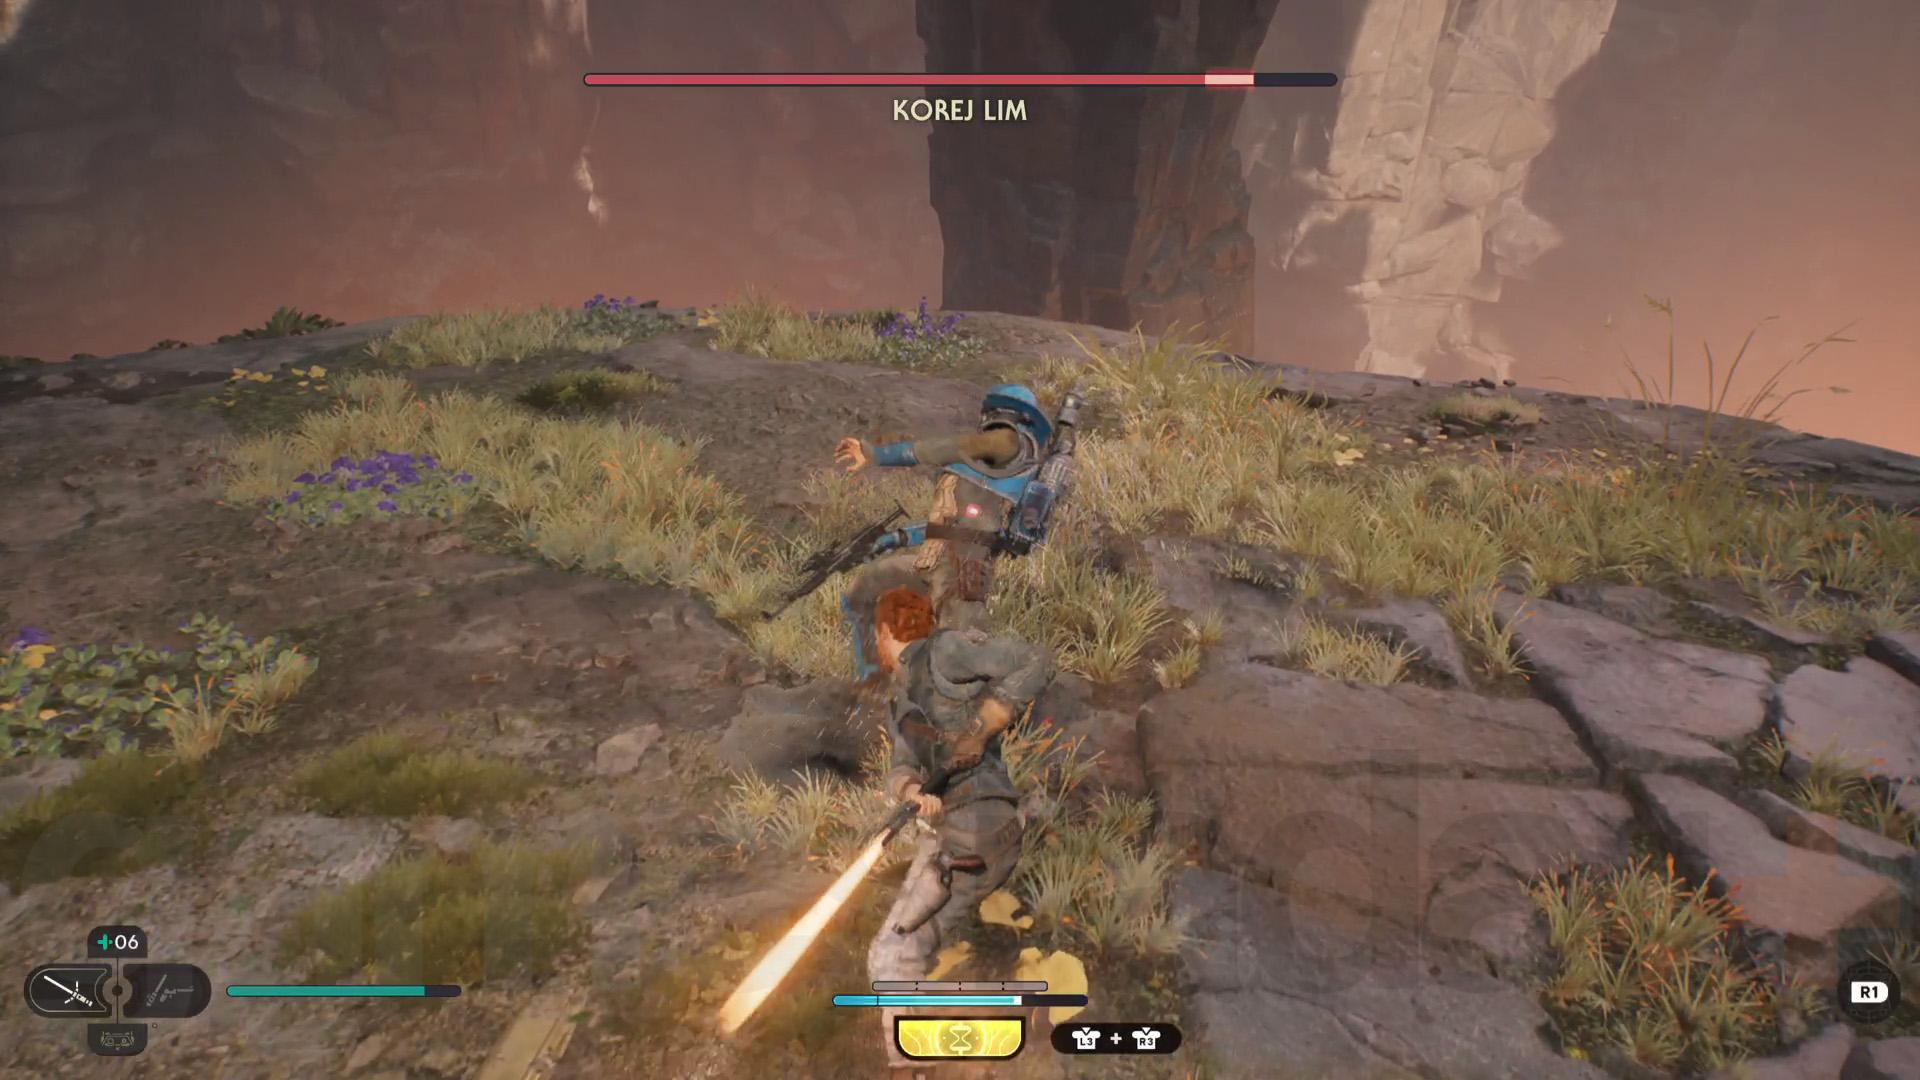
With Korej defeated, you’ll be greeted by Caij, the space-stetson wearing woman you’ve probably already seen in the saloon. Grapple up to the ledge she’s sitting on then wall jump up the rock wall just behind her.
This takes you to a large clearing with a green laser barrier on the right and a destroyed bridge on the left – watch out for deadly creatures too. Head along the bridge and glide using the Relter to the other side, then rest at the Devastated Settlement Meditation Point.
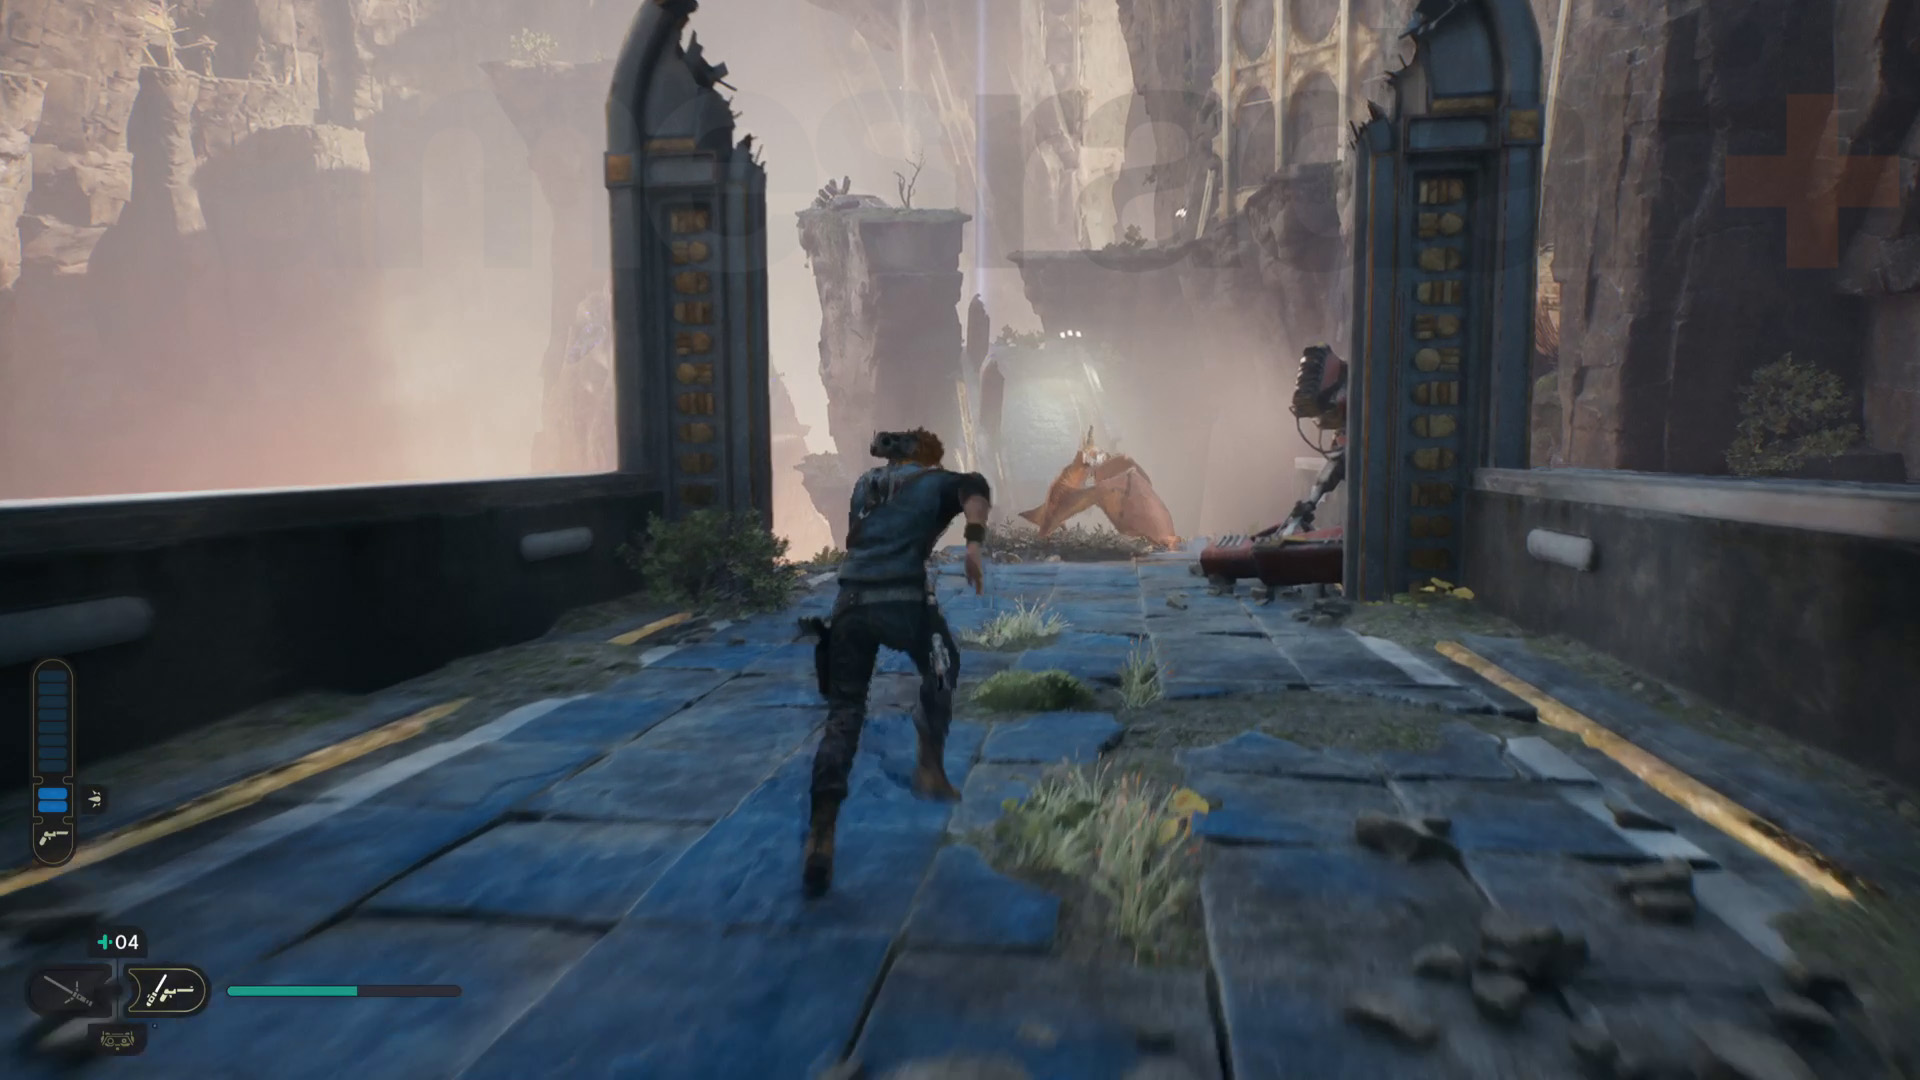
From the Meditation Point, grapple up to the left and climb the spire. At the top, you’ll find a coupler with a missing orb, so to get one, jump across to the ledge on the right and go inside the structure in the cliff wall.

You’ll emerge into a room that’s split in half and the half you’re in has a rotating switch, while the other half has a beam produced by an orb and coupler. This beam can be moved by Force Pushing the switch, but a cube blocks the beam’s path.
You can reach the other half of the room by slipping through a gap in the window that divides the room so, to get the orb from the coupler, you first need to get through to the beam side of the room and Force Pull the cube off the ledge to clear the way. Go back to the switch and Force Push it to move the beam all the way to the left, destroying some Koboh matter in the process and unlocking an extra ledge with a coupler on it.
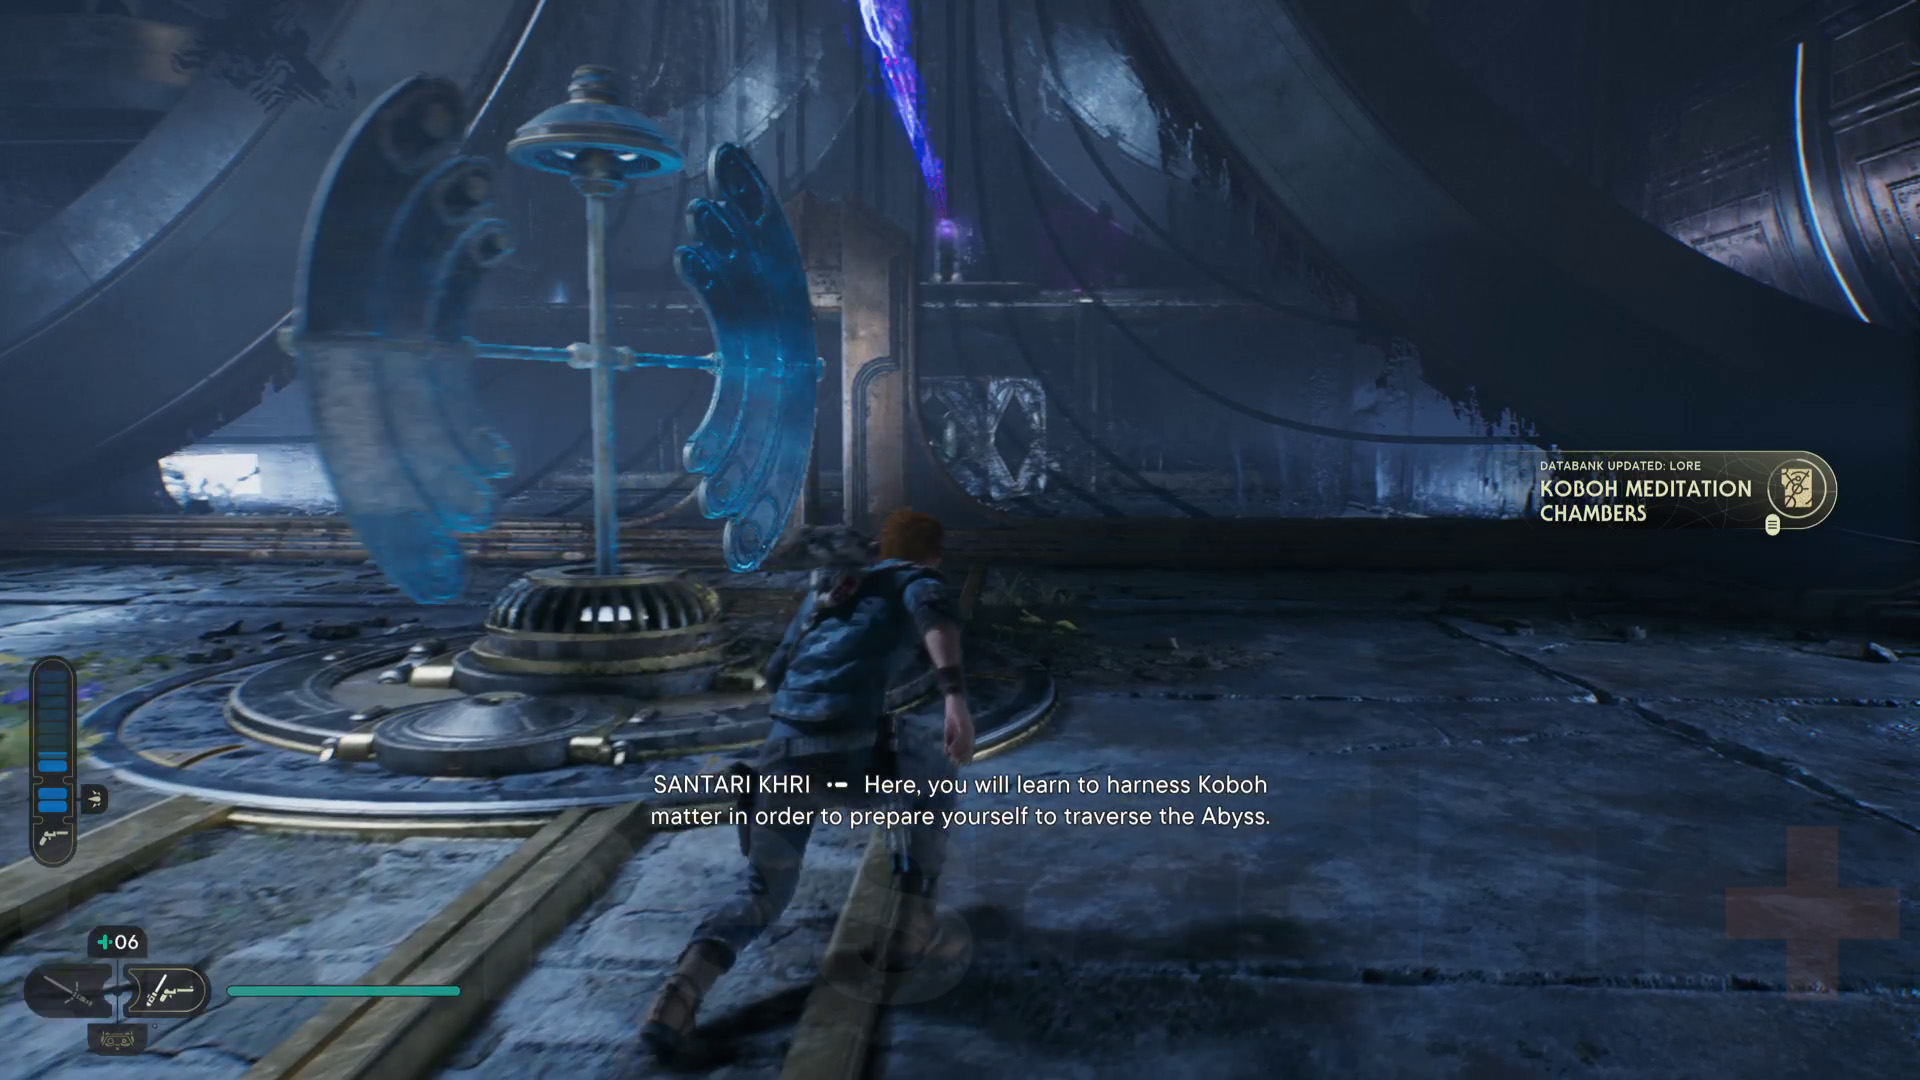
Next, go back through to the beam side, grab the orb from the beam coupler, and lob it to the new coupler on the ledge. Go back through to the switch side again and grab the orb. Now you can take the orb outside and throw it into the coupler on top of the spire to create a new Koboh matter-destroying beam.
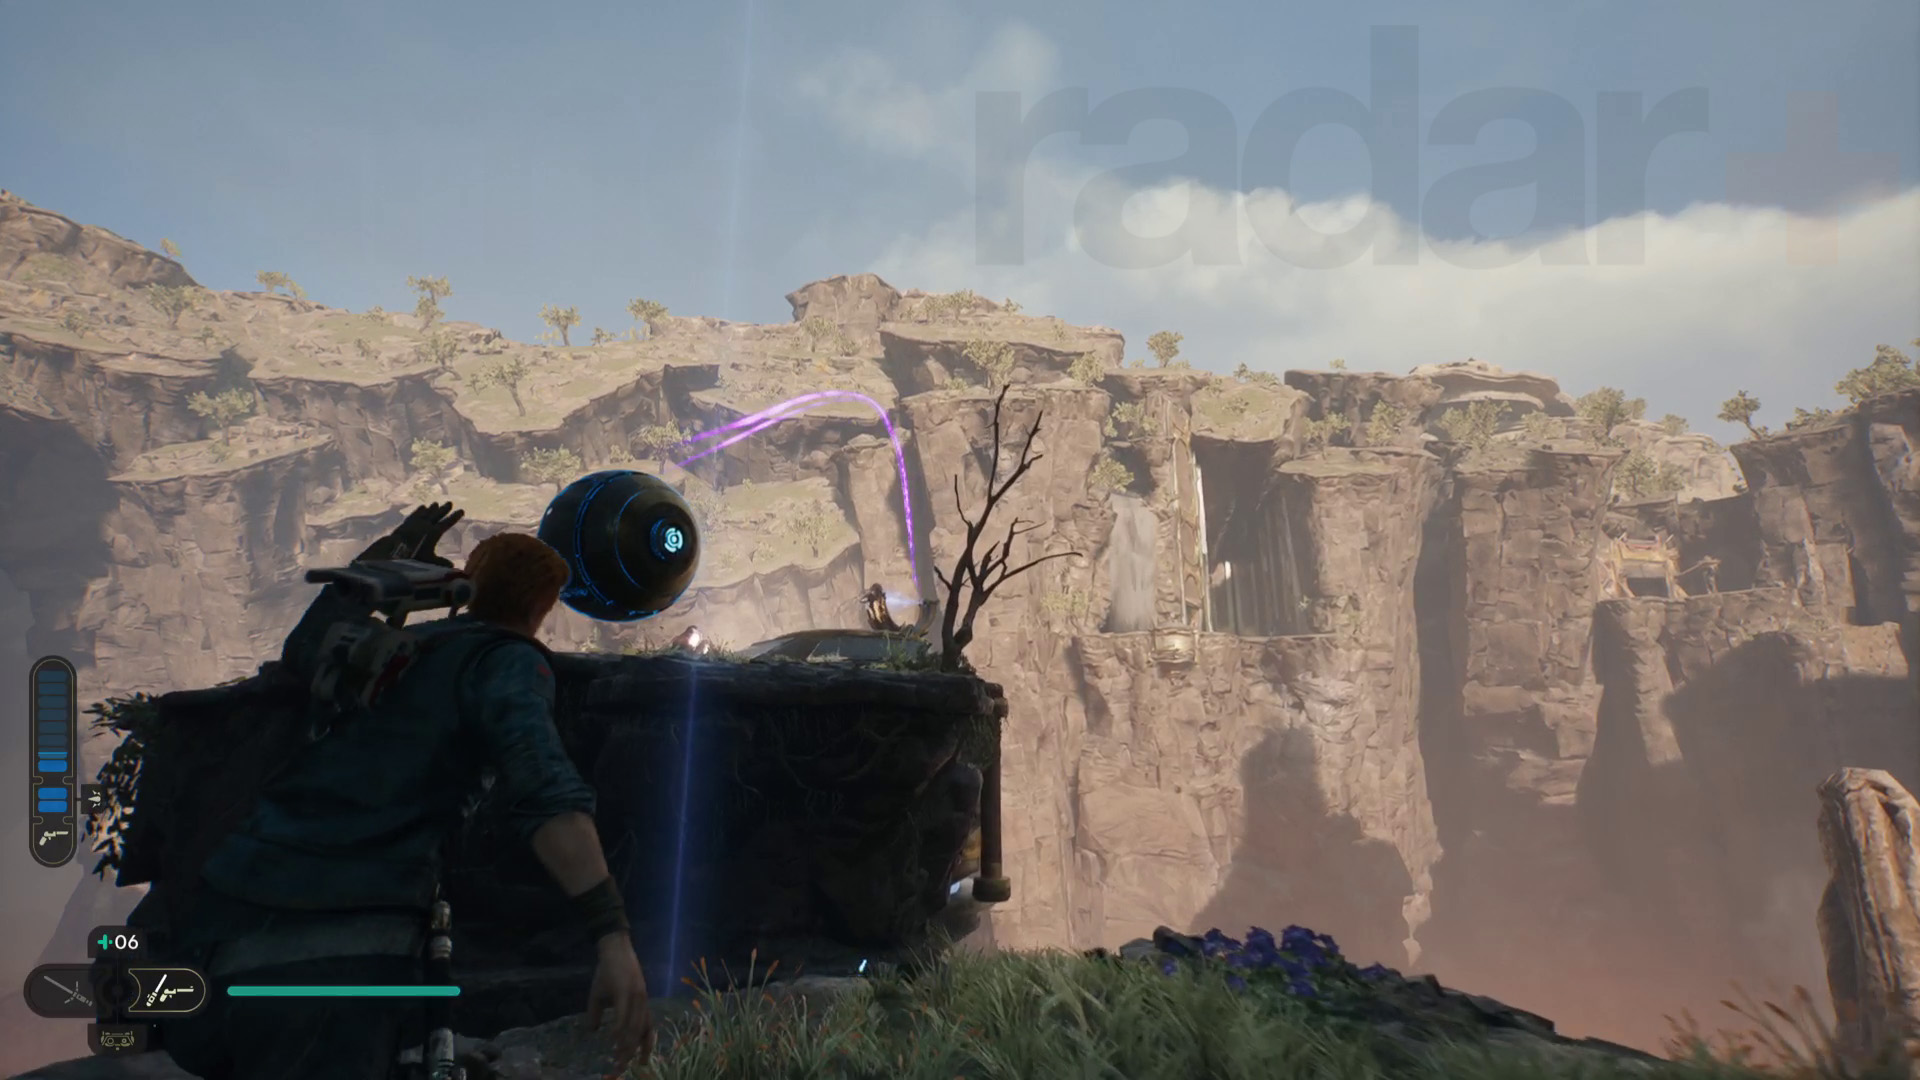
Return to the coupler and interact with it to aim the beam down at thermal vent that’s blocked by Koboh matter. Now, get back down to the Meditation Point and head to the other Relter at the end of the bridge. Glide it towards the thermal vent, so that you get lifted up to the next area where you’ll be retrieving a second orb to create a new beam.
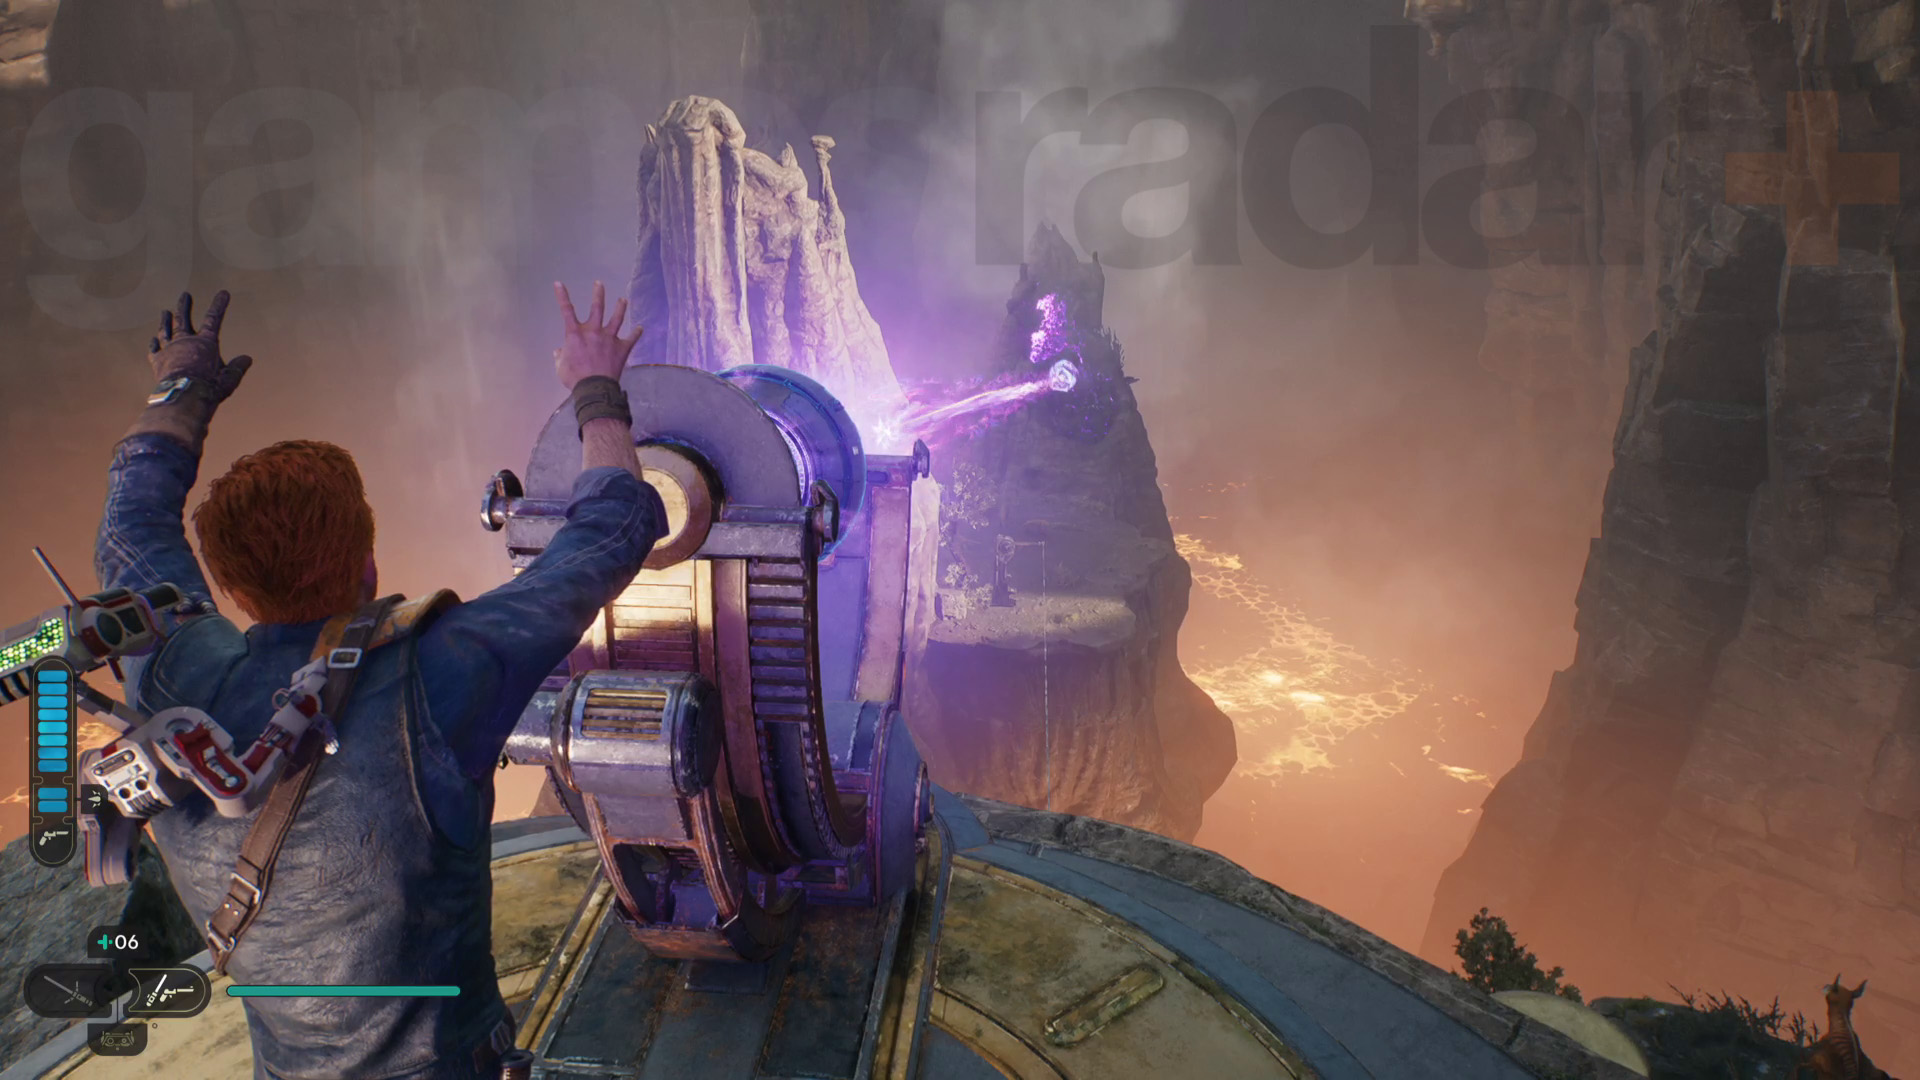
Head inside the gap in the cliff wall and walk towards the droids. The bridge will collapse in a scripted moment, dropping you to a lower level – watch out for the two Goroccos! Next, Force Pull the glowing, damaged wall to reveal a coupler. Next, you need to grab the orb from a nearby coupler that’s already creating a beam and throw it into the new coupler. This opens a nearby door you can jump through to reach the next room.
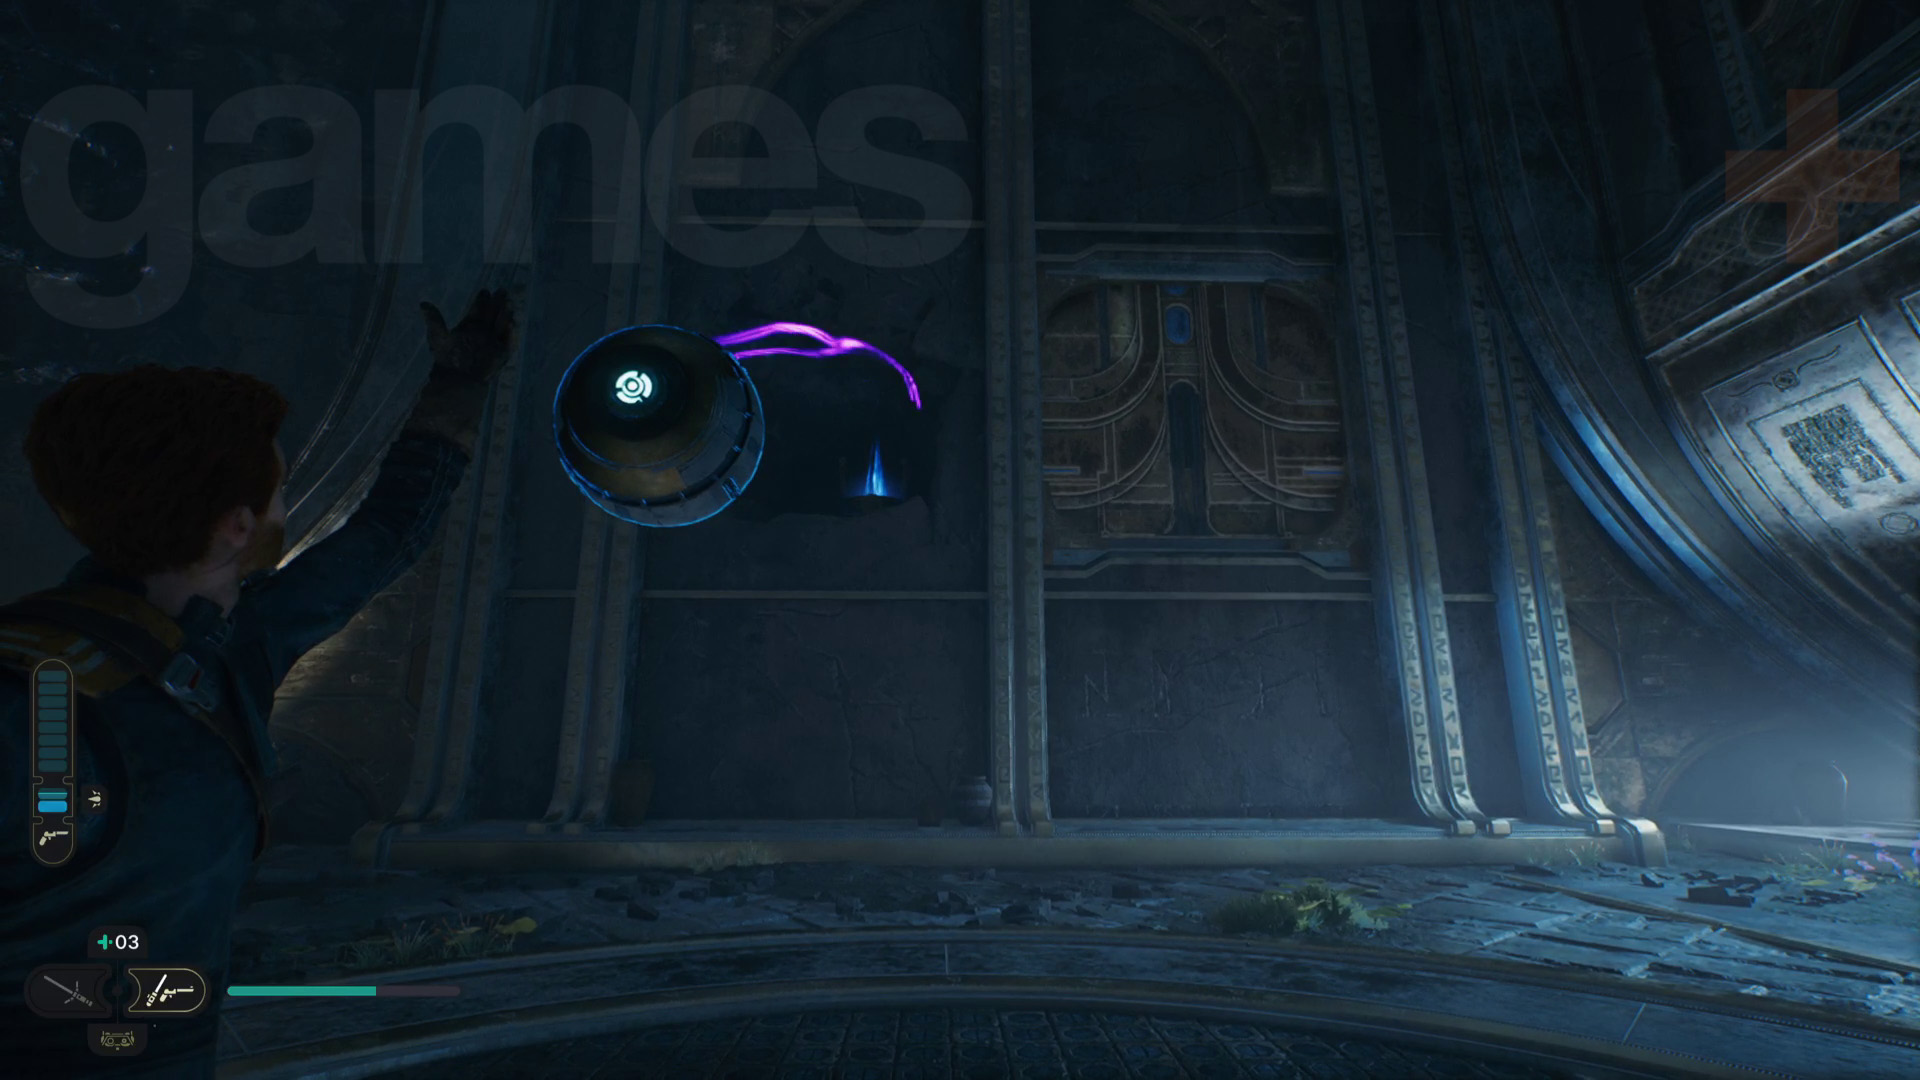
Go over to the white tank device at the end of the room and collect the Koboh Grinder for BD-1 from it. By pressing D-pad down to activate BD Visor, and then holding R2/RT, you can now spray Koboh matter on the walls and floor – use this to link a patch of Koboh matter blocking the way with a beam and it’ll burn everything up, removing obstacles or revealing new routes.
Now, go back to the previous room and move the orb to the original coupler to reactivate the beam. Use the Koboh Grinder and the beam to destroy the Koboh matter to the right, revealing a grapple point. Use the grinder again to clear the matter off the wall running wall where the bridge was before it collapsed.
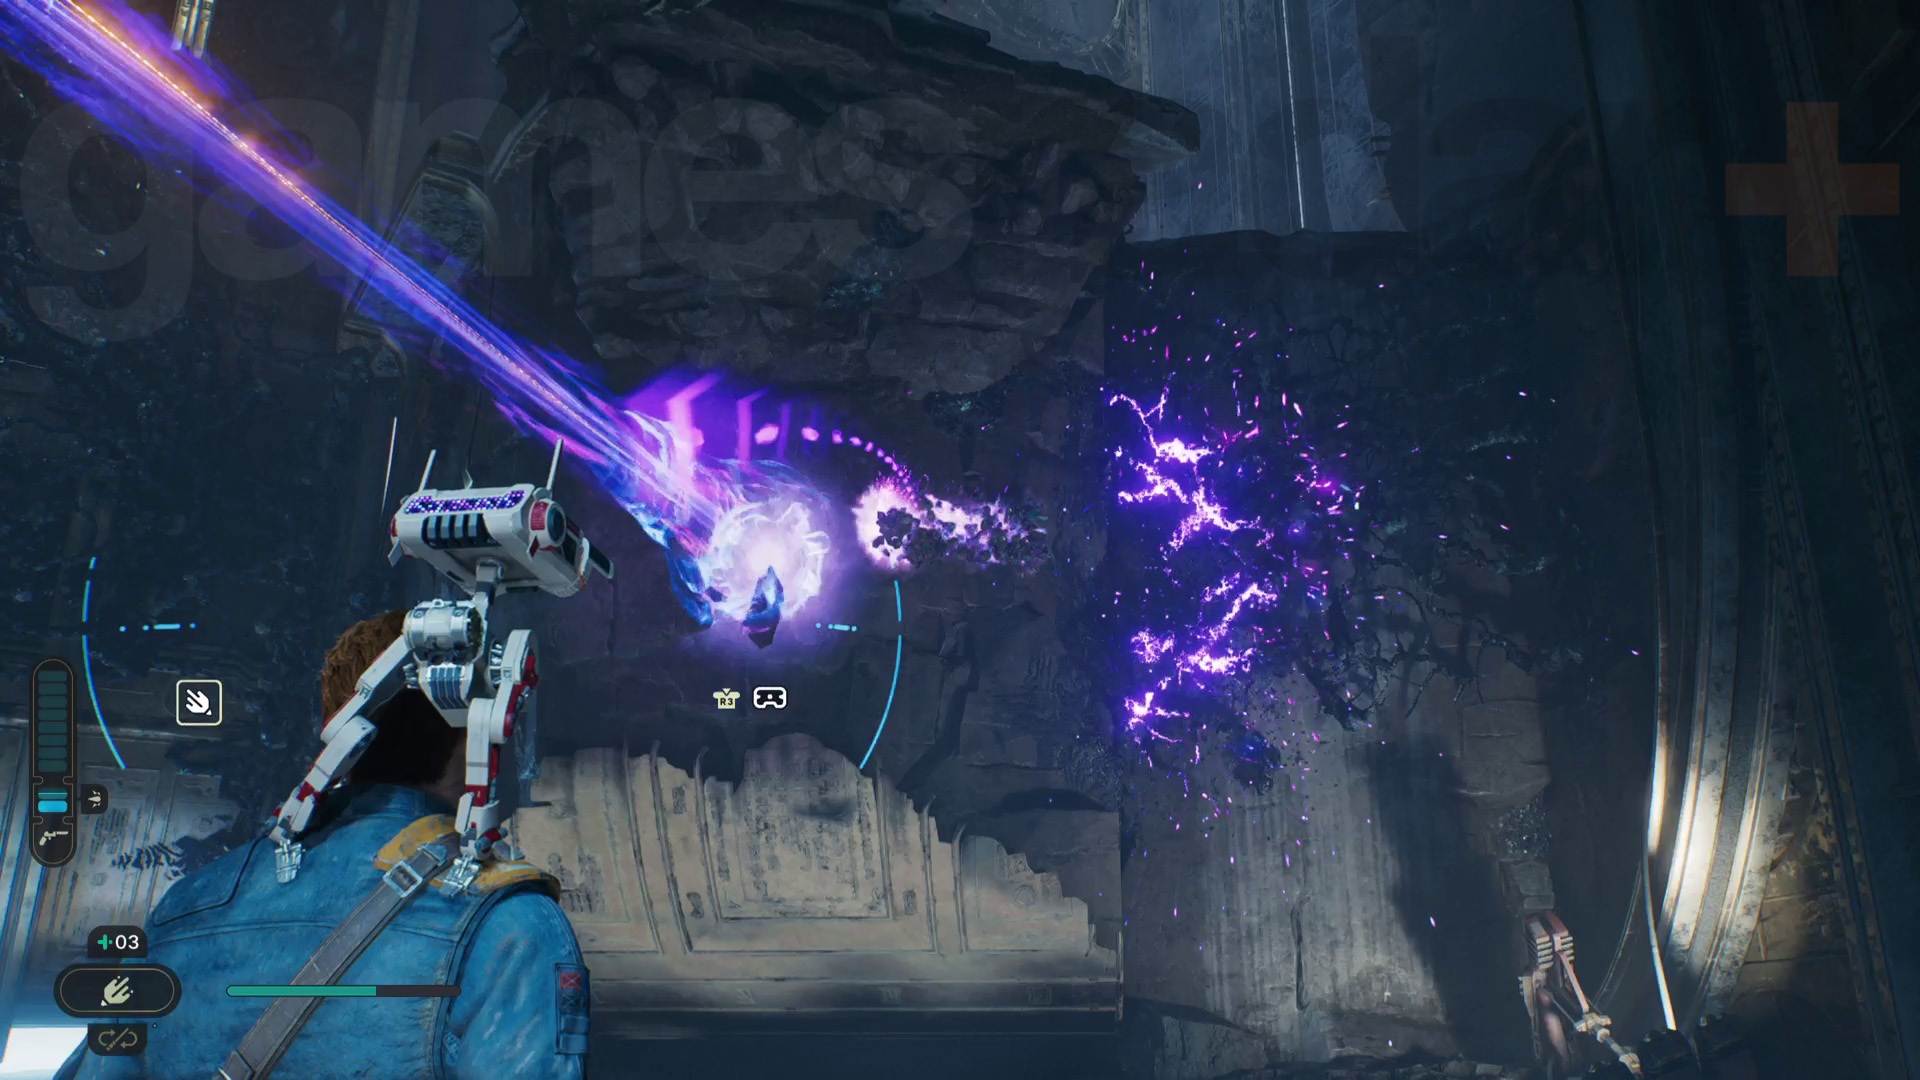
Grapple up, then Force Pull the orb and throw it into a different coupler above the wall running wall. Cross over and, like before, grab the orb again, take it outside, and place it into the coupler, creating another beam which you can use to destroy more Koboh matter on the same thermal vent. Ride the nearby Relter over the vent, then up to waterfall area on the right to fix the final beam.

Once you’re at the waterfall structure, head inside the via the gap in the wall on the left. Start by Force Pulling the cube out of the wall on the right, then Force Push it into the doorway. Now, go through the doorway to find an orb and coupler. Collect the orb and head back through the doorway (which is now being held open by the cube) and place it into the empty coupler in the room. This will activate a beam, but you need to move the cube in front of the beam to prevent it firing outside.
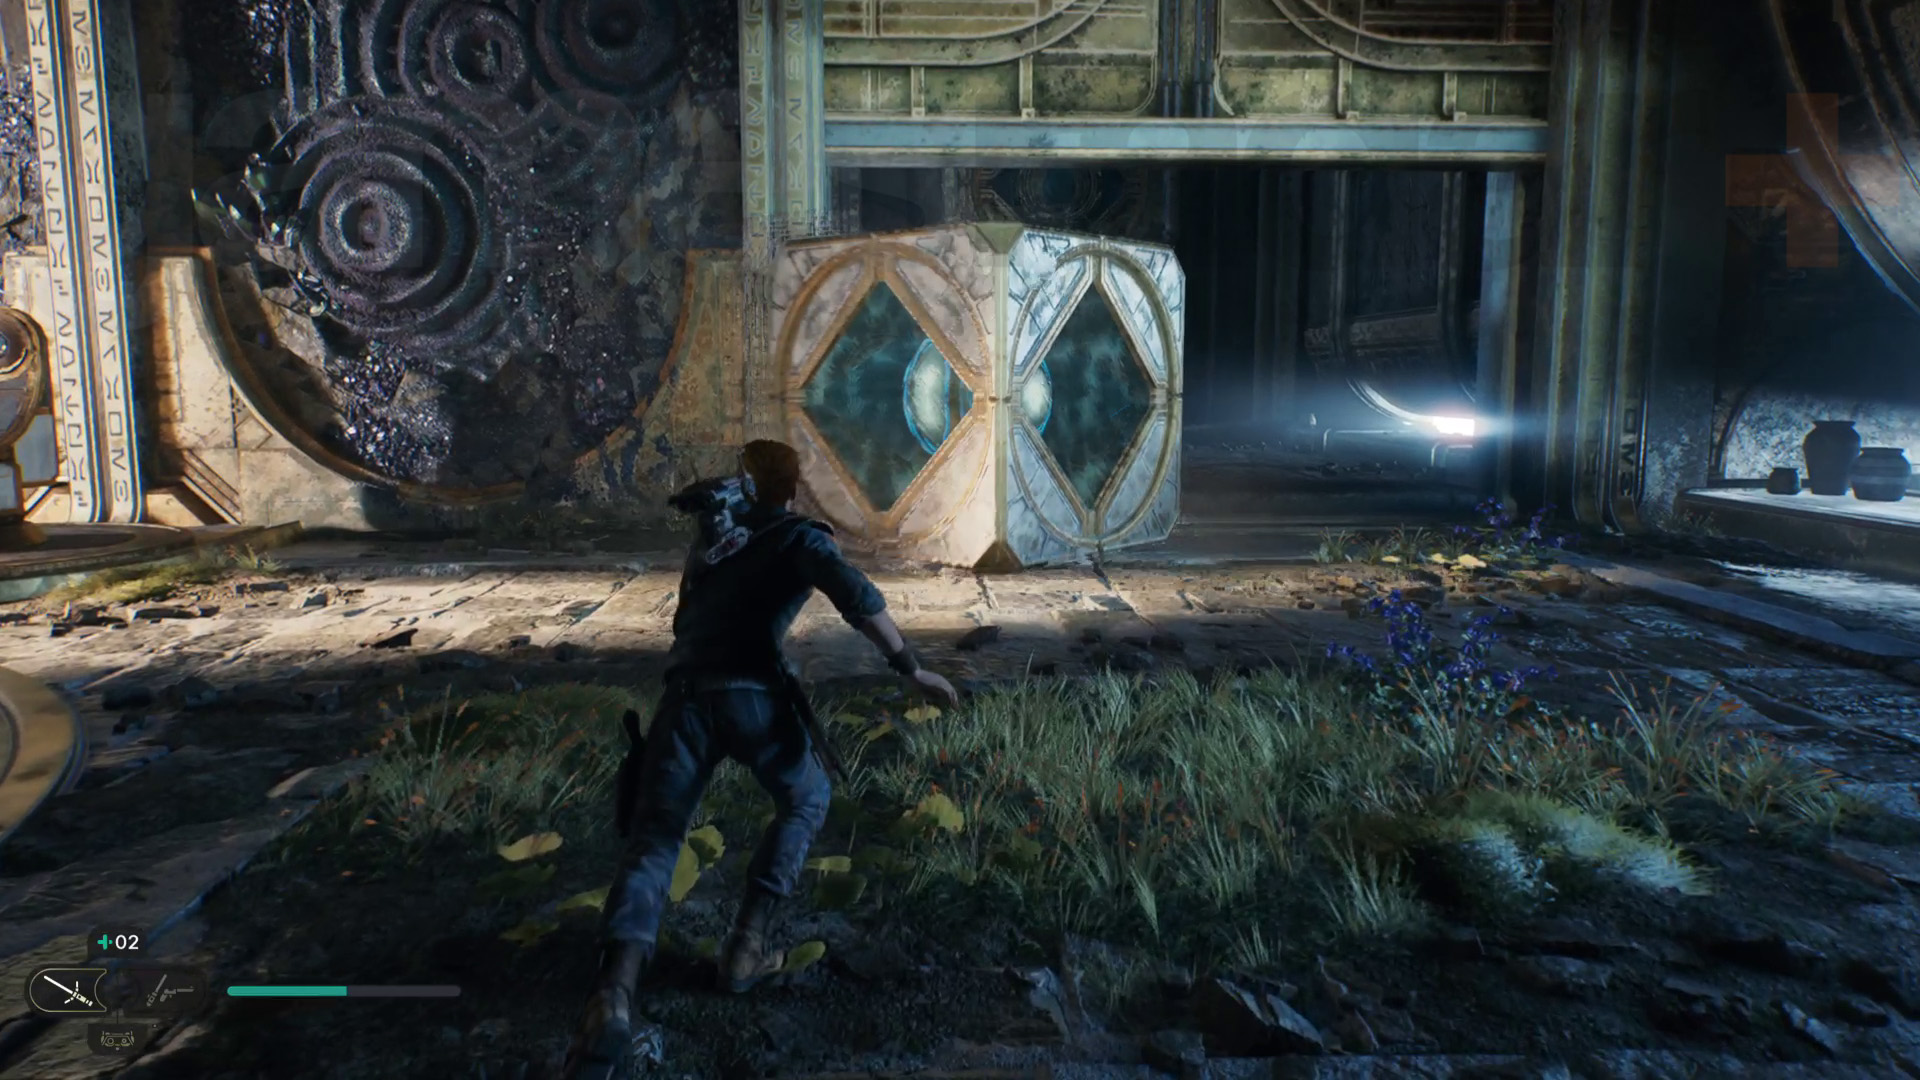
Use the Koboh Grinder to draw a path of matter leading from where the beam hits the cube to the Koboh matter blocking the way out. Finally, pick up the orb and place it into the coupler outside near the waterfall.
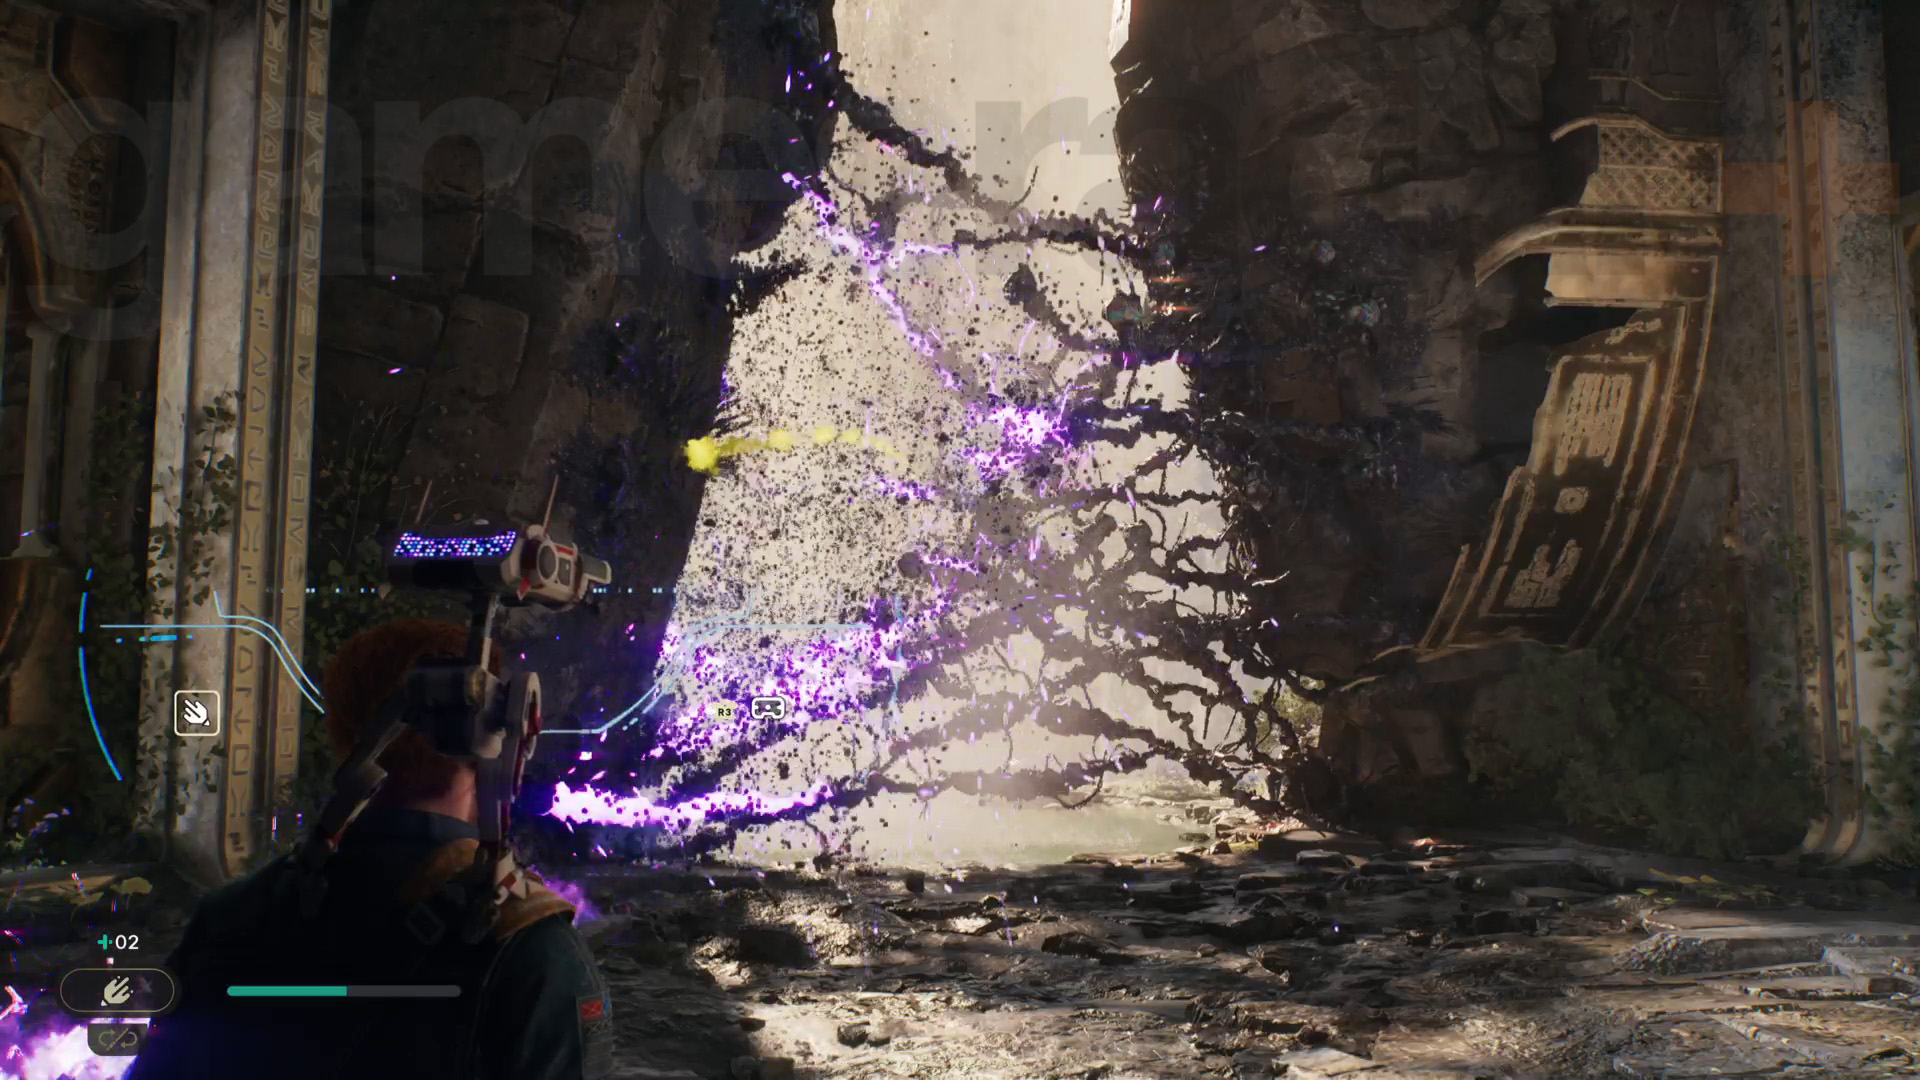
You can direct the beam to destroy the last of the Koboh matter on the thermal vent. Then, as before, glide the conveniently perched Relter over to the vent, then glide to the temple building high up on a spire. You can rest at the Grand Courtyard Meditation Point.
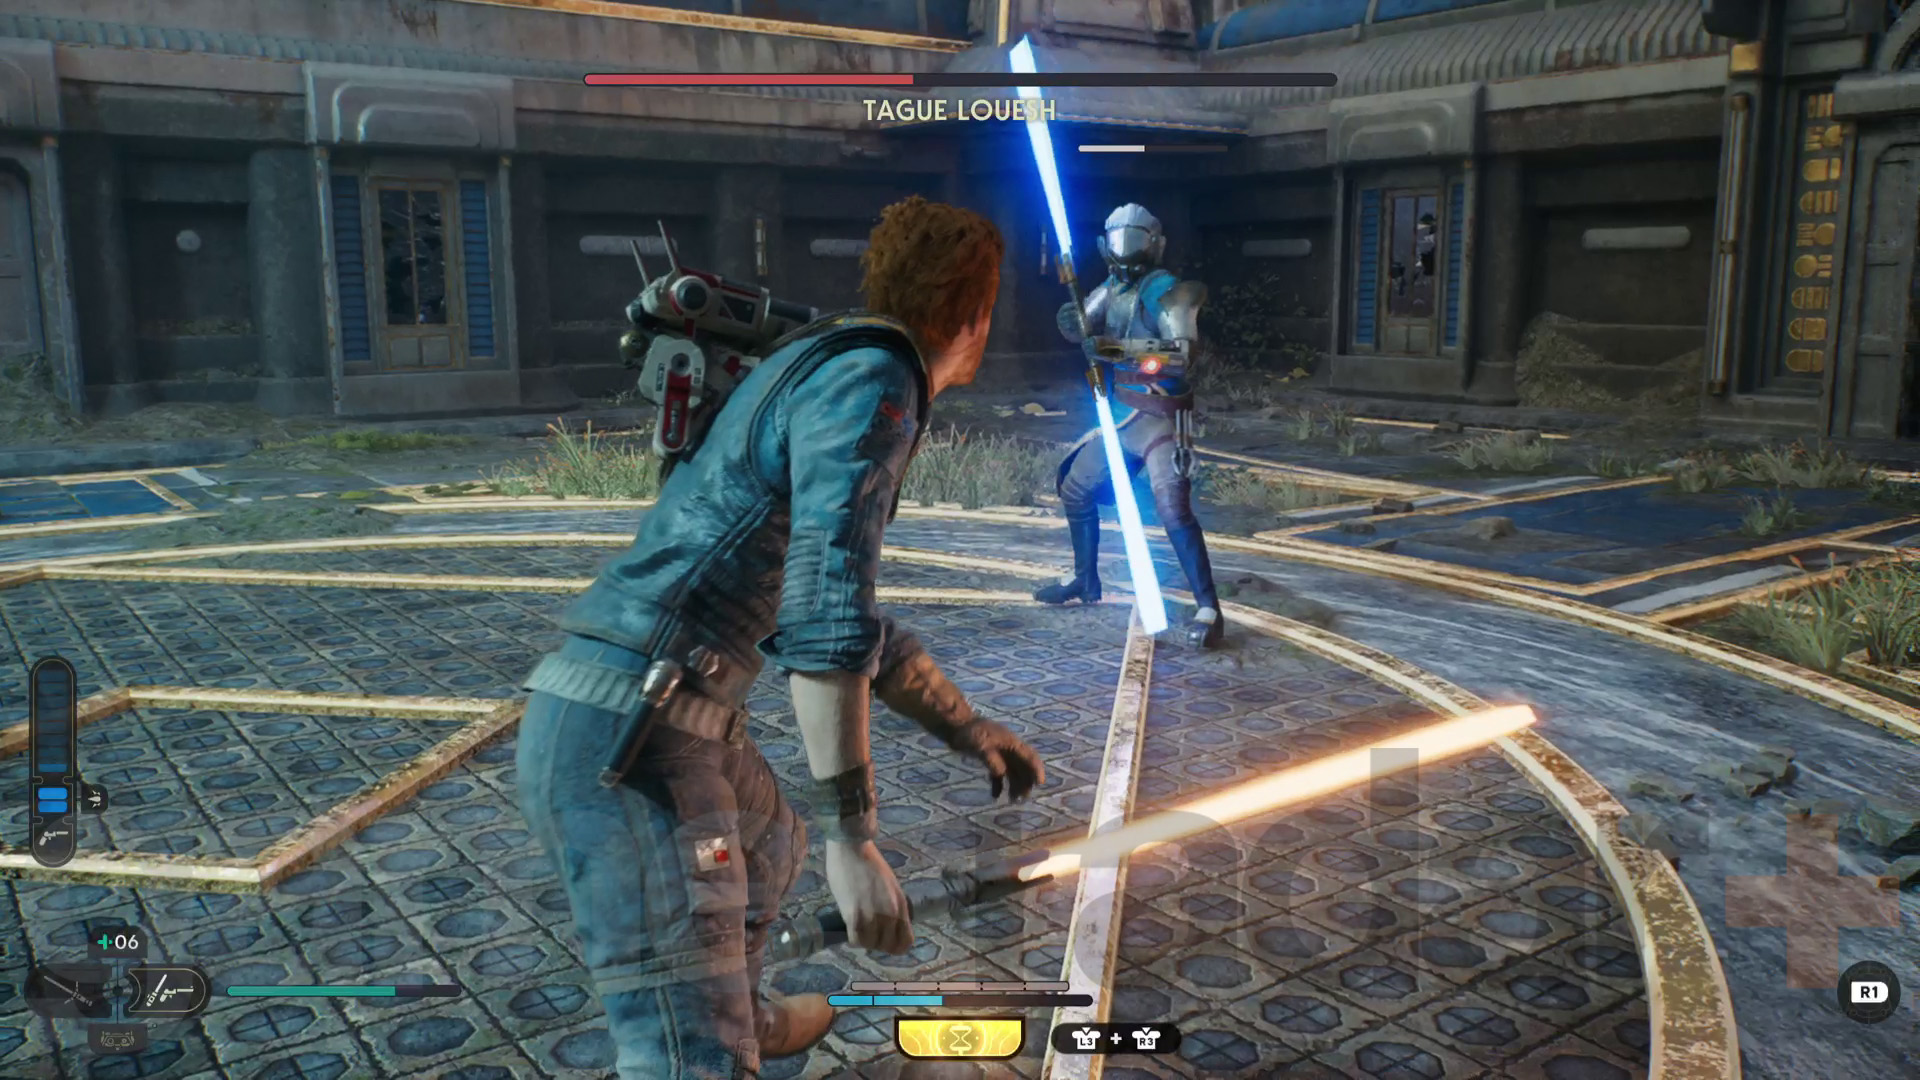
Go through the squeeze gap entrance at the front of the building and you’ll immediately go into a boss fight against a raider called Tague Louesh. Tague use a Double-Bladed Lightsaber Stance so you should parry their attacks when possible. They’re also not great a blocking with the saber, so the Cal’s Blaster Stance is quite effective. The main thing you’ll want to look out for are unblockable grapple attacks - dodge at the right moment to avoid those.
Once Tague Louesh is dead, get BD-1 to open the door then head through the corridors. When you get to a desk, collect a second mysterious device from it.
Show research to Cordova on Jedha
With two mysterious devices, it’s time to show them to Cordova. Get BD-1 to open the next door then grapple up to the roof. Walk along and cut the cable for a shortcut to the courtyard, allowing you to quickly get back to the Meditation Point.
Fast travel back to the landing pad, and head to Cere’s base on Jedha. Once you’ve landed in Cere’s base, head over to the Archive and speak to Cordova.
© GamesRadar+. Not to be reproduced without permission.
Current page: Jedi Survivor Koboh walkthrough 4, Research Tanalorr
Prev Page Jedi Survivor Shattered Moon walkthrough 1, Research Tanalorr Next Page Jedi Survivor Jedha walkthrough 2, Reach Pilgrim’s SanctuarySign up to the GamesRadar+ Newsletter
Weekly digests, tales from the communities you love, and more
Will Sawyer is a guides writer at GamesRadar+ who works with the rest of the guides team to give readers great information and advice on the best items, how to complete a particular challenge, or where to go in some of the biggest video games. Will joined the GameRadar+ team in August 2021 and has written about service titles, including Fortnite, Destiny 2, and Warzone, as well as some of the biggest releases like Halo Infinite, Elden Ring, and God of War Ragnarok.
- Leon HurleyManaging editor for guides
