Starcraft 2: Heart of the Swarm brutal campaign walkthrough
Guide to completing the campaign on brutal difficulty
ZERUS MISSION 3: SUPREME
Main Objective: Slay the Primal Pack Leaders [0/3], Kerrigan Must Survive, Kill Zurvan
Bonus Objective: Find Xel'Naga Relics [0/4]
ACHIEVEMENTS
Supreme: Complete the "Supreme" mission in the Heart of the Swarm campaign.
Endangered Species: Kill 500 enemy units with Kerrigan in the "Supreme" mission.
Queen of the Jungle: Complete the "Supreme" mission without letting Kerrigan drop below 100 life on Normal difficulty.
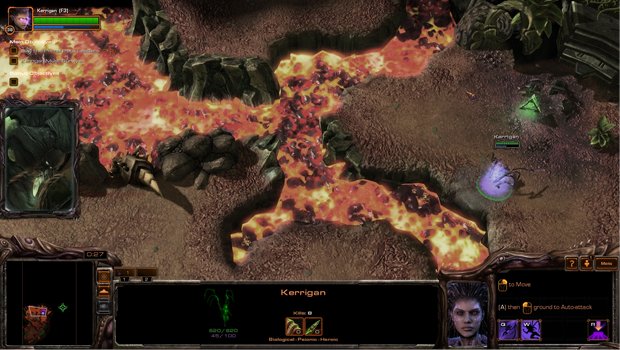
The beginning of this mission is setup as a tutorial showing you how to use Kerrigan's new found abilities. Finding the first Xel'Naga Relic is unavoidable, as it's on your path to the next area.
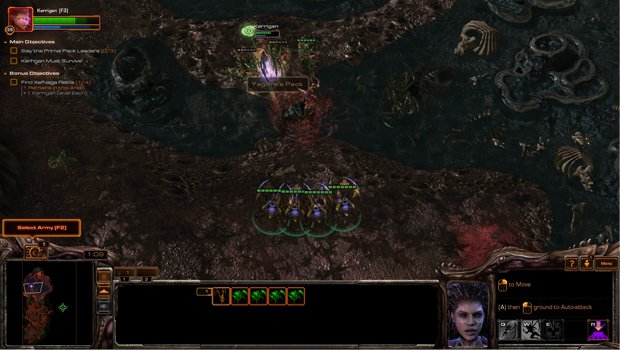
Use your abilities as often as you like. Kerrigan's energy regeneration is so high, your energy meter fills in a matter of seconds.
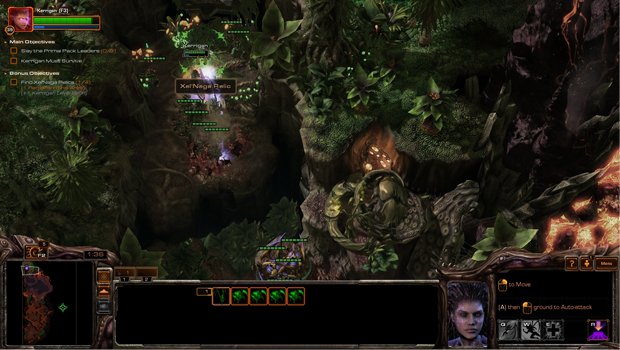
The second Xel'Naga relic is at the northern most area of the map. It will require you to use her leap ability to reach it.
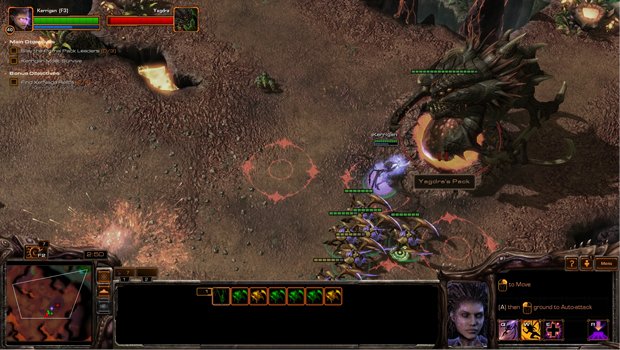
Yagdra has 3 mechanics to be mindful of. The first is an aoe attack which paints the ground with multiple reticles. You can either move out of the way or heal your way through it. Until you get to the last phase of the fight, use mend to keep your roaches alive in order to deal with the next mechanic.
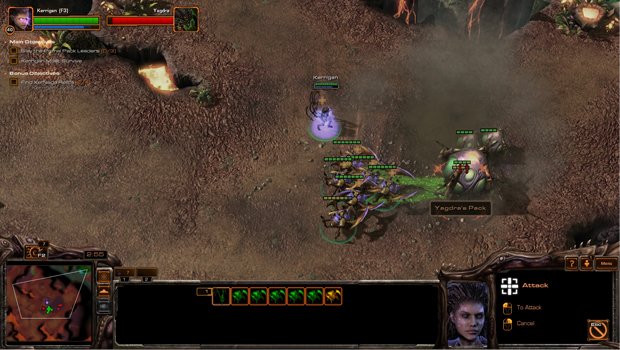
After the aoe attack, Yagdra will burrow and move to another location. The burrow will spawn eggs, either multiple small eggs, or a few small eggs and one large egg. Kerrigan's leap attack is strong enough to take off the majority of the health of the large egg. Her dash attack will take care of the small eggs. Killing the large egg is the main priority. If you're unable to clean up the small adds, don't worry about it. You'll be able to clean them up during the next wave.
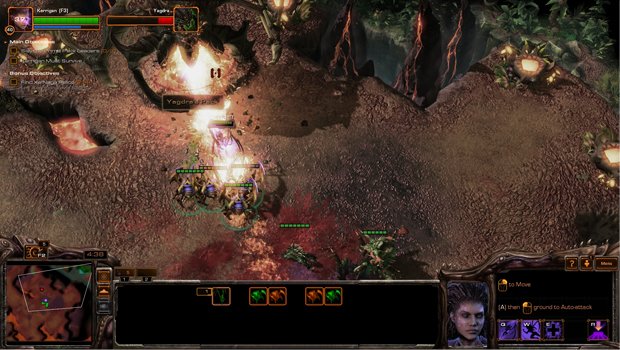
Once Yagdra is below roughly 25%, he will start doing a frontal attack that extends the length of the platform in a straight line from where he's facing.
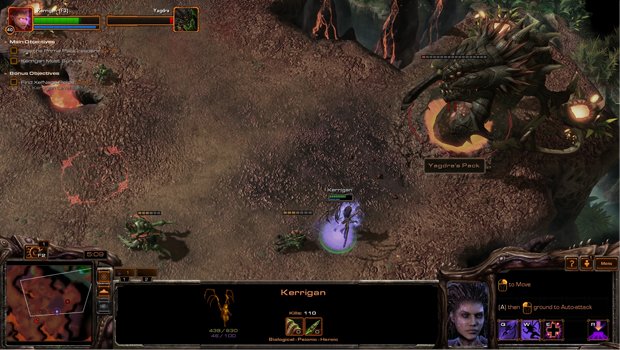
At this point, forget about keeping your roaches alive, and you can pretty much ignore the adds. Use your cooldowns to finish off Yagdra.
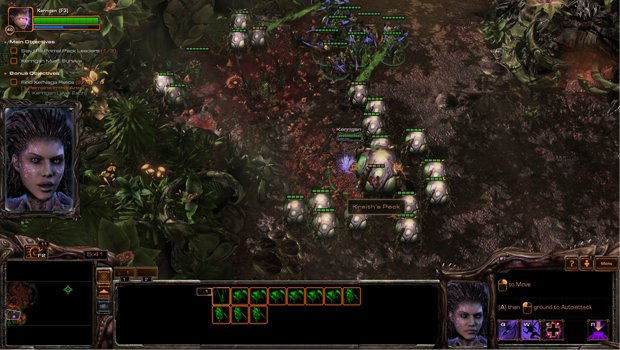
Once you start the next area, you're greeted with a new group of units at your command. Each area gives you a handful of units to use to help deal with the primal zerg you fight on the way to each of the bosses. They're all expendable for the most part and are not required to reach the boss, they simply make it much faster. Target the large eggs with the leap ability and dash onto the next.
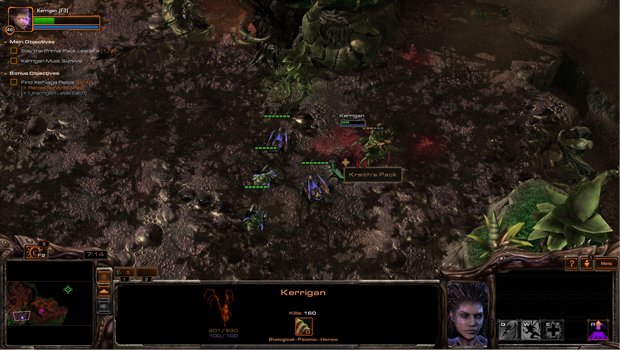
If you ever find Kerrigan's health getting dangerously low, simply burrow her. As soon as you unburrow, mend and cast one of her offensive abilities to deal with the attacking primal zerg. Rinse and repeat.
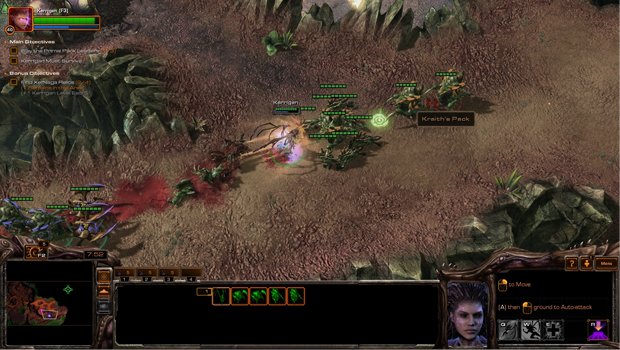
The third Xel'Naga relic is in plain sight as you make your way through towards the next boss. Ignore your first instinct to go straight for it and clear out the remaining primal zerg before you engage the eggs. Once clear, head back and use the leap ability to make short work of the eggs.
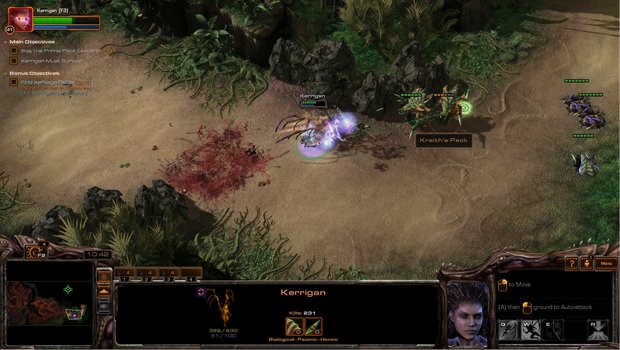
There are quite a bit of strong zerg throughout the next section. If they prove to be too much, simple do the burrow and mend trick to clear them.
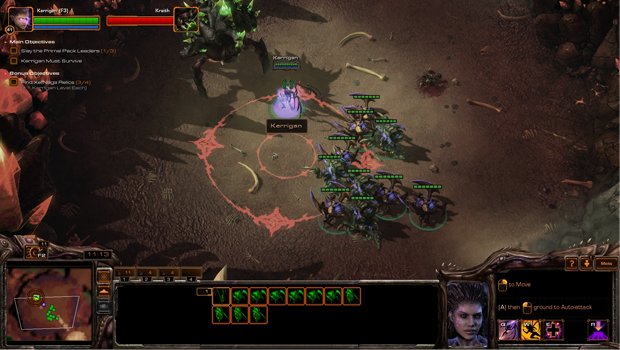
The fight with Kraith doesn't require any additional units, so if they die, it's not important. He has two main attacks. The first is an aoe, shown with a large reticle on the ground. It's easily avoidable.
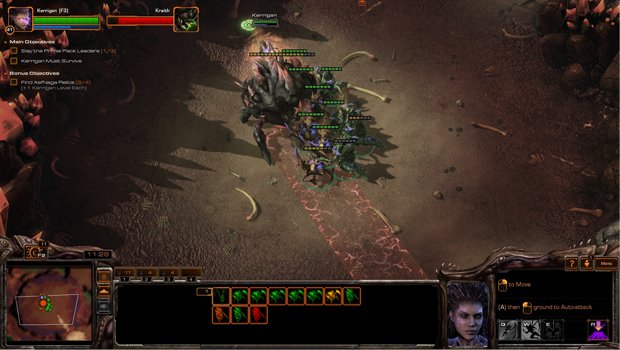
The second is a charge ability, which shows up similarly to Kerrigan's dash, but in red. After Kraith charges and hits the wall, a handful of small primal zerg fall from the ceiling. It's easy to kite them so they clump up, so you can kill the majority of them with one dash attack.
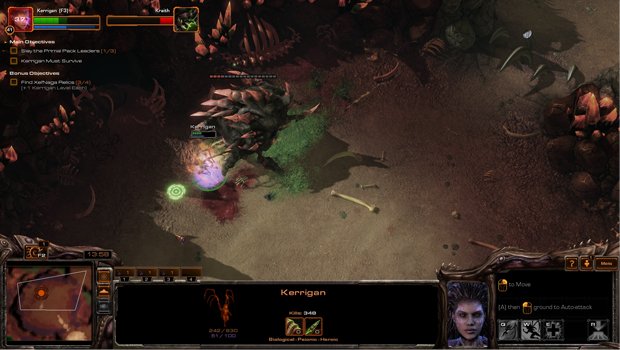
It actually becomes considerably easier to deal with Kraith once all your additional units die. Continue to attack Kraith, while using your dash attack to deal with adds as they spawn.
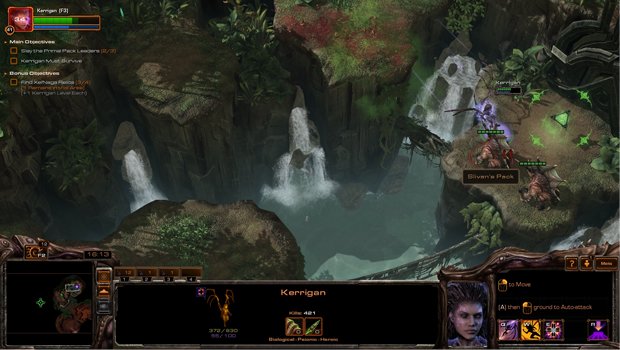
The final Xel'Naga relic can be found to the east, right after the first baneling pack. Use your leap ability to jump over.
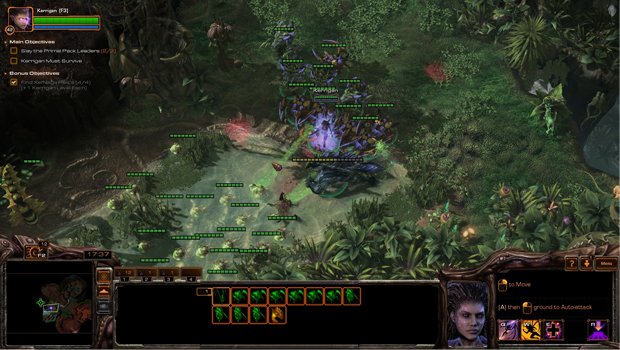
The next stretch is a gauntlet of sorts. It's filled with banelings and there are primal zerg on platforms off to the side that shoot acid at you from afar.
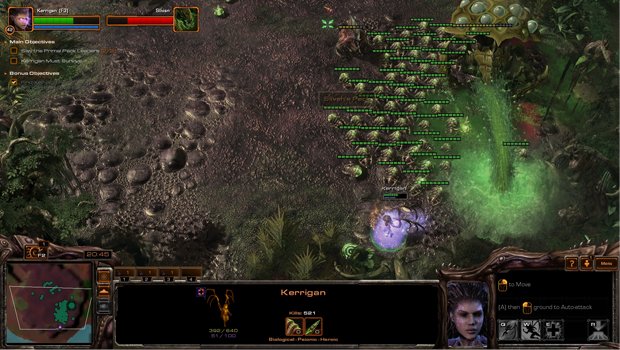
You will receive more units once you reach the boss, so you can easily run through and use the burrow and mend trick to finish off the last pack at the end.
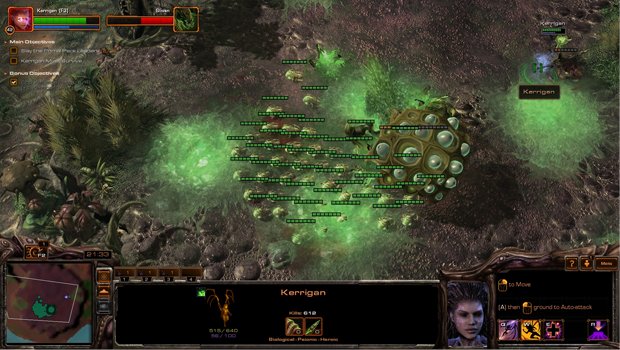
The Slivan fight may seem pretty daunting at first, but it's actually much easier than it would appear. He constantly spawns banelings, which don't explode until after an animation is started which requires you to be within a certain proximity. He also spits large pools of acid on the ground. The first thing to do is not to worry about your additional units. Let them die, because it's much easier to not to have to worry about expending energy to keep them alive.
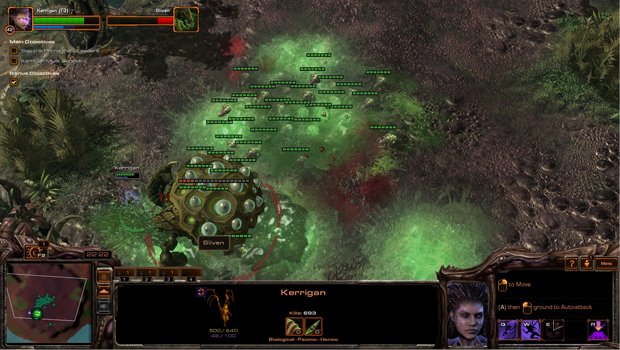
Larger primal zerg will spawn on the outskirts of the platform. Use your leap attack to dispatch them quickly as they spawn, then go back to attacking the boss. Use your dash attack to clear large groups of banelings, and heal when necessary. Rinse and repeat.
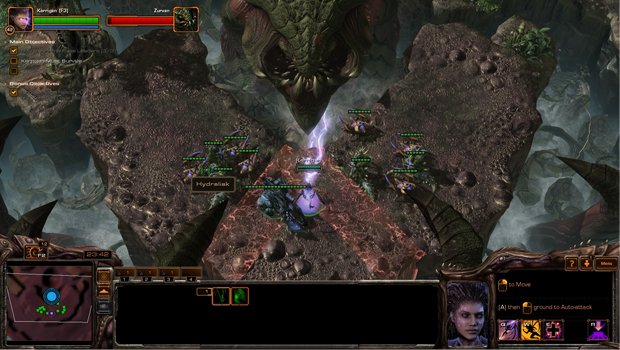
Things can get a little overwhelming towards the end of the fight, but just focus on Slivan and don't forget to heal.
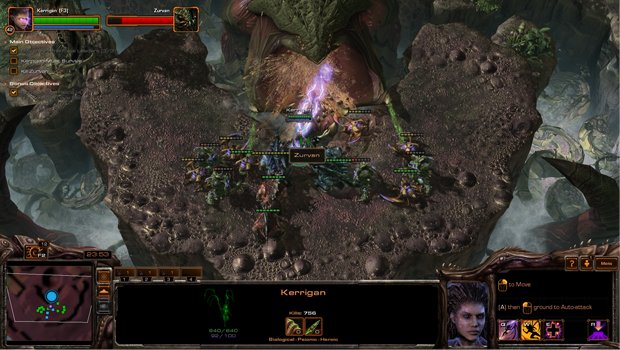
Unless you have the APM to spare, I wouldn't worry if you lose all of your additional units. Like the previous boss fights, they aren't necessary for victory. The first mechanic you need to avoid from Zurvan is his tendril slam, which can be seen by large red lines on the ground. Zurvan will also spawn adds, which take damage from his tendril slams, so if you don't finish them off, you can always set them up to take additional damage from the boss.
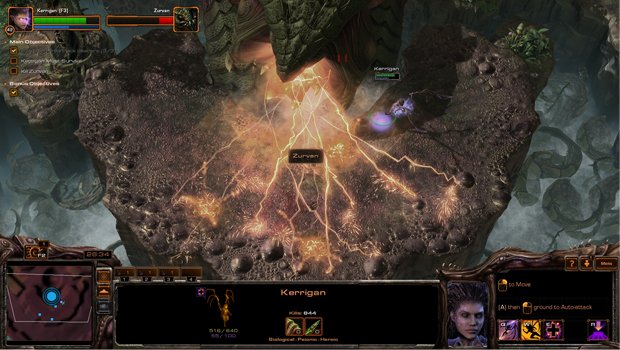
At about 25% Zurvan's tendrils will retract and he will start doing a large frontal aoe cone attack. After he fires it off, small areas of the ground will glow and do damage to you if you walk through them.
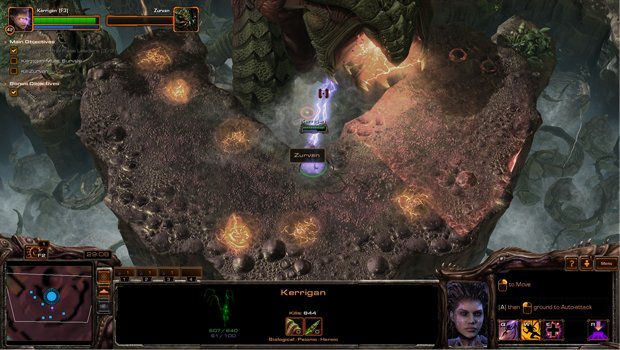
The pattern to his aoe attack is pretty straight forward. He starts in the center and pans right, then pans left, and repeats. Sticking closer to the center by just avoiding the aoe, will shorten the walking distance required to avoid his attacks and maximizing your dps.
Sign up to the GamesRadar+ Newsletter
Weekly digests, tales from the communities you love, and more

