Starcraft II: Wings of Liberty – Campaign walkthrough & strategy guide
So it's been 10 years since you played Starcraft? Better check out our walkthrough
1. Don't build
This mission begins in a frantic race to snag as many minerals as possible so you can buy a mercenary army. The timing on this mission is pretty tight and you'll need to really work on a shoestring budget, producing as few units as possible.
2. Assemble a small squad
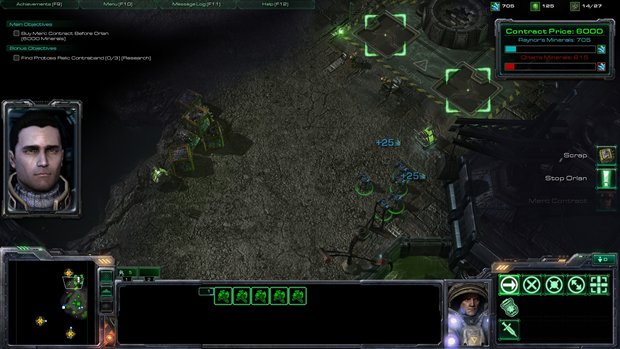
As in theDevil's Playgroundmission, there are a huge number of mineral and gas pickups scattered around the level and they're essential to beating your opponent to the required 6000 minerals. You'll want to have a small assault squad, with 5-6 marines and 1 medic. This mission is a great indicator of just how efficient medics are, as your five marines will be able to handle dozens of enemies. Aside from the required tech lab to build the medic, don’t build any structures or summon mercenaries.
3. Deploy the spider mines
Once you've been awarded the vulture bikes, do as Raynor says and drop some spider mines around the base for defense. Your base will occasionally get attacked by a small force, so investing in another 4 marines and a medic to defend it is a good idea. Be careful as the Vulture's spidermines can damage your own troops if they're nearby during the explosion.
4. Collect mineral pickups and attack enemy bases
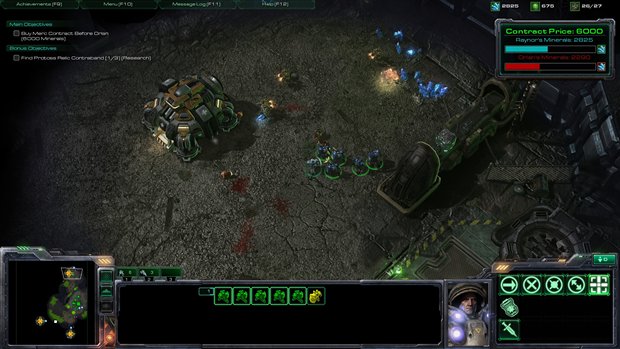
With your marines and medic going north, collect minerals as you go and take out any enemies you encounter. The enemy command center to the north east is very lightly guarded and your marines should be able to destroy it, hurting your enemy's mineral gathering. Do the same with your Vultures, collecting mineral drops and killing any marines or SCVs you see on the way. Pay attention to the Vultures' health and rememberto have them retreat back to base for repairs if necessary.
5. (Achievement) Collect the Protoss Relics
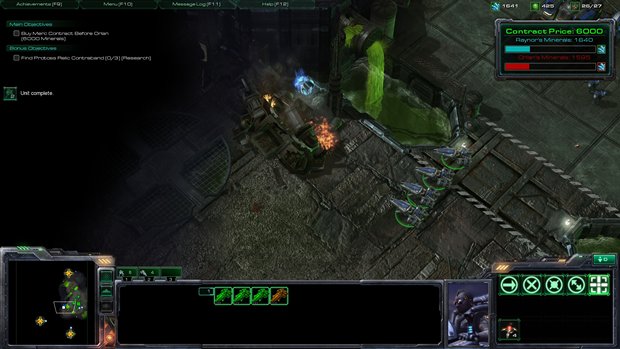
Relic #1
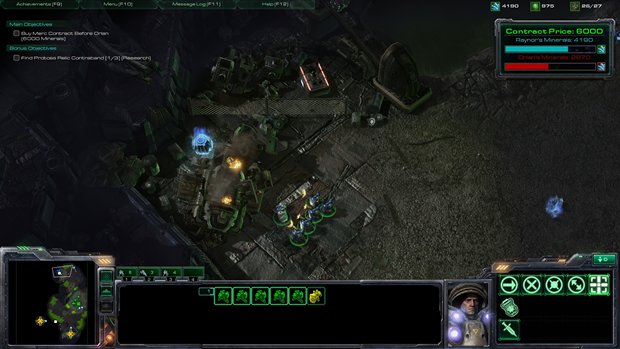
Relic #2
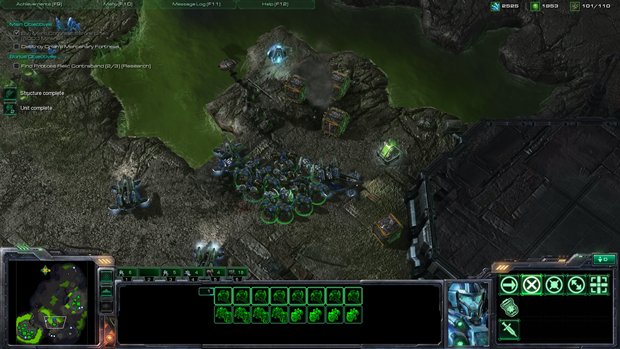
Relic #3
Once you're close to your goal, send theVultures South to pick up mineral drops and collect the Protoss relics. One is directly to the south of your base, another is near the lower middle of the map, and one is to the north. If you're worried about losing troops before getting the contract, feel free to collect the minerals after you've acquired the mercenary forces.
6. Prepare the mercenary troops to assault the enemy base
Once you've gotten the minerals you'll be given control of a huge army to the East. Your goal is to take out your enemy's command Center to the north of the map. You really won't need any additional troops as the mercenary force is enormous. Empty out the bunkers at the mercenary base for some additional elite Marines, and take the squad up North, taking out any enemies on your way. You won’t need to worry about protecting the base so make sure to take the Siege Tanks as well.
Push into the lower base with your squad and take out the enemy's, barracks and factory. Positioning your Siege Tanks near the ramps is helpful and will soften up the forces before they reach you. When you head up the ramp, you'll get a notice that the enemy has a surprise for you and a large red reticule will appear; this is him calling in a nuke. Quickly clear your units out of the area and wait for the explosion to go off. Once you're clear, proceed forward. The command center is at the top of the next base but there's a Battlecruiser up there you'll need to take care of first. Once the enemy's base is almost destroyed he'll surrender and the mission will end.
Sign up to the GamesRadar+ Newsletter
Weekly digests, tales from the communities you love, and more
