Starcraft II: Wings of Liberty – Campaign walkthrough & strategy guide
So it's been 10 years since you played Starcraft? Better check out our walkthrough
1. Escort Tychus, collect the first Zerg Artifact
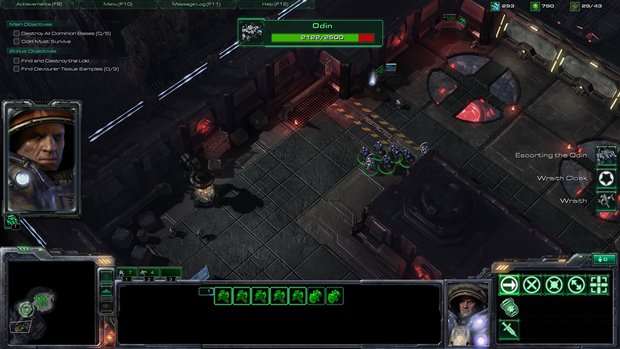
This mission begins with a small squad following Tychus. You can't control him and he tends to rush ahead of you so just make sure you keep up with your medics so he doesn’t die. The First Zerg research item is right at the first turn in the hallway directly after you begin
2. Set up your base, begin teching up
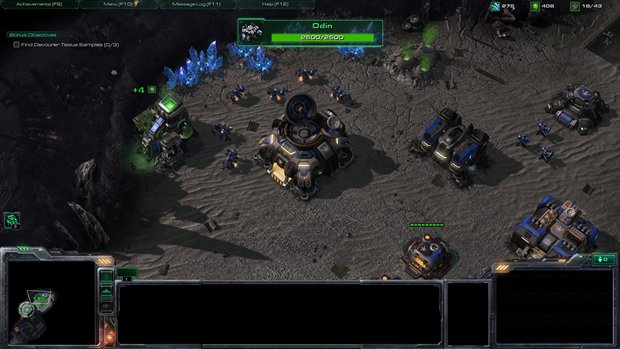
Tychus gets his huge armored Odin suit and it's going to be up to you to protect him. Set your base up and begin building armory and Engineering bay upgrades. Have 2 SCVs build a small defensive line at the north side of your base, a bunker a turret and 2 Supply Depots will do.
3. Assist Tychus, build additional Wraiths
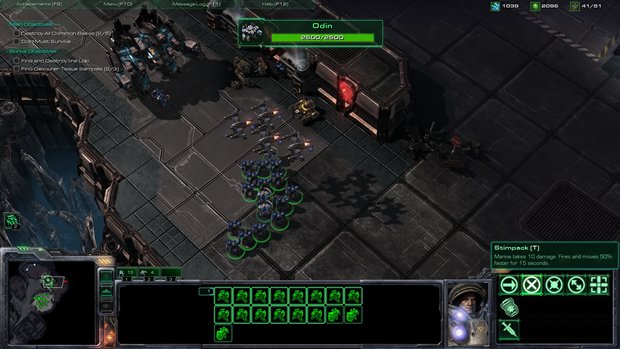
Tychus will begin attacking and Swann will send you some free Wraiths. Start building a ground assault squad to assist Tychus but try and keep your focus on upgrades and building wraiths.
Use the Wraiths Swann gives you to take out the Battlecruiser, and then follow Tychus into the first base. Let him clear out the enemies here but be aware more troops will approach from the east entrance of the base.
4. Repair Tychus
While Tychus is taking a break send an SCV over to heal him up. Don't let the SCV get into the fight but keep him close by if Tychus needs help.
5. Clear the next base, collect the next Zerg Artifact
Continue to bolster your ground assault squad and your Wraith force. Build a Medivac to help transport troops to Tychus as he plows forward taking out bases. You'll find the next Zerg artifact at the next base against the wall:
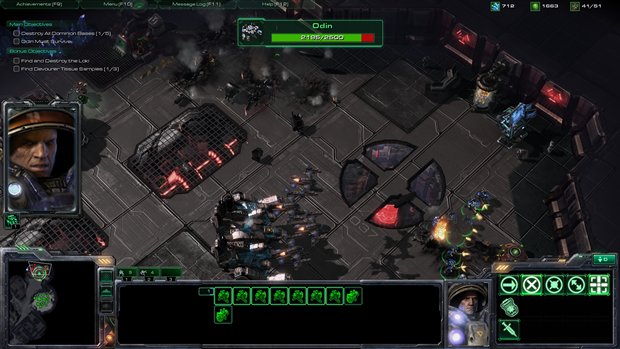
6. Destroy third base, assist Tychus
Follow the same pattern for the next bases, letting Tychus do most of the heavy lifting. Take out air units for him and focus fire heavy hitters. Watch out for the Siege Tank on the right side of the 3rd base here; if you get ahead of Tychus it'll do some serious damage to your ground force.
7. Destroy fourth base collect final Zerg artifact
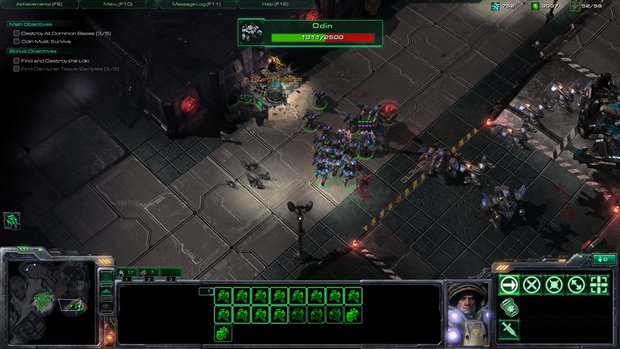
Press on to the Fourth base. The final Zerg research piece is against the wall in a jar as before. Make sure your Wraiths are taking out the Battlecruisers and other air units.
8. (Achievement) Destroy the Loki
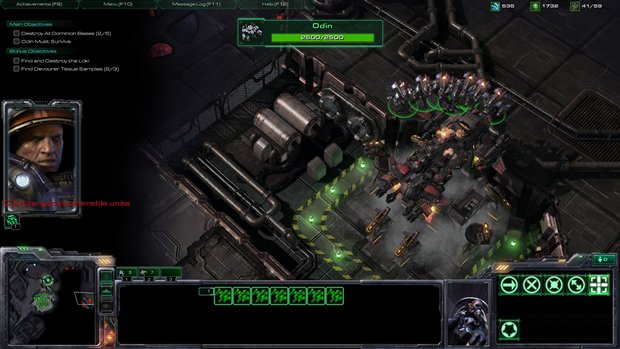
To the North East of this pace is the Bonus mission objective Loki. It's a huge Battlecruiser that comes to life once you get near it. Fortunately it's kind of a pushover and 5-6 Wraiths can easily take it down, but be prepared to lose a few ships in the process.
9. Call in Wraiths, destroy the final base
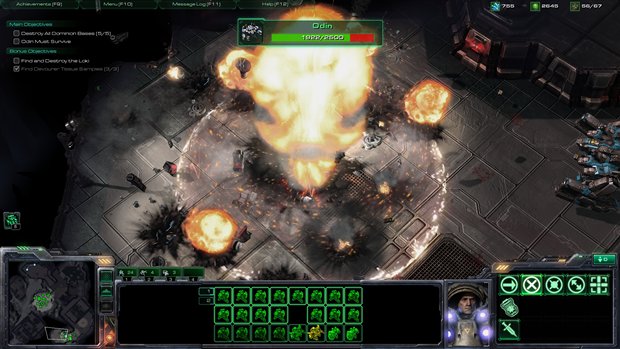
Pushing into the final base isn't difficult; just make sure you've got 6 or so wraiths to help take out the Battlecruisers here. At this point Tychus will nuke the final base and you're done.
Sign up to the GamesRadar+ Newsletter
Weekly digests, tales from the communities you love, and more
