Starcraft II: Wings of Liberty – Campaign walkthrough & strategy guide
So it's been 10 years since you played Starcraft? Better check out our walkthrough
This mission can be a little stressful knowing that a wall of flame is constantly pushing towards you, but if you stay patient and use mercenaries you can power through. You don't have to worry about building Supply Depots in this mission so make sure to crank out as many troops as you can.
1. Clear the Protoss forces

Simple enough, use your shiny new Banshees to kill all the Protoss forces so your base can land, and begin building
2. Collect two Protoss Relics
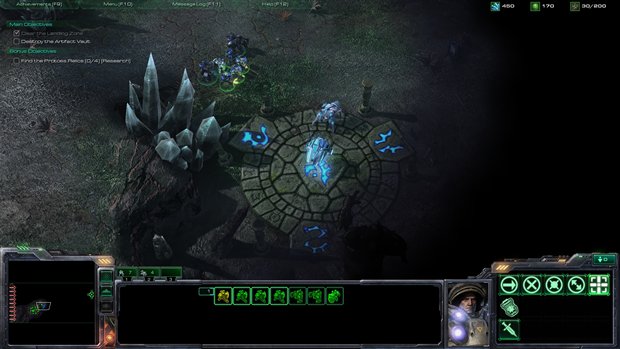
Directly East of your base is the first Protoss Relic, and directly South of that is the second one, though you'll have to clear some Protoss forces to get it.
3. Assault the nearby Protoss base

You're going to need to move your base from the encroaching flame wall, so you'll have to clear out the Protoss base to the east. It's got a fair amount of resources and is easily denefndable. A combination of Marines Medics and Banshees will be more than enoughto clear out the units. Make sure to bolster your forces with mercenary units as they're stronger than regular units and will save you the hassle of having to tech up regular units with buildings you'll lose in the fire.
4. Collect the third and fourth Protoss Relics
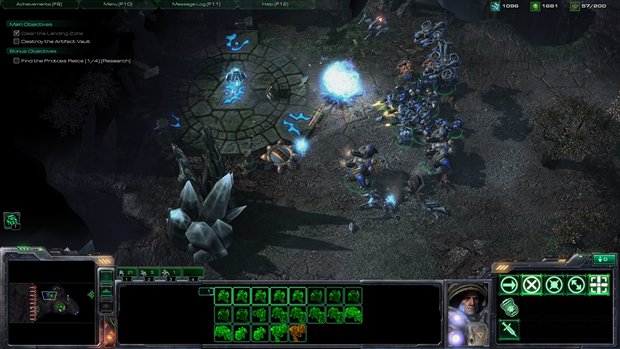
The third Protoss Relic is slightly north of the main road, off a clearly indicated path, clear the Protoss units there and grab it. The final Protoss Relic is to theEast of the destroyed Protoss base that you've moved your buildigns into near a bridge. Unless you plan on taking the base out, and approaching the Data Vault this way, it's easier to send some Vikings in for this one..
5. Make your push into the first Protoss base
To get to the Data Vault, you're going to need to push through two Protoss bases that are right beside each other. You can either go through the northern most ramp or the one further to the south. It's your call as both bases are equally dense.The best way to do this is to push through the first base and then hold the position, bringing your base in like you did previously in the level. Repair, resupply and heal here before you push into the second base.
Both bases are pretty heavily defended, so plan for some losses. Fortunately the final base seems reluctant to attack you once you've eleminated the second base, so don't hesitate to move your buildings in while your assault units give them some cover.
6. Take the final Protoss base, destroy the Data Vault

Once you've replenished your forces, make your final push towards the Data Vault. Siege Tank sniping works well here as does aerial support from your Banshees, and either Marine or Viking assitance for any errant air units. If you've made it this far the last push should be cake.
Sign up to the GamesRadar+ Newsletter
Weekly digests, tales from the communities you love, and more
