The Next Generation PC - Day 3
The future is two screwdrivers and a cup of joe away
6) Optical drive
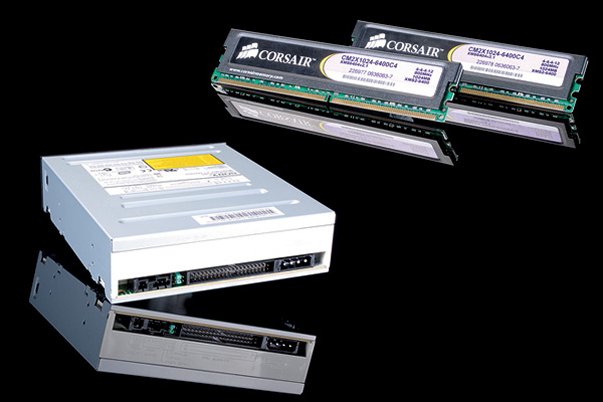
There are a few SATA optical drives around, in which case you can follow pretty much the same process as for your hard drive. More likely, it'll be an IDE drive, which requires the widest, flat (often grey) cables that came with the motherboard. These usually have three plugs on, allowing you to connect two IDE devices to the motherboard. If you're installing just one optical drive, then refer to the sticker on its top to see what jumper formation makes it a Master rather than a Slave drive.
If necessary, use tweezers to reposition the tiny plastic blocks on the rear of the drive. Then, plug one end of that cable into the matching socket on the back of the drive (you'll see there's a small notch to make sure it goes the right way up) and the other into the similar IDE 1 socket on the mobo - refer to the manual for exact location if it's not obvious. Finally, one of the four pin, wide white plugs from your PSU pops into the accommodating socket on the rear of the drive.

7) Memory
Your RAM sticks go into the very thin, longish slots, of which there are usually four, split into banks of two. If you have just two sticks of RAM, put them into the same bank. If you have four, go nuts and fill the lot. Install your memory before you fit the motherboard - place it on a flat surface so there's no chance of it snapping when you push down on it. You'll see each memory stick has a gap in its gold edge, splitting it into unequal halves; these match the divisions on the RAM slots, so line it up, push it gently into place from its top, then push slightly more firmly on each end until the plastic clips on each end of the slots spring up and lock.
Check back tomorrow for steps on making it all work.
Sign up to the GamesRadar+ Newsletter
Weekly digests, tales from the communities you love, and more


