The Witcher 2 Monster Contract Guide
Who needs quest markers? We've got you covered on all the Witcher ii monster contracts!
The Witcher 2: Assassins of Kings isn’t really into holding your hand all that much when it comes to quest markers. While we aren’t too bothered by having to put in some footwork and explore this incredibly gorgeous game, we understand that some of you got places to be and people to see. As such, we’ve compiled a humble little guide here to help you make it through the game’s monster contracts without too much hassle. Enjoy!
Act I Contracts
The Nekker Contract
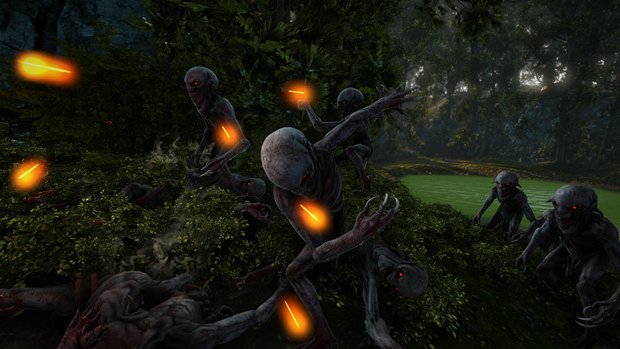
Nekkers rest comfortably at the bottom of the totem pole in terms of monster threats, but that doesn’t mean these things aren’t dangerous. While all Nekkers generally look like angry little old men, they come in two varieties: normal Nekkers who are generally small and weak, and Nekker warriors (who are large and have red patterns on their faces and hands. Nekkers can burrow into the ground and like to ambush their prey (i.e. you) in large numbers.
These little guys are susceptible to all of your witcher’s signs and fast sword strikes. As they attack in large groups, you’ll want to consider using grenades. Likewise, they are exceptionally weak to blade oils that cause increased bleeding, so try coating your weapon with Brown Oil when taking on a pack.
Knowledge
You can find the necessary reading material from Einar Gausel in Flotsam. The book is entitled “Nekkers in the Mist.” Studying the Nekkers will reveal that you’ll need to use Grapeshot Bombs to destroy four different nests in Flotsam Woods.
Tools
Cedric the elf sells the crafting design for the grenades and can usually be found up on the lookout tower just outside of Lobinden.
Finding the nests
Nekker nests are large mounds of dirt, bones and skulls. If you find that you’re up to your armpits in Nekkers, you’re probably close to a nest. Also remember to make use of your Wolf Medallion to highlight points of interest if you’re having trouble seeing the nest.
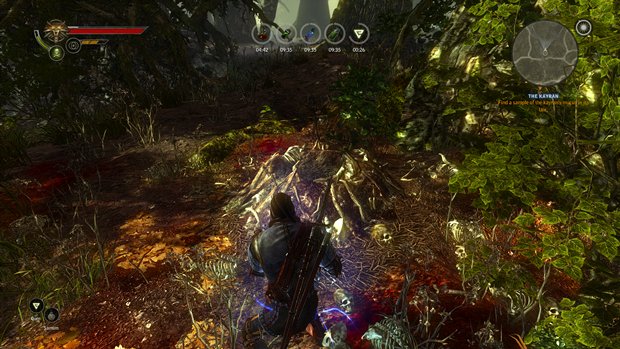
The first two Nekker nests can be found directly outside of Lobinden to the west.
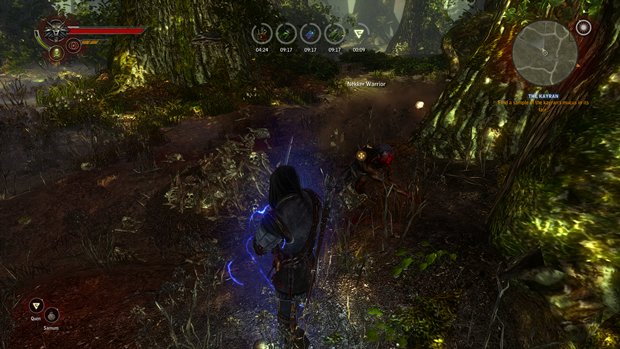
As your heading towards the forest past Lobinden, immediately follow the shallow stream to the right.
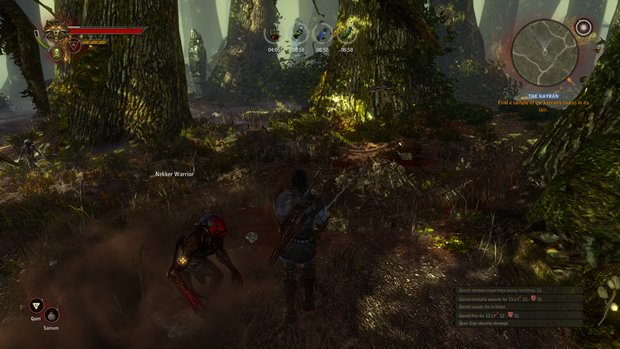
After destroying them, start walking towards the Shrine of Veyopatis through the swamp to find the third nest.
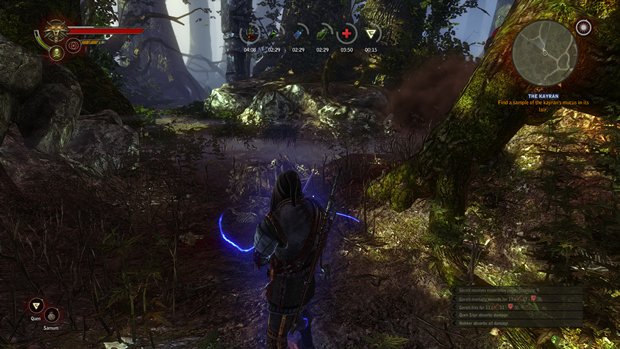
The final nest can be found just next to the stairs leading up to the Garden of Remembrance.
The Endrega Contract
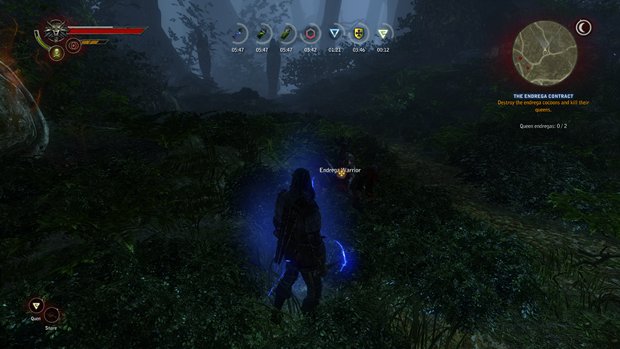
An Endrega is like a spider crossed with a silverfish that grew impossibly large off of a diet of human babies and your worst nightmares. Much more dangerous than Nekkers, these heavily armored insectoids can take Geralt down with just a few good hits. You have four varieties with these things: the smaller, regular Endregas, the harder-hitting warriors (increased damage and can knock you over with rushing attacks), the still harder-hitting guards and the monstrous queen Endrega.
It’s best to rely entirely on heavy sword strikes when going against an Endrega as they easily shrug off the faster attacks. It’s also smart to make use of your Igni sign (they’re weak to fire), coat your weapon with Insectoid Oil and attempt to attack the beasts from either the sides or the back to increase damage.
Knowledge
The book you’re looking for is “Three Years Among the Endregas.” It can be found in Einar Gausel’s shop in Flotsam. Study will reveal that the only way to get rid of an Endrega infestation is to kill their queens. It seems that two of these giant beasties have taken up residence in the Flotsam woods and you’ll have to attack their egg pods in order to lure them out.
Tools
No special tools are required to complete this contract.
Finding the Egg Pods
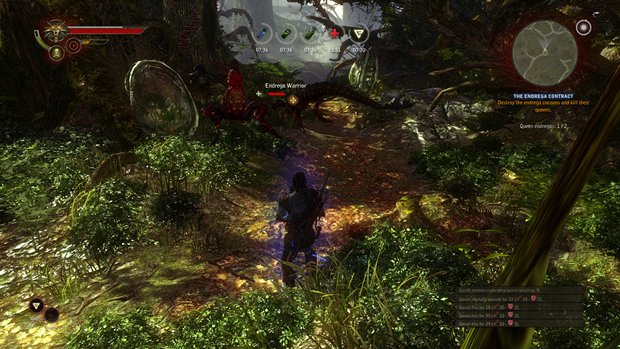
Finding the pods is the easy part. There are two different areas you’ll be looking for and each one has three pods to it. Just like in the Nekker Contract, if you begin to encounter a large number of Endregas, you’re getting close. The first area can be found right outside of the Non-human District town gate. Once you’re outside, start heading in the direction of the waterfall that’s outside of the Garden of Remembrance. You’ll run smack-dab into the first Endrega nest.
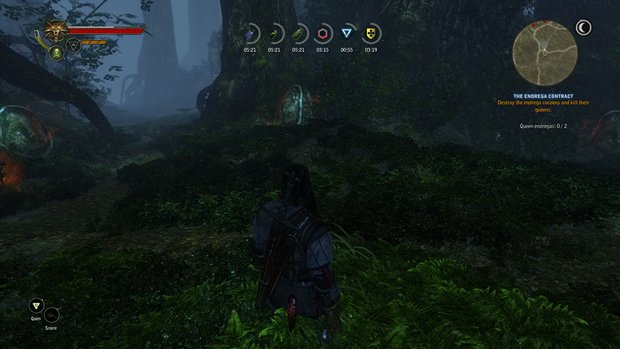
The second nest can be found near Veyopatis’ Shrine. Start heading towards the troll’s bridge from Lobinden and clear the first stream. Once past the stream, turn right into the woods and begin making your way towards the Shrine of Veyopatis. This will bring you into the middle of the second nest.
Now, it’s important to remember that you need to destroy each of the three pods in order to piss off the queen and lure it out of hiding. Now, while you can attempt to take on the queen with nothing but your sword and massive heroic balls, we’d suggest taking the time for a little preparation. Aside from all the weaknesses we’ve already listed, the queen’s enormous size makes it susceptible to Conflagration traps and snares. While the Conflagration traps can be a little costly to produce, snares can be found all over the damn forest for free. Prep the battle area with as many traps as you can and then go for the pods.
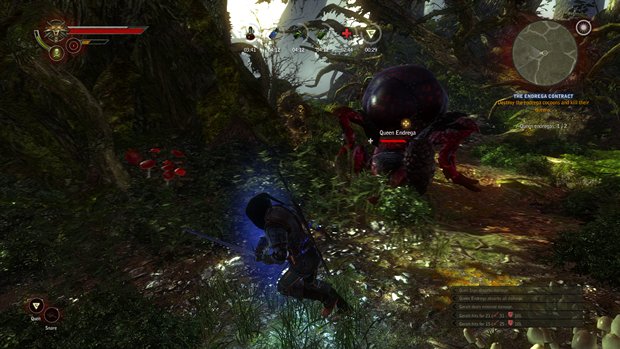
When the queen shows herself, activate your Quen sign and begin maneuvering around the monster to attack its flanks. Be very careful when attacking its head as the queen has a pretty nasty counterattack.
Sign up to the GamesRadar+ Newsletter
Weekly digests, tales from the communities you love, and more
Jordan Baughman is a freelance journalist who has written for the likes of GamesRadar and Gamer magazine. With a passion for video games and esports, Baughman has been covering the industry for years now, and even hopped the fence to work as a public relations coordinator for clients that include EA, Capcom, Namco, and more.
