Batman: Arkham City Riddler guide - how to find and solve every Riddler challenge
Our walkthrough to every Batman: Arkham City Riddler challenge! Riddles, trophies, cameras, balloons, and more!
Batman: Arkham City Amusement Mile Riddler Trophies
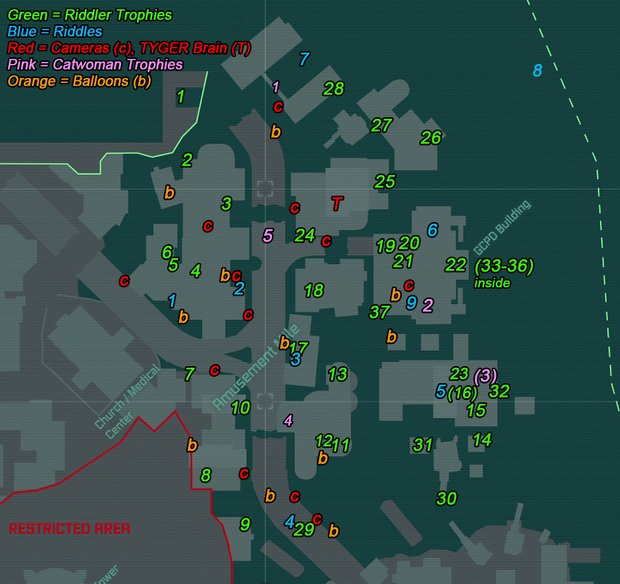
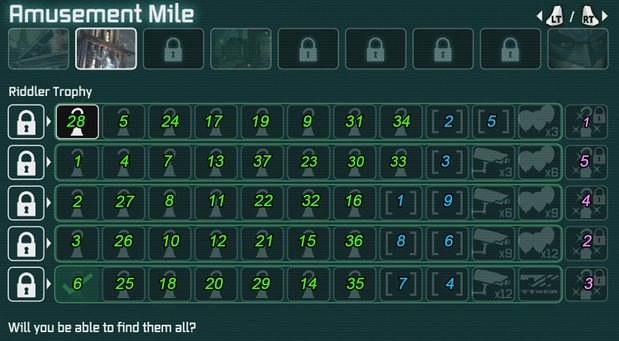
AMUSEMENT MILE - RIDDLER TROPHY #1
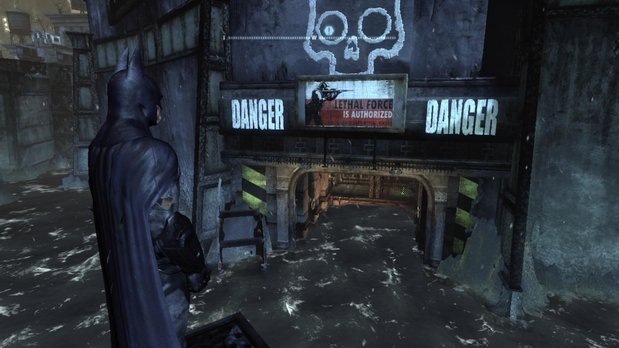
Inside a danger zone. You’ll need to use the freeze blast to create an ice raft, then use the disruptor: firearm jammer to disable the TYGER sentry. Pull yourself in using the grapnel and grab the trophy.
AMUSEMENT MILE - RIDDLER TROPHY #2
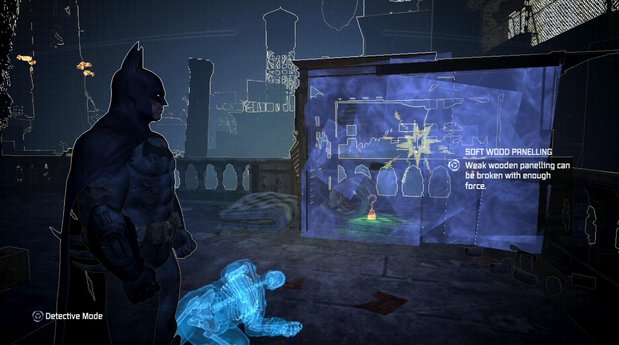
Inside this rooftop shanty. Use your explosive gel to ruin the hobo hole, then grab your trophy.
AMUSEMENT MILE - RIDDLER TROPHY #3
Find the Gotham Casinos sign at ground level, then look to the left. Step on the Riddler panel, then turn around and use your line launcher on the soft wooden panelling in the distance. You’ll crash through it to find a trophy.
AMUSEMENT MILE - RIDDLER TROPHY #4
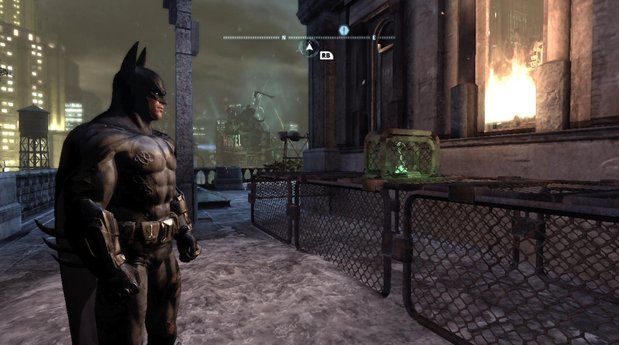
This trophy rotates automatically; it’s just a matter of timing your running slide under the fence so that you can grab it when it’s face down.
AMUSEMENT MILE - RIDDLER TROPHY #5
You might be able to see the trophy in its cozy chain link cage, but in order to reach it you’ll need to follow the grating north until you can drop down and see underneath. You’ll need to throw a freeze blast at into the water at the far end near the wall, then use your line launcher to get onto it. From here you should have be able to take an easy shot at the generator with your remote electric charge. Alternatively, use the line launcher tight rope ability to bypass the need for a freeze blast.
AMUSEMENT MILE - RIDDLER TROPHY #6
There are three Riddler panels you need to step on without touching anything else. The first is on a roof just southwest of the caged trophy. Simply glide to the other two and the cage will open.
AMUSEMENT MILE - RIDDLER TROPHY #7
There are six total Riddler switches you have to hit nearly simultaneously to open the gate. The switches reset after about four seconds, so you need to plant explosive gel on the upper three, then jump down and face the right most switch. Detonate your gel, then quickly throw your batarang, run to the next switch, throw another, and the same for the final switch. The timing is tight, so make sure to use a quick batarang by just tapping LT/L2.
AMUSEMENT MILE - RIDDLER TROPHY #8
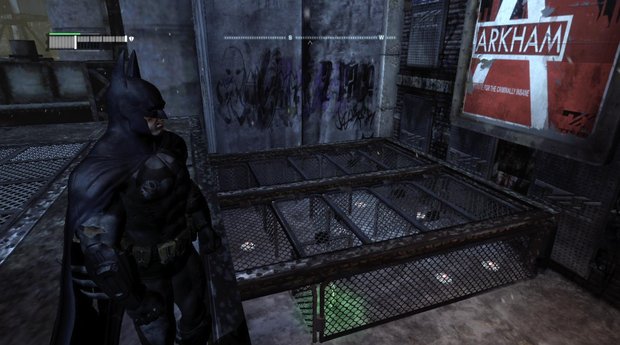
You simply need to use your disruptor: mine detonator to destroy the proximity mines. Be prepared to wait, though, since you can only take out two before your disruptor needs to cool down. The challenge here is patience. Damn that brilliant criminal!
AMUSEMENT MILE - RIDDLER TROPHY #9
There are three panels nearby. Look for the first on a high rooftop just north of the caged trophy. Glide from this one into the one the wall, then make sure to press A/Cross to glide off the wall in the opposite direction so that you can tag the final panel. From there, get back to the cage as quickly as you can.
AMUSEMENT MILE - RIDDLER TROPHY #10
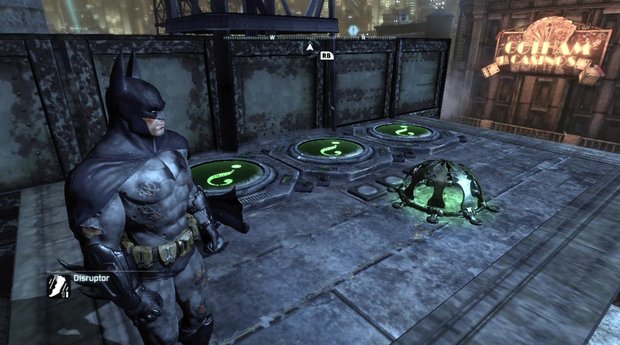
A simple sprint over these three adjacent panels will unlock the cage.
AMUSEMENT MILE - RIDDLER TROPHY #11
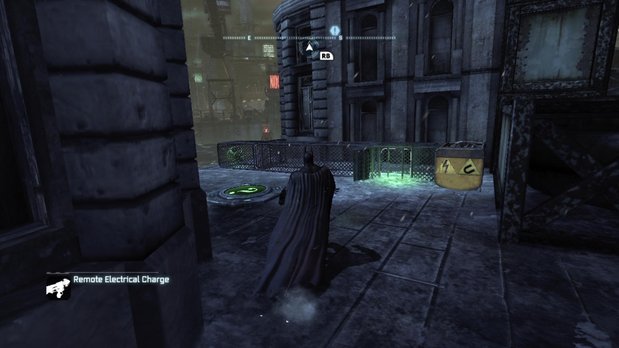
Use your remote electric charge on the generator before stepping on the switch to move the trophy to the right. Then quickly hop on the Riddler panel in order to open the small trap door, which will allow the trophy to move to the opening.
AMUSEMENT MILE - RIDDLER TROPHY #12
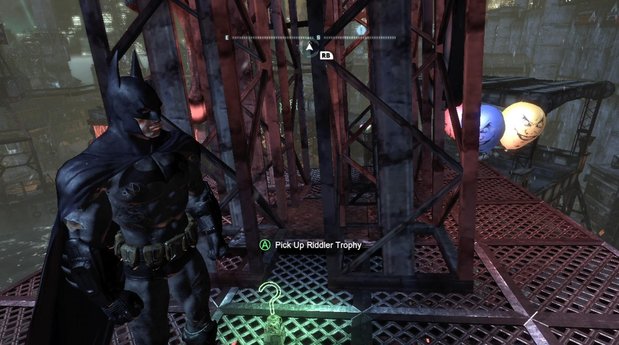
On the GCR radio tower, out in the open. Can’t miss it.
AMUSEMENT MILE - RIDDLER TROPHY #13
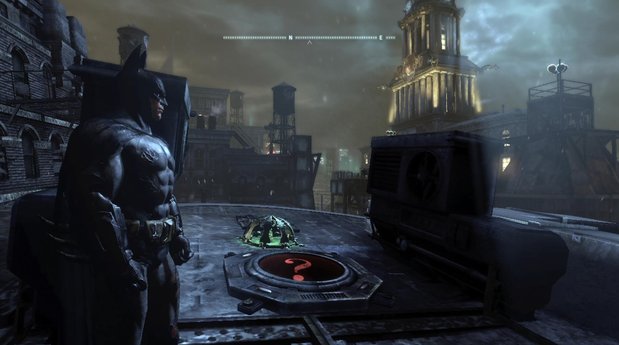
The Riddler panel here alternates between green and red. Step on it when it’s green to unlock the nearby trophy cage.
AMUSEMENT MILE - RIDDLER TROPHY #14
Stand on the Riddler panel. This will light up the nearby switches in a certain sequence. Memorize the sequence, then use your batarang or remote electric charge to deactivate each switch in order. This process repeats three times, each with a different pattern, so stay on the panel or everything will reset.
AMUSEMENT MILE - RIDDLER TROPHY #15
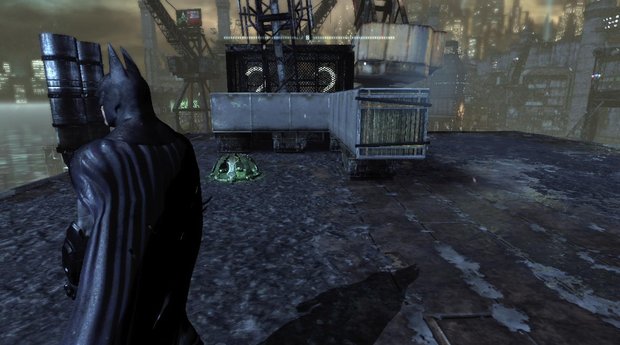
The hatches inside this duct open every few seconds. Pilot a remote batarang straight through to hit the first Riddler switch, then pilot another through the duct making sure to take the first left to come out on the end with the second switch.
AMUSEMENT MILE - RIDDLER TROPHY #16
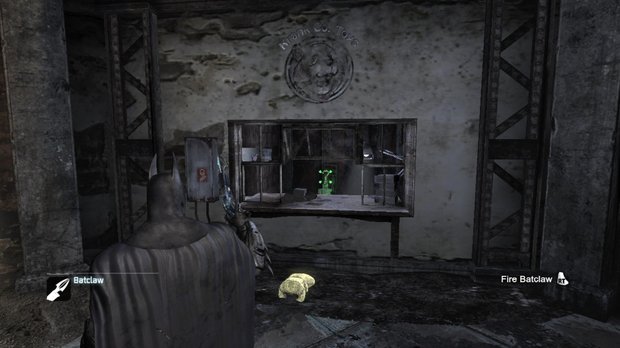
Inside the Krank Co. Toys building. It’s on a chair behind the receptionist’s counter. Use the batclaw to grab it.
AMUSEMENT MILE - RIDDLER TROPHY #17
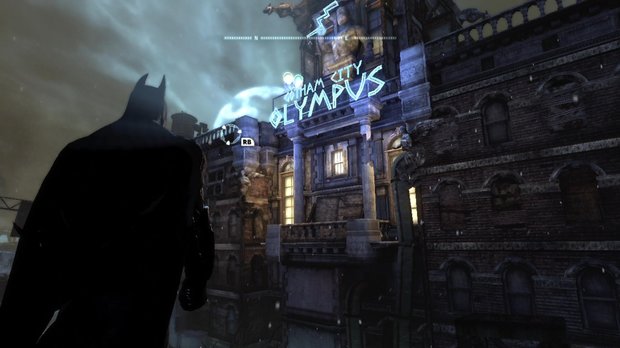
There is some soft wood panelling just below the massive Gotham City Olympus sign. Use explosive gel on it.
AMUSEMENT MILE - RIDDLER TROPHY #18
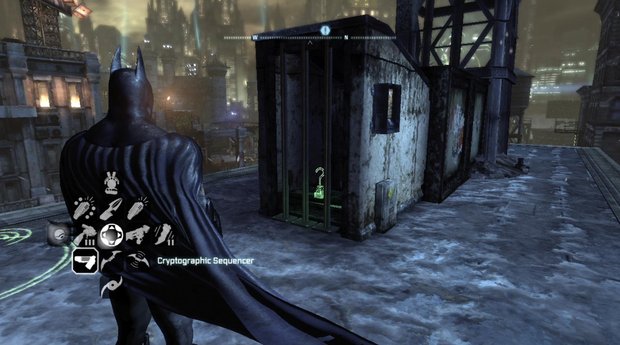
Use your cryptographic sequencer to hack the console and lower the bars.
AMUSEMENT MILE - RIDDLER TROPHY #19
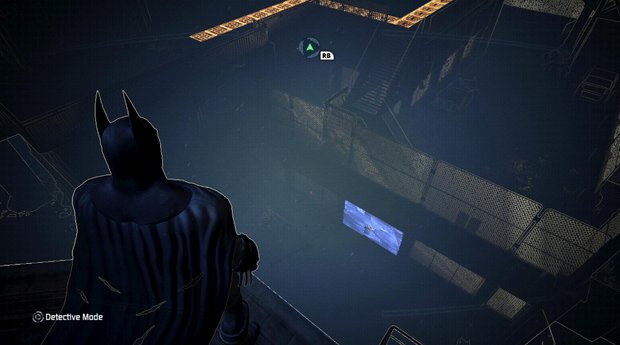
There is some soft wood panelling along the side of the building that you need to glide through. Get the required momentum by leaping from the roof just north of the GCPD. Once inside turn right and grab the trophy.
AMUSEMENT MILE - RIDDLER TROPHY #20
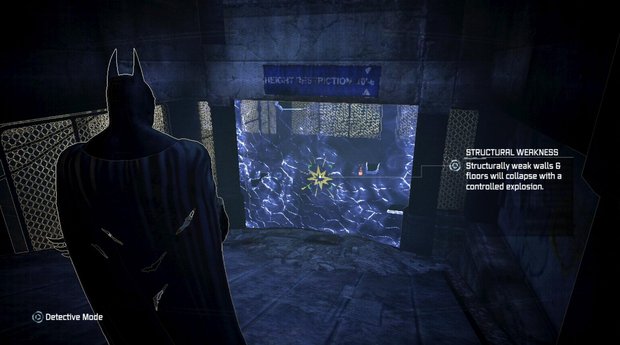
Open up the GCPD vehicle access door using your remote electrical charge. Once inside, go straight ahead down the ramp to find a structural weakness. Slap on some explosive gel and grab the trophy on the other side of the wall.
AMUSEMENT MILE - RIDDLER TROPHY #21
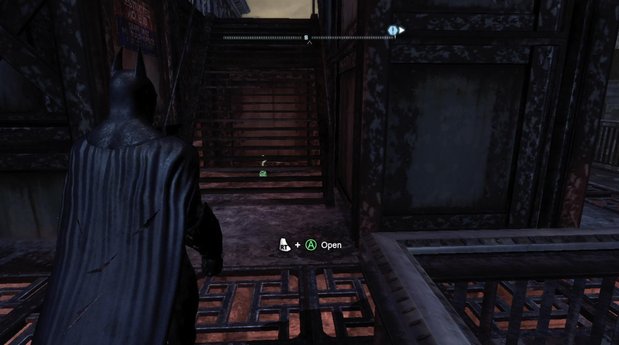
Under these stairs is a trophy. Simply go around to the right of the stairs to find a small area to duck under.
AMUSEMENT MILE - RIDDLER TROPHY #22
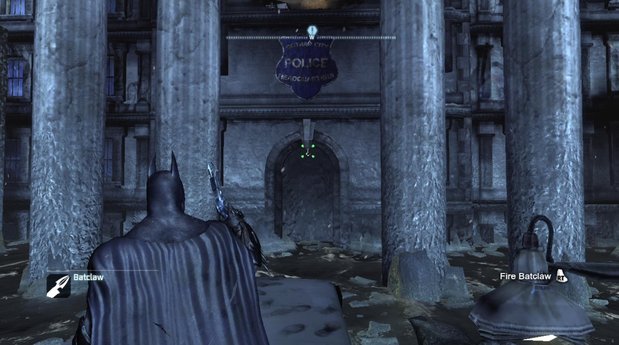
There is some debris in the water behind GCPD that you can stand on. From it, look for an inverted trophy just underneath the back entrance to the building. Use your batclaw.
AMUSEMENT MILE - RIDDLER TROPHY #23
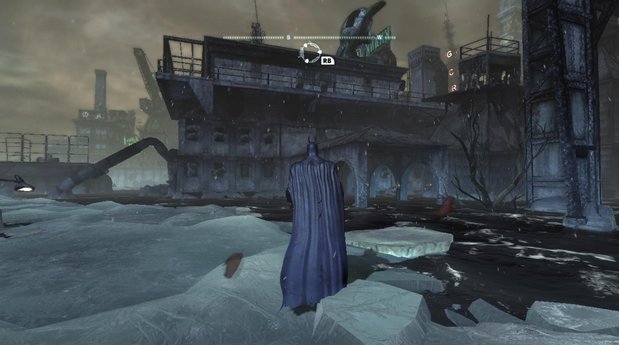
This one is under the building. Start on the floating ice behind the GCPD building. Create a raft using your freeze blast, then pull yourself under the building using the many hook points available. Once you are close to the bars, hack the nearby console using your cryptographic sequencer with range amplifier.
AMUSEMENT MILE - RIDDLER TROPHY #24
Stepping on the Riddler panel near the trophy cage lights up some switches along the bottom of a nearby building. Stand on the panel, and use three remote batarangs to hit all three switches before your time runs out. Time slows down when you’re piloting a batarang, but you’ll still need to use the boost when you can.
AMUSEMENT MILE - RIDDLER TROPHY #25
You need to leap from the GCPD building and dive bomb then pull up to get the proper trajectory. If you do it just right, you’ll smack into the Riddler panel, the hatch above you will open, and you can use your grapnel to pull yourself up to the trophy.
AMUSEMENT MILE - RIDDLER TROPHY #26
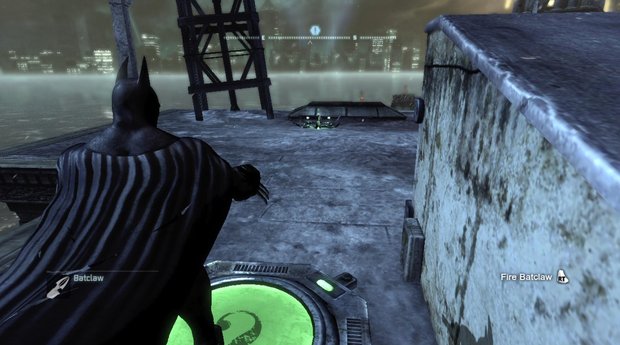
Stand on the nearby panel and use your batclaw to grab the trophy when the cage opens.
AMUSEMENT MILE - RIDDLER TROPHY #27
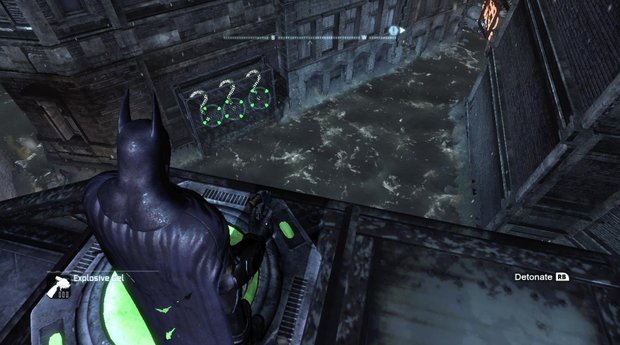
Stepping on this Riddler panel lights up three switches below, but it also surrounds them with a cage. The trick is to create an ice raft using your freeze blast in front of the switches and plant explosive gel on each one. Go back to the panel, stand on it, and detonate your gel to claim your prize.
AMUSEMENT MILE - RIDDLER TROPHY #28
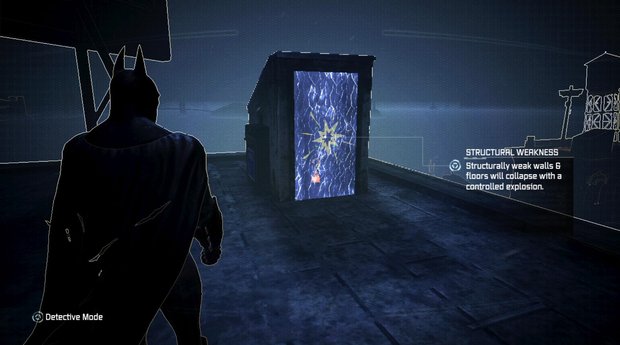
Use some explosive gel to destroy the structural weakness. Too easy.
AMUSEMENT MILE - RIDDLER TROPHY #29
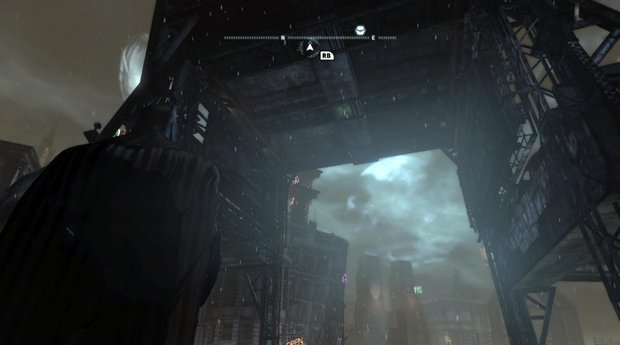
Southwest of the bridge there is a boat in the water. Stand on this boat and look up at the underside of the bridge. Throw a freeze blast into the water directly under the trophy, then jump to it and use your batclaw to bring the prize down.
AMUSEMENT MILE - RIDDLER TROPHY #30
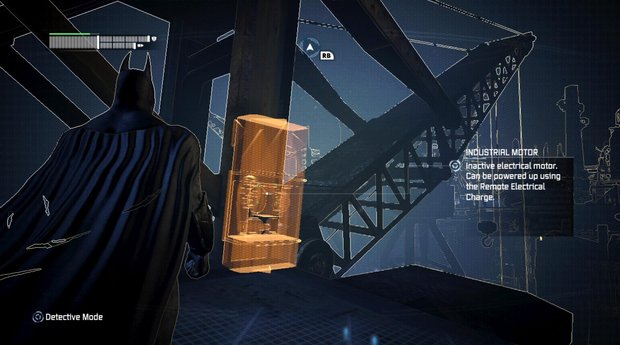
Use your remote electrical charge on the crane controls to lift a Riddler trophy out of the water. Use your batclaw to grab the trophy from the crane’s hook.
AMUSEMENT MILE - RIDDLER TROPHY #31
There are three panels you need to step on without setting foot on anything else. You need to stand on the first one and use your grapnel boost ability to escape the cage, glide around, and dive back in on the next panel--see the video if you’re having trouble.
AMUSEMENT MILE - RIDDLER TROPHY #32
In order to get the glide path required to skim over all six red panels without touching any of them, you need to do a dive bomb into a pull up from one of the GCPD gargoyles just northwest of this trophy. The pull up will give you enough speed to maintain the level flight required.
AMUSEMENT MILE - RIDDLER TROPHY #33 (Inside GCPD)
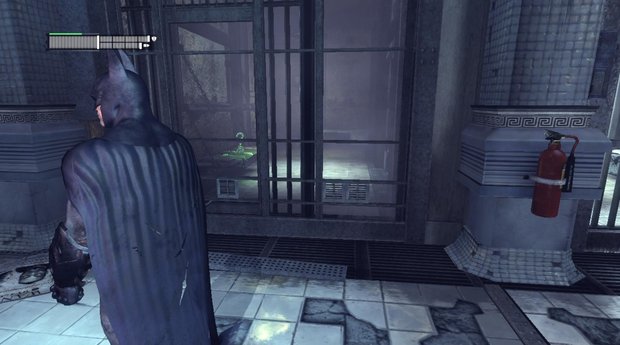
Look inside one of the cells along the southern edge of the building. Use your cryptographic sequencer on the nearby console, then use explosive gel to enter the cell with the trophy in it.
AMUSEMENT MILE - RIDDLER TROPHY #34 (Inside GCPD)
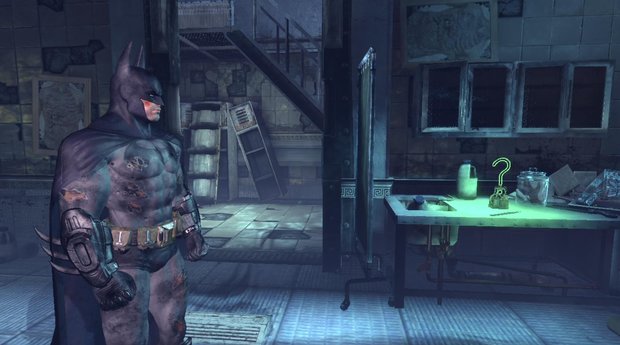
Inside the morgue located at the east of the building. The trophy is on a desk.
AMUSEMENT MILE - RIDDLER TROPHY #35 (Inside GCPD)
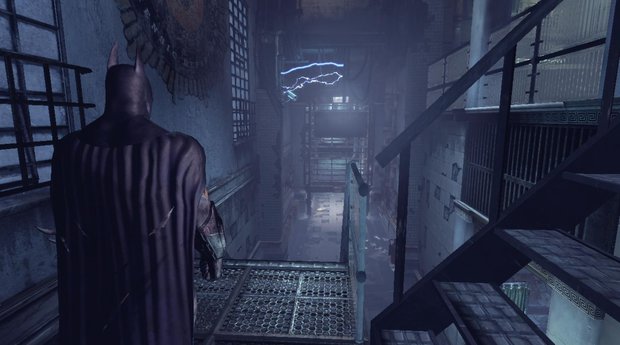
This trophy is in the northern most cell along the west of the building. You need to pilot a remote batarang through the eclectic arcs found near the morgue (east side), through the small opening at the top of the trophy’s cell, and into the fuse box.
AMUSEMENT MILE - RIDDLER TROPHY #36 (Inside GCPD)
This trophy is up in the ceiling in the southwest corner of the building. Use your line launcher to move from panel to panel without touching anything else. Start with the two panels across from each other, then when you are zipping back across the gap hold the aim button to fire another line perpendicular to the one you’re on. As soon as you do this, press the drop down button so that you don’t smack into the wall.
AMUSEMENT MILE - RIDDLER TROPHY #37
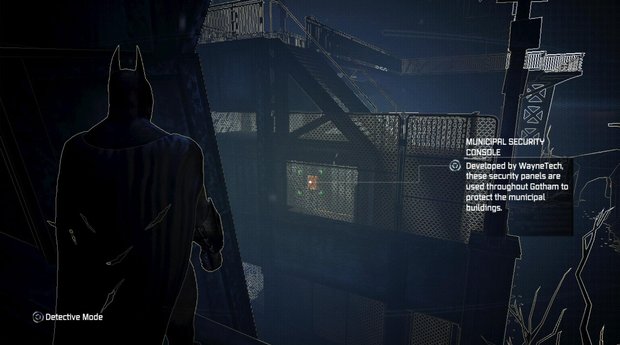
This trophy is in under the stairs on the southwest corner of GCPD’s roof. You need to be on the building just west of here and use your cryptographic sequencer: range amplifier to hack the console. Once you do, the bars protecting the trophy will drop.
Amusement Mile:
- Riddler trophies
- Catwoman Riddler trophies
- Riddle solutions
Jump to Section:
- Park Row
- Bowery
- Industrial District
- Subway
- Steel Mill
- Museum
- Wonder City
- Physical Challenges
Current page: Amusement Mile Riddler Trophies
Prev Page The Bowery Riddle Solutions Next Page Amusement Mile Catwoman TrophiesSign up to the GamesRadar+ Newsletter
Weekly digests, tales from the communities you love, and more

