Black Ops Cold War Forsaken Easter Egg guide
Neutralizer parts location, Crysalax, and more for the new Call of Duty Forsaken Easter Egg
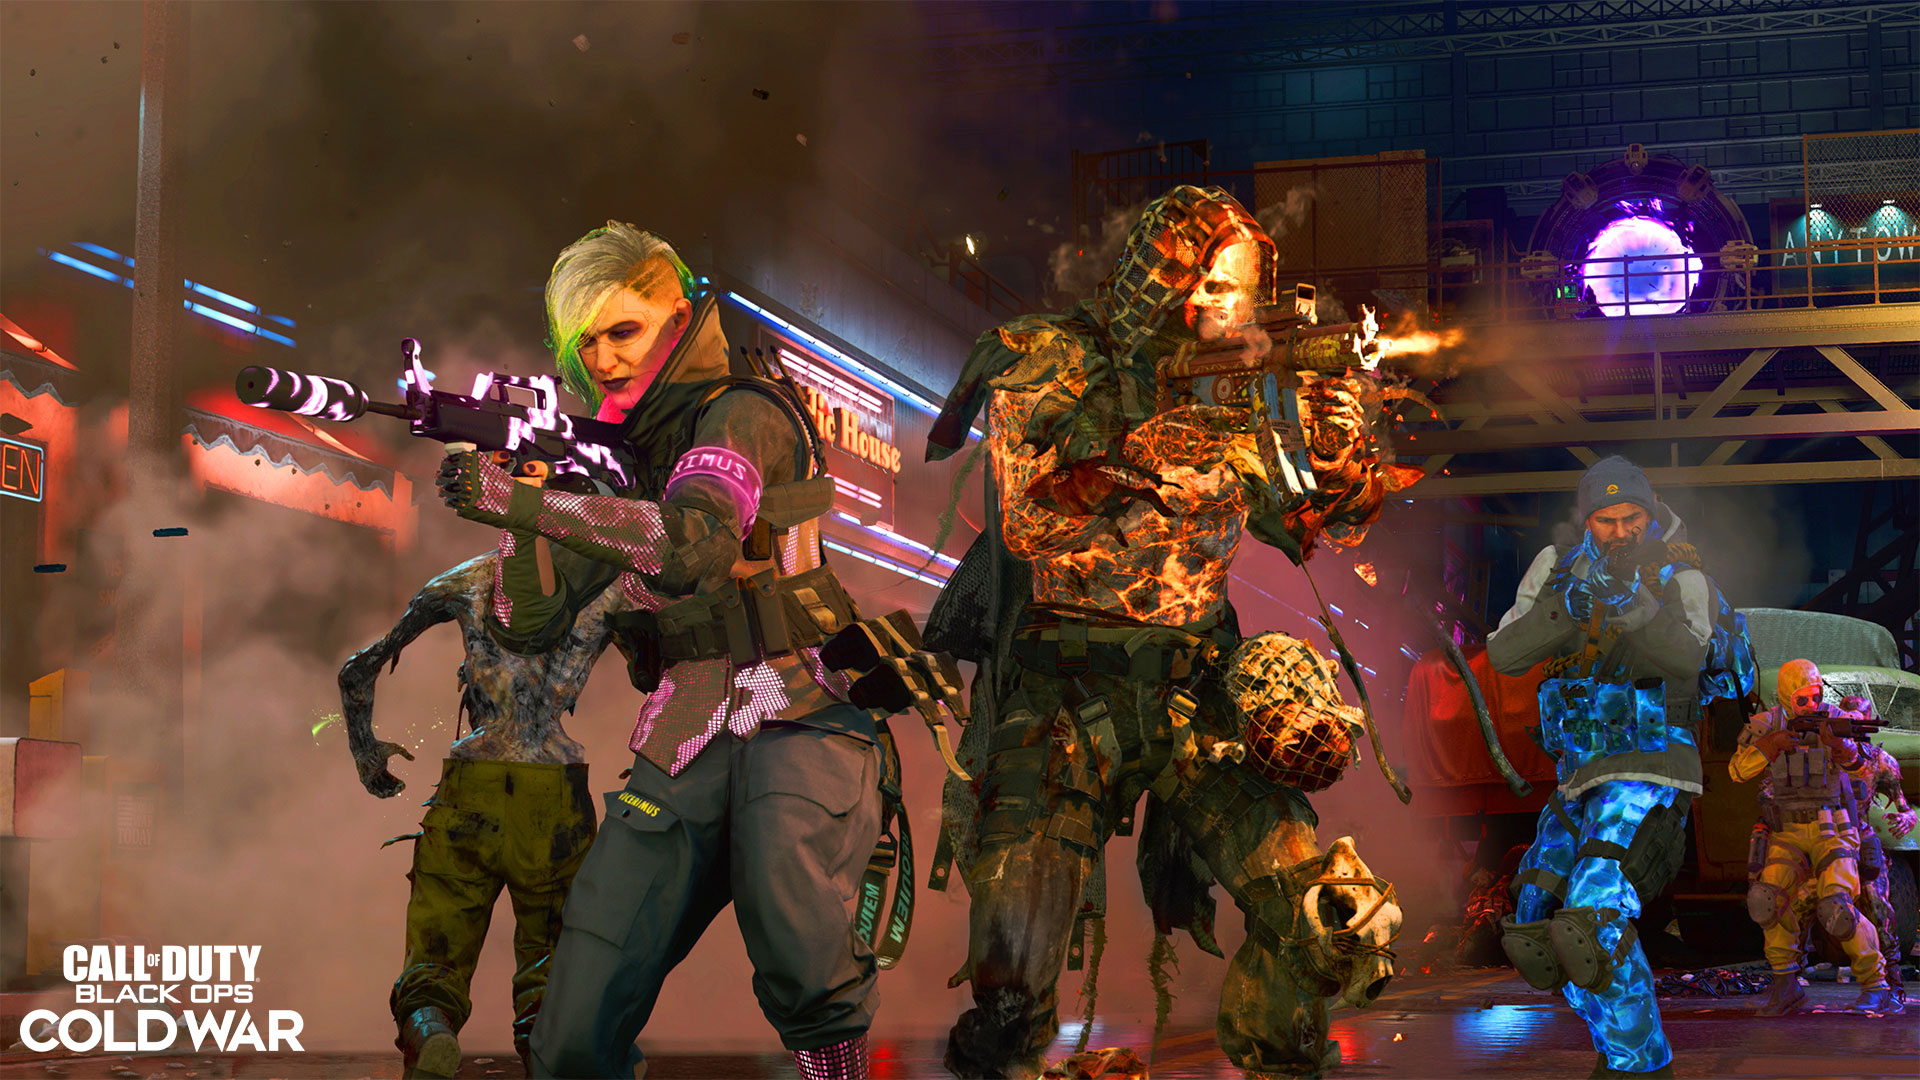
This Black Ops Cold War Forsaken Easter Egg guide will help you with the latest Cold War Zombies map. As usual, it comes with a challenging Easter Egg for you to complete, with a series of complicated objectives to take on while you battle against formidable foes. Thankfully, this is one of the easier ones, though it still requires skill and patience to overcome. Fortunately, we’re here to help with our Forsaken Easter Egg guide.
In this Black Ops Cold War Forsaken Easter Egg guide, we’ll walk you through every step of the process to ensure you can complete the challenge as easily as possible. As a reminder, it’s a good idea to familiarize yourself with the map before attempting the Forsaken Easter Egg, so we recommend playing a couple rounds on your own first. In addition, make sure to read this guide in its entirety before working towards the Easter Egg, as it’ll make much more sense in practice.
Step 1: Activate teleporter
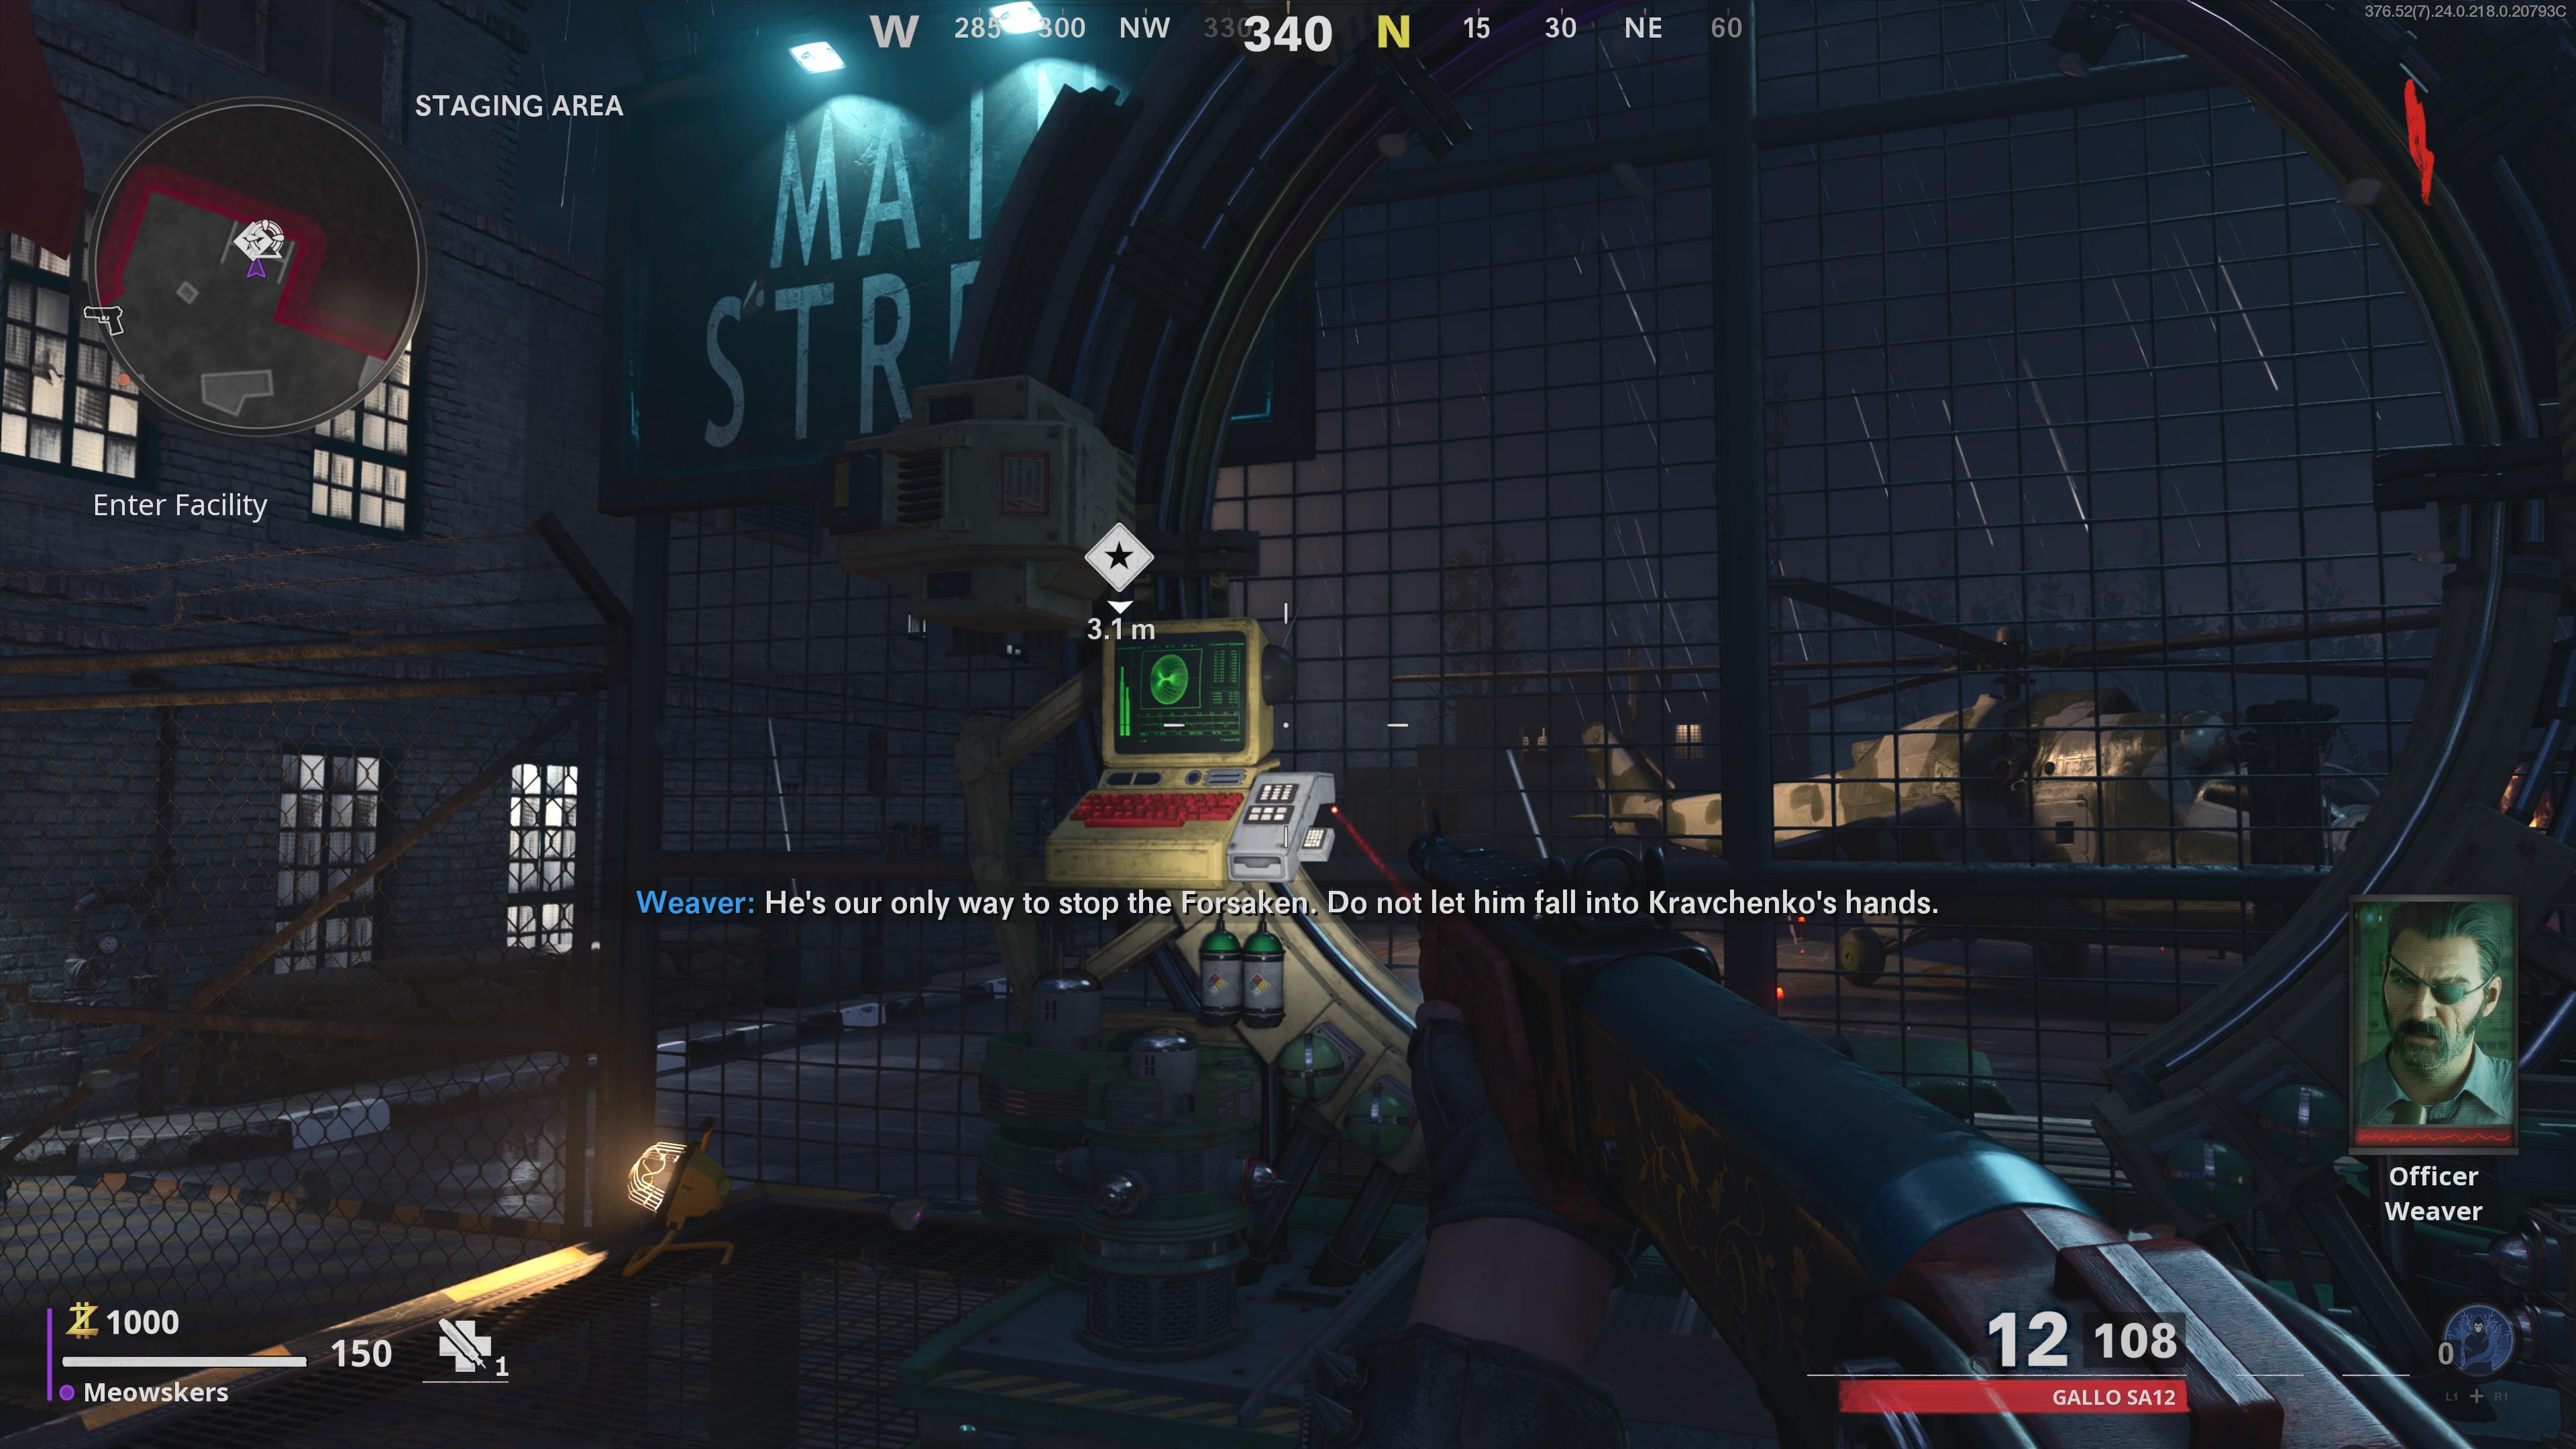
Right away, run over to the objective in the distance indicated by a star. Upon arrival, activate the teleporter to trigger a 30-second timer that requires you to survive against waves of zombies. Note that the rounds will progress even if you aren’t eliminating zombies, though, it’s recommended to take out as many as you can to rack up points.
After the timer ends, you can interact with the teleporter, so use it and it will spawn you in a new area called Checkpoint. Once you spawn in, make your way to the next teleporter by following the on-screen objective. Note that you’ll need to purchase access to the teleporter by unlocking doors.
Step 2: Collect four parts to repair teleporter
You’ll then spawn on the rooftop of the video store, where you’ll be tasked with finding four teleporter parts that are scattered around you. They’re found in the video store, cinema, TV store, and Burger Town - one part at each location. Keep in mind, each part has three possible spawns across the locations listed above. We’ll list all three possible spawns across the four locations below:
Video store - Circuit Board
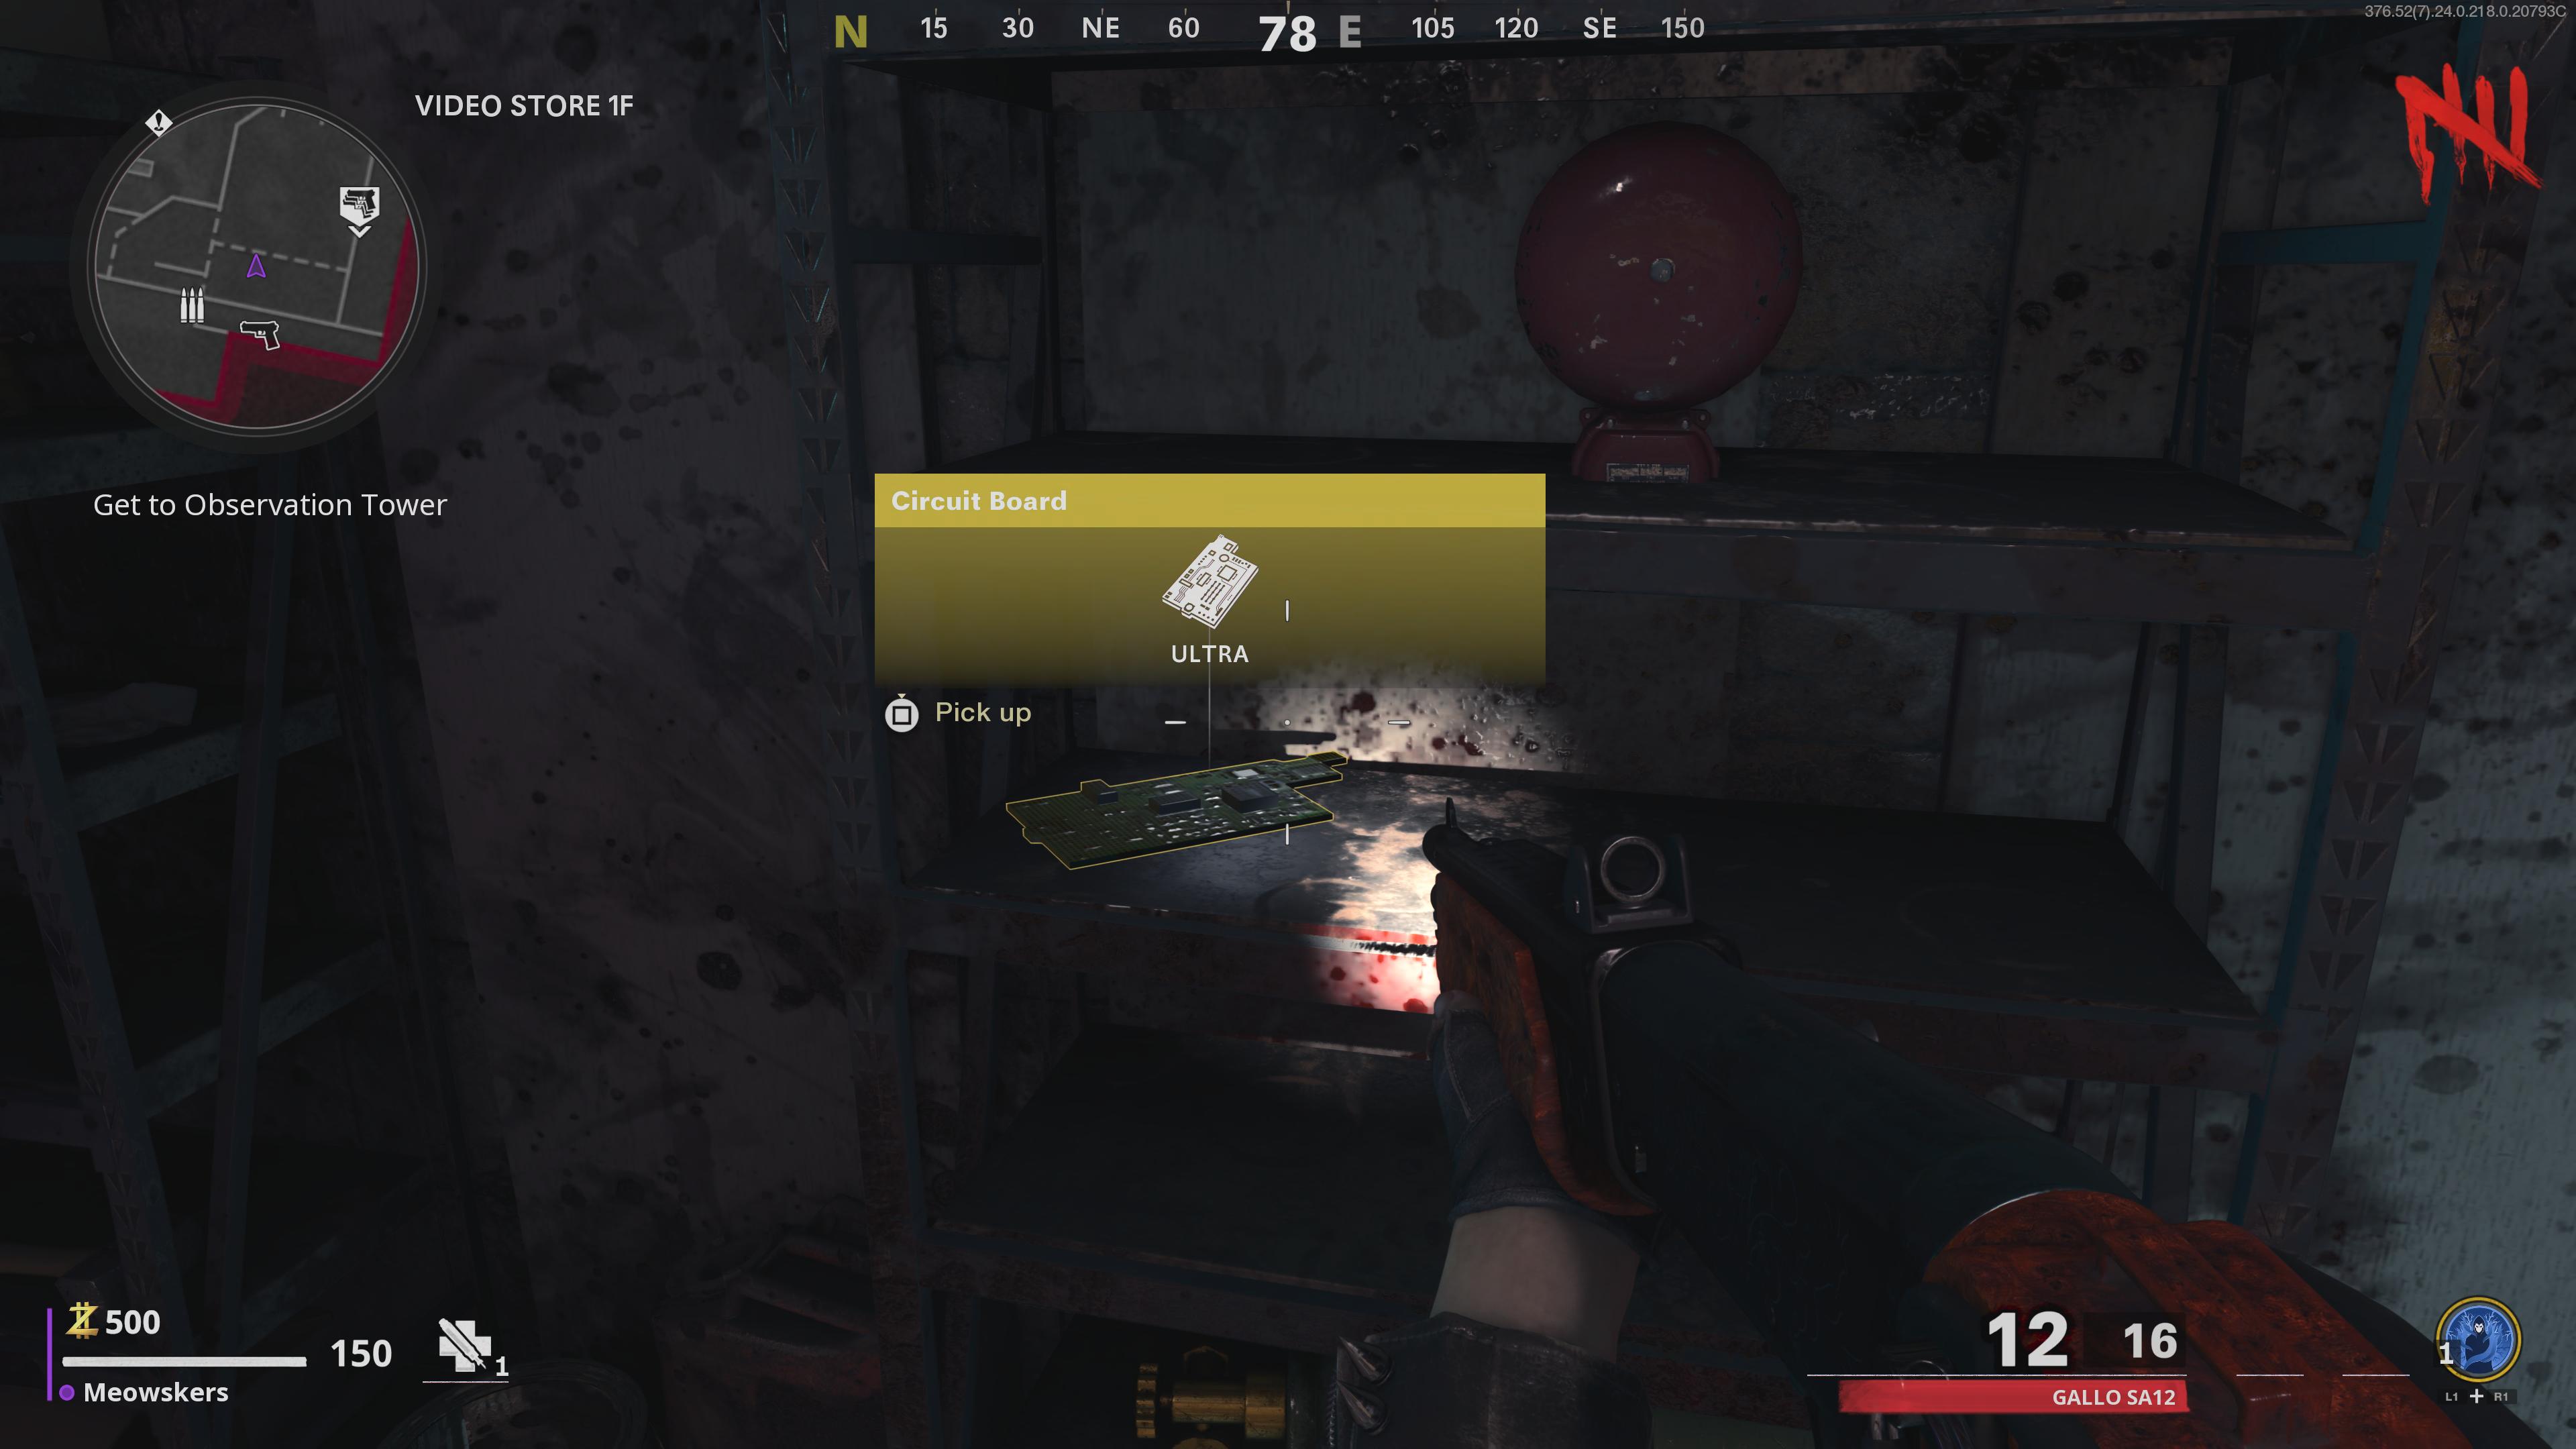
- Under the stairs on the western side on top of a wooden box
- Shelf in the same room as stairs on the bottom floor
- Box directly across from the stairs
Cinema - Focusing Lens
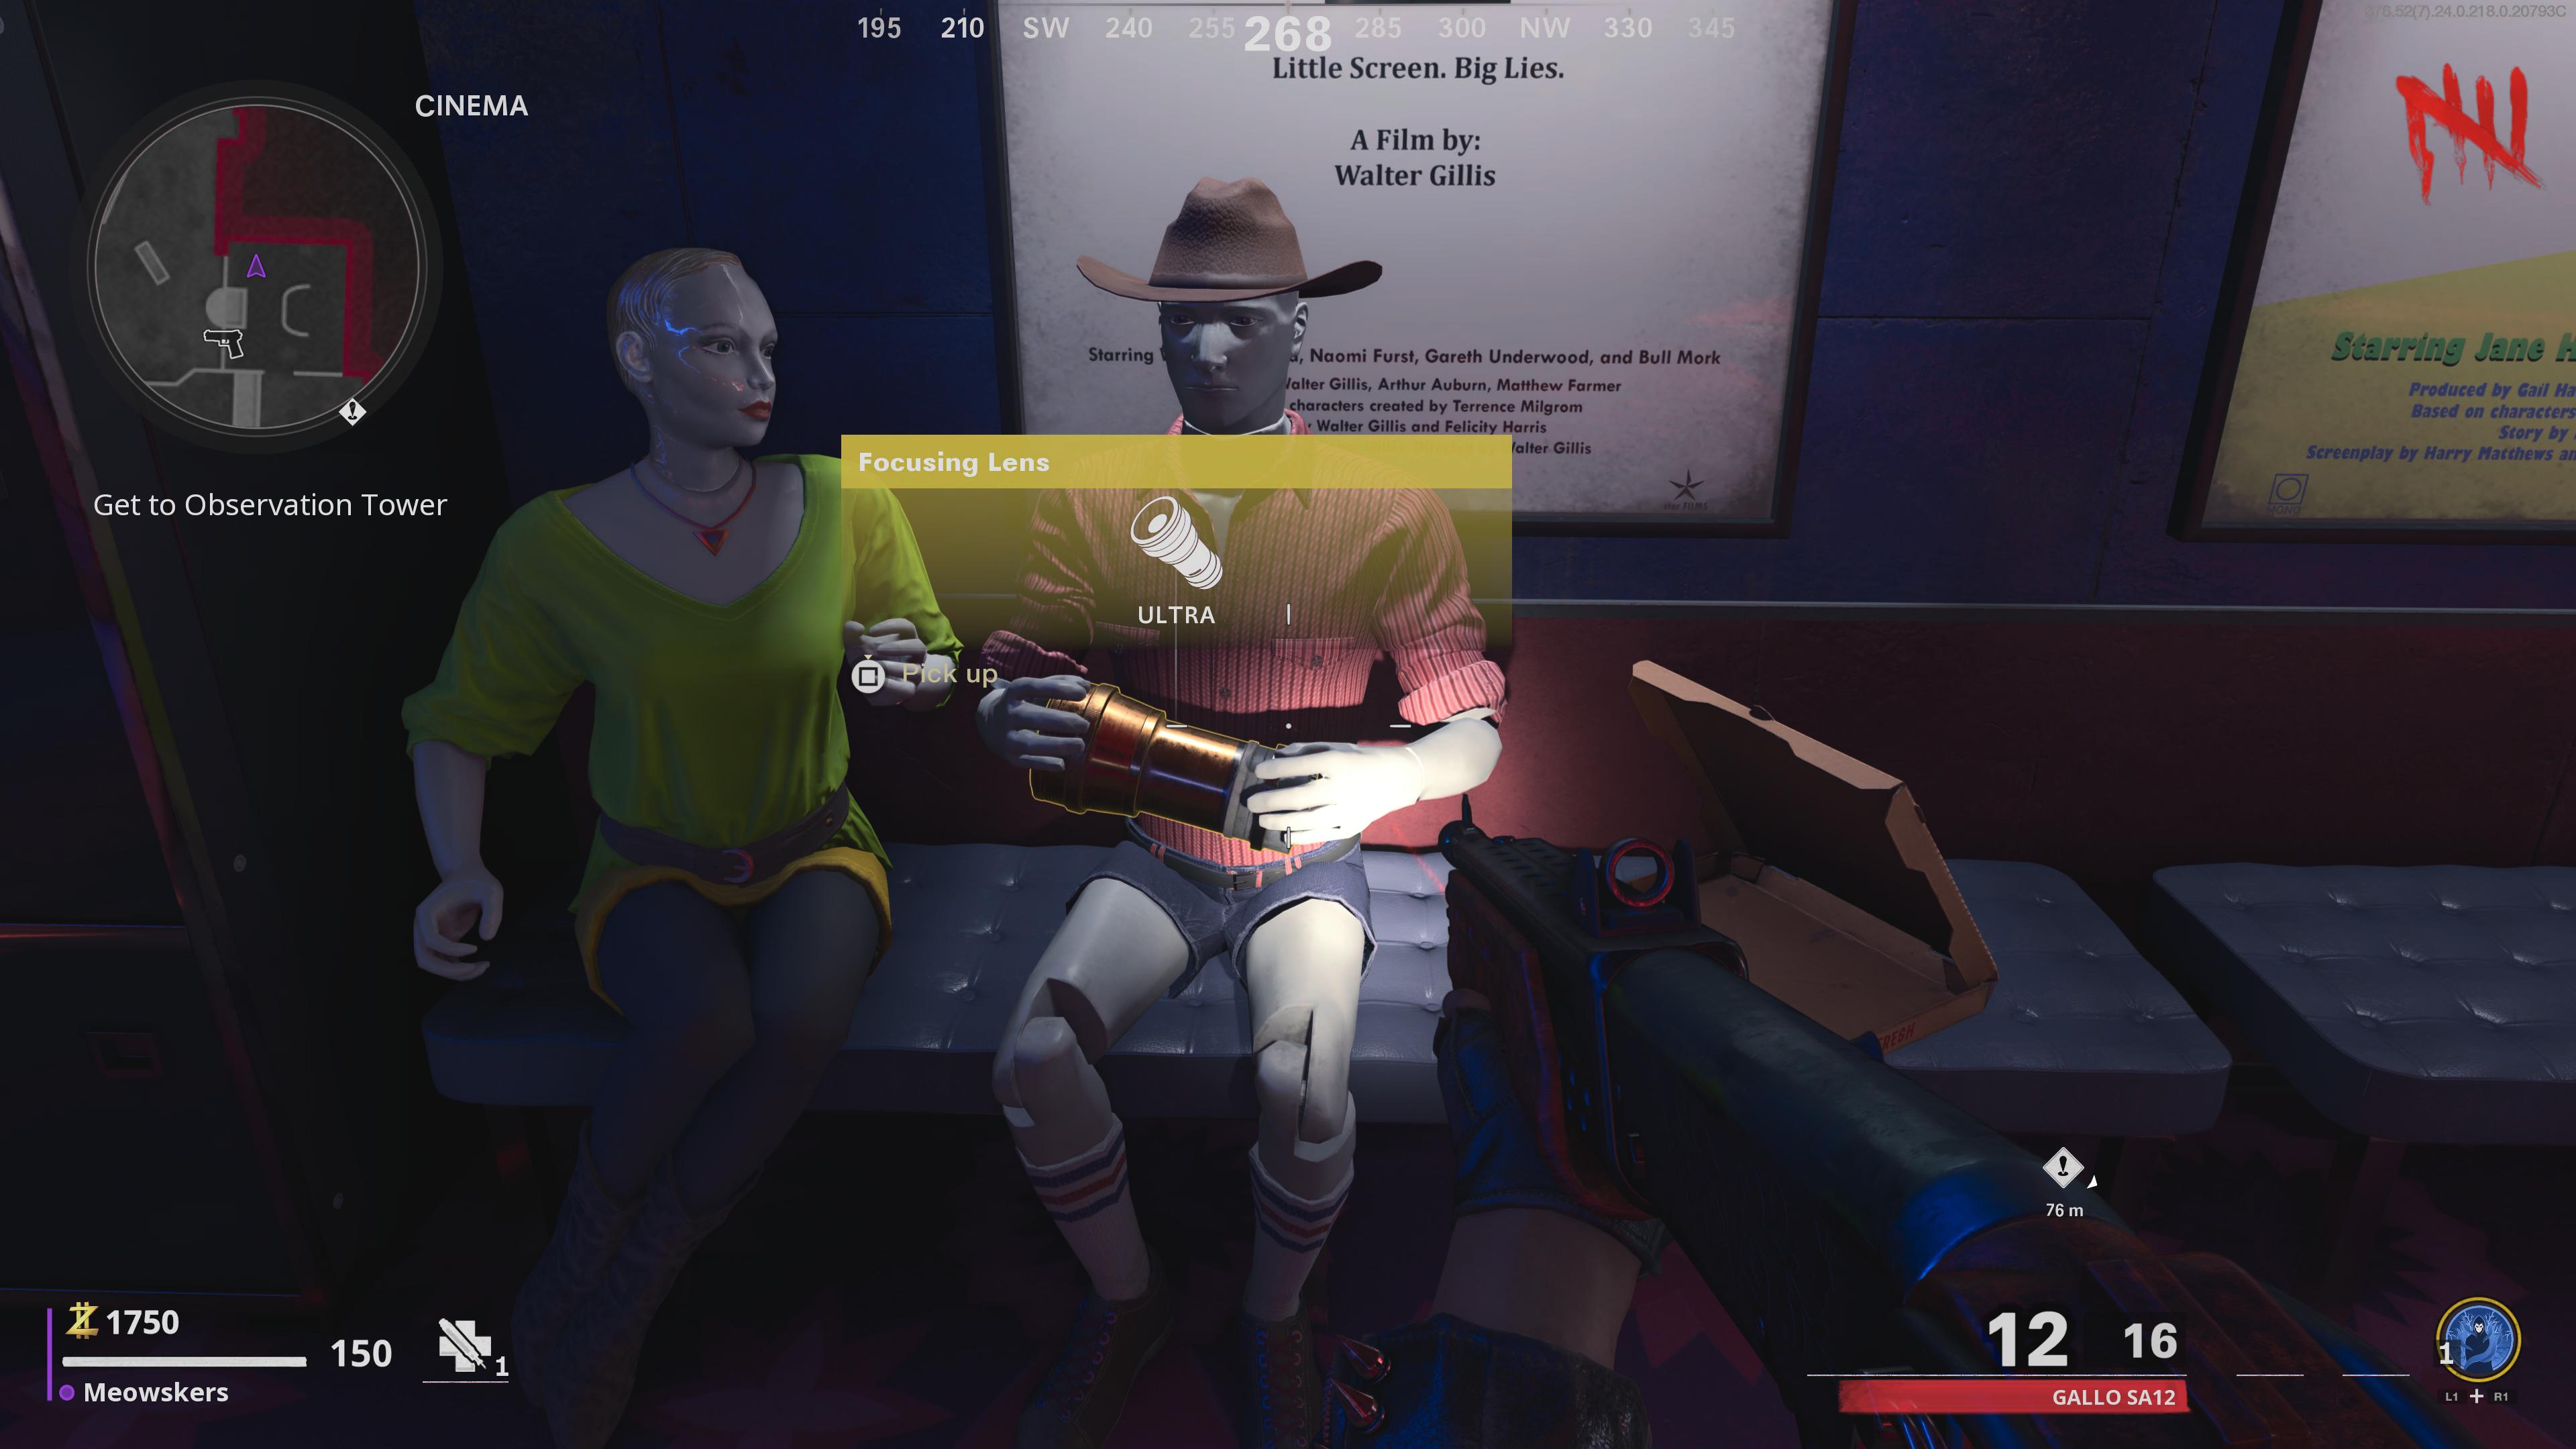
- Mannequins on bench on the west side
- Behind counter in the center
- Bench in the southeastern corner of the building
TV store - Cathode-Ray Tube
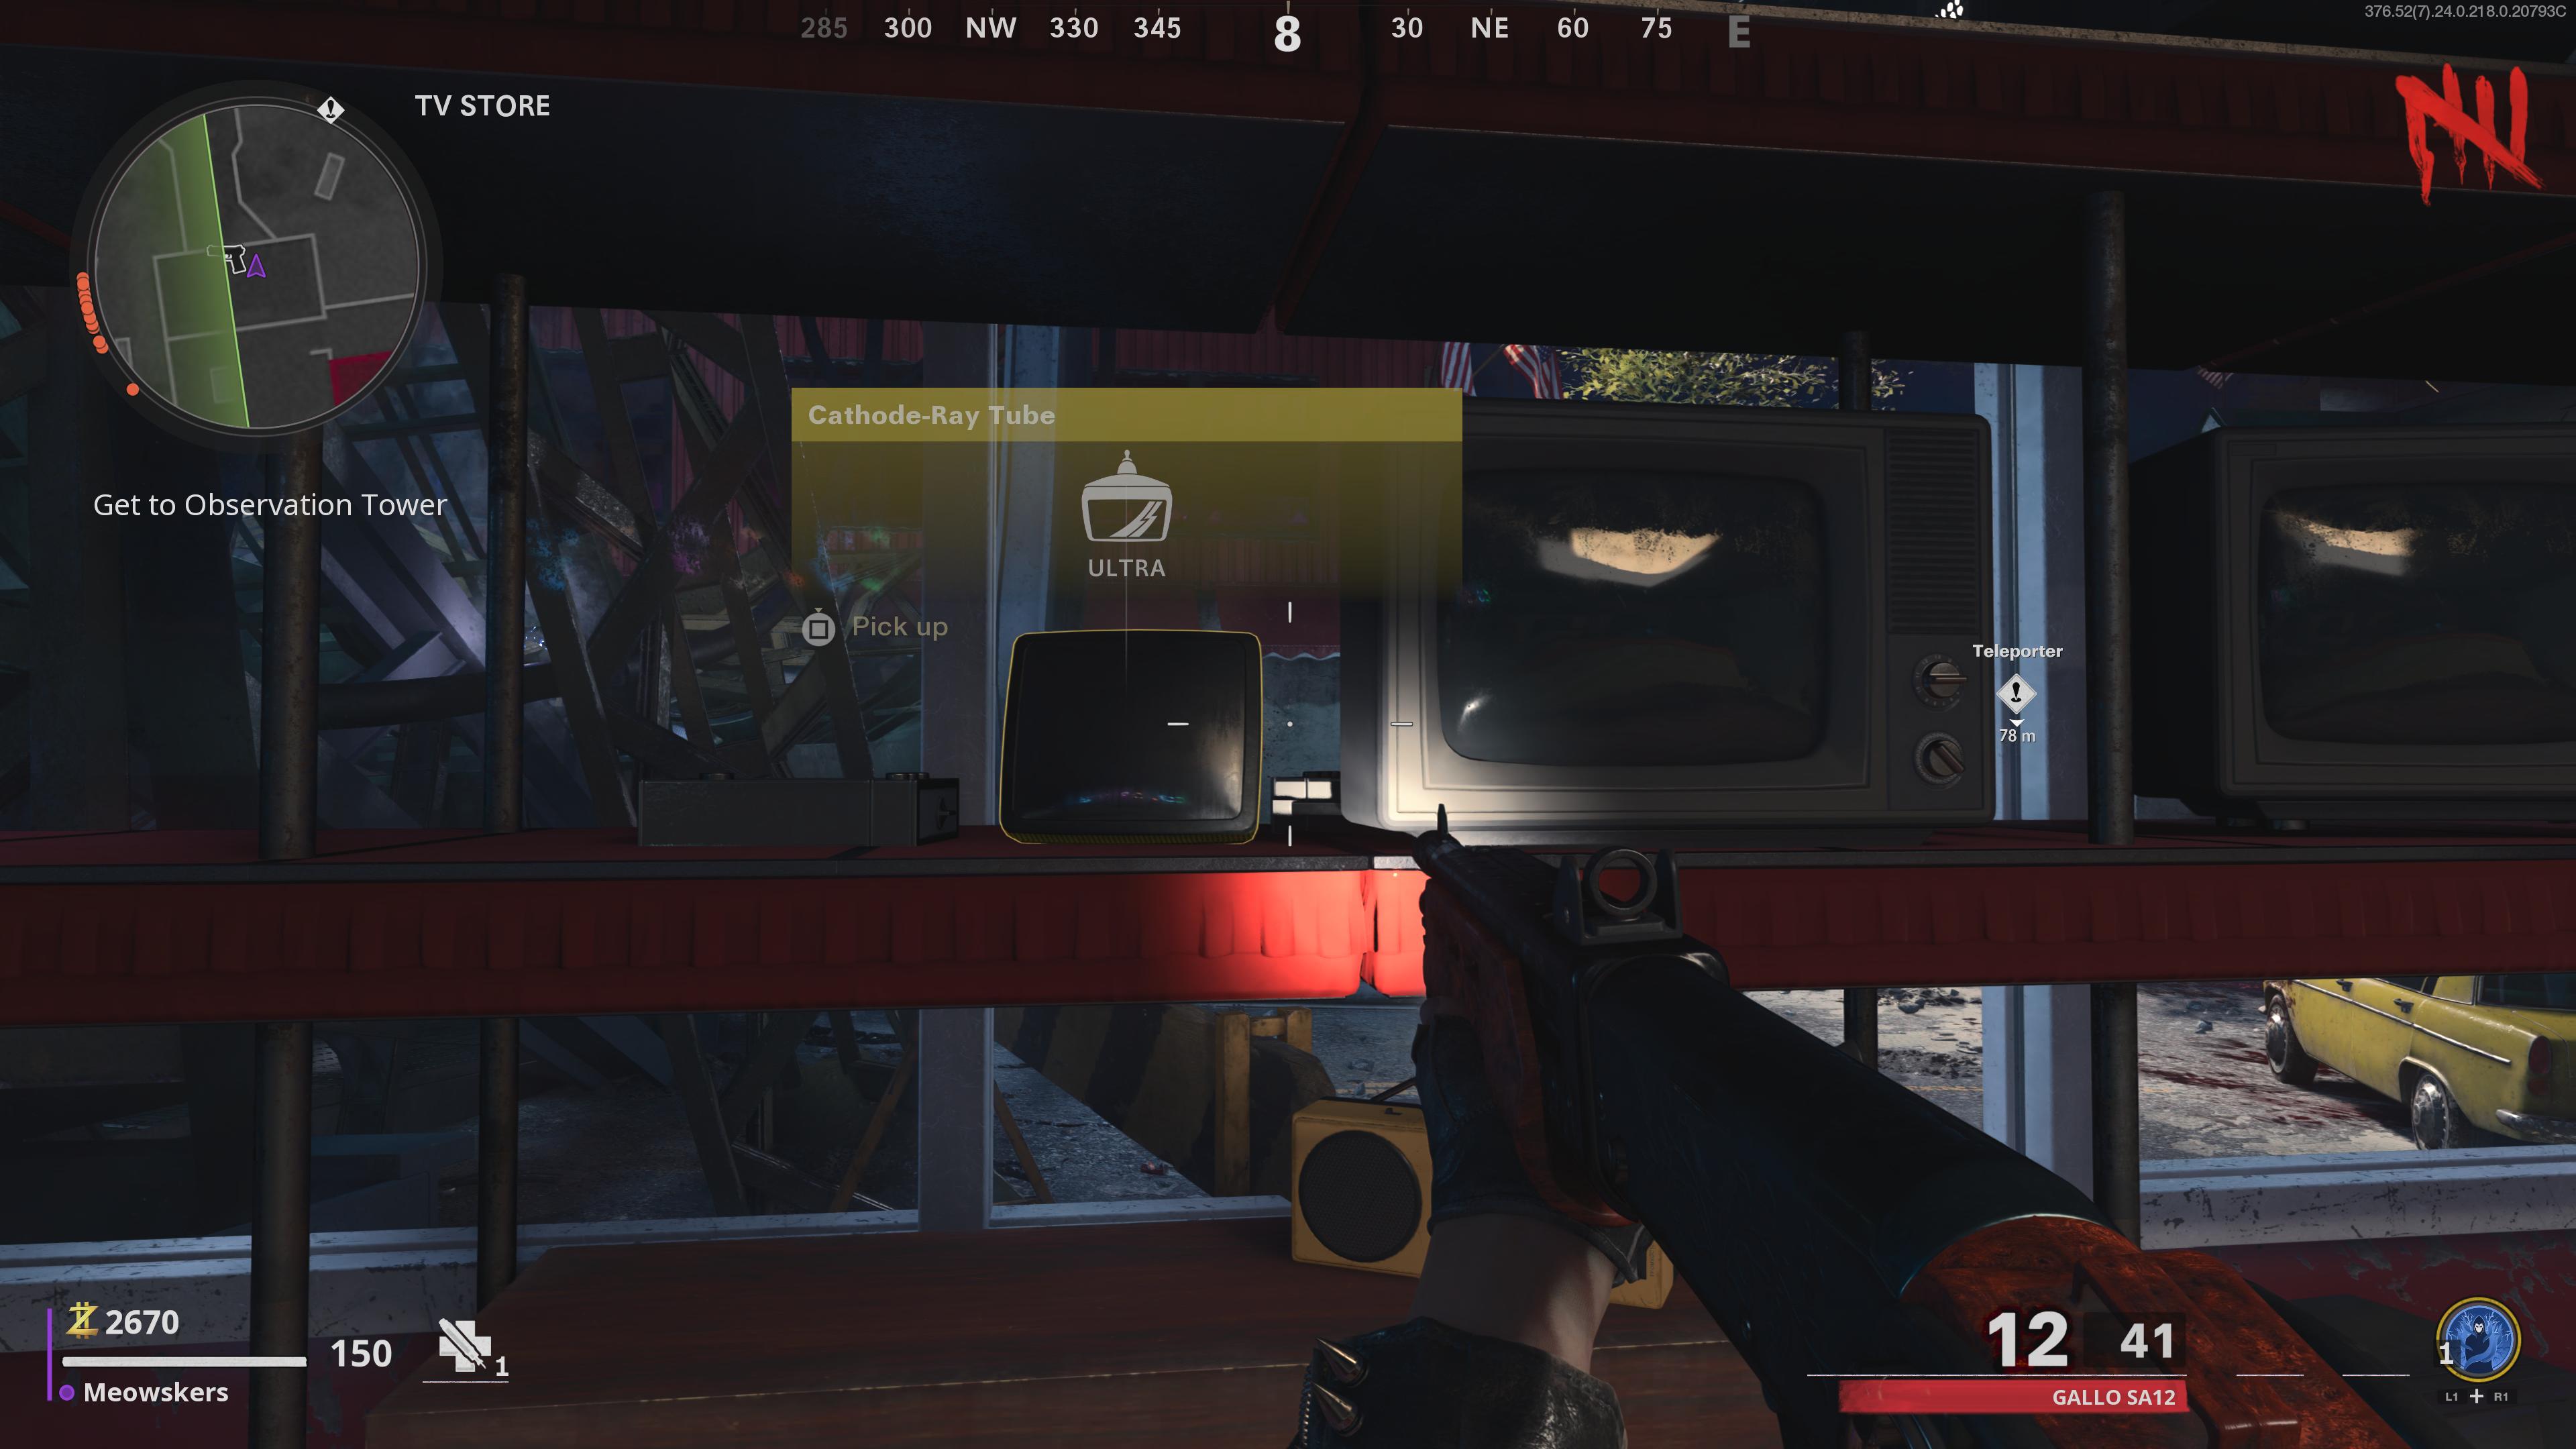
- On shelf between two TVs on the north side close to the window
- In southeast section of building on metal tray next to potted plant
- Behind counter on shelf
Burger Town - Fryer Cage
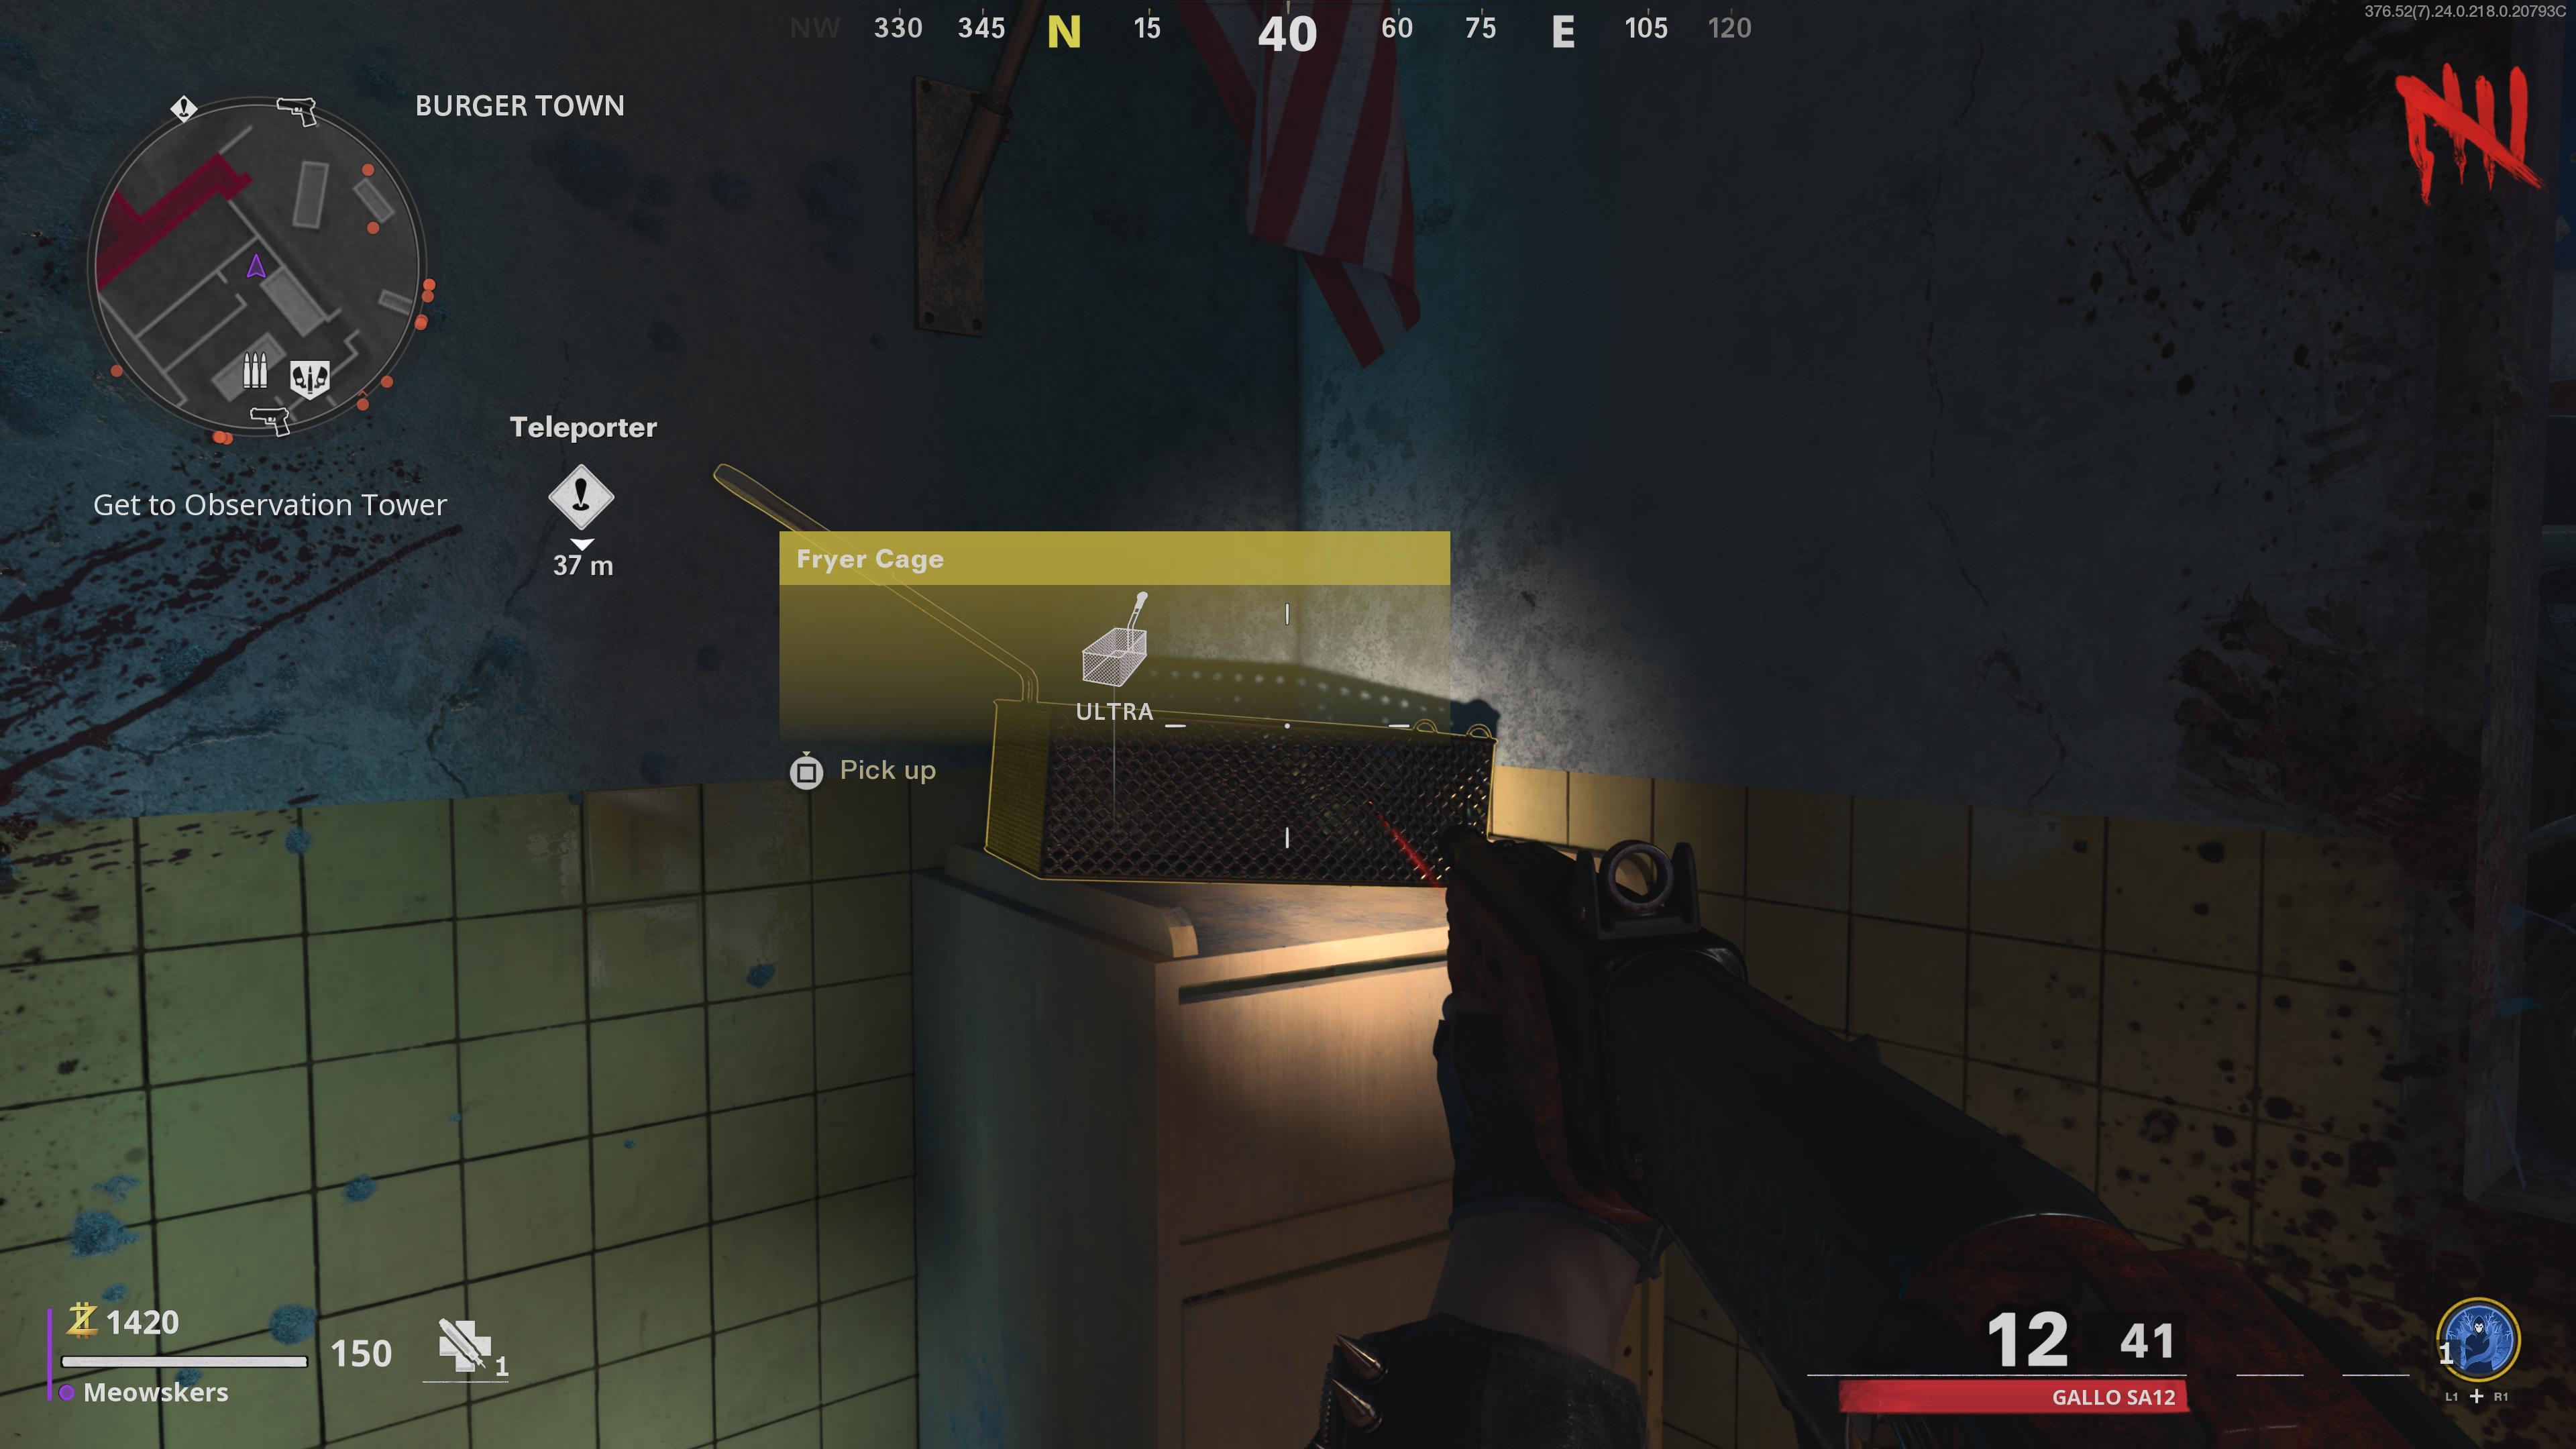
- In the northeast corner under U.S. flag
- Behind counter next to fountain drink machine
- On counter inside glass case on the southwestern side
Now, head to the objective on-screen to repair the teleporter and activate it to reach the next area.
Step 3: Turn on the Pack-a-Punch machine
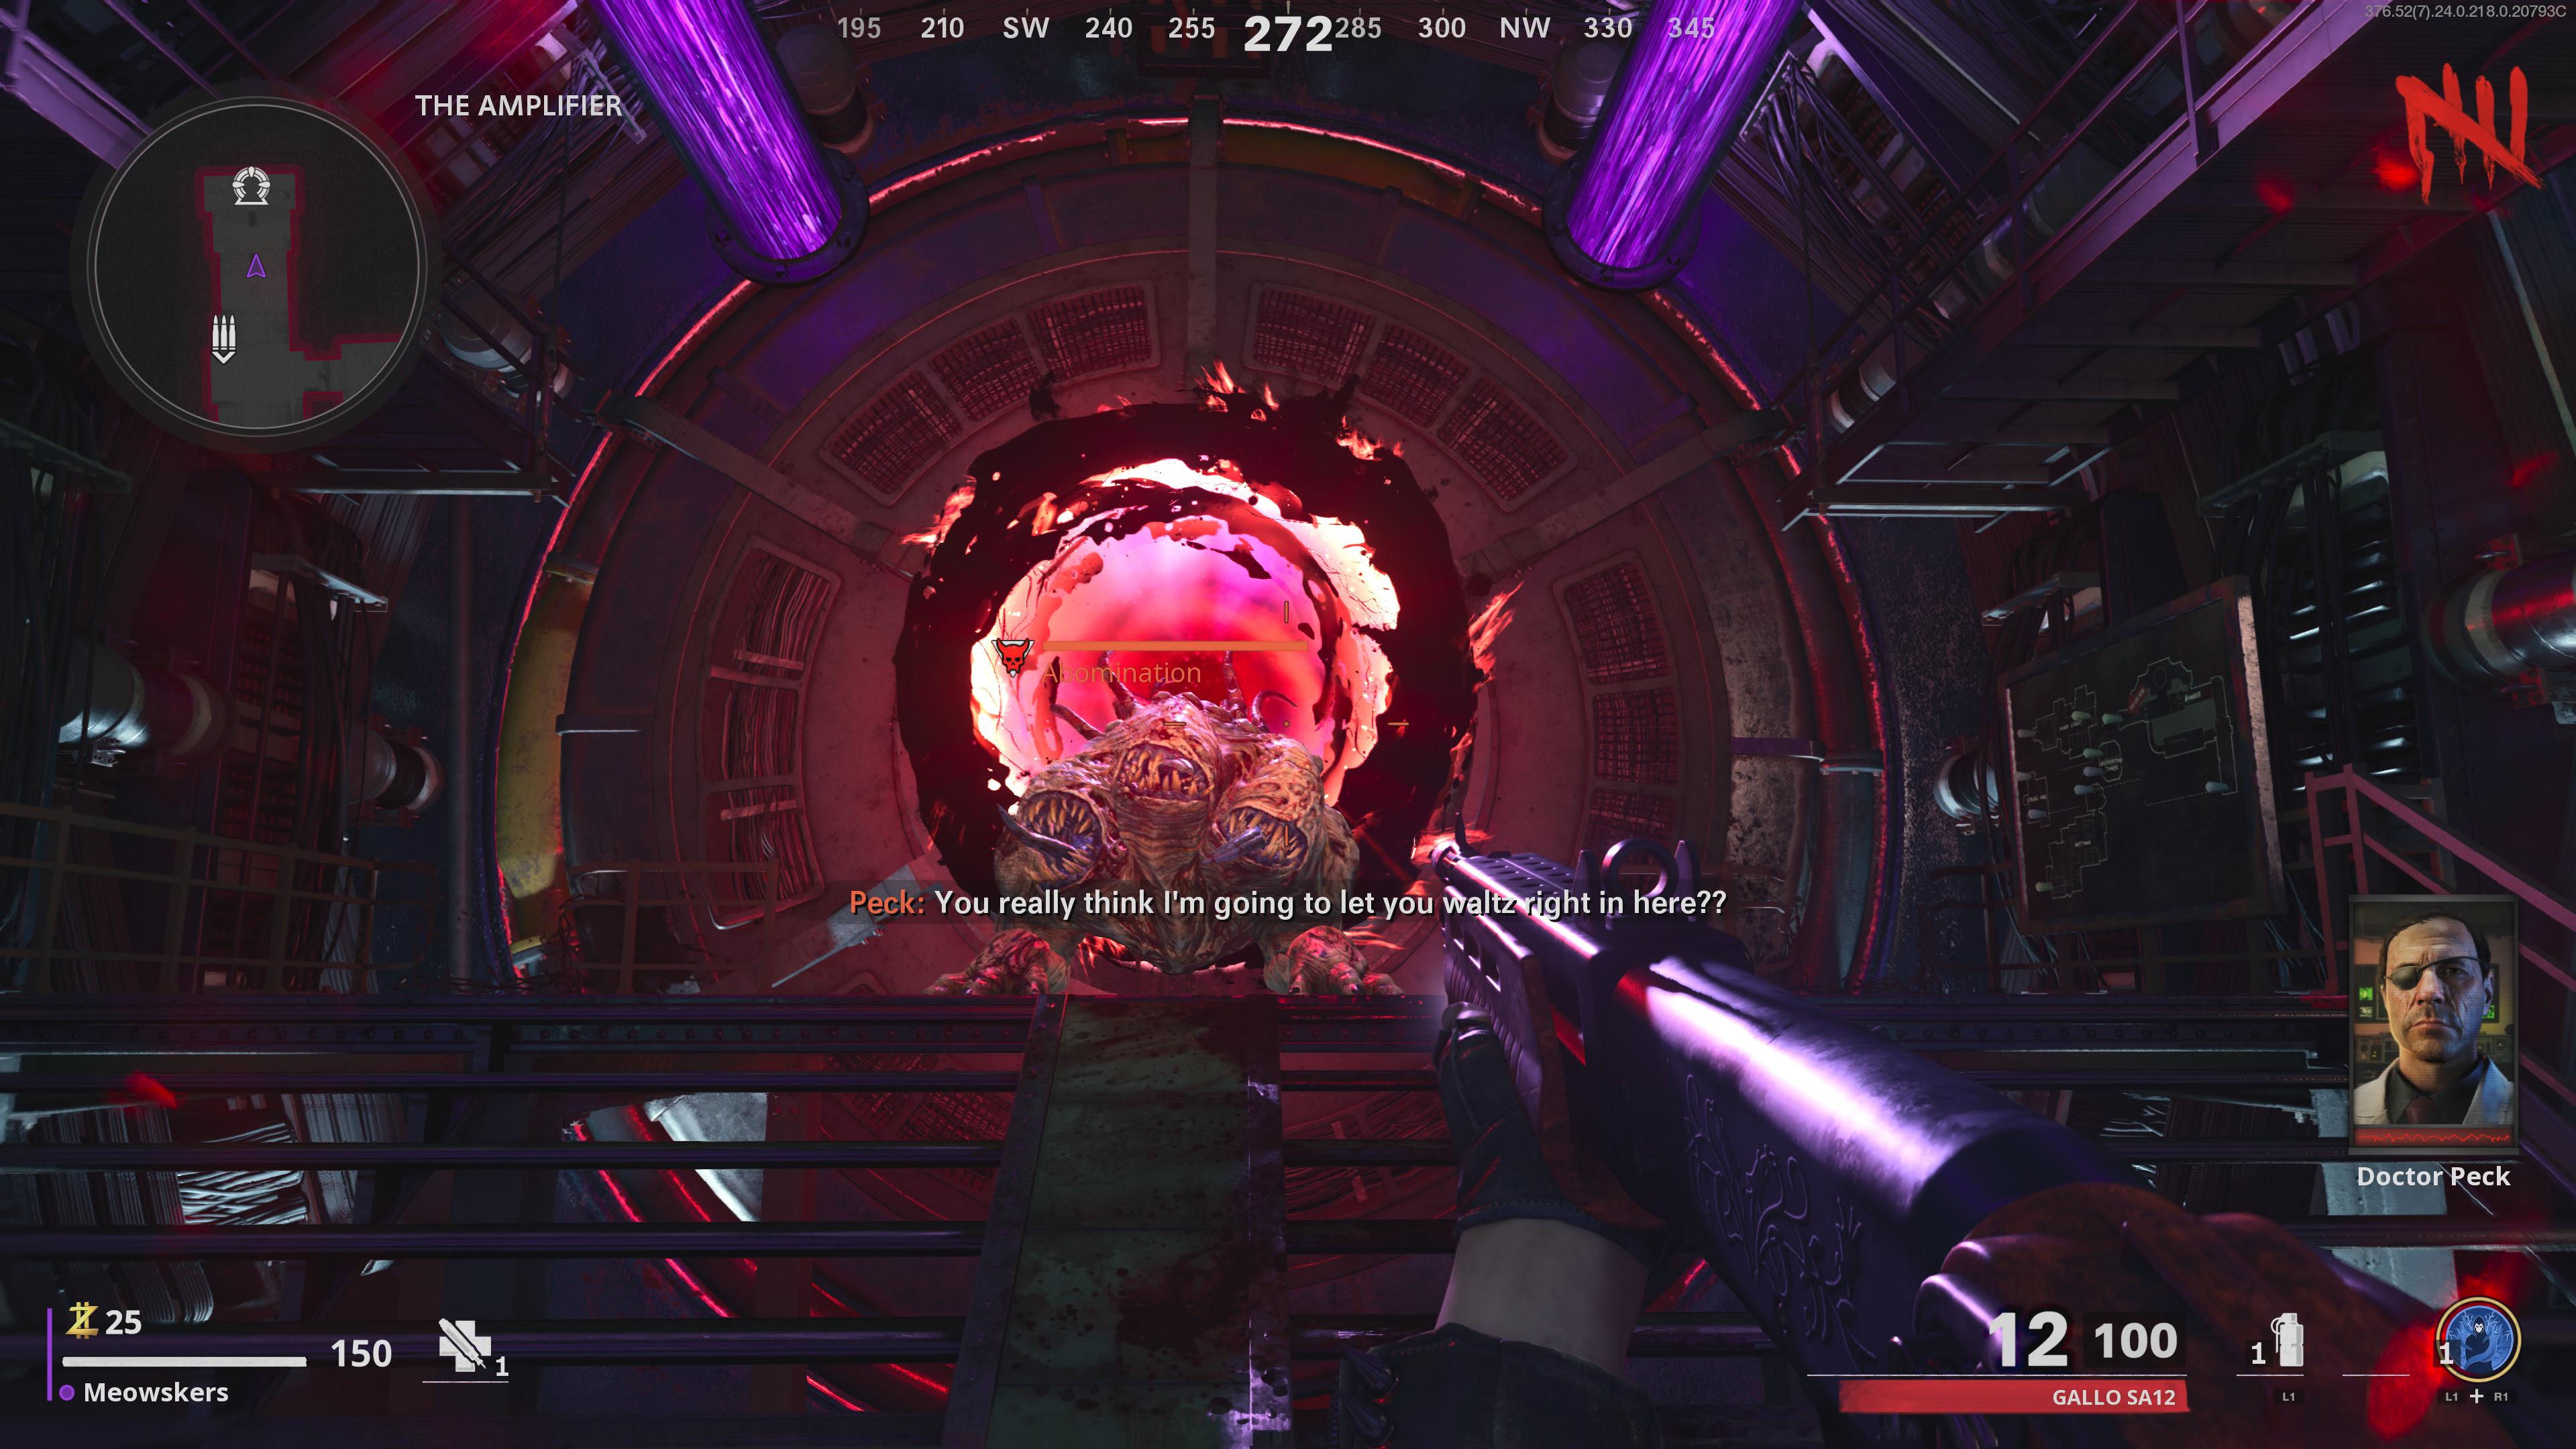
Follow the objectives to the next teleporter in the Amplifier and interact with it. This will spawn an Abomination enemy, so take advantage of its weak points to eliminate it with ease. Enter the teleporter and you’ll reach the Observation Tower.
Again, follow the marker to the red button, press it, and the Pack-a-Punch machine will activate. This will also lift the lockdown in place. While still in the Observation Tower, make your way to the southern corner where you’ll find another red button.
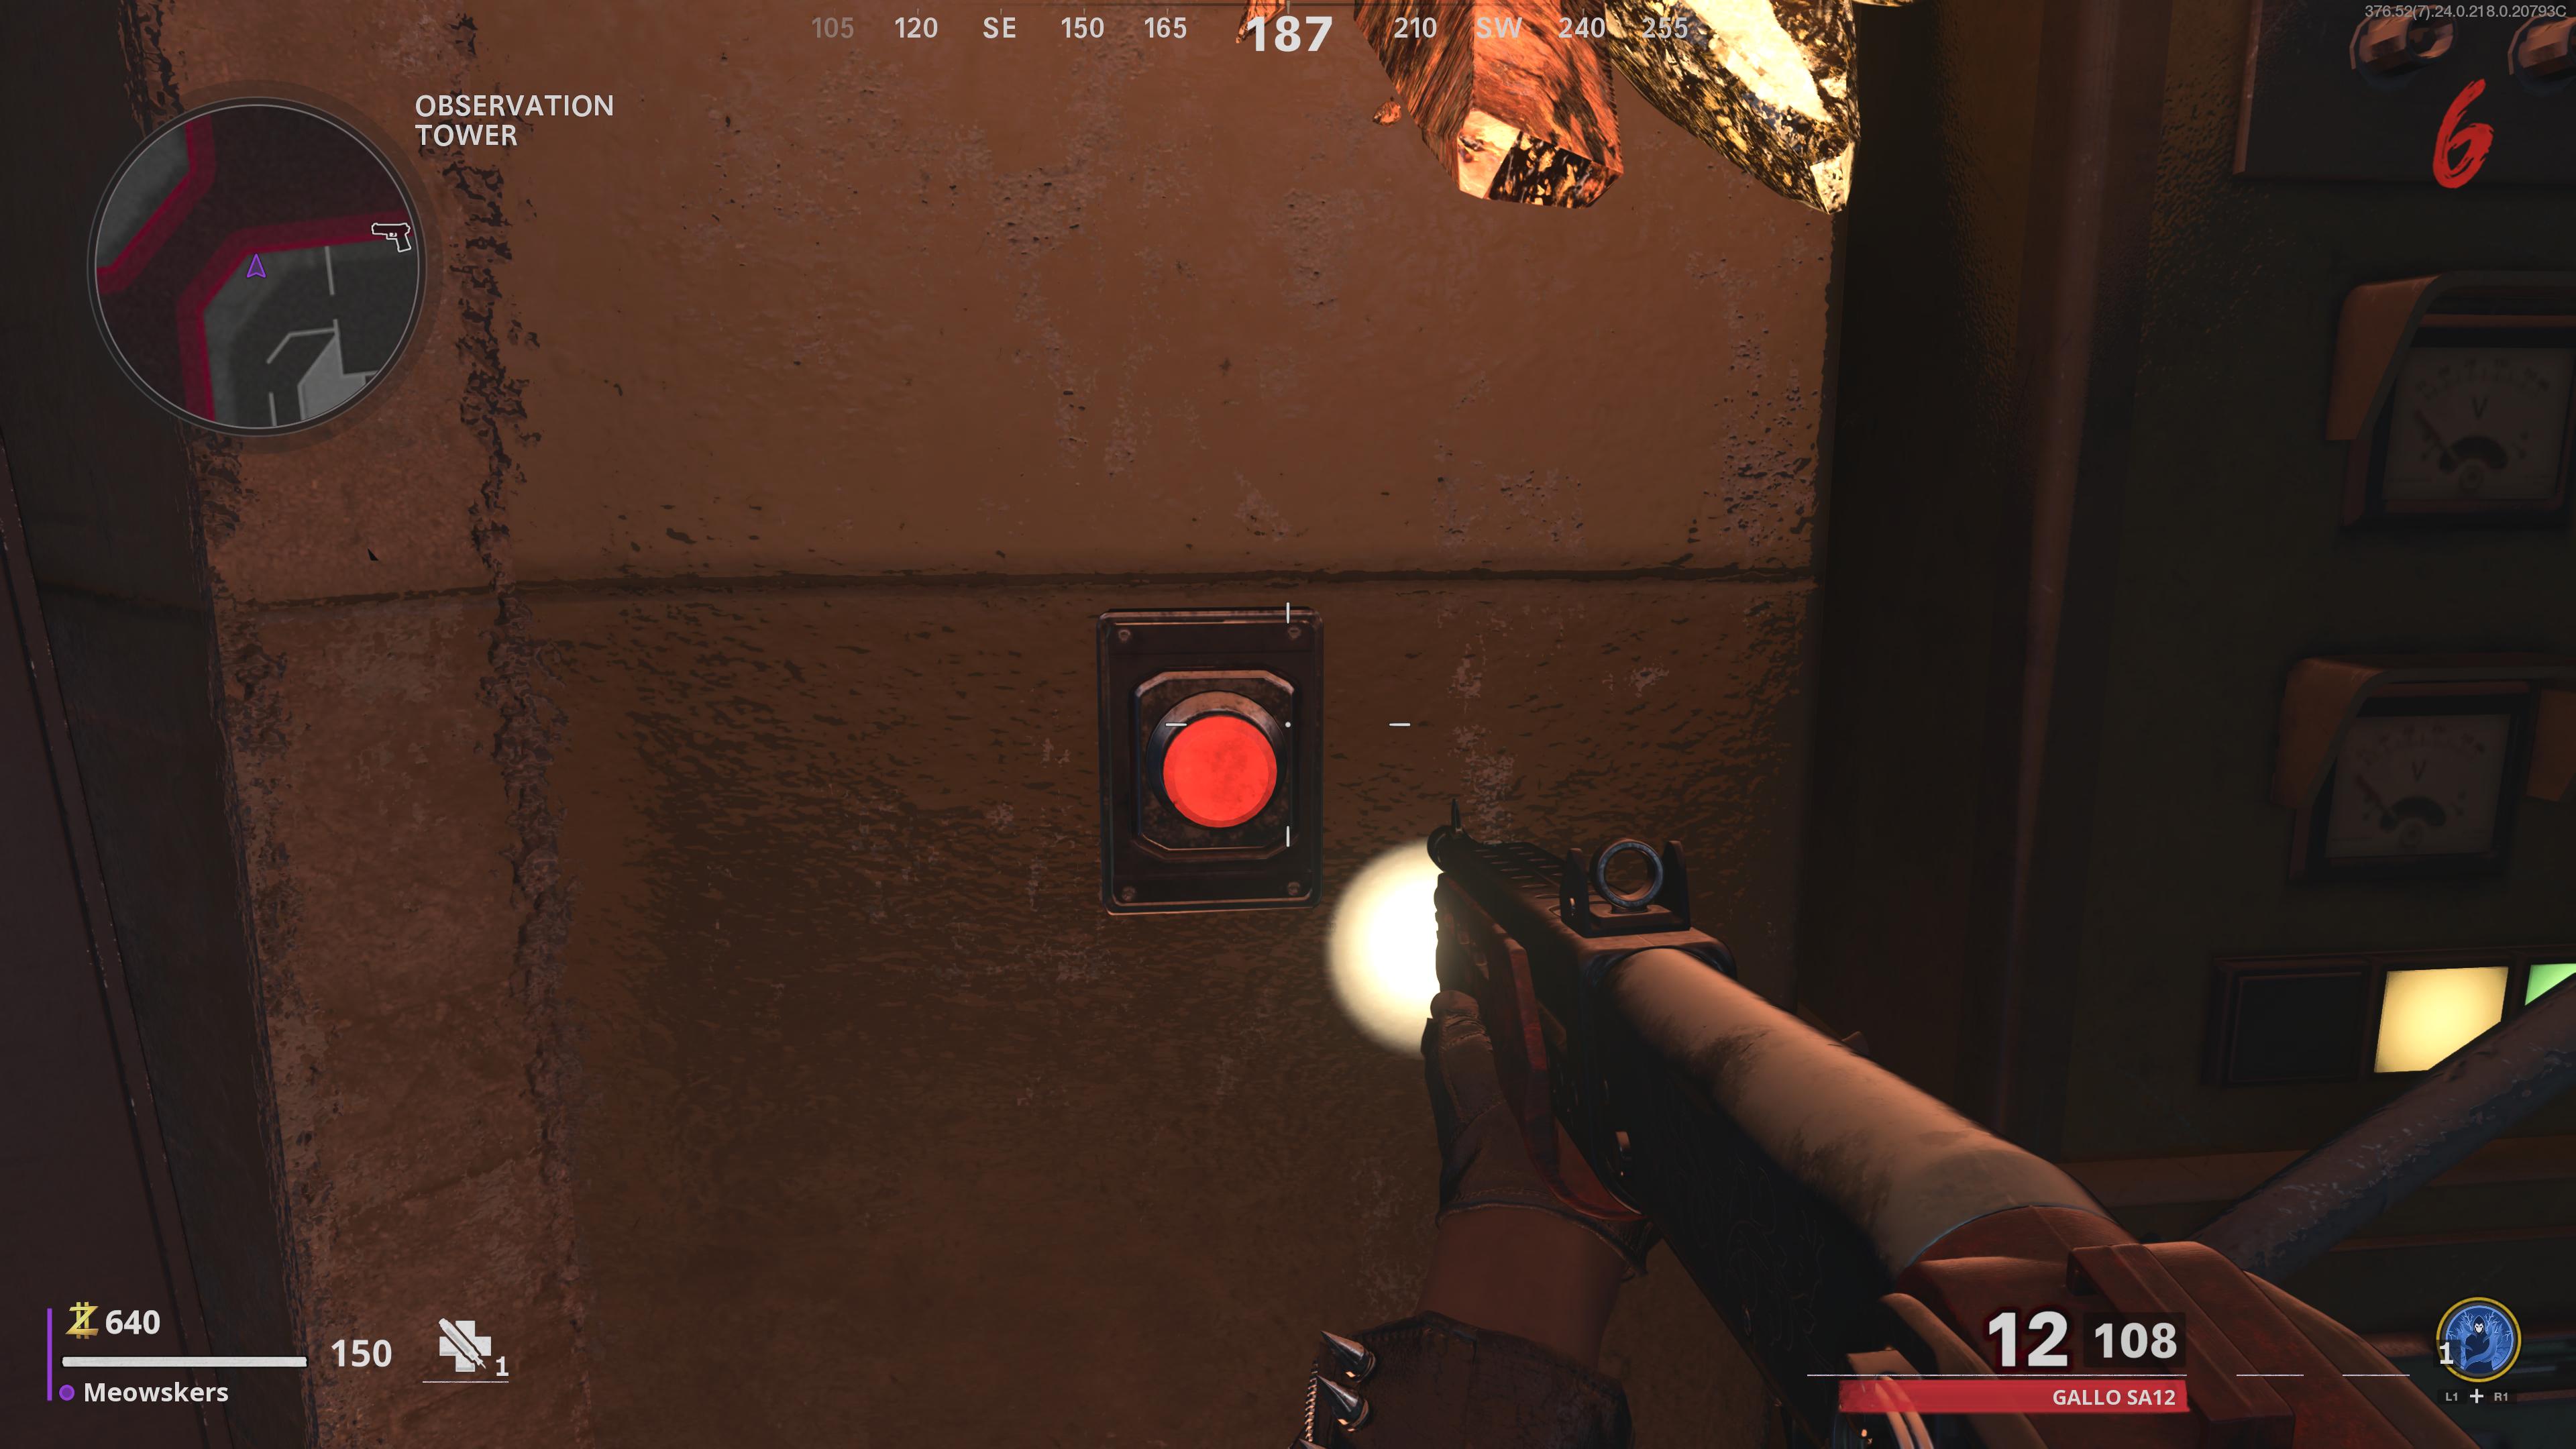
The button is to the right of four vertical windows, to the south of the teleporter. This button is unmarked, but you’ll need to press it anyway. Doing so will trigger a cutscene.
Step 4: Start working towards getting the Chrysalax
After the cutscene, you’ll spawn back in, where you should start working on acquiring the Chrysalax, which is the Wonder Weapon of this map. It not only serves as a melee weapon, but can also be fired like a gun, making it versatile.
There are multiple ways to acquire the Chrysalax, which we’ll list below:
- Chrysalax Quest - This is the quest that is specifically tied to building the Chrysalax, which is common across each Zombies map
- Mystery Box - The Crysalax actually has a common spawn rate, so it’s not a bad idea to give this a try
- Trials - Earn a Legendary reward from the Trials Machine in the Observation Tower
- Der Eisendrache arcade machine - Visit this game in the Arcade and survive for enough rounds to earn the Chrysalax from a gold chest
Whichever method you use doesn’t matter, as long as you get your hands on the Chrysalax. Considering the methods of earning this Wonder Weapon can be time consuming, it’s a good idea to start working towards the next step in the meantime.
Step 5: Collect three parts to build Neutralizer
You can work on step 5 while trying to earn the Chrysalax, and it’s recommended to do so. For the next step, you need to collect three parts to build the Neutralizer, so let’s dive into their locations below. Keep in mind, you can collect them in any order.
Fuel Tank
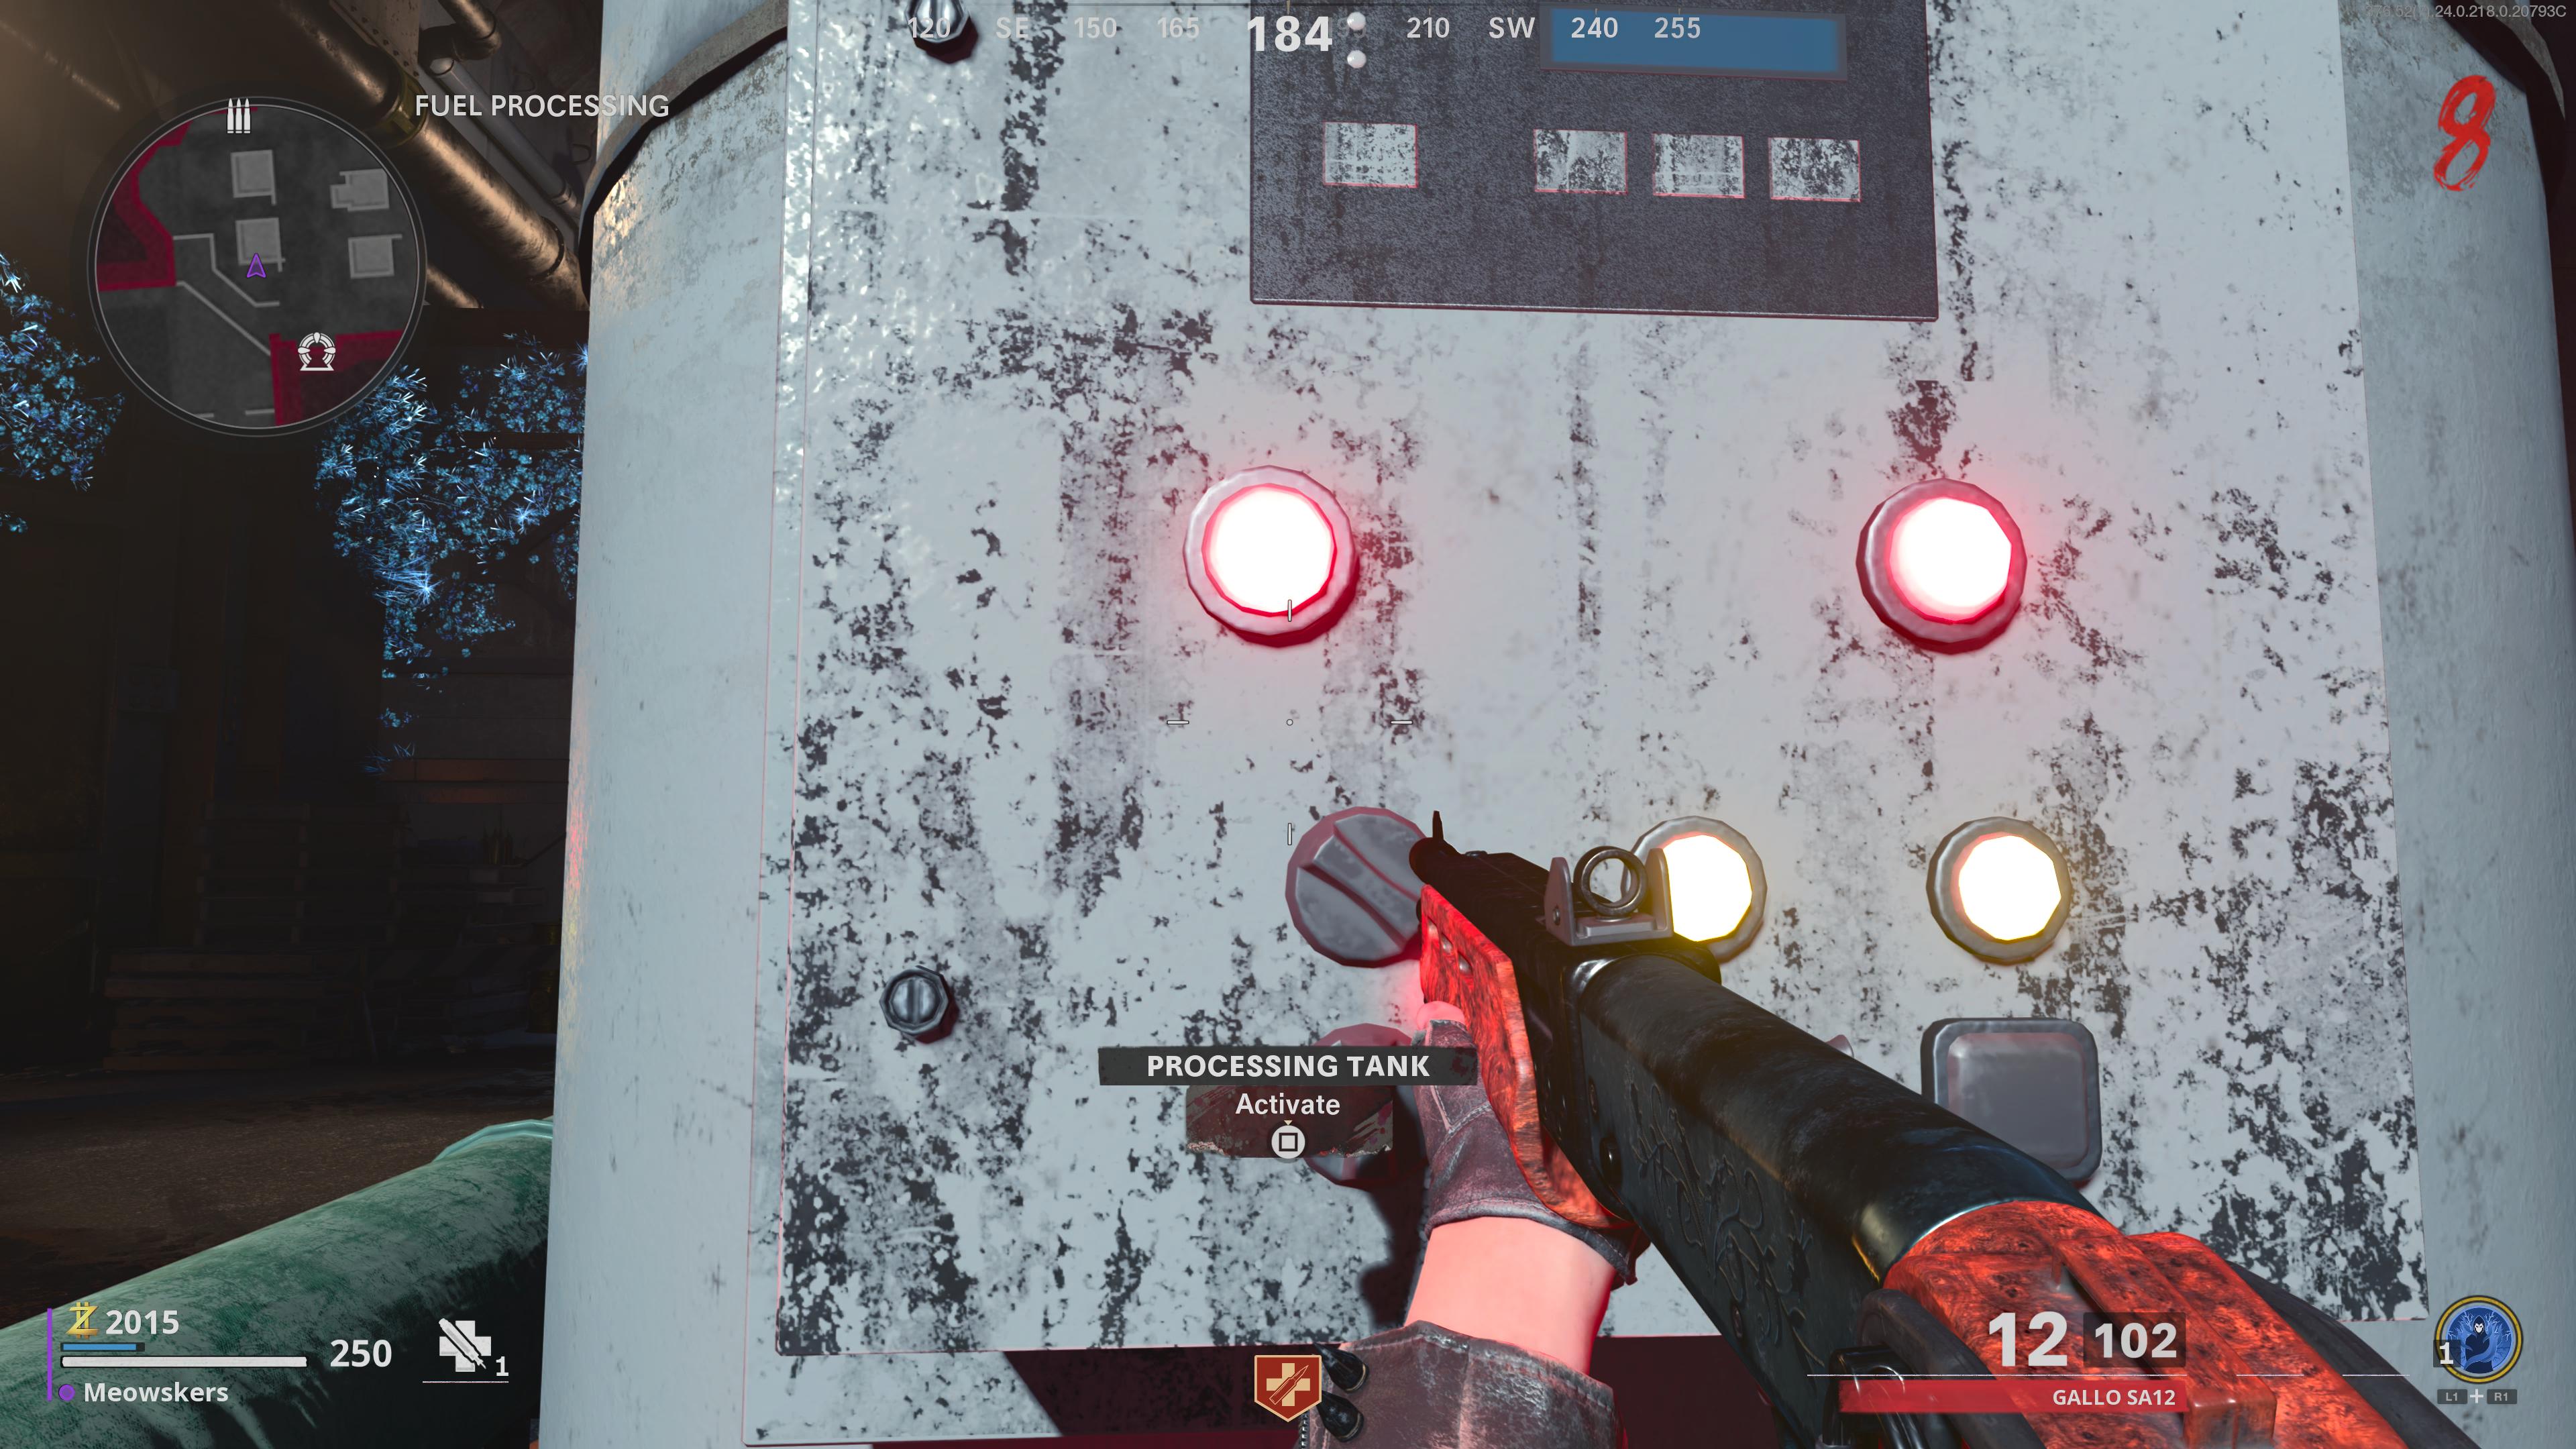
At this point, make your way to the teleporter in the Bunker Entrance area, and you’ll spawn in the Fuel Processing area. Here, you need to activate one of the large processing tanks. If you’re playing with a team, you all need to activate the tanks at the same time (there are multiple of them). Solo players just need to interact with one.
This will trigger a lockdown that requires you to take out zombies to fill up the tanks. After you’ve killed enough zombies to fill the tanks, the lockdown will end, and the Fuel Tank will spawn in the center of this area.
Housing Unit
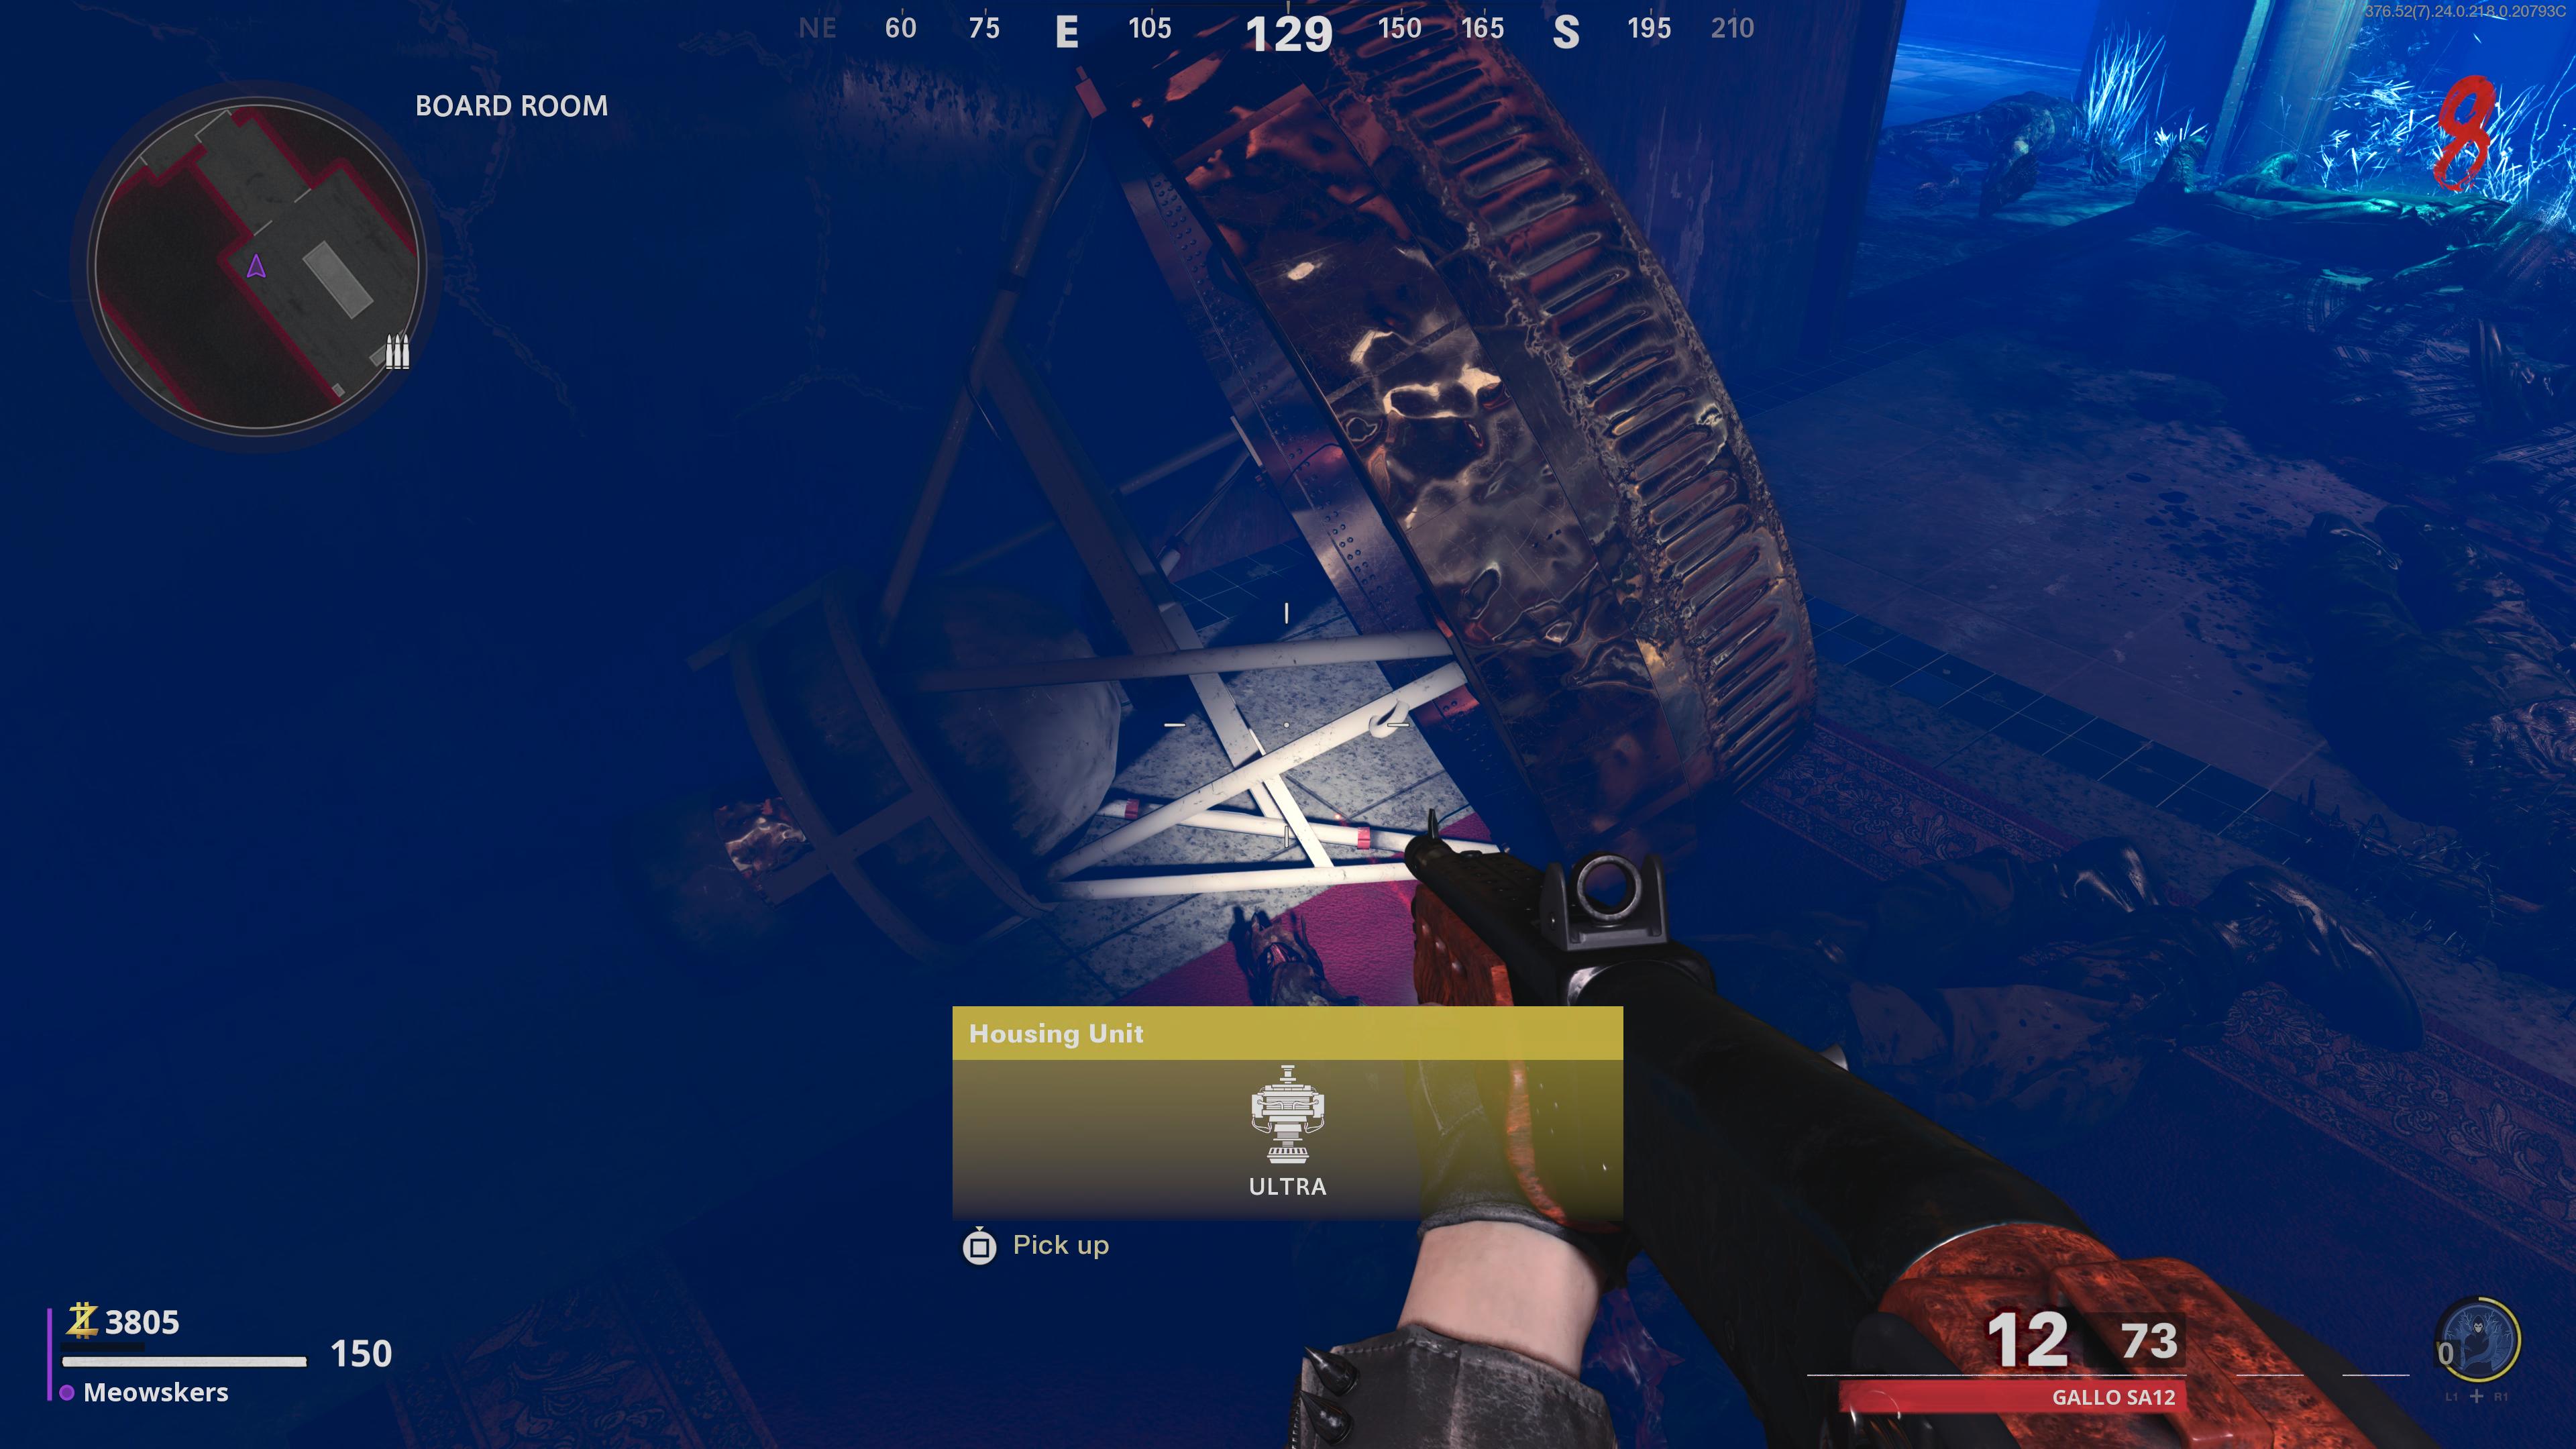
Next, you’ll want to keep playing until an Abomination spawns. Once this happens, lead it to the Board Room of the bunker and on the northeastern side in the upper corner, you’ll find a Housing Unit, which looks like a big trophy.
You can’t interact with it, so instead, you should lure the Abomination to this area and get it to knock down the Housing Unit. It helps if you stand in the corner and get it to attack you before quickly dodging. Once the Housing Unit is knocked down, grab it and take out the Abomination.
Monitoring Device
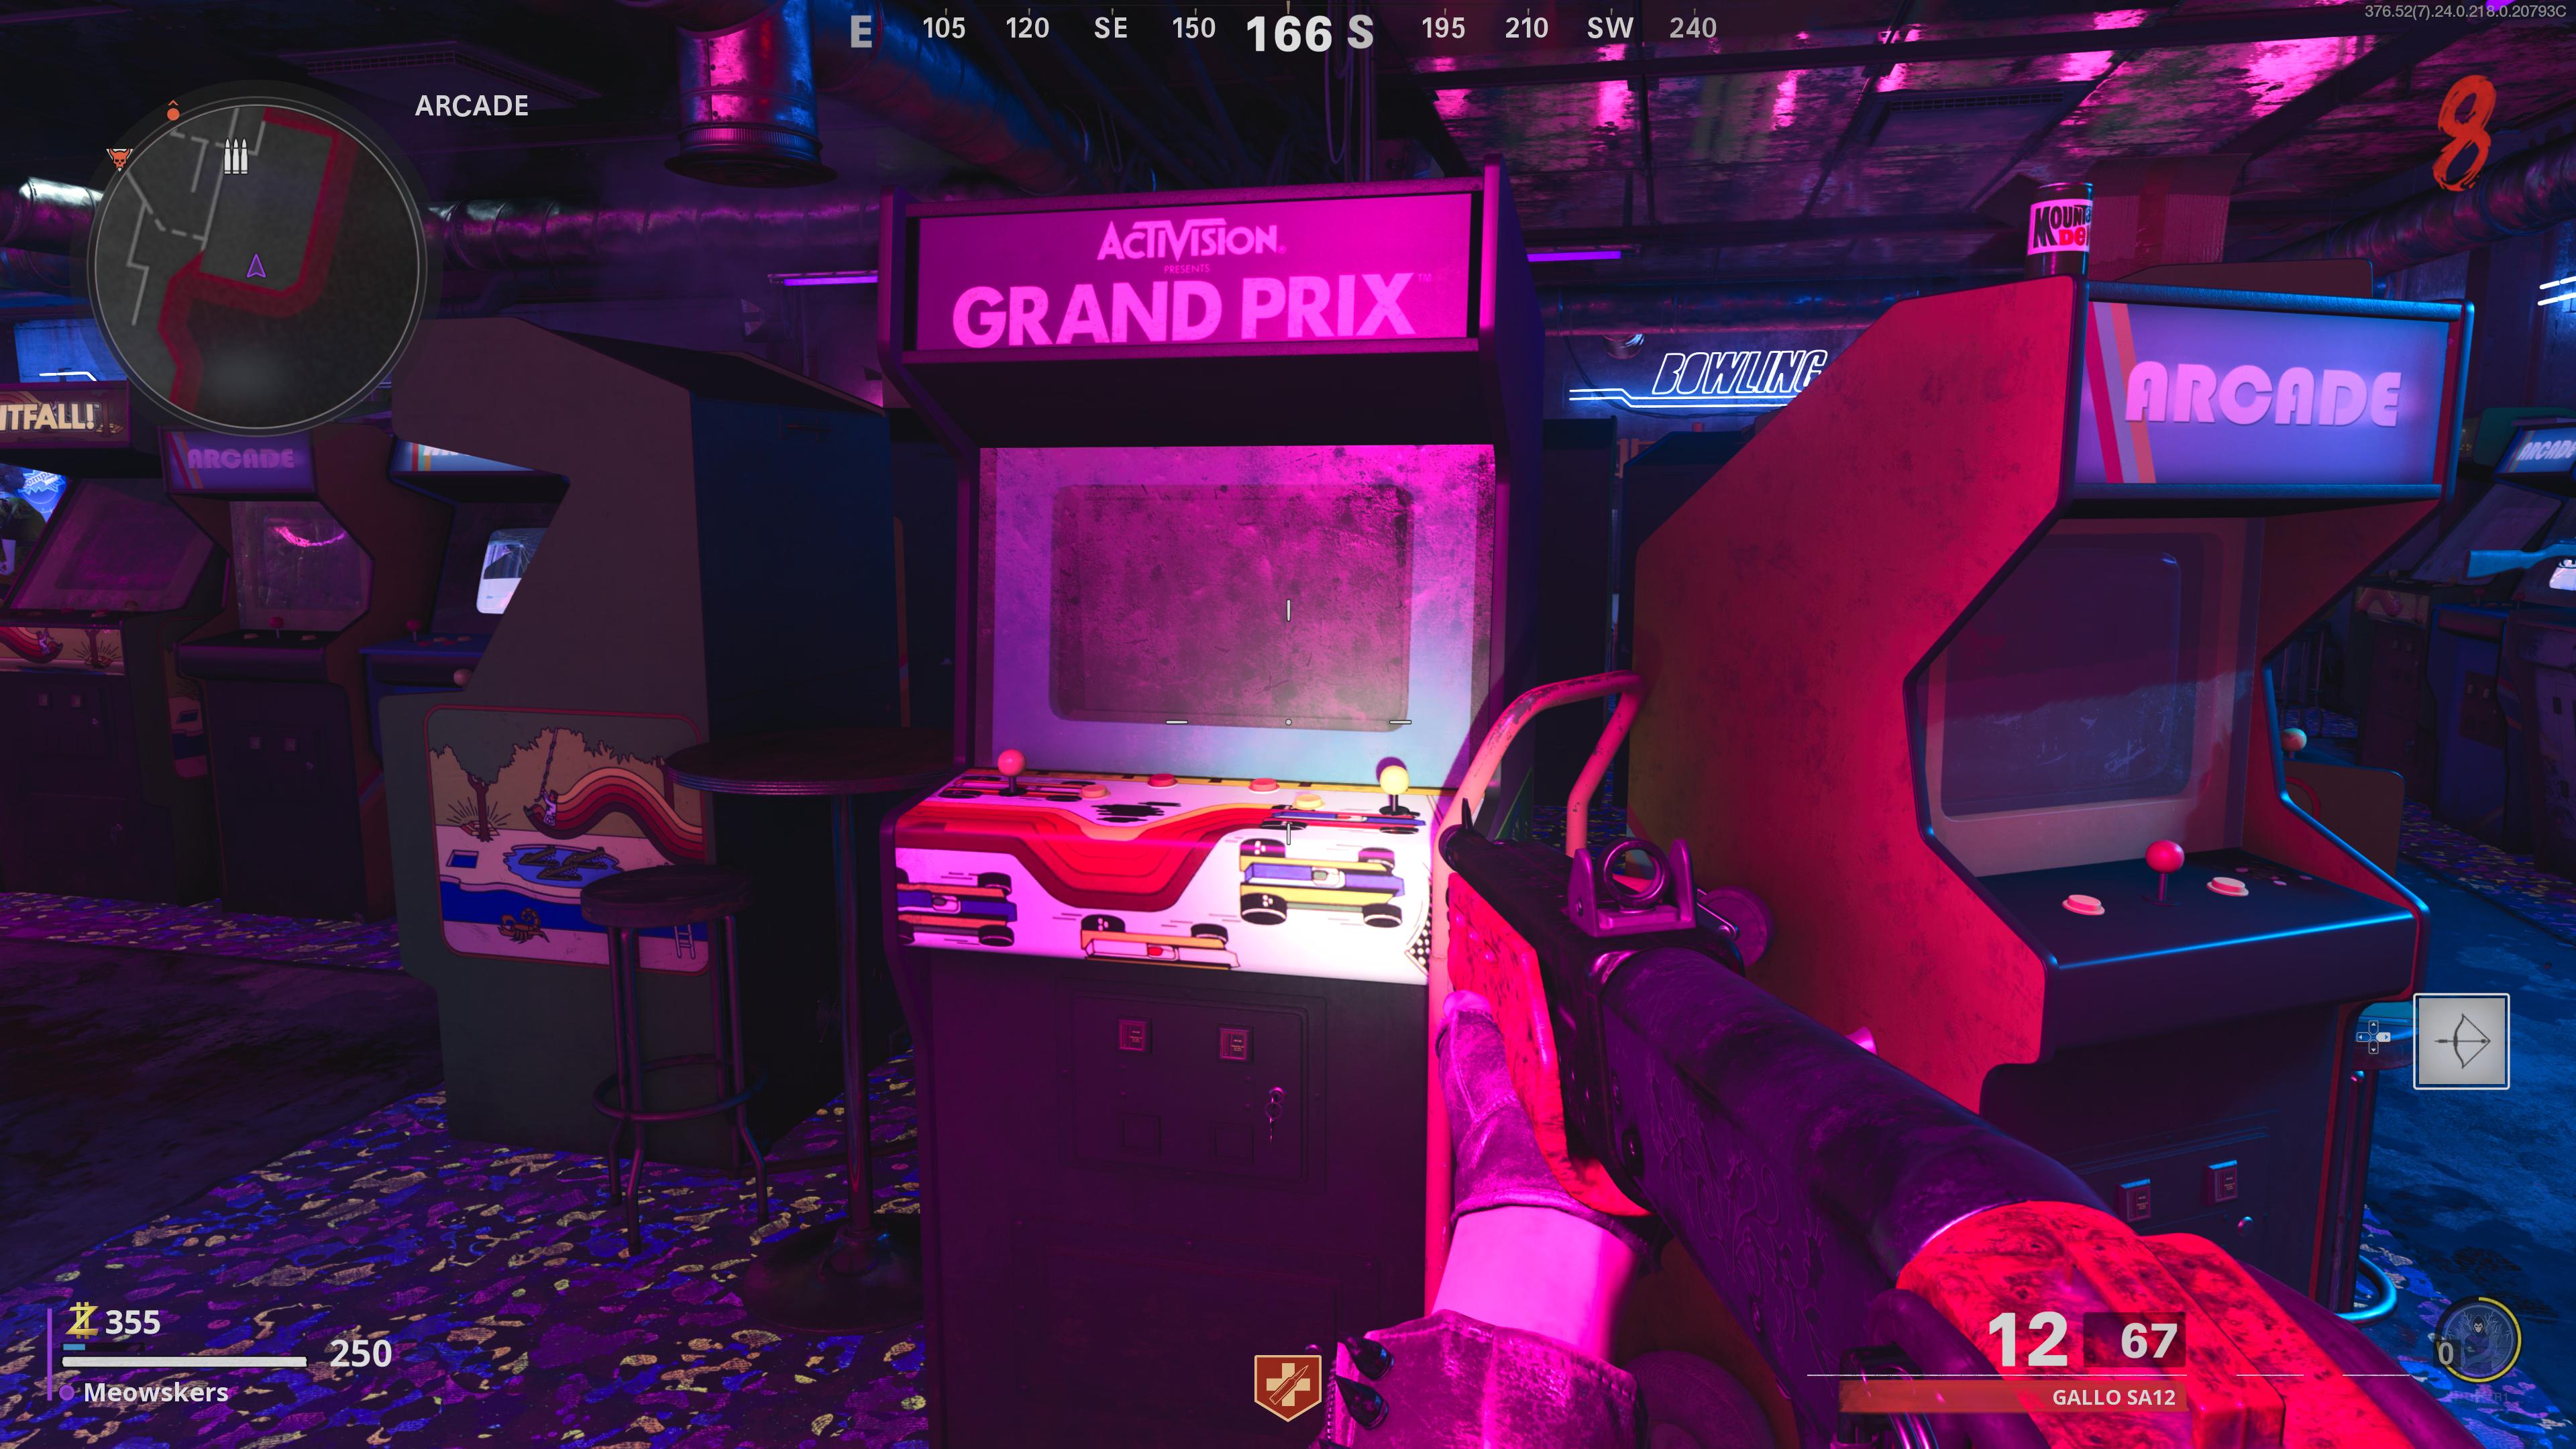
Finally, make your way to the Pack-a-Punch machine and upgrade a standard weapon with Dead Wire, which costs 2,000 points. From here, lure a zombie into the Arcade and shock it with Dead Wire right next to the Activision Grand Prix arcade machine. If done correctly, it will enable the machine, allowing you to deploy an RC-XD for 2,000 points.
Deploy the RC-XD and drive it into the TV store, behind the counter, where you’ll find a vent. The RC’s energy will uncover a vent, so go through it, and turn to the north where you’ll see a shelf. Use the RC to explode right next to the shelf to knock it over. Then once you gain control of your character again, run to the TV store to the right of the counter and you’ll see a hole in the wall with the Monitoring Device. Grab it.
At this point, you’ll want to ensure you have the Chrysalax, so if you don’t, now’s a good time to prioritize grabbing it since you need it for the next step.
Step 6: Gather three Catalyzed Crystal Shards
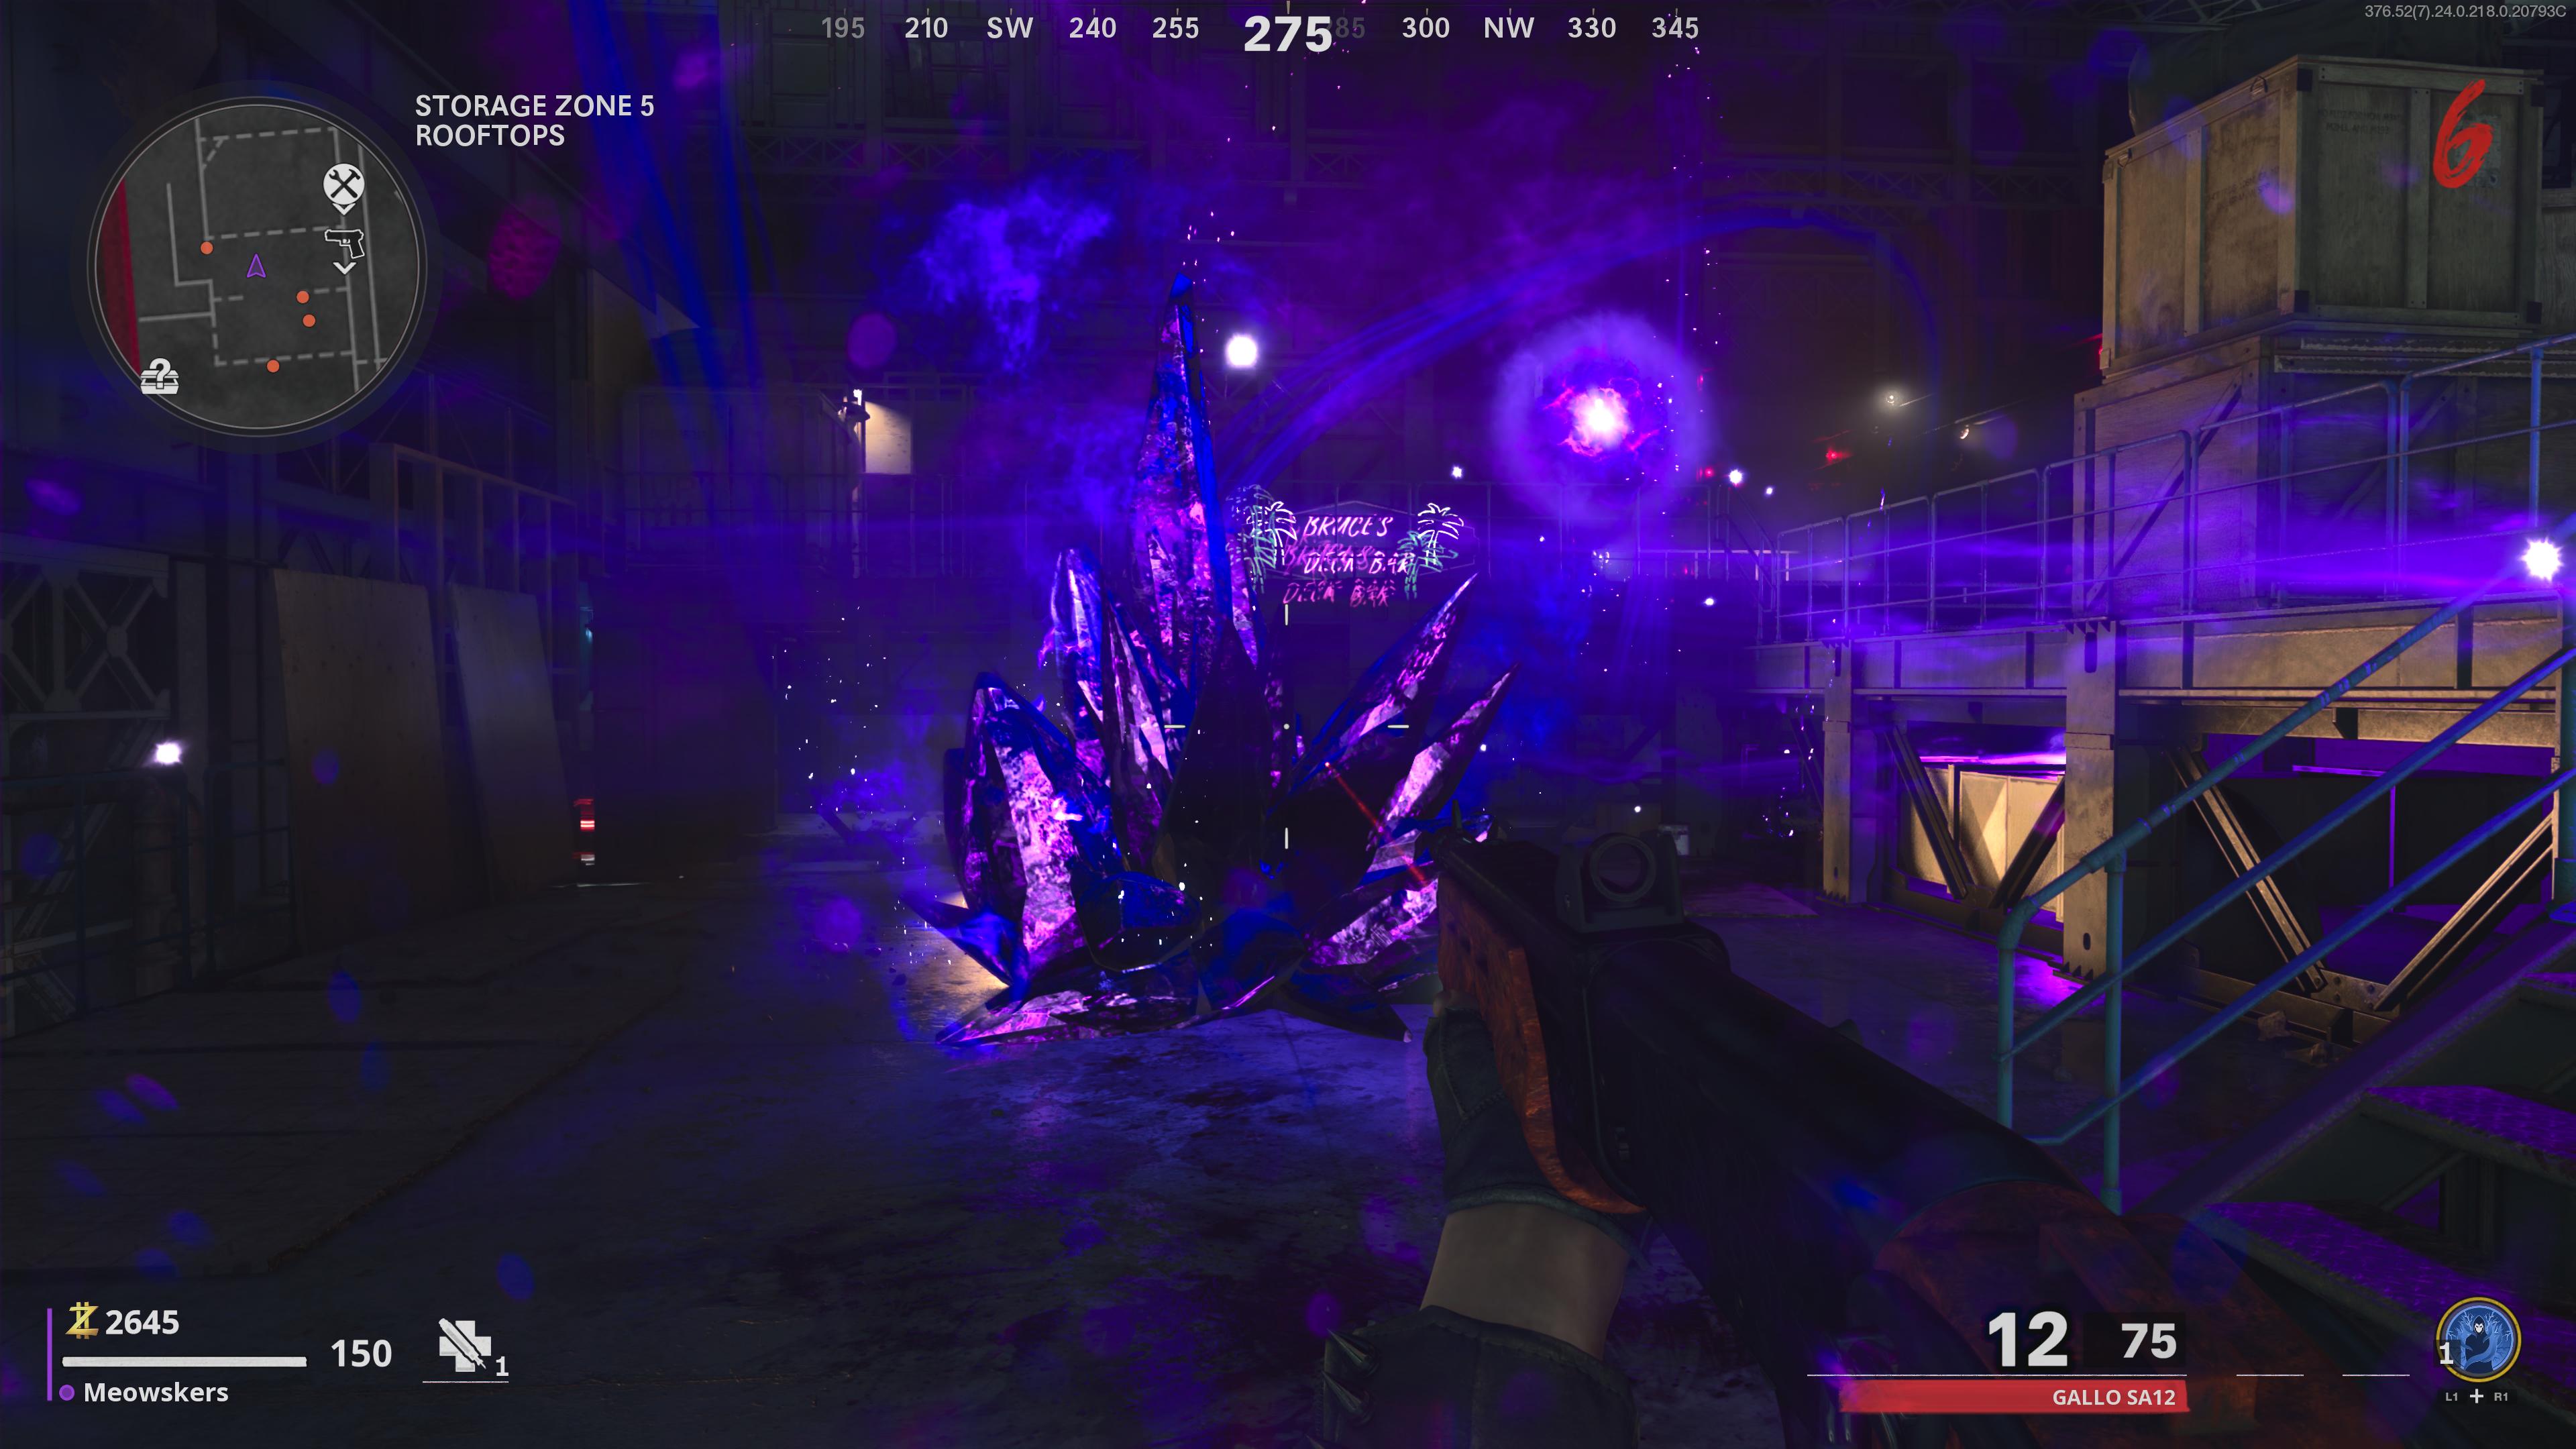
You’ve got one more set of items to collect, but doing so is easier said than done. There are three purple Catalyzed Crystals around the map, but luckily, they spawn in fixed locations. We’ll list them below:
- Amplifier
- Starting Area
- Storage Zone 5 on rooftop
You need to destroy the three floating orbs that fly around the Crystals, which is done by using the gun version of the Chrysalax. Press up on the D-pad to switch to the gun version of the axe and then shoot the three orbs. Once they go down, you’ll be able to destroy the large Crystal with the axe version of the Chrysalax to reveal a Crystal Shard.
Pick up the Shard and then throw it into an Abomination’s mouth. One will typically spawn after you’ve destroyed the Catalyzed Crystal. If done correctly, the creature’s tail will light up orange, indicating it worked, so then you need to eliminate the beast. Once you do, it’ll drop a Catalyzed Crystal Shard. Now, repeat this process at the other two locations to collect three Catalyzed Crystal Shards.
After you grab the third one, you’ll then be able to craft the Neutralizer.
Step 7: Escort Neutralizer
At this point, head to the Main Street area and make your way to the Workbench to craft the Neutralizer. Activate it, and you’ll enter an escort phase that can be tricky if you aren’t prepared. Once the phase begins, a large bubble will appear around the Neutralizer and you need to stay within it to get the device to move.
Periodically, it will run out of fuel, so it’s up to you to smash the orange Crystals on the street to collect more. Deposit the Catalyzed Crystals to refuel the device until it reaches its destination.
This is the point of no return, so make sure everything is upgraded as much as possible - particularly the Chrysalax - to ensure you’re prepared. The Neutralizer will stop in front of a large door and will spawn a perk machine, Pack-a-Punch machine, and other devices that will help you get ready for the fight.
When you’re ready, approach the large door and interact with it to start the fight against the Forsaken boss.
Step 8: Forsaken boss fight
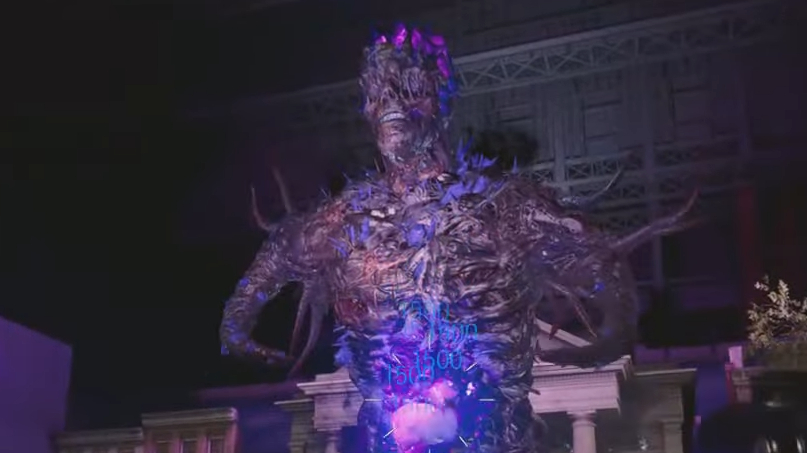
This is one of the more straightforward boss fights in Cold War Zombies, which is a relief since they’re usually complicated. We advise running over to the Ring of Fire beneath Maxis to fill up the essence level by killing zombies within the ring. You'll notice an essence meter on the left side of the screen. Doing so will activate one of the laser cannons on the side of the battlefield. Then, repeat the process on the opposite side to activate the second laser cannon.
From here, start shooting the Forsaken’s armored shoulder pads with the gun version of the Chrysalax and after you’ve damaged both of them, you’ll take down its shields, while also revealing the weak points. Once this happens, run over to one of the laser cannons and use it to shoot at the newly revealed weak point on the boss’ shoulders. If done correctly, you’ll lower the Forsaken’s health to half.
After a cutscene, you’ll essentially need to repeat the previous step, only this time, the weak point will be at its stomach. Remember, defeat zombies within the Ring of Fire beneath Maxis to charge up the cannons, then use the Chrysalax to shoot the armor to deplete it before using the laser cannons to damage the weak point.
This game follows the rule of three - so repeat the process one last time, but this time the head will be the weak spot. Deal enough damage to the head and the boss will go down and the Easter Egg will be complete.
Black Ops Cold War best guns | Black Ops Cold War Outbreak Easter egg | Cold War Mauer Der Toten Easter Egg guide | Cold War Zombies Firebase Z Easter egg | Black Ops Cold War Zombies guide | Black Ops Cold War Zombies Easter Egg walkthrough | The best guns in Cold War Zombies | How to upgrade DIE Shockwave in Cold War Zombies | Firebase Z Wonder Weapon
Sign up to the GamesRadar+ Newsletter
Weekly digests, tales from the communities you love, and more
Joseph loves Nintendo and horror games. With the Nintendo Switch, he's ready to get spooky anytime, anywhere. He specializes in covering Call of Duty: Warzone and action RPGs like Dark Souls, so you can bet he's looking forward to Elden Ring, the brainchild of George RR Martin and Hidetaka Miyazaki. You can find Joseph's work at GamesRadar, Digital Trends, Inverse, and PLAY Magazine. When he's not writing about video games he can usually be found petting his cats and listening to some Progressive Metal. He thinks Meshuggah is tight.

