Vanquish Pangloss Statue Guide
Get the Best of All Possible Worlds Achievement/Trophy with our handy guide to all the Pangloss Statues
2-1 River
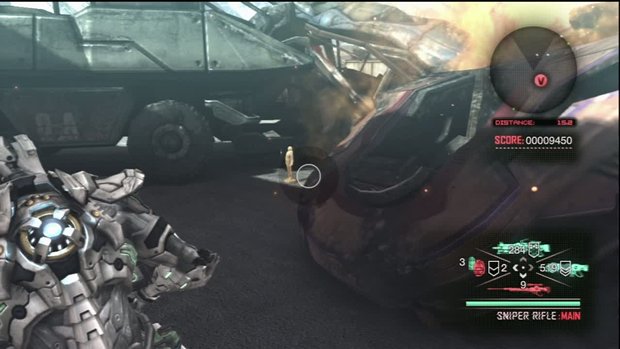
29: After the first area is cleared out, you will need to go through another door by operating the control panel. Before you do, go to the right of the door and in between the pile of flaming cars there will be a statue.
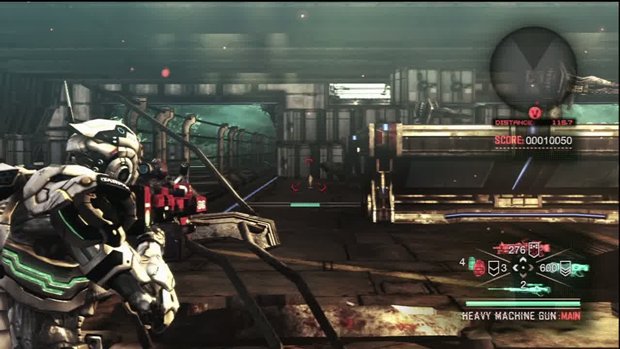
30: When you enter the conveyor belt area, head up the left side belt and cross over to the right side.In the middle, look towards the entrance you came in through and there will be a statue on the ground.
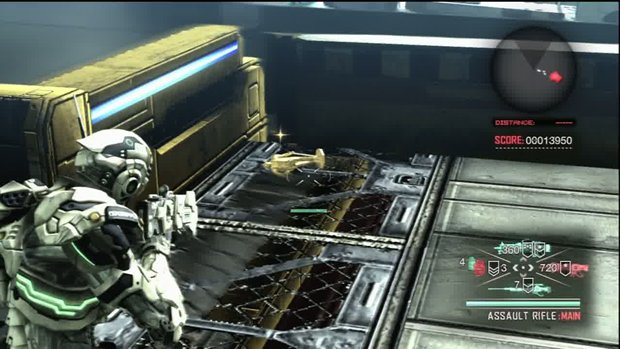
31: When you climb the first set of stairs, head all the way to the left and turn around.Directly across from you, beside a crate on a platform with yellow and black stripes will be a turned statue.
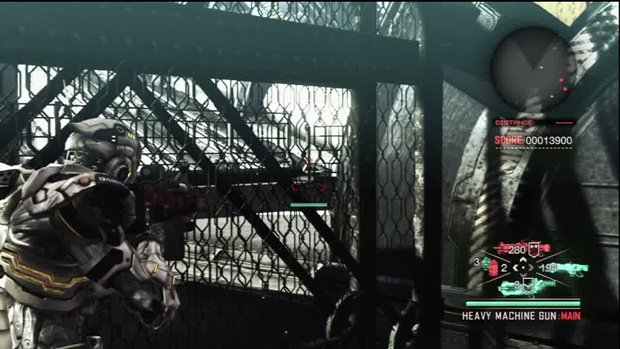
32: When you reach the top of the stairs, head to the right and there will be a small fenced area.Look through the fence to the corner on the right side. There is a statue hiding there on the corner.It’s difficult to see, but he’s there.Also you will need to get this statue before clearing the area as the next mission begins immediately once they are all down.
2-2 Rapids
33: When you get on the train, head to the front of it and on the ground to the right side will be a little guy lying on his side.
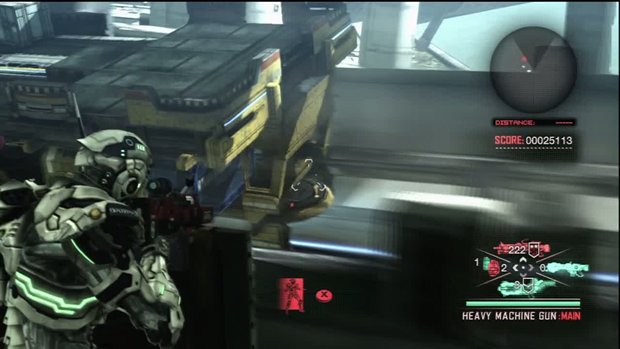
34: An enemy train will pull up beside you and you will need to clear it of enemies.While you are doing that, keep an eye out for the rear of the train and the statue that is on the very rear at the bottom of it.Shoot it and continue clearing out the train.
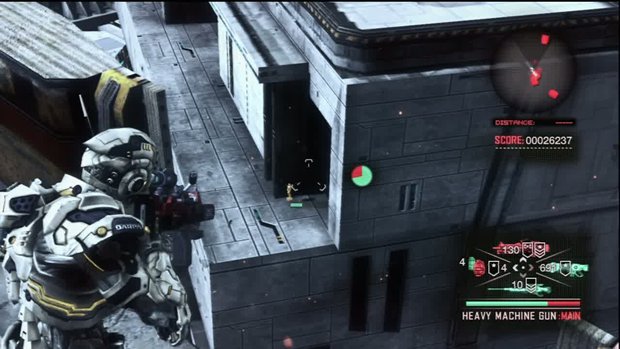
35: Once you pass the interception and the train gets derailed and swarm of enemies will attack. Look to the left side – facing front- and there will be a platform with some RI’s on it.Look to the platform below it and there will be a statue there.
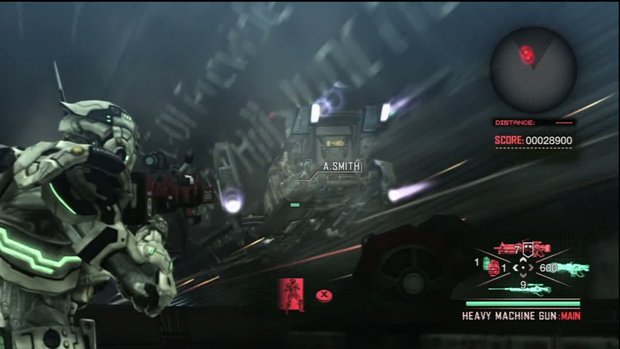
36: When you are in control of the enemy transport, you will have control of the gun simply by aiming, as well as the control of your own gun.When you are approached by friendly fighters, there will be three of them, but one will be named Smith and his ship will have a statue stuck on the back of it.Try your damndest to nail it when he comes past.If you miss, restart the checkpoint and try again.It’s a tricky one.
2-3 Nightmare
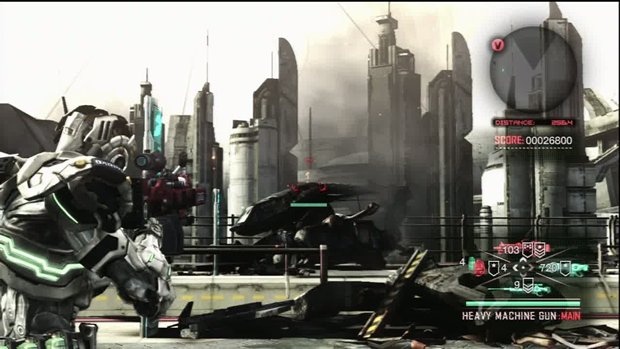
37: As soon as you are in control, head to the blue station sign on your right and turn to look to the wreckage vehicle on the right side platform.On top of the mess will be a statue all by his lonesome standing so proudly.
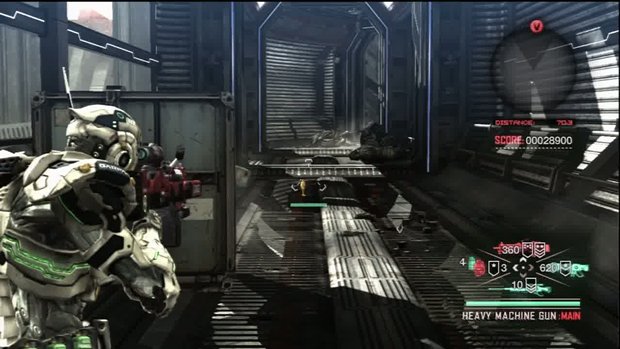
38: Just after the first checkpoint, you will get ambushed in a small room. Once you push past it, enter the hallway and a statue will be under the grating in the floor about halfway through.
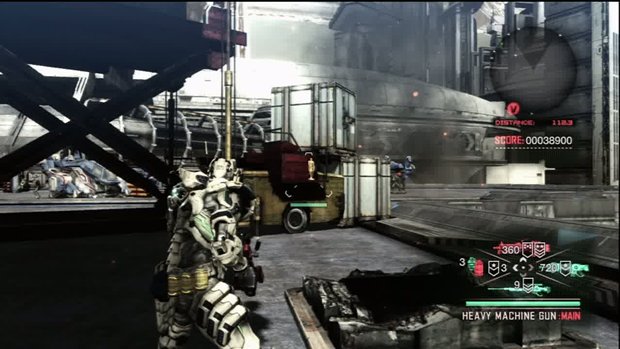
39: When you are battling the two Argus robots, there is scaffolding directly across from where you enter the area from. Go around the back of it and above the front tire will be another statue.
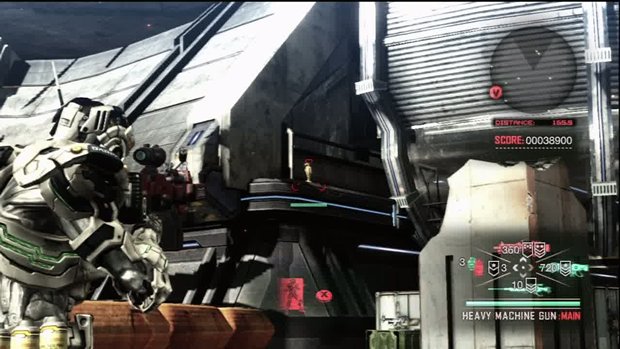
40: The second statue in this area is to the left of the entrance and around the first corner, past the scaffolding structure there.Up high on a ledge there will be a lip with a blue line running through it that the statue is sitting on.
2-4 Struggle
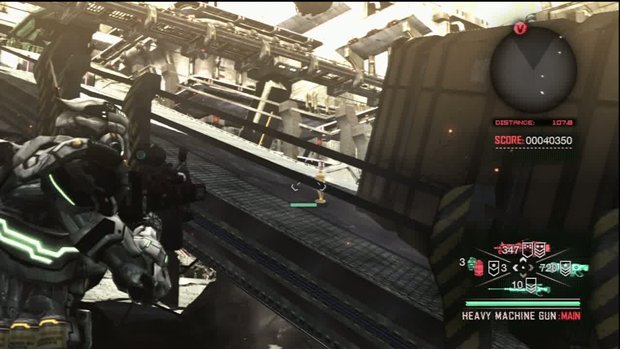
41: As you exit the hallway and enter the battle outside, look on the first ramp to the left for the statue there.
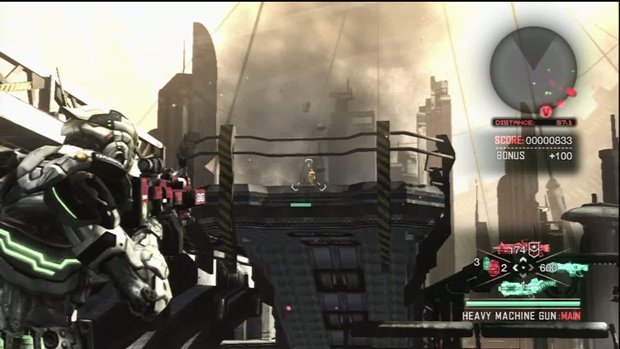
42: When you go through the gate that opens, head to the right side and look up to see a ledge that hangs over the area. Go up the ramp a little ways and then turn to look at the ledge and you will see the statue at the edge of it.
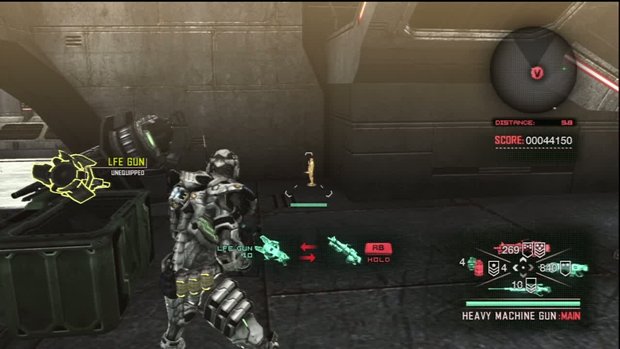
43: When you make your way up the ramp and enter the bunker, go up the stairs to the middle floor and clear out the enemies.To the right of the window with the two turrets will be a statue hiding in the corner.
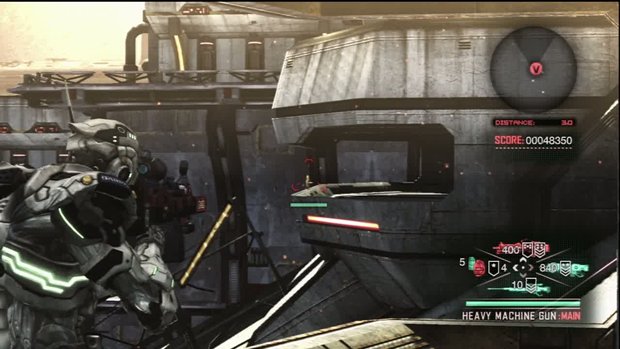
44: When you enter the second bunker, head to the window and then look to the right at the bunker next to you.On the window ledge there will be a statue just enjoying the view.Until you shoot it that is.
2-5 Assault
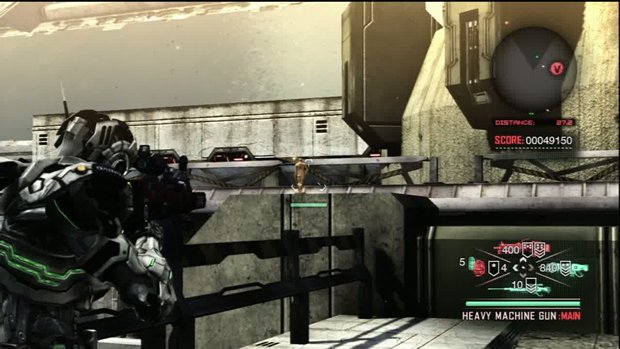
45: Run though the first gate and hook a left to the railing there.When you are done taking in the sights, pop the statue that is sitting on the corner, concrete post of the railing.
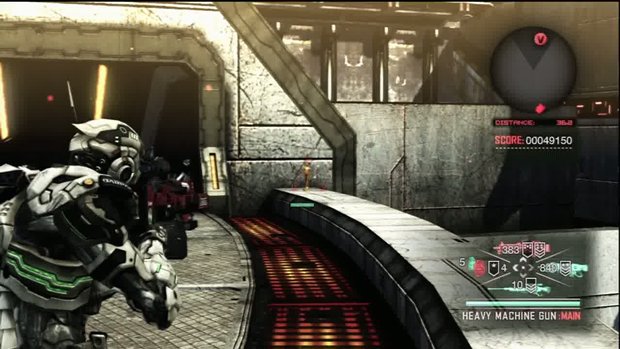
46: After you take the elevator up, follow the curved walkway around.Before going through the doorway at the end, pop the statue that is sitting on the wall to the right of the entrance.
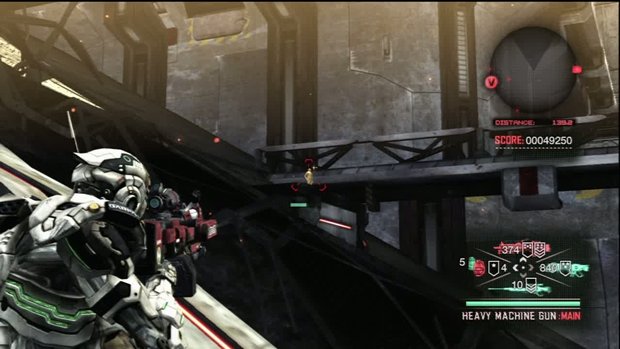
47: Once you have taken the second elevator down and are told to go to the left of the Argus, start up the ramp and a building will come crumbling down towards you.When you are at this point, look to the right of the area to find a statue on a small platform.
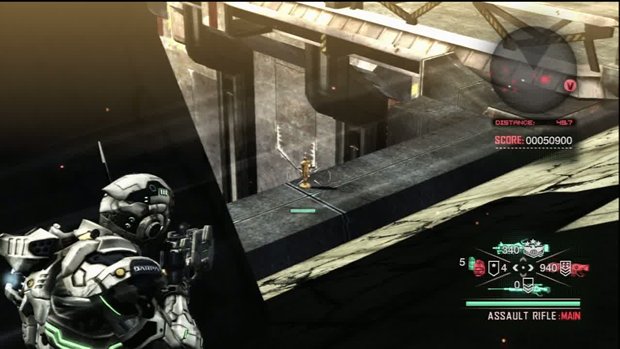
48: As you make your way to the “gate to the left!” take a quick look to the left before going through the door to find the next statue there behind a column sitting on the ledge.
2-6 Stronghold
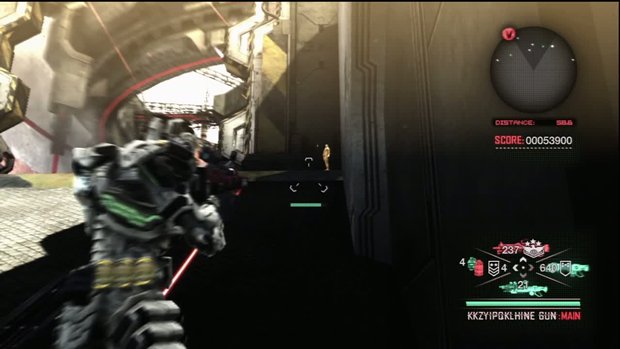
49: As soon as the mission starts, head down the ramp at the entrance and to the right of the doorway will be a statue hiding there.
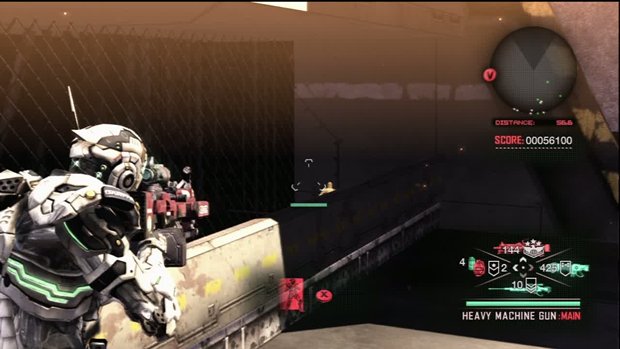
50: In the next area there is a huge cannon that firing at you. Make your way to the far right hand side and there will be a large ramp to the right of a gun placement.Go to the bottom of the ramp and look behind the small wall in front of the fencing at the front of it.The statue will be hiding behind there.
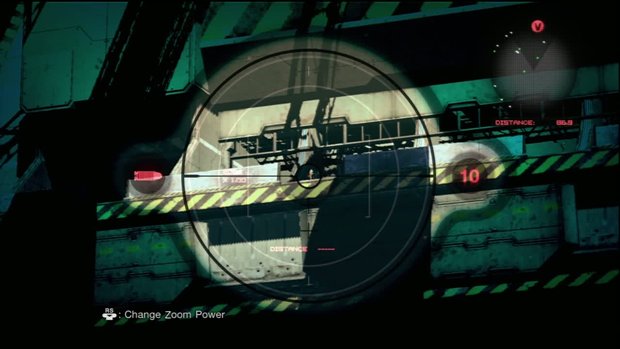
51: Look up to the center area of it and you will see a ledge with yellow and black striping.In the center, between two concrete walls will be a statue.It is hard to see, so the sniper rifle will come in handy.
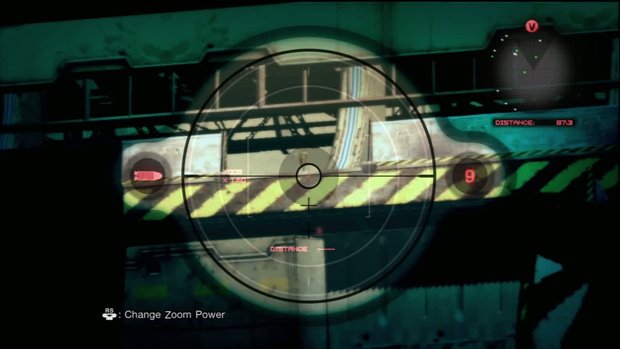
52: Look to where the previous statue was and then look slightly to the right and up.There will be another statue there-and again, the sniper rifle will be handy in spotting it and shooting it.
Sign up to the GamesRadar+ Newsletter
Weekly digests, tales from the communities you love, and more
Jeff McAllister is a freelance journalist who has contributed to GamesRadar+ over the years. You'll typically find his byline associated with deep-dive guides that are designed to help you scoop up collectibles and find hidden treasures in some of the biggest action and RPG games out there. Be sure to give Jeff a thanks in the comments while you're completing all of those tricky Achievements and Trophies.
