Viewfinder walkthrough and puzzle solutions
How to use your camera and solve this mind bending puzzler
Chapter 2 Hiraya Level 1-1
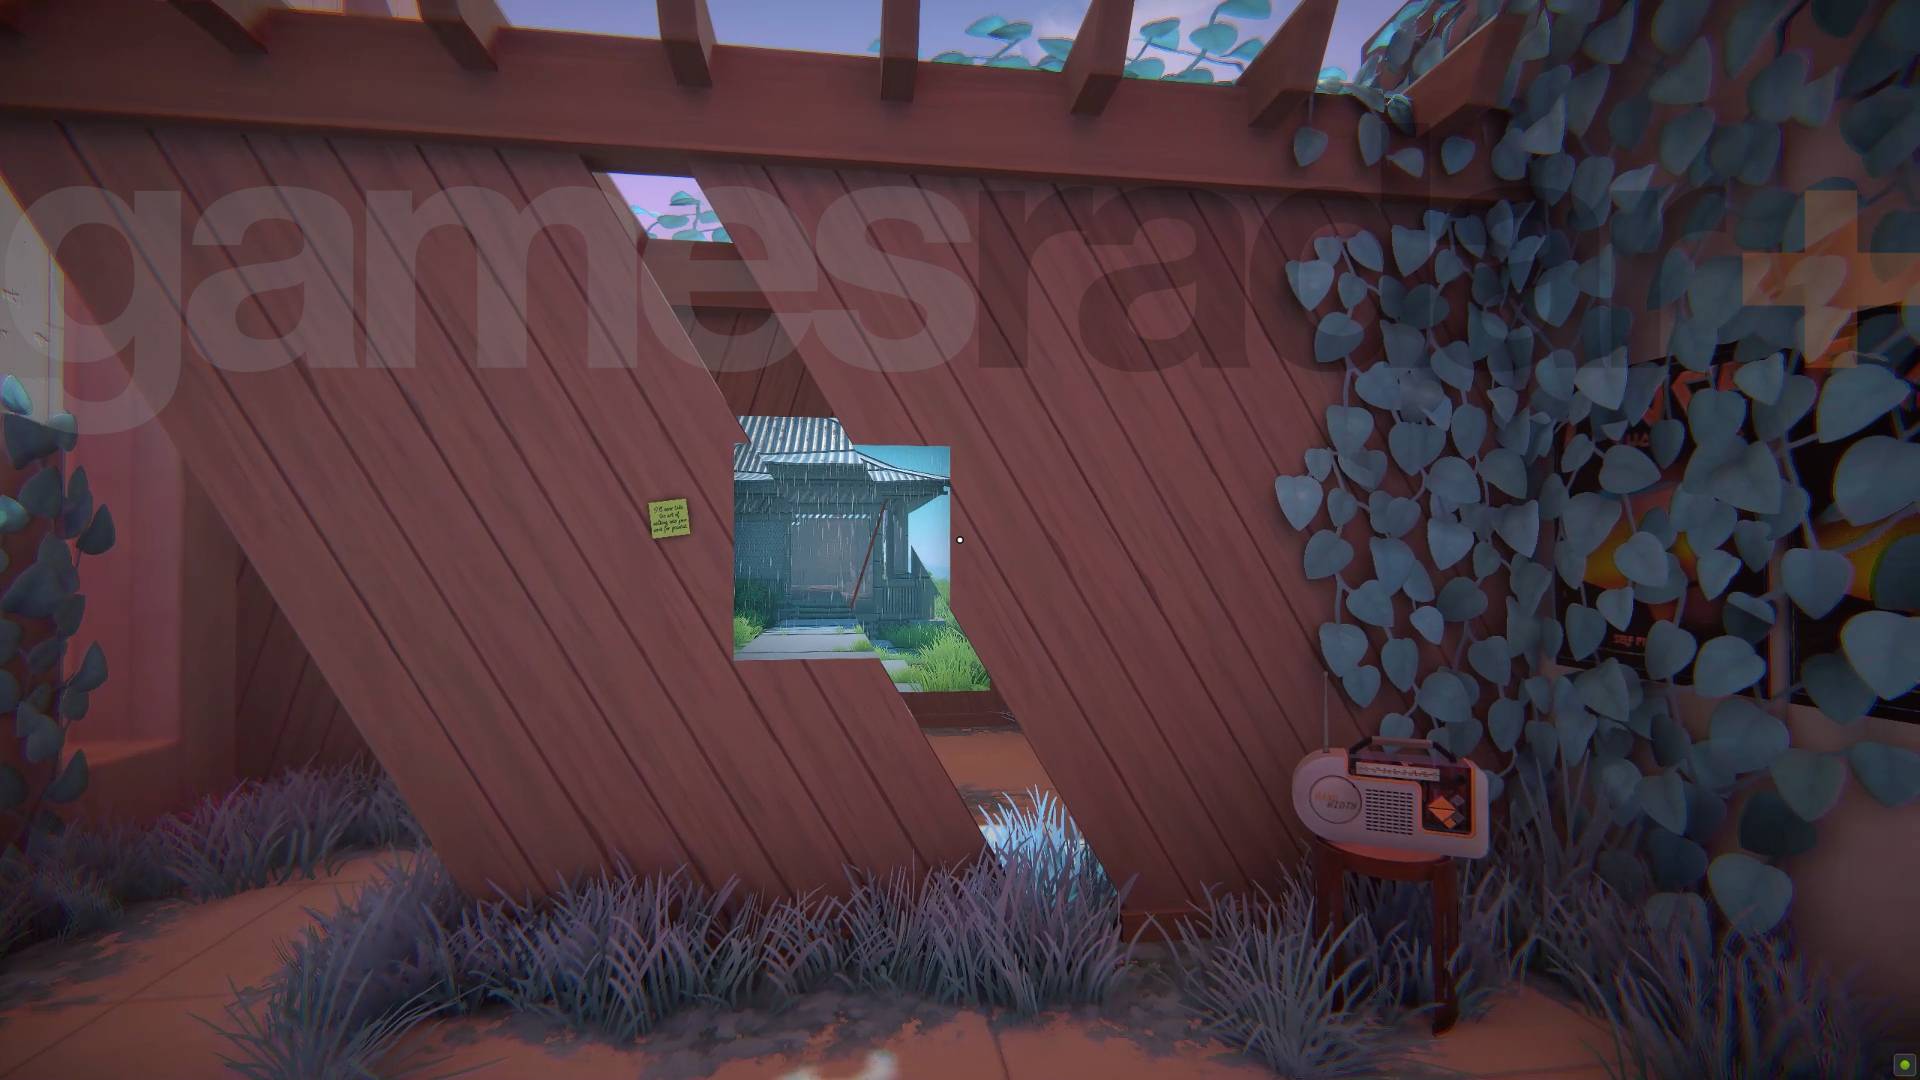
This Viewfinder solution involves finding and aligning a series of images on walls. The first is through the wooden area you can see above. Move your perspective to align the image you find to create a new area. In there you'll find an image you can align using the slatted wall to create another new area, where you find a another picture of a teleporter smeared across the wall and floor. Take the stairs up to the higher level to 'see' it correctly.
Chapter 2 Hiraya Level 1-2
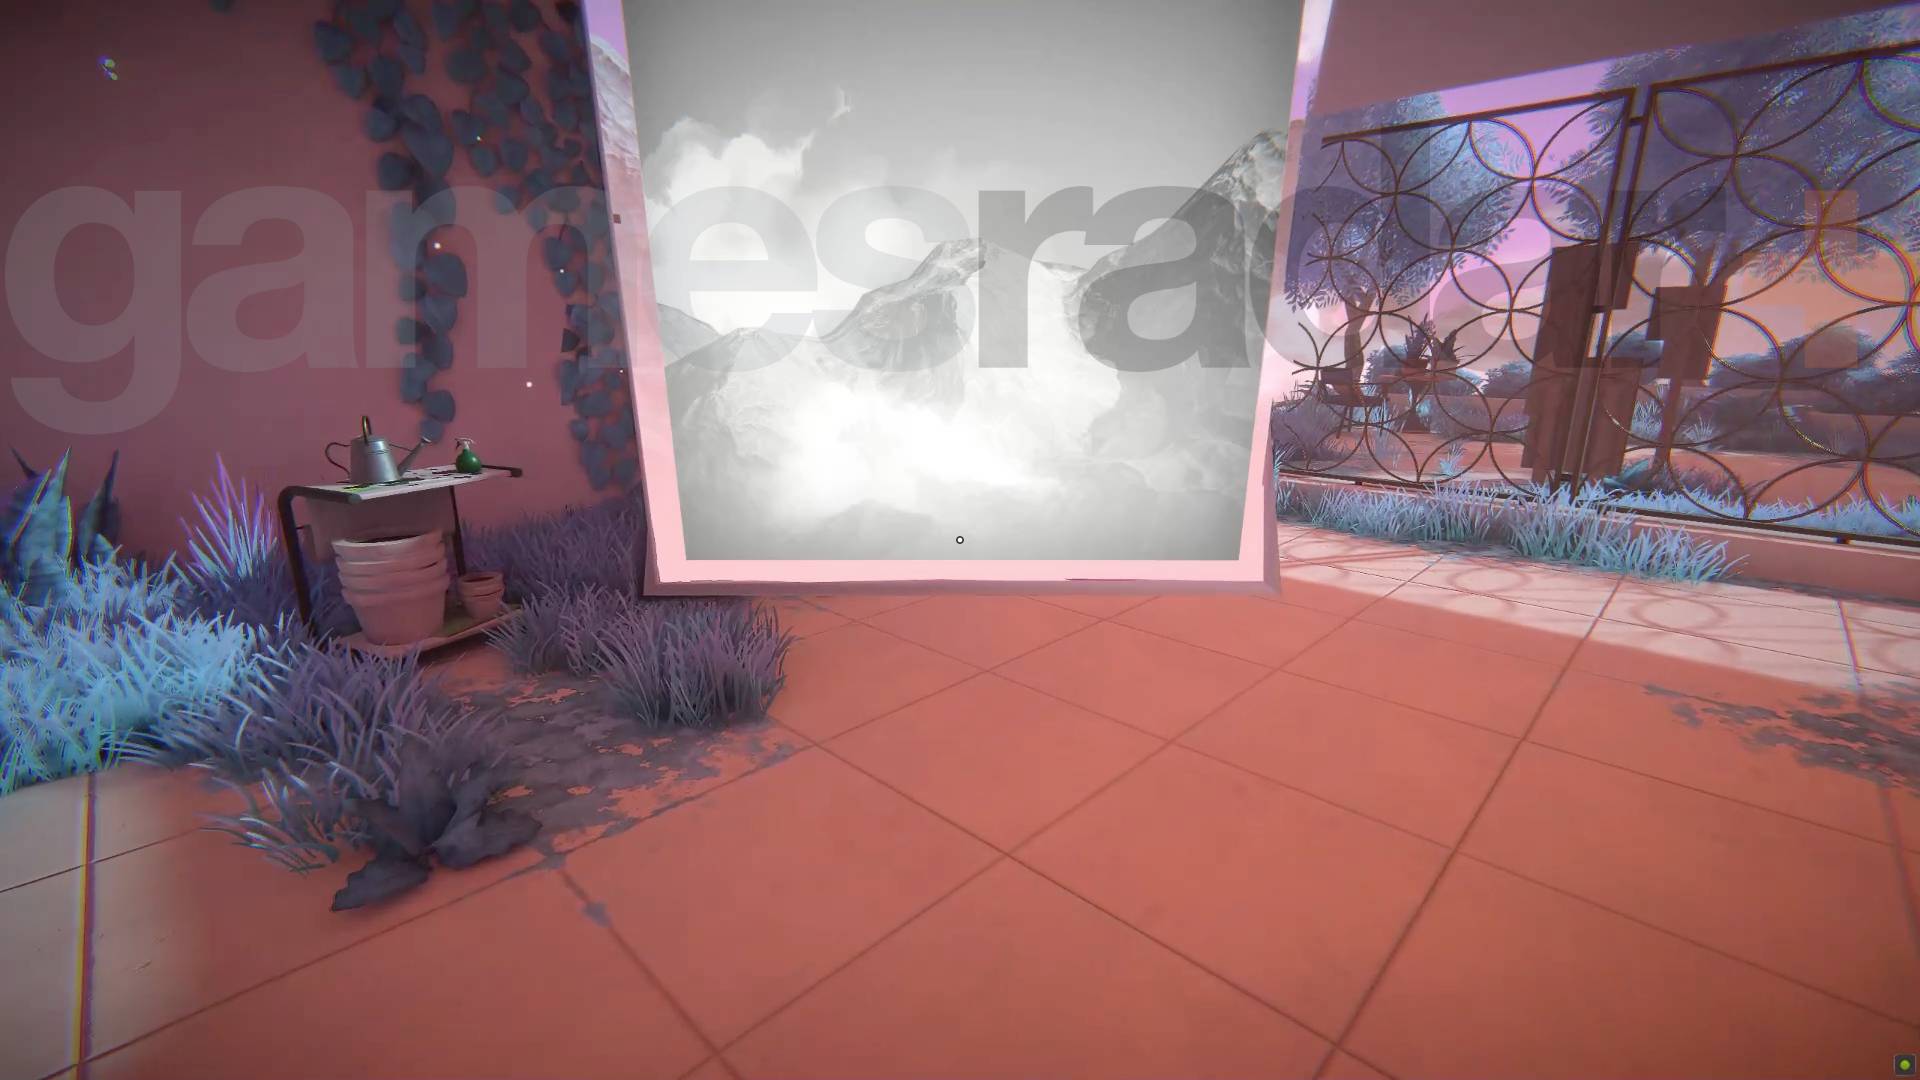
To complete this level you simply need to use the picture of clouds you can find to cut away some of the fence so you can reach the other side. However, make sure you take some of the wall out to the left of as well - the corner piece that doesn't quite reach the floor - as you'll need the space that makes in a moment. When you access the area behind the fence you'll find a picture split across three boards. Line that up to create another area with a three-board picture to line up that will create a teleporter. If you removed the wall when you cut through the fence you'll have the space needed to hit the right perspective.
Chapter 2 Hiraya Level 1-3
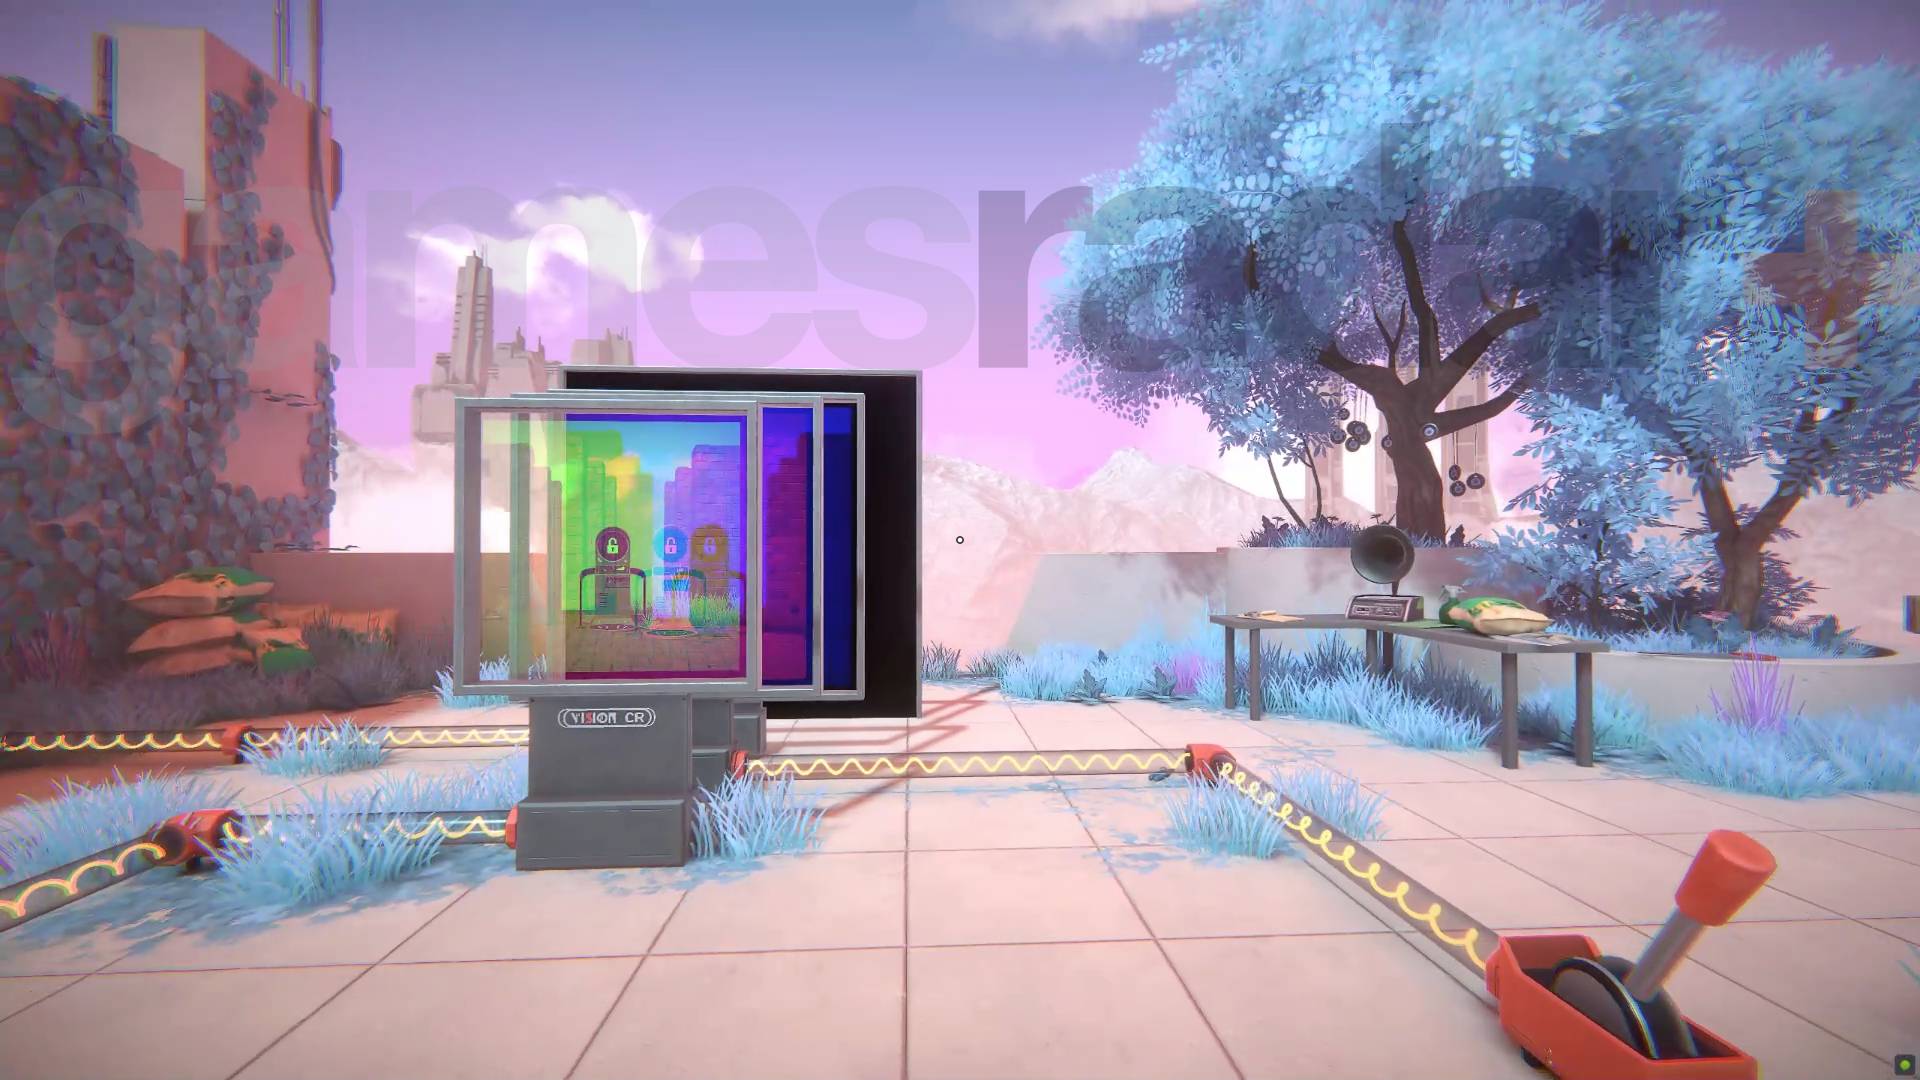
There are three glass screens here all powered by different levers. All you need to do is find them all and switch each one on, then line up the picture it creates to reveal the teleporter.
Chapter 2 Hiraya Level 2-1
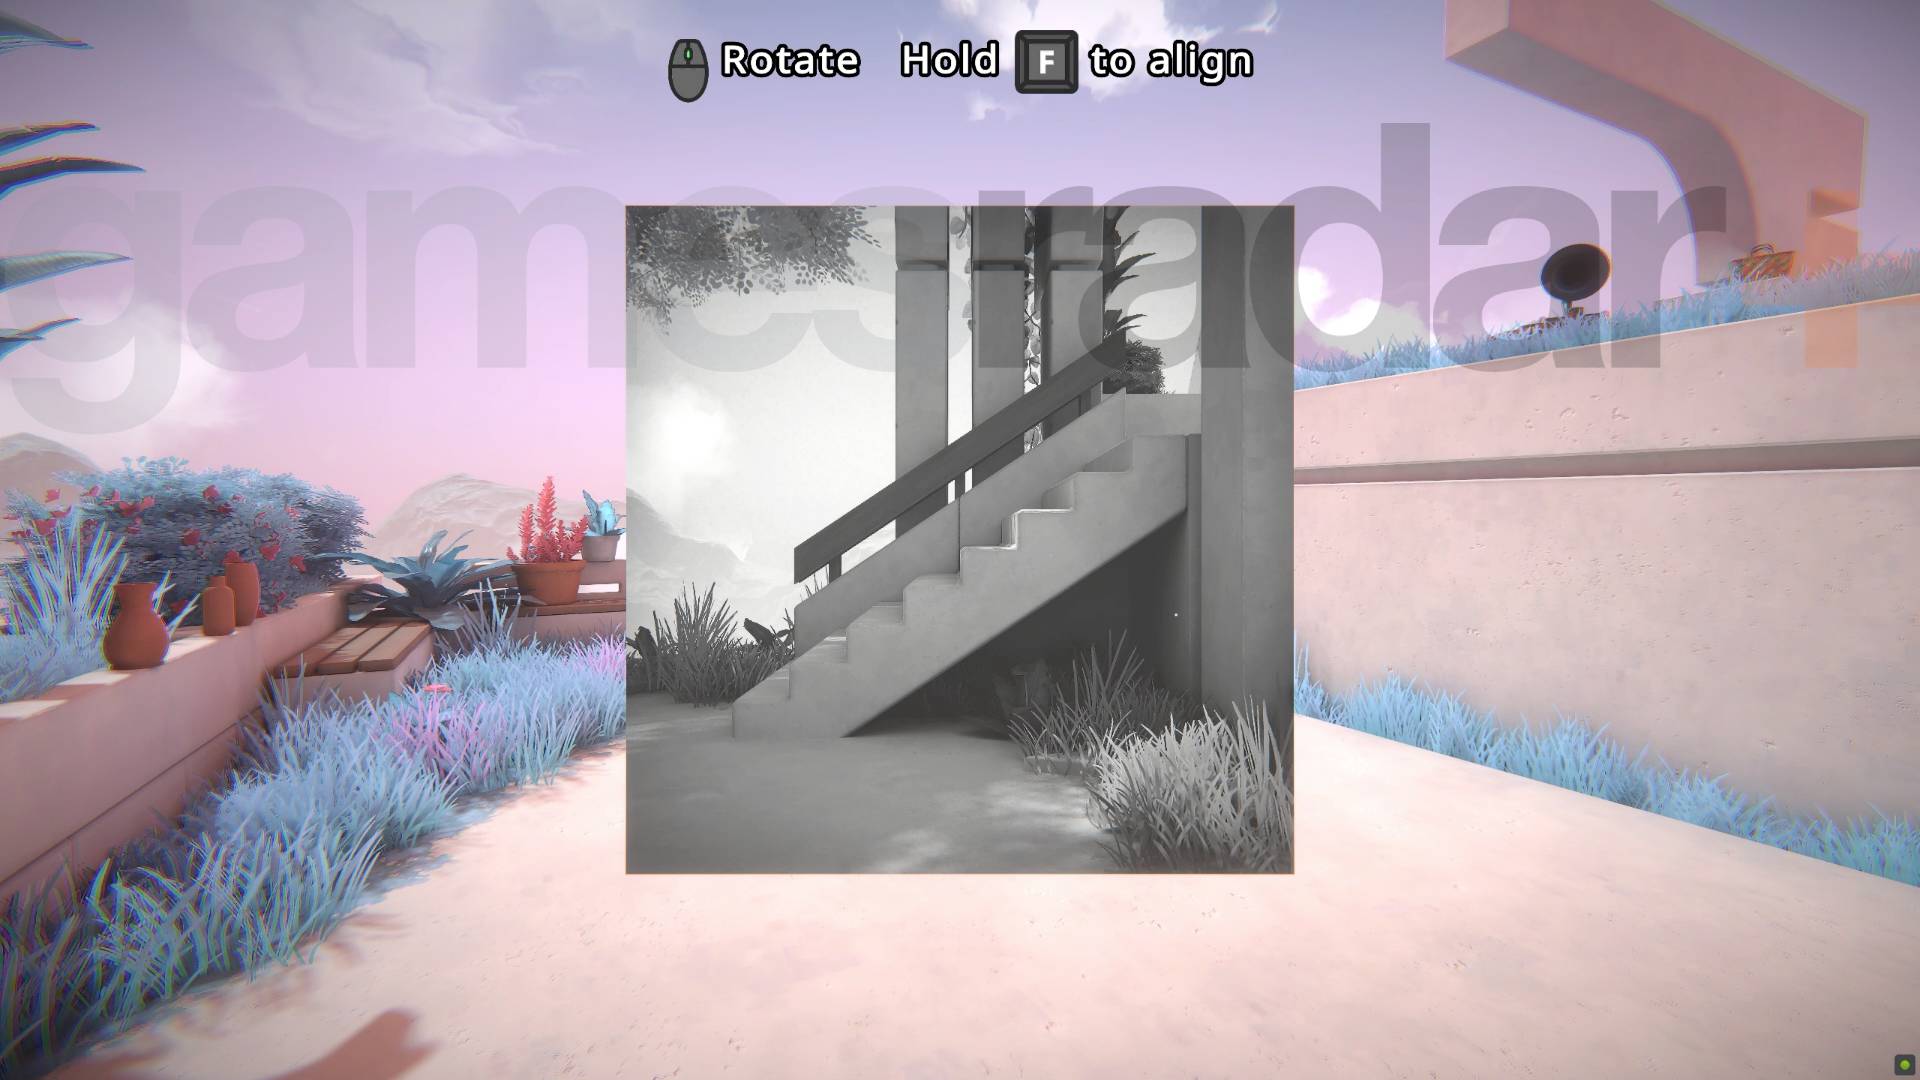
This Viewfinder level involves two fixed cameras, so you just need to use the pictures they take. The first one will take a photo of some stairs you can use to reach the upper level, and the camera there will take a shot of a teleporter on a wall you can then rotate to place in a position you can use.
Chapter 2 Hiraya Level 2-2
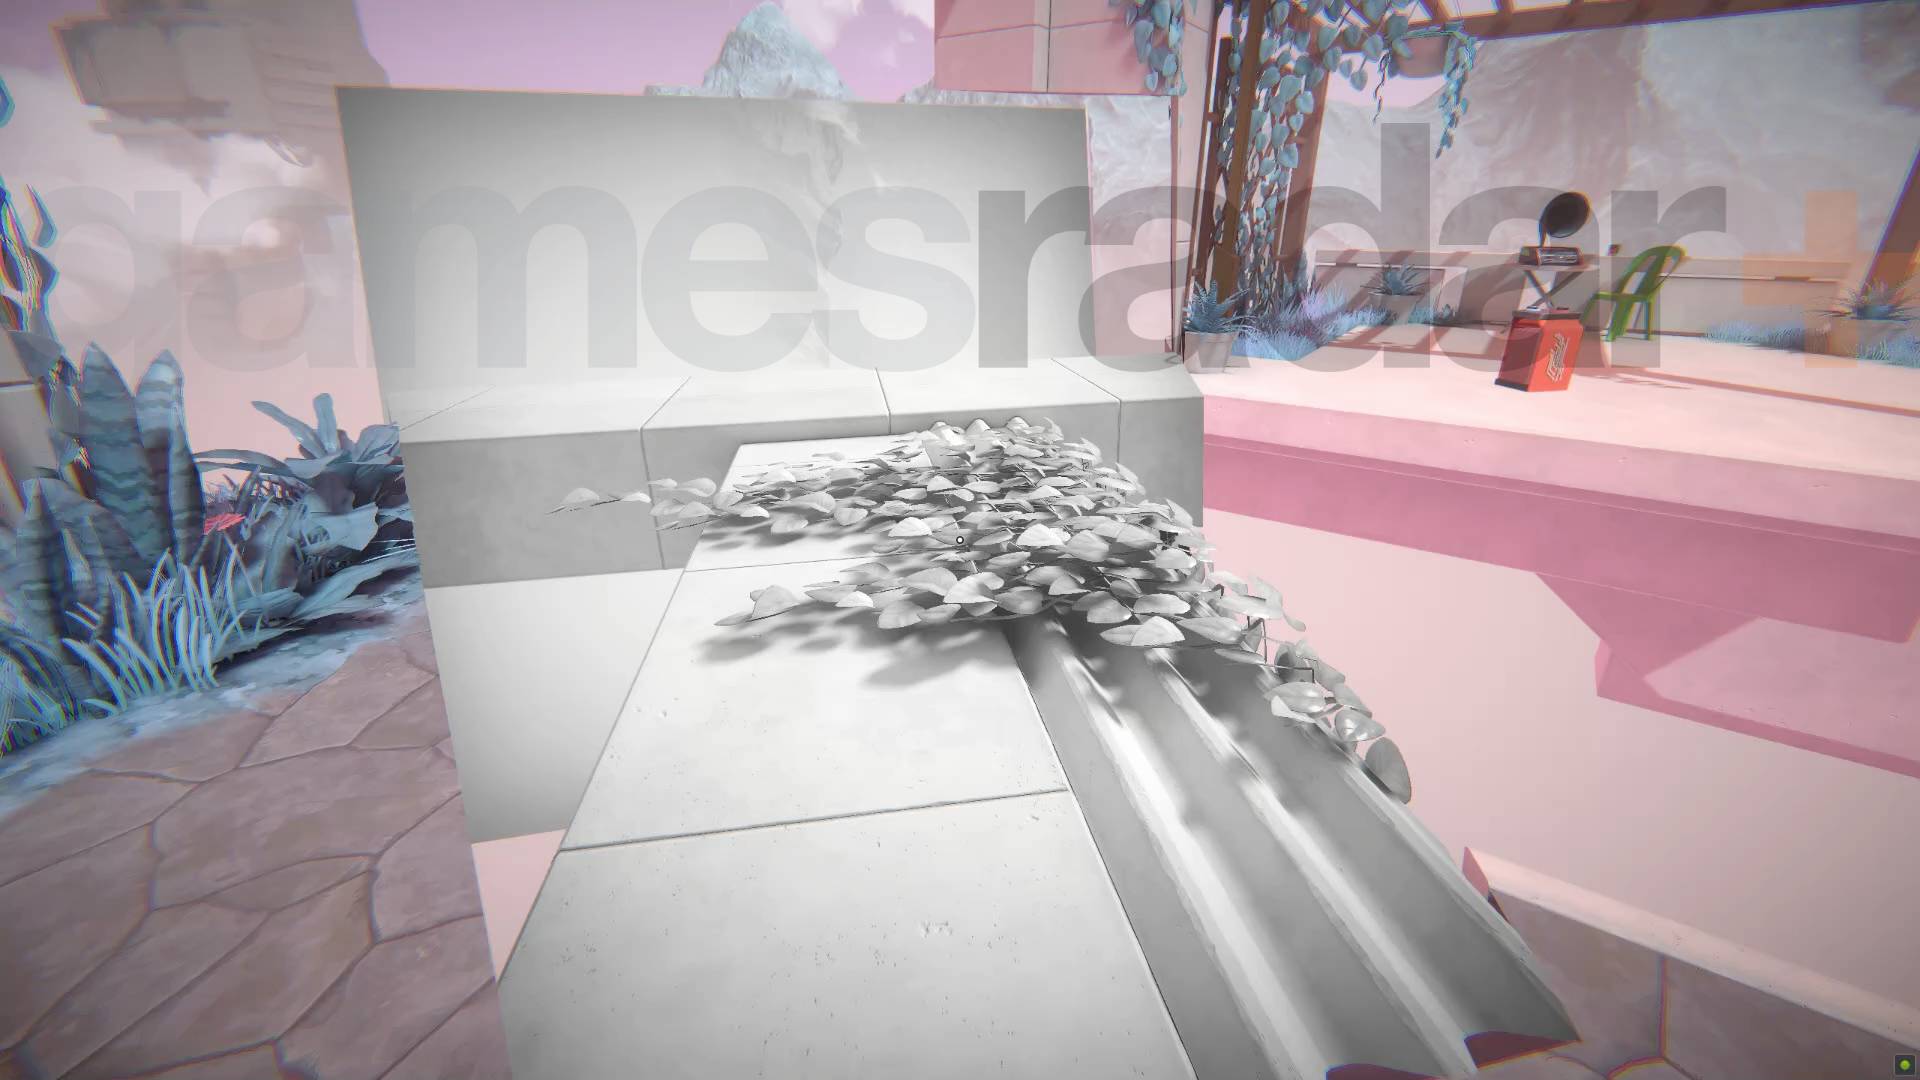
The fixed camera here takes a picture of a wall section that you can use to make a gantry to the battery you need. However, you actually need two batteries so once you have the one that exists use the camera again to get another wall section you can use to create a walkway that goes out in front of the camera - place the battery where you can photograph it and take a third picture to duplicate the battery. Place it somewhere so you can pick it up and use them both to power the teleporter.
Chapter 2 Hiraya Level 2-3
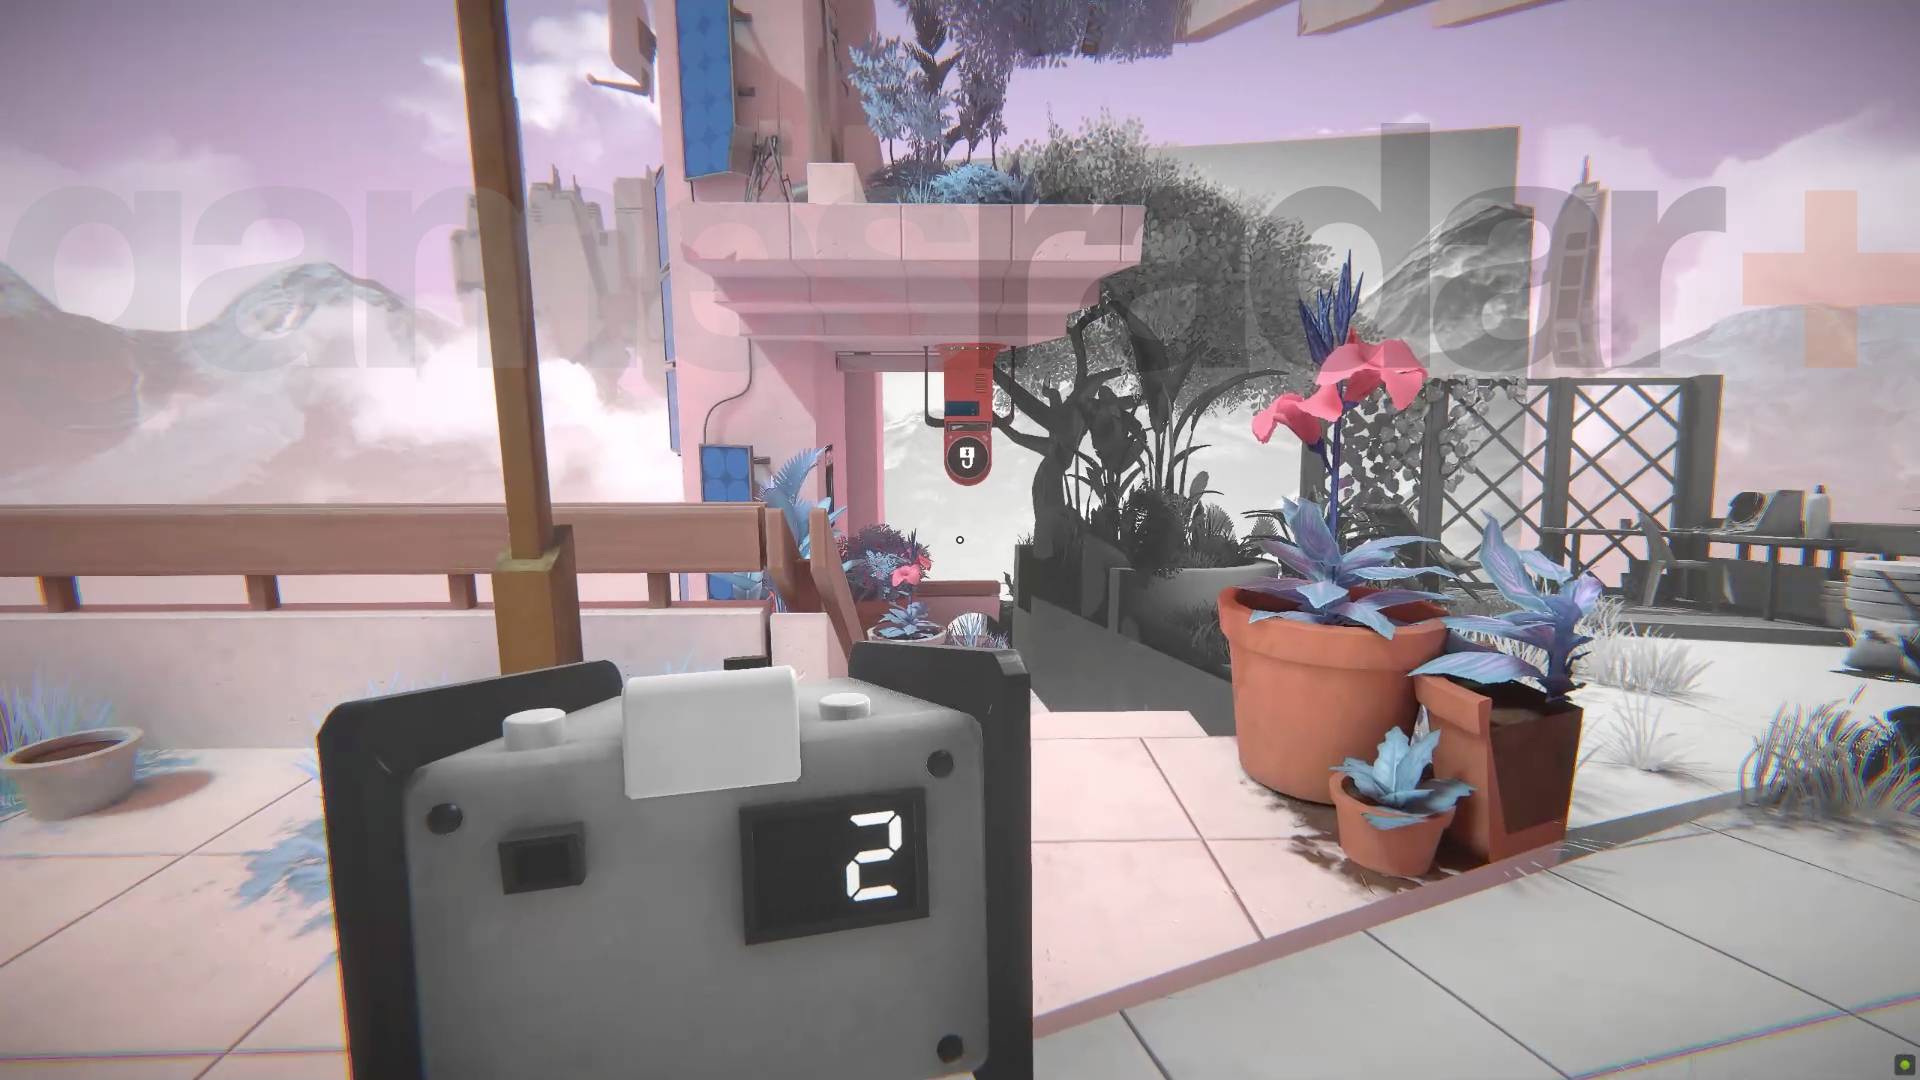
There are two fixed cameras here, one facing away from an upside down teleporter and another behind a fence. Using the one that faces away from the teleporter, take a picture of the sky and use that to cut an opening through the fence to reach the other camera (you can also use the Tamagotchi to cut away the fence if you want). Using this camera you can now take a picture of the previous camera and then reposition the picture so that camera it creates faces the teleporter when you place it. Using this new camera you can then take a picture of the teleporter and rotate it so you can use it.
Chapter 2 Hiraya Level 3-1
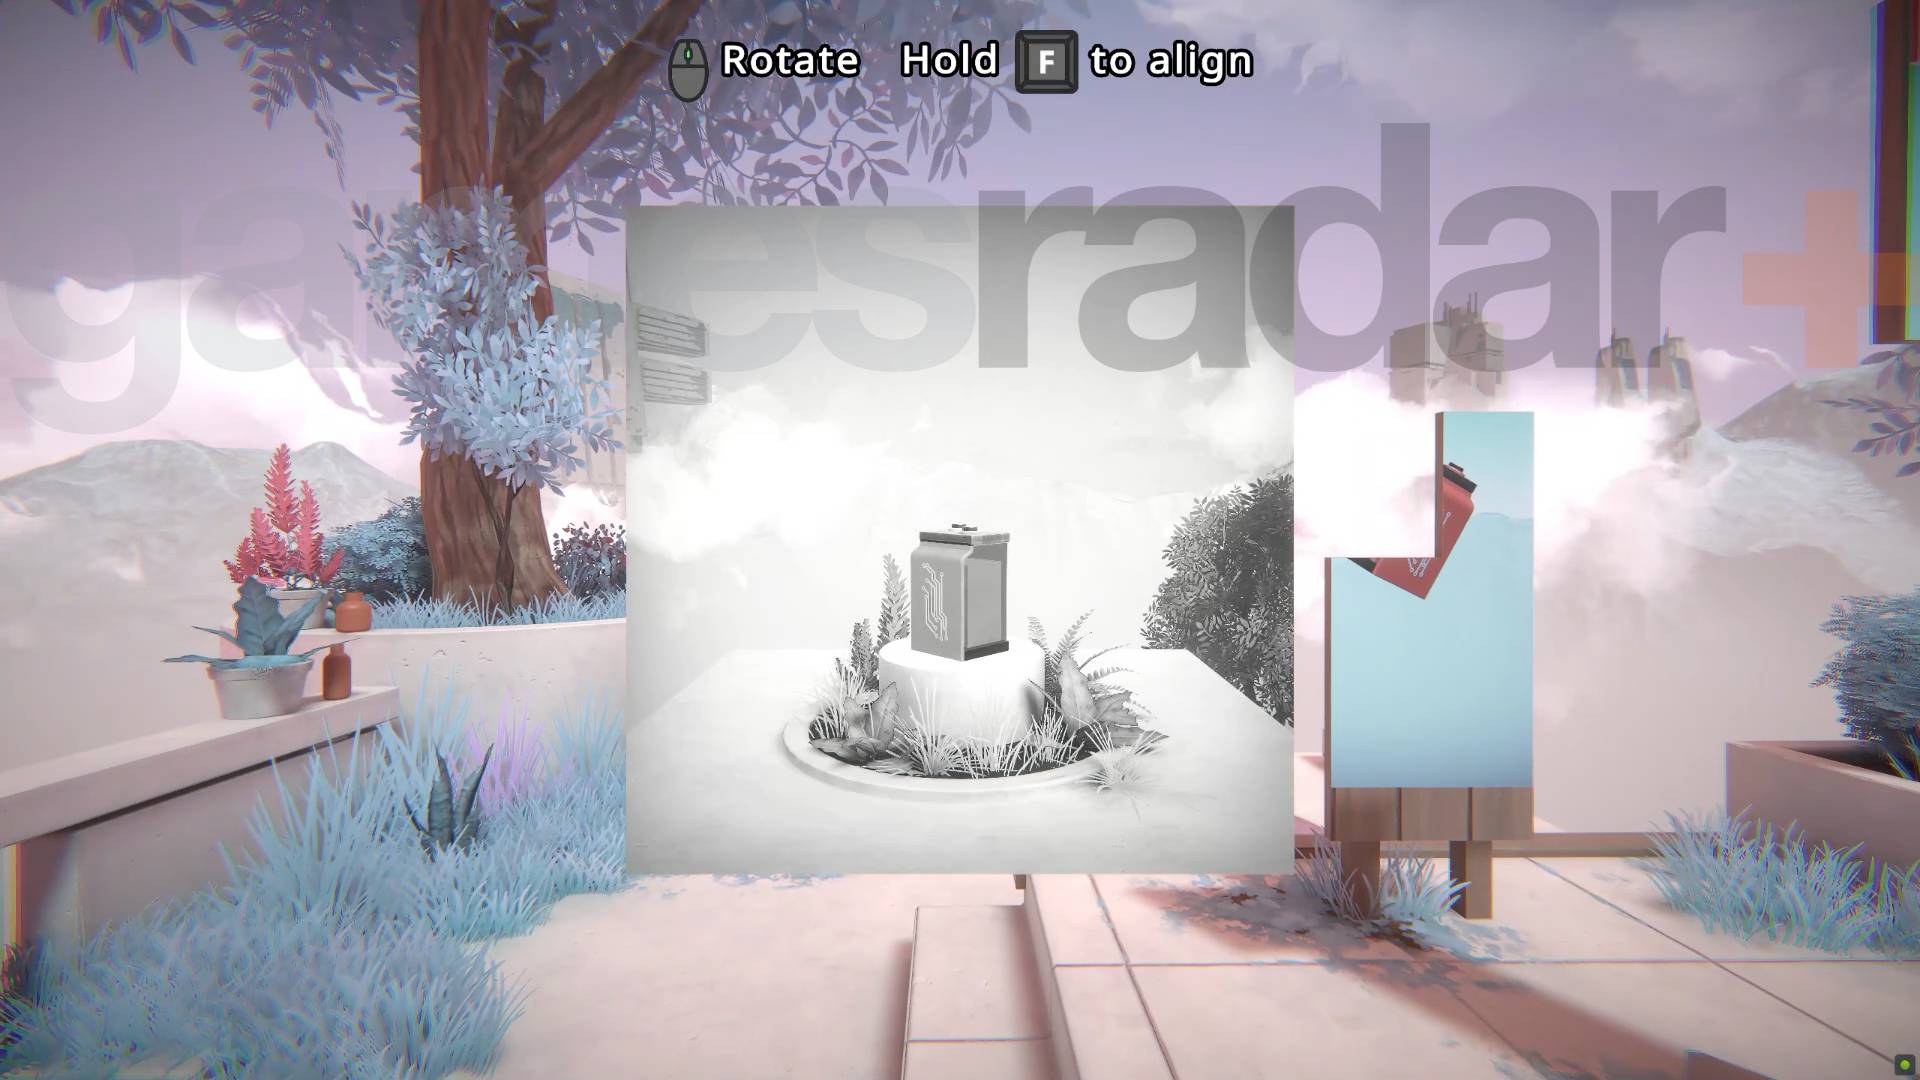
You'll need two batteries here to activate the teleporter. One is on a photo you can pick up, the second is on a picture split across three boards you need to line up. However, line up this picture and the battery falls into thin air, so you need to use the first picture to create a platform to catch it on. Make sure to move the photo battery out of the way once it exists before you do anything else, because the board picture can erase it when you line the images up.
Chapter 2 Hiraya Level 3-2
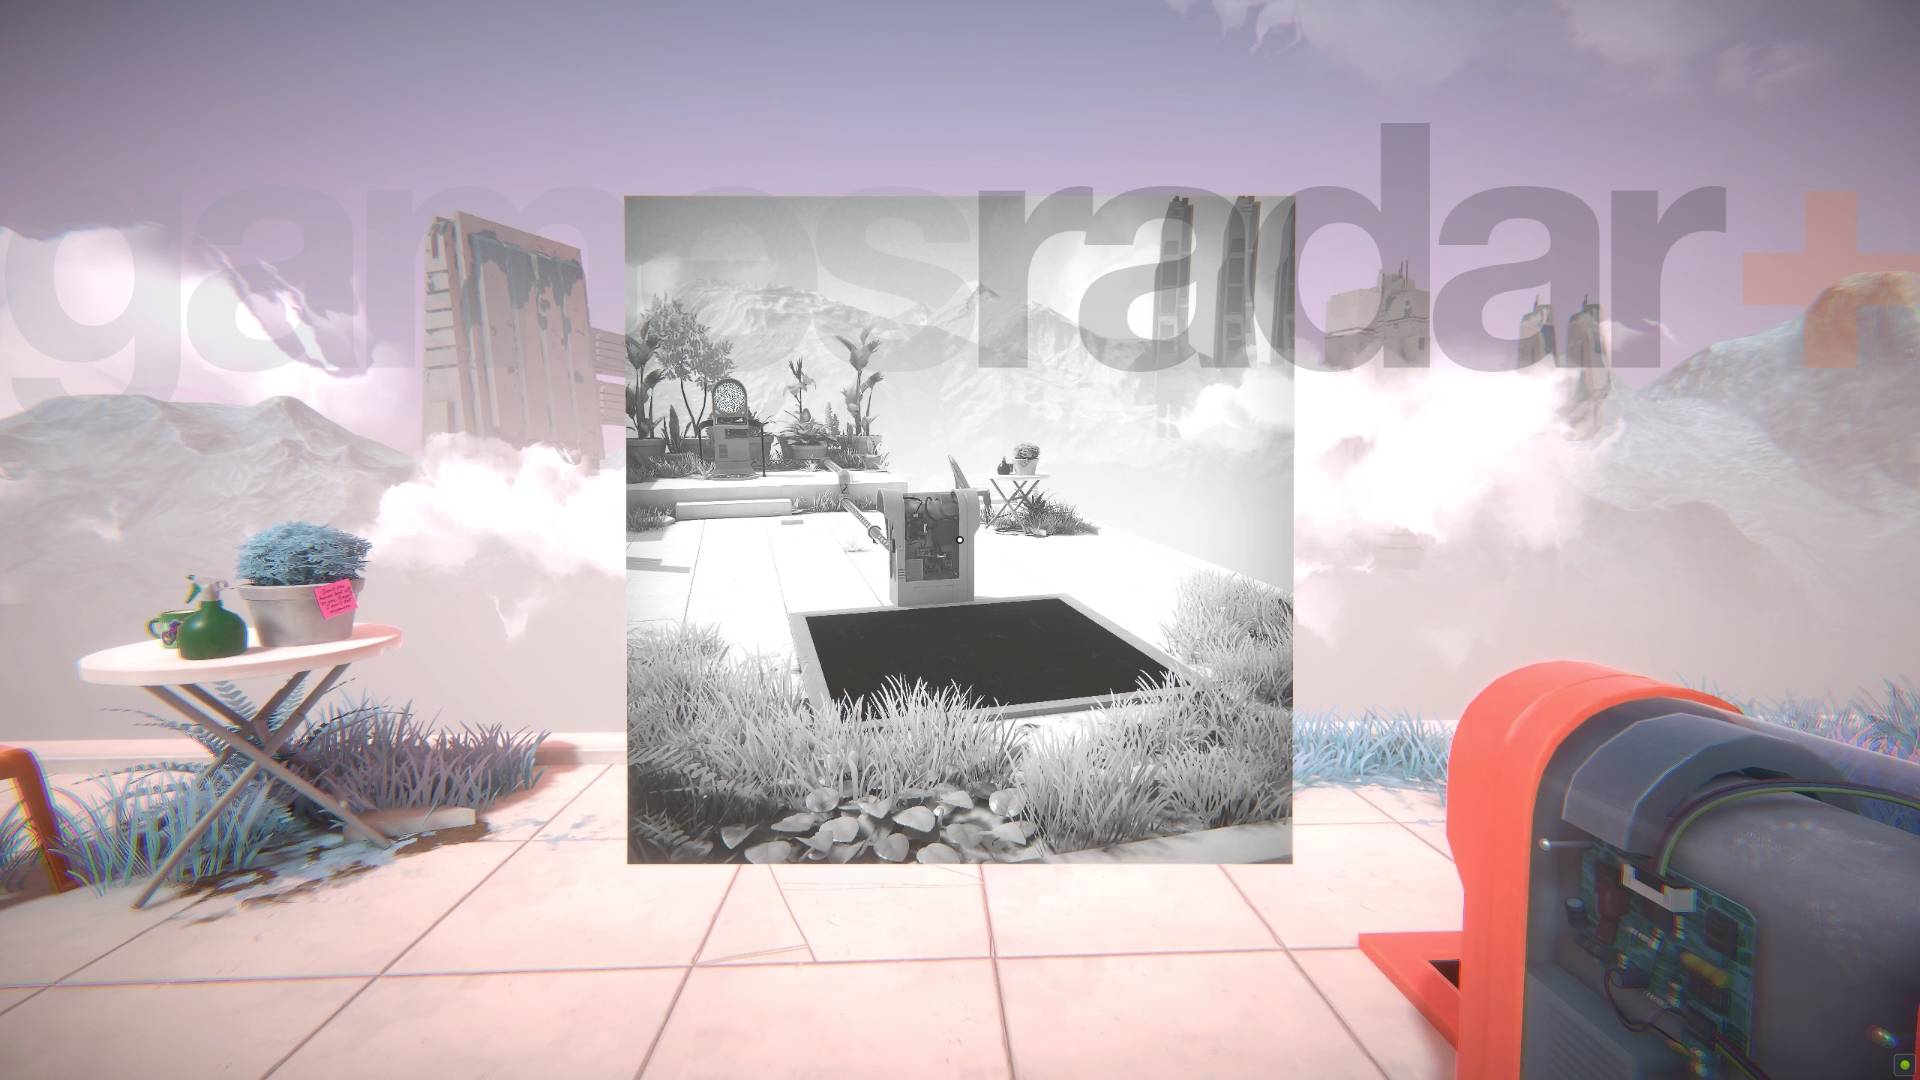
You'll find a picture of a battery on three boards to line up here but doing that will break the connection between the teleporter and battery pad, making it useless. So head up the stairs first to find a fixed camera you can use to photograph a long shot of the teleporter and pad, and then use that picture to place it somewhere the battery image won't break it. Then align the images to get the battery and use the camera again to photograph and duplicate it to get the two batteries you need to power the teleporter you placed elsewhere.
Chapter 2 Hiraya optional challenge
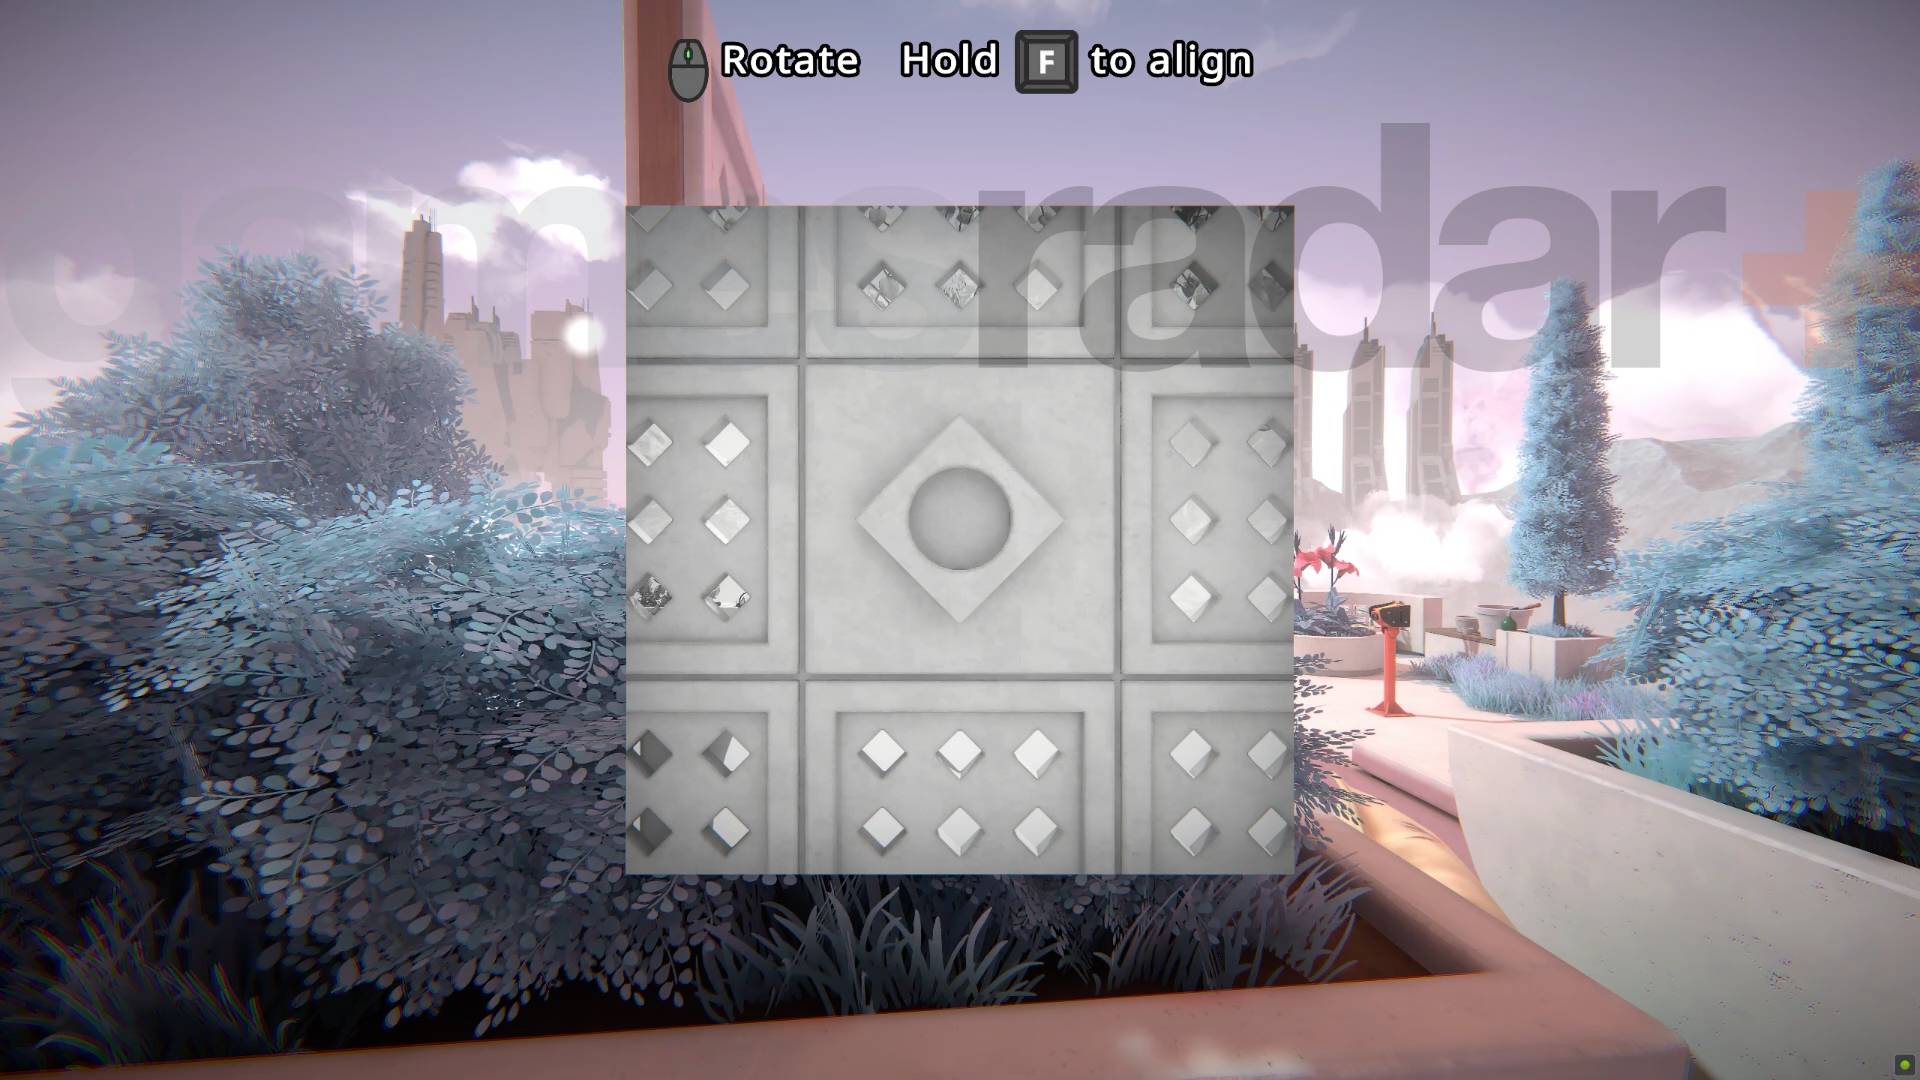
This optional Viewfinder challenge has a teleporter on a wall and a fixed camera pointing at the other side. Use the camera to take a picture of the back of the wall and then place the picture between the wall teleporter and the camera as you can see above. Be careful to not destroy the camera but it doesn't matter about the teleporter. That's because the picture will create its own teleporter once placed. When you have the wall set you'll be able to get a picture of the teleporter on the other side and then rotate that image to place it at a usable angle.
That's the end of Hiraya's chapter 2.
Current page: Viewfinder walkthrough Chapter 2 Hiraya
Prev Page Viewfinder walkthrough Chapter 1 Aharon Next Page Viewfinder walkthrough Chapter 3 Chi LeungSign up to the GamesRadar+ Newsletter
Weekly digests, tales from the communities you love, and more

I'm GamesRadar's Managing Editor for guides, which means I run GamesRadar's guides and tips content. I also write reviews, previews and features, largely about horror, action adventure, FPS and open world games. I previously worked on Kotaku, and the Official PlayStation Magazine and website.
