Every Witcher 3 side quest and how to complete them
A complete guide to all of the Witcher 3 side quests
Weekly digests, tales from the communities you love, and more
You are now subscribed
Your newsletter sign-up was successful
Want to add more newsletters?
Join the club
Get full access to premium articles, exclusive features and a growing list of member rewards.
Note: You'll need to complete "Family Matters" to enter Novigrad from any bridgeway.
The Volunteer
Prerequisite: None | Suggested Level: 13
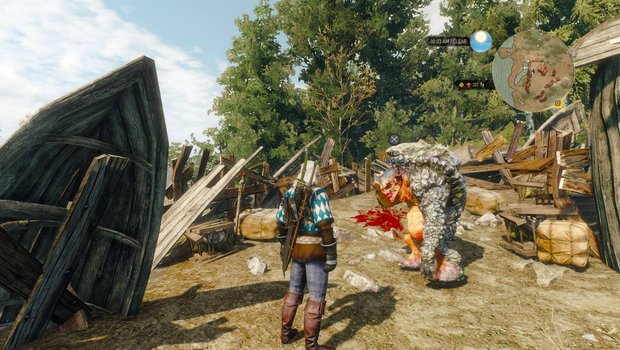
It's a little unclear whether you get this quest as you enter Oxenfurt or when you check out the Notice Board. Either way, you'll get a marker on a nearby island. Head there to meet a Rock Troll who's apparently been brought into the Redanian army. After a rather interesting conversation, you'll learn that he needs some red paint.
Head back into Oxenfurt and check with the Merchant in the marketplace. Buy paint from him and return to the Rock Troll. You can then choose to help him paint or not; either choice will wrap up the quest.
Gwent: Playing Innkeeps
Prerequisite: None | Suggested Level: N/A
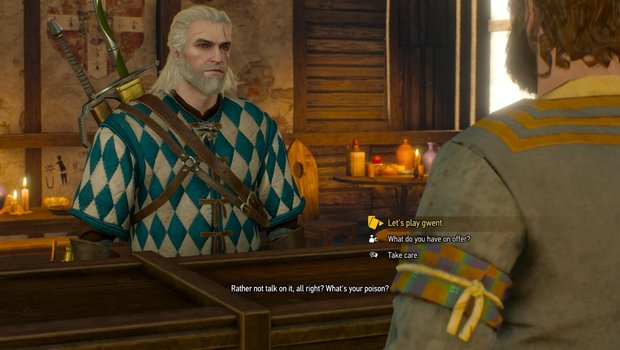
There's Gwent to be played in Novigrad, and you can read about it on the Oxenfurt Notice Board. Start by visiting Stjepan, now marked on your map. Beat him in a round, and he'll tell you of two more innkeeps looking to play. Best both of them to finish the quest.
Novigrad
Of Dairy and Darkness
Prerequisite: None | Suggested Level: 9
Weekly digests, tales from the communities you love, and more
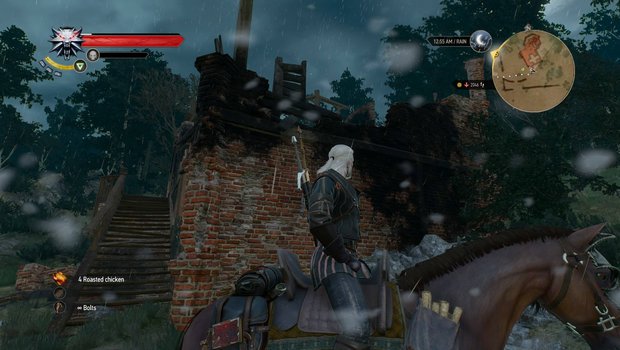
Head northeast from the Crossroads marker near Oxenfurt to find an Aremas' Abandoned Manor - the quest will pop when you do. Step onto the first floor and use your Witcher Senses to examine the symbol on the ground. You need to learn more about this place.
Travel to Novigrad and speak to a merchant who possesses some of Areamas' artifacts; he's marked inside the city on your map. Buy the lizard figurine and return to the manor. Use the figurine on the magic symbol to activate a portal, and step through.
Now you'll need to navigate Aremas' dungeon. The first chamber contains lots of breath-stealing cheeses (no, seriously). Look for a path along the left side, above the stench. Follow this to a row of cheeses that won't sap your breath. From there, it's a clear shot to the stairs out of this room, where you'll find another portal.
This'll take you to a flooded cave. Hop into the water and swim through the small tunnel, then follow the path to reach a laboratory. Grab the bull figurine off the nearby table and use it to activate the next portal. Step through the reach the central vault. In here, you'll have to activate two pedestals with Igni - one is hidden behind a fake wall you can remove with the Eye of Nehalani. These will deactivate the barrier in the room, allowing you to grab the sword in here and activate another portal out of the dungeon. Quest complete!
Gwent: High Stakes
Prerequisite: None | Suggested Level: 26
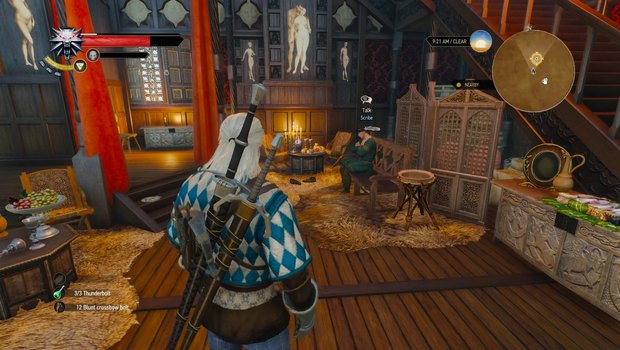
You can begin this quest by checking out the Notice Board by the Glory Gate. Head to your marker to meet with a scribe who runs a high-end Gwent tournament - you'll need to have at least five high-level cards and 1,000 crowns to enter.
Once you've met those requirements, the tournament will begin. Before the matches start, talk to the other participants to learn more about them. Then the real matches will kick off. These are the toughest in the game, and you'll have to win three at first. If you accept Sasha's advances after the first one, be aware that she'll steal some of your cards.
After the third match, you'll find yourself in a fistfight with the loser. Defeat him, and you'll be able to take on the Count in the final card game. After this match, and if you accepted Sasha's proposal, you'll learn that the prize money has been stolen. If not, the quest ends here.
If the money is stolen, fear not: it's safe to trust Sasha now. Agree to help look for the money, then check the scene upstairs for two clues in the bedroom and one out on the balcony. Next you can examine the gazebo outside to reveal a scent trail. This will lead you to a crate.
Sasha knows the destination of this crate, so meet her at the marked warehouse. You'll need to find a way inside; head around to the rear to find an open window by a scaffolding. Drop in to discover the thief: your first opponent from the tourney. Take him and his men out to complete this other branch of the quest - you may even get a 'little something extra' from Sasha.
The Dwarven Document Dilemma
Prerequisite: None | Suggested Level: 2
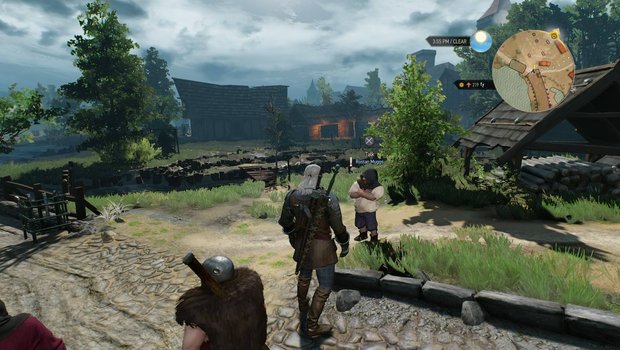
Just south of the Southern Gate is a dwarf named Rostan Muggs, who's recently been robbed. Talk to him, then head to the search area on the nearby bridge. Use your Witcher Senses to find a broken bottle of moonshine; this will trigger a scent trail. Follow this to Seven Cats Inn, where you'll find the thief. There are a few different ways to get the documents from him (Axii, Gwent, etc.), but whichever you choose, you can return the goods to Rostan for a reward.
The Volunteer
Prerequisite: None | Suggested Level: 13

It's a little unclear whether you get this quest as you enter Oxenfurt or when you check out the Notice Board. Either way, you'll get a marker on a nearby island. Head there to meet a Rock Troll who's apparently been brought into the Redanian army. After a rather interesting conversation, you'll learn that he needs some red paint.
Head back into Oxenfurt and check with the Merchant in the marketplace. Buy paint from him and return to the Rock Troll. You can then choose to help him paint or not; either choice will wrap up the quest.
Gwent: Playing Innkeeps
Prerequisite: None | Suggested Level: N/A

There's Gwent to be played in Novigrad, and you can read about it on the Oxenfurt Notice Board. Start by visiting Stjepan, now marked on your map. Beat him in a round, and he'll tell you of two more innkeeps looking to play. Best both of them to finish the quest.
Of Dairy and Darkness
Prerequisite: None | Suggested Level: 9

Head northeast from the Crossroads marker near Oxenfurt to find an Aremas' Abandoned Manor - the quest will pop when you do. Step onto the first floor and use your Witcher Senses to examine the symbol on the ground. You need to learn more about this place.
Travel to Novigrad and speak to a merchant who possesses some of Areamas' artifacts; he's marked inside the city on your map. Buy the lizard figurine and return to the manor. Use the figurine on the magic symbol to activate a portal, and step through.
Now you'll need to navigate Aremas' dungeon. The first chamber contains lots of breath-stealing cheeses (no, seriously). Look for a path along the left side, above the stench. Follow this to a row of cheeses that won't sap your breath. From there, it's a clear shot to the stairs out of this room, where you'll find another portal.
This'll take you to a flooded cave. Hop into the water and swim through the small tunnel, then follow the path to reach a laboratory. Grab the bull figurine off the nearby table and use it to activate the next portal. Step through the reach the central vault. In here, you'll have to activate two pedestals with Igni - one is hidden behind a fake wall you can remove with the Eye of Nehalani. These will deactivate the barrier in the room, allowing you to grab the sword in here and activate another portal out of the dungeon. Quest complete!
Gwent: High Stakes
Prerequisite: None | Suggested Level: 26

You can begin this quest by checking out the Notice Board by the Glory Gate. Head to your marker to meet with a scribe who runs a high-end Gwent tournament - you'll need to have at least five high-level cards and 1,000 crowns to enter.
Once you've met those requirements, the tournament will begin. Before the matches start, talk to the other participants to learn more about them. Then the real matches will kick off. These are the toughest in the game, and you'll have to win three at first. If you accept Sasha's advances after the first one, be aware that she'll steal some of your cards.
After the third match, you'll find yourself in a fistfight with the loser. Defeat him, and you'll be able to take on the Count in the final card game. After this match, and if you accepted Sasha's proposal, you'll learn that the prize money has been stolen. If not, the quest ends here.
If the money is stolen, fear not: it's safe to trust Sasha now. Agree to help look for the money, then check the scene upstairs for two clues in the bedroom and one out on the balcony. Next you can examine the gazebo outside to reveal a scent trail. This will lead you to a crate.
Sasha knows the destination of this crate, so meet her at the marked warehouse. You'll need to find a way inside; head around to the rear to find an open window by a scaffolding. Drop in to discover the thief: your first opponent from the tourney. Take him and his men out to complete this other branch of the quest - you may even get a 'little something extra' from Sasha.
The Dwarven Document Dilemma
Prerequisite: None | Suggested Level: 2

Just south of the Southern Gate is a dwarf named Rostan Muggs, who's recently been robbed. Talk to him, then head to the search area on the nearby bridge. Use your Witcher Senses to find a broken bottle of moonshine; this will trigger a scent trail. Follow this to Seven Cats Inn, where you'll find the thief. There are a few different ways to get the documents from him (Axii, Gwent, etc.), but whichever you choose, you can return the goods to Rostan for a reward.
Scavenger Hunt: Cat School Gear
Prerequisite: None | Suggested Level: 17
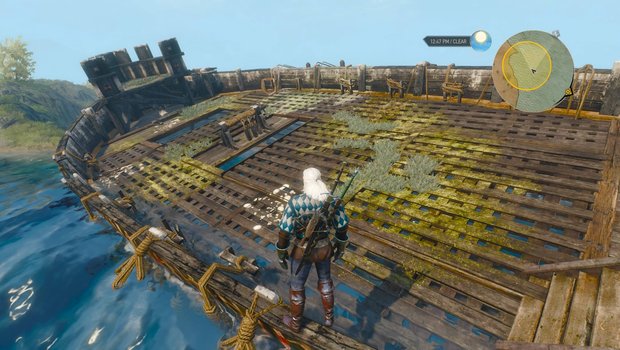
In Drahim Castle, you can climb down the ladders to the lowest basement to find a chest containing a journal. Reading this will teach Geralt of some special diagrams found all across Novigrad. The first is by an island on the western coast of the region. There's a wrecked ship here; check inside the hull for a chest containing the next diagram and a journal. Read this to get a new marker at the northern edge of Temple Isle in the main city.
To reach the diagram here, you'll need to look for a path along the cliffs along the western edge of the district. Once you find it, follow it into a large cave - you'll need to use the Eye of Nehaleni to actually enter. Take the left path when you reach the golem to reach another large chamber. In this room, you can pull levers to rotate some tall statues. Make them all face the gazebo in the center of the room, and a pool will be revealed. Swim down, loot the key from the skeleton at the bottom, and return to the first chamber. Use your key to enter the back room, where you'll find a mad swordsman. Kill him and loot his corpse for the next set of diagrams.
The final diagrams can be found at Est Tayiar, a set of ruins to the northeast of Oxenfurt. Drop into the opening and look opposite the magical gate for a wall you can bust through with Aard. The skeleton on the other side holds the final diagram.
Of Swords and Dumplings
Prerequisite: None | Suggested Level: 24
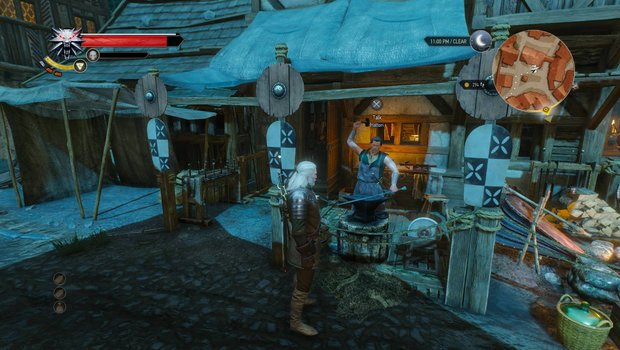
There's a master smith in Novigrad named Hattori, and there are several ways to learn about him - I learned from the smith in Lindenvale, Velen. However you do it, you'll have a marker placed smack in the middle of the city.
Head there to meet Hattori in his dumpling shop. Talk to him about forging swords, and he'll tell you about Van Hoorn, who's been stiff-arming him out of the market. Agree to help, then meet Hattori at your new marker at some point after 6pm.
When he arrives, follow him through the streets until you reach a trio of thugs. Negotiate a good deal for Hattori, and another band of dwarf bandits will arrive. Take them out, then get out the cramped alley. Hattori will flee, so chase after him and knock on the door of the house he holes up in.
He'll request a man named Sukrus as a bodyguard, so head to your new marker to find him beating up a trader. He'll then turn to you. Beat him in a fistfight, and he'll ask you to get some money that he's owed in exchange for helping Hattori. Head to the docks to find the trader in debt, and use Axii or your weapons to get him to pay up. Let Surkus know, then return to Hattori.
Finally, you'll need to cut off Van Hoorn's supply monopoly. Talk to Sukrus outside Hattori's, then meet him at the warehouse after 6pm. Talk to the guard and pay up or use Axii to get inside. Use your Witcher Senses to mark the crates in question, then exit the building to confront Van Hoorn himself. Make short work of him and his cronies, and return to Hattori after a few days to end the quest with a sweet sword prize.
Coast of Wrecks
Prerequisite: None | Suggested Level: 13
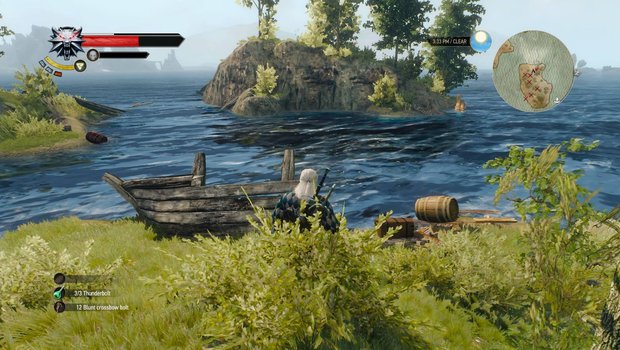
There's a Hidden Treasure on a island southwest of Drahim Castle - it's marked as an Undiscovered Location. Head there to find a chest. Loot it and read the letter found inside to learn of more treasure in the water nearby. Dive in and use your Witcher Senses in the search area to find more great loot. There are two chests on the nearby island and one in the water below.
Fists of Fury: Novigrad
Prerequisite: None | Suggested Level: 23
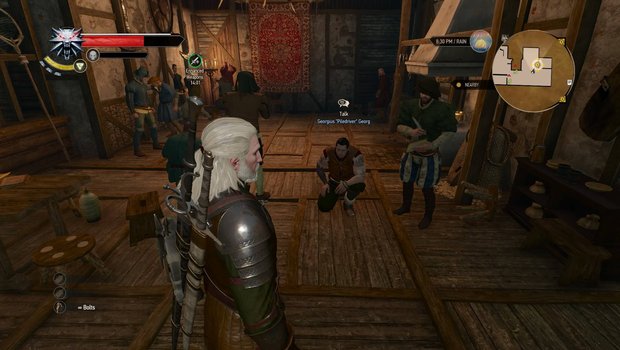
Check out the Notice Board in Hierarch Square to learn about a fighting ring in the city. There are three brawlers to face: Georgius Georg at the Golden Sturgeon, Archibald O'Neill in the slums, and Iron Mortimer near the Oxenfurt Gate. After besting all three, you'll be able to face Durden the Tailor in Farcorners. Win this final fight to end the quest.
Following the Thread
Prerequisite: None | Suggested Level: 11
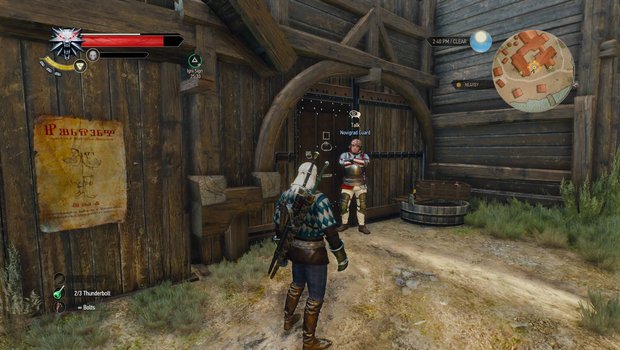
If you check the notice board in Hierarch Square, you'll learn of a string of murders happening in the small cluster of homes by the Tretogor Gate. Head to your marker and speak to the guard there to learn a bit more about the murders.
Head to the next marker - it's inside a small home - and use your Witcher Senses to find some clues and some tracks. Follow the footprints to the edge of a dock, then hop into the water and swim to the shore across the way. The prints will lead into the building on the other side of the water. Follow them to the top floor, where an old friend, Lambert, will be battling the murderer: an ekimmara. Slay it, then return for your reward.
After a cut scene, Lambert will run off, leaving you to deal with some guards. Take them out, then head inside the nearby building. After another quick scene, you can head off to meet Lambert at a nearby inn. Once you learn what's going on with him, you'll head inside to meet with a friend of his. A bar brawl will ensue, and you'll then be tasked with tracking down another one of Lambert's associates.
When you reach Skellige, you can find the man, Hammond, in Trottheim on the island of Faroe. This is essentially one big slaver camp, so be prepared for a battle if you misspeak at the gate. You can then find your target at the shrine on the eastern edge of the island, but be prepared for another fight with his men when you do. Loot his corpse after the fight and read the letter you find, then head all the back to the Nowhere Inn in Novigrad.
It's finally time to take Lambert's man Karadin down. Head to Gildorf and deal with him as you see fit. This will finally wrap up this globe-spanning quest.
An Elusive Thief
Prerequisite: None | Suggested Level: 13
Check the Notice Board in Hierarch Square to learn about a "thieving imp" in the area. Head to your marker in the marketplace at some point during the daytime to speak with Sylvester Amello about this. Ask him a few questions about the thief, then use your Witcher Senses to spot some tracks.
Follow these up to and across part of the nearby bridge. You'll have to leap into the moat and paddle over to the eastern shore to continue on the path. This will lead you inside a house. Grab the letter at the end of the path and read it to learn what you're dealing with: a doppler.
Now head upstairs and use your Witcher Sense to find a strange pile of clothes. This will reveal a red scent trail; follow it to reach the culprit, currently disguised as a guard. Chase him down, and he'll morph into… you! Best this quasi-Witcher in battle, and you'll have a choice to finish him off or let him go. Either way, you can return to Sylvester for your reward.
Message from an Old Friend
Prerequisite: None | Suggested Level: N/A
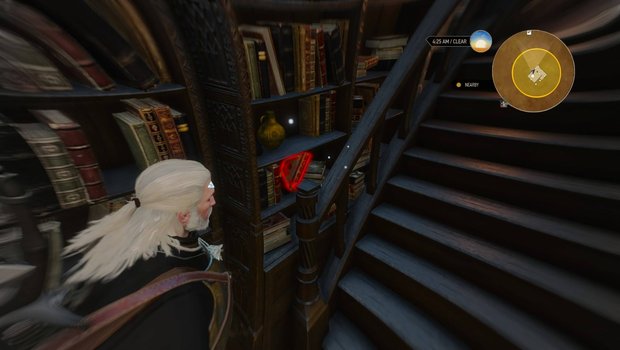
There's a bookseller named Marcus whose store can be found in Hierarch Square. Speak to him, and he'll recognize you and mention an "old friend" left a book for you. Use your Witcher Senses to find it on the second floor by the steps to the third. The book will have a letter inside; read it to complete this quick quest.
Haunted House
Prerequisite: Complete "Novigrad Dreaming." | Suggested Level: 7
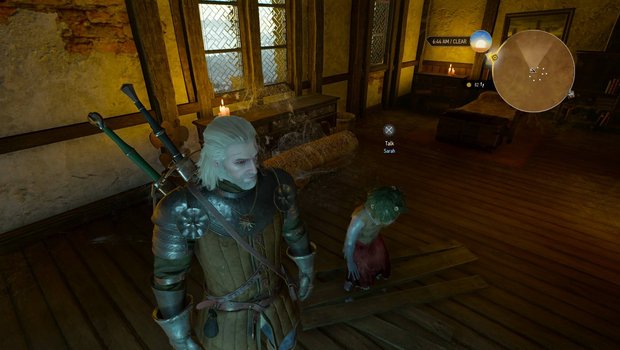
During "Novigrad Dreaming," you have the option to let Sarah the godling stay in the house and tell the owner, de Jonkheer, that it's haunted. Once you finish the quest, check the Hierarch Square notice board to begin this quest.
Head back to the house and head up to bedroom to find Corrine and Sarah playing together. Simply checking in on them will wrap up this quick quest.
Fencing Lessons
Prerequisite: Complete "Broken Flowers." | Suggested Level: 12
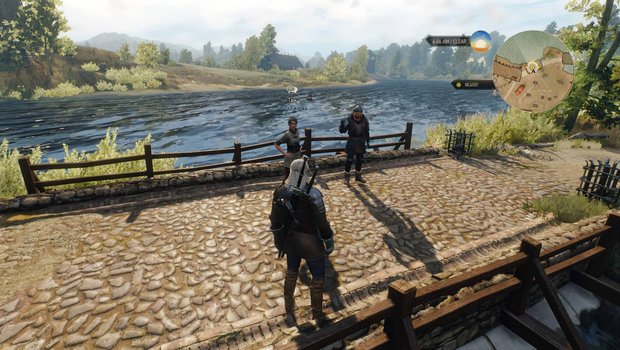
During "Broken Flowers," you'll meet one of Dandelion's ladies, Rosa. Agree to continue to train her to unlock this quest. Visit her home the next day (after whenever you unlock it) to begin. Talk to the guard there to find that Rosa has gone to a bridge nearby.
Head to your new mark by the Southern Gate to meet with her. She'll then lead you onto the bridge for a quick duel - and then disappear. Use your Witcher Senses to pick up her tracks, and follow them to find Rosa being harassed at the Seven Cats Inn. You can get ride of her oppressors with a fight, money, or Axii. Whichever you choose, you can send Rosa back home after the squabble to complete the quest.
The Gangs of Novigrad
Prerequisite: Being "Get Junior." | Suggested Level: 9
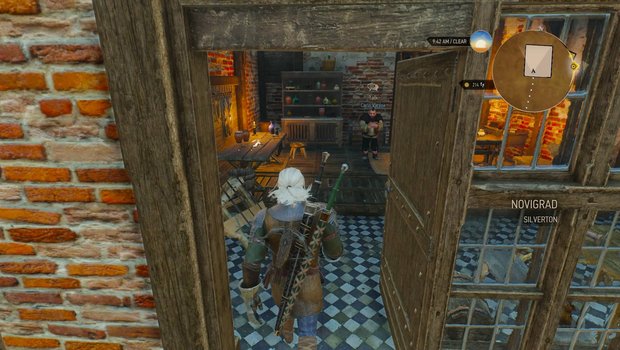
This quest will pop after the bathhouse brawl in "Get Junior." Dijksrta's mate Cleaver will leave in a huff, threatening to take his own action against some rival thugs. Head to his place near Hierarch Square and agree to help find Whoreson Junior to kick things off.
Cleaver plans on raiding Junior's casino and arena. Choose one of the two and head there - expect to encounter bandits along the way. You'll have to clear out plenty of Junior's men in either location, and once you do, you can return to Cleaver for a nice reward.
Honor Among Thieves
Prerequisite: Begin "Get Junior." | Suggested Level: 9
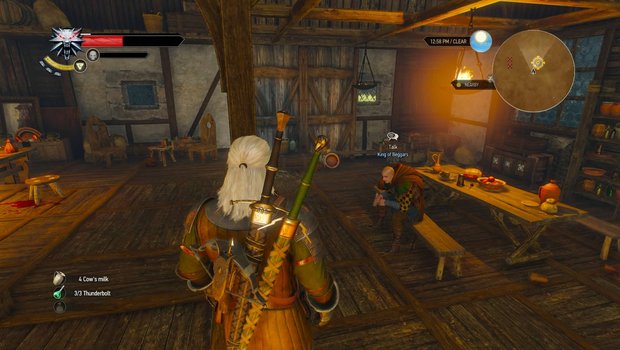
During the long quest that is "Get Junior," you'll free a halfling named Rico. When you do, visit the King of Beggars for a reward. It's that simple.
An Eye for an Eye
Prerequisite: Begin "Get Junior." | Suggested Level: 12
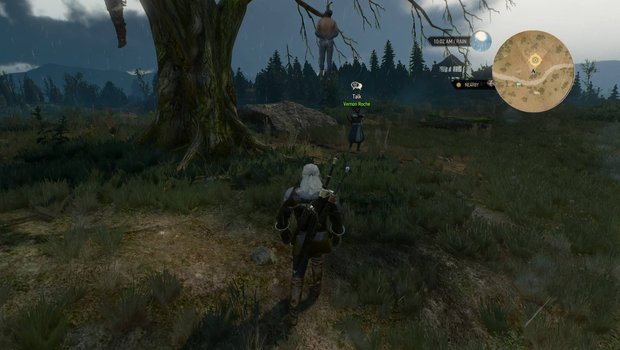
Later in the same quest, you'll meet with Radovid. After this scene, Vernan Roche will ask you to meet back at his camp. Head there to learn that his soldier Ves has left her post. Meet Vernan Roche near the Hanged Man's Tree in Velen to continue.
A commotion will break out at nearby Mulbrydale, so dash there to battle a squad of Nilfgaardian soldiers. Take them all out, and you'll have to decide what to do with the lone survivor. Let him live or not - the quest will end either way.
Redania's Most Wanted
Prerequisite: Being "Get Junior." | Suggested Level: 12
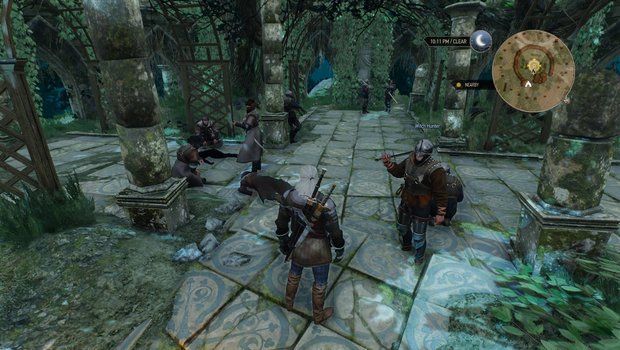
Following your confrontation with Junior, Radovid will also have a favor to ask of you. This involves tracking down a witch named Philippa. Head to the marker northeast of Roche's camp to find a band of witch hunters at the Est Tayiar ruins. They'll give you the tile to enter Philippa's hideout.
Head into the entrance and through her magical gate to find yourself inside a large temple. Move through the first portal and kill the nekkers on the other side. Use Aard on the crystal at the bottom of the steps to activate the next portal, and step through. In the next chamber, you'll have to convince or beat up the witch hunter to get the crystal he nabbed. Get it, plant it, and activate it with Aard to reach the next area.
Kill the nekkers and drop into the nearby hole - you'll find another crystal down here. Climb back up and head through the next doorway. Place and activate the crystal, then step through one last portal to reach the lowest floor. Head to your market to encounter an Ifrit. It shouldn’t be too tough take down, but use Aard for a boost if you need it. Check out the following room with your Witcher Senses to find an agate and another crystal.
Now you'll need to return to Radovid with what you've found. Upon exiting the ruins, prepare to deal with the witch hunters. Do what you want, then head to Radovid's boat in Oxenfurt.
Novigrad, Closed City
Prerequisite: Complete "Get Junior." | Suggested Level: 11
After dealing with Menge, this quest will become available. There's a woman named Lussi on St. Gregory's bridge who claims her house is haunted, so agree to help. Follow her back home, and you'll be ambushed by two guards. Kill them and loot their bodies to find a warrant - this will lead you to two other mages in trouble. Lussi will also give you one of three keys to a treasure.
The second mage is found in The Bits… already dead. Head to the next floor up and ignite the torch to open a secret room. Check the loot-able crates in here for the next key. The last mage is found in Harborside. When you get there, look for a man pounding on a door. Before he gets in, he'll be hacked down by guards. Loot his body for the final key.
Now return to where you grabbed the second key. With all three, you'll be able to open the locked compartment in the secret room. Enjoy your loot!
A Matter of Life and Death
Prerequisite: Complete "Get Junior." | Suggested Level: 12
After the events at Menge's place, Triss will ask to meet at her home. Then after closing out the quest with Dijkstra, this new one will trigger. Meet Triss at her place in The Bits to learn she needs a companion for a potentially dangerous meeting in the fish market.
Head there first to scope out the area. Use your Witcher Senses to find the man with red-outlined keys in his pocket, then starting follow him - you'll encounter some bandits after a moment. After the fight, you'll learn that Lady Vegelbud's son needs to be sneaked out of the area. This requires using an upcoming masquerade ball as a distraction.
To prepare for the party, visit Elihal's shop just outside the city walls and purchase one fox mask and one wolf mask. Bring these back to Triss, and the two of will adjourn to the ball. As you make your way to Lady Vegelbud, you'll encounter a few party quests; deal with them as you wish. After speaking with her, you'll have to find Albert among the guests. Use your Witcher Senses to detect the panther mask he's wearing.
Once you've found him, head to your new marker and sit with Triss to pass the time. After a talk and a little chase through the hedge maze, Albert will meet you. After switching masks, he and Triss will go ahead of you. Follow, then take out the witch hunters that corner you in the maze. Head to the stables after the brawl to finish the quest.
Now or Never
Prerequisite: Complete "A Matter of Life and Death." | Suggested Level: 14
After saving Albert in the previous quest, you can meet with Triss to start another. Head to her house - it's time to get the mages out of Novigrad. Deal with her landlords however you please, and Triss will give you two options: help a young mage couple, or head to the Kingfisher to join the rest of the mages.
You can choose either, but if you decide to get the couple first, you'll have to tag along with Triss. Take out the witcher hunters waiting outside the house, then keep following her, avoiding patrols along the way. When you reach the couple's hideout, take out the hunters threatening them.
Now it's off to the Kingfisher. Head there to find that more witcher hunters have already raided the place. Take them out, then follow Triss into a secret chamber with the rest of the mages. After a cut scene, you'll head into the sewers to clear the way.
Battle through the long tunnels, taking out rats and other baddies along the way. Eventually, you'll face a katan vampire. The tricky thing with these guys is their constantly healing, but Igni and Yrden will help. Once he's down, it's just a bit further to the docks. Take out one last squad of witch hunters to see the mages safely off.
A Deadly Plot
Prerequisite: Complete "Now or Never." | Suggested Level: 14
After the events of "Now or Never," Dijkstra will ask for your help with an assassination plot. Visit him in Passiflora to begin: the conspirators need you to find their informant who went missing.
Start your search at the Pontar, by the Border Post marker. Speak to the soldier Gregor there to learn some possible whereabouts for Dijkstra's missing man. Head to your new marker and use Witcher Senses to find some shoes near an abandoned cart. Follow this path of shoes to encounter a rock troll.
After a goofy exchange, you can look around the area to find his friends' cave. The man you're looking for is in the back - it's your old pal Thaler. You'll have to kill the trio of trolls to free him. They’re pretty tough, but Quen can be a big help. After the fight, escort Thaler back to his cart to wrap up the quest.
The Great Erasmus Vegelbud Memorial Derby
Prerequisite: Complete "A Favor for Radovid." | Suggested Level: N/A
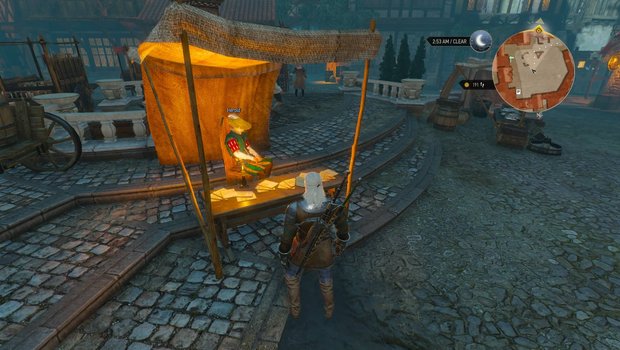
After meeting with Radovid on his boat, a new quest will be available in Hierarch Square. Check the exclamation mark on the map to find a race invitation at a small booth. This will start the quest proper. Head to the Vegelbud Residence and speak to the race master in the stands. It'll cost you 100 crowns to enter, and you'll need to win three races to keep the quest moving. Be prepared to shell out the 300 bucks.
After your third win, you'll receive a letter from your old pal Cleaver - it's an invite to an underground horseracing ring. Head back to the city to speak to him and start one final, brutal race. If you manage to pull of a win, you'll earn a nice chunk of crowns.
Cabaret
Prerequisite: Complete "A Poet Under Pressure." | Suggested Level: 14
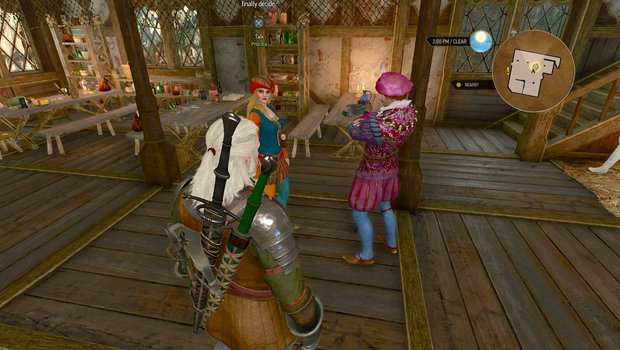
After rescuing Dandelion, return to the Rosemary and Thyme to find him arguing with Priscilla. He's always dreamed of throwing his own cabaret; agree to help to get this quest going.
Start by talking to Madam Irina at the mummer's stage. Borrow a prop sword from her and meet Dandelion at your new marker. Fumble your way through his plan and a fake fight, then head back to the Rosemary and Thyme. In the morning, the cabaret decorators will arrive. Choose a theme, then Priscilla will mention Dandelion hasn't arrived yet.
Head to your new marker to find him banging on a choreographer's door. Use your Witcher Senses to find the door key in a nearby barrel. Inside, you'll have to calm down the lady's fiancé to keep the quest moving.
After this, Dandelion will task you with picking up some placards he ordered. Head to the place, owned by a man named Rautlec, to find nothing but bandits inside. After a squabble with them, head to the Vegelbud Residence to find Rautlec at the race track. He's there to settle his debts, so you can either pay them or win the race. Do whichever you'd prefer, then return to Dandelion at the Rosemary and Thyme to finish this quest.
Carnal Sins
Prerequisite: Complete "Cabaret." | Suggested Level: 16
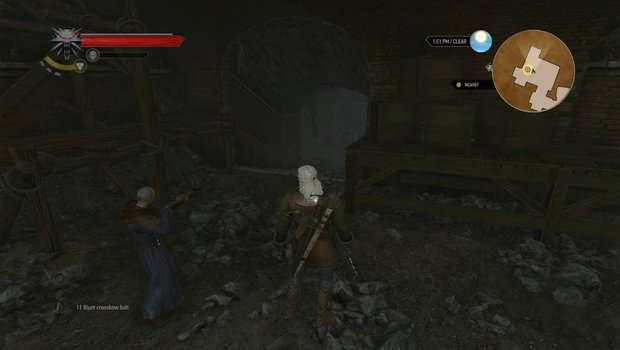
After meeting with Dandelion, a cut scene will play out, during which poor Priscilla will wind up in the hospital, badly beaten. Time to get the villain responsible. Join Von Gratz in the sewers to kick things off.
Follow the doctor through the underground, taking out baddies along the way. When you reach the morgue, check the back rooms for the dwarf corpse you're looking for. Examine all the wound in his head, and you'll be escorted out when the coroner arrives.
Your next step is to question the corpse collector. His marker is right by the morgue, so head there and find out what he may have pickpocketed from the dwarf, using whatever method you prefer.
Next, you'll need to visit the spot where the dwarf died. Knock to get through the double doors into the courtyard, then use your Witcher Senses to look around. Examine everything, and read the letter you find. Then get the dwarf's brother to open the workshop. There's more stuff to examine in here, so use your Senses to do so.
After this, you'll need to check the area where Priscilla was attacked. Look around with your Witcher Senses, and take out the townspeople who ambush you during your examination. Once you're done, head back to the morgue and speak with the coroner.
Geralt knows who the next victim is: Lady Vegelbud. Head to the Vegelbud Residence to warn her. Accompany Ingrid to the Lady's room… it'll be too late. Chase down the murderer, and you'll be attacked by guards in front of the estate - they think Geralt's the killer. Fight them until a cut scene breaks up the battle.
Talk to Ingrid, then examine the Lady's body to find out who the next victim will be. Hustle back to the city and head to Crippled Kate's in Harborside. You'll find the killer on the top floor, just about to end another victim, a strumpet. Kill this sick villain to save her, then return to Dandelion and Priscilla in the hospital to wrap things up.
A Dangerous Game
Prerequisite: Complete "A Poet Under Pressure." | Suggested Level: 12
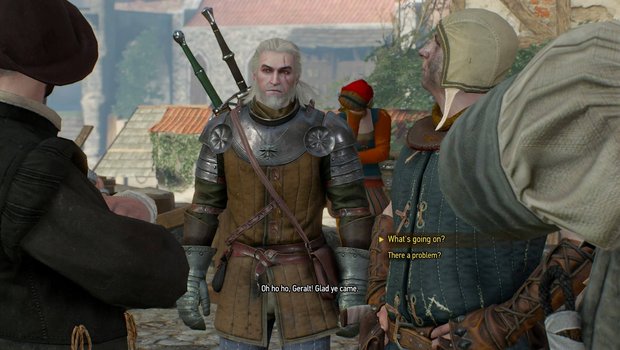
You can also meet with Zoltan after the big rescue. He's got some debts to pay, and he plans to do that by selling rare Gwent cards. Head to your marker to find a door you can't get through. Instead, look to the ladder nearby and follow it to the roof. You'll be able to get into the house's second floor this way.
Inside, you'll find a dead body and some bandits. Take them out, then loot their bodies for the first card and the key to the front door. Loot the chest under the stairs for a ledger - this lists the buyers of the other two cards you need.
Return to Zoltan and ask about the other two buyers; he'll give you more information. Now you need to visit the first buyer, Caesar, so meet Zoltan at the man's house. After a cut scene, you'll be free to roam the house. Head to the second floor, check the book case, then check the nearby desk for a key. Use it on the hole in the bookcase to open a passage to the third floor, where you'll find the card you're looking for. Head back down to Zoltan, and some thugs will bust into the house. Take them out, then be on your way.
The last card is found on the bottom floor of the Golden Sturgeon in Harborside. You'll find yourself in quite the high stakes Gwent game when you arrive. Win, and the thugs will attack you. Take them out, get the last card as a reward, and return to Zoltan at the Rosemary and Thyme.
Now you'll have to accompany him as he sells the rare cards. Head to Putrid Grove to find the buyer dead at the hands of Duke and his men. Zoltan will take care of the ruffians, so chase after Duke up ladders, across walkways, and through sewers until you catch him. Deal with him as you'd like, and this long quest will end.
The Soldier Statuette
Prerequisite: Complete "A Dangerous Game." | Suggested Level: 14
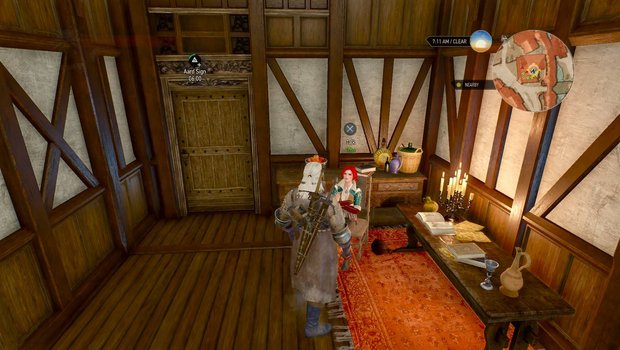
During "A Dangerous Game," you can find a jade figurine on the upper floor of Caeasr's House. Pay Triss a visit at some point to inquire about it. She'll restore the object to its true form: a Nilfgaardian Soldier. This ends the short quest.
Gwent: Old Pals
Prerequisite: Complete "A Poet Under Pressure." | Suggested Level: N/A
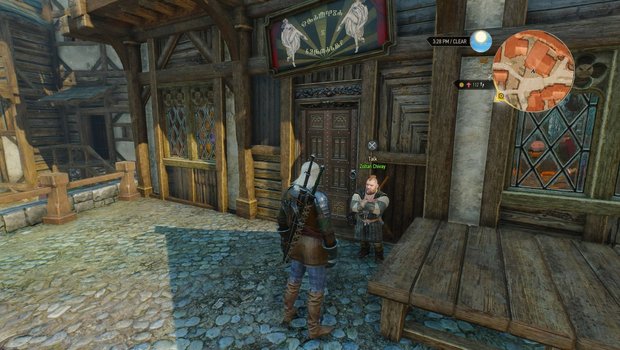
You can also play Gwent against Zoltan after Dandelion's rescue. Beat him, and he'll mention Vernon Roche as an opponent. Beat him, and he'll recommend playing Lambert or Thaler. Beat both of these old friends to complete the quest.
Gwent: Big City Players
Prerequisite: None | Suggested Level: N/A
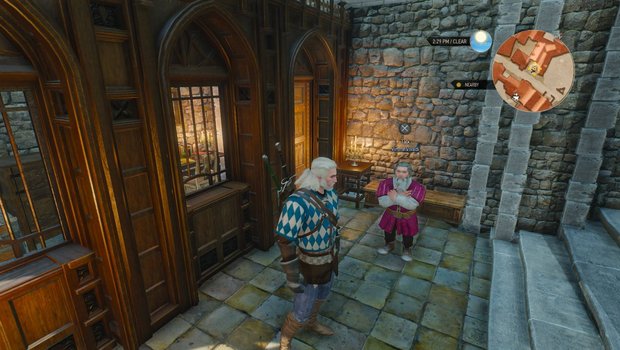
There's Gwent to be played in the city, and you can learn about some of the best players from the Notice Board in Harborside. Your first opponent is the banker Vimm Vivaldi. Best him, and he'll tell you about Marquise Serenity in Passiflora. Head there and to play her as well.
During the main quest "Get Junior," you'll encounter Dijkstra. Beat him at Gwent, and he'll tell you of a band of elves outside the city who also play. Head there and beat the Gwent-playing merchant to finish this quest.
Black Pearl
Prerequisite: None | Suggested Level: 13
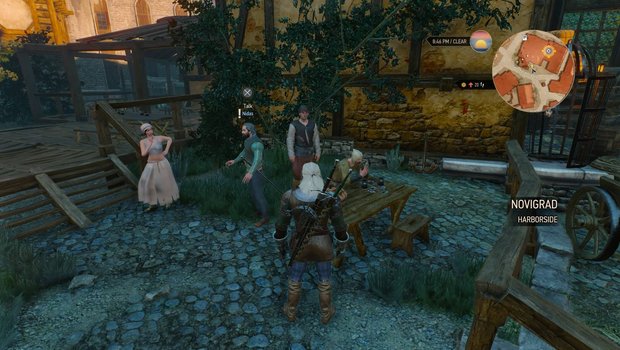
Right outside the Golden Sturgeon in Harborside is a man named Nidas, who's on a quest to find a rare black pearl for his beloved. Problem is, the one he's searching for is in Skellige. Agree to help to begin this quest.
To continue, you'll have to go all the way to the large archipelago attached to the main island in Skellige (yes, it might be a while) and meet Nidas at the broken bridge marked on your map. Follow him to the water's edge, and he'll ask you to dive in and search for the all-important pearl.
Swim out to the search area and loot the shells on the ocean floor - you'll also run into a pair of sirens. Once you find the treasure, return to shore. Take out the drowners harassing Nidas and give him the pearl you found. Return to Novigrad and meet him in the Golden Sturgeon for a proper reward.
Out On Your Arse!
Prerequisite: Complete "Novigrad Dreaming." | Suggested Level: 14
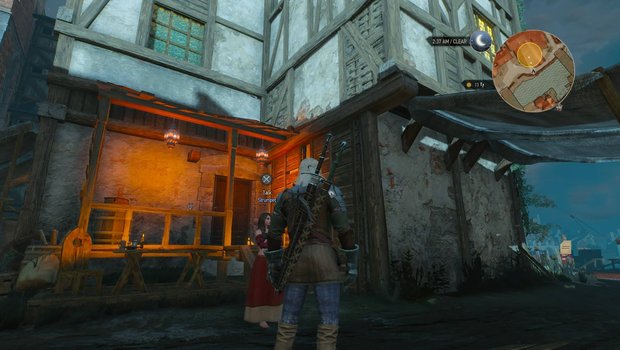
Check by Crippled Kate's (by Harborside and the fish market) to find one of the strumpets outside, crying. She'll tell you that Skelligers have taken over the brothel. You can get rid of them by either fighting or convincing them with Axii. Either way, return to the strumpet once you've cleared out the place to finish the quest.
Warehouse of Woe
Prerequisite: None | Suggested Level: 13
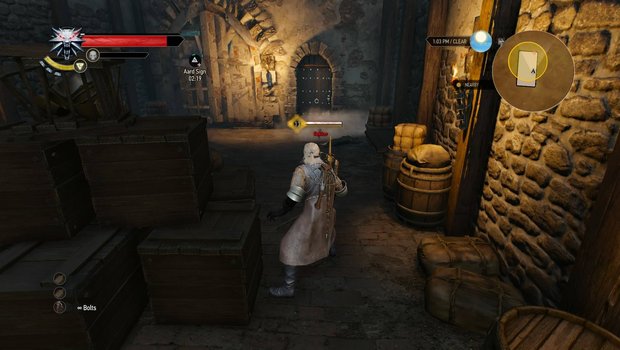
You can find a merchant and a dwarf arguing with a solider in the southwestern-most back alley in Harborside. Butt in to learn that some creature us haunting the merchant's warehouse. Enter the building in question - it's right in front of you - to find a lone nekker. Slay it and report back to finish this quick quest.
Reason of State
Prerequisite: Complete "A Deadly Plot" and begin "Final Preparations." | Suggested Level: 30
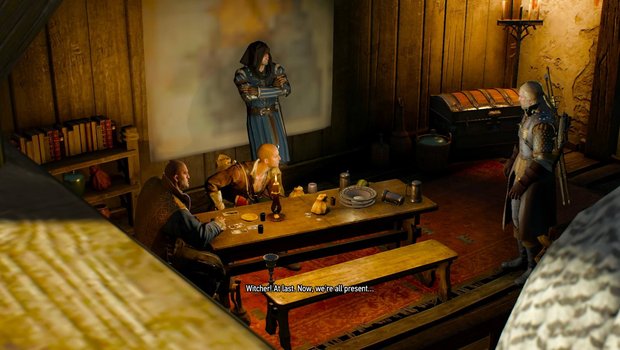
While rescuing Philippa from the bathhouse, Geralt will update Dijkstra on King Radovid. Meet him in a warehouse near Novigrad Docks to discuss further assassination plans; he needs you to lure the king into a trap. When you leave, Philippa will give you a ring that'll make Dijkstra's plan go more smoothly.
Radovid's ship is docked in the city, so head to the docks and speak to the soldier to board. After a cut scene, you'll find yourself in a battle with the king's men. Take them out, then follow Roche to the end of the bridge, taking out the horde of soldiers along the way. When you make it there, the king will die. After a cut scene, you'll have one last choice to let Roche die or fight for his freedom. Either way, blood will spill and the quest will end.
Current page: Witcher 3 Novigrad side quests
Prev Page Witcher 3 Velen side quests Next Page Witcher 3 Skellige side quests
Tony lives in Maryland, where he writes about those good old-fashioned video games for GamesRadar+. His words have also appeared on GameSpot and G4, but he currently works for Framework Video, and runs Dungeons and Dragons streams.
 Join The Community


